VALENTINE’S DINNER FOR TWO: OPENING ACT

I am absolutely thrilled about this post!  I usually don’t publish blogs linked to special celebrations such as Thanksgiving, Christmas, or 4th of July.  However, this Valentine’s Day will receive special attention from the Bewitching Kitchen. I was invited by Jamie (who hosts the great blog “Cooking in Red Socks“)  to write a collaborative series of posts to celebrate it.  So here is the deal: we will both be blogging three days in a row to cover the appetizer course, dinner, and dessert. My posts will center on a romantic meal for two.  Jamie will blog on the same courses, but her posts will be about Valentine’s Dinner for Friends. Her posts are made super special as one of her best friends, Allie, celebrates her Birthday on V-day.   How cool is that?  😉 Make sure to stop by her blog and marvel at her choice for the appetizer course: Sun-Dried Tomato Palmiers… WOW!

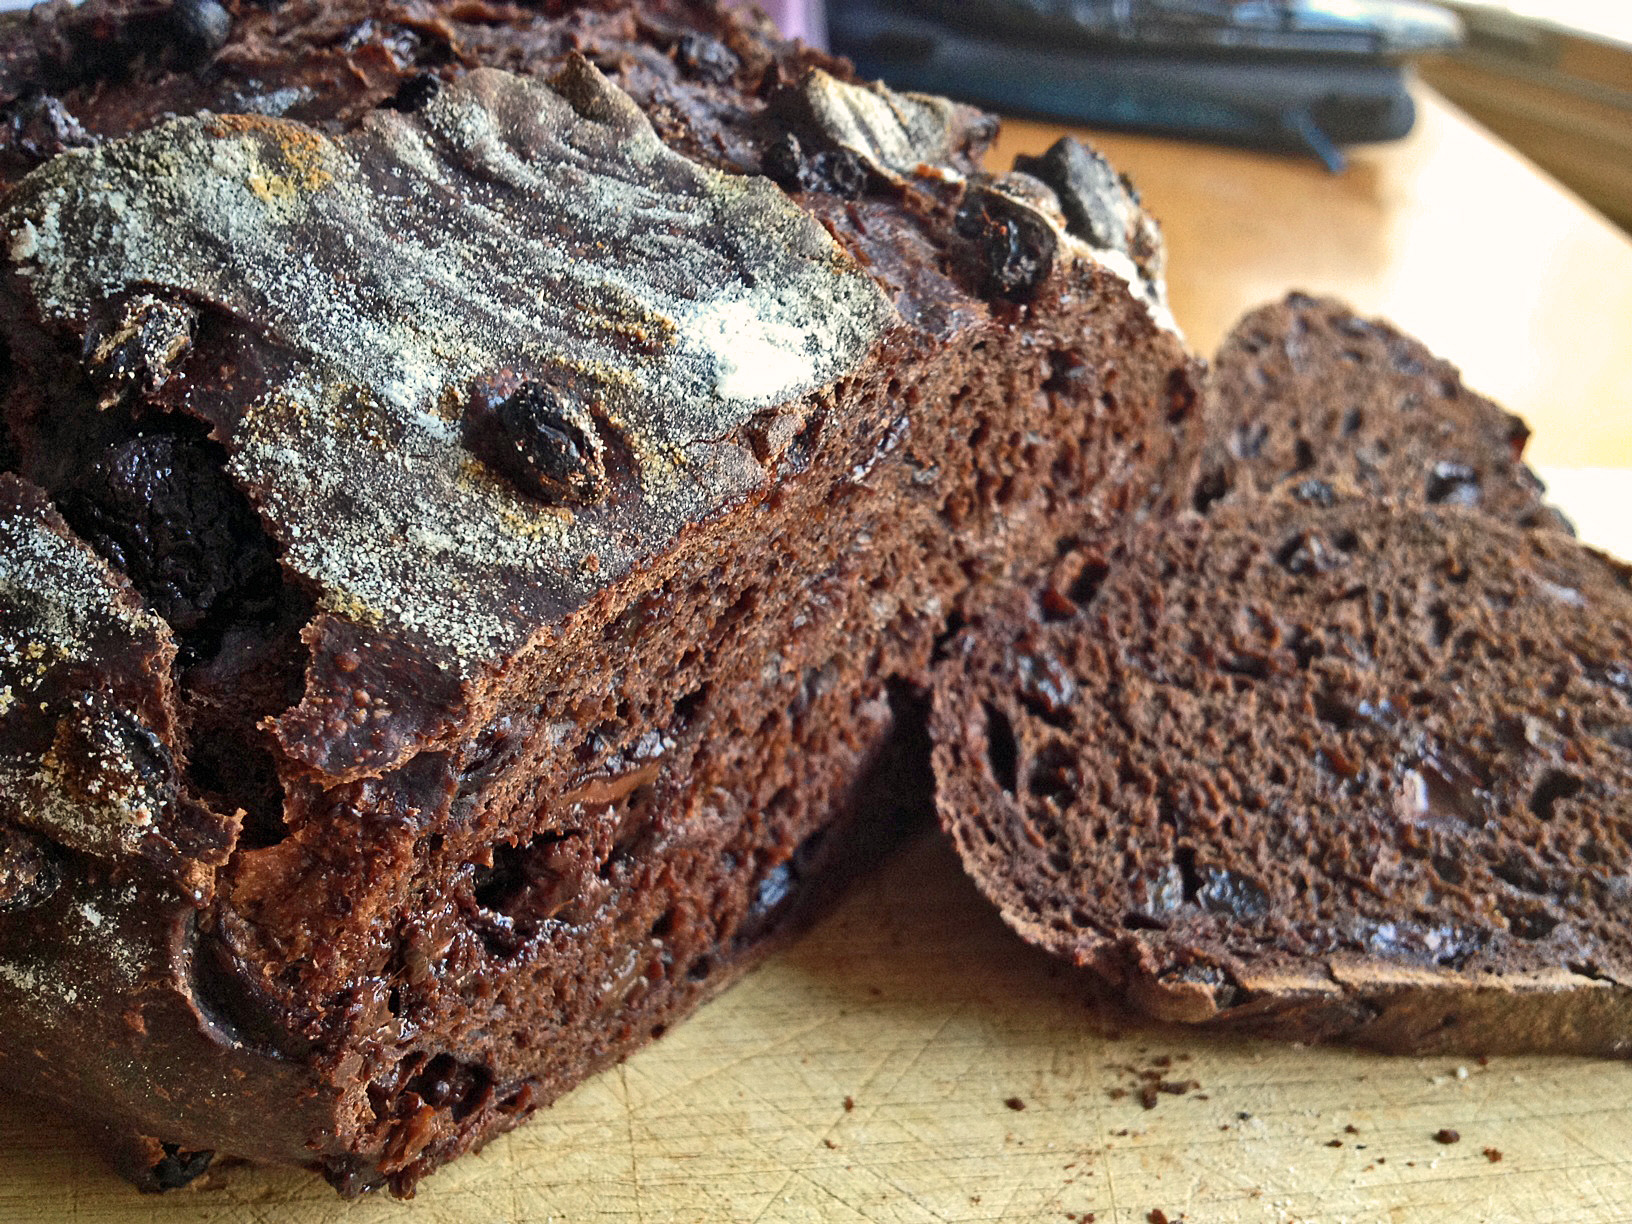
To start the day on a great note, I offer a perfect Valentine’s Day breakfast bread: Chocolate Currant Sourdough.  A slice, slightly toasted, and a cup of hot cappuccino: heavenly!
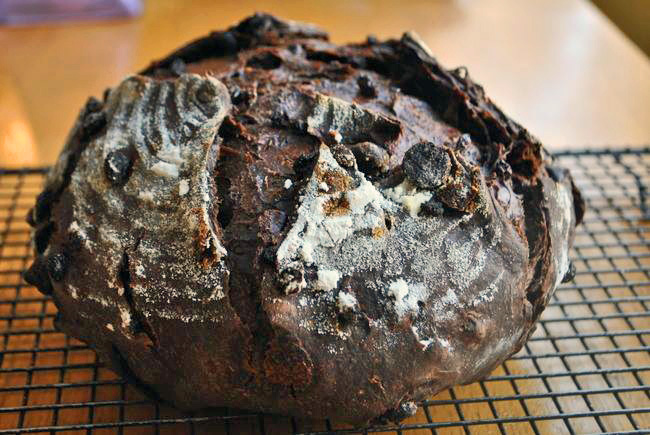
Chocolate Currant Sourdough

ChocolateSourdoughCHOCOLATE CURRANT SOURDOUGH BREAD
(from Farine’s blog, original recipe from How to Make Bread)

Recipe overview:  This bread takes a regular sourdough starter, at 100% hydration.  The starter is incorporated into a final dough containing white flour, cocoa powder, chocolate chips, and currants. After a series of foldings, the dough is shaped, either as two small loaves (as shown in Farine’s blog), or as a large round boule (as I did).  My shaped loaf fermented for 4 hours in our bread proofing box, temperature set to 78 F.   I baked it inside a covered clay pot for 30 minutes at 435 F, then removed the lid, and baked for 15 more minutes.

For the detailed recipe, visit Farine’s site or get  your copy of Emmanuel Hadjiandreou’s book.  Both links are included underneath the recipe’s title. 

Comments: Even though this bread contains a good amount of chocolate and currants, it is not overly sweet. The cocoa powder and the sourdough starter  act together to counteract excessive sweetness.  We loved it, in fact I did not expect to like it as much as I did.  If you have a starter going on in your kitchen, add this bread to your “to bake soon” list.  And don’t keep it there for too long…

♥♥♥♥♥♥♥♥

Now, let’s move on to the appetizer course of our romantic meal for two… I wanted something light, and red. Hummus is a favorite in our home, so I went with a twist on this classic, turning it into a shockingly red dip. Food coloring? No way!  This is a Roasted Beet Hummus, and it was absolutely wonderful…
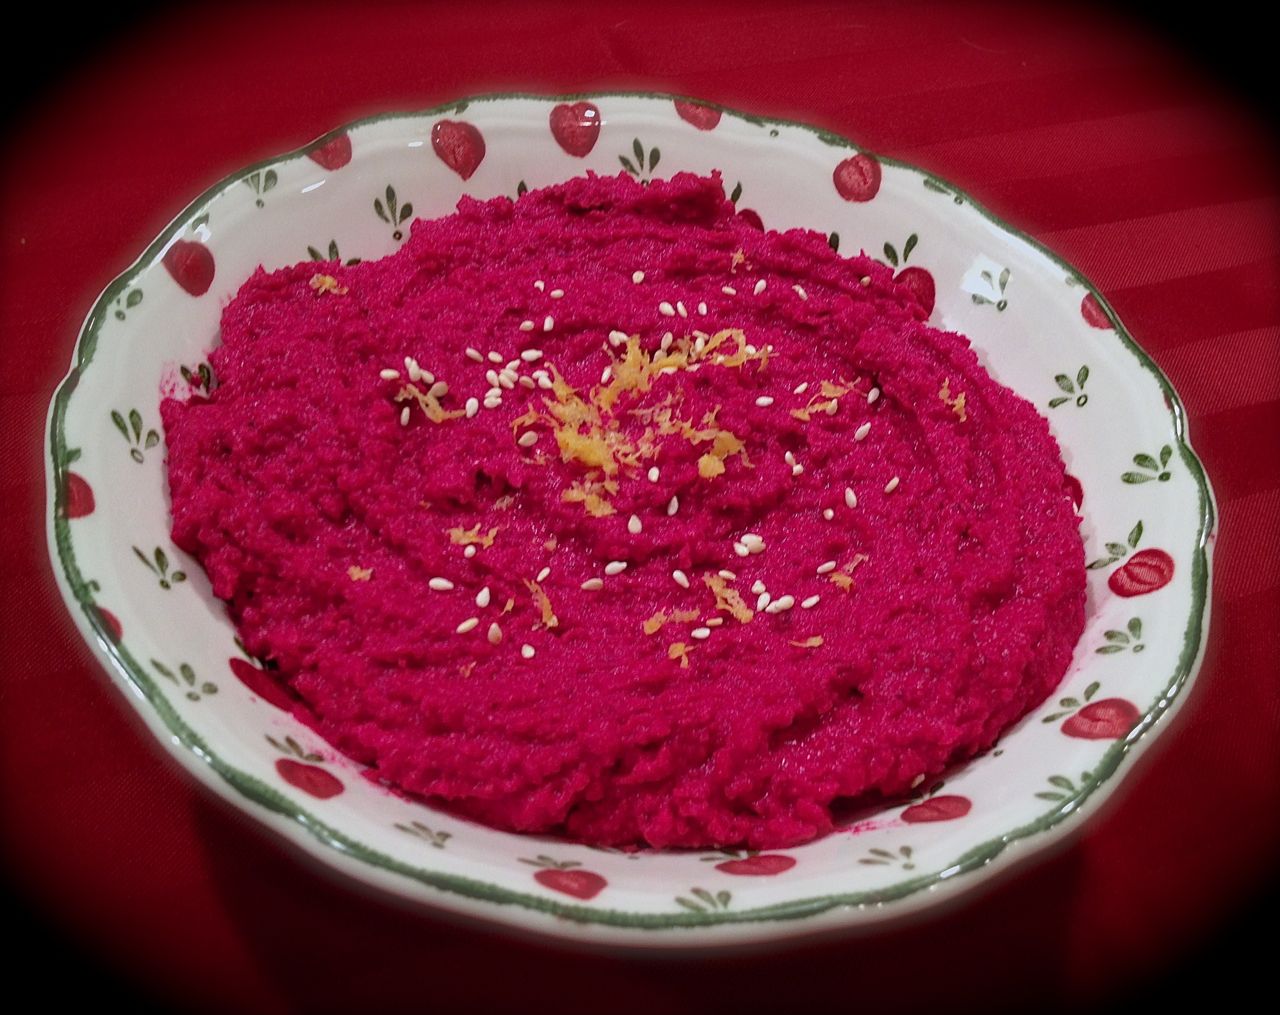
Roasted Beet Hummus

ROASTED BEET HUMMUS
(from the Bewitching Kitchen)

1 medium beet
olive oil
salt and pepper to taste
1 can (15 ounces) of chickpeas, drained, rinsed, peeled
1 lemon, zest and juice
1/4 tsp ground cumin
1/4 cup tahini
2 Tbs olive oil
salt and pepper to taste
cold water to desired consistency
sesame seeds and lemon zest for decoration

Peel the beet, cut it in quarters, coat with a little olive oil, season with salt and pepper.  Place in a roasting dish covered with foil, and roast at 400 F for 30 minutes or until fully cooked through.

Place the roasted pieces in the bowl of a food processor, and process it for a few seconds.  Add all other ingredients, up to olive oil.  Process until completely smooth.  Season with salt and pepper, and adjust consistency with water if necessary. Taste and adjust seasoning if necessary.   Depending on the acidity of your lemon and your personal taste, a little more lemon juice right before serving might be a good idea.  Sprinkle sesame seeds and lemon zest on top, and…

ENJOY!

to print the recipe, click here
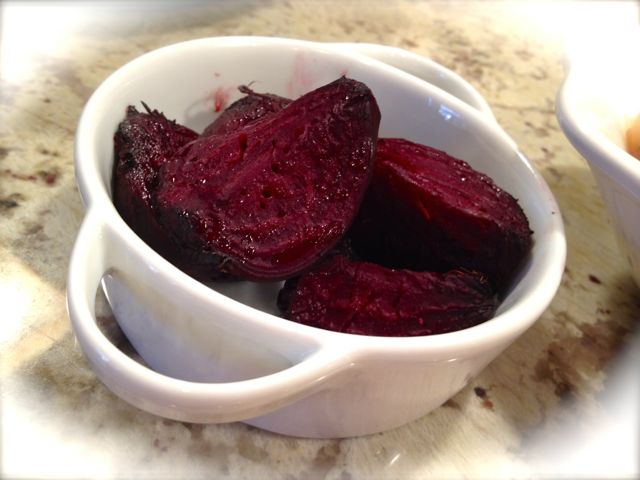
RoastedBeets

Comments:  Phil is not too fond of beets, so I took a risk by choosing it for a Valentine’s Day menu.  But the flavor of this spread is very complex, and the beets stay mildly sitting in the background, their presence big in color but mellow in flavor.  Perfect for those who don’t jump up and down with joy when such bright red beings are found in the middle of the groceries. Serve this spread with crackers, or for a lighter appetizer course, celery or carrot sticks.

Make sure to visit Jamie’s site for her appetizer course on a Valentine’s Day Party for Friends! Stay tuned for the dinner course tomorrow…

♥♥♥♥♥♥♥♥

ONE YEAR AGO: Sesame and Flax Seed Sourdough

TWO YEARS AGO: Spanakopita Meatballs

THREE YEARS AGO: Saturday Morning Scones

FOUR YEARS AGO: Pain de Mie au Levain

BAKED RICOTTA, TAKE TWO

As far as appetizers go, it is hard to find a simpler recipe that would deliver as much flavor! You can find all sorts of variations in cookbooks and in the blogosphere, including my own blog a couple of years ago, using a recipe from my friend Celia.  Have hearty crackers or nice baguette toasts ready to dive in… my preference is to enjoy it still hot from the oven, but be very careful, the center of this baby will be like a cheesy lava.

Baked Ricotta

BAKED RICOTTA WITH GOAT CHEESE
(from the Bewitching Kitchen, inspired by many sources)

1 cup ricotta cheese, drained  (full fat)
1 large sprig of fresh rosemary leaves, chopped
1/2 teaspoon dried thyme
1 Tablespoon olive oil
grated zest of 1/2 lemon
1/4 cup room temperature goat cheese
pinch of crushed red pepper
pinch of kosher salt, more to taste

Preheat the oven to 375°F.

Heat the olive oil on a small pan, add the rosemary leaves. When the leaves start to sizzle, turn the heat off, and close the pan.  Let the oil infuse for 15 minutes.  Remove any large pieces of rosemary from the oil, very small bits can be added to the dip.

Combine the ricotta, rosemary oil,  and all other ingredients in a large bowl. Mix well, and transfer to an oven-proof dish. Bake for 20 to 25 minutes, until bubbly.    Serve right away with crackers or a nice baguette.  It is also good at room temperature.

ENJOY!

to print the recipe, click here

While typing this recipe, I realized that I tend to add lemon zest and juice to almost everything I make…   Maybe I should have named the blog Lemony Kitchen. Truth is, just the thought of running out of lemons makes me very uncomfortable.  I will often taste a sauce, a salad dressing, a steamed veggie, and tell myself there’s something missing.   I reach for a lemon, and just a little bit of its juice does the trick.  In this particular recipe, the zest adds a lot, the baked cheese ends up with a lighter “feel”.

Of course, you should go ahead and change this recipe to suit your taste.  Tarragon or dill could be wonderful replacing rosemary.   If you are not fond of goat cheese, it can be left out, or substituted with feta or even another type of creamy cheese.  Maybe a Brie, if you don’t mind multiplying the calories and fat by a factor of 2. Maybe 3.  Who’s counting?   😉

ONE YEAR AGO: Pumpkin Uncanned

TWO YEARS AGO: Pork Ragu

THREE YEARS AGO: Friendly Kuri Squash

FOUR YEARS AGO: Celery and Apple Salad

CHEDDAR AND FENNEL SEED CRACKERS

Cheddar Fennel Crackers
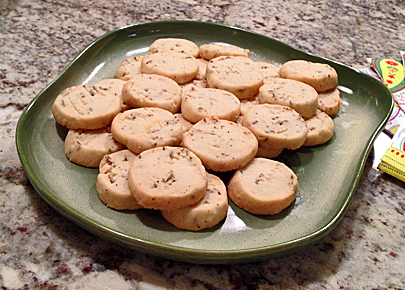
These crackers were part of the appetizers we served at a small dinner get-together.  I’ve always wanted to re-visit crackers, as my first experience with them was pretty awesome. But way too long ago, this blog was just a baby back in September 2009.  Fun times. These are completely different creatures, thick and flavorful, they stand by themselves without the need of any spread.  The fact that you can make them ahead of time, then slice & bake is an added bonus. I am all for making my life easier when entertaining. Let me rephrase that. I am all for making my life easier. 😉
.tray.
CHEDDAR AND FENNEL SEED CRACKERS

(adapted from the blog Lemons & Anchovies)
.
¼ pound (1 stick) unsalted butter, room temperature
3 ounces sharp cheddar cheese (grated with a Microplane)
1 tablespoon + 1 teaspoon fennel seeds
1 + ¼ cups all-purpose flour
zest of 1 lemon
Pinch kosher salt
A pinch or two of freshly ground black pepper
.
Using a stand mixer with the paddle attachment, cream the butter for about one minute. With the mixer on low-speed, add the cheese, salt, pepper, lemon zest, and fennel seeds just until combined, scraping the sides of the bowl as necessary.  With the mixer still in low-speed add the flour,  and turn off the mixer once the mixture is in large crumbles, about one minute.
.
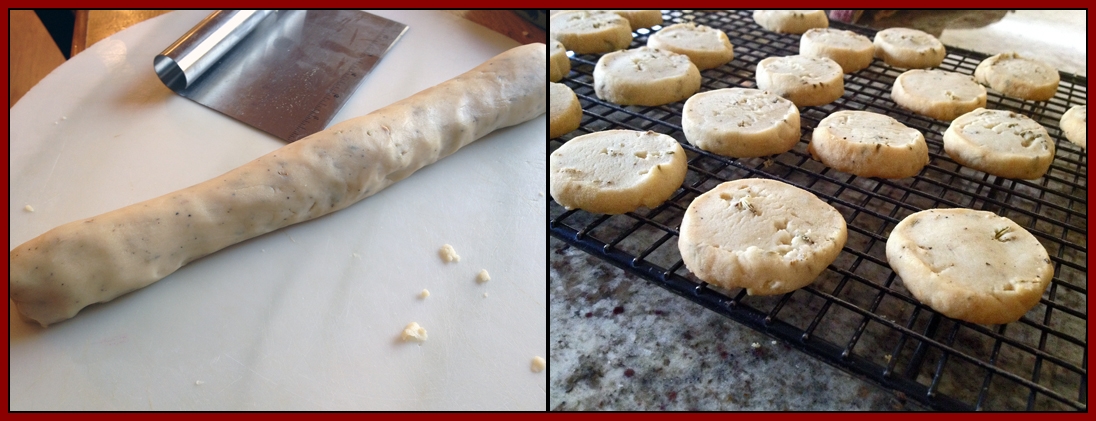
Transfer the dough to a lightly floured surface, press into a ball then roll it into a 9-inch log. Wrap it in plastic wrap and chill for at least 30 minutes before slicing and baking.
.
When ready to bake, heat your oven to 350℉. Slice the dough into roughly 3/8-thick rounds and lay them on a baking sheet lined with parchment paper. You can sprinkle more fennel seeds on top of the rounds if you wish.
.
Bake for 20 minutes, rotating the sheet halfway through the cooking time, until very lightly browned. Cool on a wire rack and serve at room temperature. They keep well in an airtight container for a few days.Makes about 24 rounds.
.
ENJOY!
.

to print the recipe, click here
.
composite
.
Comments: 
At first I had some trouble shaping the log of dough, and had to add a little more flour, but finally it all came together smoothly.  These crackers have a shortbread feel, they crumble as you bite into them, and their flavor gets more and more pronounced as you chew them. The lemon zest definitely adds a lot, even though fennel and cheese are strong components in the overall taste.  The basic recipe could be taken in many different directions with different cheeses and spices…  I think that an experiment with a little bit of dried lavender could be quite interesting, but it might be tricky to pick the right cheese to go with it.
.
This was my first time baking this type of cracker. After slicing it would have been nice to smooth out the surface gently with the tip of the finger, particularly the edges.  Something to consider for next time. Bake and learn, my friends, bake and learn…
.
TWO YEARS AGO: My First Award!
.
THREE YEARS AGO: A Message from WordPress
.
FOUR YEARS AGO:
Turkish Chicken Kebabs

THE AVOCADO MOUSSE THAT STOLE THE SHOW

MERRY CHRISTMAS!   FELIZ NATAL!  JOYEUX NOËL!

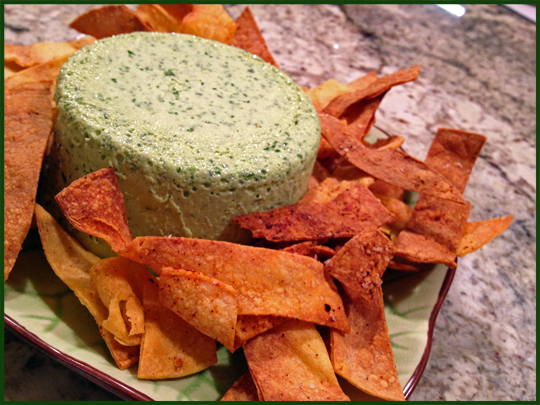
This year we had a pre-Christmas celebration with one of my stepsons, because he had to fly back to California on the 23rd. The evening before his departure we made a special dinner that featured the whole menu of a recent show from the one and only Marcela Valladolid, entitled “My Favorite Holiday Dishes“.  The main dish was Pork with Prunes and Pineapple Glaze (on the blog soon), and I expected it to be the star of our meal, but truth is that the first course,  a simple, unassuming avocado mousse put up a great fight and according to some, took the Christmas Eve spotlight…  😉

Avocado Cilantro Mousse
AVOCADO AND CILANTRO MOUSSE
(slightly adapted from Marcela Valladolid)

1 to 1 + 1/2 bunches fresh cilantro, washed and dried, leaves picked off and reserved (about 2 cups loosely packed)
1  avocado (I used two small ones)
1 (8-ounce) package cream cheese, at room temperature
1 teaspoon salt
1 tablespoon fresh lime juice, from about 1 lime
1 Serrano chile, stemmed, seeded, deveined, and roughly chopped
1 cup cold water, divided
2 (1/4-ounce) envelopes unflavored gelatin
.
Spray 3 (1 cup) or 6 (1/2 cup) ramekins with vegetable oil cooking spray.

Place the cilantro, cream cheese, avocado, salt, lime juice, and chile in a food processor and puree until smooth.
.
Pour 1/4 cup water in a small bowl. Sprinkle the gelatin over the water and let it sit for a few minutes. Place the remaining 3/4 cup water in a small saucepan and bring to a boil. Pour the boiling water over the softened gelatin and whisk until the gelatin has dissolved.
.
Add the gelatin to the mixture in the food processor, pulsing until pureed and thoroughly blended.
.
Pour the mixture into the prepared ramekins. Cover with plastic wrap and refrigerate until firm, about 2 hours. To unmold, fill a large container with very hot water. Dip the ramekins in the water for 1 minute. Run a small, sharp knife tip around the edge of each mousse. Invert onto a platter. Let stand at room temperature for 20 minutes before serving.
.
ENJOY!

to print the recipe, click here

Comments:  I made my own tortilla strips to serve alongside the mousse, and I must say the work involved is minimal, but the pay-off huge.  They were so much better than store-bought versions, both in texture and flavor.  I just cut some yellow corn tortillas into strips, placed them on a baking sheet, sprayed with olive oil, and coated very lightly with salt and more liberally with Southwest Spice mix from Penzey’s.  Baked at 375F until  they start to crisp up and get brown.

The mousse… WOW!  We started enjoying it quite politely, a little bit spread on a cracker, a little more on a tortilla strip, but by the end of the dinner we were slicing it and adding the cold slice on top of the pork tenderloin and moaning about it…  We decided it will go well with pretty much anything, from grilled salmon to lamb burgers, and in case of emergency, licked from the tip of a finger when no one is looking.   It is THAT good.  Please, make it for your next dinner party, and stop by to thank me later… 😉

ONE YEAR AGO: Sourdough Popovers

TWO YEARS AGO: Merry Christmas!

THREE YEARS AGO:  Sourdough Focaccia, with a twist

FOUR YEARS AGO: Merry Christmas!

SECRET RECIPE CLUB: POTATO CRUSTED ITALIAN MINI-QUICHE

Spinach Mini Quches
November is waving goodbye,  I try to stay positive and upbeat even though the weather is getting colder and colder.  No matter the temperature outside, the last Monday of the month brings with it a warm feeling: it is Reveal Day for members of The Secret Recipe Club.  After getting an assigned blog in secret, we have about 3 weeks to pick a recipe, cook, compose a blog about it and post at the exact same time as everyone else in the group. This month I was paired with Curious Cuisiniere, a blog hosted by Sarah and Tim, a young couple with a smile as bright as the sun on a summer day in Brazil.  If you don’t believe me, check their beautiful photo…    I love it when a couple has so much fun cooking and exploring different flavors and cuisines, so I was pretty excited to act as a virtual stalker of their site.  Before I go into the recipe, let me share with you a great quote from  their blog:

Life gets rough.  The kitchen gets hot.  But there will hopefully always be something tasty that results, someone to share it with, and lessons learned along the way.

Perfect!  I wish I had written that myself…  😉   During the stalking phase, I selected 6 other recipes as strong contenders:  a Sweet Potato African Peanut Soup, a tasty Coconut Fish Curry,  a Sesame Chicken Salad (with an interesting method to coat the chicken pieces), Oriental Burritos.  a Sweet Chicken Tajine, and finally something I’ve been wanting to try for a long time, Pretzel Rolls.  But, with a dinner party approaching, I settled on the cute mini-quiches.

composite2

POTATO CRUSTED ITALIAN MINI-QUICHES
(slightly modified from Curious Cuisiniere)
.
for the crust
2 large potatoes, peeled and diced
Salt and pepper to taste
.

for the filling
1 cup chopped fresh spinach
1 shallot, finely minced
1 clove of garlic, minced
1/2 teaspoon oregano
1/8 teaspoon salt
dash of nutmeg
3 eggs
3/4 cup milk
1/2 cup mozzarella cheese, grated
.
Heat your oven to 350F. Place diced potatoes in a medium saucepan. Cover with water and bring to a boil. Boil potatoes until soft. Drain all but ¼ cup of the cooking liquid. Mash the potatoes with salt and pepper to a very smooth consistency. Spoon roughly 1 teaspoon of mashed potatoes into the bottom of each section of your greased mini muffin tin. Press to the bottom and slightly up the sides to form a ‘crust’. Bake potato crusts for 20 minutes or until they start to get golden.
.
In a medium bowl, combine dry spinach with shallot, garlic, oregano, salt, and pepper. Toss to mix well. Reserve. In a small bowl beat the eggs and milk until well combined. Season with a little salt and a dash of nutmeg.
.
When your crusts come out of the oven, immediately measure or pour roughly 1 Tbsp egg mixture into each cup. Add ½ tsp of spinach mixture and ½ tsp mozzarella cheese to each cup as well. Top off with additional egg mixture if needed.  Bake mini-quiche 15-20 minutes at 350F, or until they have set and are firm to the touch.  Let the quiche cool for 5 minutes in the pan on a wire rack before removing the quiche from the pan to cool on the rack.
.

ENJOY!

to print the recipe, click here

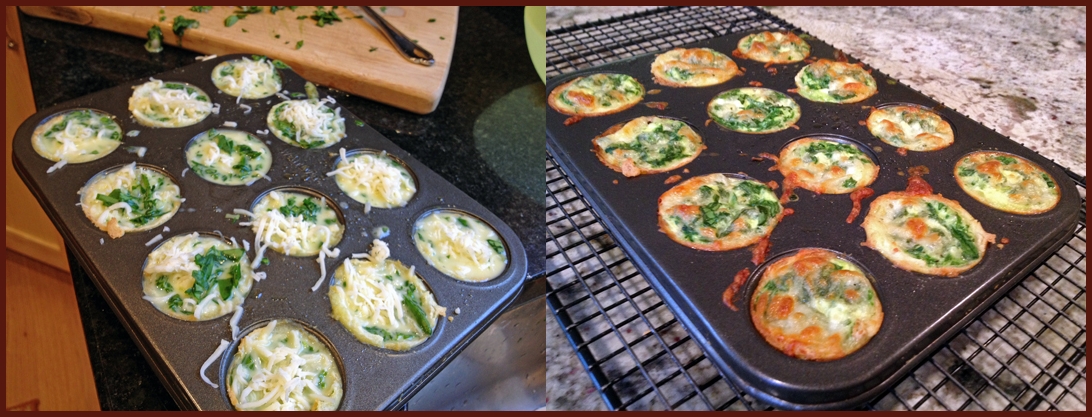
composite1

Comments:  I only have one mini-muffin pan that holds 12 muffins, so I had to bake these in two batches. That turned out nicely, because in typical Sally fashion,  I disregarded the instructions to use 1 teaspoon of mashed potato in the first batch, and added more.  That is no bueno, folks.  The layer of potato turned out too thick, never quite crisped up, so the first batch looked sad. Not very brown at the bottom. The photo above shows the correct amount of potato, which interestingly enough is exactly what the recipe called for!  So, do as specified and save yourself some grief.

I also thought it was a good idea to add the spinach to the milk-egg base and mix it. No bueno hits again: the spinach just floats and you are forced to mix it in and do all kinds of tricks and messy maneuvers to get equal amounts of spinach in each mini-muffin. Crass language will be heard. Once you follow the recipe as written, there shall be no problems.

Using mashed potatoes as the base was a nice change to the regular quiche. The use of milk instead of heavy cream also lightened up the recipe compared to the classic.  I can see variations using sautéed mushrooms, my sister in Brazil wants to make it with sautéed zucchini, all sorts of goodies can be incorporated, just like a normal sized concoction.

I had a great time this month, and invite you to check the productions of my fellow Secret Stalkers from Group D.  All you have to do is go poke a blue frog. There is one smiling at the end of this post, waiting for your click…  😉

ONE YEAR AGO: Beetroot Sourdough for the Holidays

TWO YEARS AGO: Cod Filet with Mustard Tarragon Crust

THREE YEARS AGO: Soba Noodles: Light and Healthy

FOUR YEARS AGO: Potato-Rosemary Bread