Honestly, not sure what to call them… they remind me of the sous-vide egg bites sold at Starbucks, but are more complex in flavor and texture. Low-carb, perfect for a light lunch. Leftovers, kept in the fridge, heat surprisingly well in the microwave, no rubbery texture. Love them!

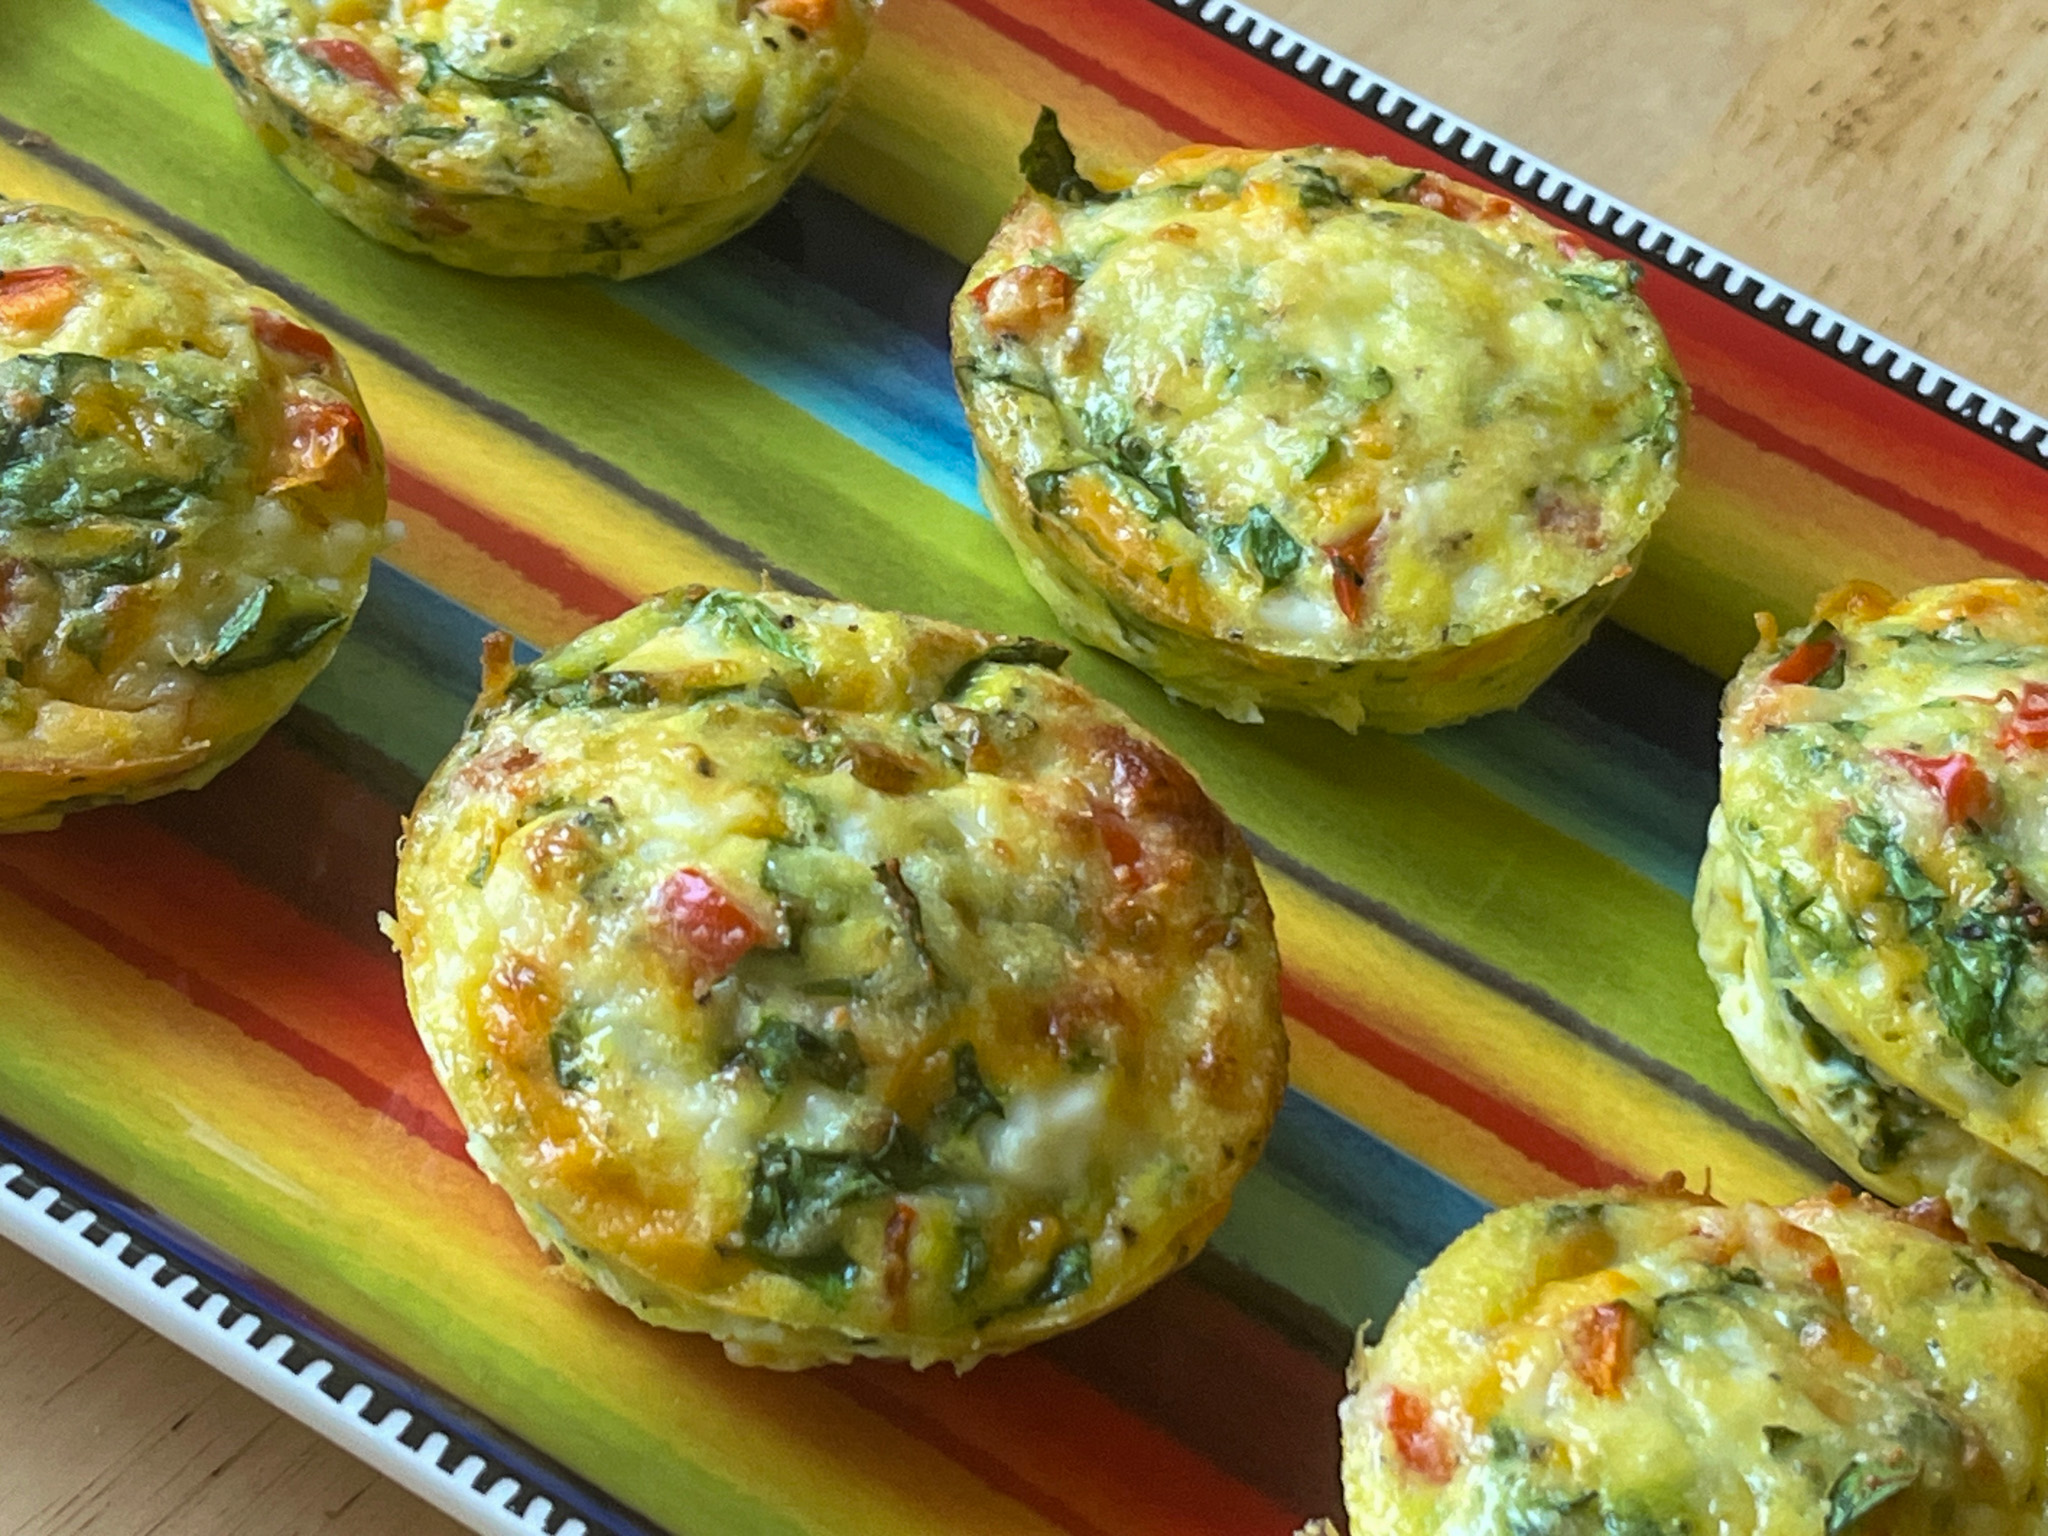
COTTAGE CHEESE FLOURLESS MUFFINS
(from The Bewitching Kitchen)
3 large eggs
1/2 cup cottage cheese
1/4 cup shredded mozzarella cheese
1 bell pepper, seeded, de-veined, chopped small
½ cup spinach, chopped
½ teaspoon salt
¼ teaspoon black pepper
¼ teaspoon paprika
dash of nutmeg
grated Parmigiano-Reggiano cheese
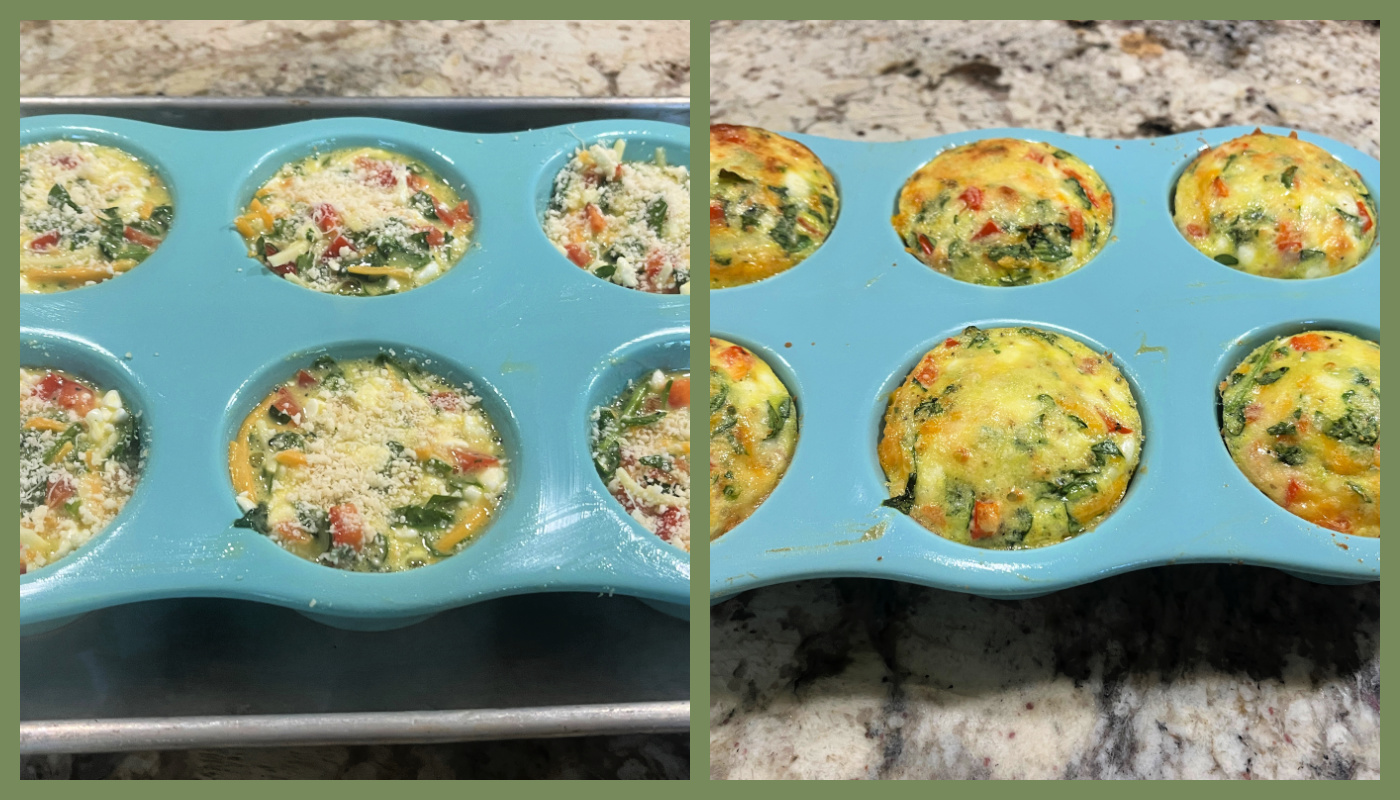
Heat oven to 375F. Spray a muffin tin with oil. Reserve.
In a mixing bowl, whisk together the eggs, cottage cheese, and spices. Whisk very well until everything is incorporated together. Add the veggies and the mozzarella cheese, fold to combine. Fill the muffin tins about 3/4 full, sprinkle with Parmigiano-Reggiano cheese.
Bake for 20 to 25 minutes, until all puffed and golden on top. Serve warm or at room temperature.
ENJOY!
to print the recipe, click here
Comments: I have a slightly problem digesting bell peppers, usually red and orange are not too bad, but when I made them a second time, I used black olives instead of bell pepper, and loved the way they turned out. If bell peppers don’t love your digestive tract, consider that change. I was quite happy with the way they re-heated a couple of days later, when I had them for lunch. Will definitely make this recipe again and again, I hope you’ll give it a try.
ONE YEAR AGO: Açai-Blackberry Sorbet
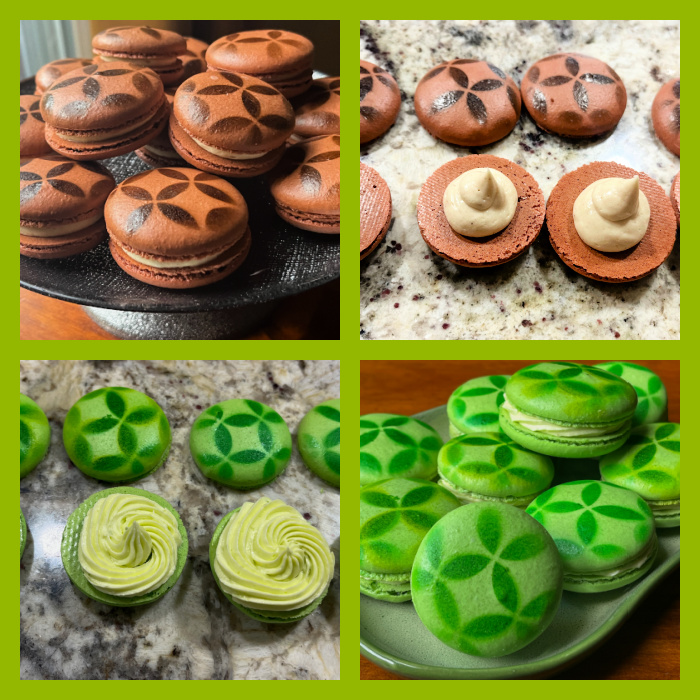
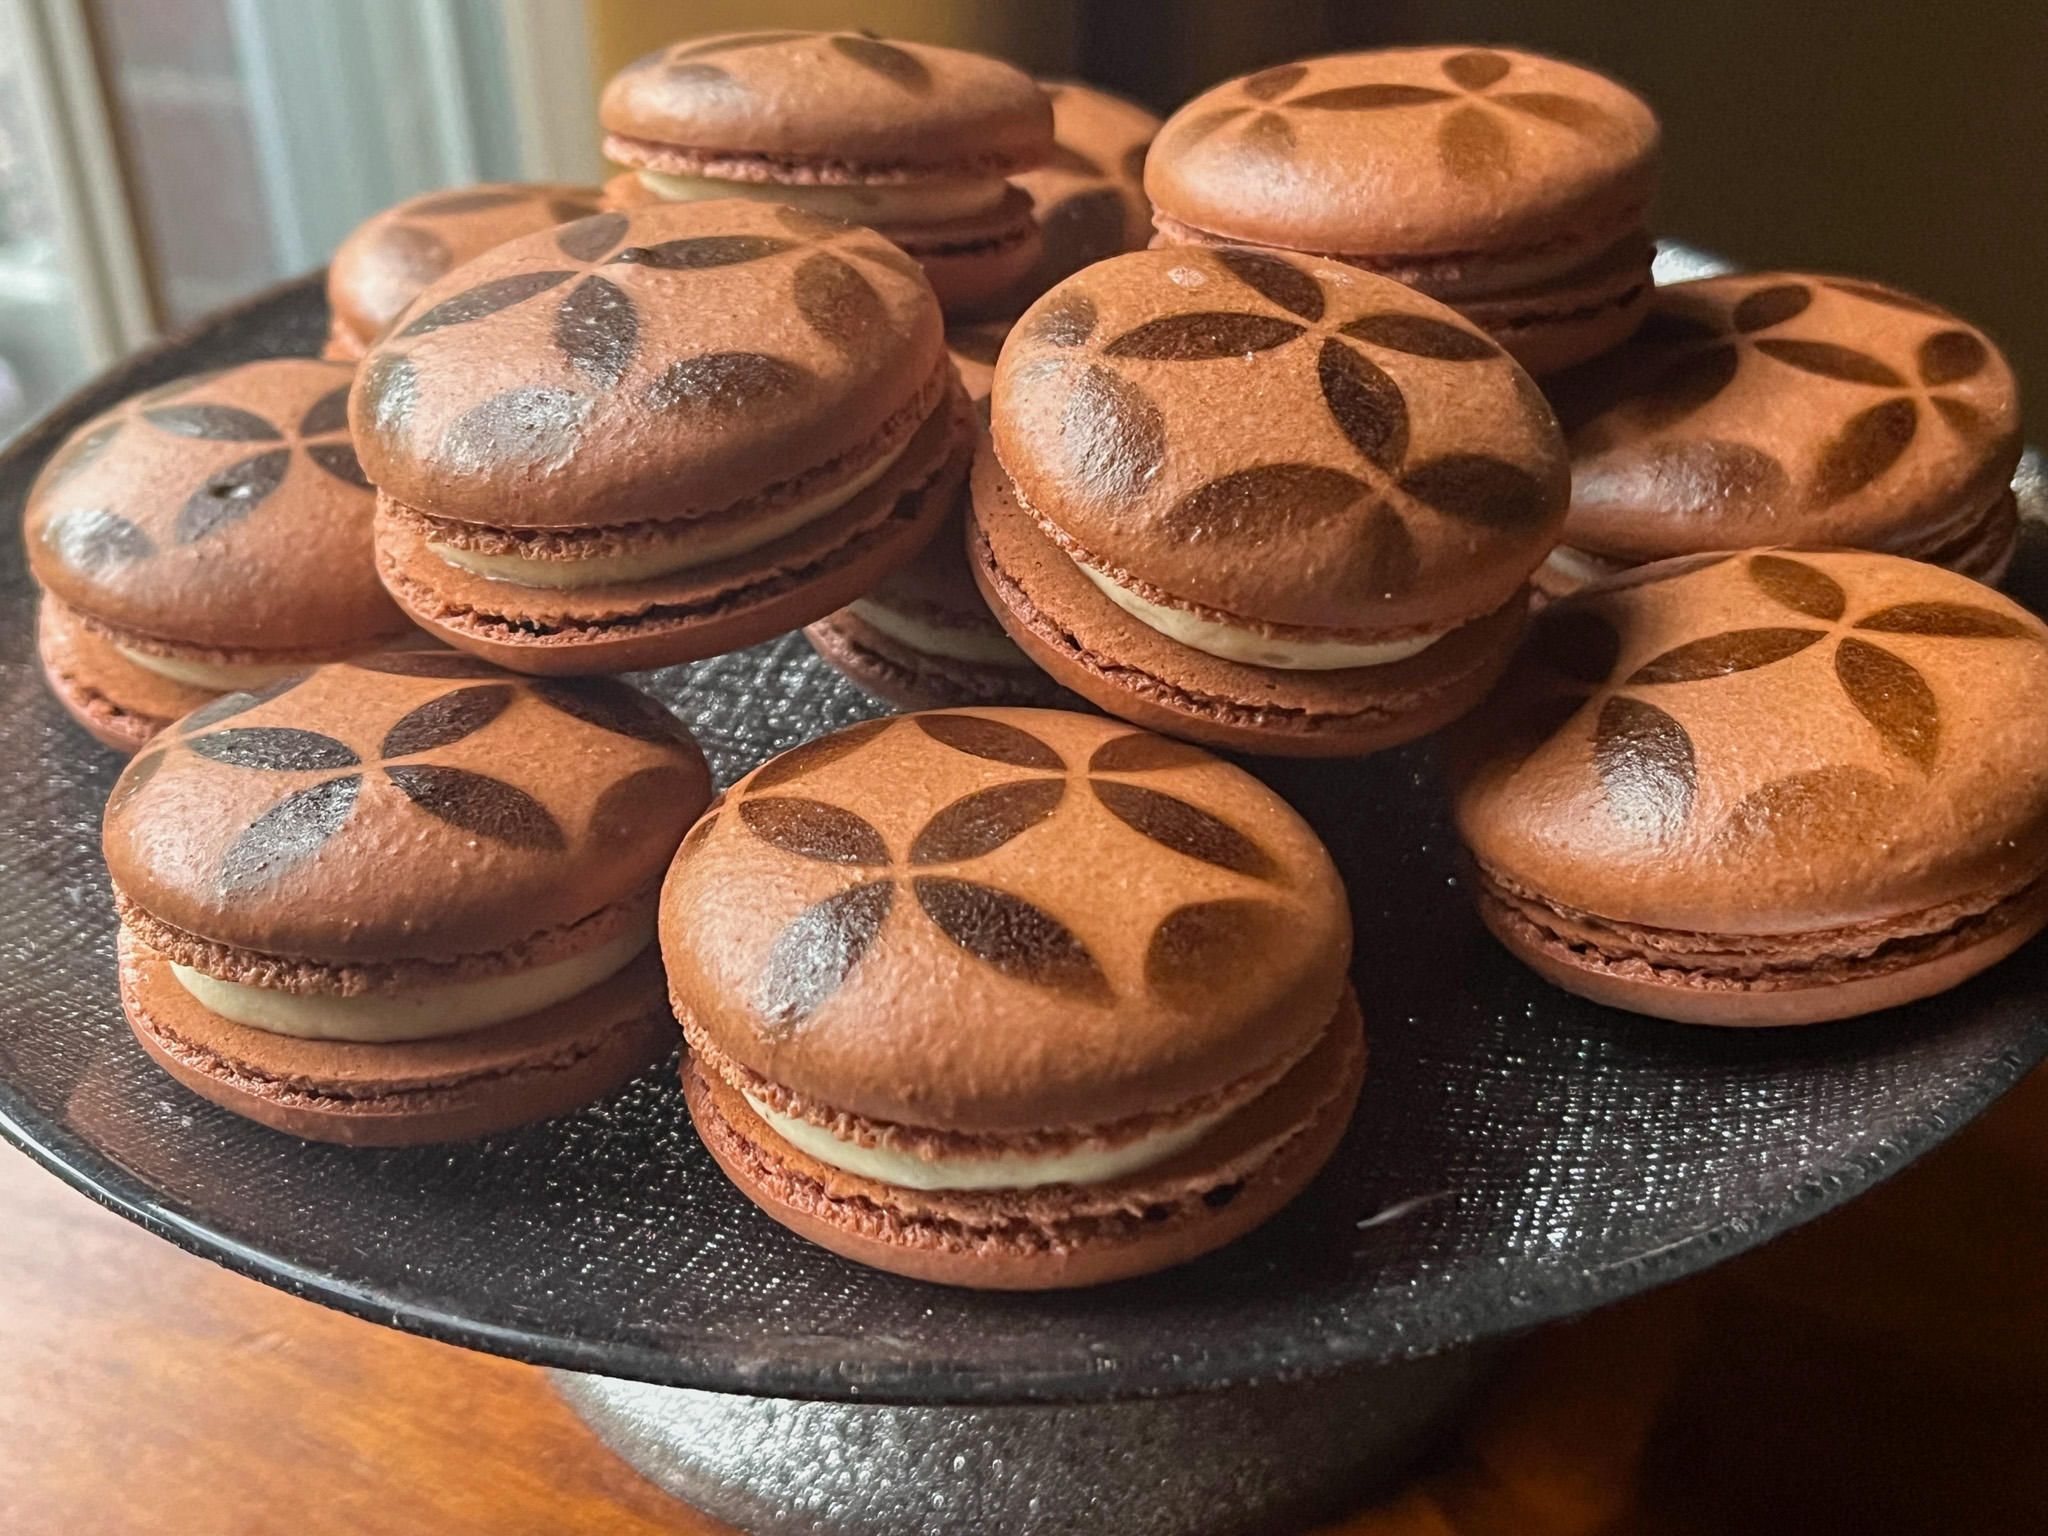
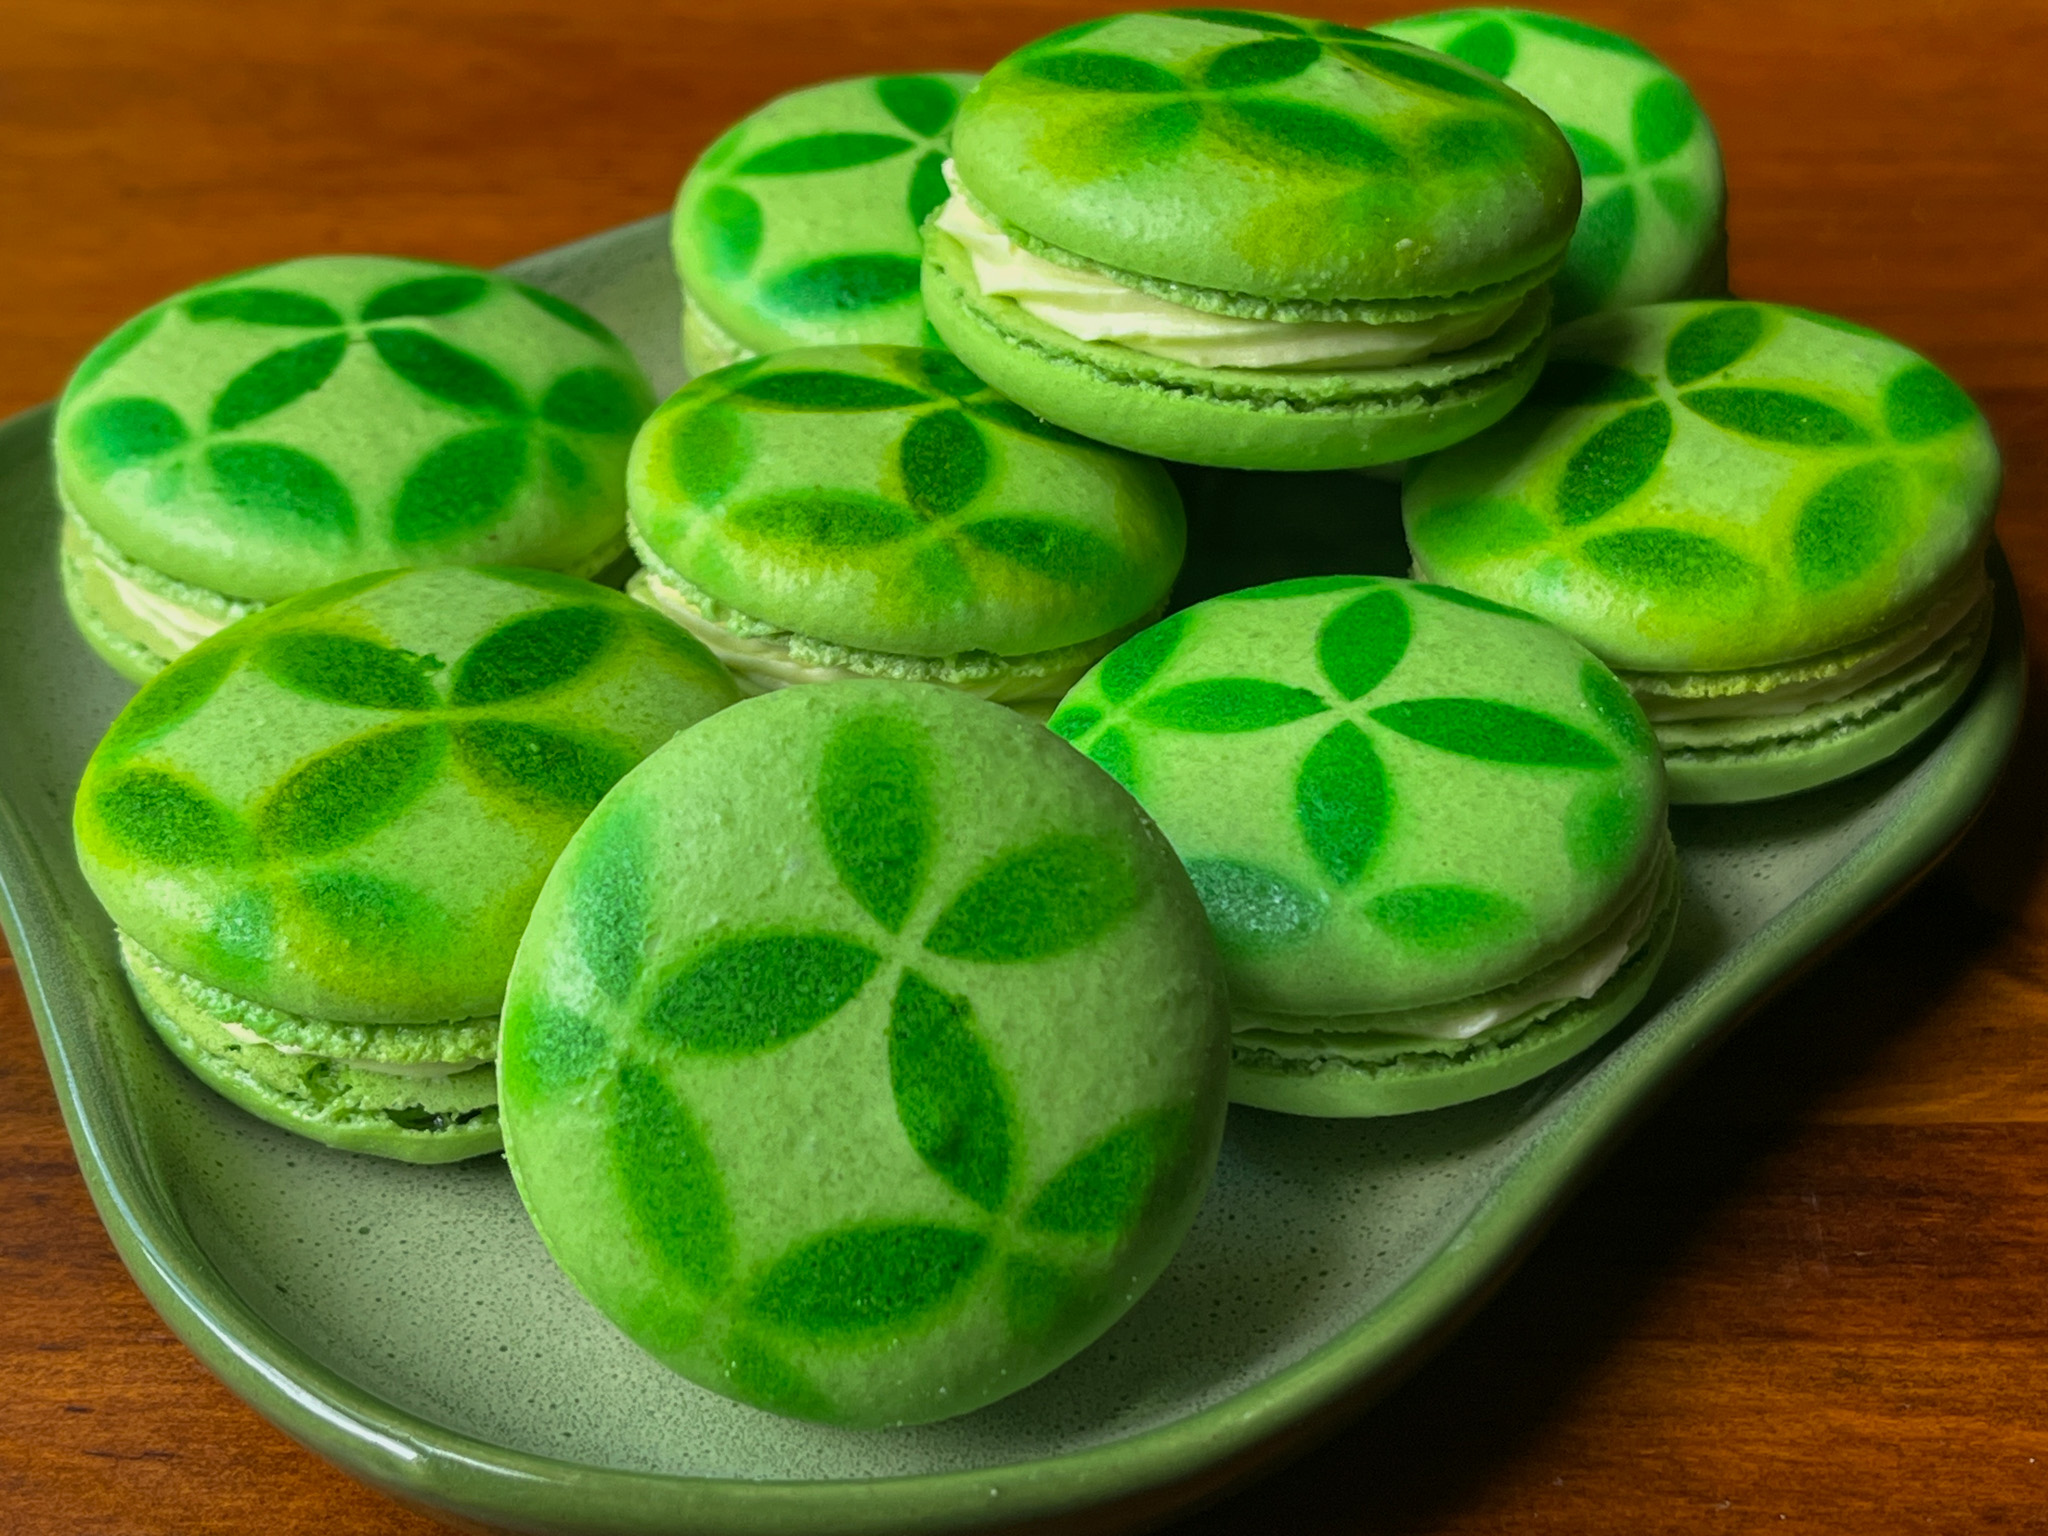
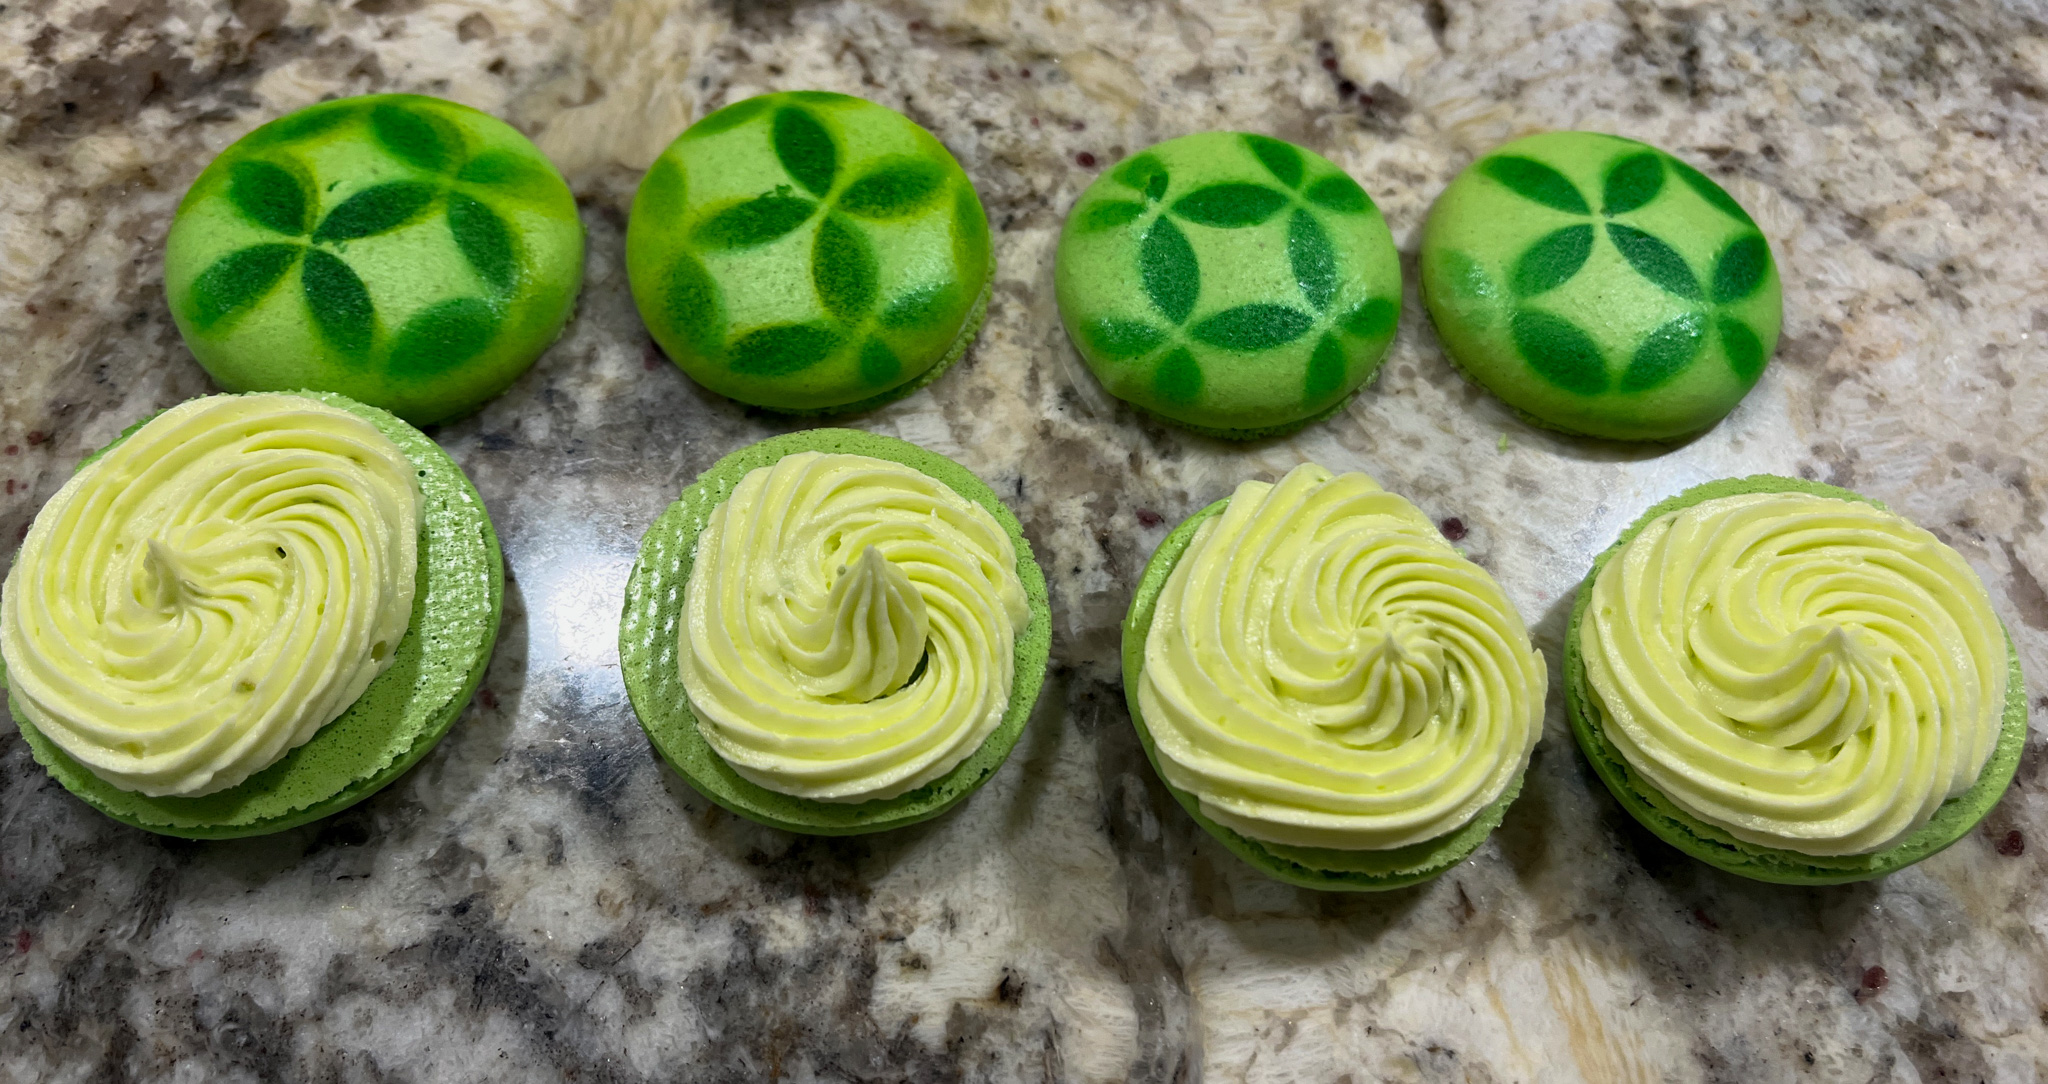
TWO YEARS AGO: A Bouquet of Macarons
THREE YEARS AGO: Chocolate-Hazelnut Tartlets
FOUR YEARS AGO: Turkey Taco Salad
FIVE YEARS AGO: Cheese and Pesto Emmer Roll-ups and Elaine’s Cookbook Review
SIX YEARS AGO: Mango-Hazelnut Entremet Cake
SEVEN YEARS AGO: Lebanese Lentil Salad and a Cookbook Review
EIGHT YEARS AGO: Cottage Loaf
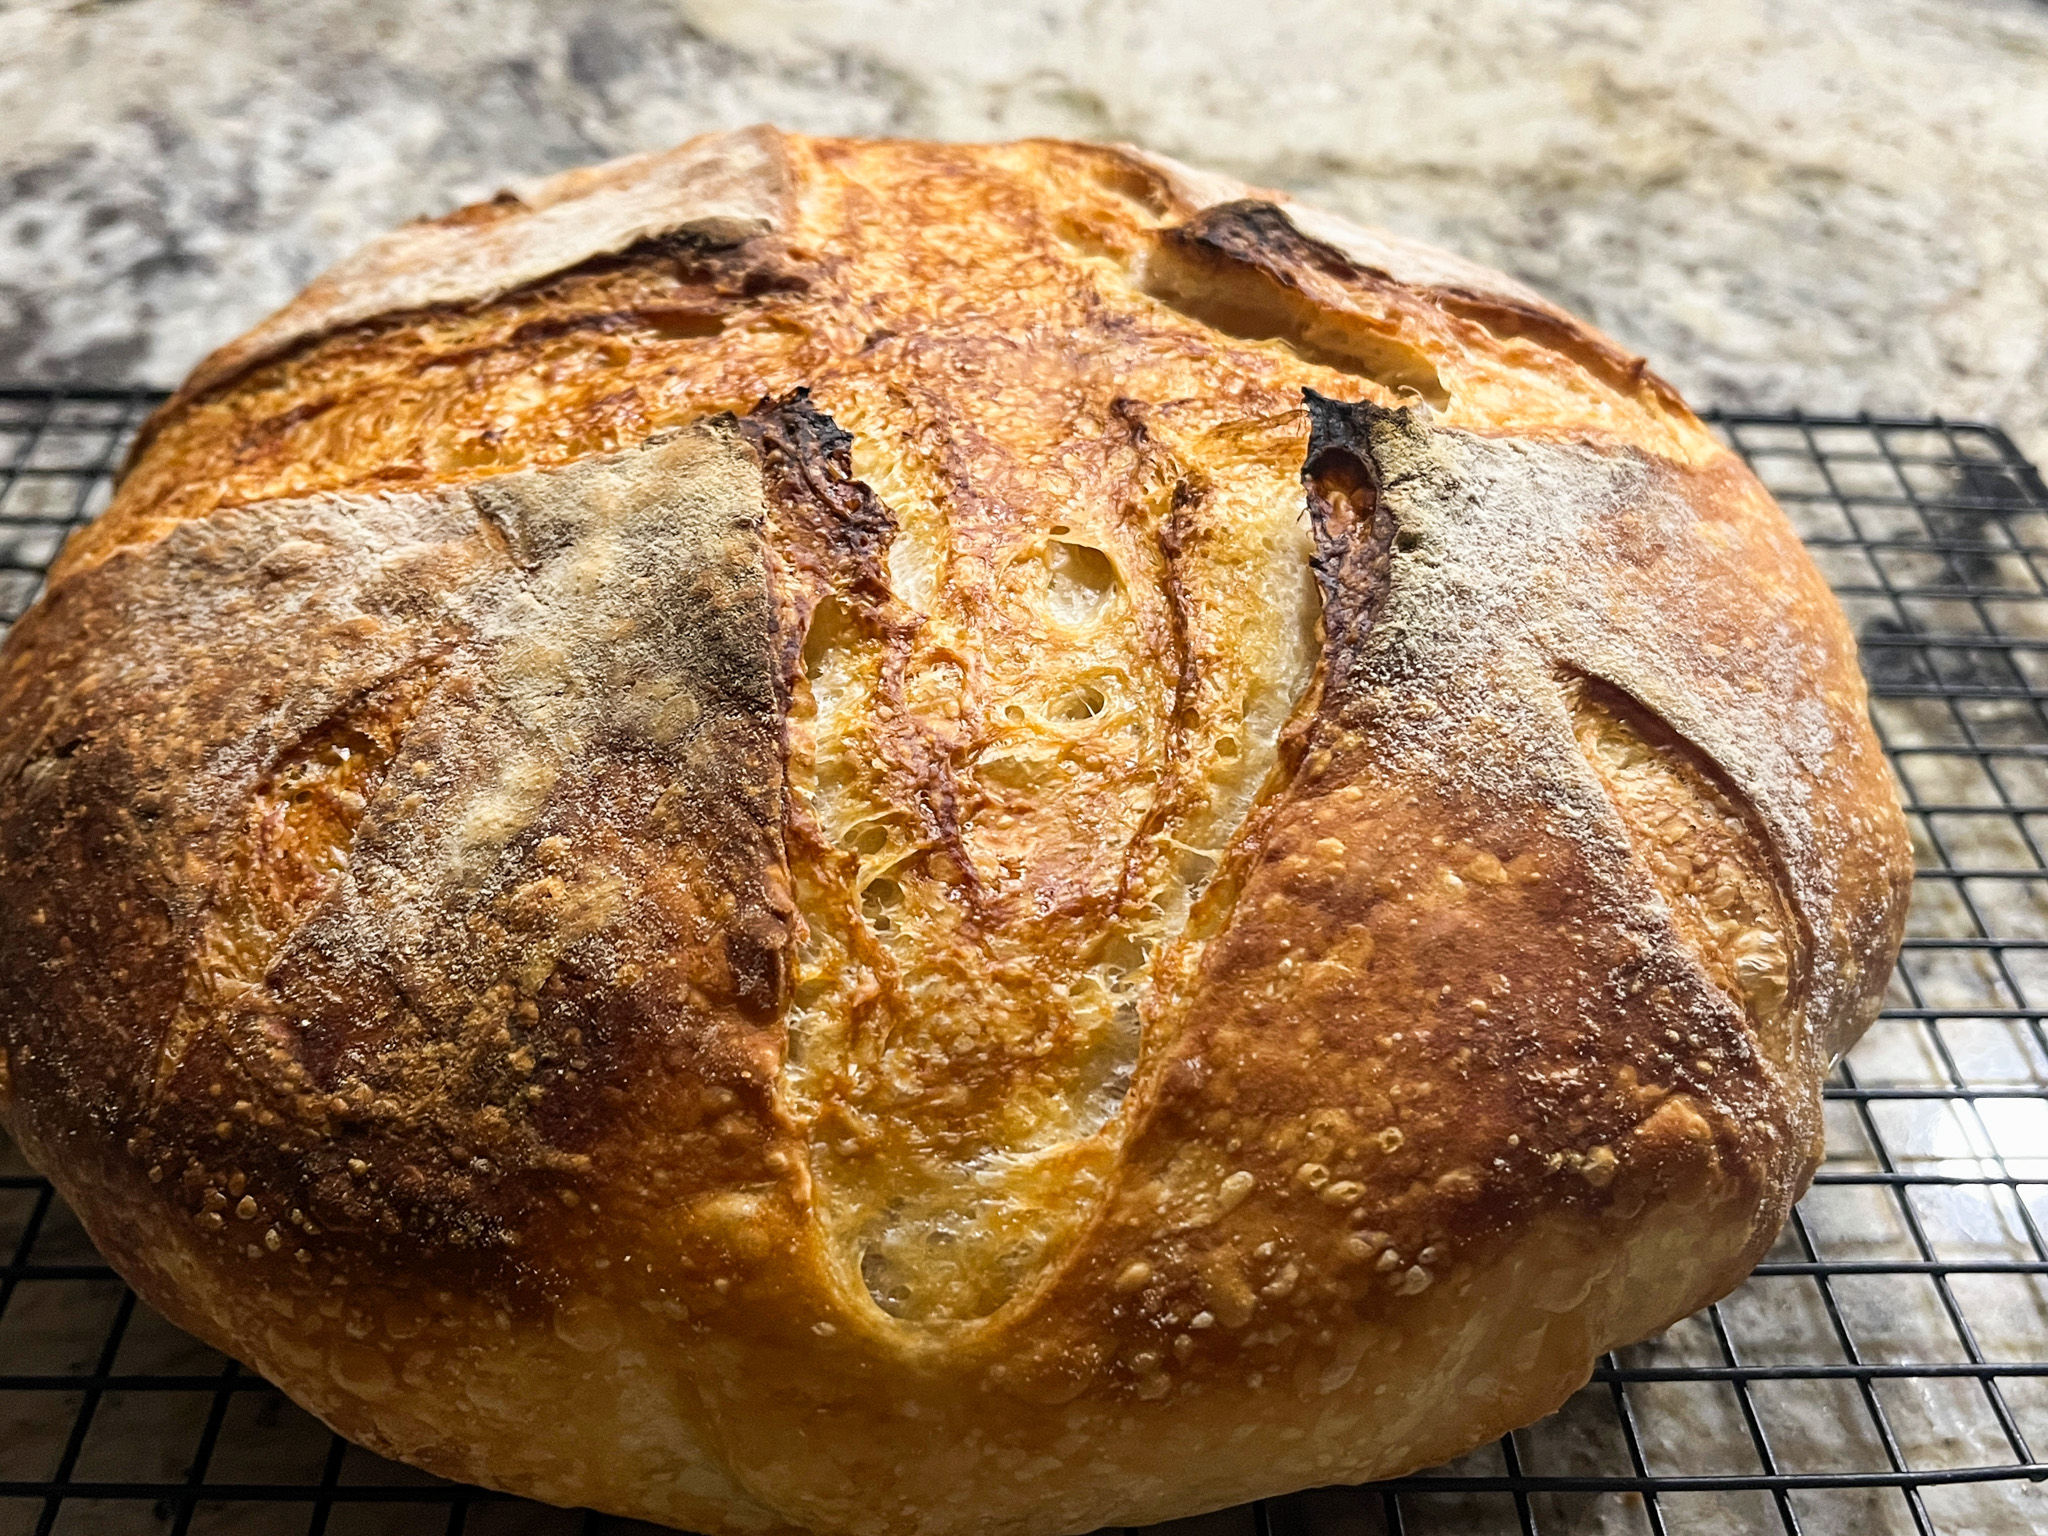
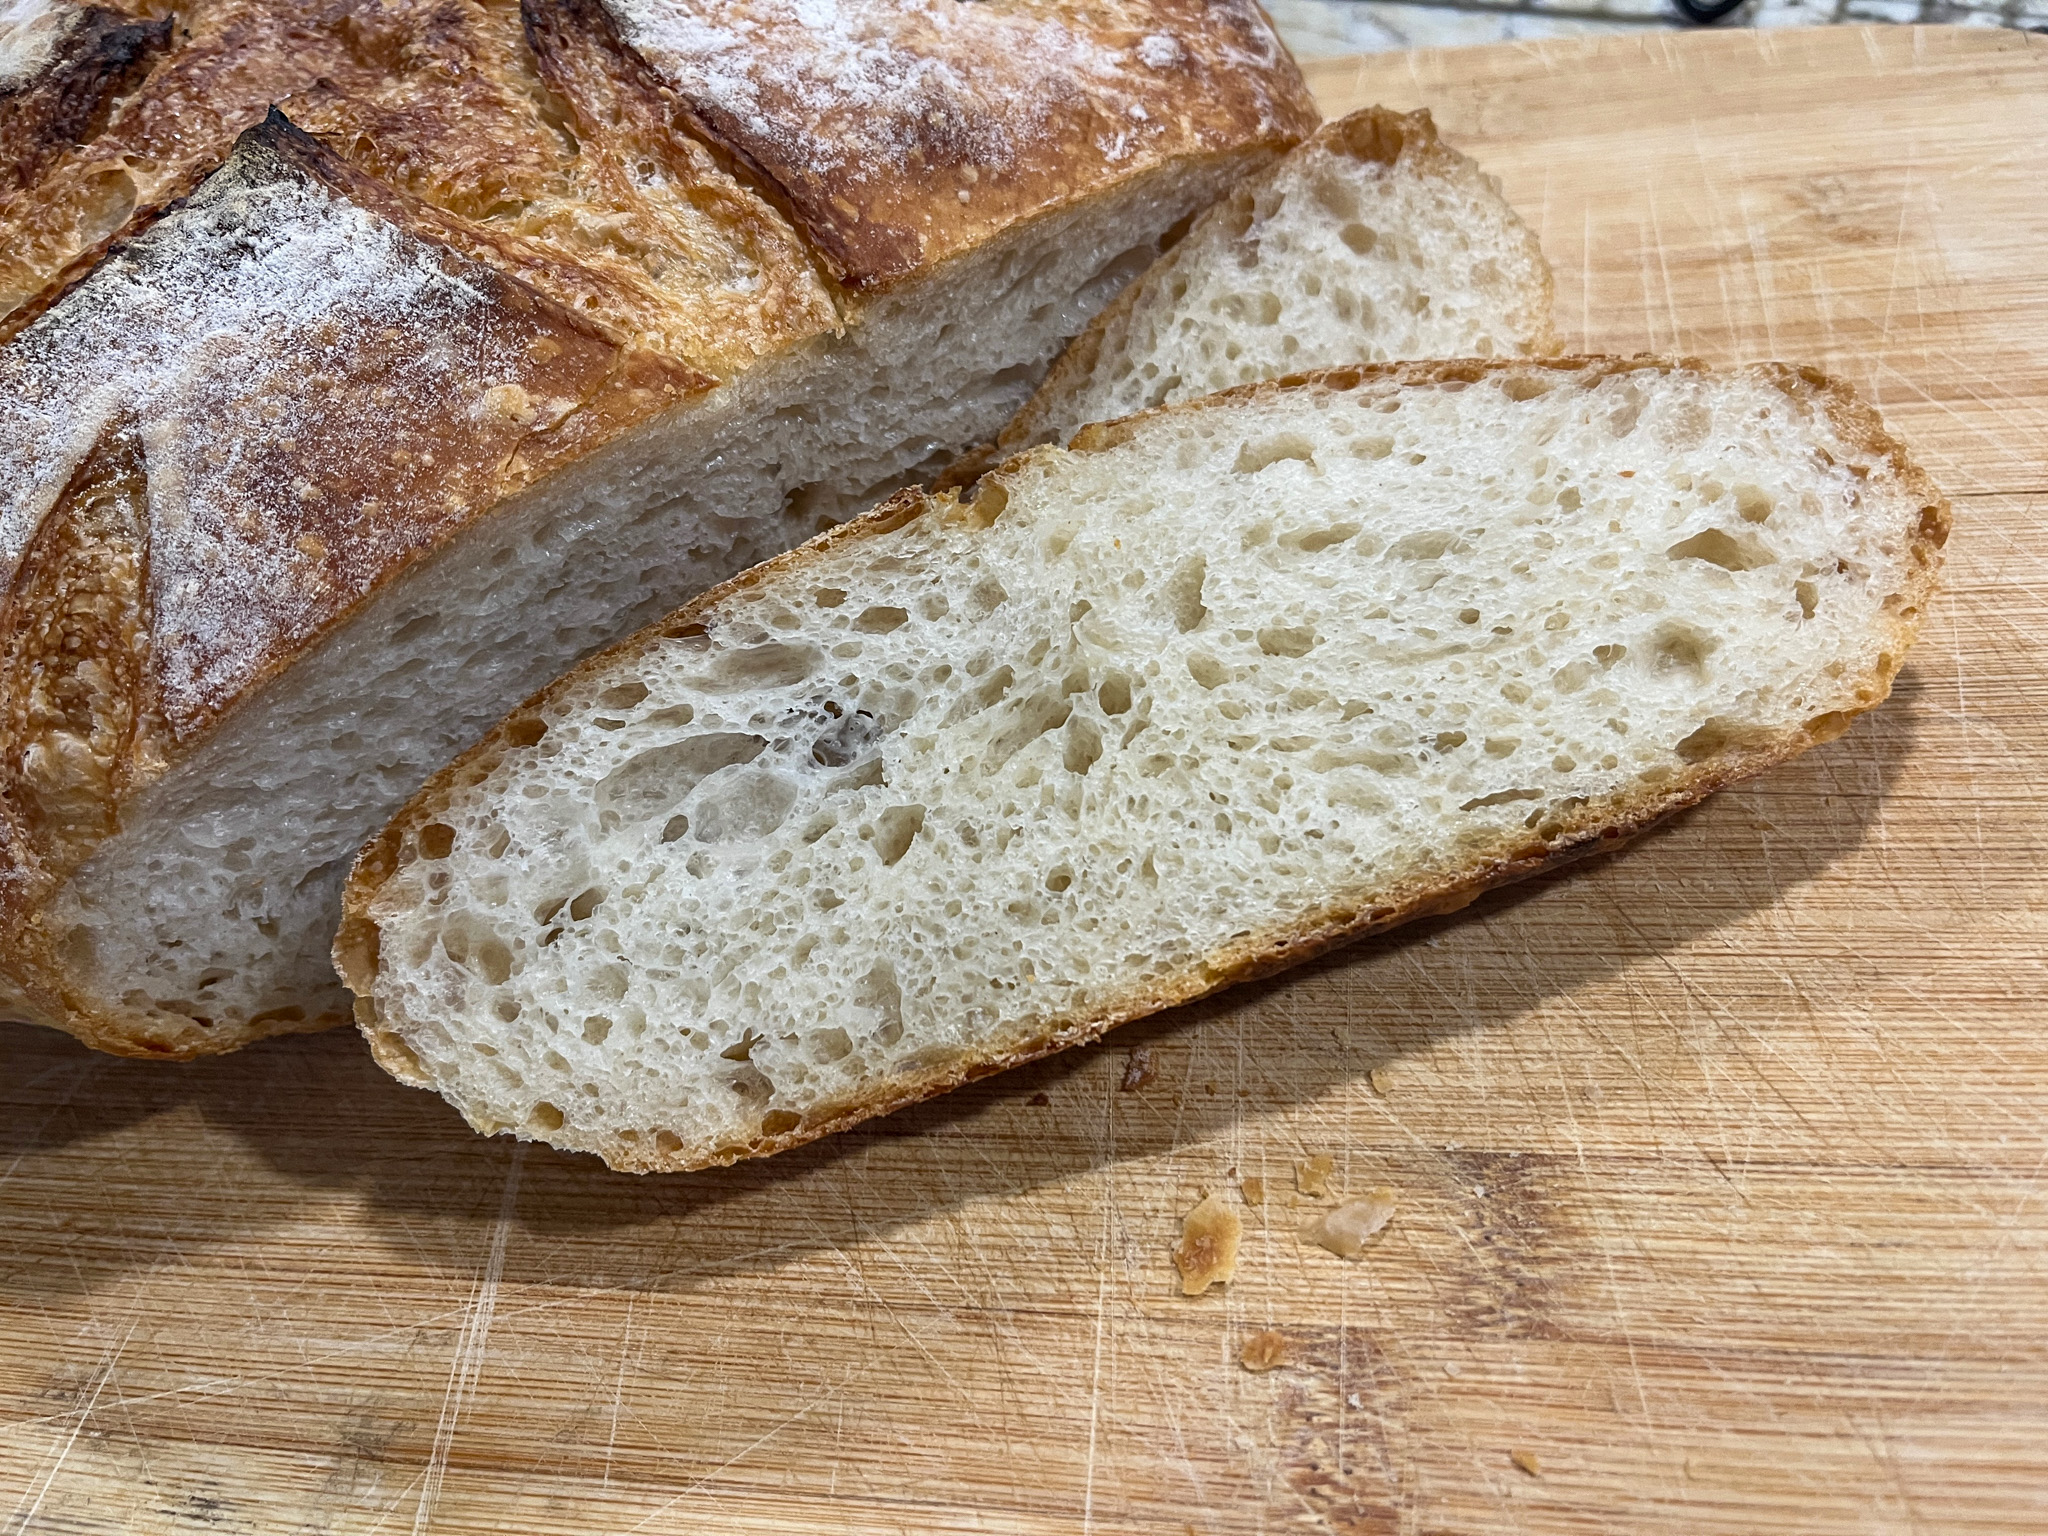
NINE YEARS AGO: Sourdough Loaf with Cranberries and Walnuts
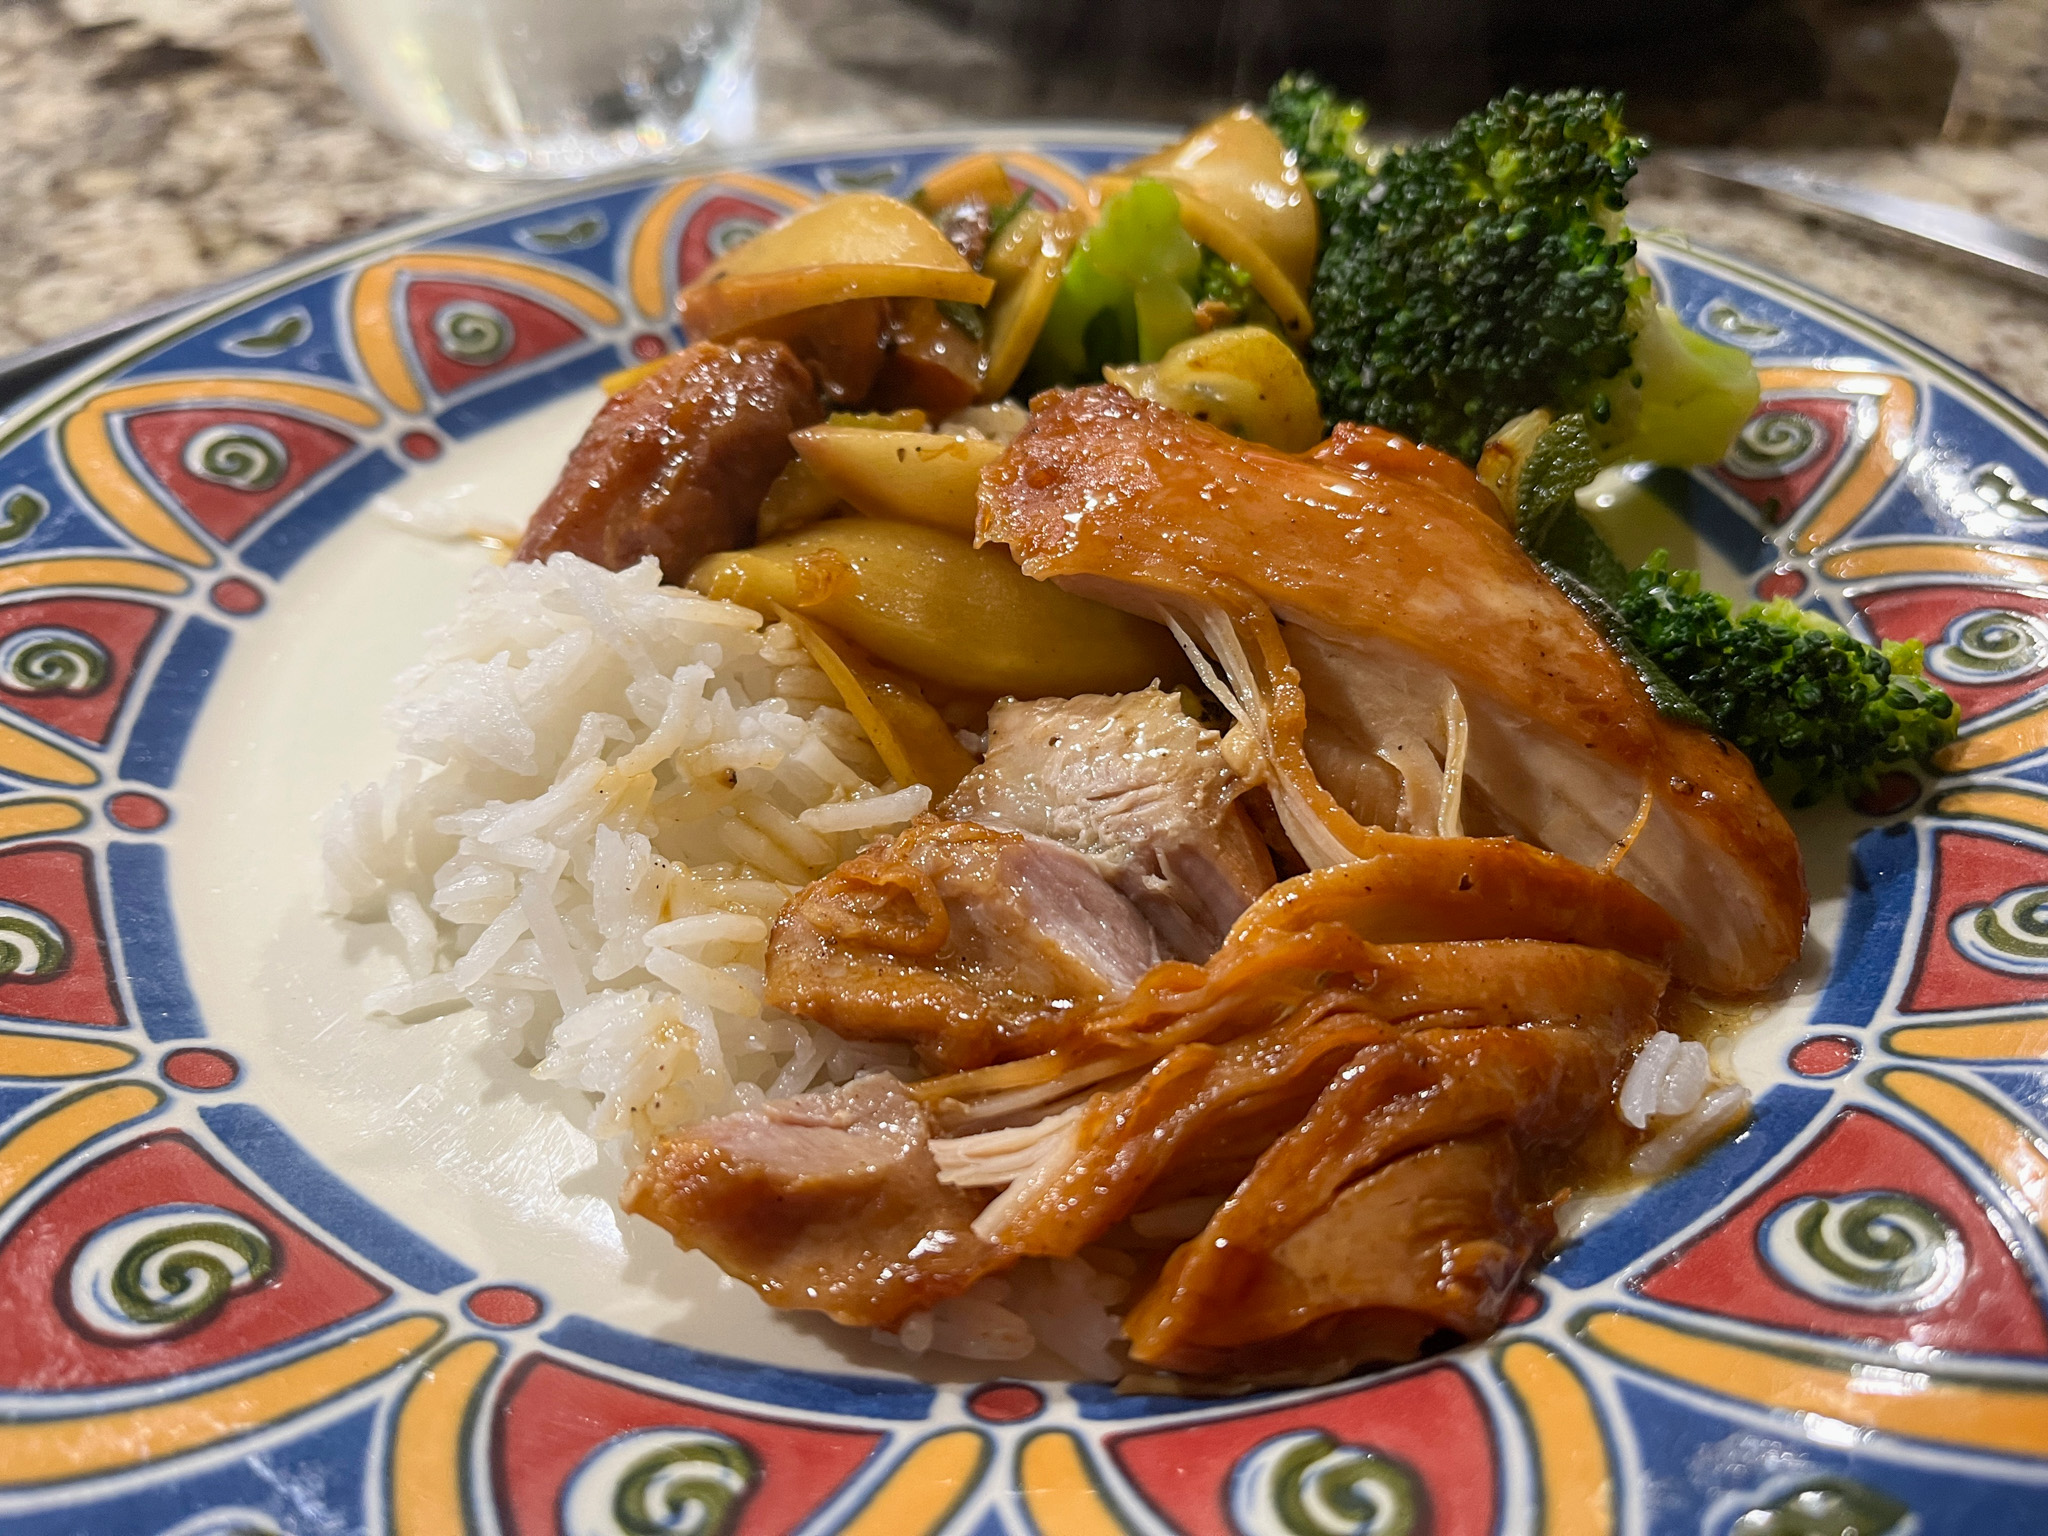
TEN YEARS AGO: Sichuan Pork Stir-Fry in Garlic Sauce
ELEVEN YEARS AGO: Our Green Trip to Colorado
TWELVE YEARS AGO: Ditalini Pasta Salad
THIRTEEN YEARS AGO: Celebrate Wednesday with a Thai Seafood Curry
FOURTEEN YEARS AGO: Post-workout Breakfast
FIFTEEN YEARS AGO: Semolina Barbecue Buns
SIXTEEN YEARS AGO: Lavash Crackers