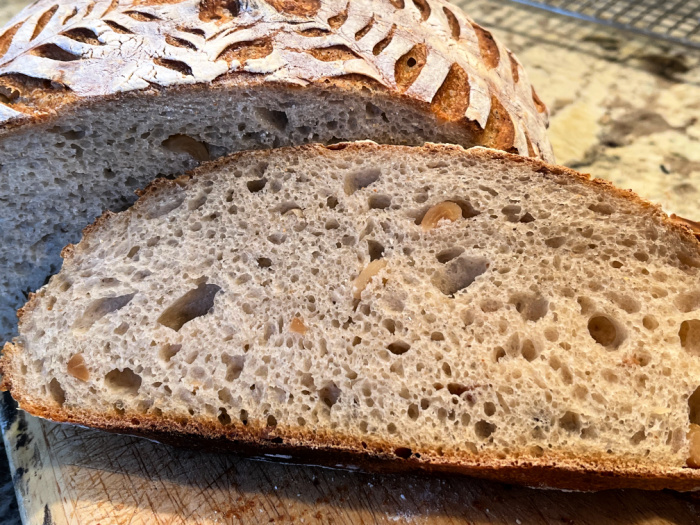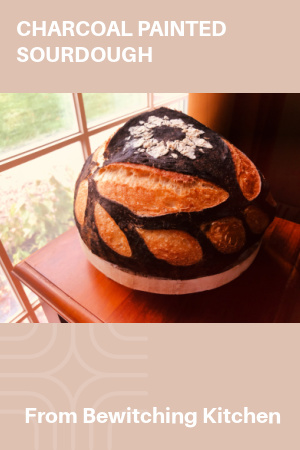
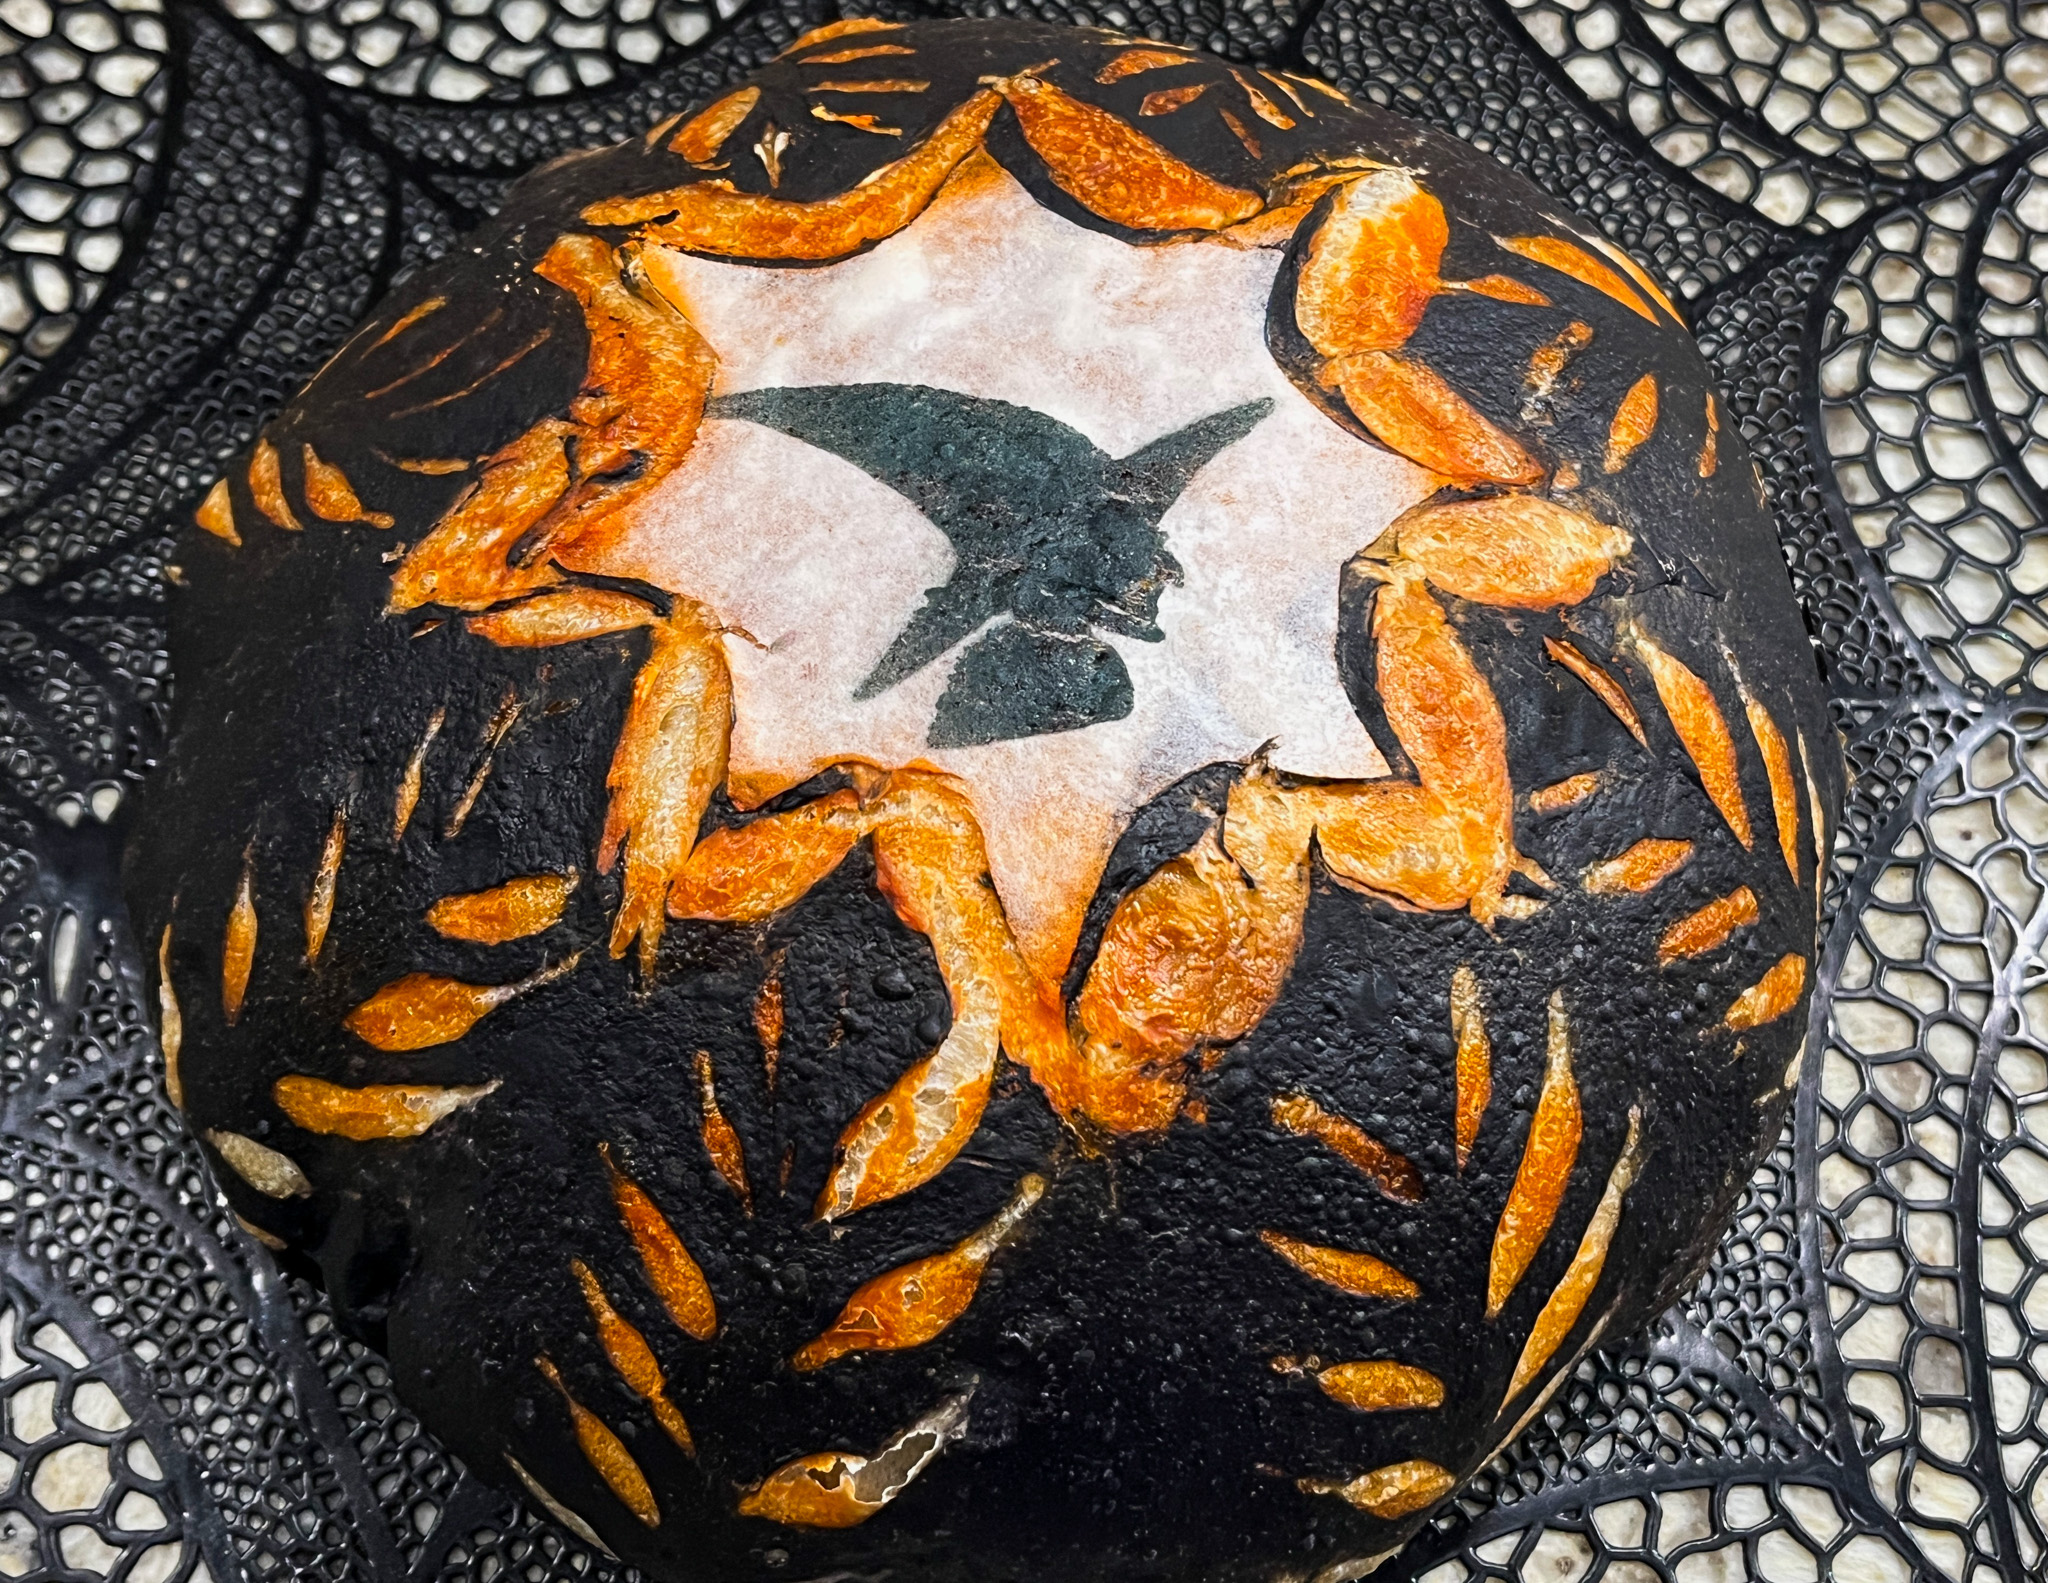
Once again I put a little wafer paper to work for some bewitched sourdough bread. I used just a basic recipe with my default method described many times in this blog of mine (click here). I lowered the hydration a bit to try to control the expansion of the design (for 500g total flour I used 335g water).
I was inspired by a Halloween bread from Kelsey (@3catsandapig) to come up with my design.
She is an incredibly talented bread artist.
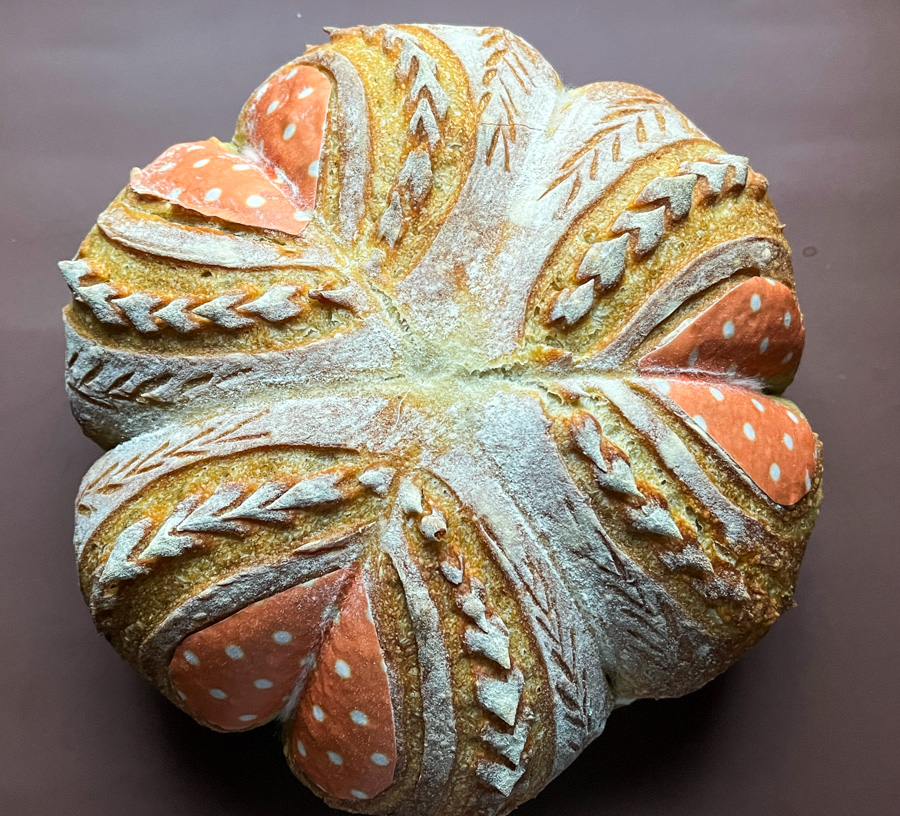
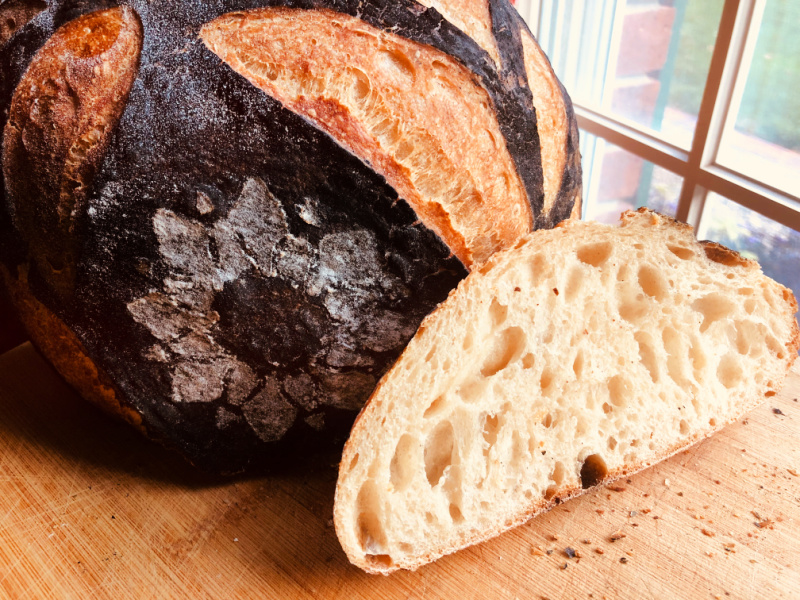
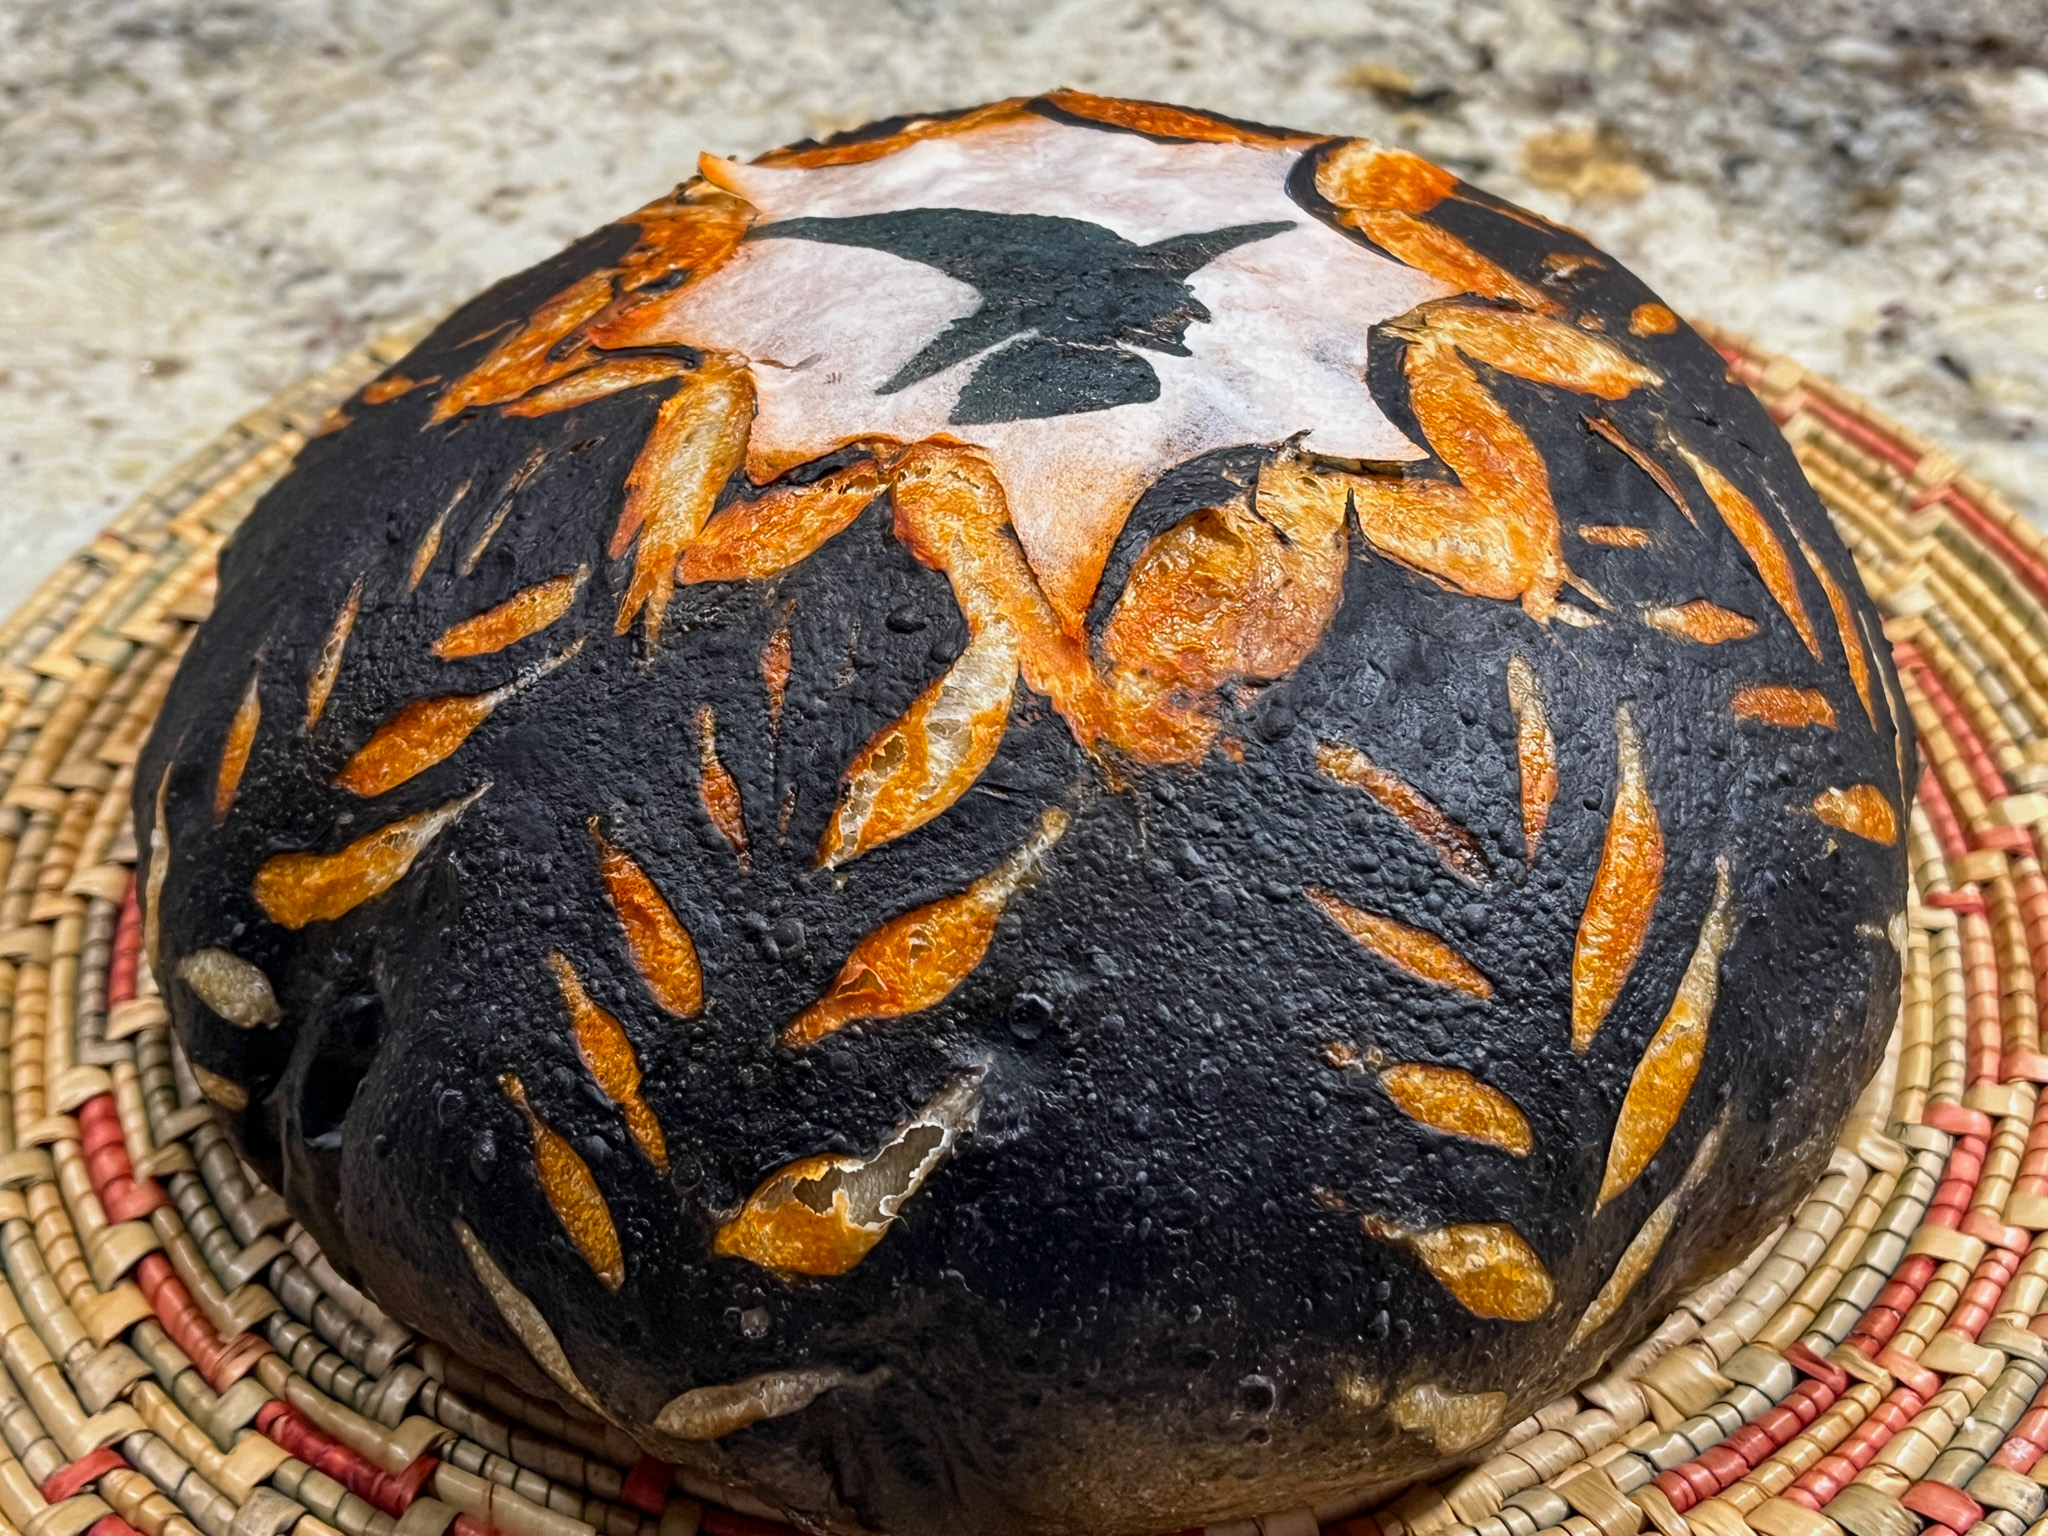
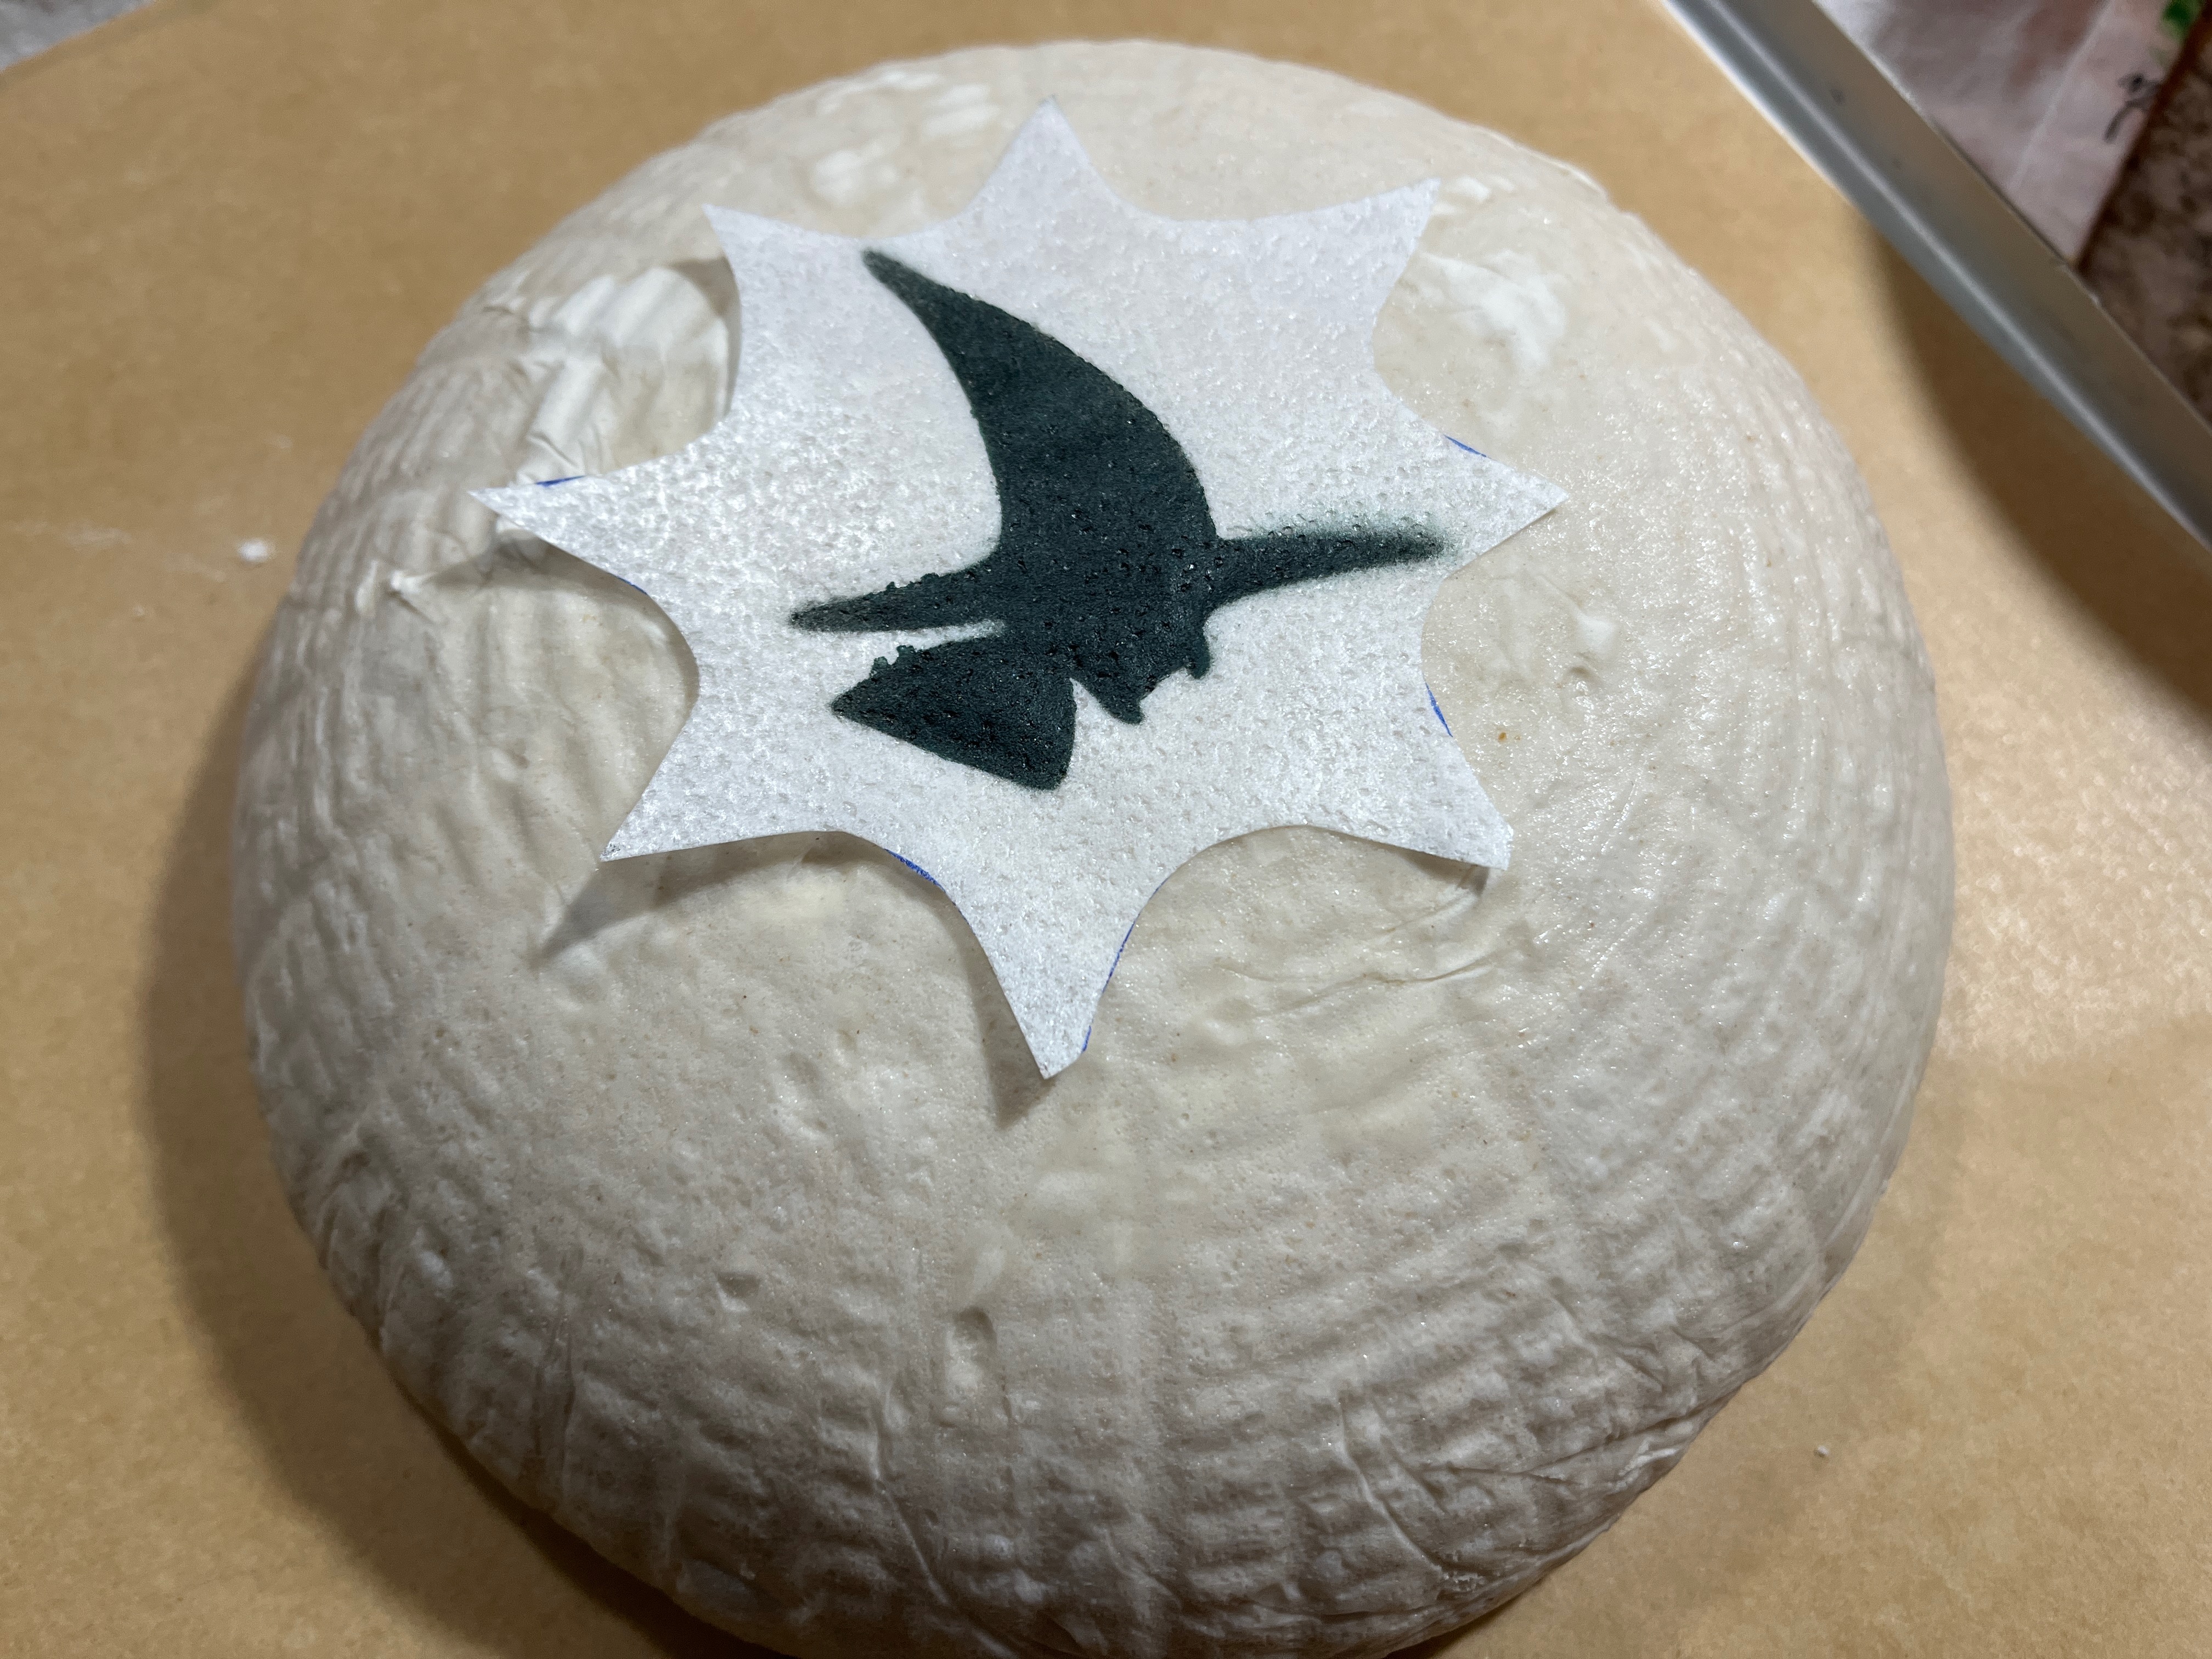
It all starts with cutting the wafer paper in the spider web shape, and painting a little witch’s design (I used a stencil and air-brushing). Make sure to cut the wafer paper shape twice, as you will use one of them to cover the dough as you either rub cocoa powder or air-brush with black all over. Then you will peel that off and place a clean one on that spot, proceeding with the scoring around it.
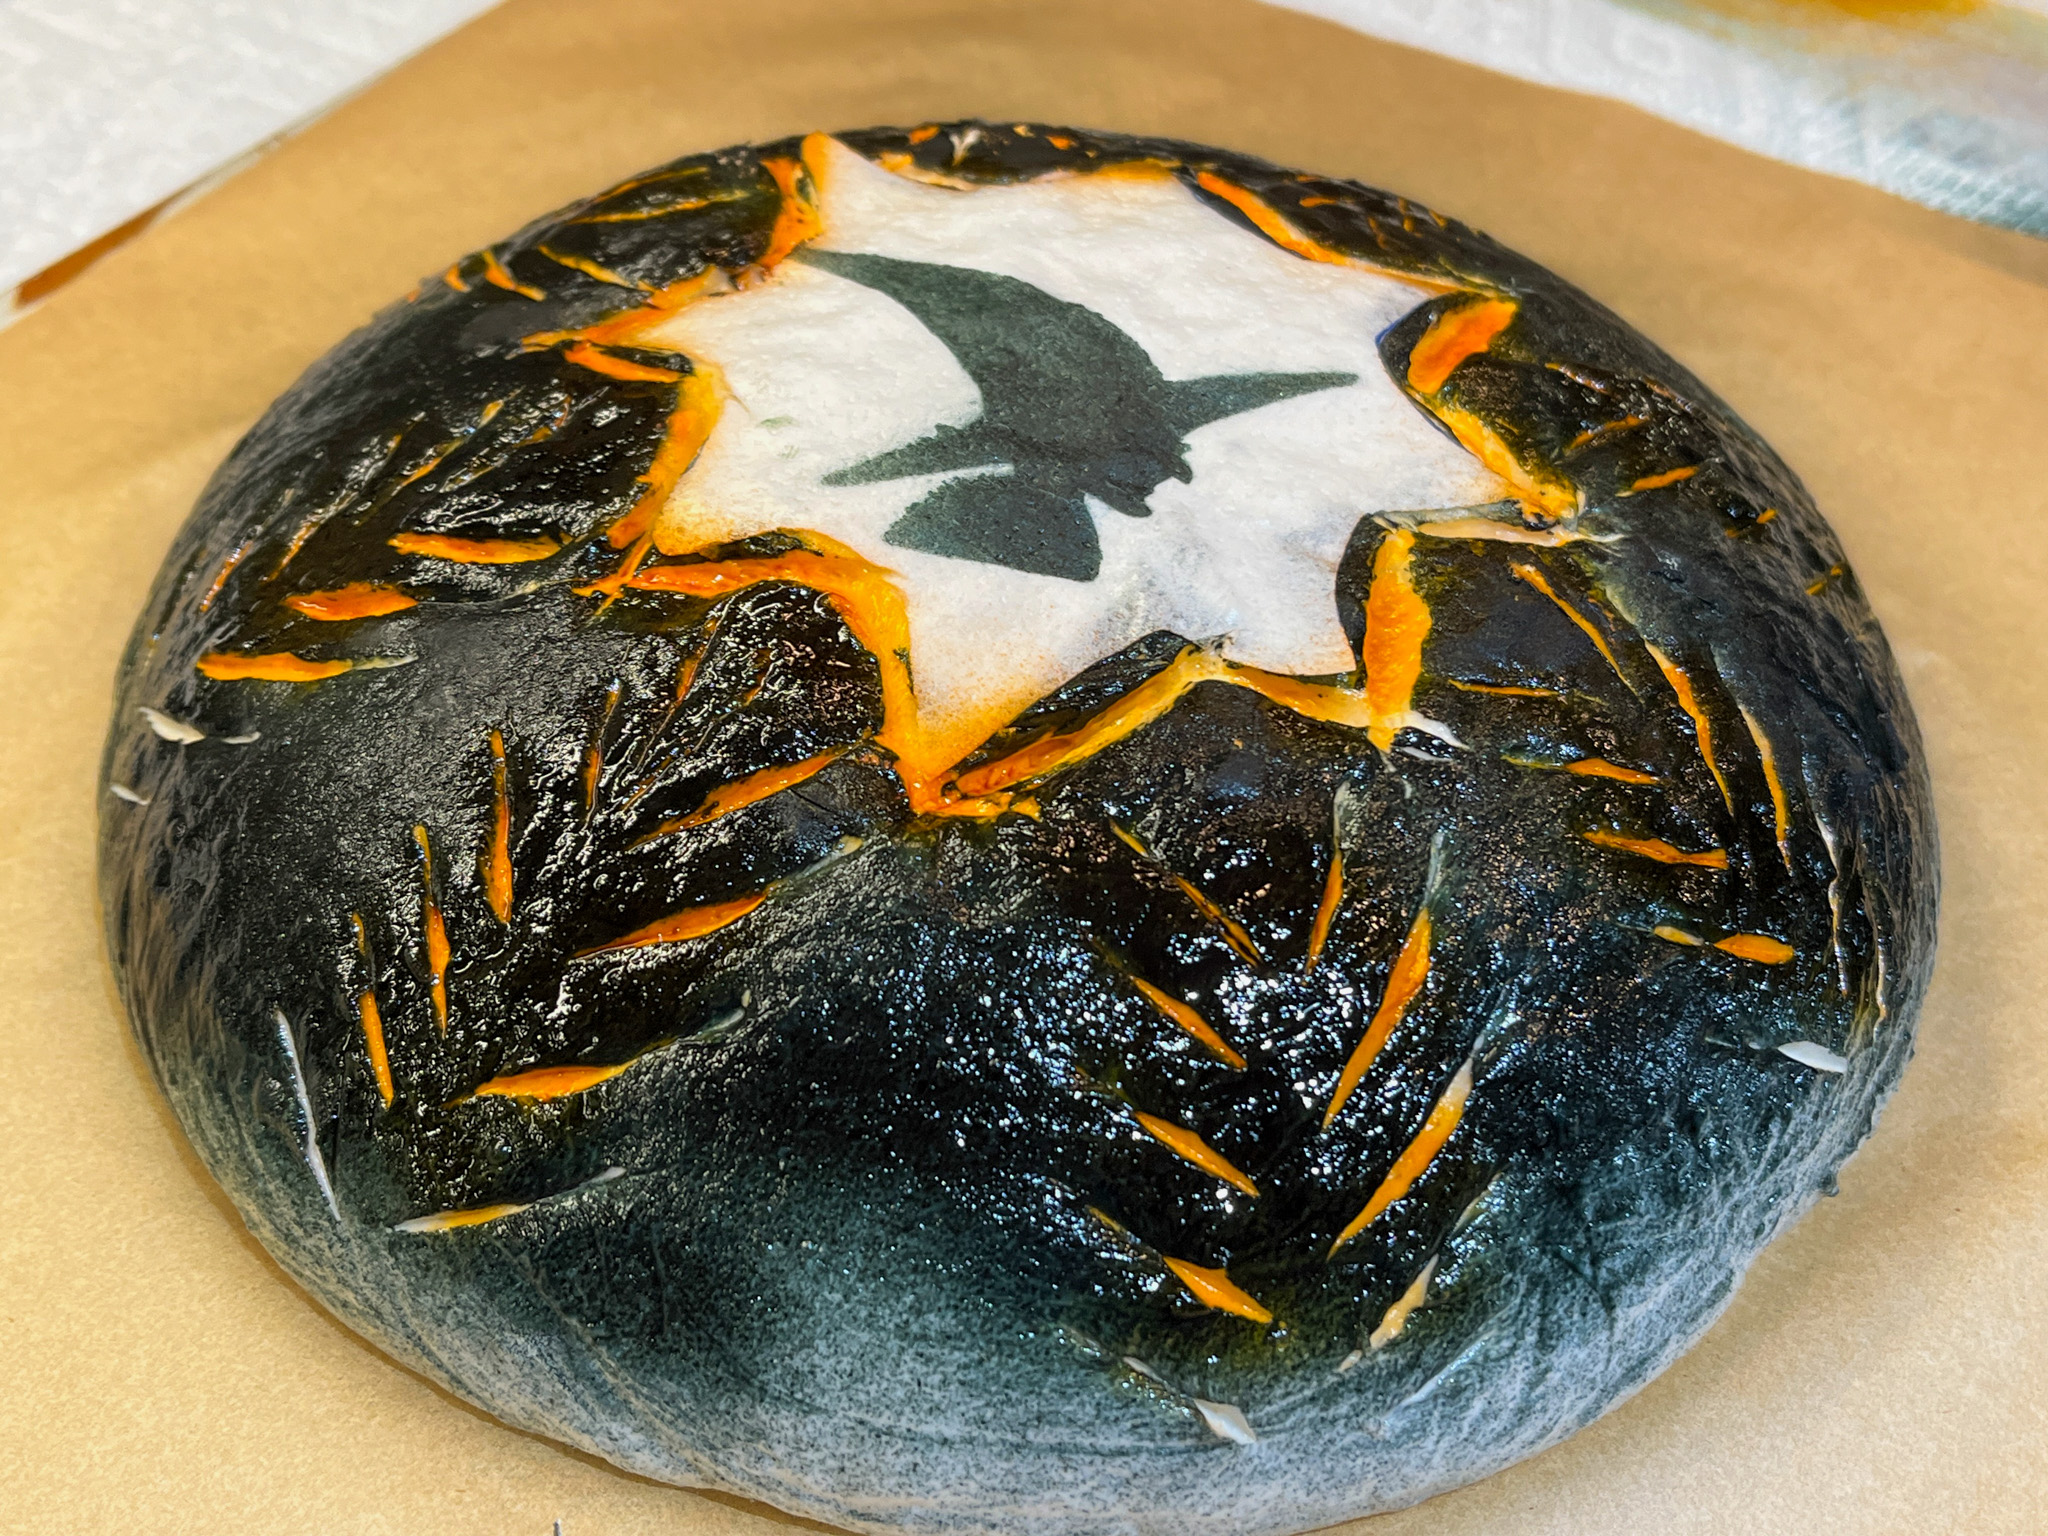
After covering the surface with black, score the design with a razor blade, and then immediately spray some orange (or red) air brush color in the cuts. That will give a nice contrast, but of course you can omit this step.
Bake the bread normally, I do 30 minutes with the lid on, and 15 minutes without the lid. Allow it to cool completely before slicing.
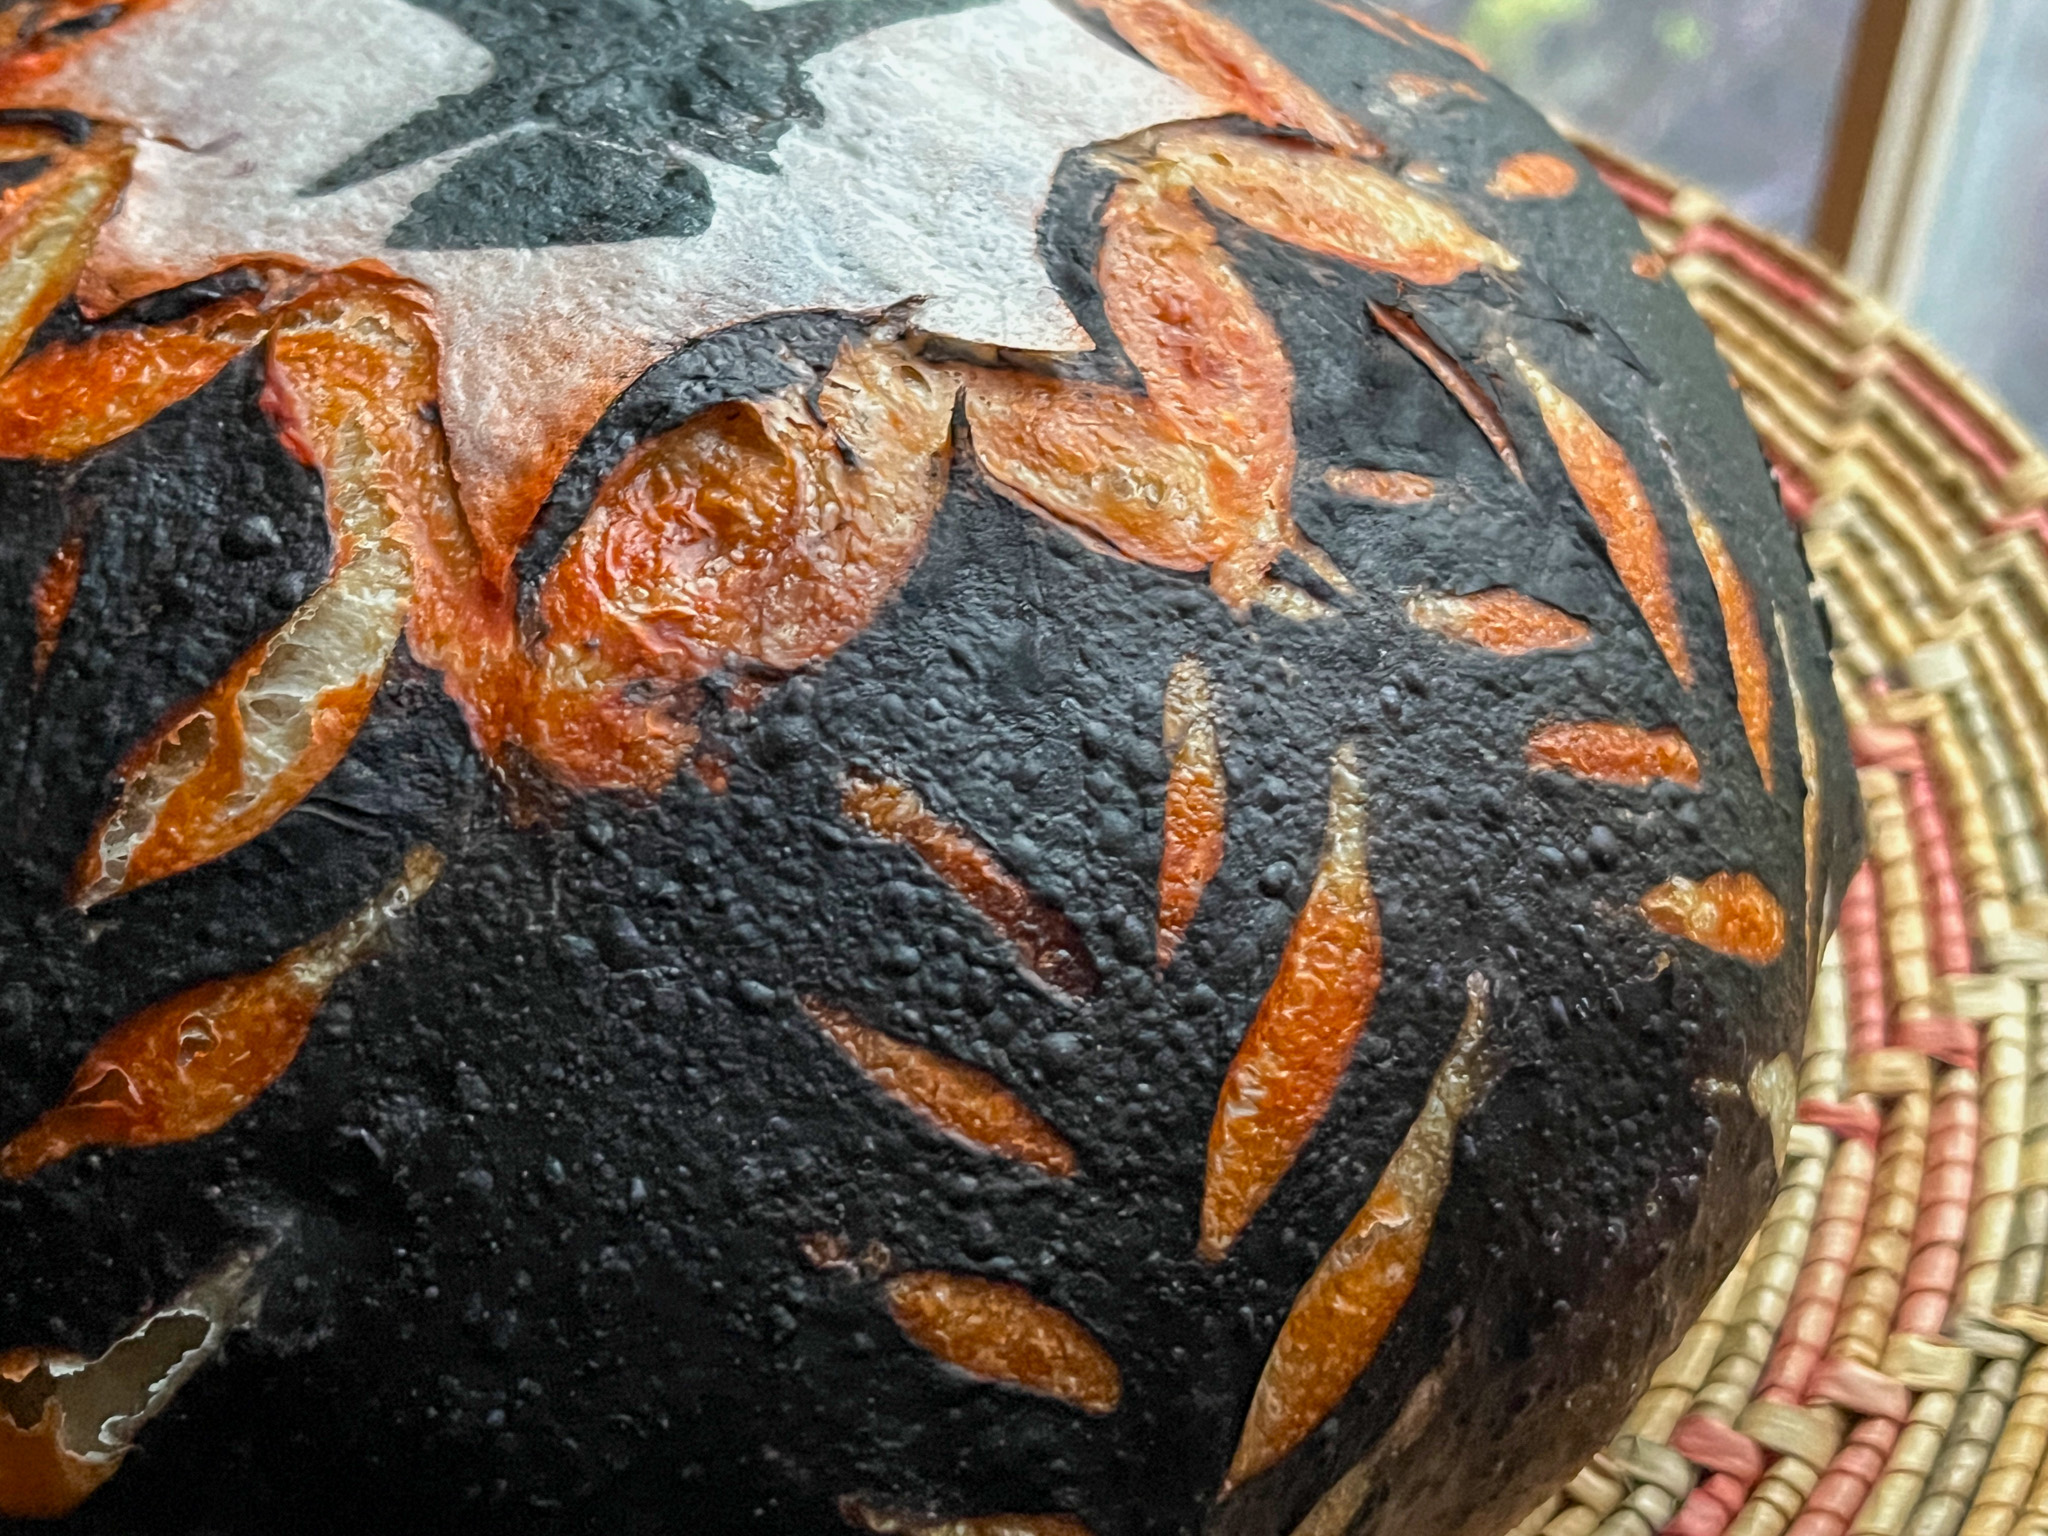
I find that air-brushing the whole surface makes the crust a bit soft, so depending on how you like your bread, rubbing with cocoa powder or charcoal might be better. What I dislike about those options is that they rub off on your hands as you cut the bread later. But it is not a big deal, really.
.

ONE YEAR AGO: Raw Zucchini and Chickpea Salad with Tahini Yogurt
TWO YEARS AGO: Black Tahini Shortbread Cookies
THREE YEARS AGO: A Fruitful Trio (of Macarons)
FOUR YEARS AGO: Halloween Entremet Cake
FIVE YEARS AGO: Pork with Prunes, Olives and Capers
SIX YEARS AGO: Kansas Corn Chowder
SEVEN YEARS AGO: Impossibly Cute Bacon and Egg Cups
EIGHT YEARS AGO: Pulling Under Pressure
NINE YEARS AGO: Cooking Sous-vide: Two takes on Chicken Thighs
TEN YEARS AGO: Miso Soup: A Japanese Classic
ELEVEN YEARS AGO: On my desk
TWELVE YEARS AGO: A must-make veggie puree
THIRTEEN YEARS AGO: Vegetarian Lasagna
FOURTEEN YEARS AGO: Brazilian Pão de Queijo