
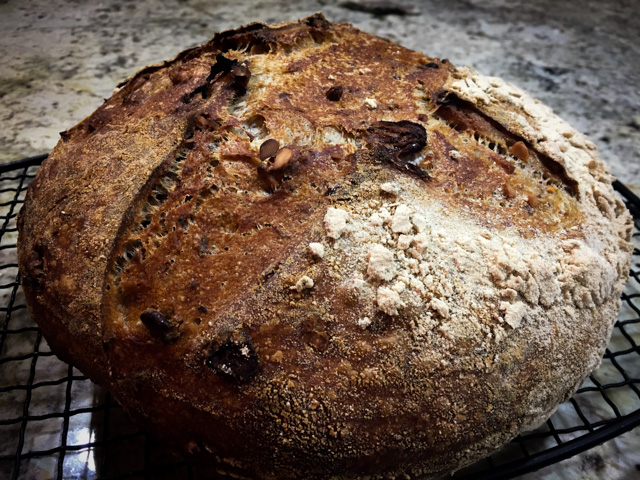
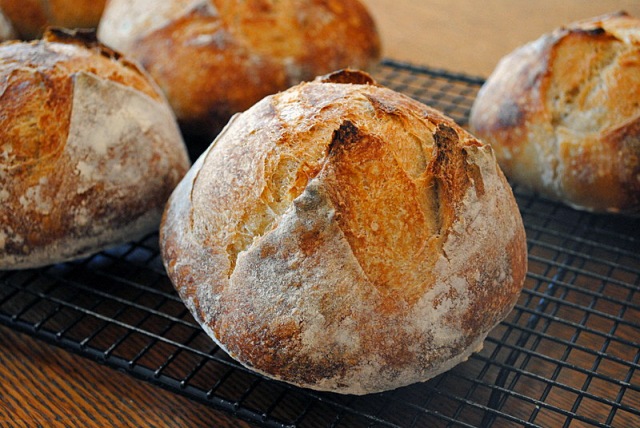
Not too long ago I shared with you The Best Sourdough Recipe, and in that post mentioned that a second bread from Maurizio’s site was undergoing fermentation. So, here I am to talk about that bread, probably one of the top ten best we’ve enjoyed in the Bewitching Kitchen. Considering how many loaves of bread I’ve baked through several years of blogging (almost seven, my friends), I wouldn’t take such a remark lightly… Something about mixing a sweet and tart fruit with toasted walnuts, plus the complex flavor of the sourdough makes this loaf pretty spectacular. It was superb with a nice Roquefort cheese, but toasted and enjoyed even without adornments it was a feast for the taste buds.
WALNUT CRANBERRY SOURDOUGH
(adapted from The Perfect Loaf blog)
for the liquid levain starter:
(make 12 hours before making the dough)
35 g liquid starter (at 100% hydration)
35 g whole wheat flour
35 g bread flour
70 g water
for the final dough:
400 g white bread flour
88 g whole wheat flour
12 g rye flour
440 g water at about 90 degrees F (divided, 400 g + 40 g)
10 g sea salt
100 g toasted walnuts, in pieces
70 g dried cranberries
125 g levain (made as above)
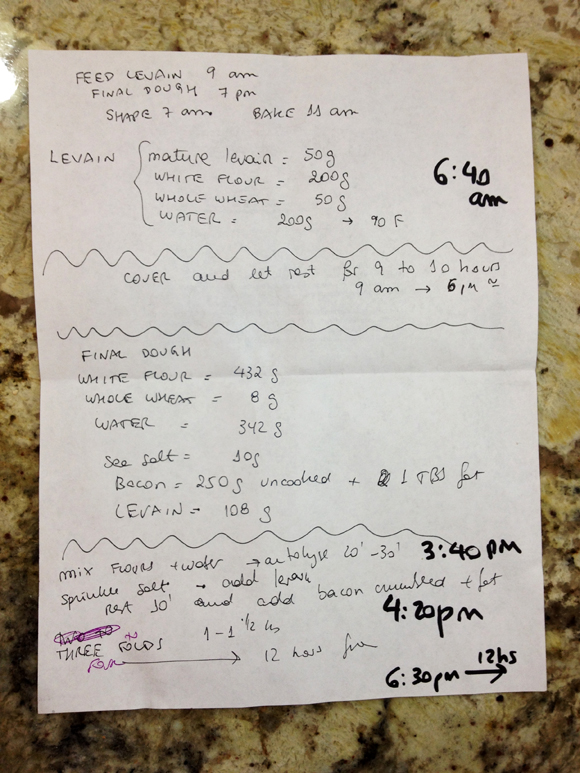
Build the liquid levain 10 to 12 hours before you want to make your final dough. Leave it at room temperature (around 72 F).
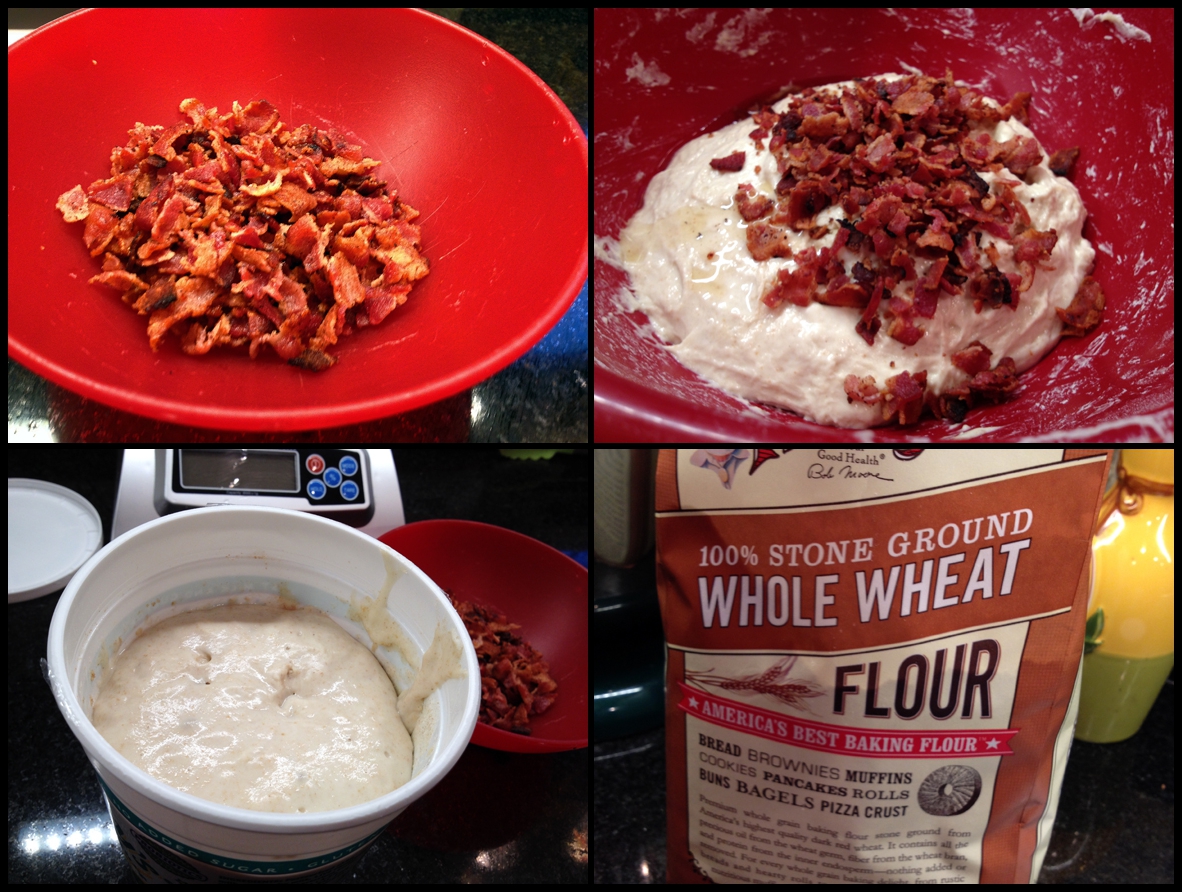
Next morning, mix flours and 400 g of water very well in a bowl and cover. Ensure all dry flour is hydrated. Leave it to autolyse for 1 hour. Add the levain with the reserved water and hand-mix it into the dough until it is very well incorporated. Leave it 30 minutes at room temperature, or if you have a proofer, set it to 78 F and keep the dough at this temperature all the way through. After 30 minutes, add the salt, and mix well.
After the salt is incorporated perform folds for about 2-3 minutes in the bowl. Grab under one side, pull up and over to the other side, then rotate the bowl a bit and repeat. Do this about 30 times or so (it goes fast and easy). At the end the dough should still be shaggy, but it will be a little more smooth and will slightly start to hold itself together more in the bowl. Now you are ready to start bulk fermentation. If your home is at 78 to 82 F, bulk fermentation should last 4 hours.
During fermentation, do 4 to 5 sets of stretch and folds (I did five), adding the walnuts and cranberries on the second cycle of folding. Perform the first three foldings at 15 minute intervals, the remaining ones at 45 minute intervals then leave the dough to ferment for a full hour undisturbed. If your dough is too “weak”, seeming to lack structure, add one extra cycle of folding, then leave the dough undisturbed for another hour.
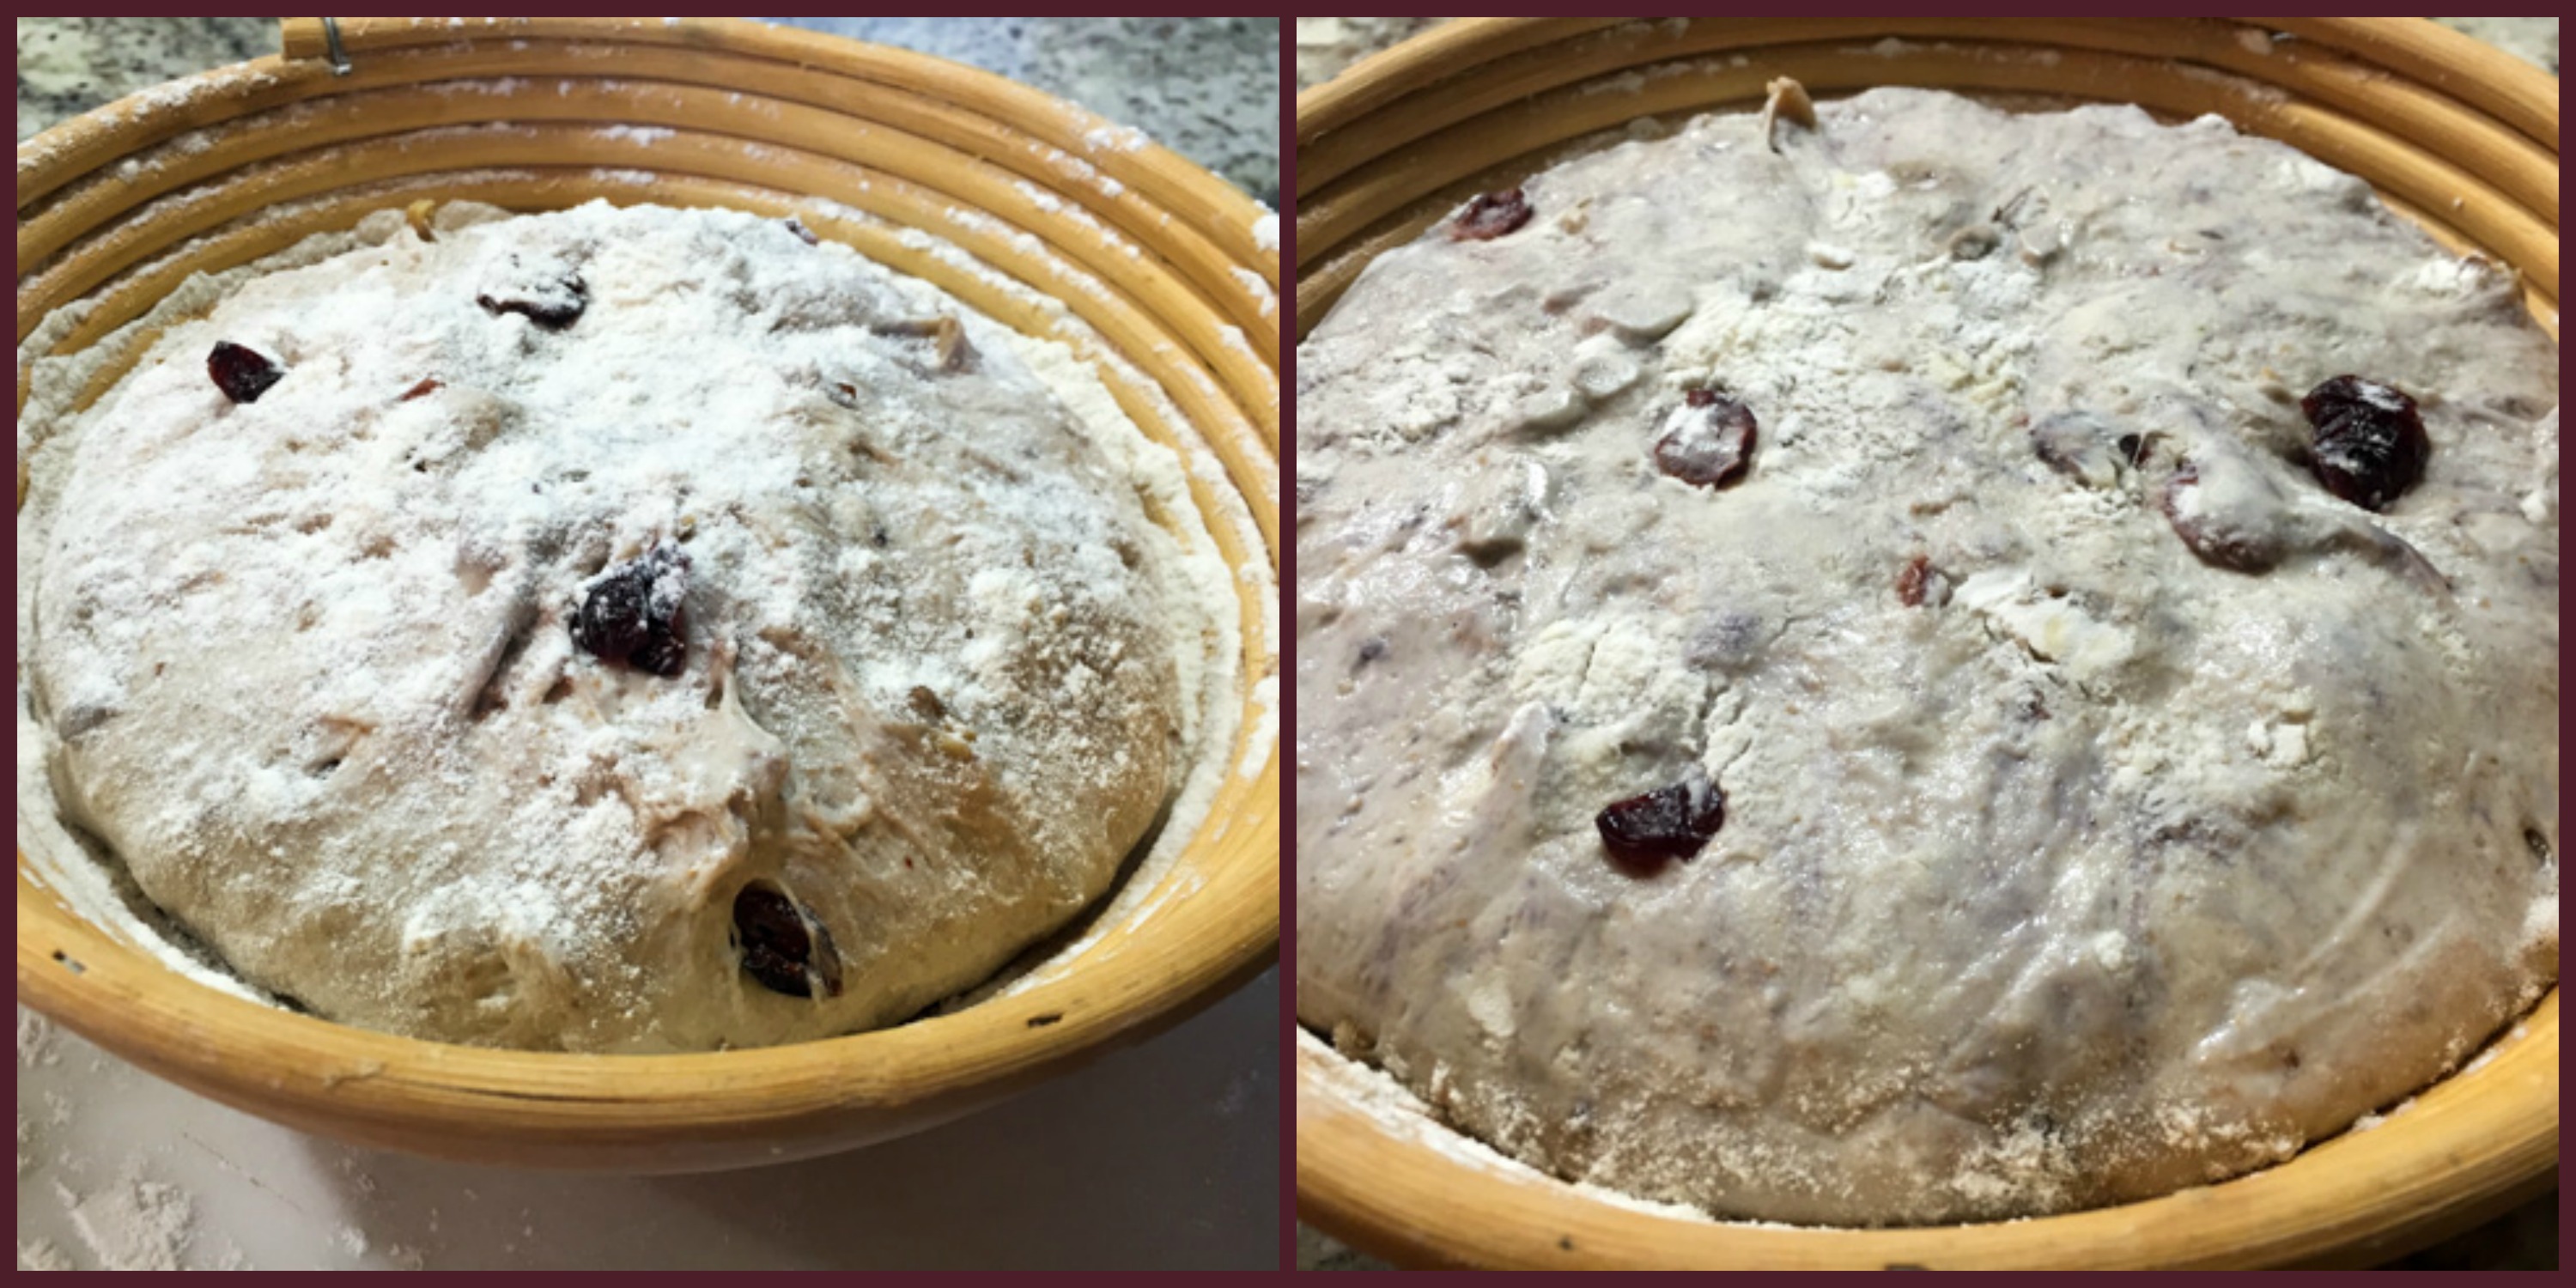
Lightly shape the dough into a round, cover with inverted bowl or moist towel, and let rest for 20 minutes. After 20 minutes remove the towel or bowl and let the dough rest 5 more minutes exposed to air. This step helps dry out the dough just a bit so it’s not too sticky during shaping. Lightly flour the top of your dough rounds and flour the work surface. Shape into a batard or boule. Place in a banneton very well floured, leave it at room temperature for about 20 minutes, then retard in the refrigerator for 15-16 hours.
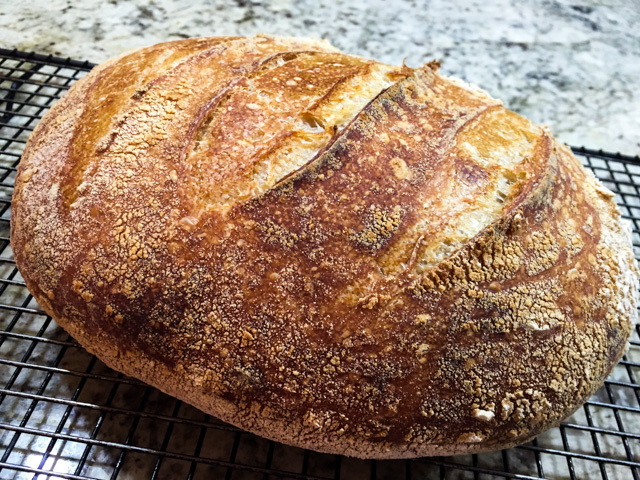
Heat oven at 500ºF. Bake 20 minutes at 500ºF with steam, and an additional 25-35 minutes at 450ºF, until done to your liking. Cool completely on a rack before slicing.
ENJOY!
to print the recipe, click here
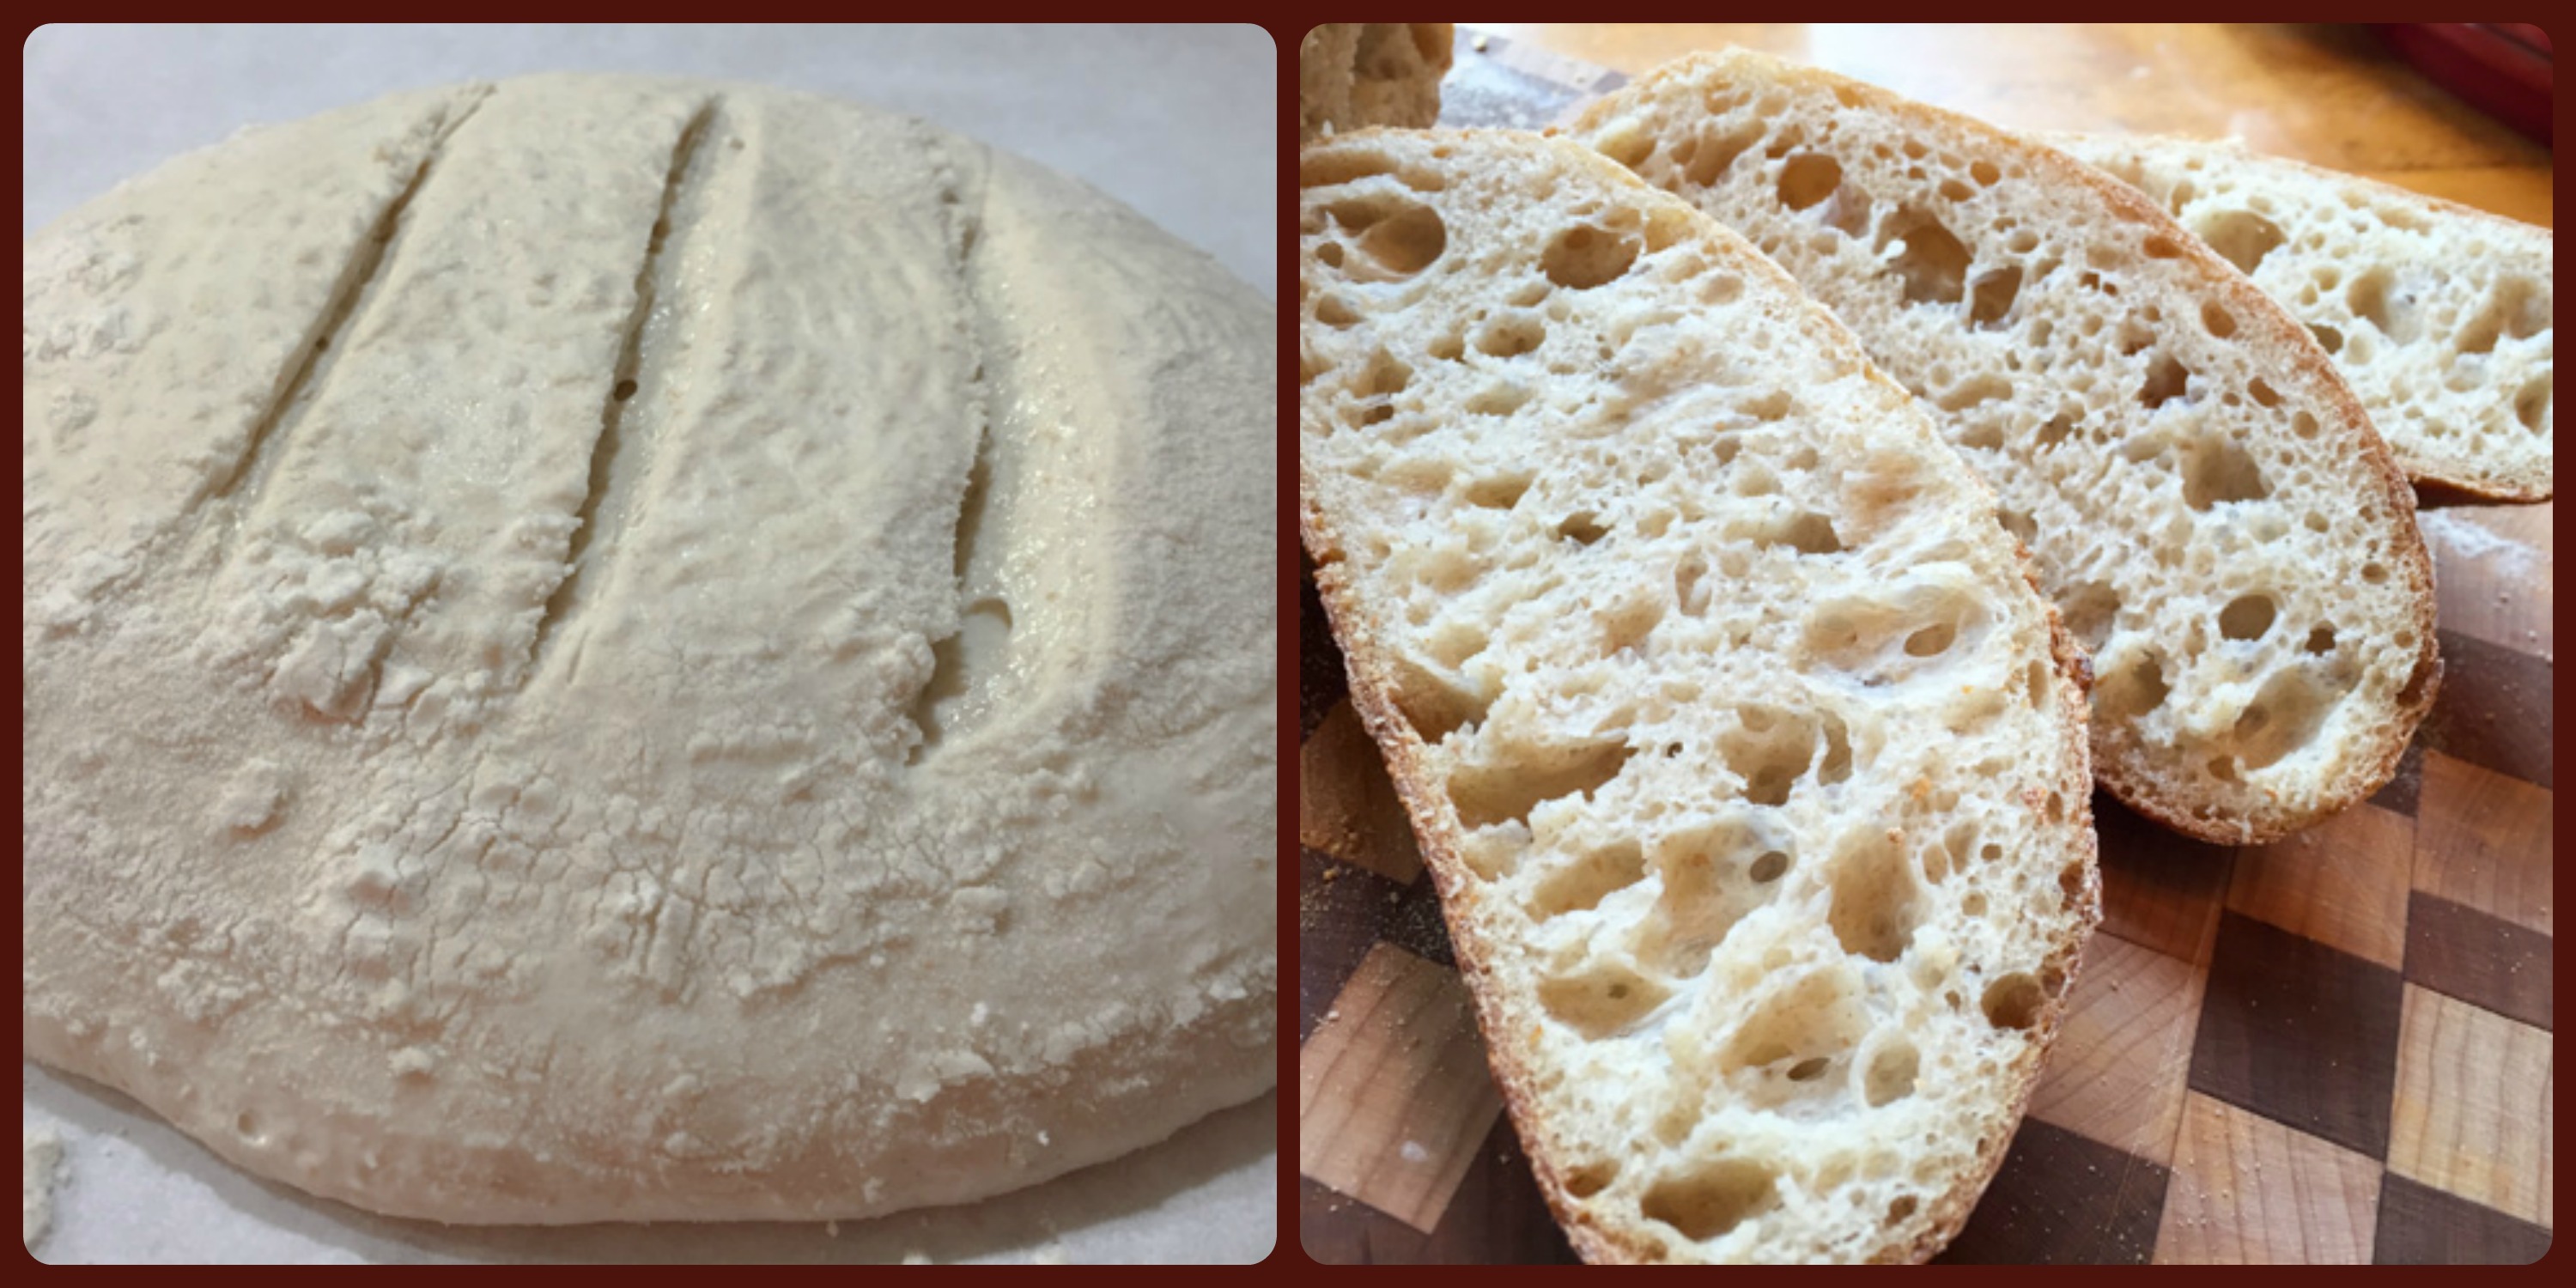
Comments: For a bread so heavy with goodies, the crumb turned out a lot more open than I expected. I decided to add one extra cycle of folding (for a total of five) because I felt the dough was asking for it. When the dough speaks to me, I listen. This method of retarding the dough in the fridge overnight and baking early next morning is perfect. You can use this basic recipe and add other nuts, seeds, dried fruits, olives, just use it as a basic formula. If your additions are heavy, wait for the second cycle of folding to incorporate them, because it will be easier. The proportion of white, whole wheat and a touch of rye was perfect to our taste, I would not change it a bit.
Maurizio, thanks again for a great recipe!

ONE YEAR AGO: Ottolenghi in Brazil?
TWO YEARS AGO: Roasted Winter Vegetables with Miso-Lime Dressing
THREE YEARS AGO: 2012 Fitness Report: P90X2
FOUR YEARS AGO: Caramelized Bananas
FIVE YEARS AGO: Roasted Lemon Vinaigrette
SIX YEARS AGO: Whole Wheat Bread


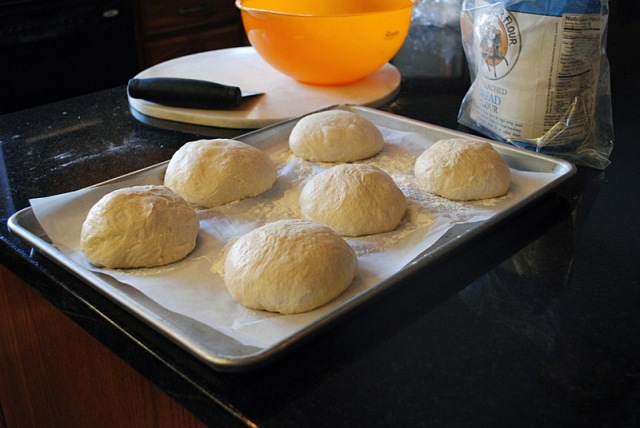 Comments: Depending on the method of steam you use for your oven, these rolls can be a breeze to bake. I decided to use my usual method of inverting a damp roasting pan over the rolls, and to do that I needed to bake three rolls at a time. Let’s say it was a bit too convoluted and the second batch was slightly over-proofed. Next time I might just go for a less complicated method, and use a baking pan with hot water at the bottom of the oven. Whatever method you choose, the steam provides a nicer crust.
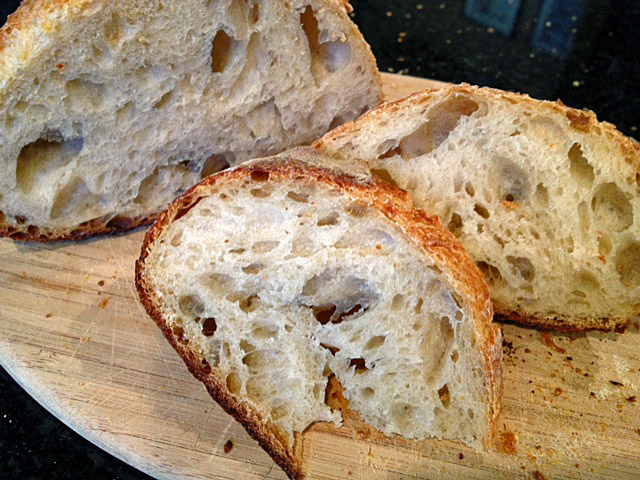
