THAI CARROT AND SWEET POTATO SOUP

It is not that common for me to rave about a soup, but this one leaves me no other option. Absolutely delicious, super simple to prepare, just a few ingredients give it a lift from the humble to extraordinary. I modified it quite a bit to accommodate food sensitivities, but whatever you do, do not change the almond topping. Tamari-Roasted Almonds. Superb!


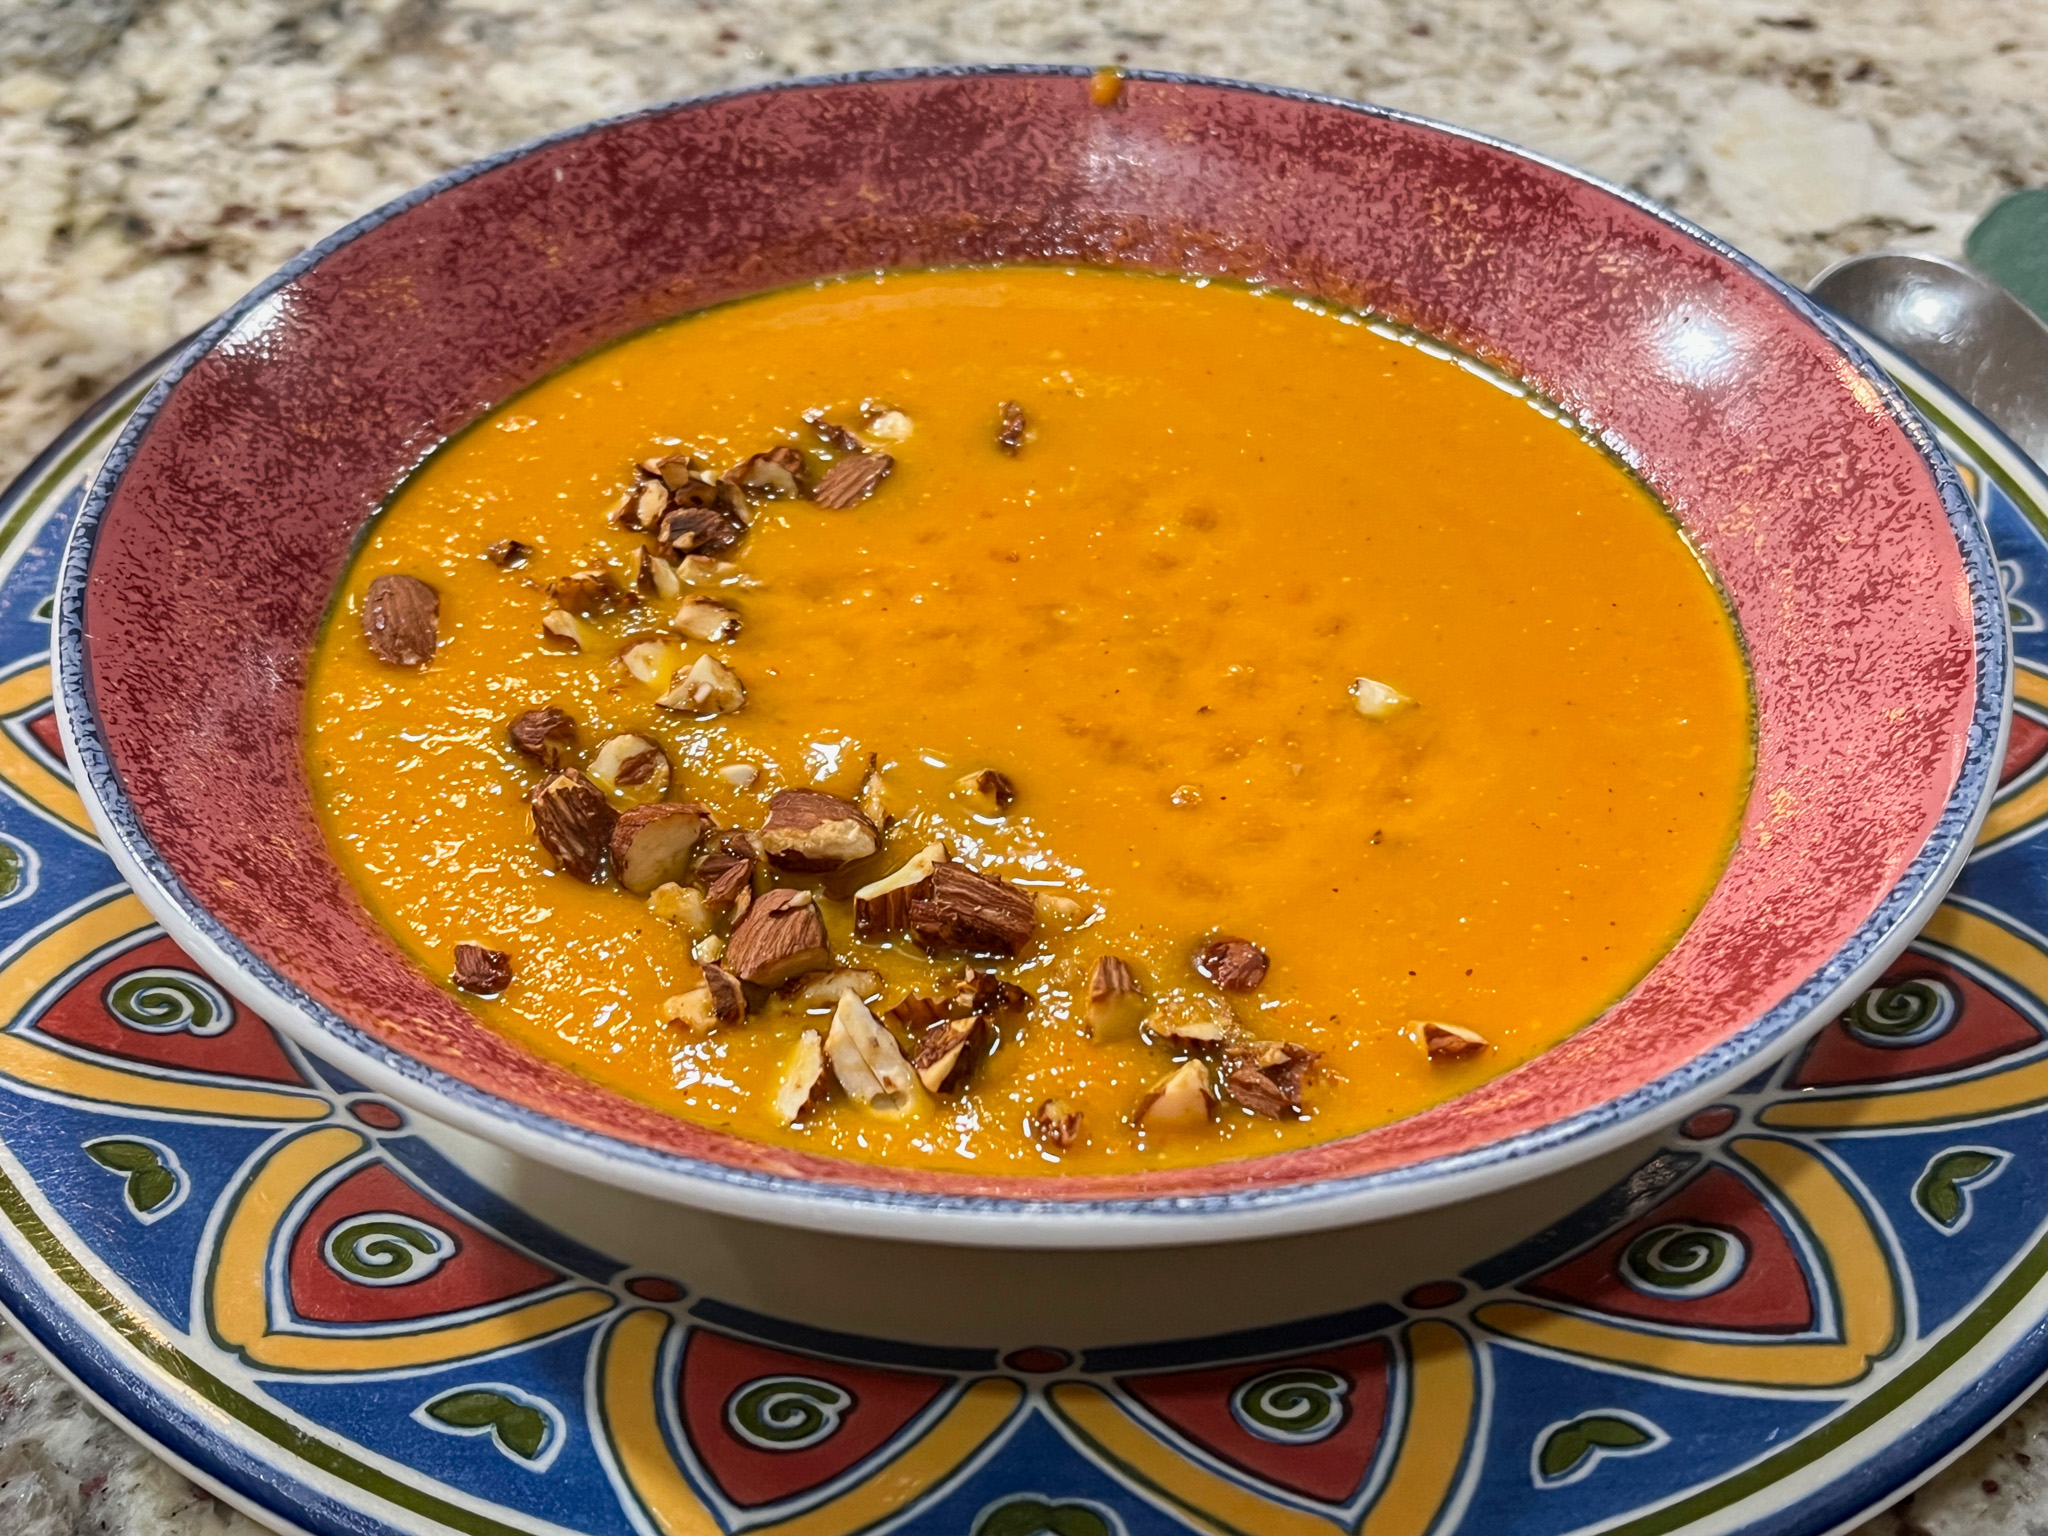
THAI CARROT AND SWEET POTATO SOUP WITH TAMARI-ROASTED ALMONDS
(adapted from cookieandkate)

2 tablespoons olive oil
3 ribs celery, diced
1 tablespoon minced fresh ginger
1 tablespoon red curry paste
4 cups low-sodium vegetable broth
¼ cup raw almond butter
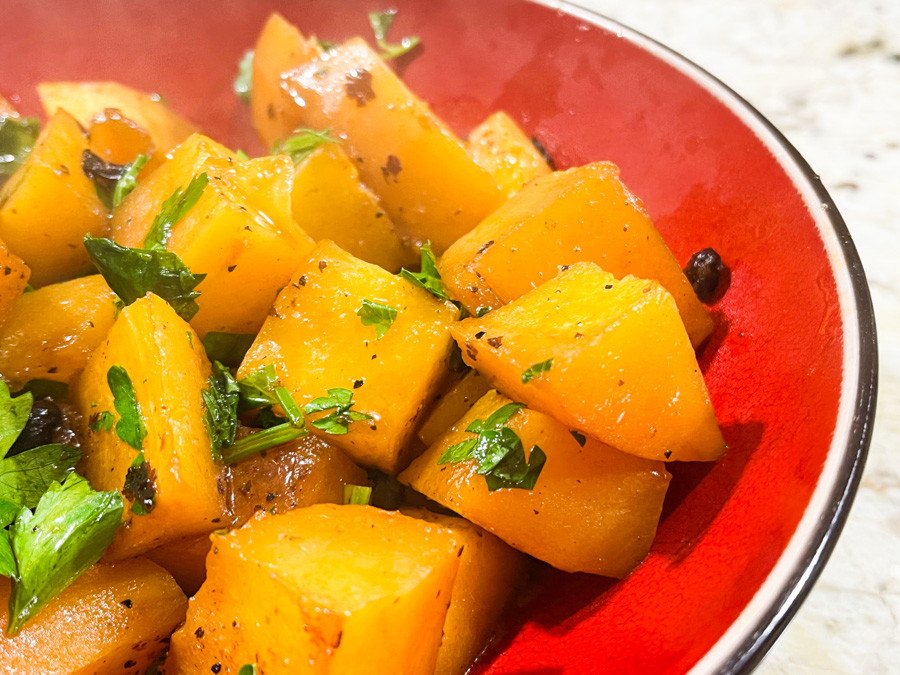
3 cups diced peeled carrots
3 cups diced peeled sweet potatoes
1 teaspoon fine-grain sea salt
Freshly ground black pepper
1/2 cup raw almonds, finely chopped
1 heaping tablespoon tamari
Fresh lime juice

Make the roasted almonds. Heat oven to 325F. Mix almonds with tamari, spread over a small baking sheet covered with aluminum foil. Roast for 10 to 12 minutes, until fragrant and starting to get some color. Reserve.

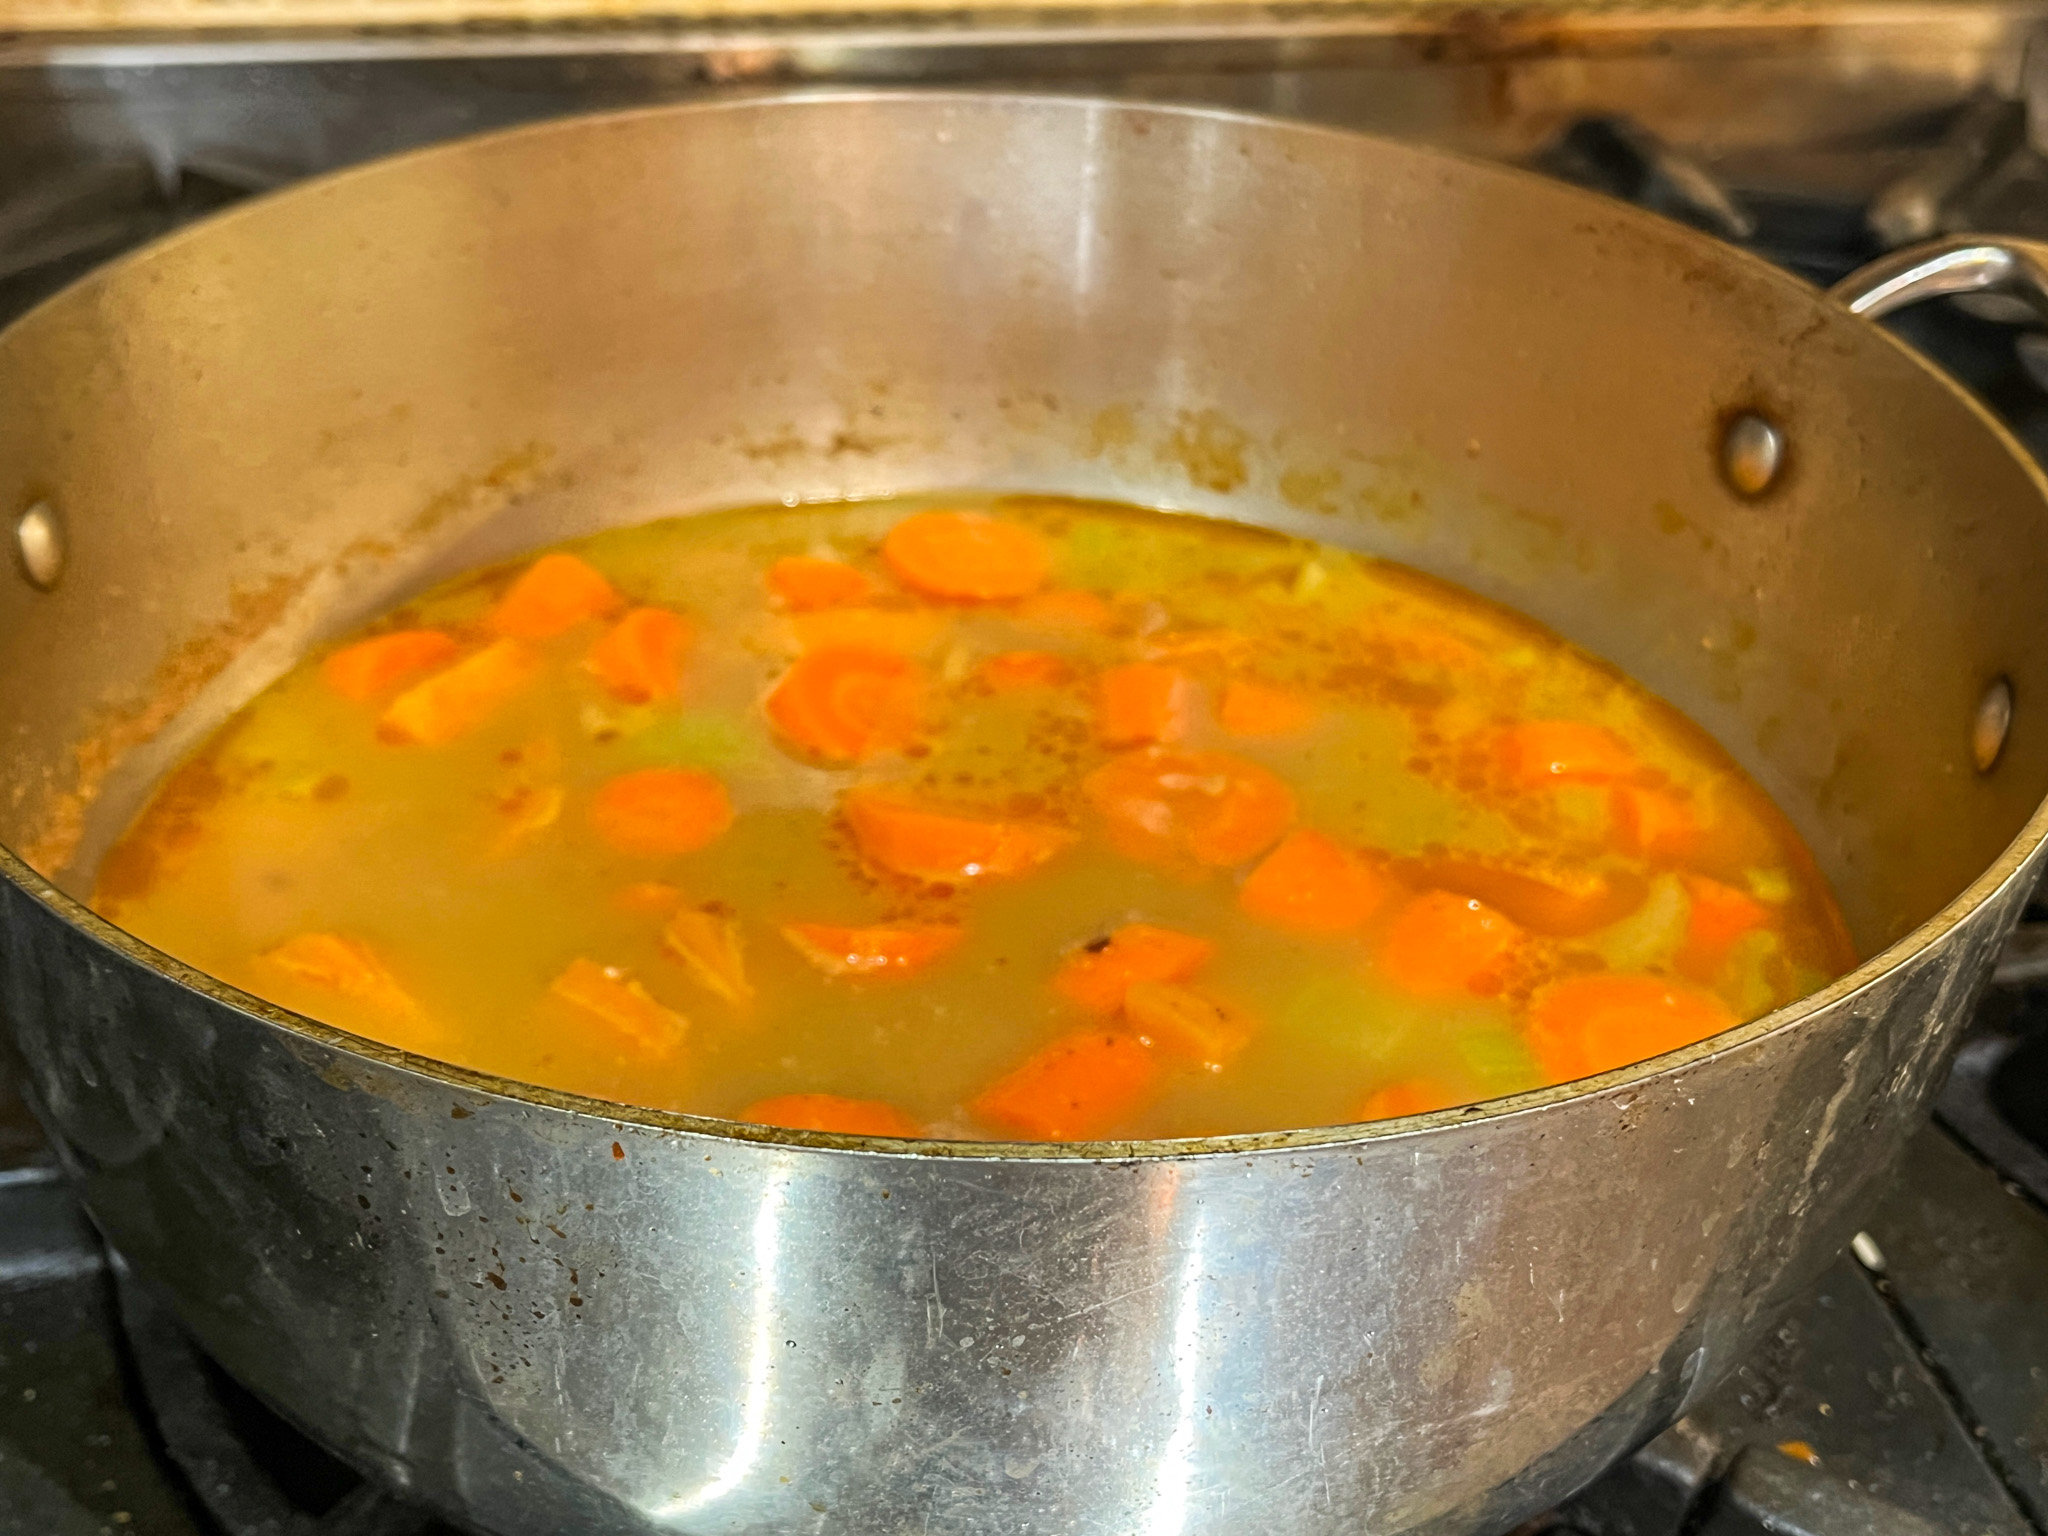
To make the soup: In a large pot, heat the olive oil over medium heat. Add the celery and ginger and sauté for a couple of minutes, until fragrant. Stir in the curry paste. In a small bowl, whisk together some of the broth with the almond butter until smooth. Add the mixture to the pot, along with the carrots, sweet potatoes, salt, and remaining vegetable broth. Stir until combined.

Bring the soup to a simmer and cook for 20 to 30 minutes (depending on how small you cut your pieces), until the vegetables are fork-tender. Transfer the soup to a blender (a Vitamix would be awesome here), and blend in batches until super smooth. If too thick, add more vegetable broth or water. Transfer the soup back to the pot and reheat if necessary.

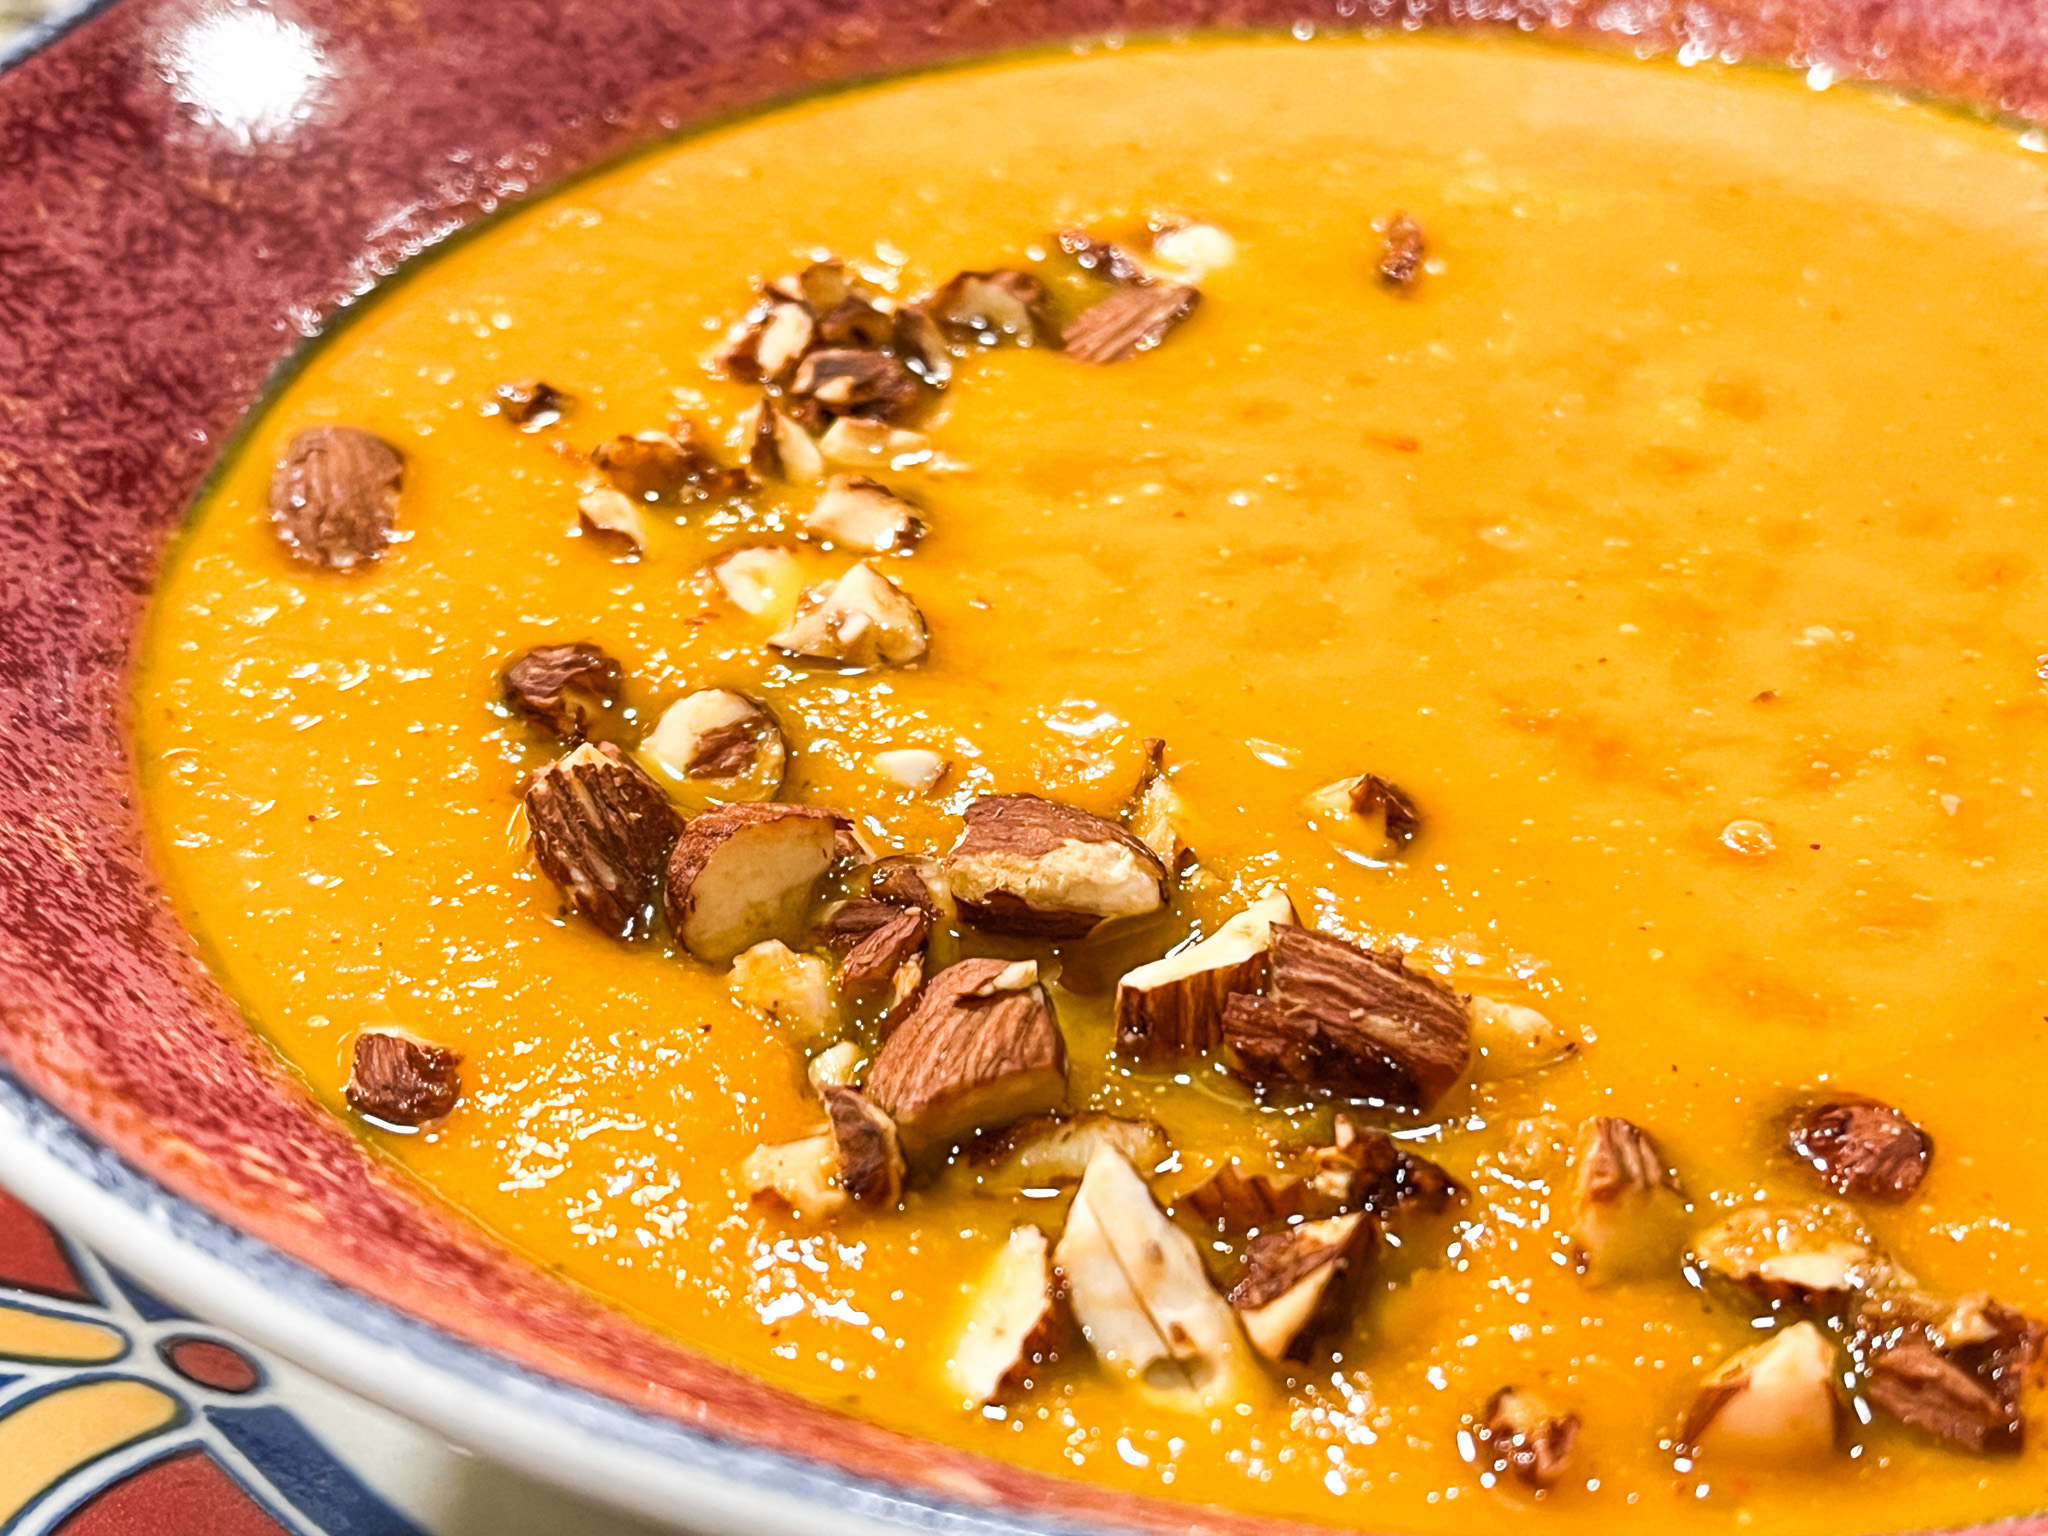
Serve the soup with some almonds on top and squeeze a little fresh lime.

ENJOY!

to print the recipe, click here


Comments: This is a vegan soup, so if you need to entertain someone who follows this type of nutrition, this would be an excellent choice. Hearty, flavorful, satisfying, perfect in taste and texture. As the weather cools down, soup becomes more and more attractive. We enjoyed it with sourdough bread, a little ham and a fried egg, so let’s say it was not even close to vegan by the time we were done… I highly recommend that you incorporate the tamari-roasted almonds in your cooking, it would go well with many different soups, salads, and even pasta.

ONE YEAR AGO: Vanilla Mini-Cakes with Honey Pears

TWO YEARS AGO: Buttermilk Roast Chicken

THREE YEARS AGO: Cauliflower and Sweet Potatoes in Yogurt-Curry Sauce

FOUR YEARS AGO: Panettone, Wild-Yeast Version

FIVE YEARS AGO: Turkey Chili Under Pressure

SIX YEARS AGO: Tiramisu Macarons

SEVEN YEARS AGO: Cider Mini-Cheesecakes with Caramel Sauce

EIGHT YEARS AGO: Rustic Ciabatta and Mini-Meatloaves

NINE YEARS AGO: Green Rice

TEN YEARS AGO: Potato-Crusted Italian Mini-Quiches

ELEVEN YEARS AGO: Beetroot Sourdough for the Holidays

TWELVE YEARS AGO: Cod Filet with Mustard Tarragon Crust

THIRTEEN YEARS AGO: Soba Noodles: Light and Healthy

FOURTEEN YEARS AGO: Potato-Rosemary Bread

BUTTERNUT SQUASH WITH FERMENTED BLACK BEANS

No need to run away, I promise you this is a very flavorful way to cook butternut squash. Simple, fast, and perfect to go with roast chicken or grilled salmon. The black beans provide a salty, sharp flavor that complements well the squash. I have made it with the beans as they come from the package, and a second time I minced them. I prefer them minced, the flavor will be more pronounced in the final dish, but if it is your first time trying this ingredient, use them whole and see how you like it.

BUTTERNUT SQUASH WITH FERMENTED BLACK BEANS
(adapted from The Vegan Chinese Kitchen)

1 pound butternut squash, cut in big chunks 
2 tablespoons grapeseed oil 
1 tablespoon Rose Harissa (or any pepper mix you like)
1 tablespoon fermented black beans, coarsely chopped
1 teaspoon sugar
salt to taste
1 cup water
drizzle of sesame seed oil 
cilantro leaves

Heat a wok over high heat and add the oil, swirling to coat the sides. Add the harissa, the fermented beans, and leet them sizzle for a few seconds until fragrant. Add the butternut squash pieces, stir them well to coat with the oil, sprinkle the sugar on top. Pour the water and season with a little salt. Cover, reduce to simmer for about 10 minutes until tender. 

If there is still water, you can drain it a bit or reduce by boiling, as long as the squash is not too tender. Add the cilantro and sesame oil right before serving. 

ENJOY!

to print the recipe, click here

Comments: I normally roast or air-fry butternut squash, but it was really easy and fast to braise it. Leftovers were even better, the flavor intensified a bit, and it never got mushy, even after a brief encounter with microwaves. This will go into our rotation for sure. If you don’t have and won’t be getting fermented black beans to play with, maybe a drizzle with sweet soy sauce and a tiny bit of fish sauce will be a nice move.

ONE YEAR AGO: Karen’s Braided Lemon Bread with Blackberries

TWO YEARS AGO: Bulgur-Pork Tomatillo Platter

THREE YEARS AGO: Baking through the blogosphere

FOUR YEARS AGO: Chickpea Burgers, Vegan and Delicious

FIVE YEARS AGO: Macarons with Ganache Noisette

SIX YEARS AGO: Quiche with Asparagus and Fennel

SEVEN YEARS AGO: Fakebouleh

EIGHT YEARS AGO: Yellow Squash Soup

NINE YEARS AGO: Grilled Chicken with Tamarind and Coconut Glaze

TEN YEARS AGO: Chicken-Apricot Skewers

ELEVEN YEARS AGO:  Asparagus Quiche

TWELVE YEARS AGO: Two-stage Pea and Prosciutto Risotto

THIRTEEN YEARS AGO: Mellow Bakers: Corn Bread

ZUCCHINI CARPACCIO

I adore zucchini and in this preparation it really shines! I strongly advise you to cut it with a mandolin, because paper thin is a must. You won’t have the same beautiful effect of that noodle appearance unless you really slice it super thin. Come to think of it, a veggie peeler might work also!

ZUCCHINI CARPACCIO
(from the Bewitching Kitchen)

2 medium zucchini, cut very thin lengthwise
juice of ½ lemon
3 tablespoons extra-virgin olive oil
roasted peanuts
Herbes de Provence
drizzle of agave nectar

Sprinkle the ribbons of zucchini with salt, place in a colander for 20 to 30 minutes, then drain and dry on paper towels. Add to a large serving bowl and squeeze lemon juice all over the slices. Place in the fridge for 30 minutes, this will soften the veggie a bit. When it is time to serve, drizzle olive oil, season with Herbes de Provence, and spread peanuts on top. Finally, a drizzle of agave nectar for a little contrast of flavor.

ENJOY!

to print the recipe, click here

Comments: It is not very hard for me to praise my favorite squash, but I believe most people will appreciate the texture and freshness of this preparation. Other nuts can work too, the most important step is allowing the lemon juice to do its job. Use a nice olive oil with enough flavor and you are all set!

ONE YEAR AGO: Masala Shrimp

TWO YEARS AGO: Victoria Sponge Mini-Cakes

THREE YEARS AGO: Red Beet Sourdough

FOUR YEARS AGO: A Modern Take on Tarte Tatin

FIVE YEARS AGO: Minnie-Macarons, a Fun Project with a Happy Ending

SIX YEARS AGO: Nigella Lawson in the Bewitching Kitchen

SEVEN YEARS AGO: Walnut-Raisin Bran Muffins

EIGHT YEARS AGO: Gingersnaps with White Chocolate Chips

NINE YEARS AGO: Turkey Chili with Almond Butter

TEN YEARS AGO: Secret Recipe Club: Leek and Cheese Tart

ELEVEN YEARS AGO: Secret Recipe Club; Triple Chocolate Brownies

TWELVE YEARS AGO: Shaved Asparagus Salad

THIRTEEN YEARS AGO: Indonesian Ginger Chicken

ZUCCHINI-CHICKPEA BAKED BITES

Yet another recipe that won’t win many votes in a beauty contest, but is so tasty and simple to prepare, I had to share with you. It happens to be vegan-friendly, because contrary to similar preparations, this one takes no eggs. All binding is given by processed chickpeas, straight from a can. It came from a Brazilian blog, but I modified it slightly to reduce the amount of carbs. Thank you to my niece Raquel for sending it to me, saying that the recipe “had my name written all over it.” I think she is right!


ZUCCHINI-CHICKPEA BAKED BITES
(inspired by this post)

200 g zucchini (1 large or 2 medium), grated on a large-hole grater
250 g canned chickpeas, well-rinsed and drained
basil leaves to taste
1/2 tsp salt + more to sprinkle on zucchini
1/2 tsp smoked paprika
1/8 cup almond flour
1/8 cup all-purpose flour
panko bread crumbs
olive oil spray

Heat oven to 420F.

Salt the grated zucchini lightly and allow it to sit on a colander for 10 minutes. Squeeze the zucchini dry preferably using a towel.
Add to a food processor together with the chickpeas, salt, paprika and basil. Process until fully smooth, stopping to clean the bowl with a spatula once. Add the two flours and process just to bind it all.

Form small patties, cover with panko bread crumbs on both sides. Place them separated over aluminum foil and spray the surface with olive oil. Bake for 10 minutes, turn them gently, spray more olive oil on the top. Bake for 10 to 15 minutes longer, until golden brown. Serve with you favorite sauce or plain.

ENJOY!

to print the recipe, click here

Comments: I was a bit skeptical that the little morsels would hold shape without the help of an egg, but although very fragile, I did not have problems. Just be gentle. If you want to fry them, you could still keep them vegan by using the liquid from the chickpea can to make a whipped “egg white substitute”, coat them with that and add bread crumbs. But I tend to avoid frying because I dislike dealing with the leftover oil. Air-frying could be also a good option but our fryer has a small basket and I would have to fry in batches, so I went with the baking option.

A bit of tomato sauce and grated Parmigiano is also a nice way to serve them, although obviously not vegan anymore. I will definitely make them again, and pair with a tahini sauce which I think will be another great serving idea.

ONE YEAR AGO: Slow-Cooker Hoisin Pulled Pork

TWO YEARS AGO: I Will Cracker you Up

THREE YEARS AGO: Pickling Ribbons

FOUR  YEARS AGO: Green Beans and Carrots with Spicy Almonds

FIVE YEARS AGO: Quiche 101

SIX YEARS AGO: Persian Butternut Squash Soup

SEVEN YEARS AGO: Walnut Cranberry Sourdough Bread

EIGHT YEARS AGO: Ottolenghi in Brazil?

NINE YEARS AGO: Roasted Winter Vegetables with Miso-Lime Dressing

TEN YEARS AGO: 2012 Fitness Report: P90X2

ELEVEN YEARS AGO: Caramelized Bananas

TWELVE YEARS AGO: Roasted Lemon Vinaigrette

THIRTEEN YEARS AGO: Whole Wheat Bread

VEGAN CASHEW BUTTER BONBONS

These are absolutely luscious and not that hard to make as – believe it or not – you won’t have to temper chocolate to make them. The silicone mold is also optional, you can use mini-muffin tins, although I am not sure how easy or tricky it might be to get the bonbons out.


VEGAN CASHEW BUTTER BONBONS
(inspired by Vegan Treats)

115g cacao butter
3 tablespoons cocoa powder
3 tablespoons maple syrup
3 tablespoons creamy cashew butter
gold luster powder to decorate (optional)

If using gold luster powder, brush the inside of the molds with it. Reserve.

Melt the cocoa butter in the microwave using very low power. As soon as it melts, stop heating it. Stir the cocoa powder and maple syrup. Pour the mixture in the molds filling it halfway. Place the mold in the fridge for about 15 minutes to set.

Remove from the fridge, spoon a small amount of cashew butter in the center of each cavity, then pour the remaining chocolate on top to cover completely the cashew butter. Place in the fridge for at least 30 minutes before un-molding the bonbons. For added safety, I like to place the mold in the freezer for 5 minutes.

Store in the fridge for about 10 days. They stay well at room temperature for at least a couple of hours.

ENJOY!

to print the recipe, click here

Comments: This is really super easy and the results go beyond the effort by a long shot. I do not have a link for the mold which I’ve had for a long time, but many different shapes and sizes will work, just do a search online. They will stay good in the fridge for a long time, but won’t melt at room temperature, I actually left them sitting over a counter for a couple of days and nothing bad happened. The best option if you make them is to store them in the fridge and bring them to room temperature for one hour or so before indulging.

ONE YEAR AGO: Turkey-Bison Jalapeño Chili

TWO YEARS AGO: Chocolate Bonbons with Mango-Ganache Filling

THREE YEARS AGO:  Giant Cookie Meets Mousse

FOUR YEAR AGO: The Brazilian Battenberg

FIVE YEARS AGO: Salzburg Sourdough

SIX YEARS AGO: If I had One Hour

SEVEN YEARS AGO: Apple Cinnamon Oatmeal Cake

EIGHT YEARS AGO: Sourdough Rye Bread with Flaxseeds and Oats

NINE YEARS AGO: Apricot-Raspberry Sorbet: A farewell to Summer

TEN YEARS AGO: Marcela’s Salpicon

ELEVEN YEARS AGO: Pork Kebabs

TWELVE YEARS AGO: Fondant au Chocolat

TWELVE YEARS AGOGot Spinach? Have a salad!