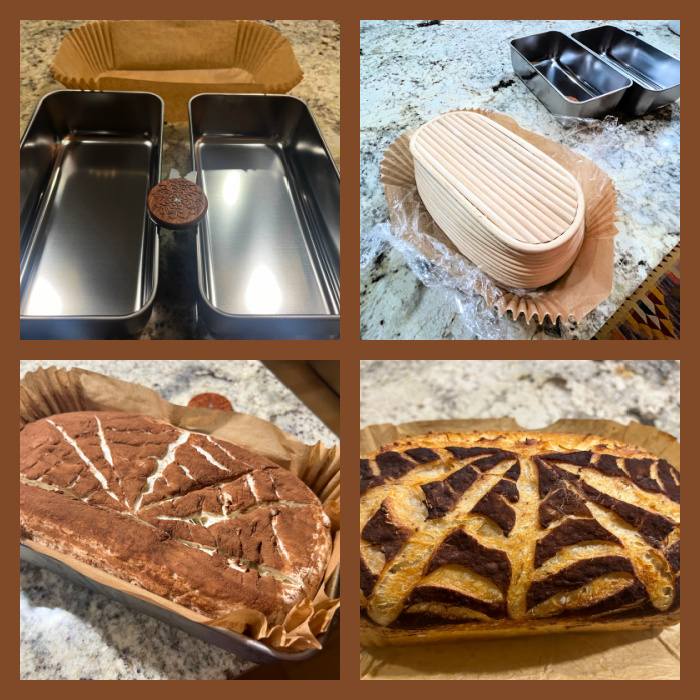
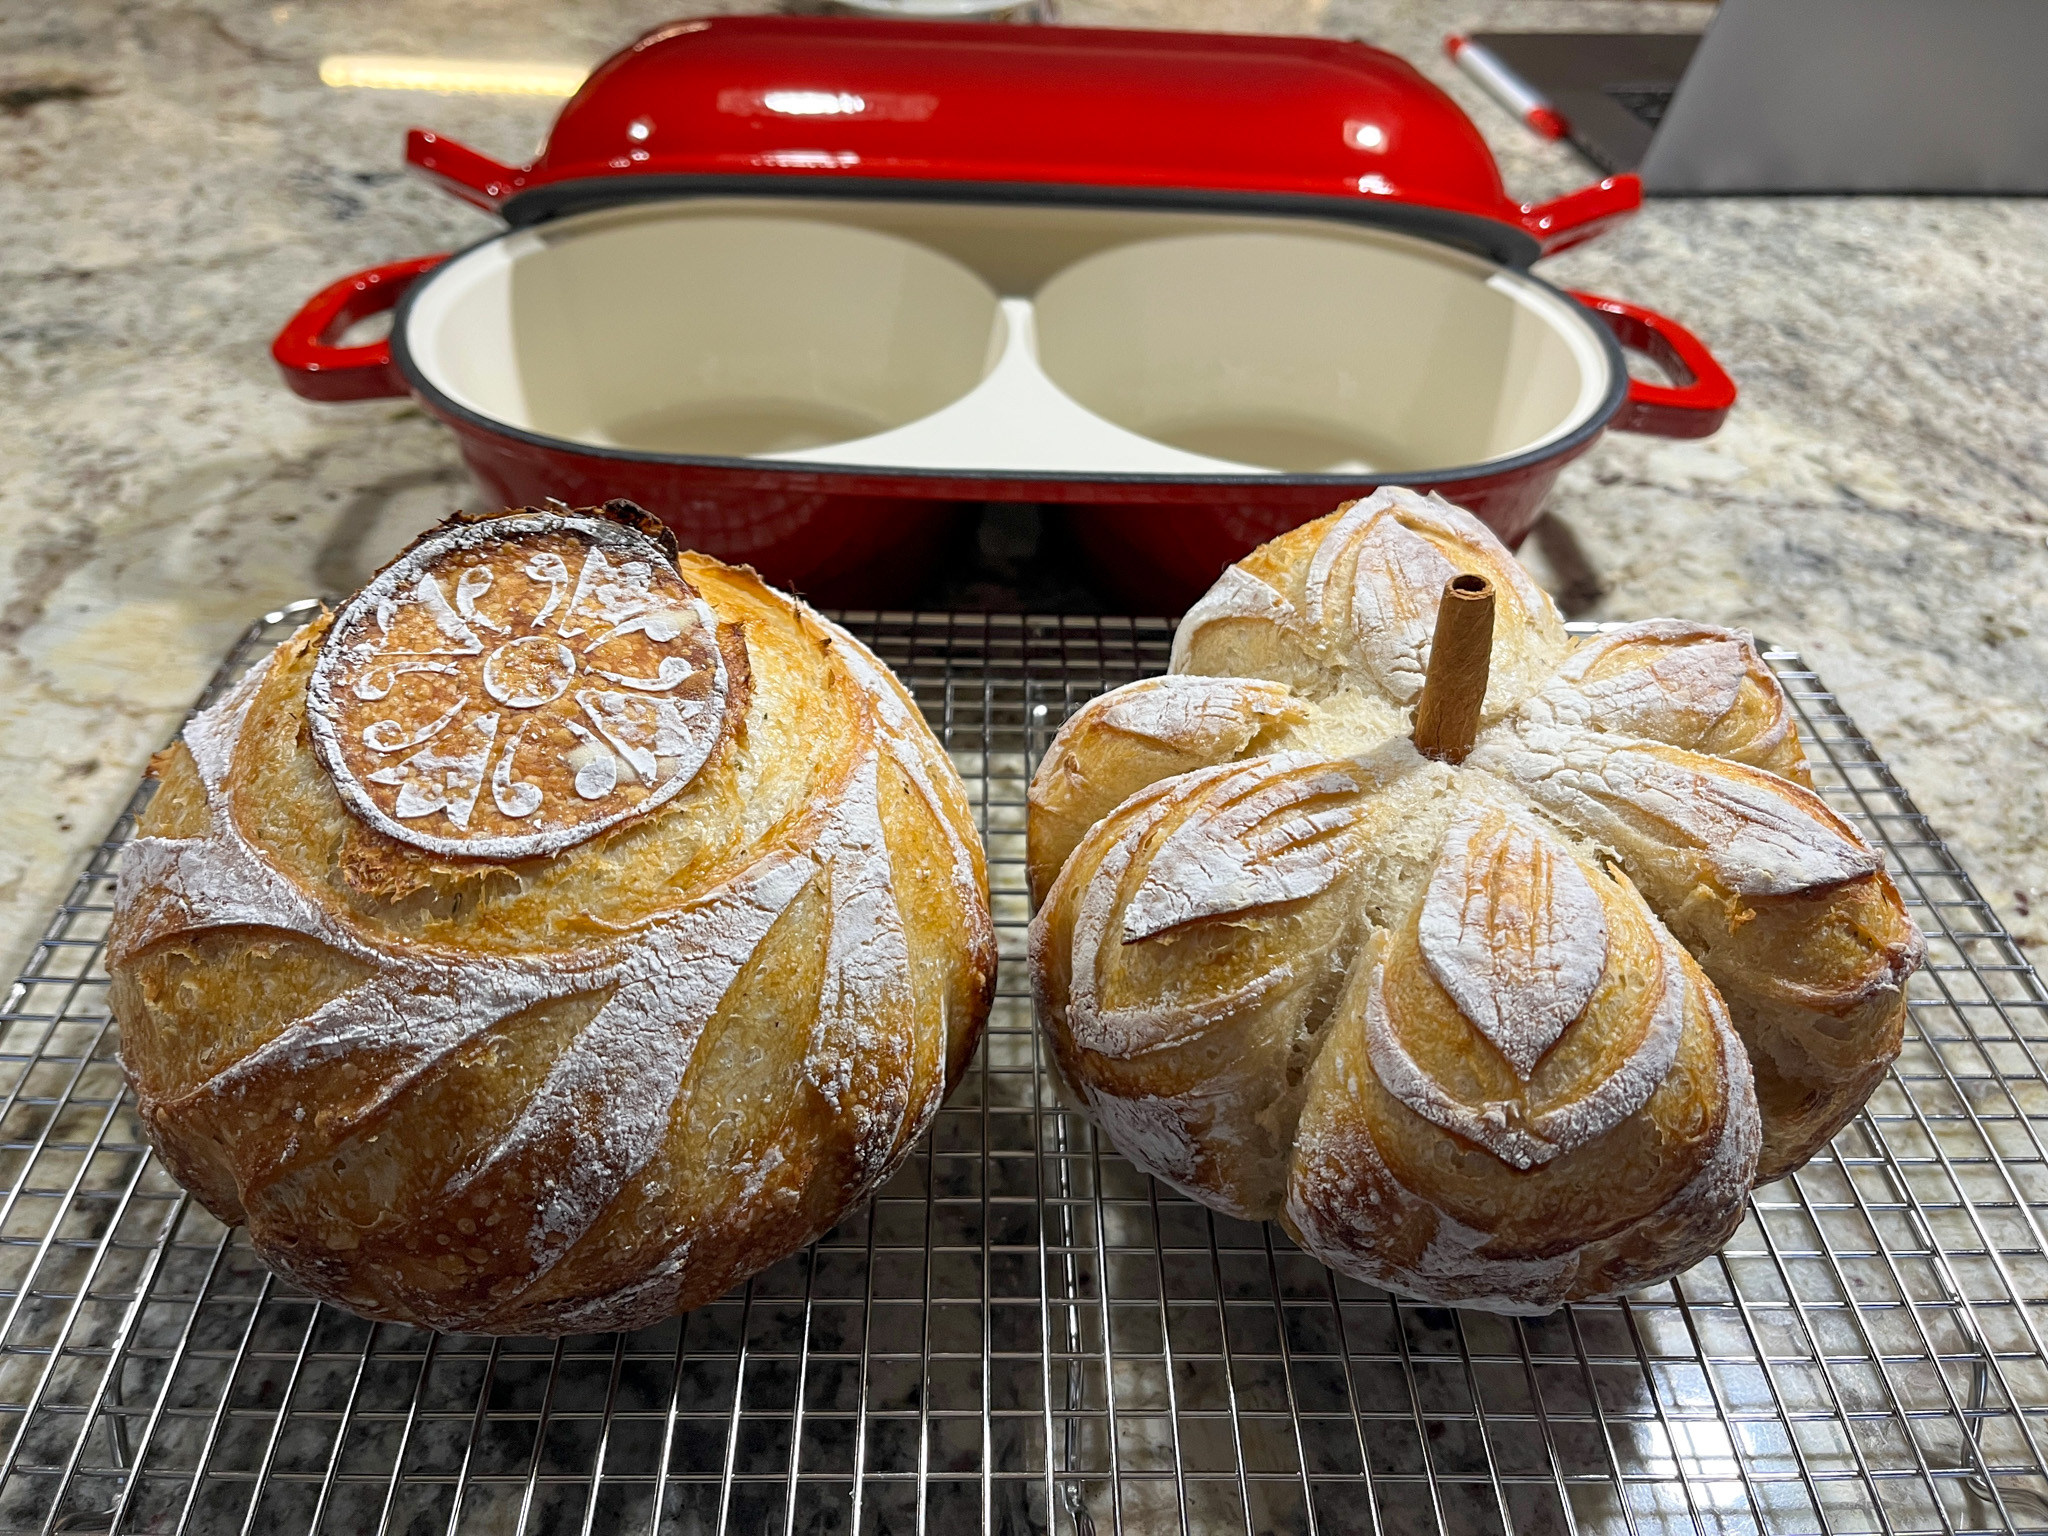
I admit it. I didn’t try to resist the temptation to buy this pan. It was too adorable and I needed it in my life. Today I share my very first adventure with the Nuovva double Dutch oven (click here for ordering info).

The pan is available in several colors, but my heart was set on this gorgeous red version. It is almost exactly 16 inches, so unless your oven is really small, you should have no issues using it.
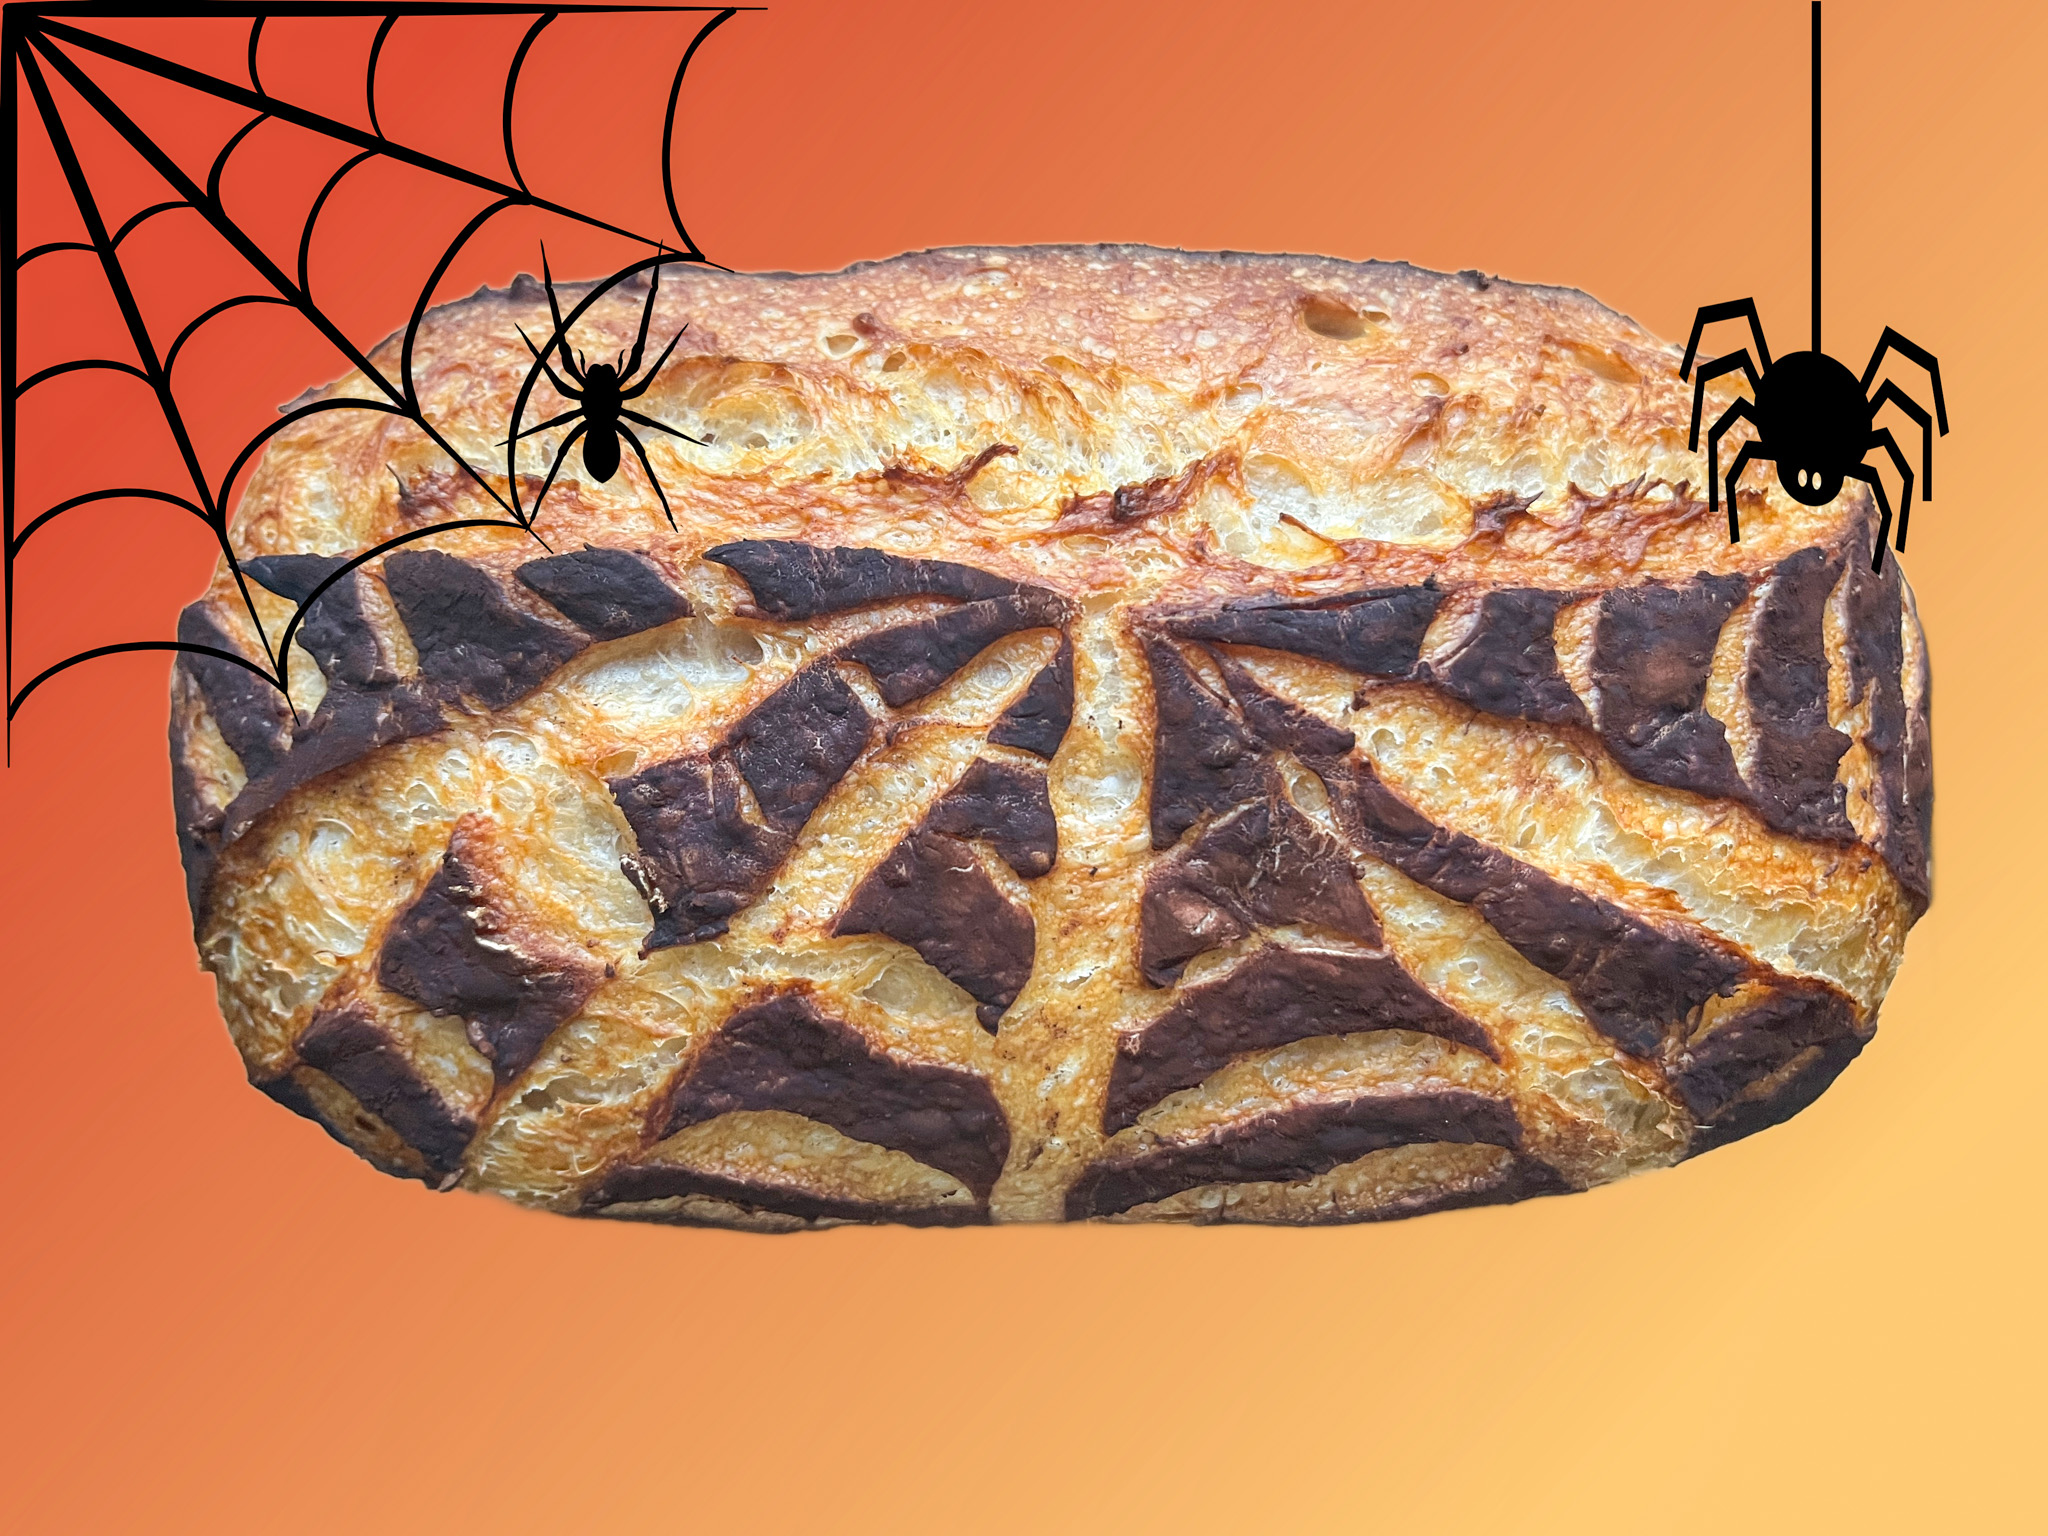
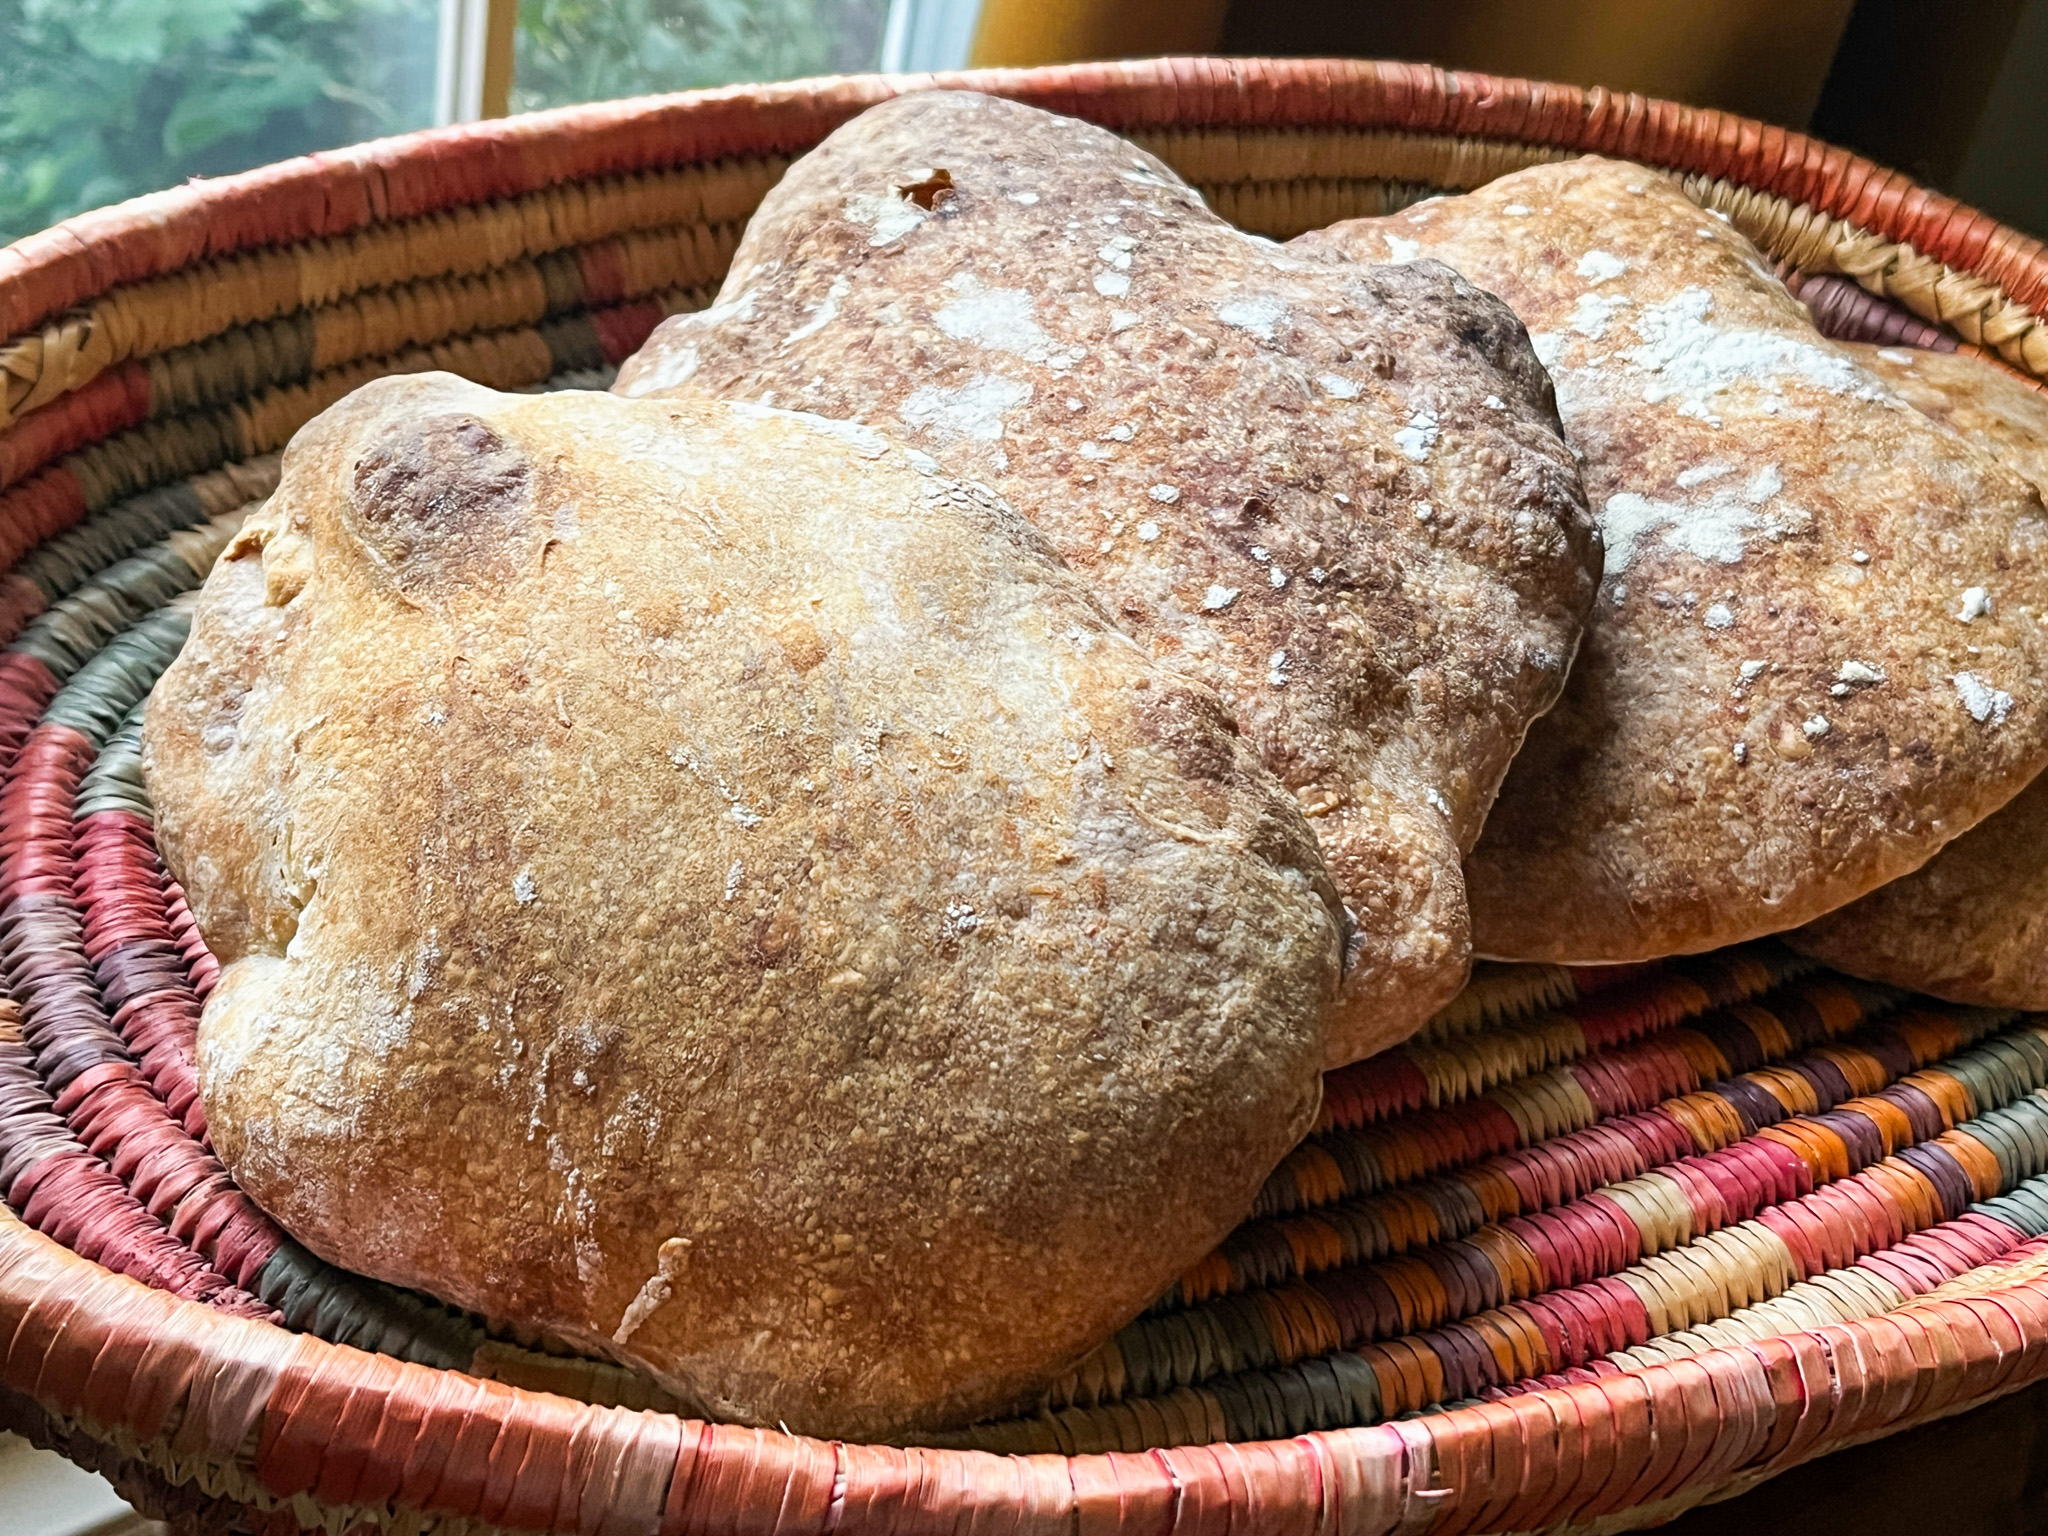
DUET OF SOURDOUGH BOULES
(from The Bewitching Kitchen)
580g bread flour
20g whole-wheat flour
420g water
11g salt
85g starter (I used stiff, at about 75% hydration)
Mix all ingredients in the bowl of a KitchenAid type mixer fitted with the dough hook. Knead gently for about 4 minutes (first or second speed maximum).
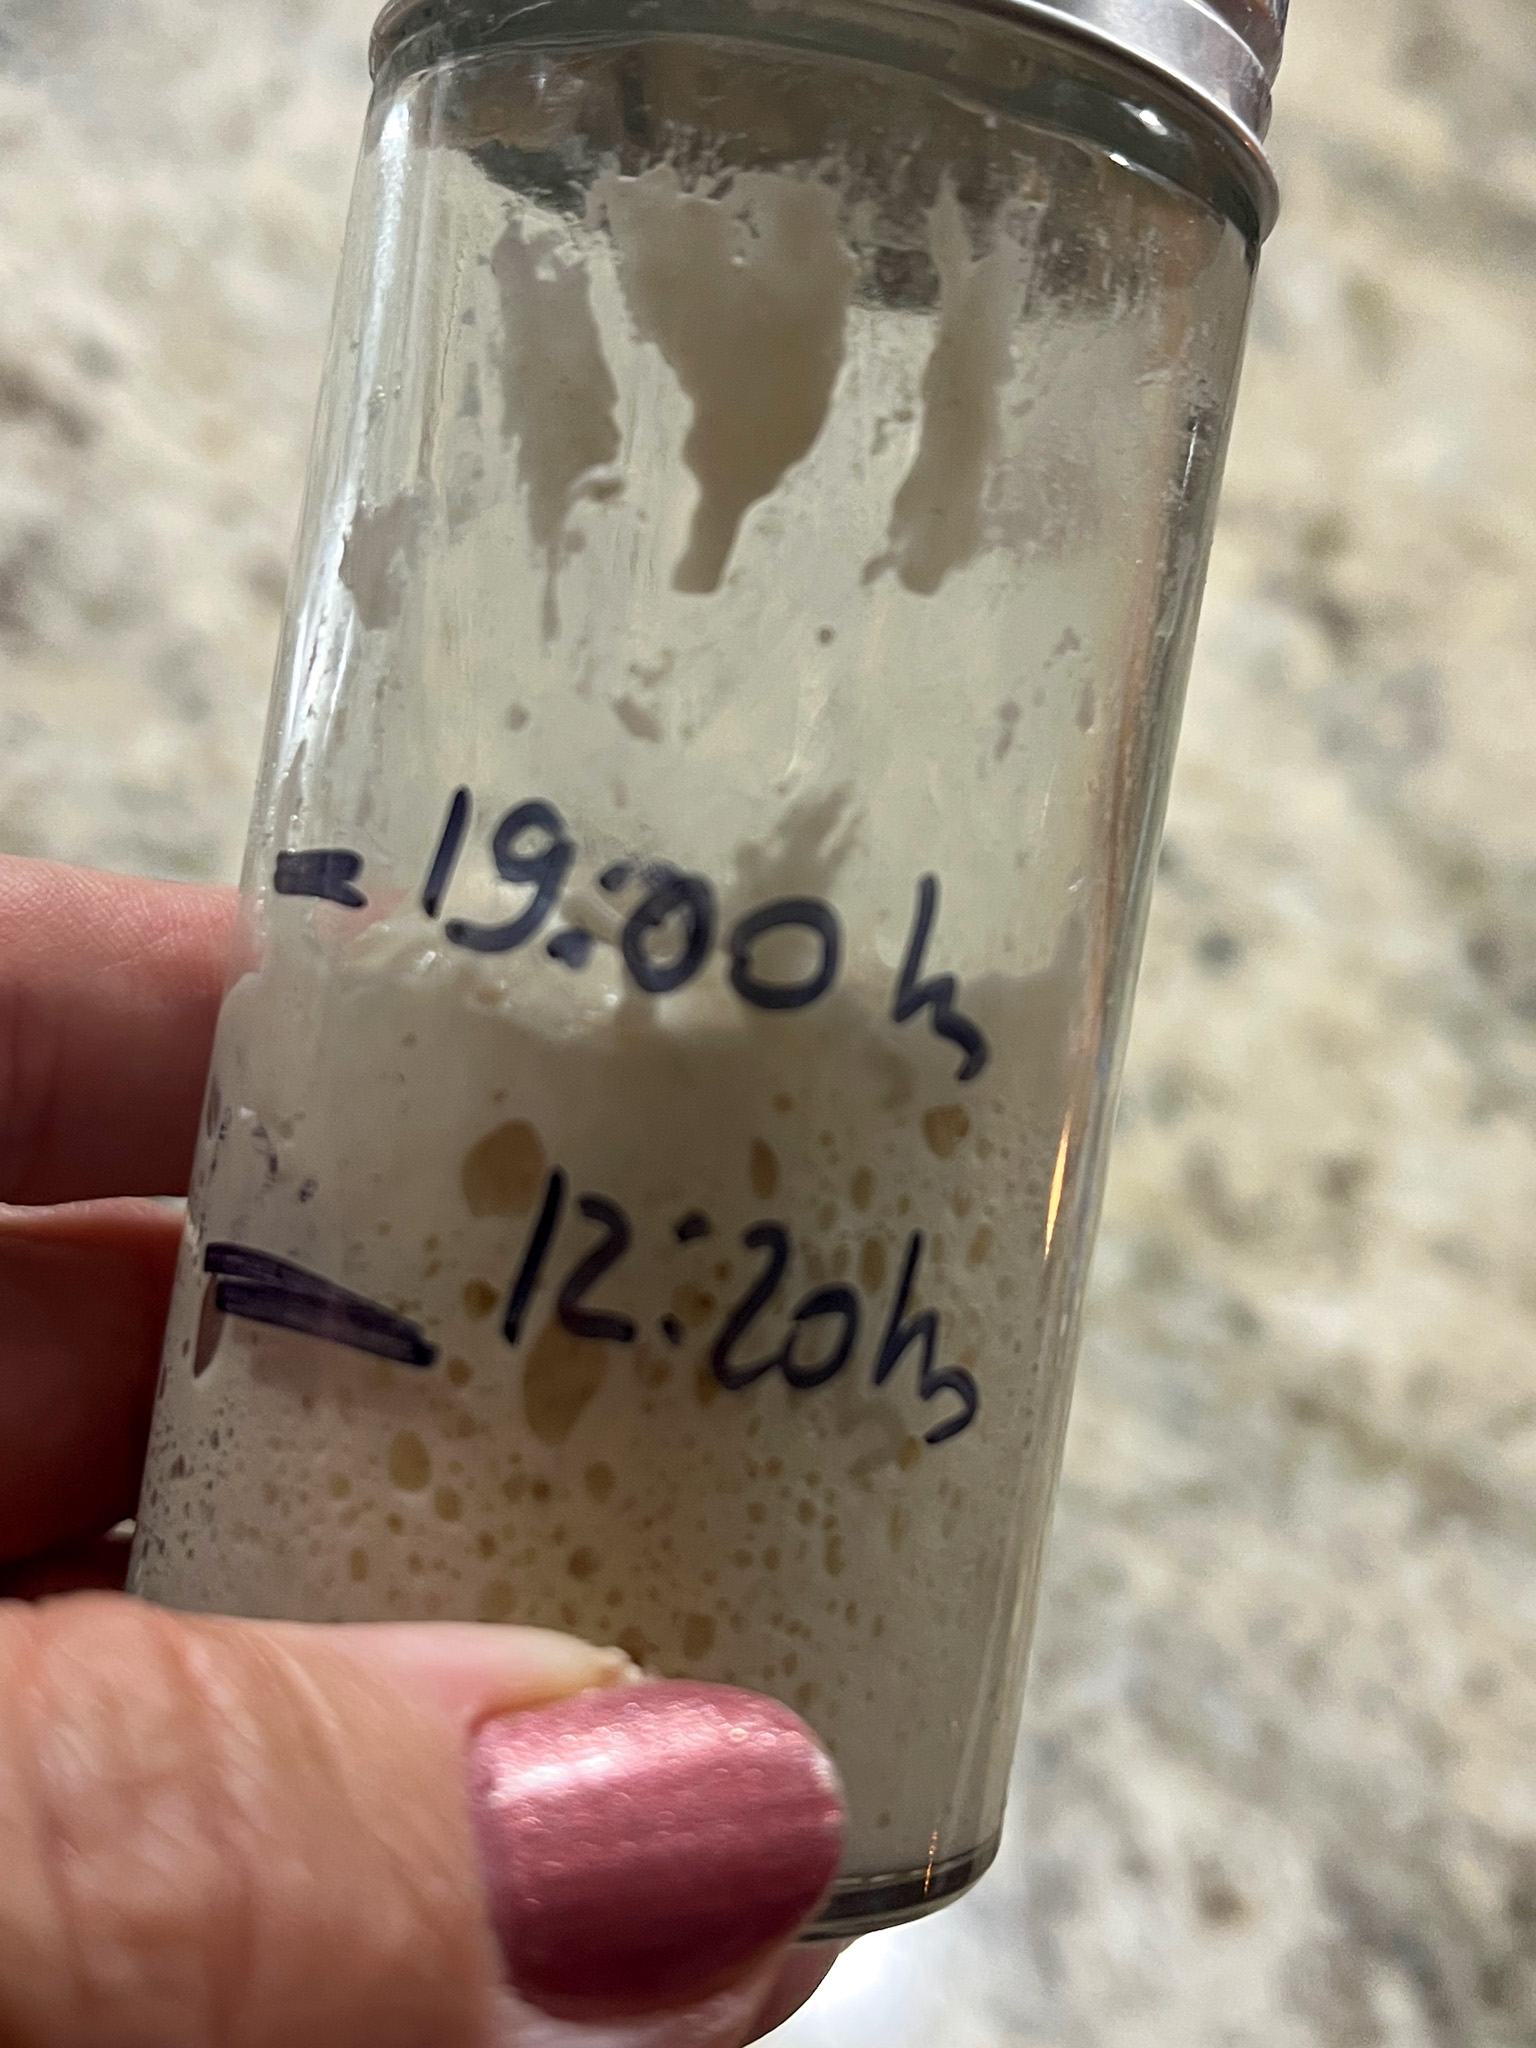
Transfer dough to a lightly oil bowl and do a bulk fermentation with 4 folds made 45 minutes apart. Before you start the fermentation , remove a very small amount of dough to a small glass container (like those that hold spices), and mark where the level of the dough is with a permanent marker. Keep that at room temperature to monitor fermentation.
After the last folding cycle, keep an eye on the fermentation using the small vial. Ideally you want to let the dough ferment until it is double in size. Depending on the day, temperature of your kitchen, it might take 8 hours or more. Be patient, it will pay off.
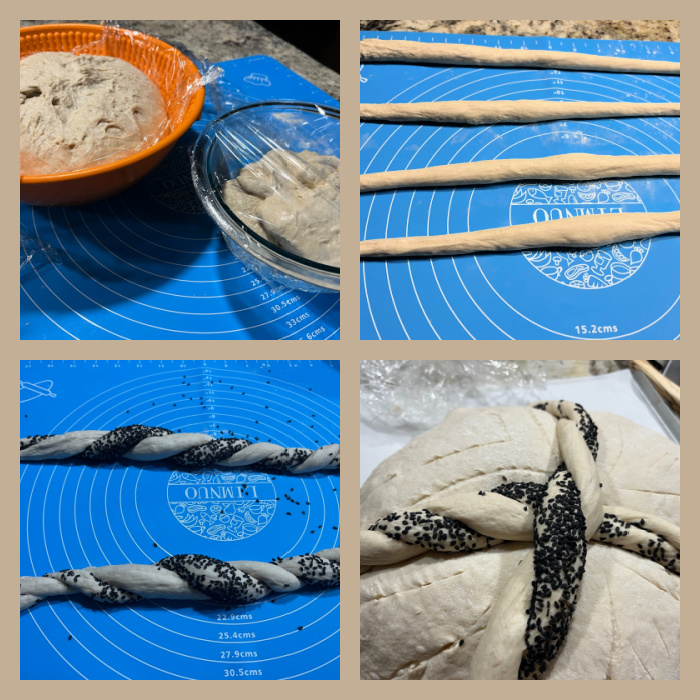
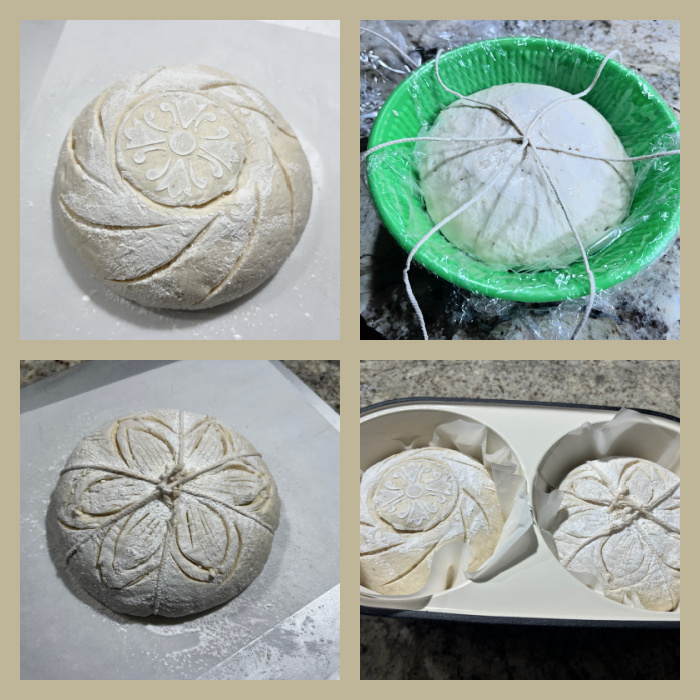
Once bulk fermentation is over, divide the dough in two equal parts, shape them as two small balls and place in a floured banetton. Place in the fridge overnight.
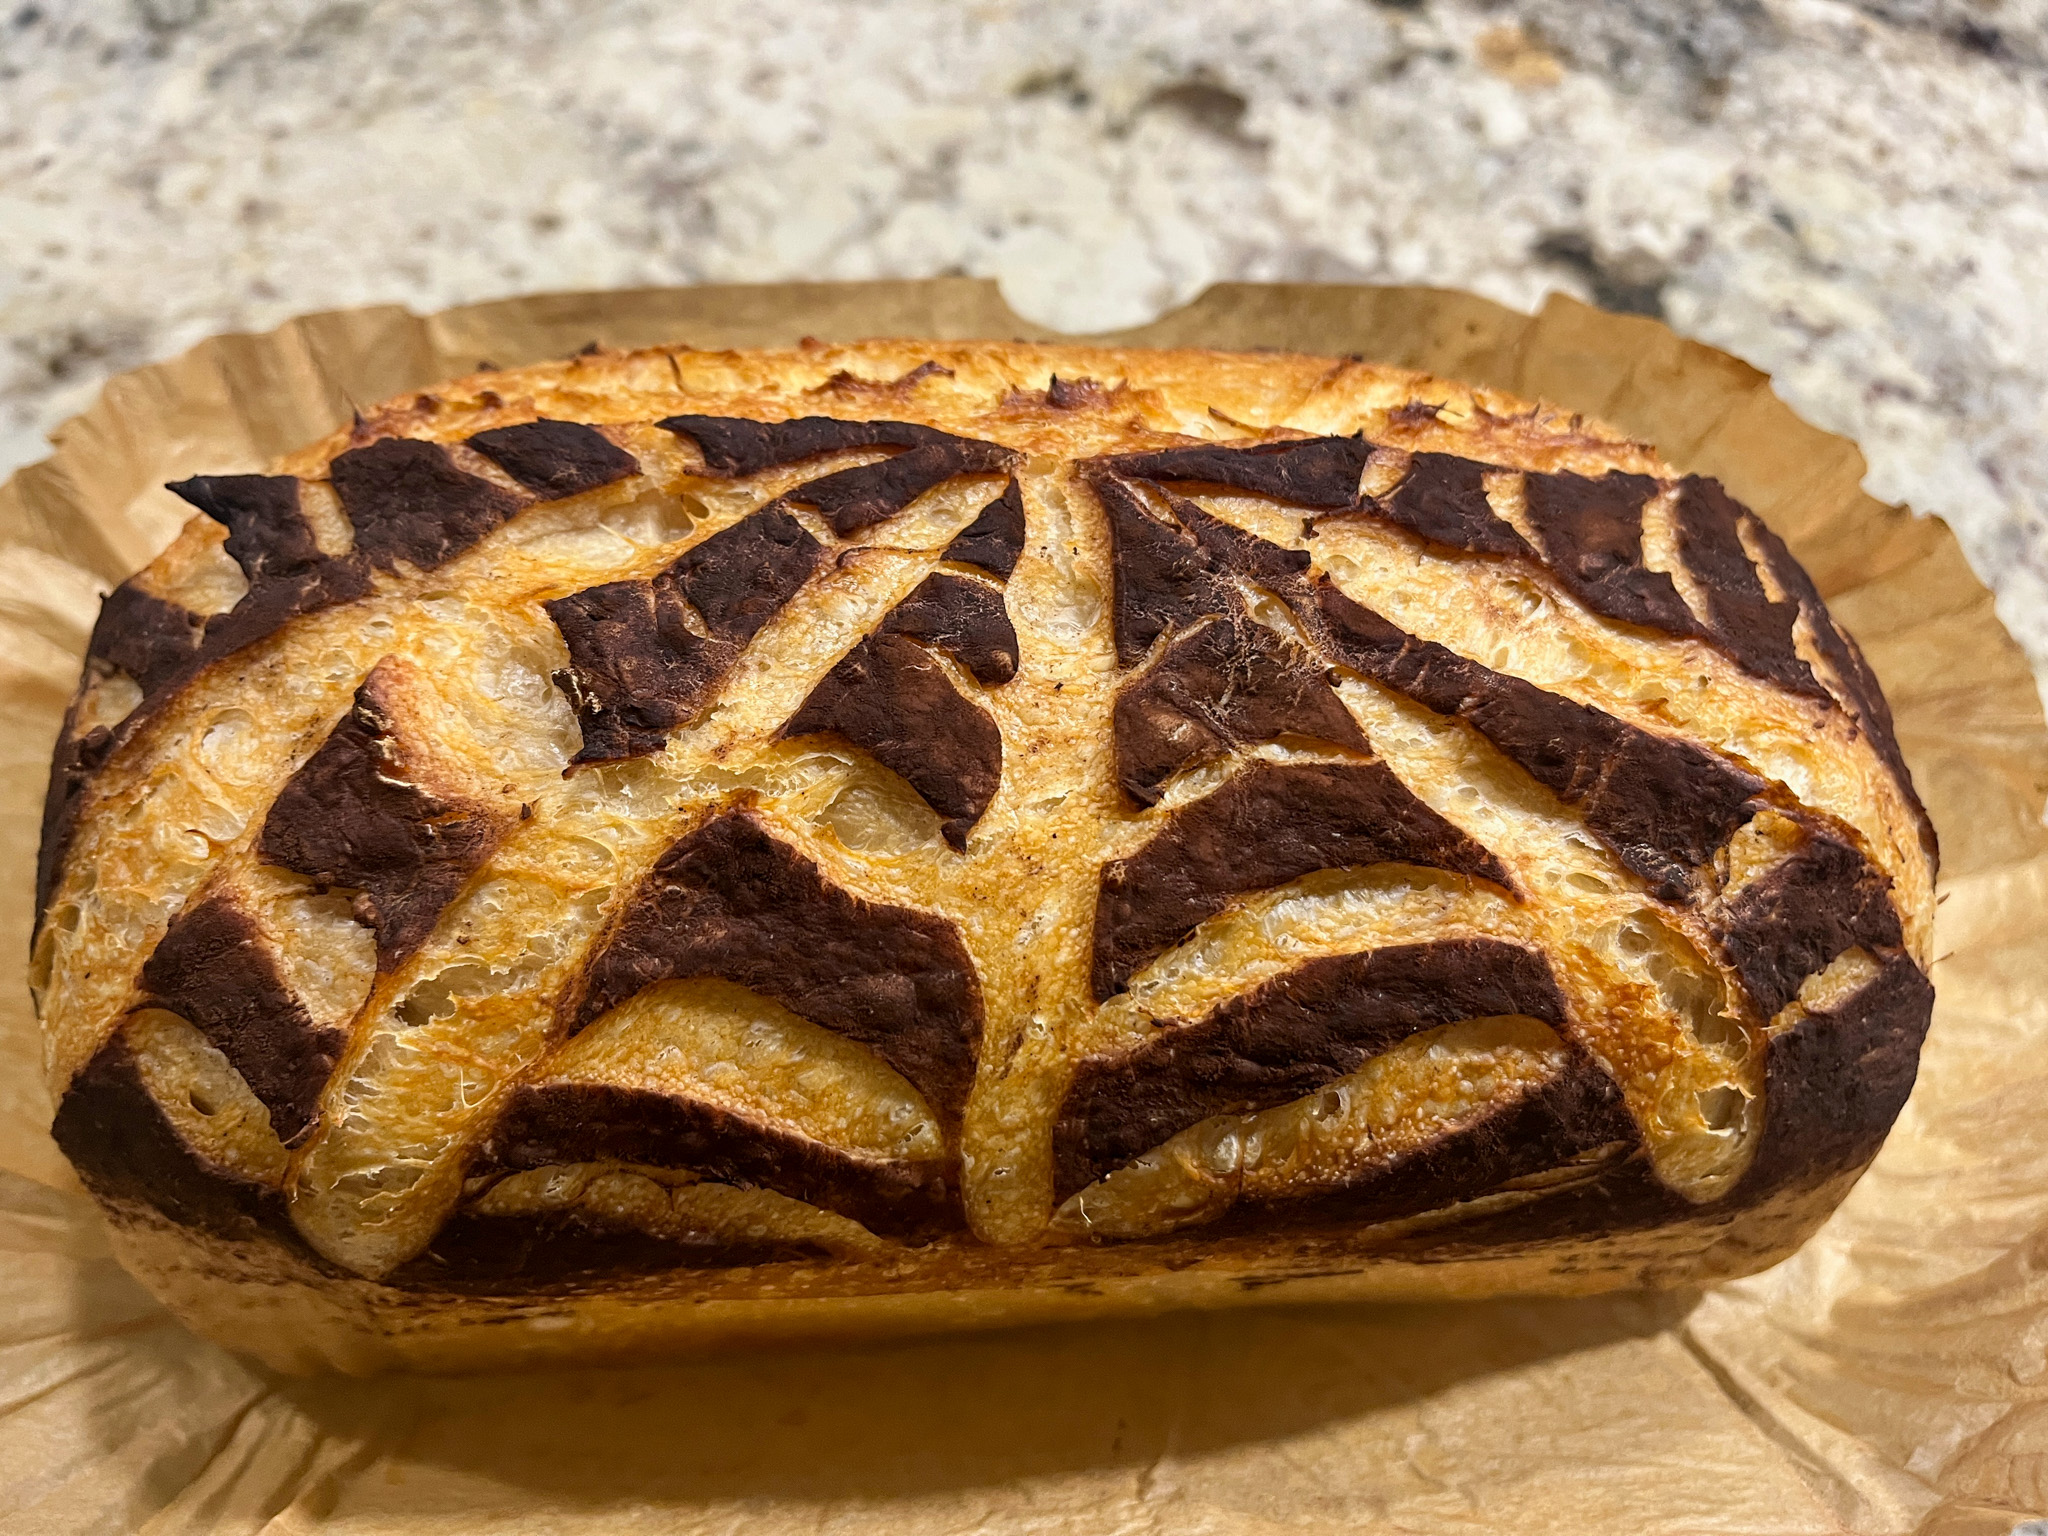
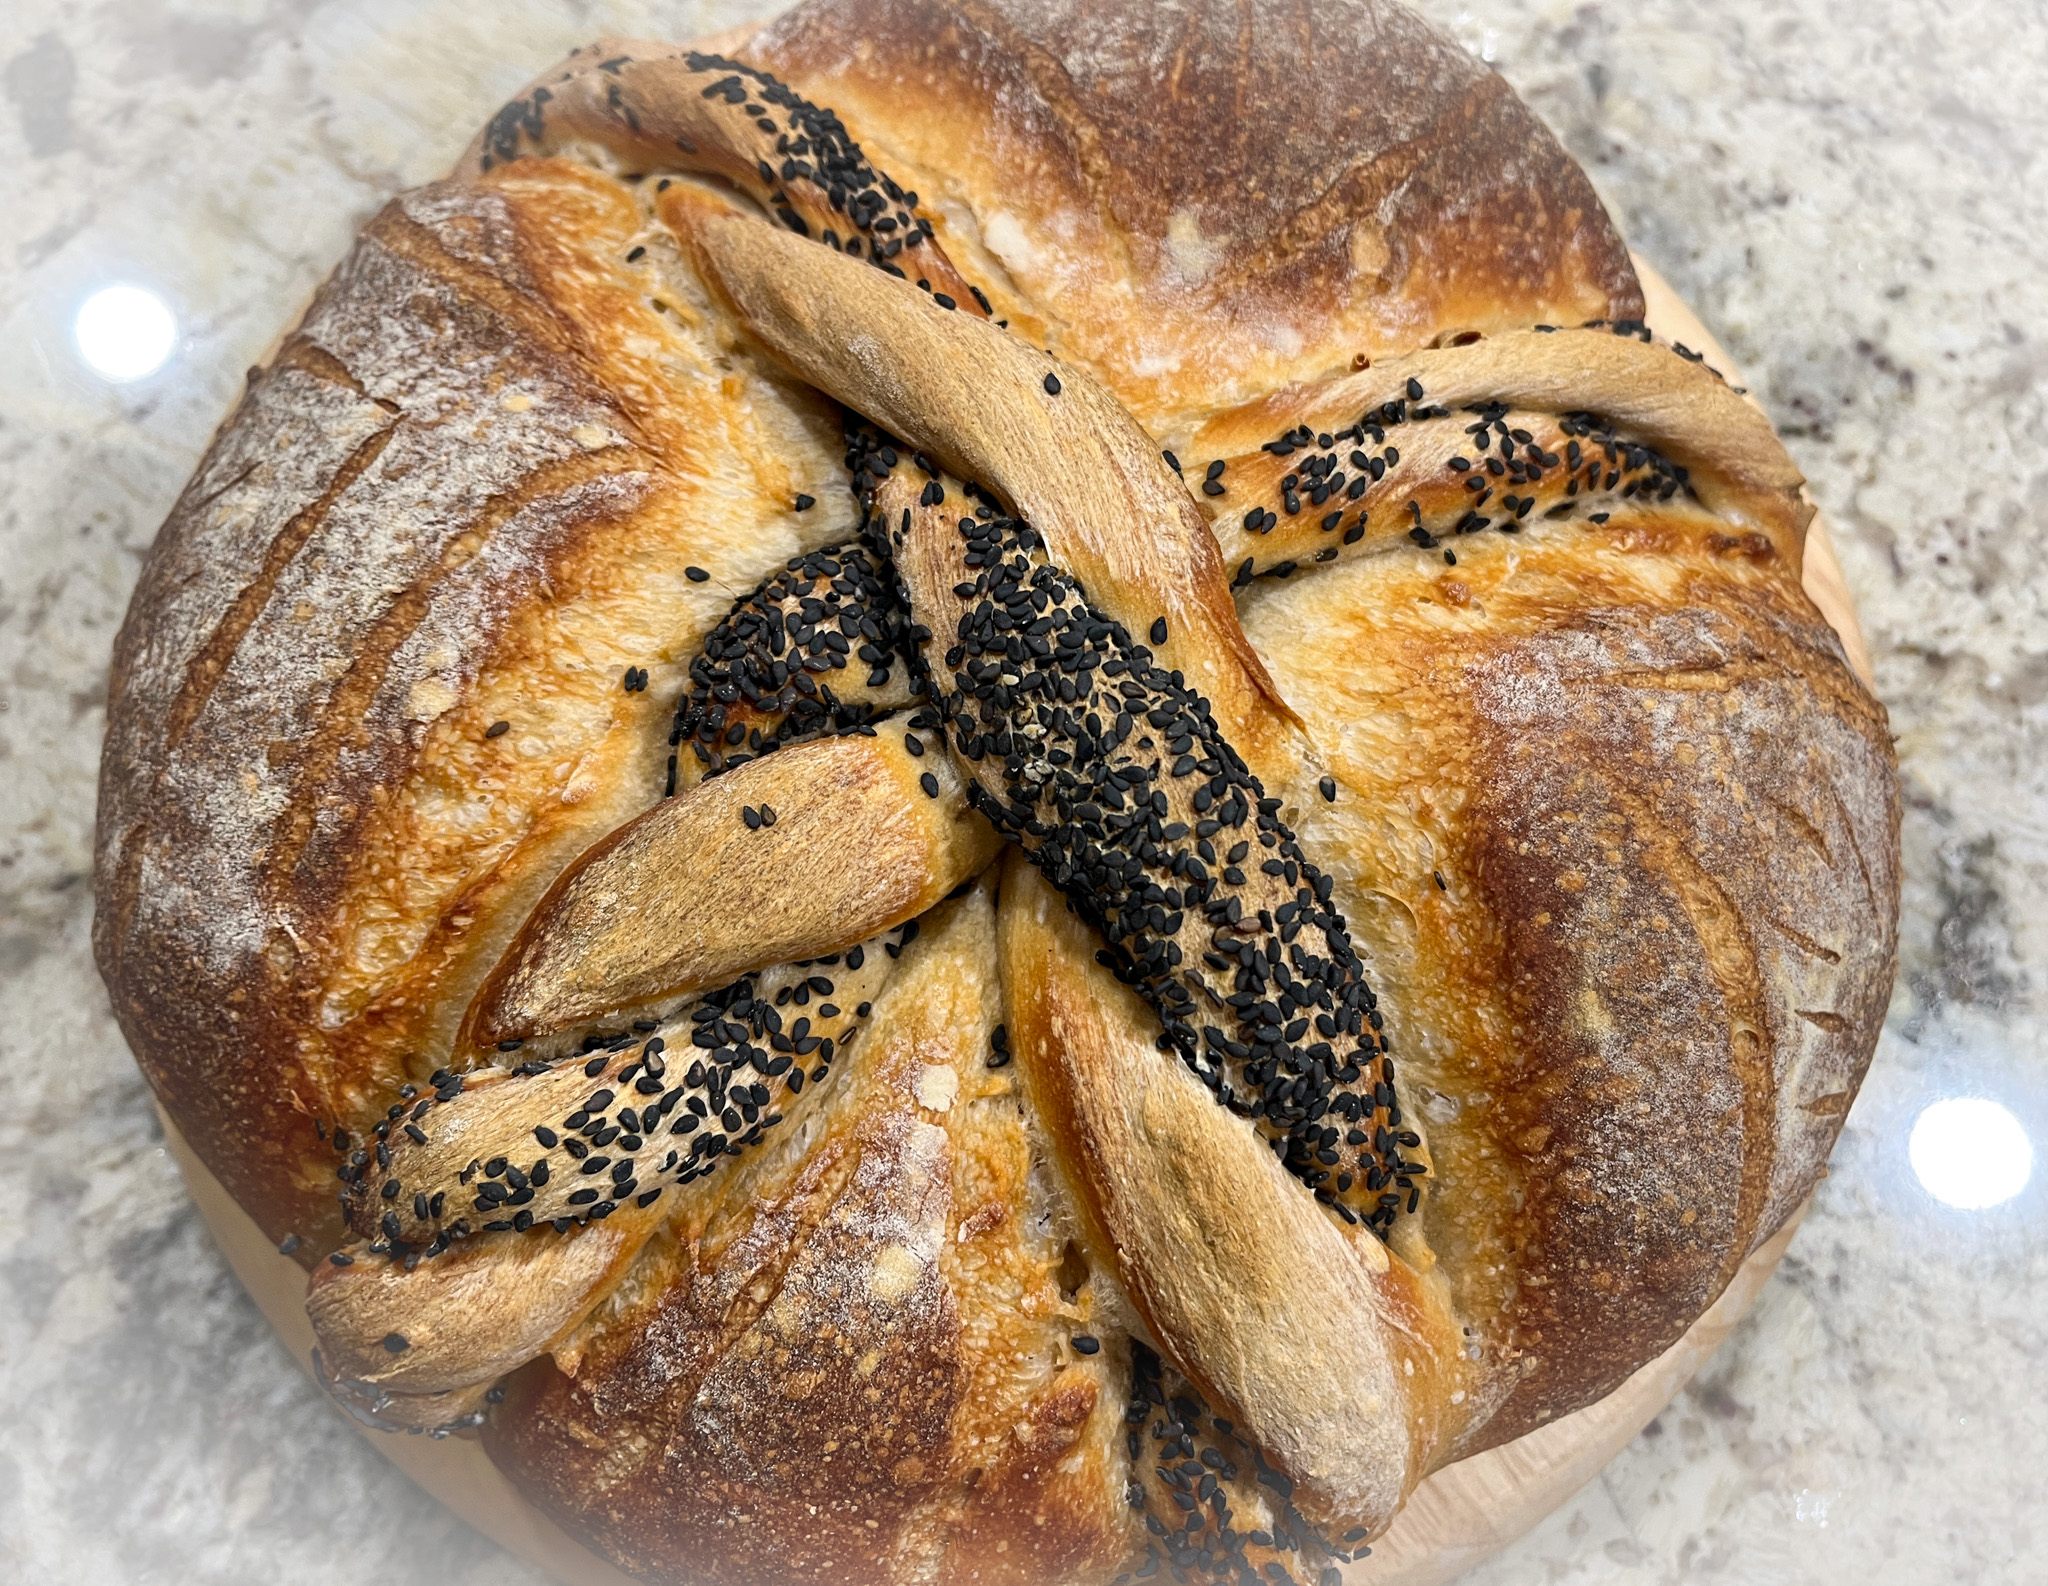
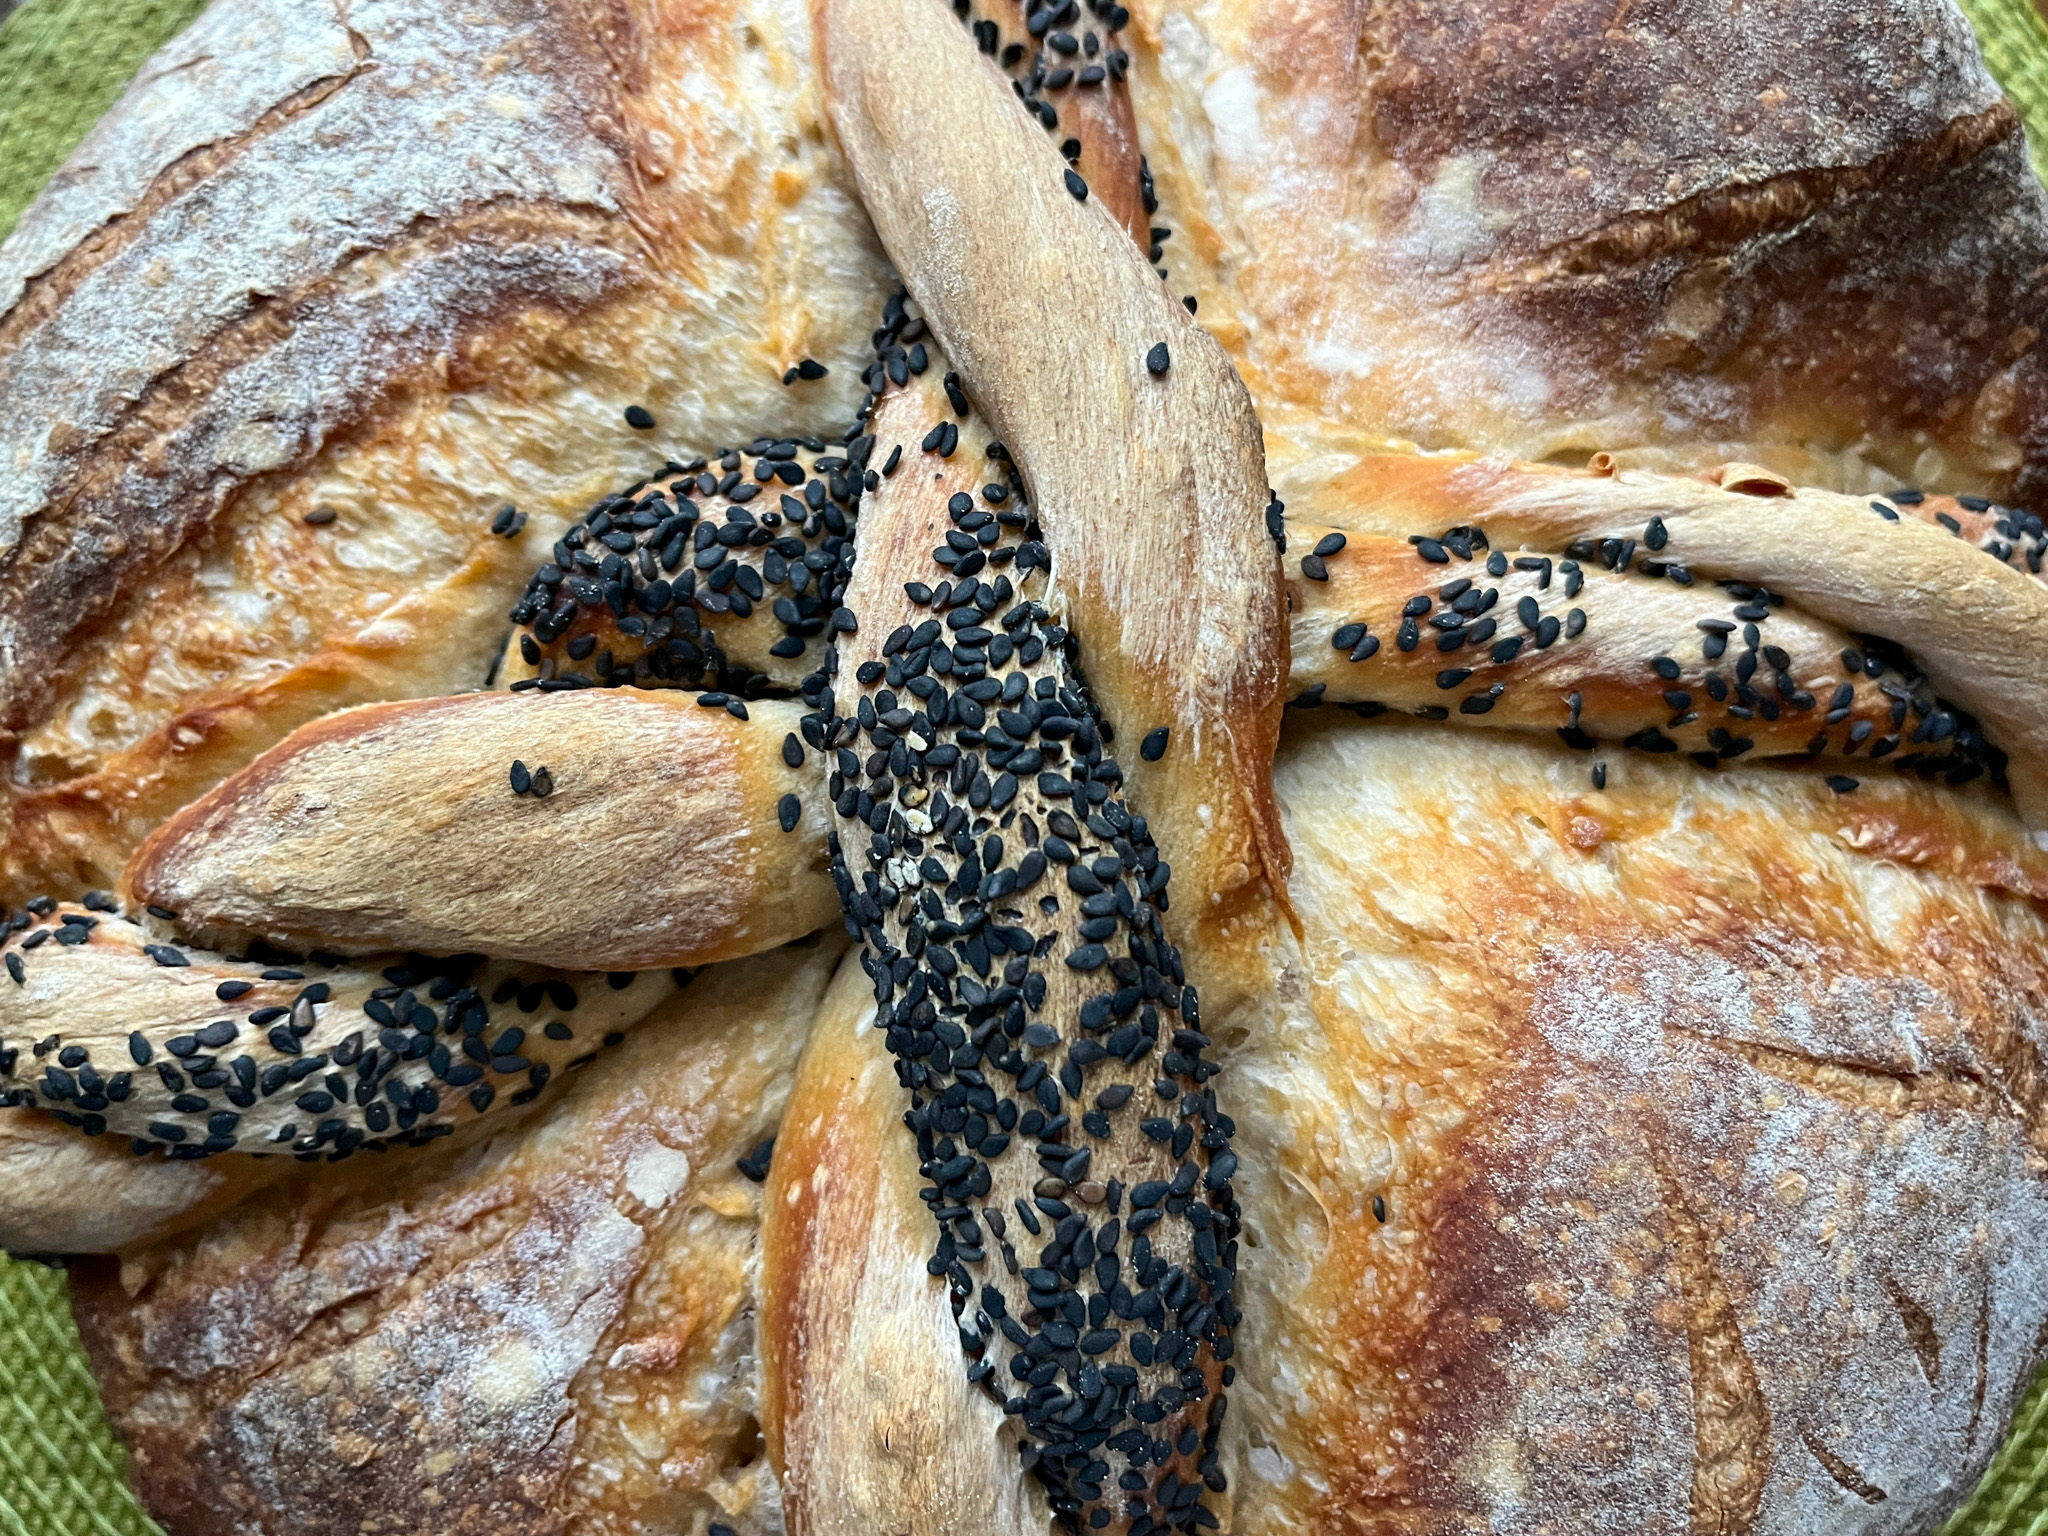
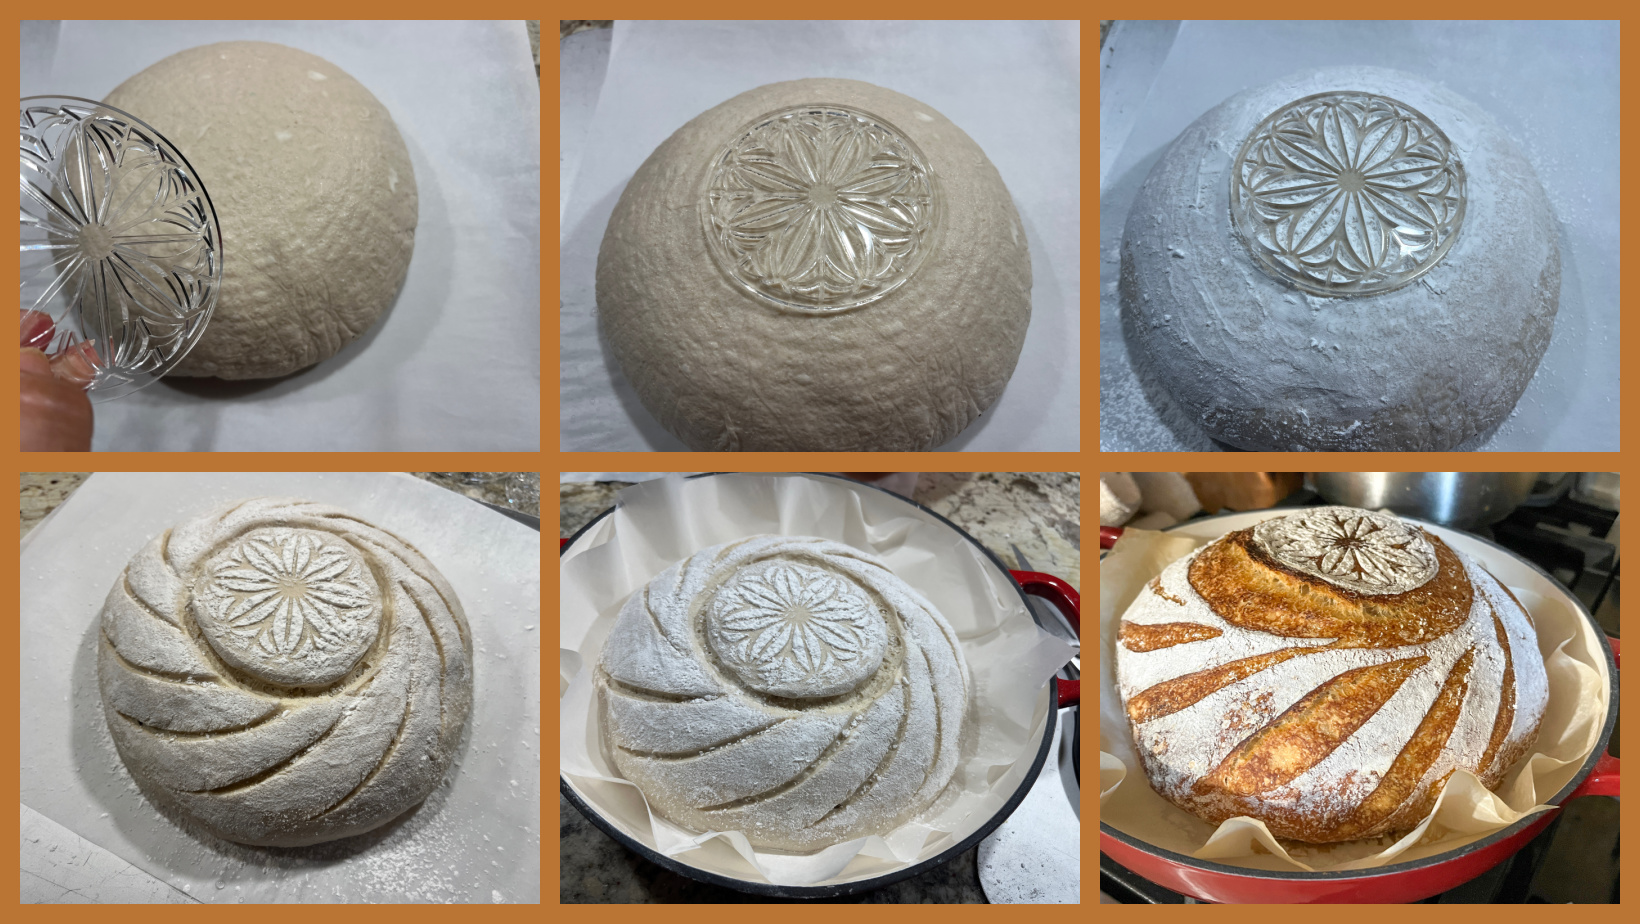
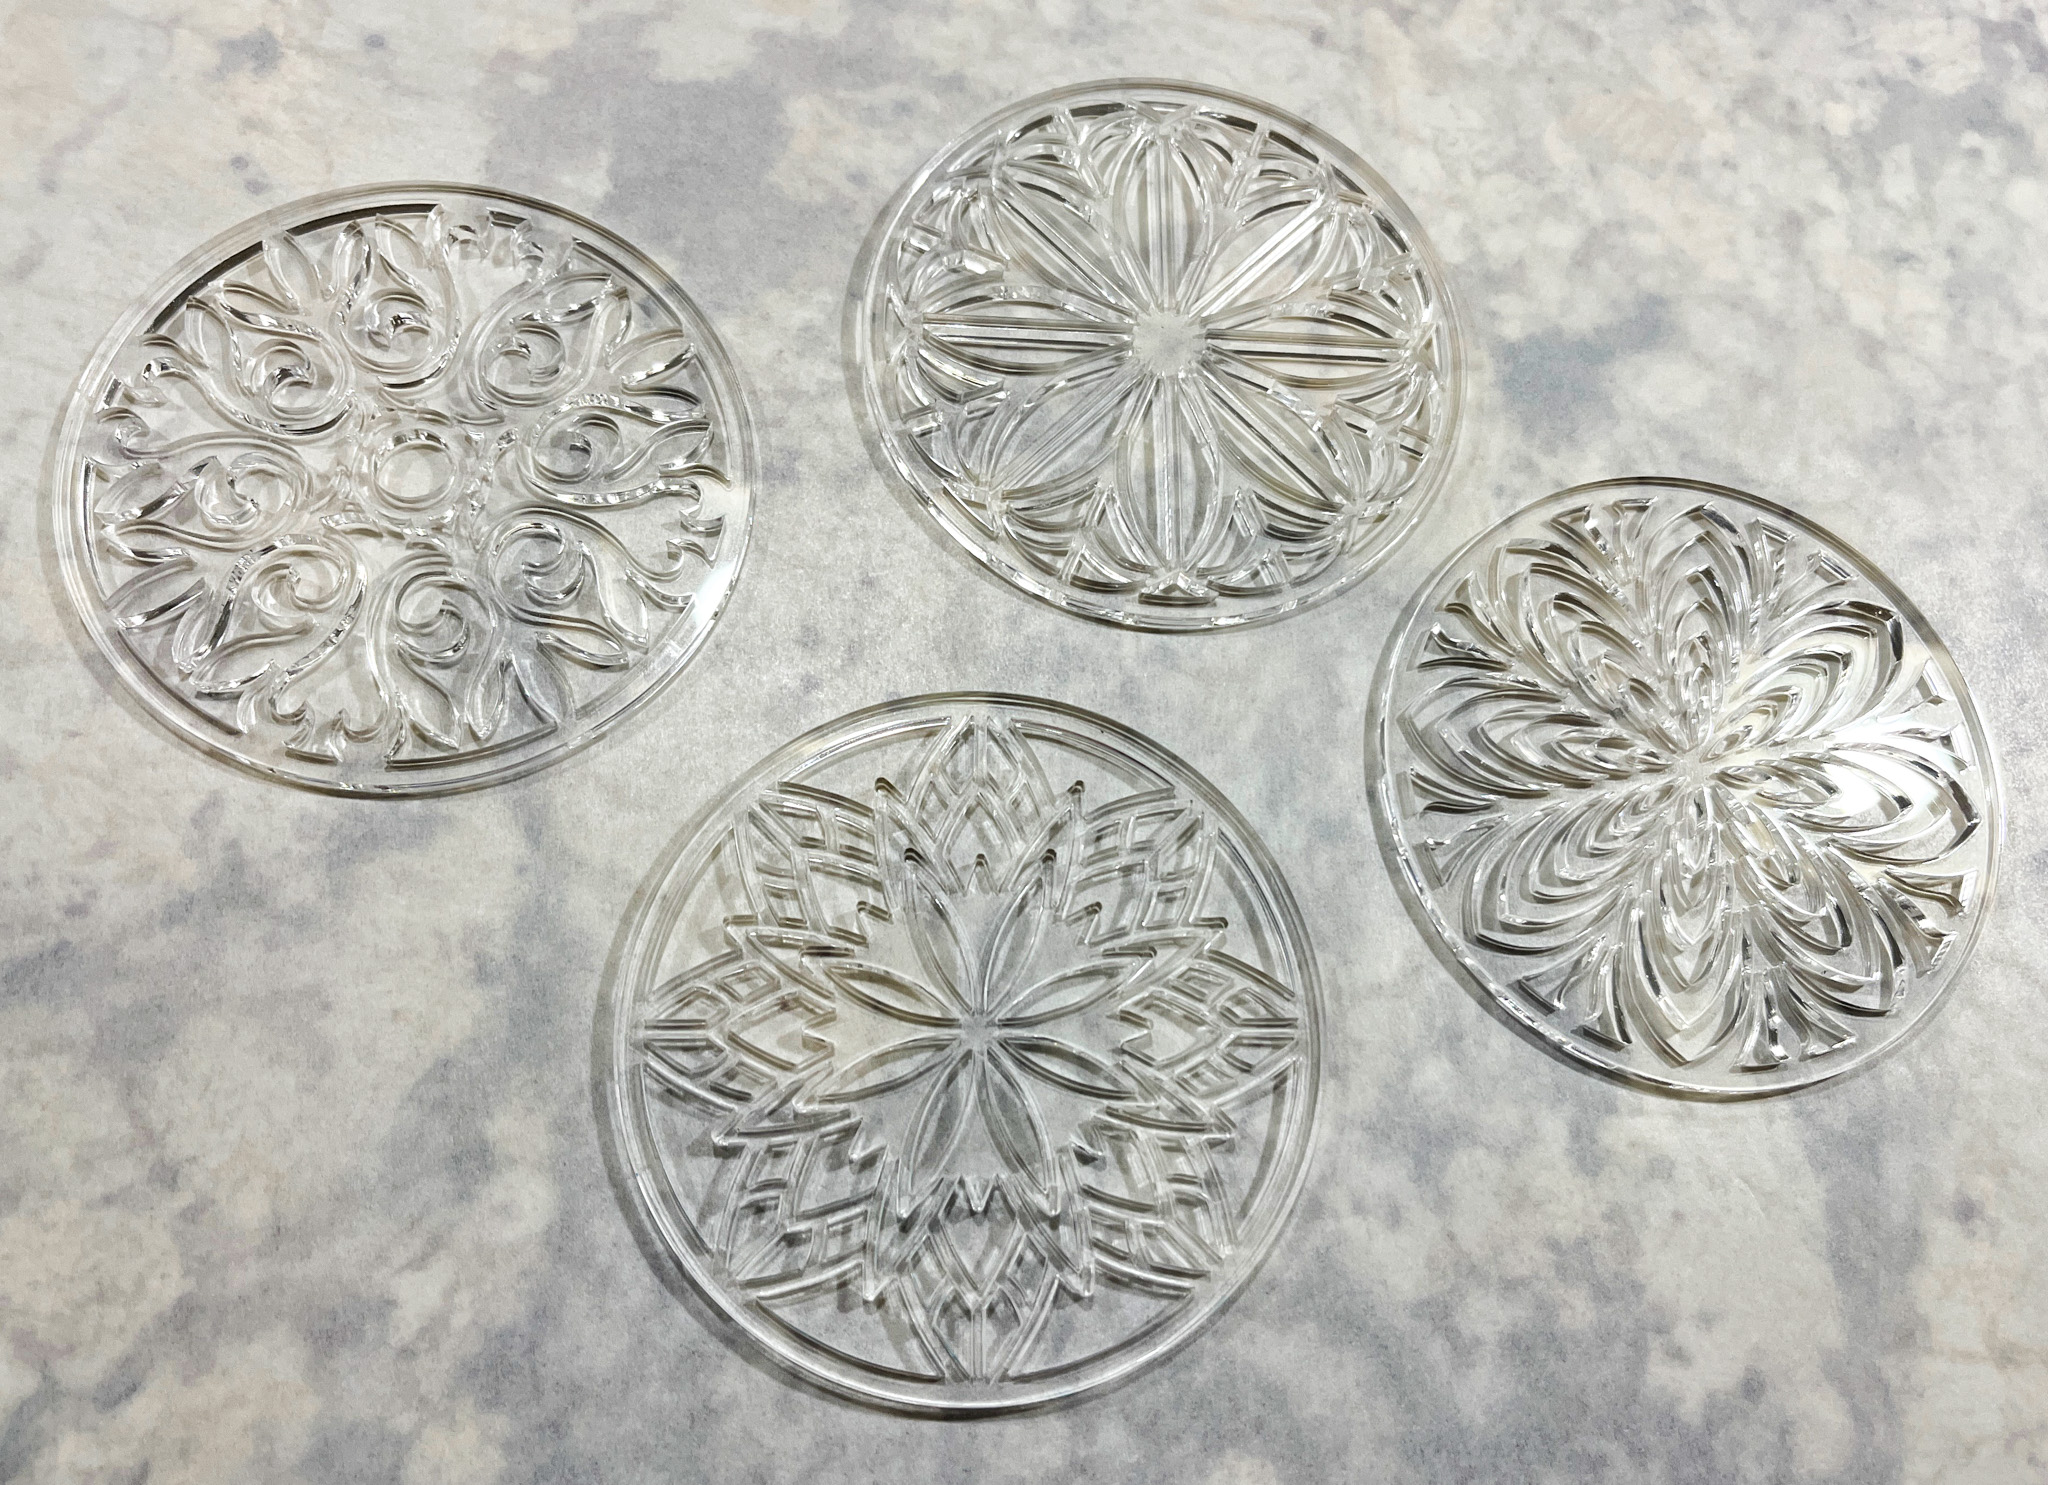
Next day, freeze the dough for 30 minutes in the banetton, to make it easier to score later. Invert the dough on the paper liner, place in the loaf pan, you can invert it over 3 strings if you like to make a pumpkin/flower shape. Score in any way you want, or use a stencil.
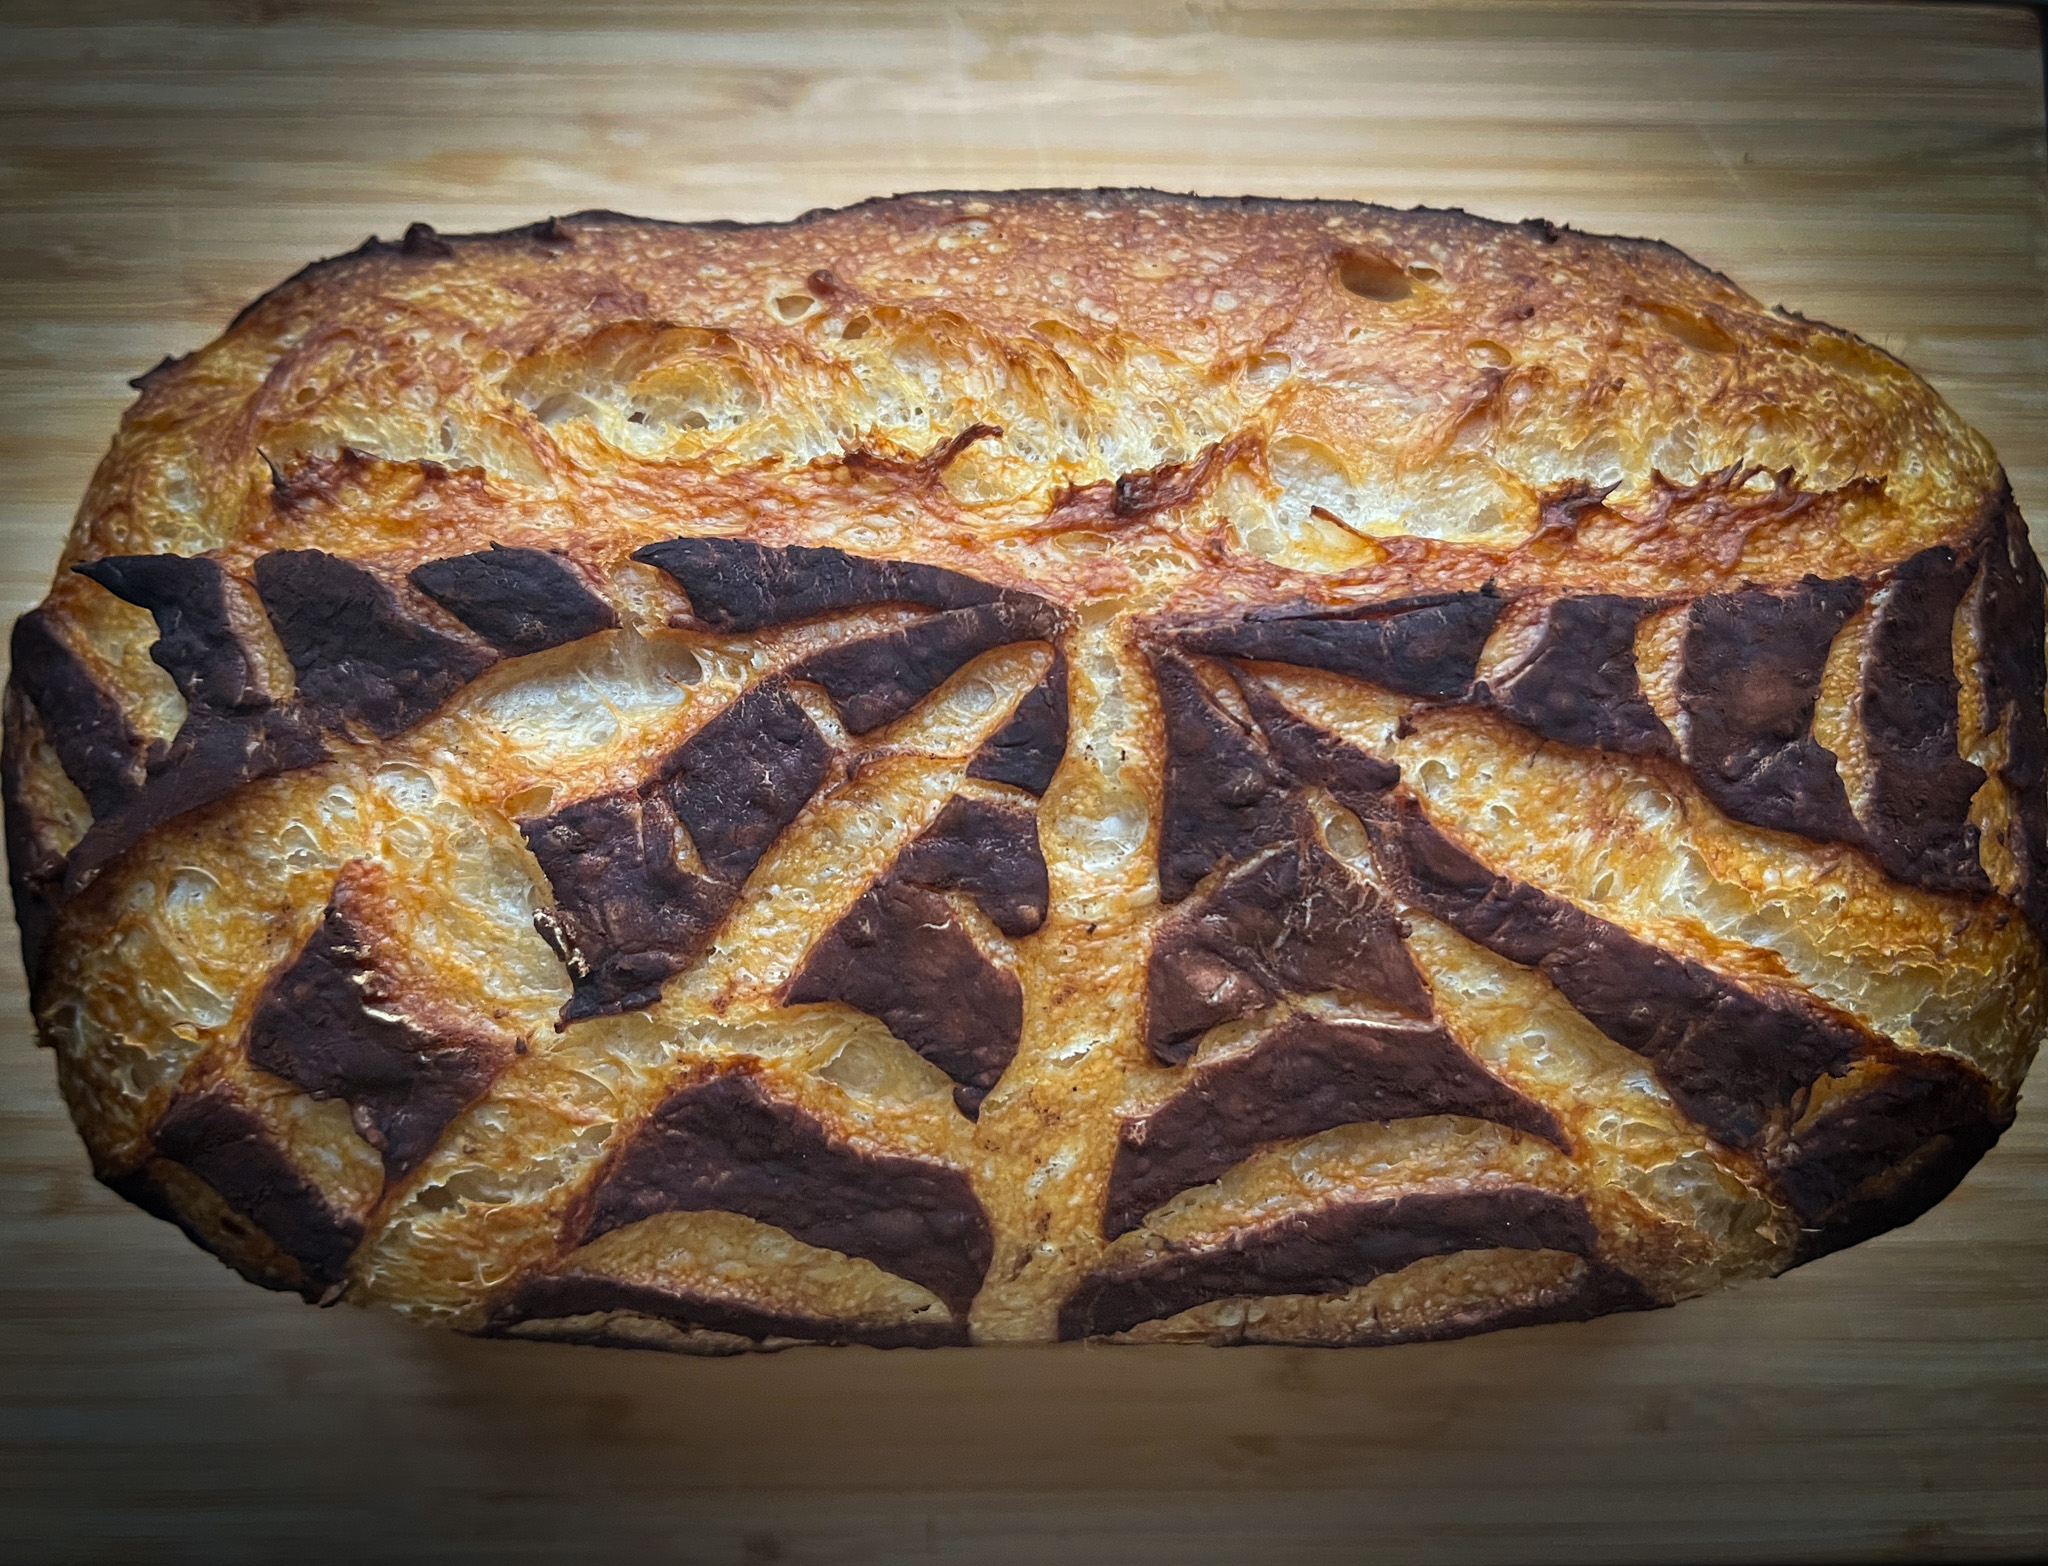
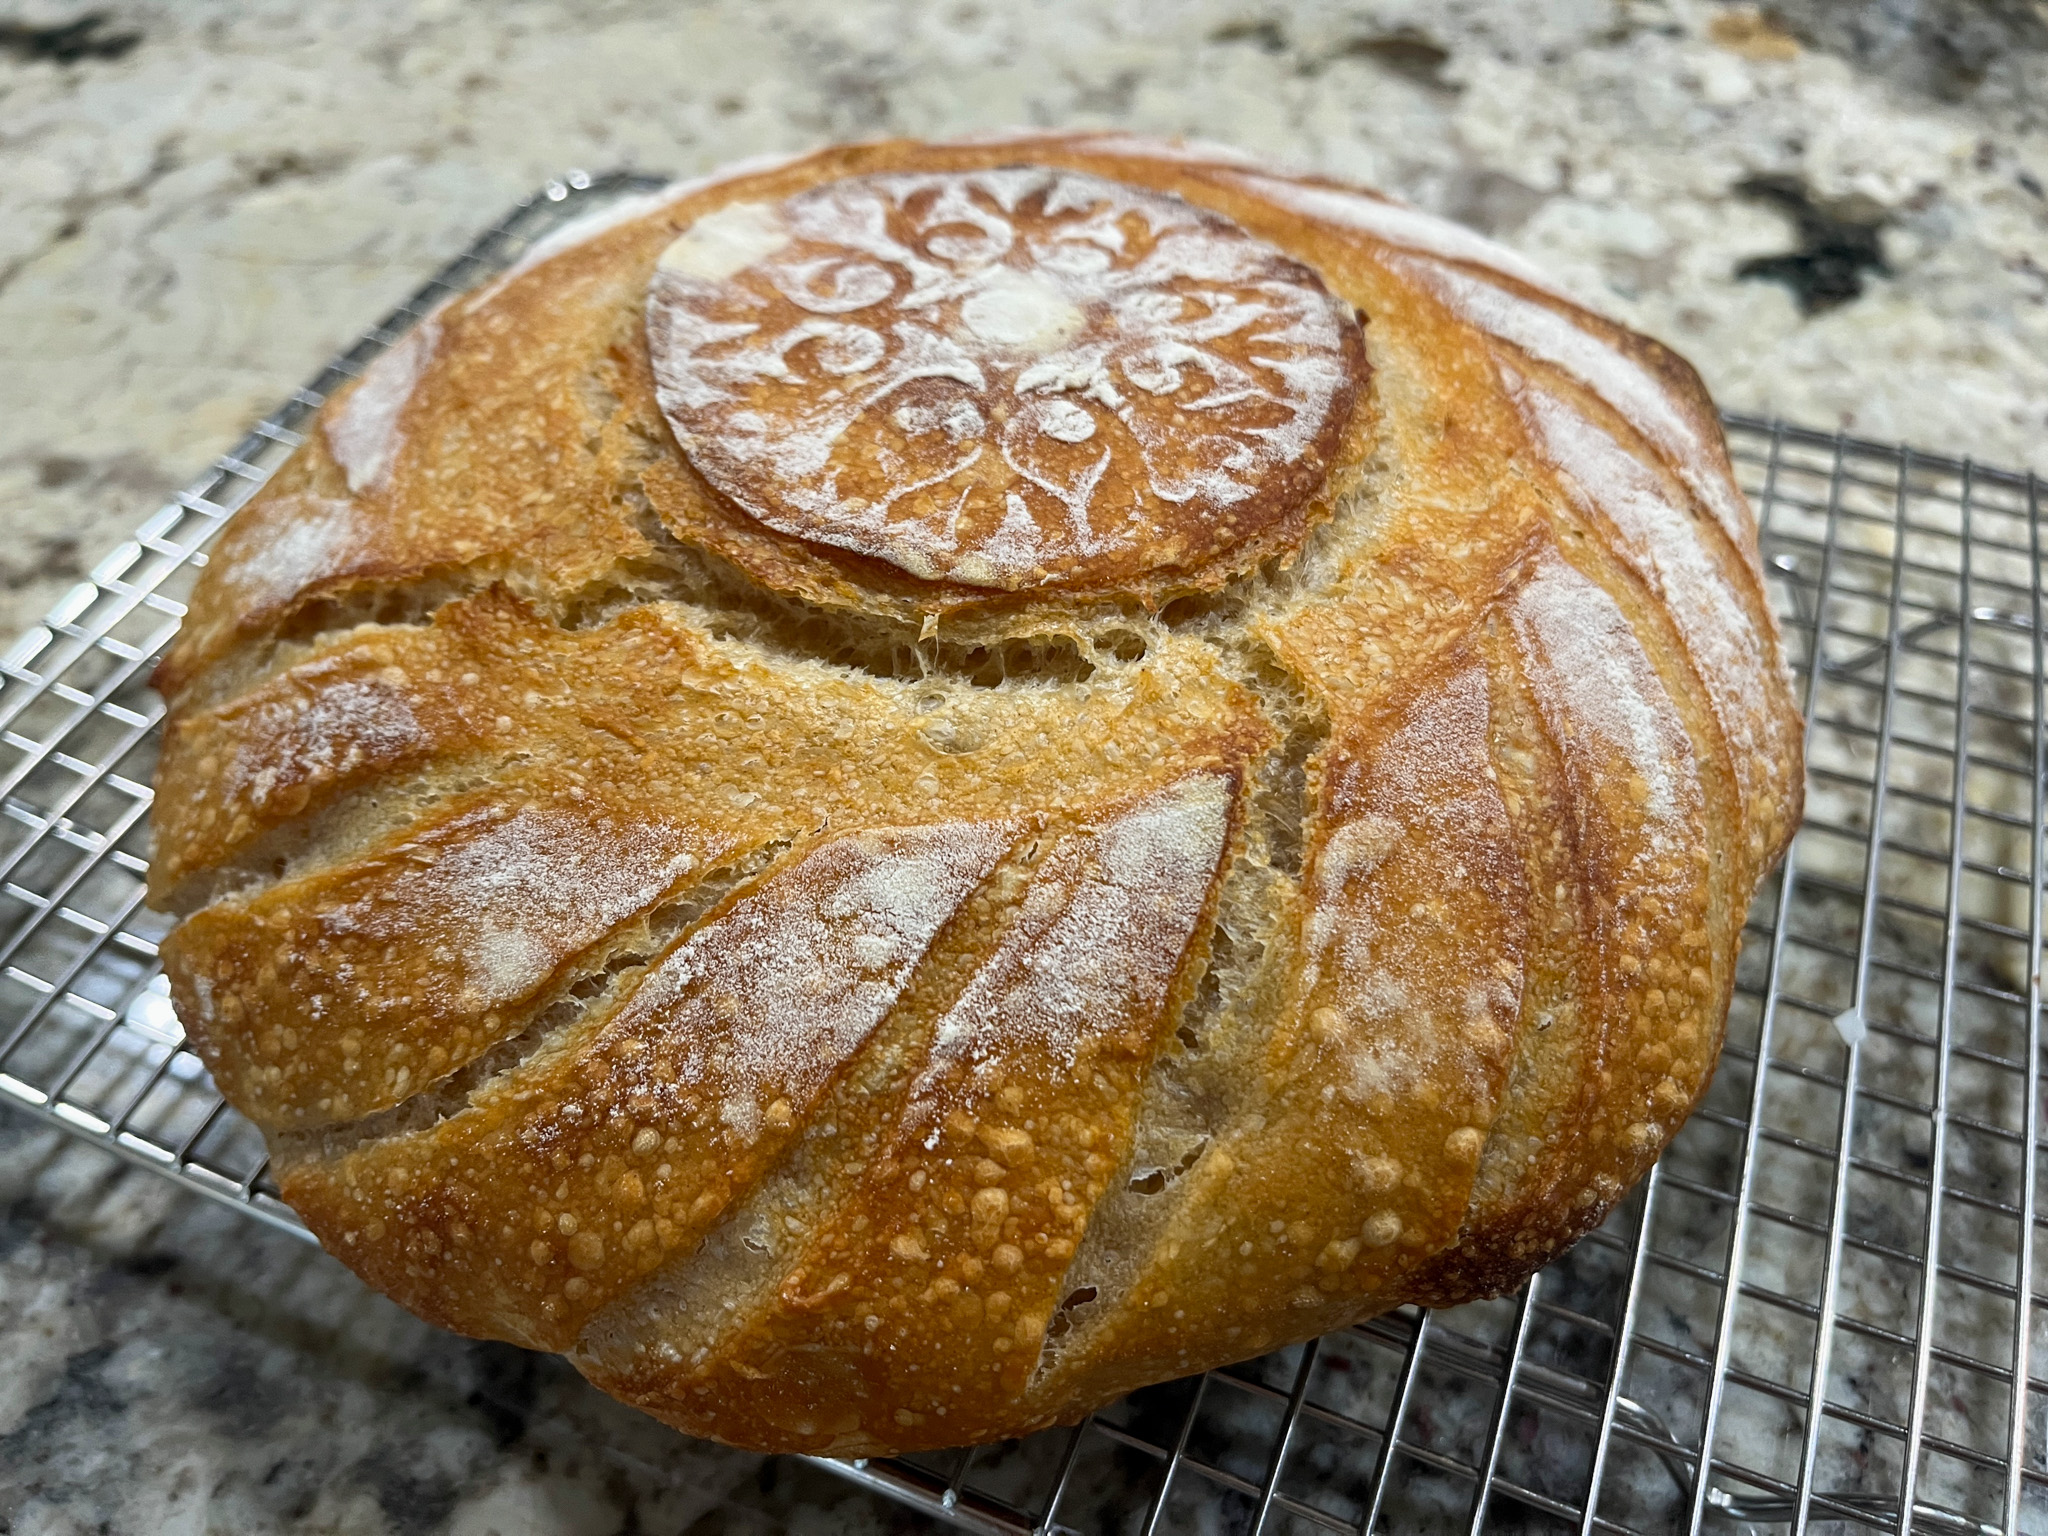
Close the pan and bake at 450F for 30 minutes. Remove the lid, and allow the bread to bake further for another 15 minutes or so. I found that the surface of the bread was not browning enough so after 40 minutes I removed them from the pan and let them bake for additional 10 minutes over the rack, outside of the pan.
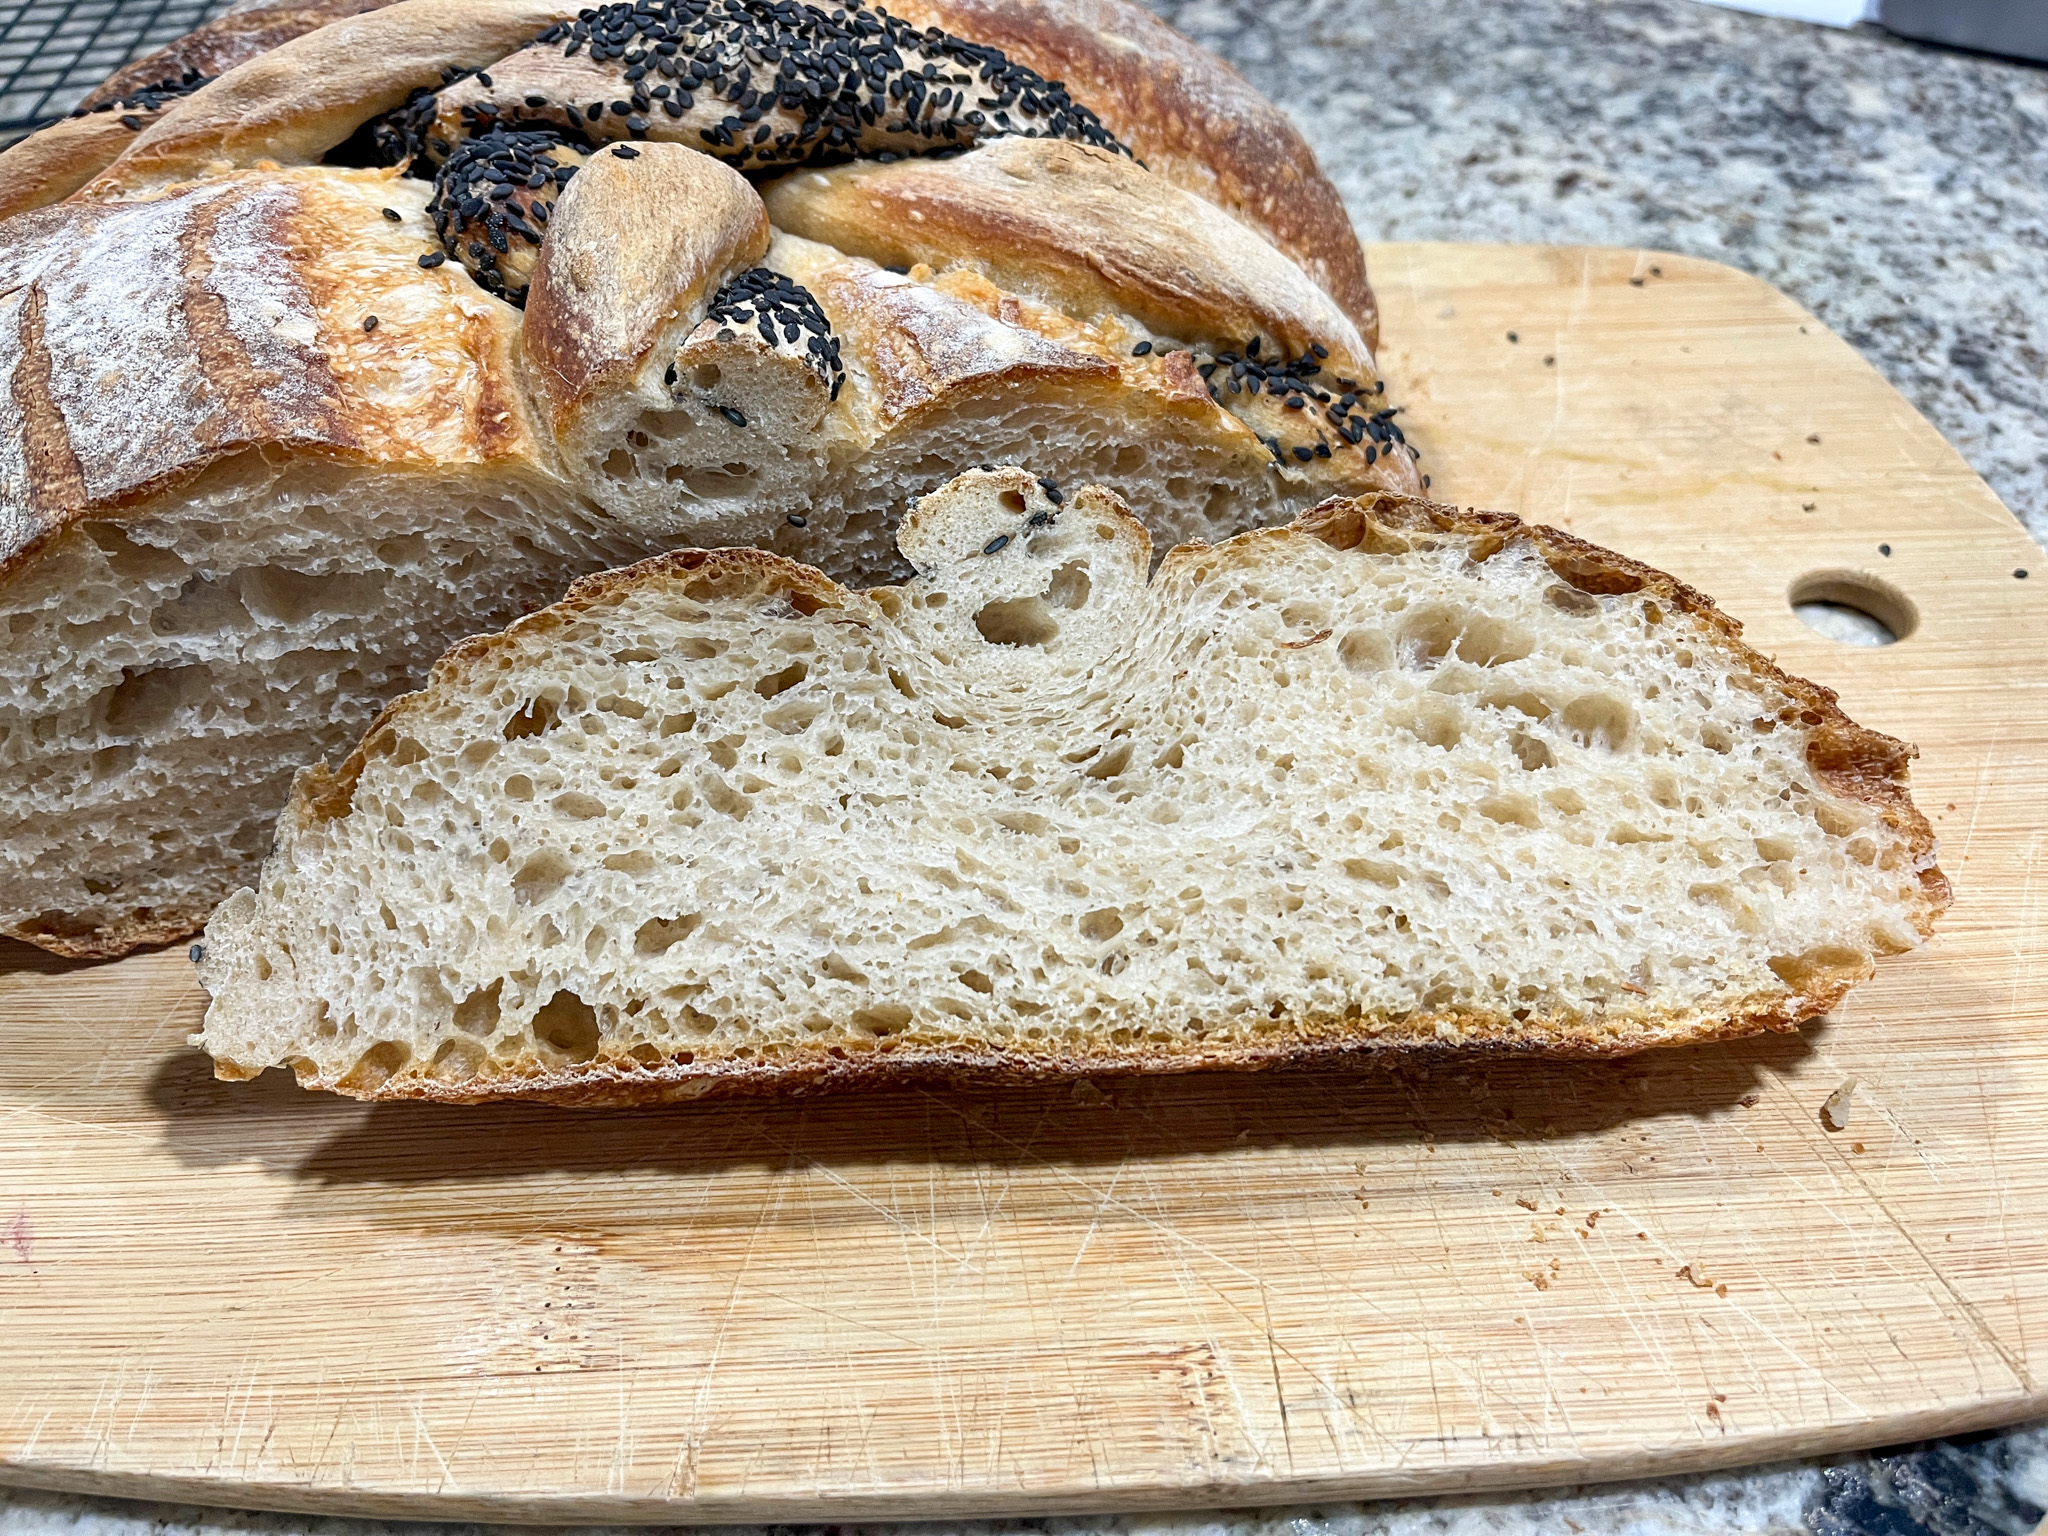
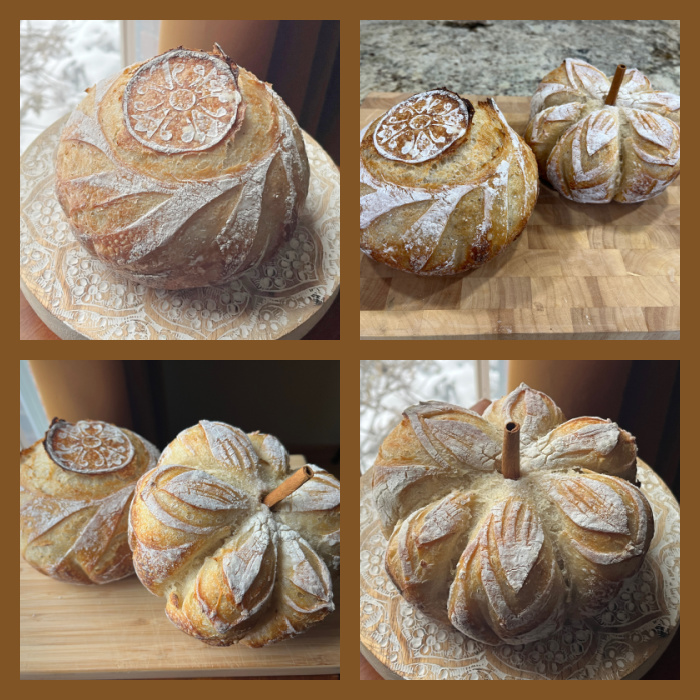
Let it cool completely before slicing.
ENJOY!
to print the recipe, click here
Comments: Cannot tell you how much we loved these loaves! They look adorable and baked perfectly side-by-side in the pan. I will be using it often. The loaves would be perfect for a dinner party, a sure way to impress your guests.
Did I need another sourdough toy? Probably not.
Am I happy I got it? OH, YEAH!
ONE YEAR AGO: November Cookie Round-up
TWO YEARS AGO: Pumpkin Shaped Soft Pretzel Rolls
THREE YEARS AGO: Cod Coconut Curry
FOUR YEARS AGO: The Best Ever Eggplant Parmigiana
FIVE YEARS AGO: Roasted Butternut Squash and Grapes with Maple Pomegranate Glaze
SIX YEARS AGO: A Really Big Announcement
SEVEN YEARS AGO: Stir-Fried Chicken in Sesame-Orange Sauce
EIGHT YEARS AGO: Monday Blues
NINE YEARS AGO: A New Way to Roast Veggies
TEN YEARS AGO: Two Takes on Raspberries
ELEVEN YEARS AGO: Spice Cake with Blackberry Puree
TWELVE YEARS AGO: Own Your Kitchen with Cappuccino Panna Cotta
THIRTEEN YEARS AGO: Chicken Parmigiana, the Thriller
FOURTEEN YEARS AGO: Wild Mushroom Risotto
FIFTEEN YEARS AGO: Tartine Bread: Basic Country Loaf
SIXTEEN YEARS AGO: Pugliese Bread