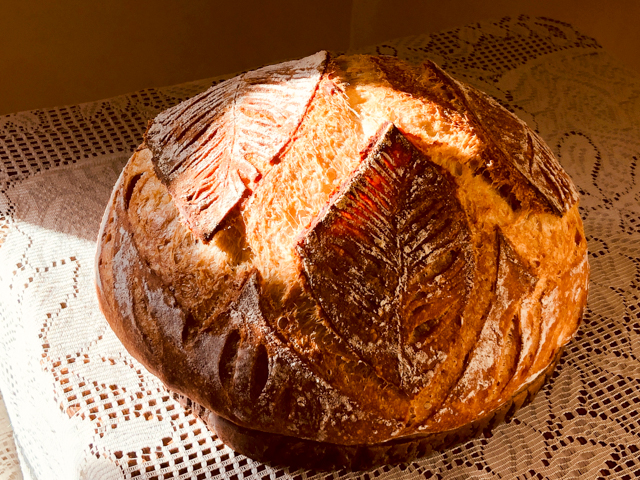
My sister Norma back in Brazil jokes that she would add smoked paprika to her toothpaste if at all possible… If you are in her team, this bread is for you. I did not add a lot, and feel that the bread could stand even more, as you will see in the comments. The scoring style, “Multiple Leaves”, was inspired by the one and only Morgi, from Israel. Check his quick video tutorial here.
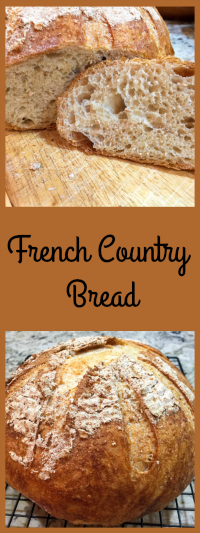
SMOKED PAPRIKA SOURDOUGH
(from the Bewitching Kitchen)
370g water
110g sourdough starter at 100% hydration
470g white bread flour
30g spelt flour
2 tsp smoked paprika
10g salt
Make the levain mixture about 6 hours before you plan to mix the dough. It should be very bubbly and active.
When you are ready to make the final dough, place the water in the bowl of a KitchenAid type mixer and dissolve the starter in it, mixing with a spatula briefly, then add the two types of flour, paprika, and salt. Turn the mixer on with the hook attachment and knead the dough for 4 minutes at low-speed all the time. You will notice the dough will gain quite a bit of structure even with just 4 minutes in the mixer. Remove from the machine, and transfer to a container lightly coated with oil, cover lightly with plastic wrap and allow it to ferment for 4 hours, folding every 45 minutes or so. Because the dough is already a bit developed from the initial time in the mixer, you should get very good structure after 3 and a half hours, or even sooner than that.
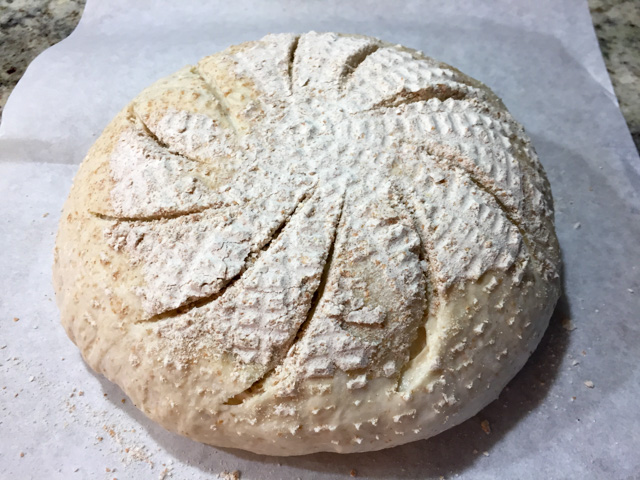
After four hours bulk fermentation, shape the dough as a ball, and place, seam side up, in a lightly floured banetton. Leave at room temperature one hour, and then place in the fridge overnight, from 8 to 12 hours.
Next morning, heat the oven to 450F.
Invert the dough on a piece of parchment paper and score with a new razor blade, if so desired, or simply make a cut on the surface in the shape of a cross with a very sharp knife.
Bake at 450F for 45 minutes, preferably covered for the first 30 minutes to retain steam. You can generate additional steam by spraying the inside of the lid with water before closing the pan. Cool completely over a rack before slicing.
ENJOY!
to print the recipe, click here

Comments: If you are into sourdough baking, I urge you to follow Morgi’s instagram page. His talent with artistic scoring is something! For many of his styles, he includes not only a photo of the finished bread, but a short video of the slashing, start to finish. It goes a little fast, but you can pause and even draw a sketch on paper as he goes, if necessary. For the multiple leaves, you can pretty much do whatever you like as far as spacing the leaves or keeping them close. I liked this scoring a lot because since the edges of the leaves are cut more deeply, and the veins very lightly, the bread will not ruin the design as it bakes: it will naturally open around the edges of the leaves. Very clever.
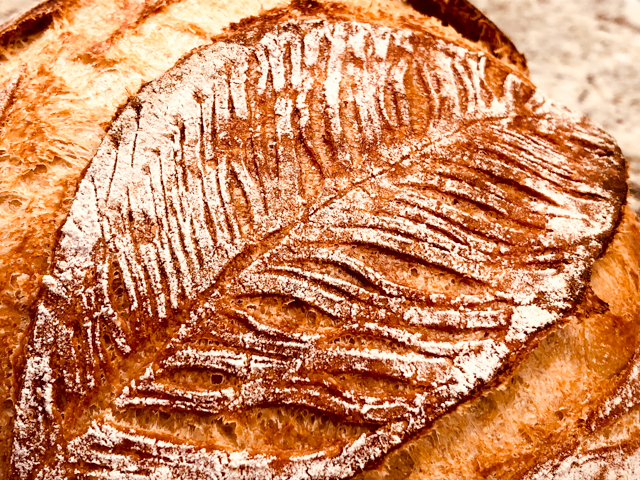
The smoked paprika gave a delicate pink hue to the crumb and crust, next time I might add three teaspoons instead of two, to intensify the flavor.


This bread was once again made with my basic method, which starts with a 4 minute kneading in the KitchenAid. The only modification I’ve incorporated was leaving it at room temperature for one hour before placing it in the fridge overnight. I notice a slightly more open crumb and more oven spring when I do that.

ONE YEAR AGO: A Cake to say I Love You, from Kim-Joy’s cookbook
TWO YEARS AGO: Lemon-Almond Cake with Cranberry Glaze
THREE YEARS AGO: The Iron (Uptake) Chef Challenge
FOUR YEARS AGO: Thank you!
FIVE YEARS AGO: Salmon Rillettes, a Classy Appetizer
SIX YEARS AGO: Linzer Cookies
SEVEN YEARS AGO: Baked Ricotta, Take Two
EIGHT YEARS AGO: Pumpkin Uncanned
NINE YEARS AGO: Pork Ragu
TEN YEARS AGO: Friendly Kuri Squash
ELEVEN YEARS AGO: Celery and Apple Salad