
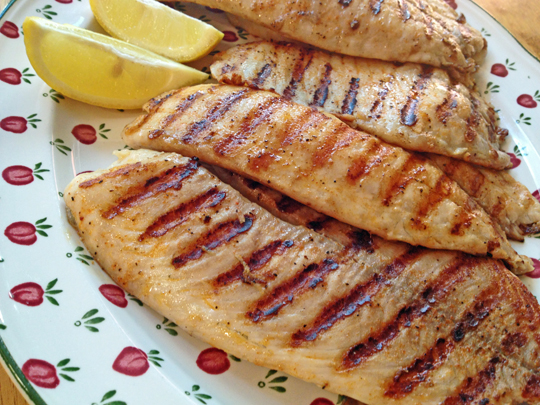
One of our favorite main dishes, boneless chicken thighs cook on the grill very fast and always turn out moist and tender. For this marinade, make sure you leave it several hours in the fridge, the acidity in the lemon won’t affect the texture and the flavor will be much more pronounced. Yes, that is a lot of meat for two people, but we always cook with leftovers in mind.

LEMONY GRILLED CHICKEN THIGHS
(from the Bewitching Kitchen)
8 boneless, skin-less chicken thighs
for the marinade:
1 tsp salt
1/2 tsp black pepper
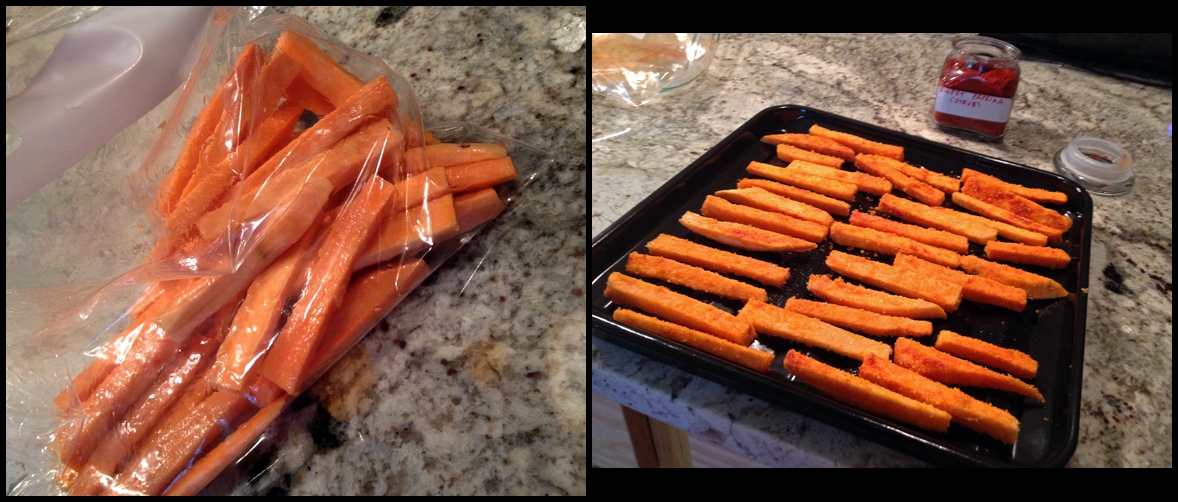
1 tsp smoked paprika
1 tsp Herbes de Provence
1/4 cup avocado oil
juice of 1 lemon
2 tsp Dijon mustard
Make a marinade whisking well all ingredients in a bowl. Add to the pieces of chicken, preferably inside a large plastic bag. Place in the fridge for several hours.
Heat the grill and remove the chicken from the marinade. Pat it dry, and if you like it to be a bit more salty, season each piece lightly with additional salt (we do like that).
Grill on both sides until done, in our grill it takes a total of 16 minutes, 8 minutes per side.
ENJOY!
to print the recipe, click here

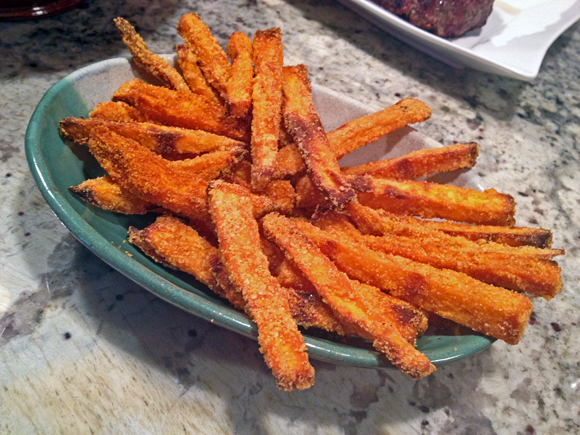
Comments: We cook boneless chicken thighs all the time, I like to use a yogurt-based marinade, and smoked paprika is almost always part of it. There’s something about its flavor when you grill the meat that I find irresistible. This marinade is considerably brighter, so to speak. More intensely flavored. For this meal, I paired the juicy chicken thighs with air-fried cauliflower, and snow peas sauteed with lemon plus a touch of soy sauce. Apparently, I can never had too much lemon around. Excellent dinner! And, pretty light too.

ONE YEAR AGO: Springerle Cookies
TWO YEARS AGO: Chickpeas and Zucchini with Tahini Sauce
THREE YEAR AGO: Mokonut’s Rye Cranberry Chocolate Chip Cookies
FOUR YEARS AGO: Incredibly Simple Times Four
FIVE YEARS AGO: Going naked, and my husband loved it
SIX YEARS AGO: Cream Cheese Mini-Pancakes with Smoked Salmon
SEVEN YEARS AGO: Star-Shaped Chocolate Brioche Bread
EIGHT YEARS AGO: Blueberry-Banana Bread
NINE YEARS AGO: Into the Light Again
TEN YEARS AGO: Five Grain Sourdough Bread
ELEVEN YEARS AGO: The Nano-Kitchen
TWELVE YEARS AGO: Kaiser Rolls


