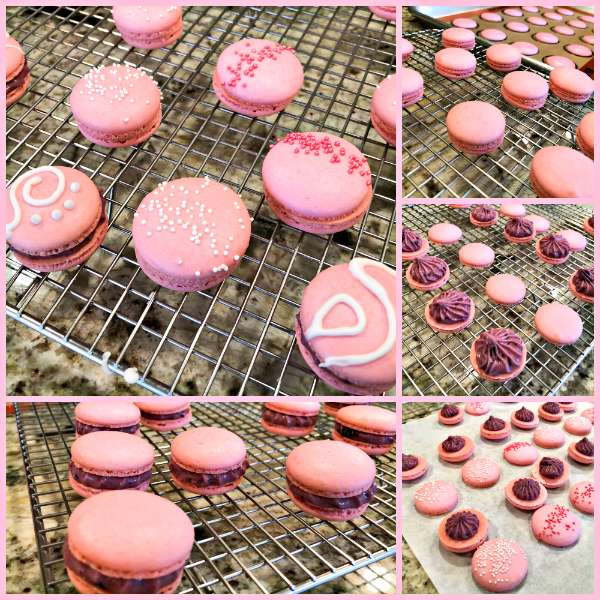
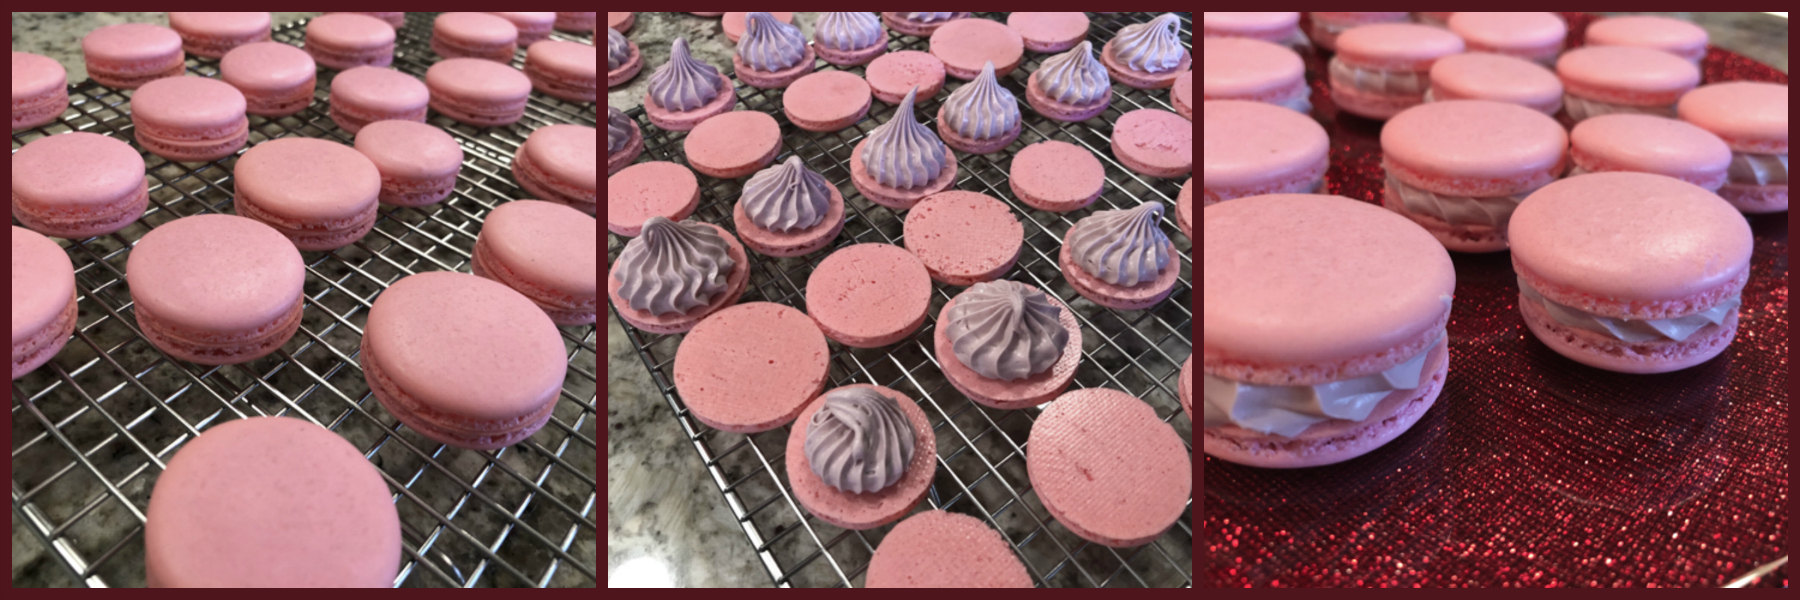
So many macarons, so little time… These were made using my default recipe – French meringue, resting for about 30 minutes before baking (the macs, not the baker) – but with one small change in the method: I did most of the macaronage in the Kitchen Aid mixer with the paddle attachment. If you are new to making macarons, I don’t advise trying it on your first time, but as soon as you get a bit more familiar with the extent of mixing needed before piping, go for it. It is fast, a lot easier on your arms, and works like a charm. I must say these are fighting to sit in the position of Sally’s Favorite Macarons of All Times. Can you imagine that?

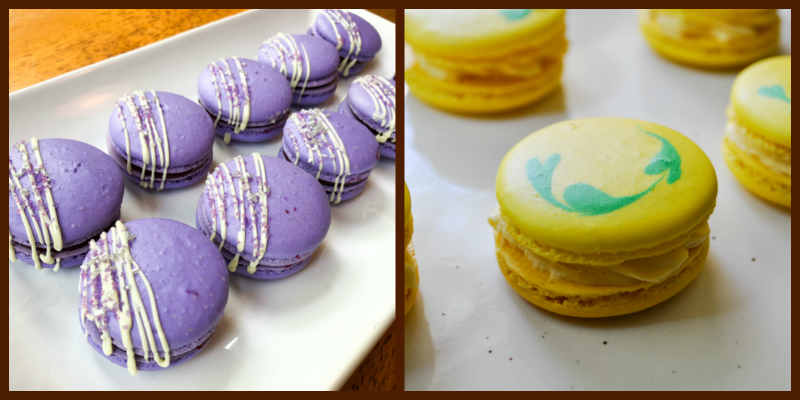
COCONUT AND LIME MACARONS
(from the Bewitching Kitchen)
for the shells:
198 g powdered sugar
113 g almond meal
113 g egg whites at room temperature
a pinch of cream of tartar
100 g granulated sugar
Green food gel from Chefmaster
1/8 tsp coconut extract
for the filling:
250 g white chocolate, chopped finely
50 g heavy whipping cream
50 g coconut milk (full-fat)
zest of 1 lime
to decorate:
melted white candy melts
sprinkles of your choice
Line 2 or 3 heavy baking sheets with parchment paper or Silpat mats. Layer the powdered sugar and almond meal in a food processor. Pulse until the mixture looks like fine meal, about 15 seconds. Pass through a sieve and transfer to a small bowl. Set aside.
Place the egg whites and pinch of cream of tartar in the bowl of a stand mixer fitted with the whisk attachment. Make sure that the bowl and the whisk are impeccably clean. Starting on medium speed, whip the whites with the cream of tartar until they look like light foam. The whites should not appear liquid. The foam will be light and should not have any structure.
Slowly rain in the granulated sugar, trying to aim the stream between the whisk and the side of the bowl. Turn the speed up to medium-high. Continue to whip the meringue until it is soft and shiny. It should look like marshmallow creme. Add the gel color and the vanilla. Staying at medium-high speed, whip the egg whites until the mixture begins to dull and the lines of the whisk are visible on the surface of the meringue. Check the peak. It should be firm.
Switch to paddle attachment. Add half the almond meal mixture, turn the mixer on low and mix for about 3 seconds. Stop and add the rest of the almond mixture, turn the mixer on low, and process for about 5 more seconds. It should still be reasonably thick, but the grains of almond should be more or less disappearing in the batter. Remove the bowl from the mixer, and finish the macaronage by hand. Put the mixture in a piping bag fitted with one of the tips listed above. Pipe on the prepared baking sheets.
Slam each sheet hard four to six times on the counter. Then fist bump each end of the sheet’s underside twice. Let the unbaked macarons dry until they look dull but not overly dry. Drying time depends on humidity. Ina dry climate, the macarons can dry in 15 to 20 minutes; in a humid climate, it can take 35 to 40 minutes.
While the macarons are drying, heat the oven to 300 F. Bake one sheet at a time on the middle rack. Check in 11 minutes. If the tops slide, then bake for 2 to 3 more minutes. The macarons should release without sticking. Check one or two. If they stick, put them back in the oven for 1 to 2 more minutes. Let the macaroons cool for 10 minutes before removing from the pan.
Make the filling: Place the chopped white chocolate in a bowl. Warm up the heavy cream almost to boiling, add the lime zest and allow it to sit for 15 minutes, covered. Add the coconut milk, heat the mixture again to almost boiling, pour over the chocolate. Wait for a couple of minutes and gently mix the chocolate to dissolve it fully. White chocolate is very delicate, if you need to heat it in the microwave to fully dissolve it, do it in at most 10 second intervals using 50% power. Once it is fully dissolved, allow it to cool to room temperature and then whip it with a handheld mixer until fluffy. Do not do it for too long or the ganache will turn grainy.
Assemble the macarons: find two macarons similar in size and add a good amount of filling to the bottom of one of them. Place the other on top and squeeze gently to take the filling all the way to the edge. Store in the fridge for 24 hours for perfect texture.
ENJOY!
to print the recipe, click here

Comments: Macarons inflict fear on bakers. Things can go wrong, and when they do, it’s pretty frustrating, although there are uses for ruined shells. Macawrongs, as some call them, can be crumbled and used to add texture in cake layers, can go over mousses or ice creams, no need to trash them. In fact, I have recently seen amazing macarons in which badly cracked shells turned into works of art. The clever baker simply used gold pearl dust dissolved in vodka and painted the cracks using a fine brush. The effect is stunning! I’ve been hoping for cracked shells, but of course, once you want them, they don’t happen. Yeah, macarons. They know how to keep you on your toes.
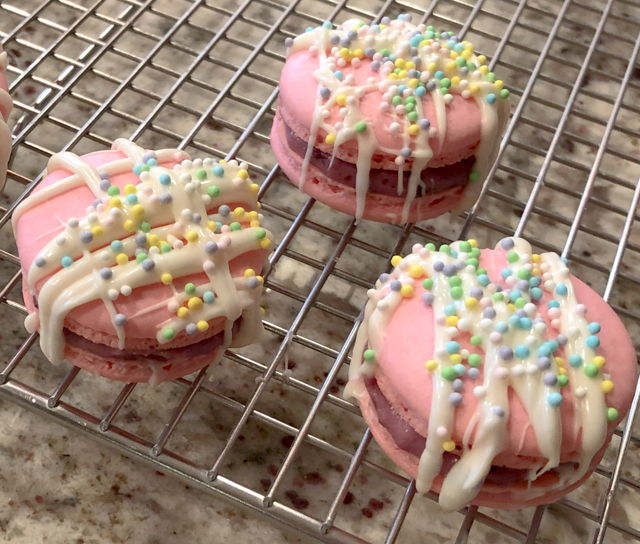
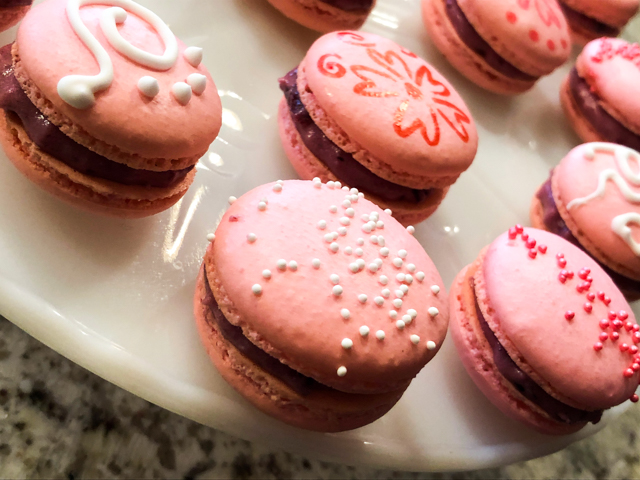
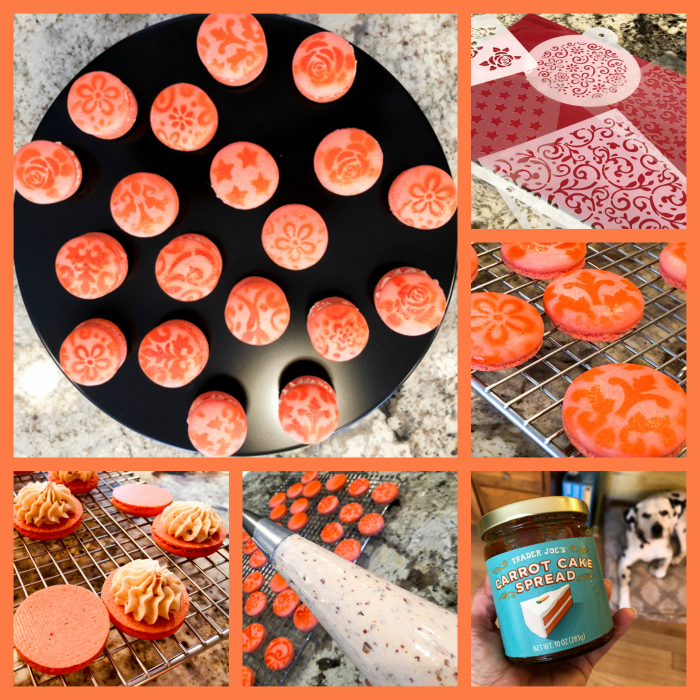
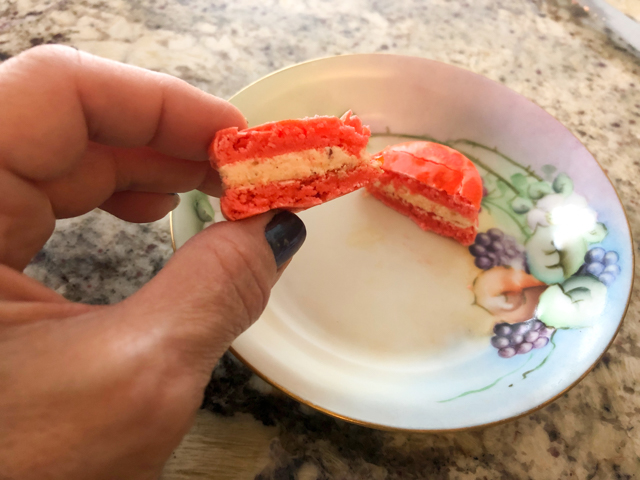
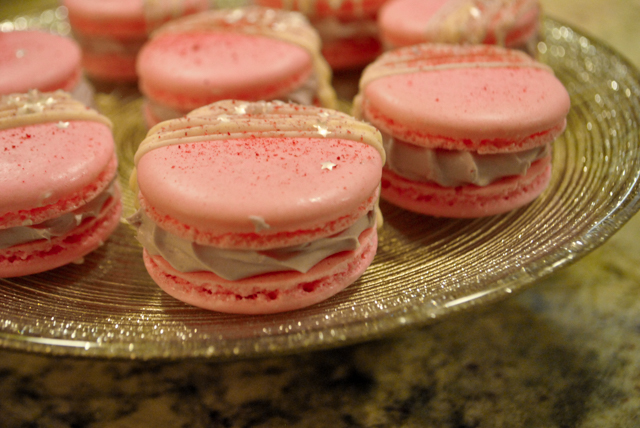
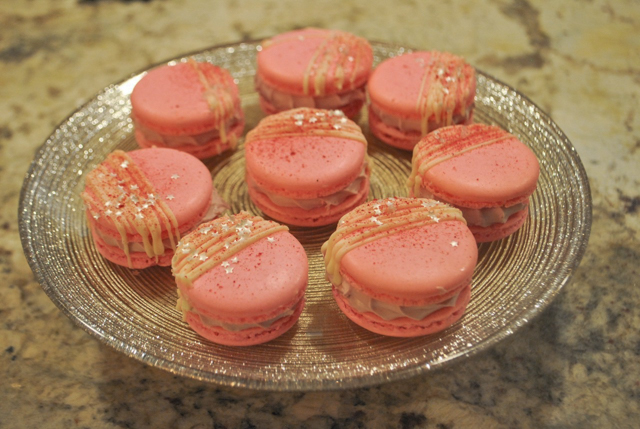
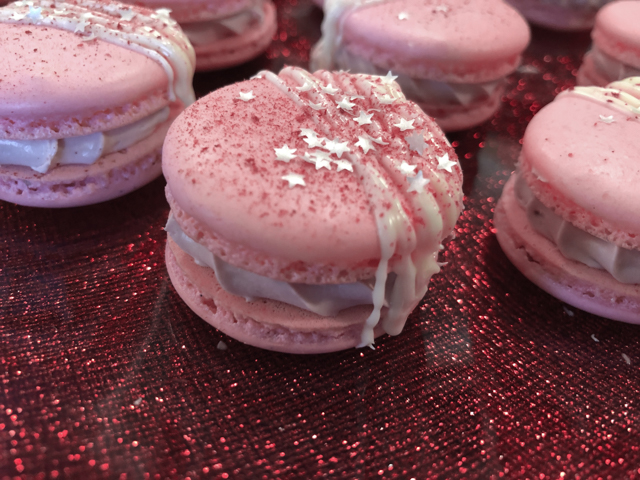
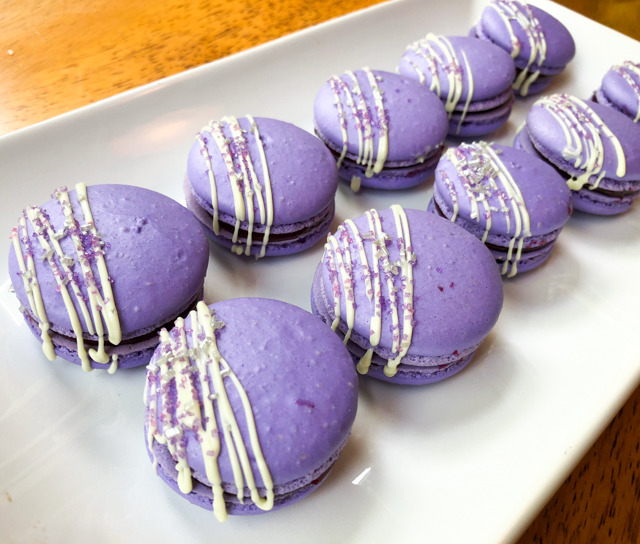
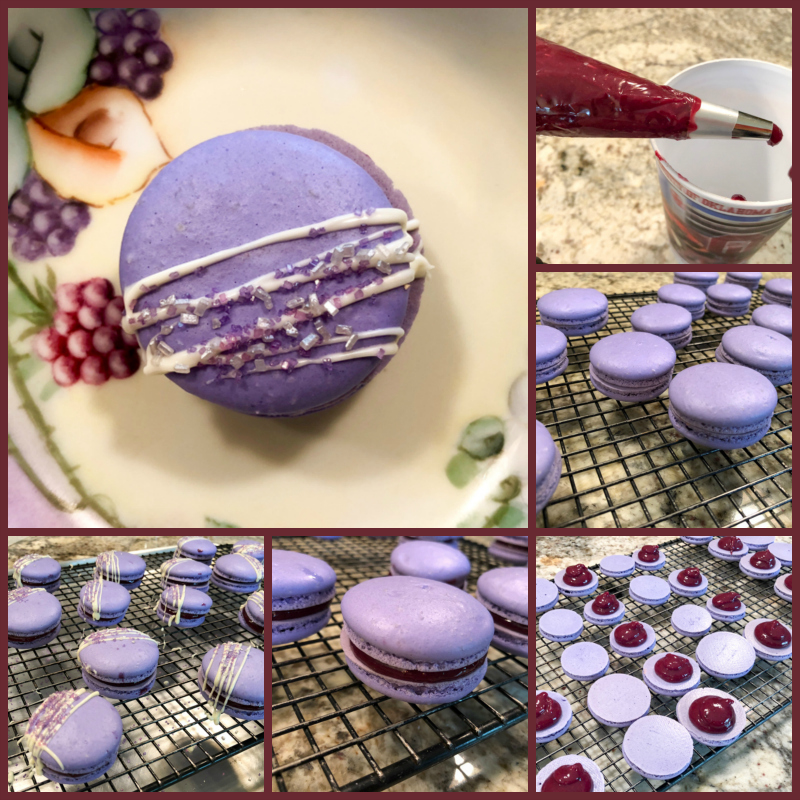
These macs delivered just what I wanted, a good taste of coconut with the delicate sourness of limes to go with it. The labor of love was separating the white and green sprinkles from the other colors, but it was worth it. Since I used candy melts for the drizzle, I had to work fast because that tends to solidify quickly. So I drizzled four macarons at a time, decorated them and moved to the following set of four. I felt pretty fancy using tweezers to place the large sprinkles exactly where I wanted, but of course that slows things down. Baking: one of the most efficient ways to practice patience.

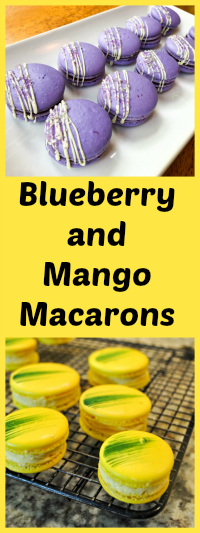
Summarizing what’s new about this post: you can do 90% of the macaronage in your Kitchen Aid, just change the whisk to the paddle, add the almond mixture in two installments. Beat 3 seconds after first addition, in low-speed, add the second half, and beat 5 seconds. Finish by hand after that. And, to make a coconut flavored shell and filling, simply use coconut extract instead of vanilla in the shells, and a portion of coconut milk in place of heavy cream when you make the ganache with the white chocolate. You can use that as a basis for different flavors, maybe adding a touch of passion fruit, or mango instead of infusing the cream with lime zest. Have fun with it… That’s what macs are for. Apart from sometimes driving you crazy.

ONE YEAR AGO: Flank Steak Carnitas
TWO YEARS AGO: Sesame and Poppy Seed Sourdough
THREE YEARS AGO: Pecan-Crusted Chicken from Southern at Heart
FOUR YEARS AGO: Lamb Shanks en Papillote with Cauliflower-Celeriac Purée
FIVE YEARS AGO: Chestnut Brownies and a Blog Award!
SIX YEARS AGO: Quinoa with Cider-Glazed Carrots
SEVEN YEARS AGO: Celebrate Wednesday: Heirloom Tomatoes Steal the Show
EIGHT YEARS AGO: Pain de Provence
NINE YEARS AGO: Golspie Loaf, from the Scottish Highlands