I adapted this recipe from a salad version published a few years ago by Jessica, from howsweeteats. Absolutely delicious, it will be part of our rotation for sure from now on. I urge you to give it a try.

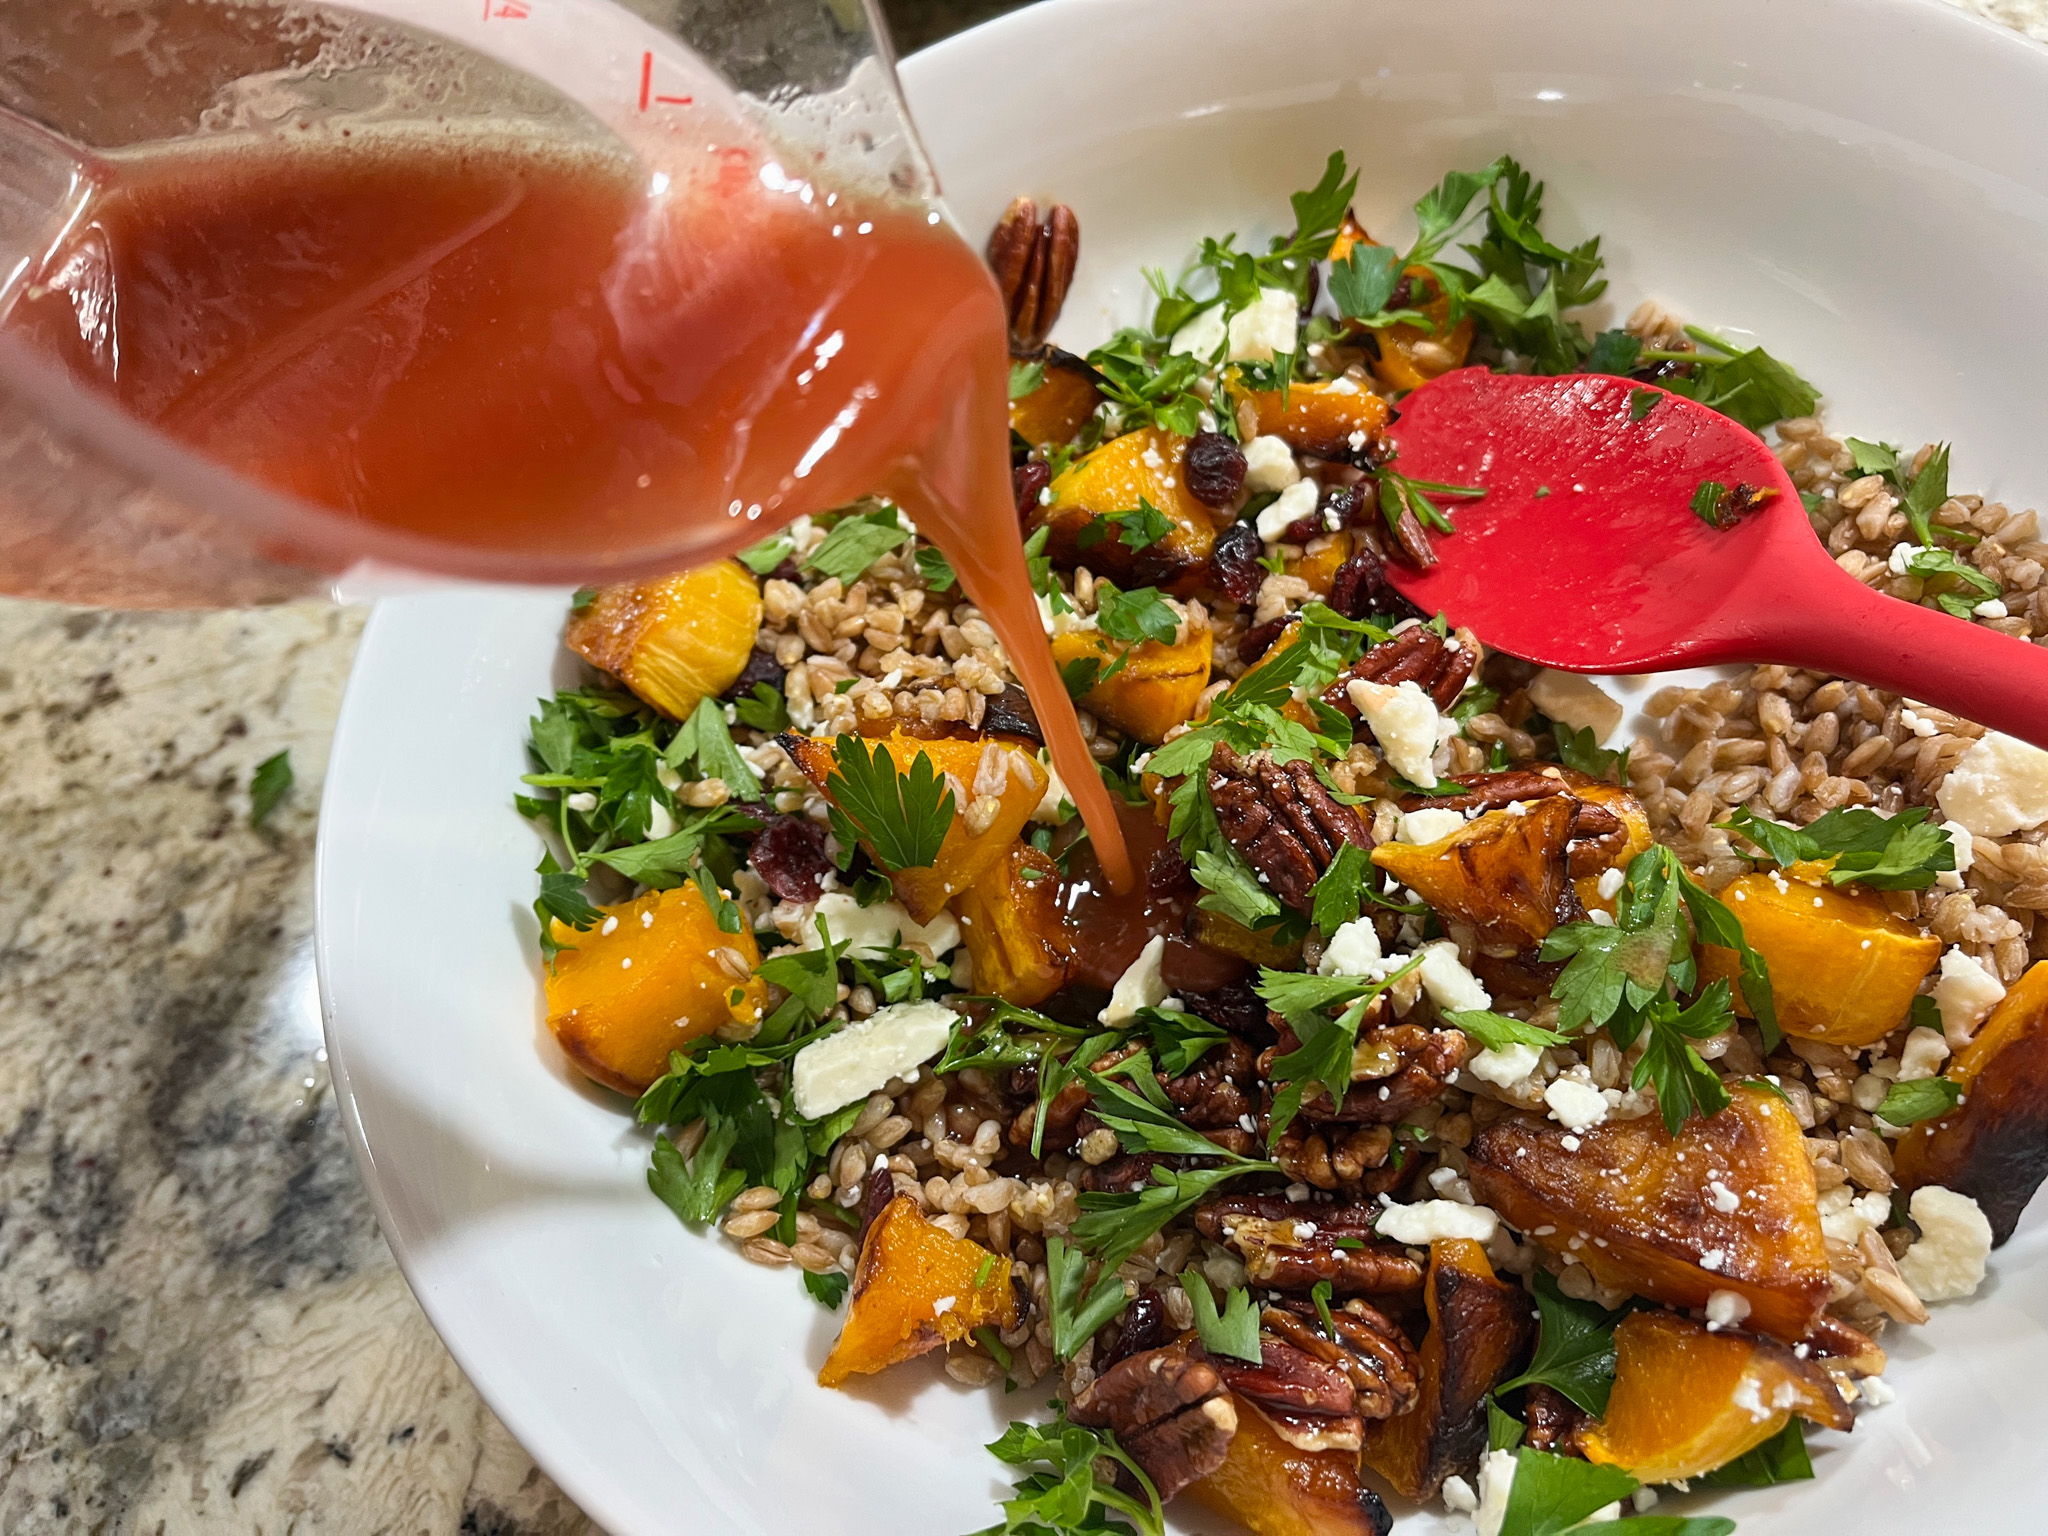
FARRO AND BUTTERNUT SQUASH WITH CRANBERRY-CINNAMON DRESSING
(slightly modified from Jessica’s howsweeteats)
for the grain and squash component:
2 cups cooked farro
3 cups cubed butternut squash, cut into 1-inch cubes
1 tablespoon olive oil
kosher salt and pepper
1 cup whole pecans
1 tablespoon maple syrup
1 cup dried cranberries
feta cheese to taste, crumbled
chopped fresh parsley, to taste
for the dressing:
3 tablespoons cranberry juice
2 tablespoons red wine vinegar
1 tablespoon honey
2 teaspoona Dijon mustard
1/4 teaspoon ground cinnamon
1/4 teaspoon salt
1/4 teaspoon pepper
1/3 cup olive oil
Heat the oven to 425 degrees F. Place the squash on a baking sheet and drizzle with the olive oil. Season with salt and pepper. Roast for 20 minutes, or until slightly caramelized and fork tender. While the squash is roasting, cook the farro, or you can cook that hours in advance and warm up before assembling the dish.
Toast the pecans on a nonstick skillet over medium heat. Drizzle in the maple syrup. Cook for 2 to 3 minutes, stirring often, as the maple syrup sizzles. Spread the pecans on a sheet of parchment paper until ready to use.
Make the dressing: Whisk together the vinegar, juice, honey, mustard, cinnamon, salt and pepper. Whisk in the olive oil until emulsified. Reserve.
Place the farro in a large bowl. Toss in the roasted butternut squash cubes, the dried cranberries, feta cheese and pecans. Drizzle on a few tablespoons of the vinaigrette and mix it all well. Taste the farro and adjust seasoning, if needed. Drizzle in more of the vinaigrette, top with the fresh parsley.
ENJOY!
to print the recipe, click here
Comments: I fell in love with this recipe from the first bite and felt quite sad when I had the last one. Which, by the way, happened next day, when I polished what was left for my lunch, with a tasty fried egg on top.

Everything works, all flavors mingle together in harmony, the chew of the farro, the crunch of the pecans, the absolutely delicious dressing. Speaking of it, the dressing will be awesome on many types of salads also. This recipe is a total winner!
ONE YEAR AGO: Pasta with Shrimp in Cashew Cream Sauce
TWO YEARS AGO: Crab Cakes go Light
THREE YEARS AGO: Accordion Potatoes
FOUR YEARS AGO: Braised Lamb Shanks in Clay Pot
FIVE YEAR AGO: Cookies with a Smile
SIX YEARS AGO: Pearled Farro with Asparagus Coins
SEVEN YEARS AGO: Pistachio Caramel and Apple Mousse Cake
EIGHT YEARS AGO: Someone turns 70 today!
NINE YEARS AGO: Carioca Cake, the Final Chapter
TEN YEARS AGO: Duck Confit for a Special Occasion
ELEVEN YEARS AGO: Ken Forkish’s Warm Spot Sourdough
TWELVE YEARS AGO: Bran Muffins, Rainbows, and a wonderful surprise!
THIRTEEN YEARS AGO: Salmon Wellington
FOURTEEN YEARS AGO: The Green Chip Alternative
FIFTEEN YEARS AGO: Weekend Pita Project
SIXTEEN YEARS AGO: Let it snow, let it snow, eggs in snow