Let’s get the V word in the open right away: vegan. This is vegan. And also very tasty. If you are not too fond of mayonnaise, this cole slaw will have your name written all over. Low in saturated fat, high in flavor. I did not add red cabbage because I wanted to keep a milder texture but consider including some if you prefer more crunch.
VEGAN COLESLAW WITH ALMOND DRESSING
(adapted from The Complete Vegan Cookbook)
for the dressing:
½ cup blanched, slivered almonds
1/2 cup water
½ teaspoon salt
2 tablespoons apple cider vinegar
1 tablespoon Dijon mustard
1 tablespoon agave nectar
2 tablespoons grapeseed oil
juice of 1 lemon
water as needed to adjust consistency
for the coleslaw:
1 small head of cabbage, cored and very thinly sliced
3 large carrots, shredded in the food processor
1 yellow bell pepper, seeded, cut into matchsticks
1/3 cup fresh parsley, minced
1/2 tsp dried dill
salt and pepper to taste
fresh lemon juice, to serve
Combine the almonds with ½ cup water and a pinch of salt in a small saucepan. Bring to a boil over high heat, cover, remove from the heat, and let the almonds soak for 20 minutes. In a blender, combine the almonds with their soaking water, vinegar, lemon juice, mustard, agave, salt,, and oil. Blend until creamy, adding water if needed to bring the consistency to that of mayonnaise or a little thinner. Reserve.
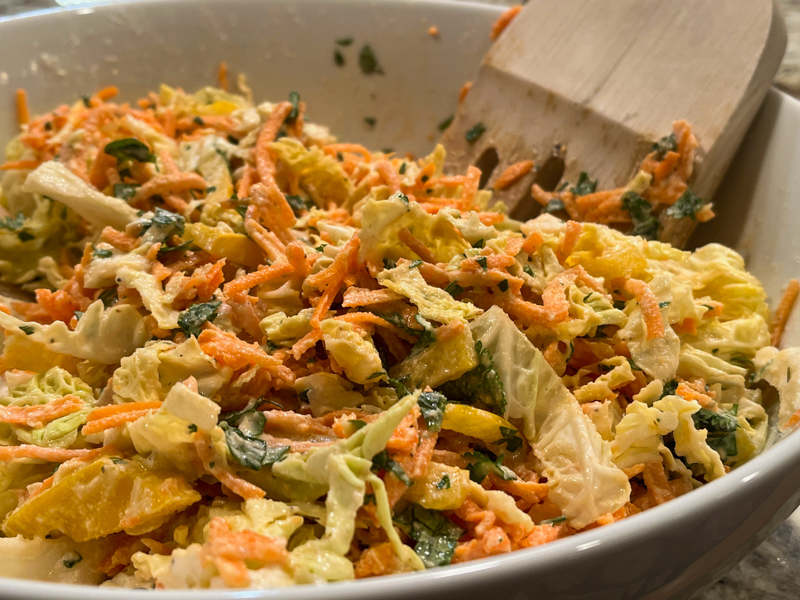
Add the cabbage, carrot and yellow pepper pepper to a large bowl and toss with the dressing. Fold in the parsley and dill, season with salt and pepper, and serve with a fresh squeeze of lemon juice all over.
ENJOY!
to print the recipe, click here
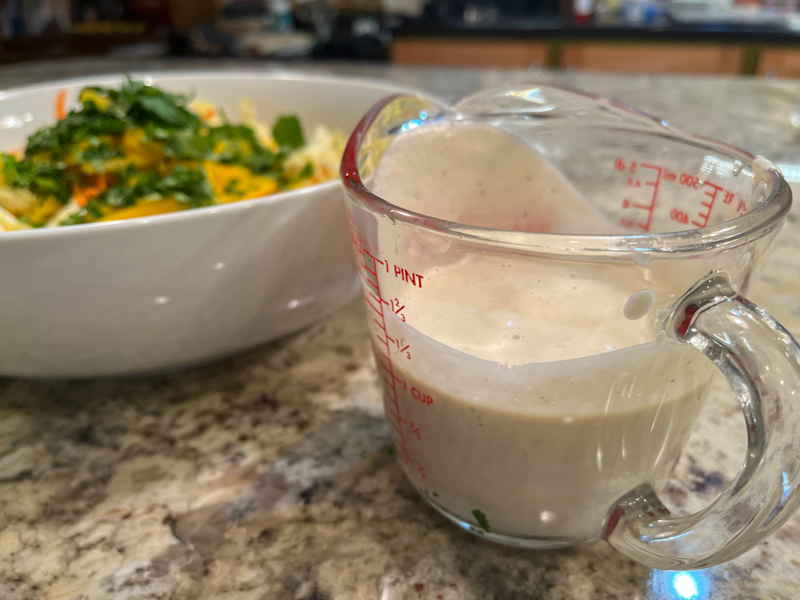
Comments: I was very intrigued by this dressing, which goes in the direction of the cashew cream, but using almonds instead. I advise you to make the dressing a little thinner than mayo, because it tends to get drier as it sits. Leftovers lasted for two days without getting soggy – maybe everything turned slightly softer but not by much. The flavor actually intensified a bit.
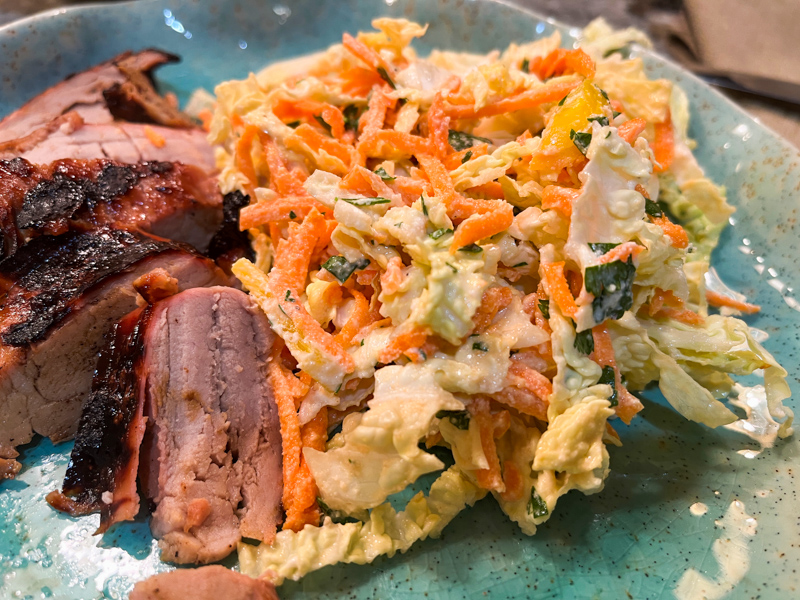
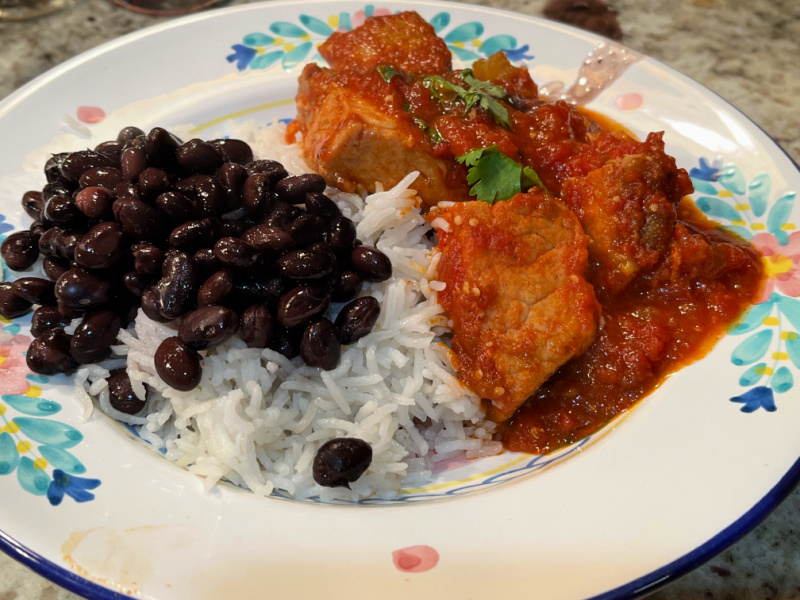
The vegan aspect of our meal was destroyed by associating the coleslaw with grilled pork tenderloin. Of course, if you are vegetarian, pick other dishes to enjoy with this delicious slaw. We don’t eat mayo, some versions we like use yogurt instead, but for my personal taste, this is the best alternative dressing for coleslaw we’ve had so far.
ONE YEAR AGO: Busy Bee Sugar Cookies
TWO YEARS AGO: Mincemeat Pies, when the third time is a charm
THREE YEARS AGO: Shibari Bread]
FOUR YEARS AGO: Incredibly Simple Times Four – January 2018
FIVE YEARS AGO: Two Salads and a Blog Award!
SIX YEARS AGO: When Three is Better than Two
SEVEN YEARS AGO: Somebody Stop Me!
EIGHT YEARS AGO: Zucchini Pasta with Cilantro-Cashew Pesto
NINE YEARS AGO: Bran Muffins, Take Two
TEN YEARS AGO: Brown Butter Chocolate Chip Cookies
ELEVEN YEARS AGO: Mogo Mojo
TWELVE YEARS AGO: Slow-Roasted Chicken Thighs: an Ice-Breaker