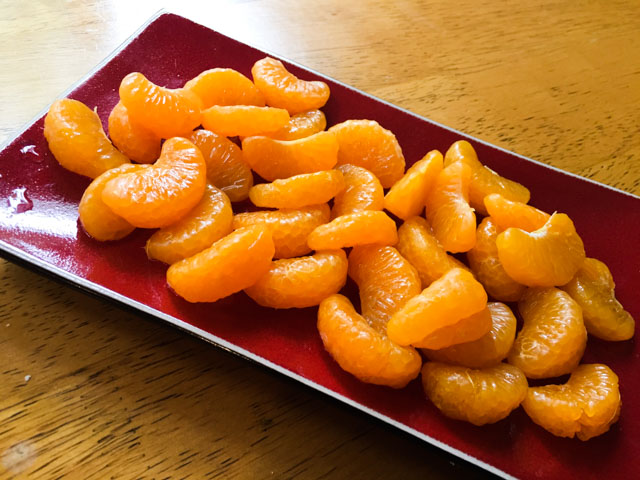
I subscribe to a site called Chefsteps.com that deals with stuff going from molecular gastronomy to sous-vide, but also covers more mundane topics, like making the most of your mandoline or brewing that perfect cup of coffee. A few weeks ago they featured the use of pectinase to turn clementine segments into the sweetest gems similar to those you can buy canned, but are extensively processed to taste so great. The method couldn’t be simpler: you peel the fruit, separate the segments and place them in a bowl with water containing a few drops of pectinase. What is pectinase? First, a very brief lesson in biochemistry. All enzymes are proteins with a specific activity on a component referred to as its “substrate.” They usually follow a nomenclature with the suffix “ase” to indicate which substrate the enzyme acts upon. Proteases degrade proteins and are of course part of our digestive system. DNase destroys DNA, and it is a nightmare for those working in molecular biology. We need to be always protecting the DNA we work with from being degraded. Pectinase destroys pectin which is the main component that forms that white pith around citric fruit segments. The pith is not only harsh in texture, but also in taste, quite bitter. By allowing pectinase to work, that outside layer is removed, and you’ll end up with perfectly smooth pieces of fruit that will taste considerably sweeter. Even though pectinase is not toxic, once you get the fruit the way you want it, simply rinse the water containing pectinase out, blot the pieces dry and enjoy them.
Aren’t we awfully cute?
Pectinase is sold – like almost everything you can dream of – by amazon.com, and it’s pretty affordable, plus a little bit goes a loooong way. One of the interesting things about enzymes is that they are not consumed in the reaction, so like the Energizer Bunny, they just keep going and going. Adding five drops works, but adding one works too, it will simply take a little longer. I added about 4 drops to the bowl and left the fruit at room temperature for a couple of hours, then stuck it in the fridge for 6 more hours until we were ready to use them. You can leave the fruit in water longer, for a day or so, no problems.
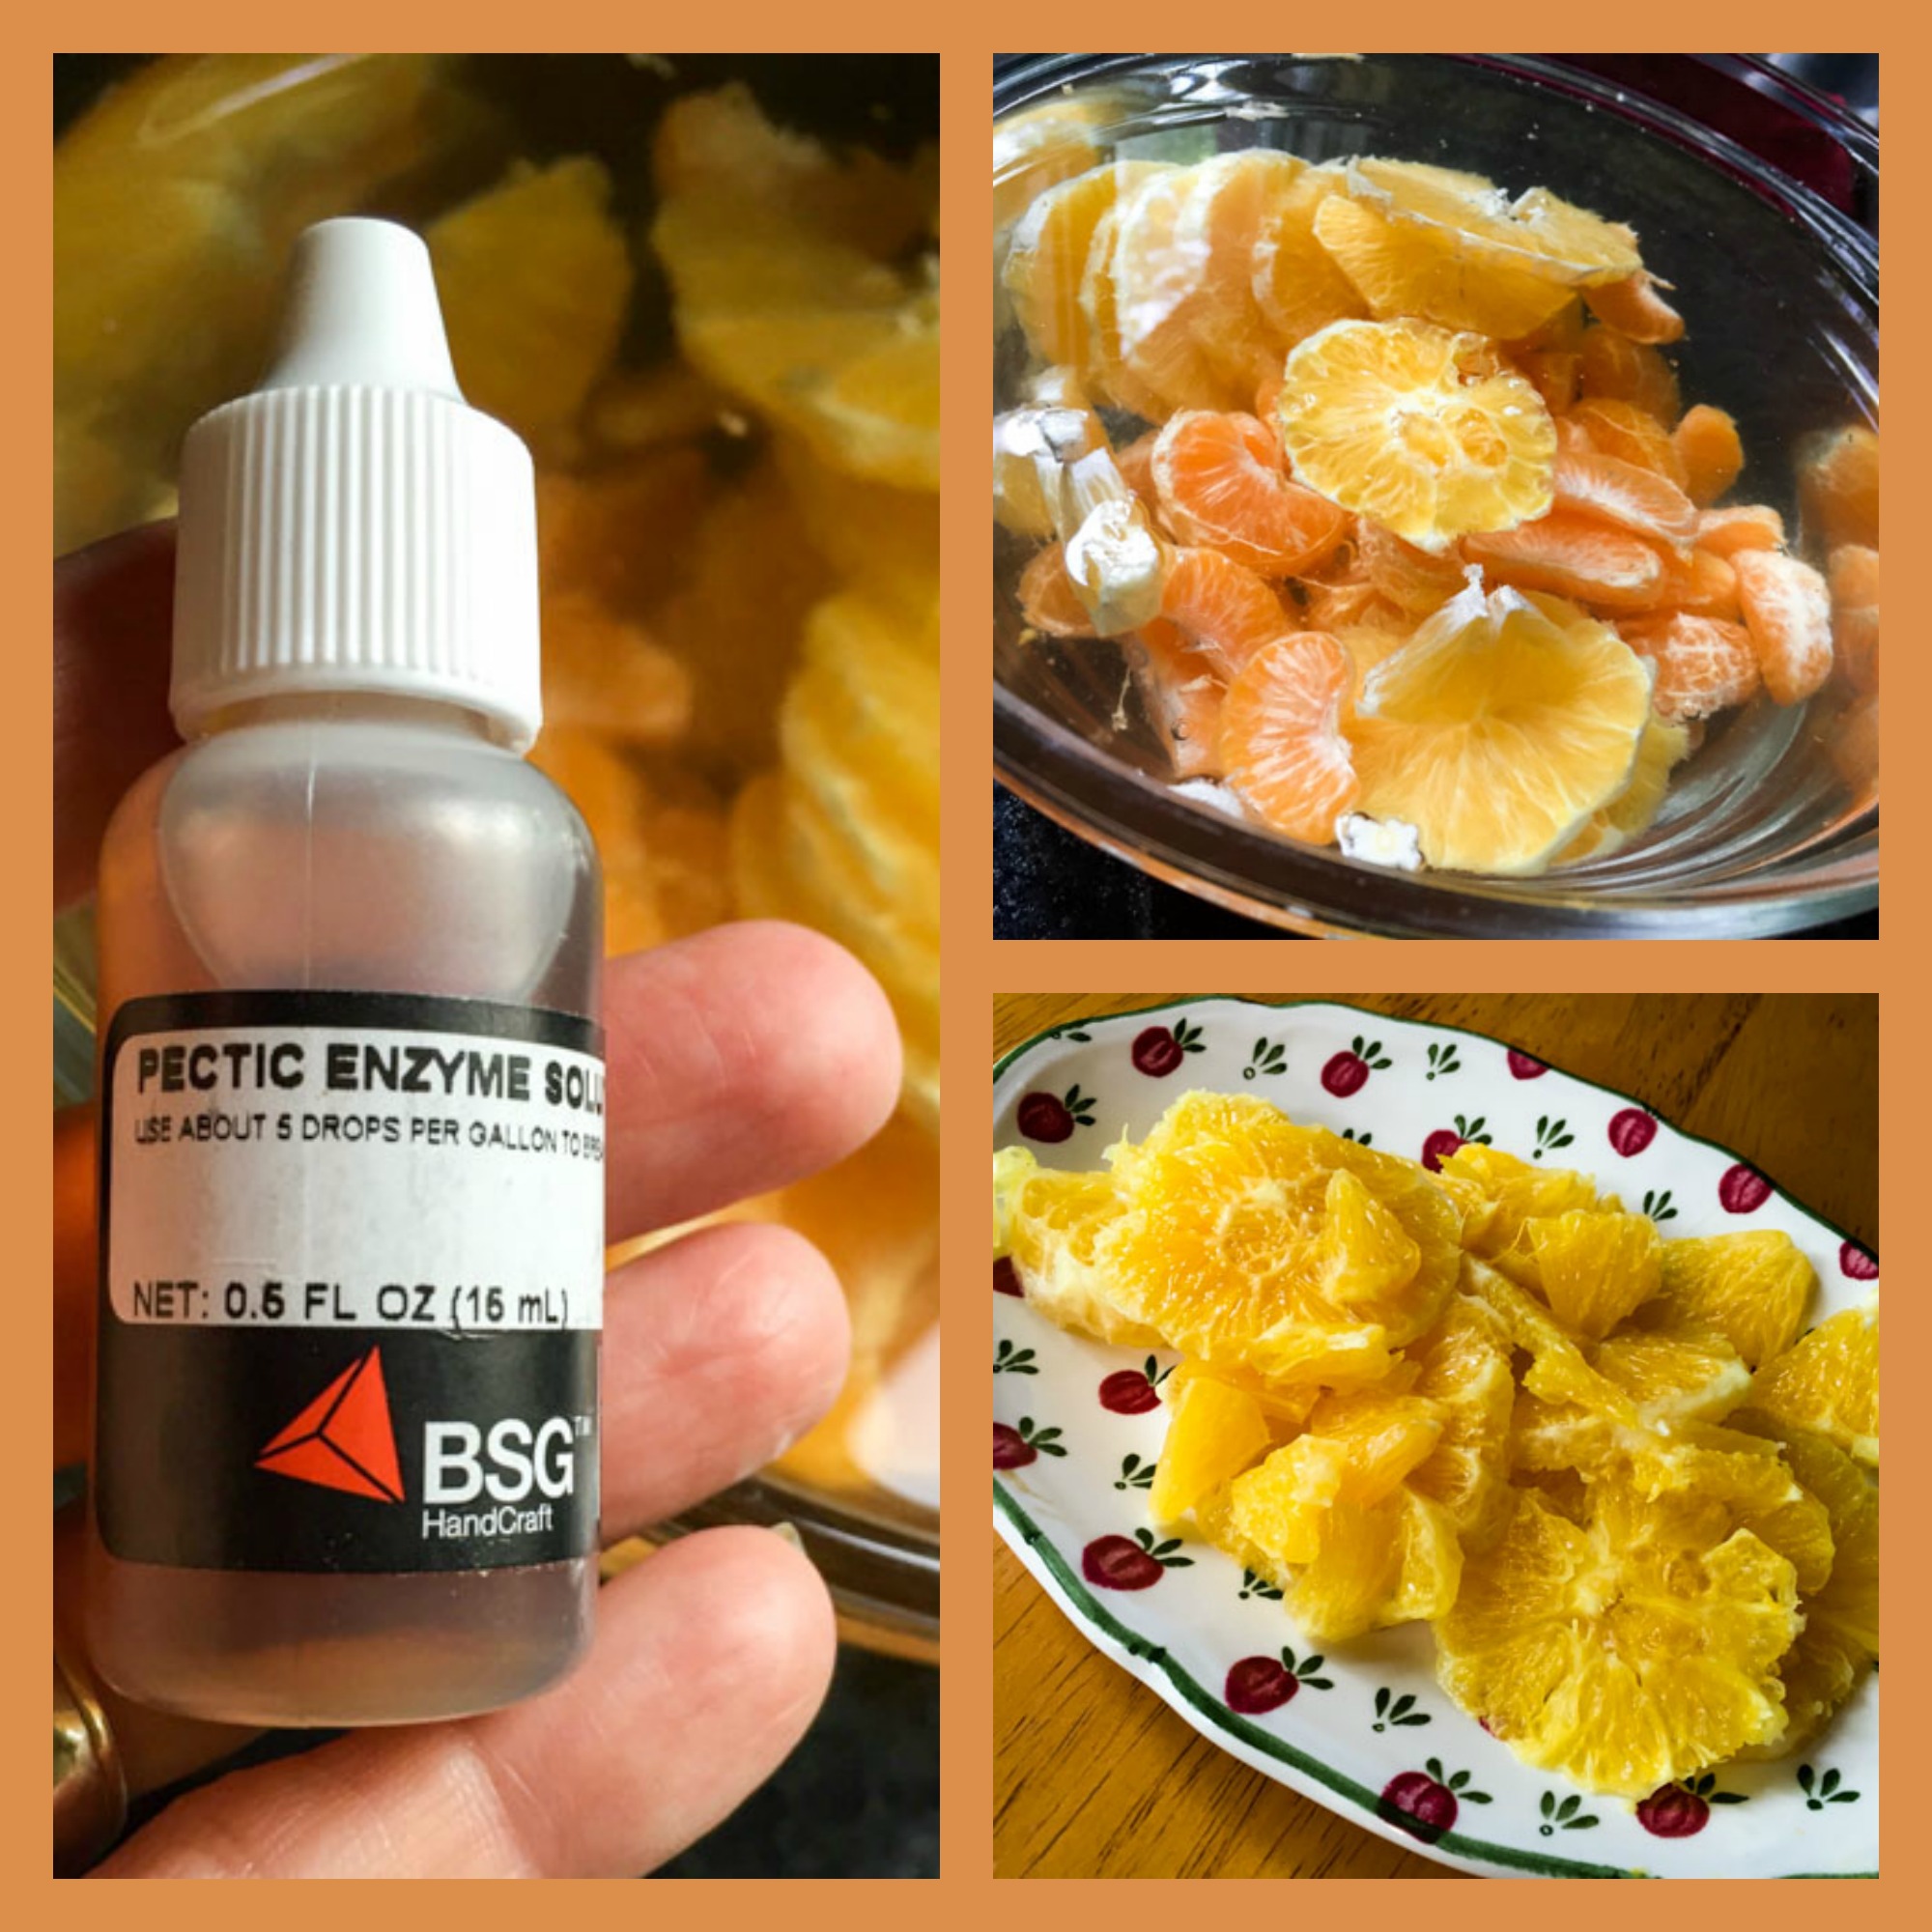
Pectinase, like most enzymes, will work faster in warmer temperatures, so it is conceivable to use sous-vide (or even a simple water-bath) to speed up the reaction without cooking the fruit in the process. Think anything around 100F for 30 minutes to one hour.
The clementines were delicious to nibble on while binge-watching “How I met your mother” late at night, but when added to this favorite salad of our recent past, it made for a LEGEND… wait for it… LEGEND… wait for it… LEGENDARY MEAL!

Use this recipe, but substitute clementines for grape tomatoes…
ONE YEAR AGO: Poached White Asparagus with Lemon and Pistachios
TWO YEARS AGO: Dan Lepard’s Saffron Bloomer
THREE YEARS AGO: Fesenjan & The New Persian Kitchen
FOUR YEARS AGO: Quinoa Salad with Roasted Beets
FIVE YEARS AGO: Pasta Puttanesca
SIX YEARS AGO: Miche Point-a-Calliere