The month of August is coming to an end. The last Monday of this busy month brings with it a special revelation: which blog was I assigned to cook from as a member of The Secret Recipe Club? And who is posting something from my blog? Which recipe was chosen? So much excitement, so much fun… This month I was paired with a food blog Queen: Amy, the hostess of “Fearless Homemaker” has even been on TV! You can read about her first cooking demonstration by clicking here. And now, here I am, cooking a recipe from her blog. Too cool for words. If her blog is new to you, I strongly recommend you to stop by. Not only she has loads of wonderful recipes, but side-stories that are truly special, like her surprise wedding party. She and her partner invited friends over for a nice get-together, and all of a sudden both disappeared, changed into their wedding outfits, and next thing their guests knew, an orchestra was playing, a priest was arriving , and the party turned into their wedding! Now the family got bigger, as she and her husband recently welcomed the arrival of “The Fearless Baby“… Congratulations, Amy!
I had quite a few recipes on my final list to cook for the Secret Recipe reveal day: her Vegetable and Quinoa Pilaf, her Honey-Chipotle Turkey Meatballs, her Chicken Bolognese, and also her Nutella-Swirl Pound Cake. But, in the end, I went with an Apple-Cinnamon Bread, with chunks of apple permeating the cake. Yes, you guessed it, I took it to our department on a sunny Monday morning… 😉

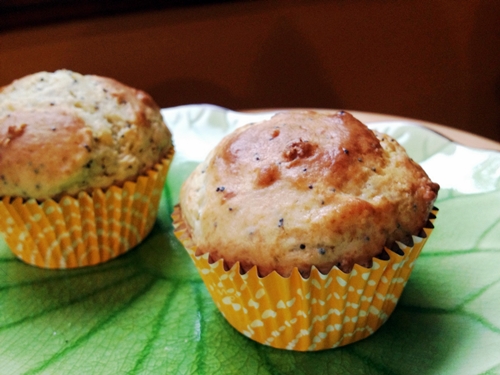
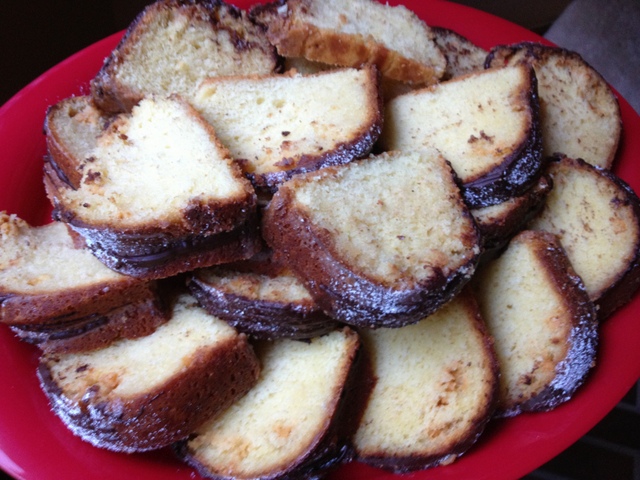
APPLE-CINNAMON BREAD
(from Fearless Homemaker)
1 + 1/2 cups all-purpose flour
1 teaspoon baking soda
1/2 teaspoon salt
2 teaspoons cinnamon
1/2 teaspoon allspice
1/4 teaspoon ground cloves
2 large eggs
1/4 cup canola oil
1/4 cup applesauce
pods from 1 vanilla bean
1 cup granulated sugar
2 cups chopped Granny Smith apples, skin removed
for topping:
2 tablespoons brown sugar
1 tablespoon sugar
1 teaspoon cinnamon
Heat the oven to 350 degrees F. Spray an 8 by 4 loaf pan with cooking spray and set aside.
In a medium bowl, whisk together flour, baking soda, salt, cinnamon, allspice, and cloves. Reserve.
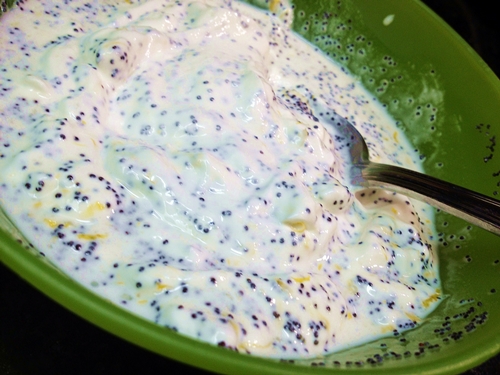
In the bowl of a stand mixer fitted with the paddle attachment, add the eggs and beat on medium speed for about 30 seconds. Add in oil, applesauce, vanilla, mix until smooth. Add the sugar and mix until well combined.
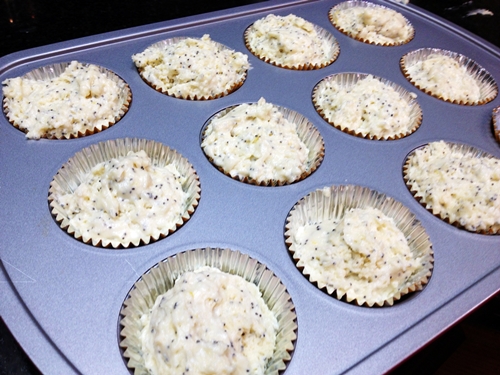
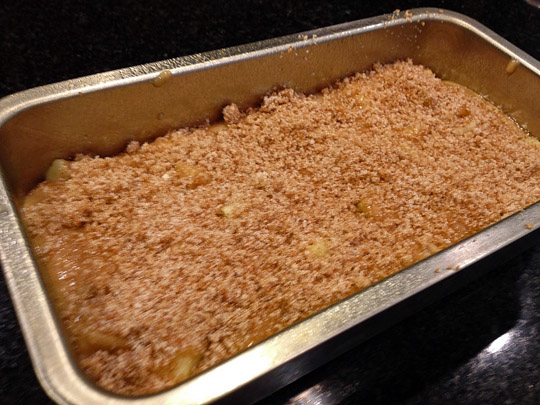
Slowly add in the flour mixture, incorporating until the flour is barely combined. Gently fold in the apple chunks. pour batter into prepared loaf pan.
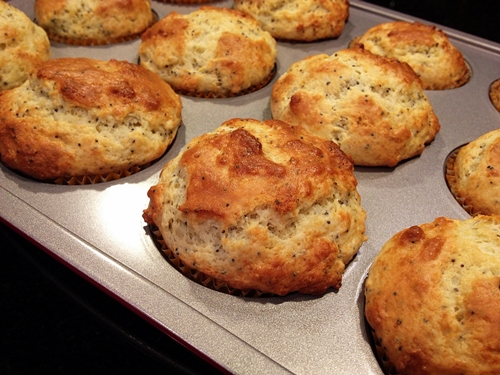
Prepare the topping: in a small bowl, mix together brown sugar, sugar, and cinnamon. Sprinkle this topping over the batter in the loaf pan. Bake for 50-55 minutes, or until loaf is golden, and a toothpick inserted into the center comes out clean.
Cool bread in pan for 10 minutes. loosen sides of the loaf with a knife and invert carefully. Cool the cake completely on a rack before slicing.
.
ENJOY!
.
to print the recipe, click here
.
.
Comments: As Amy pointed out in her post, this bread smells WONDERFUL while it bakes. Cinnamon seems to do just that, fill the house with intoxicating aroma of deliciousness to come… I am not sure why I’ve been picking sweet recipes for the past few Secret Recipe Club adventures, but I’m enjoying the phase. And I suppose the members of our department don’t mind that either! 😉
___________________________________________________________________________________________________________________________________________________
Amy, it’s been great to spend time on your blog, reading your stories, marveling at your photos.
I hope you enjoyed this month’s assignment as much as I did!
___________________________________________________________________________________________________________________________________________________
To see what the other members of my group cooked up for today’s Reveal Day, click on the blue amphibian smiling at the bottom of the post. And if you are wondering who got my blog and the recipe chosen, go visit Karen’s site at Lavender and Lovage! 😉
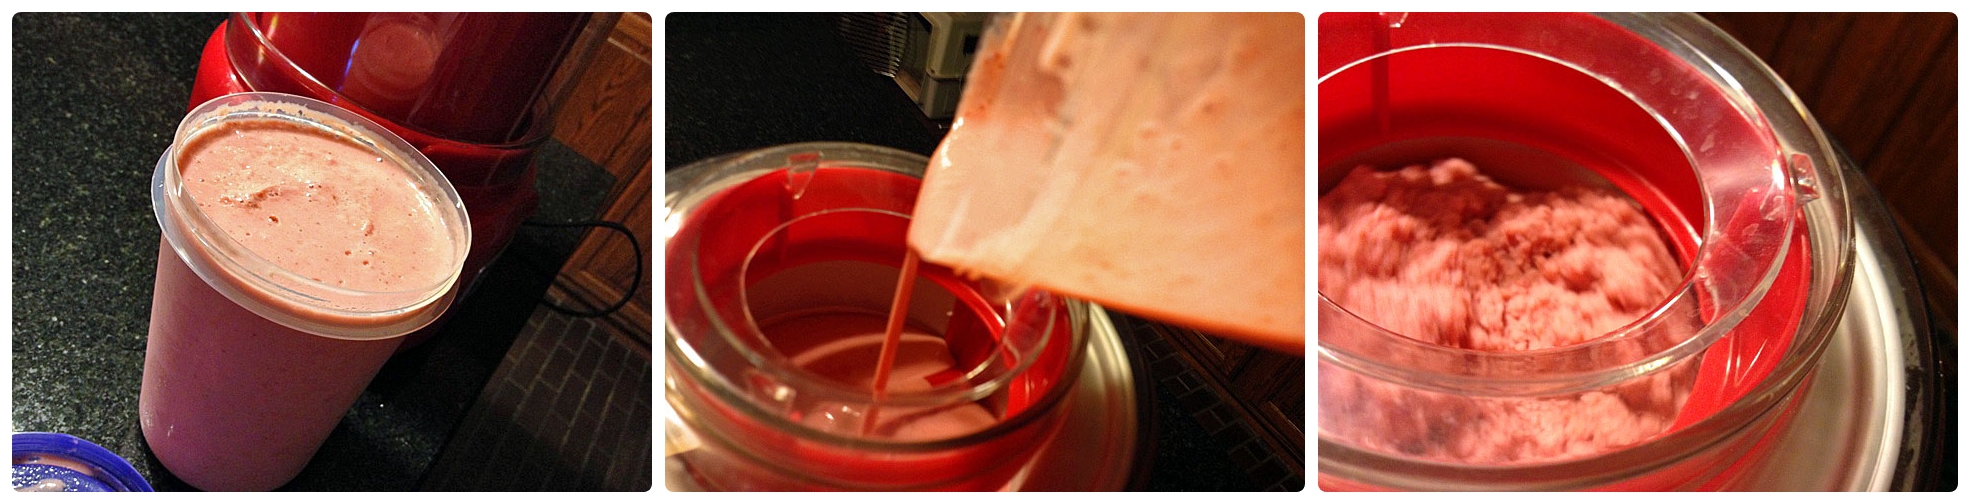
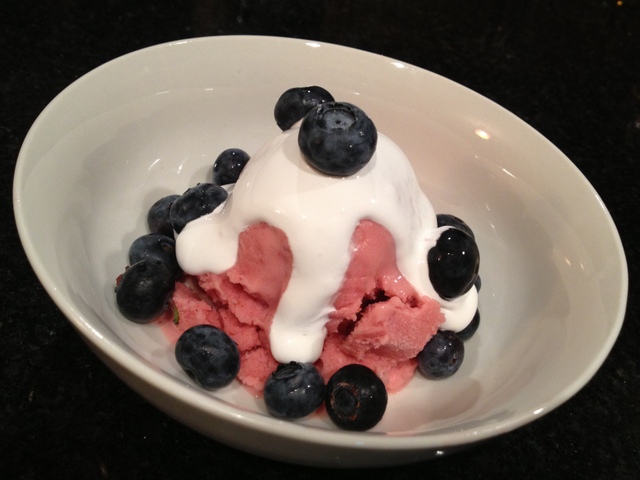
ONE YEAR AGO: Secret Recipe Club: Blueberry Galette
TWO YEARS AGO: In My Kitchen, August 2011
THREE YEARS AGO: Journey to a New Home
FOUR YEARS AGO: Friday Night Dinner (very tasty pork medallions)