Another great option for the holidays, this time the most intense chocolate hit in cake form for those chocaholics out there…
CHOCOLATE BUNDT CAKE
(from Two Peas and Their Pod)
for the cake:
1 cup unsalted butter (226g)
1/3 cup cocoa powder (35g)
1 teaspoon kosher salt
1 cup water
2 cups all-purpose flour (240g)
1 + 3/4 cups granulated sugar (350g)
1 + 1/2 teaspoons baking soda
2 large eggs
1/2 cup sour cream
1 teaspoon pure vanilla extract
for the chocolate glaze:
4 ounces bittersweet chocolate finely chopped
1 tablespoon corn syrup
1/2 cup heavy cream
1 + 1/2 tablespoons granulated sugar
sprinkles to decorate
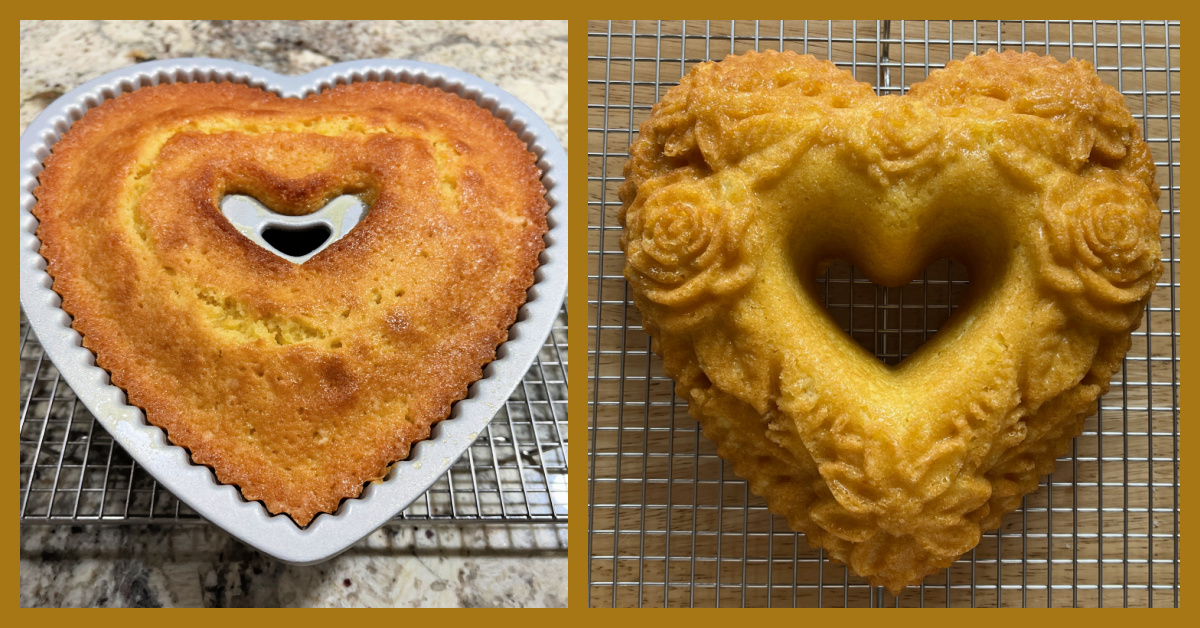
Heat oven to 350F. Prepare your Bundt pan by spraying it with cooking spray or coating with butter and flour.
In a small saucepan, combine the butter, cocoa powder, salt, and water and place over medium heat. Cook, stirring, just until melted and combined. Remove from the heat and set aside.
In a large bowl, whisk together the flour, sugar, and baking soda. Add half of the melted butter mixture and whisk until completely blended. Add the remaining butter mixture and whisk until combined. Add the eggs, one at a time, whisking until completely blended. Whisk in the sour cream and the vanilla extract. Whisk until smooth.
Scrape the batter into the prepared pan and bake until a toothpick inserted into the center of the cake comes out clean, 45 to 50 minutes. Let the cake cool in the pan for 15 minutes and then invert onto a rack. Let cool completely before glazing.
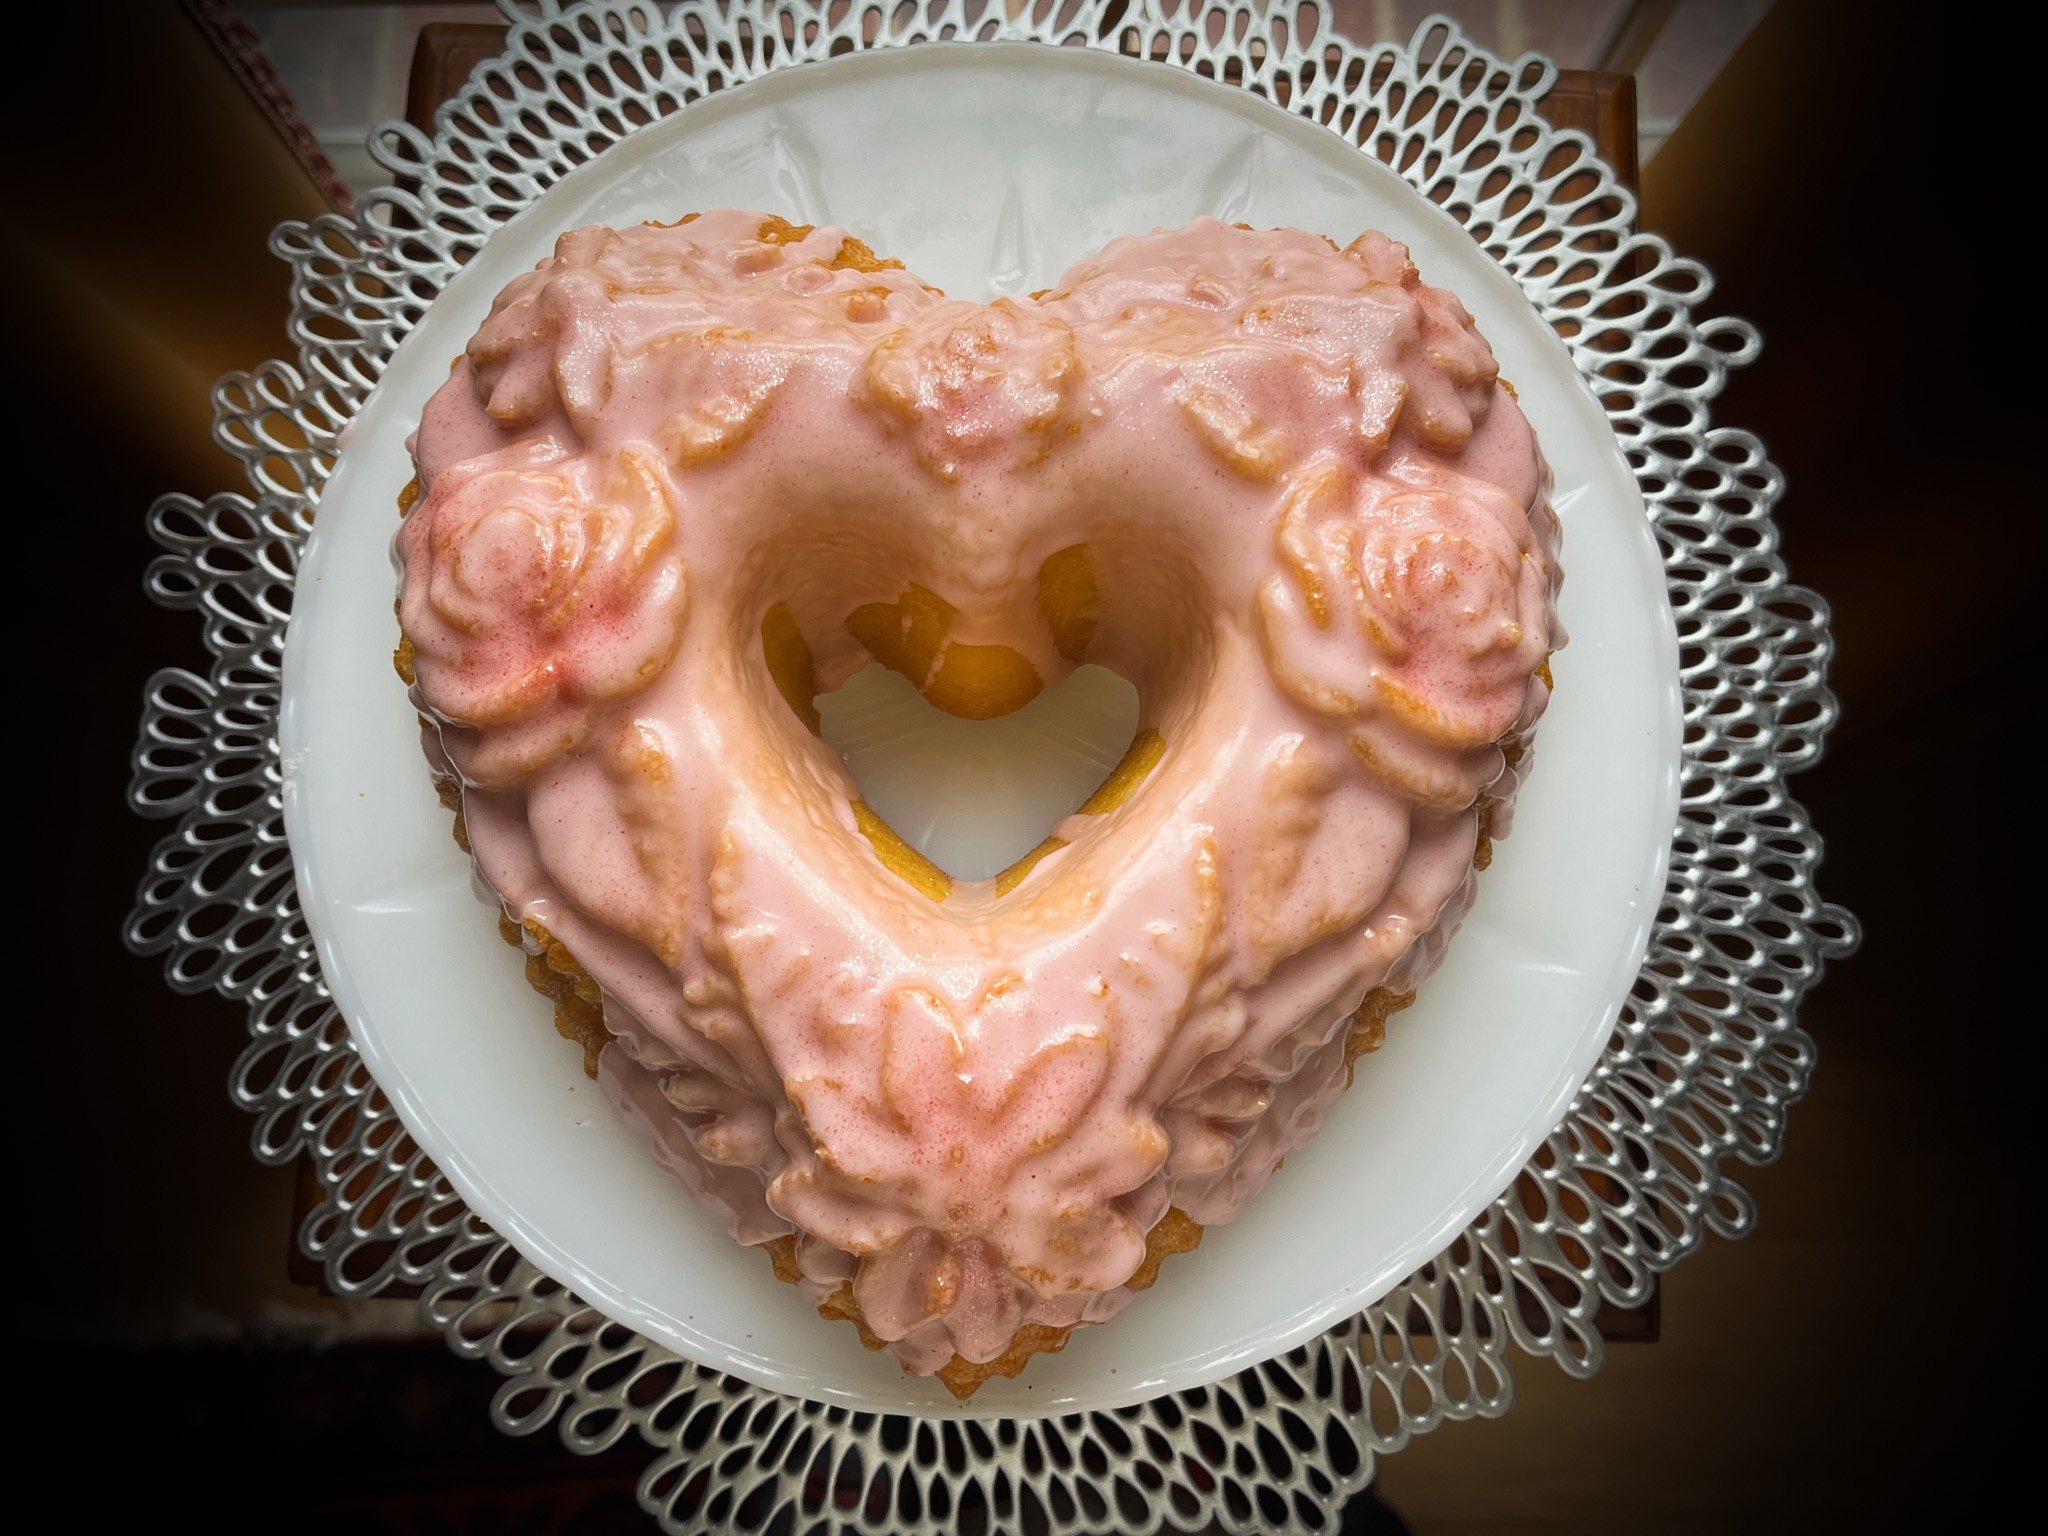
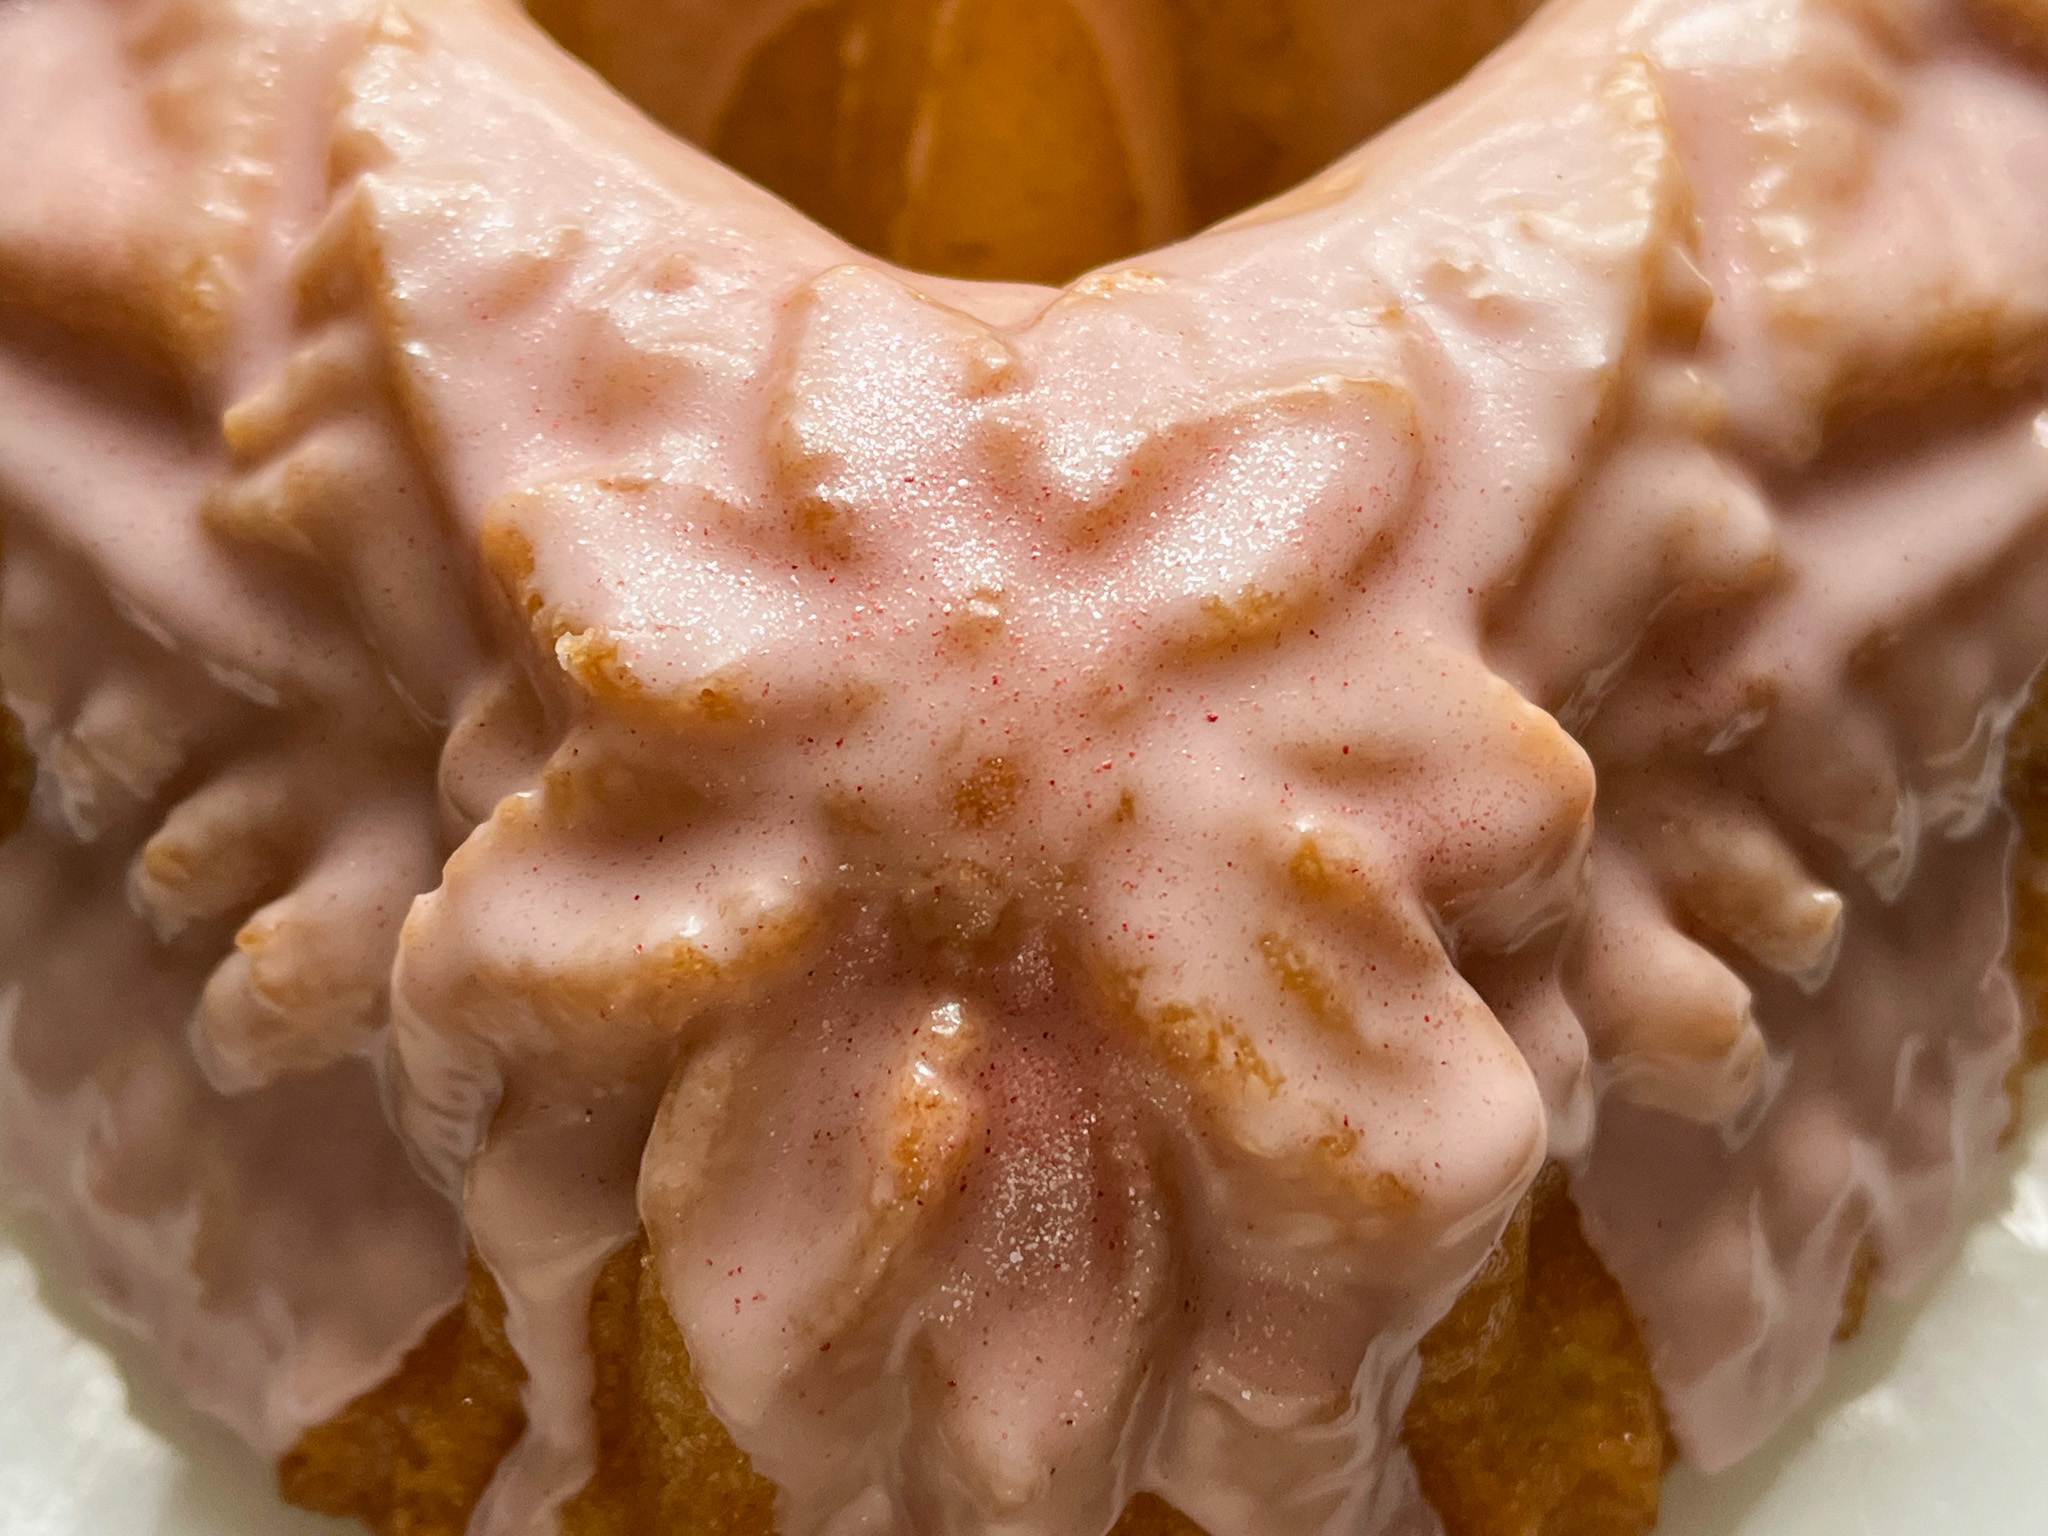
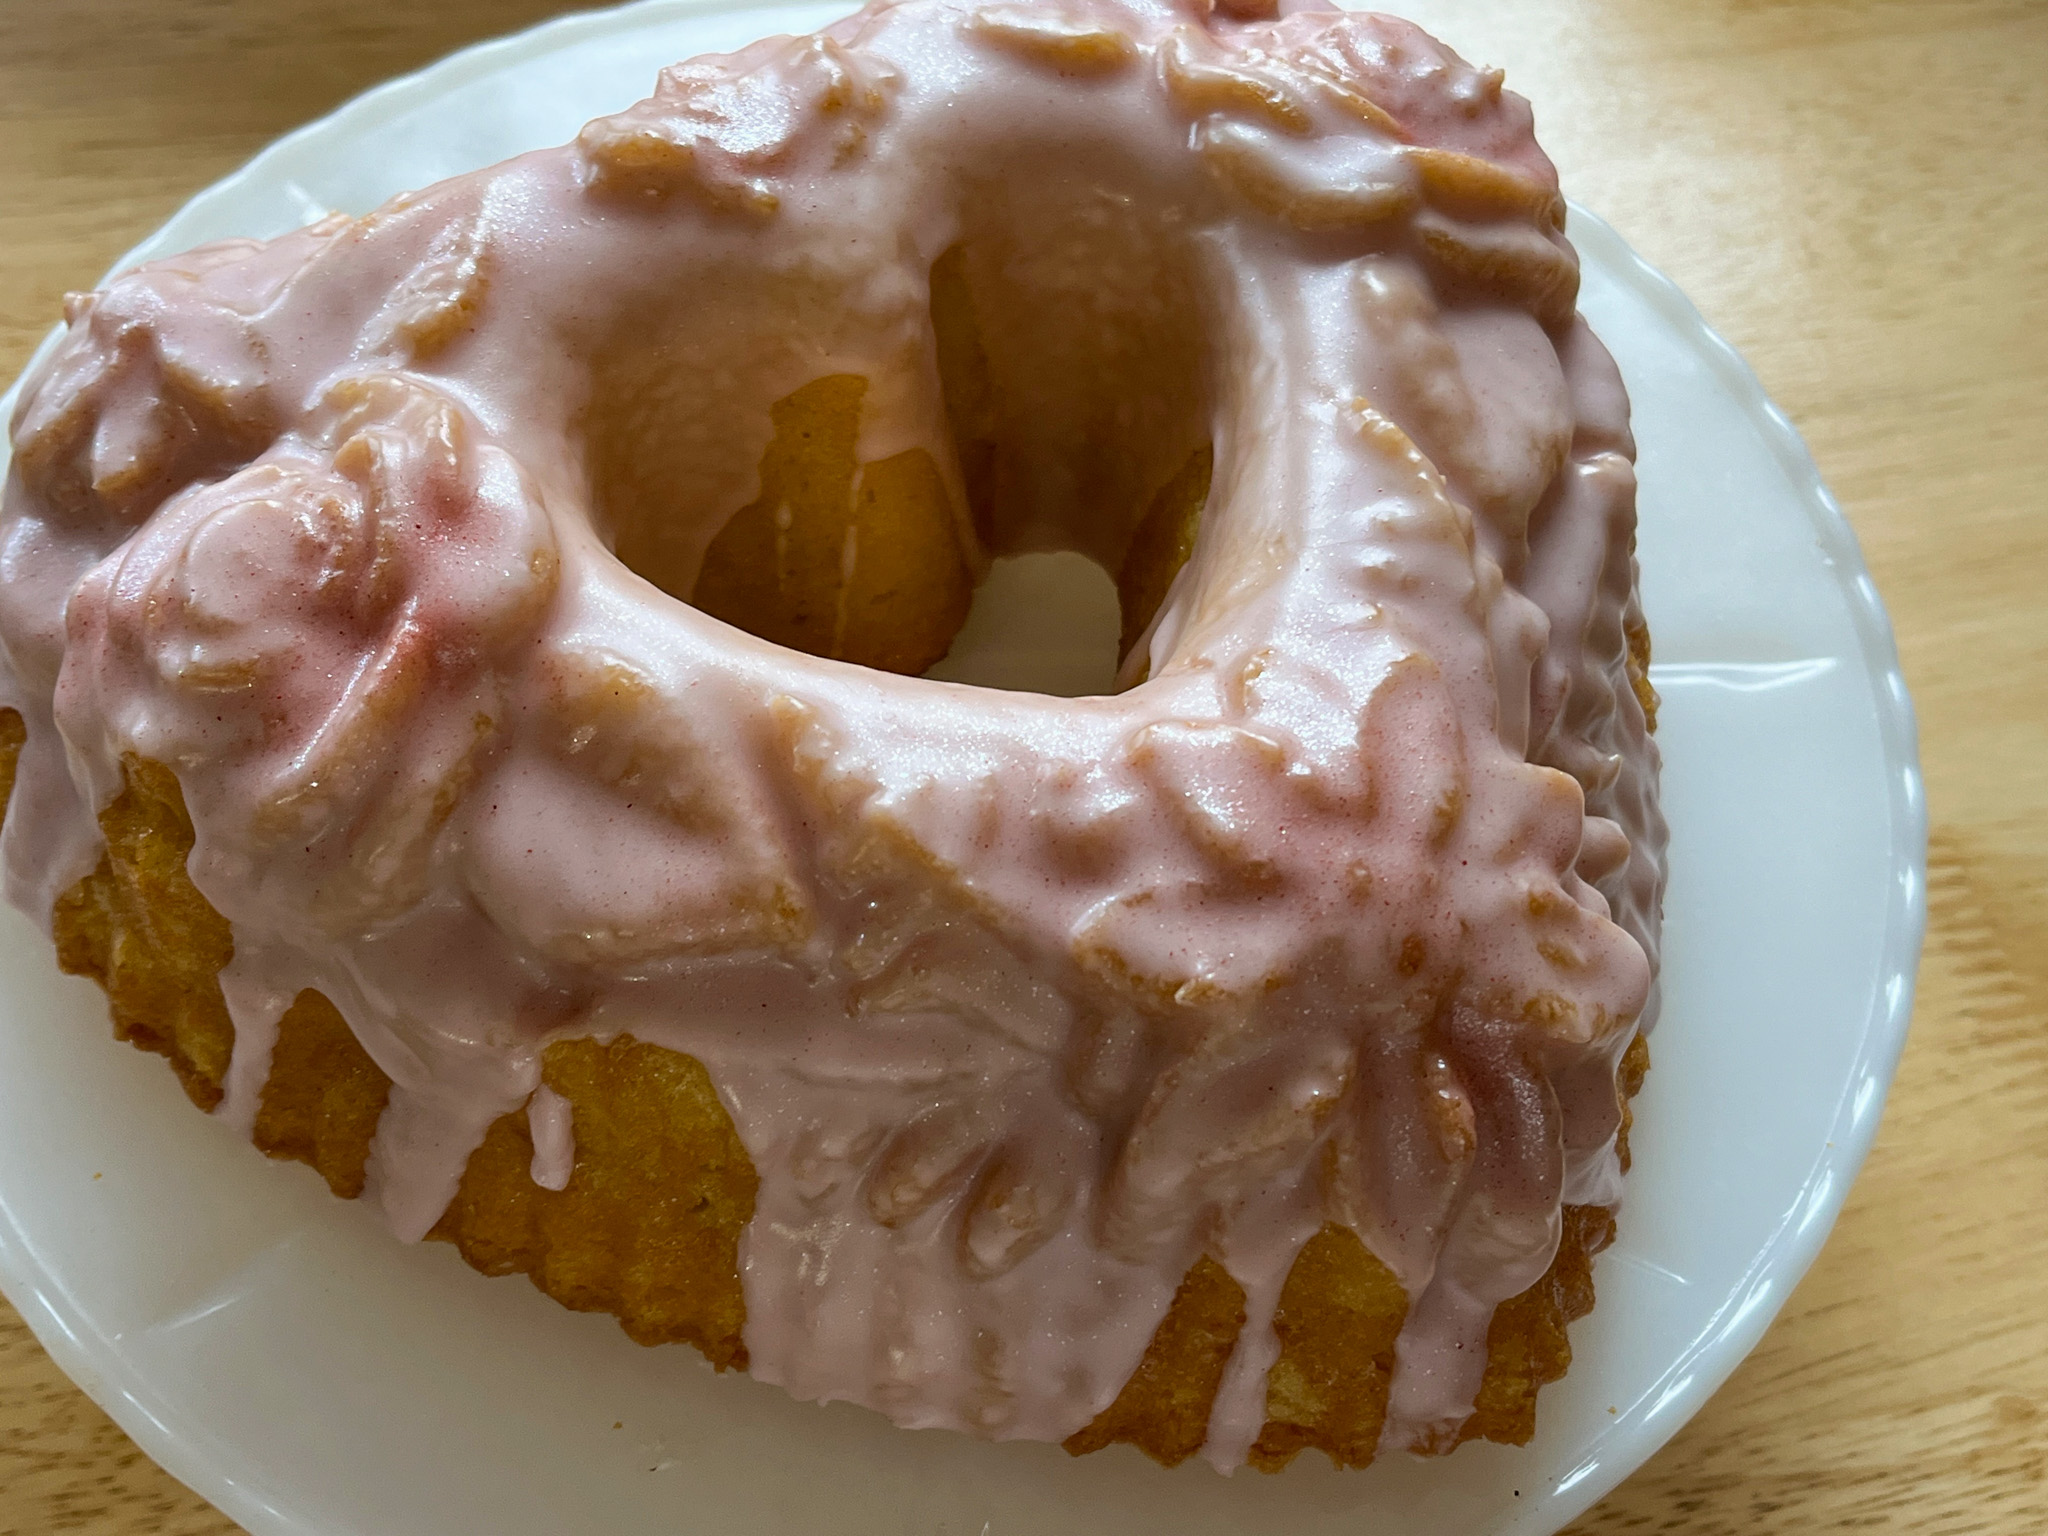
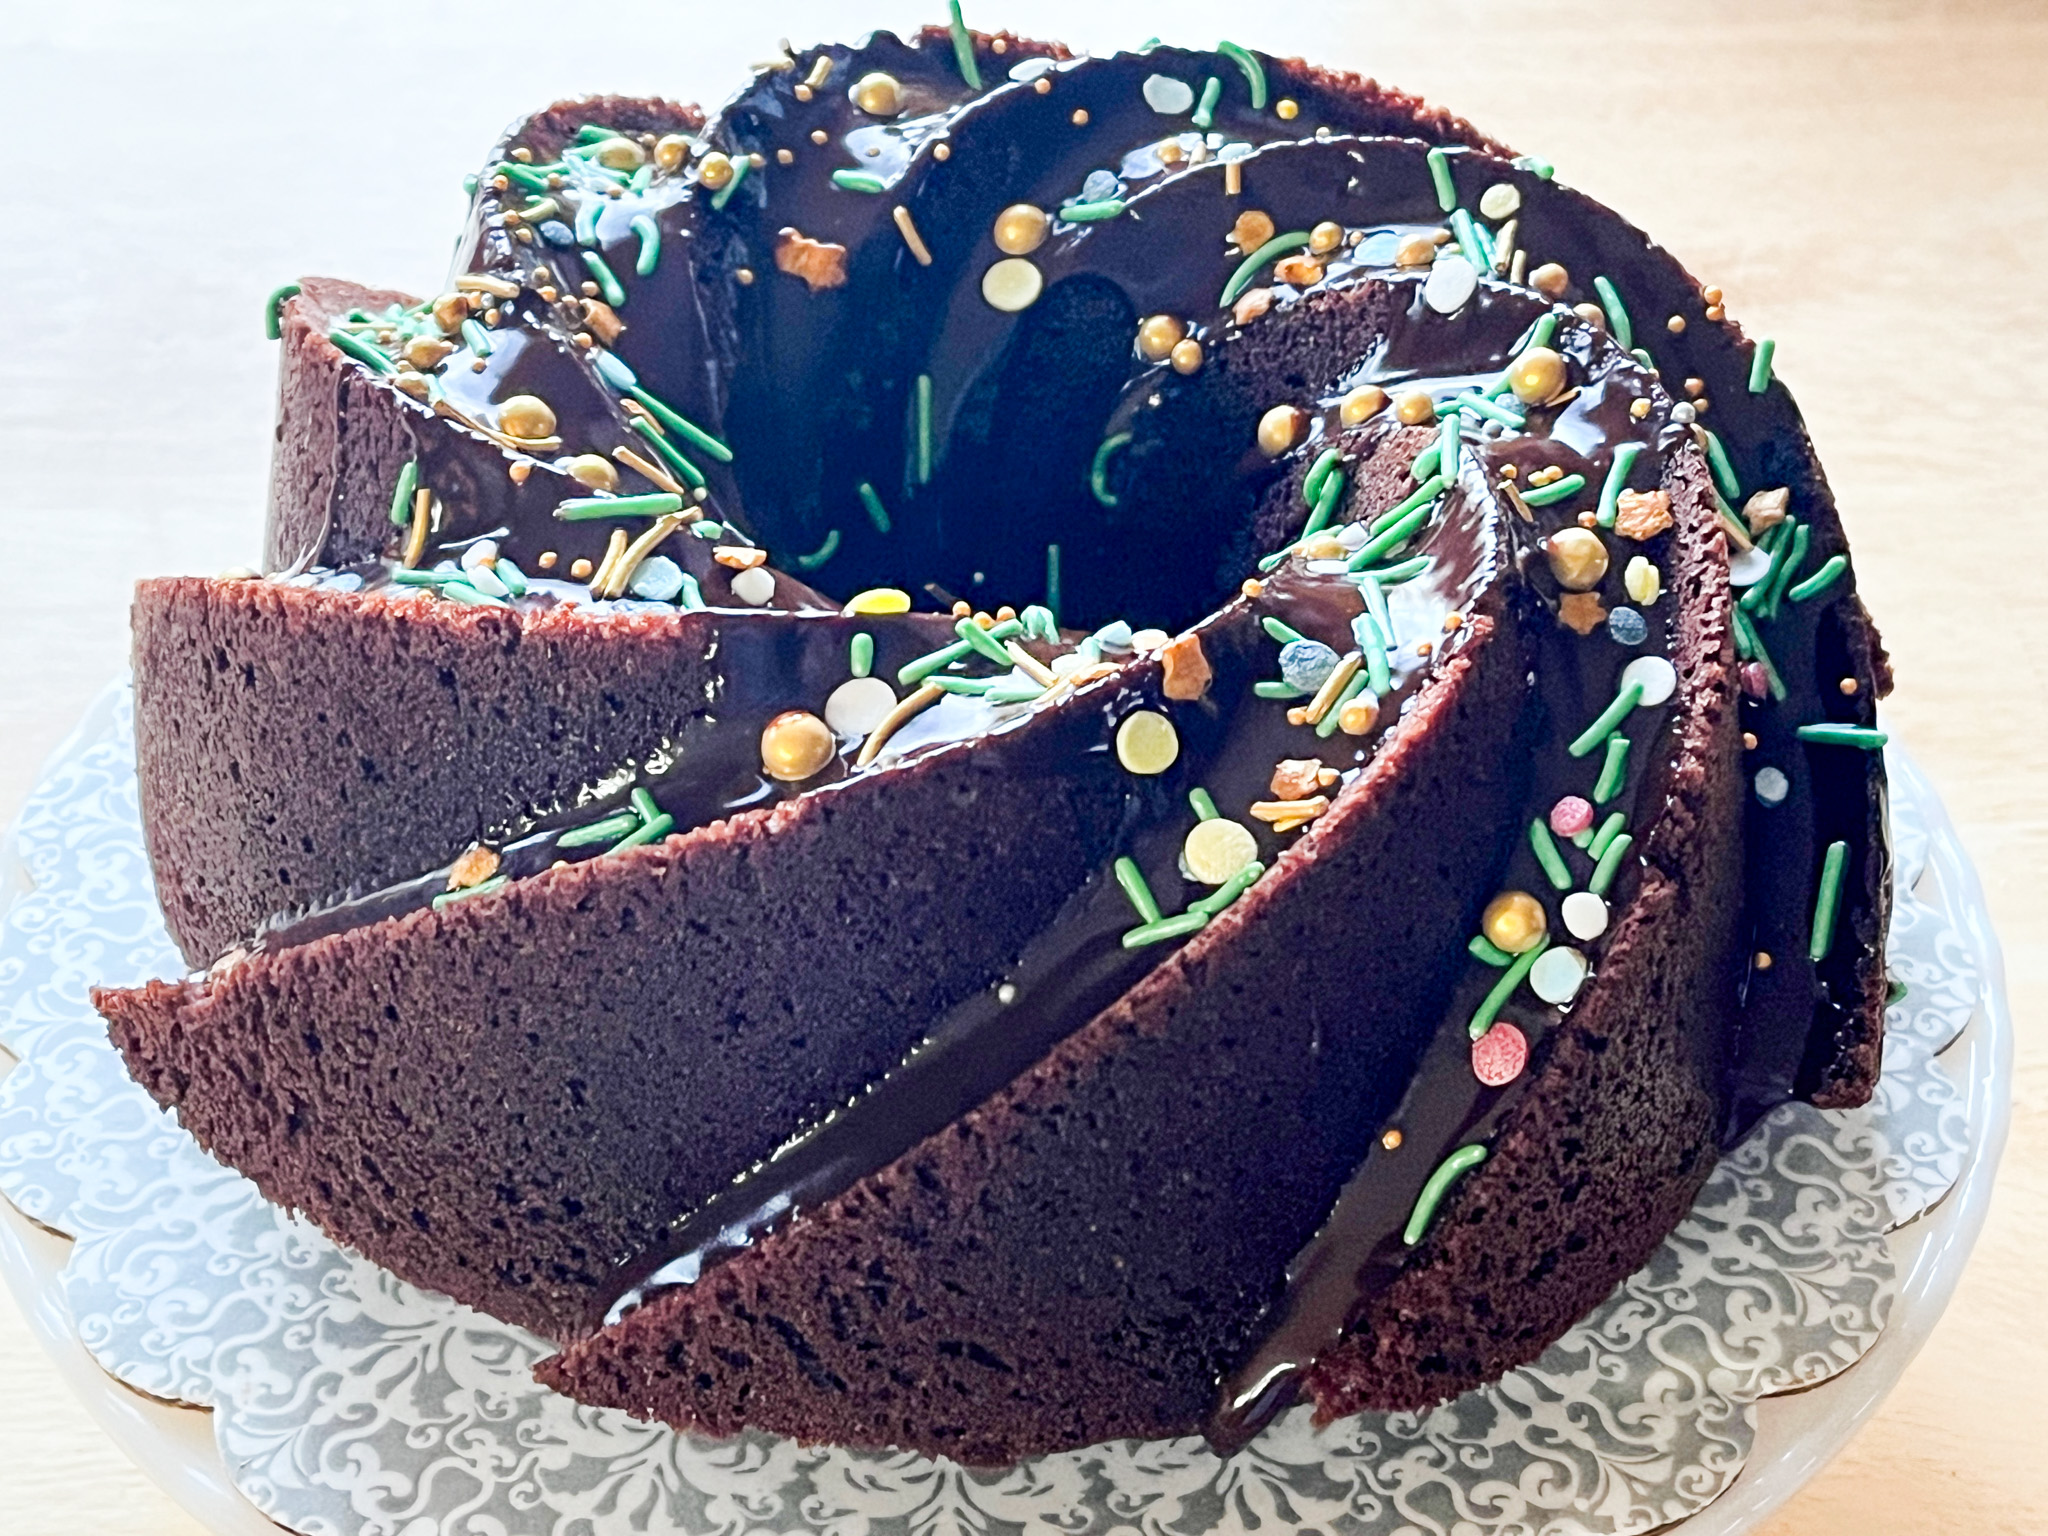
While the cake is cooling, make the chocolate glaze. Place the chopped chocolate and corn syrup in a medium bowl and set aside. Combine the heavy cream and sugar in a small saucepan and put over medium heat. Stir until the cream is hot and the sugar is dissolved. Pour the hot cream over the chocolate and whisk until smooth. Generously drizzle the glaze over the cooled cake, allowing it to drip down the sides. Decorate with sprinkles while still soft.
ENJOY!
to print the recipe, click here
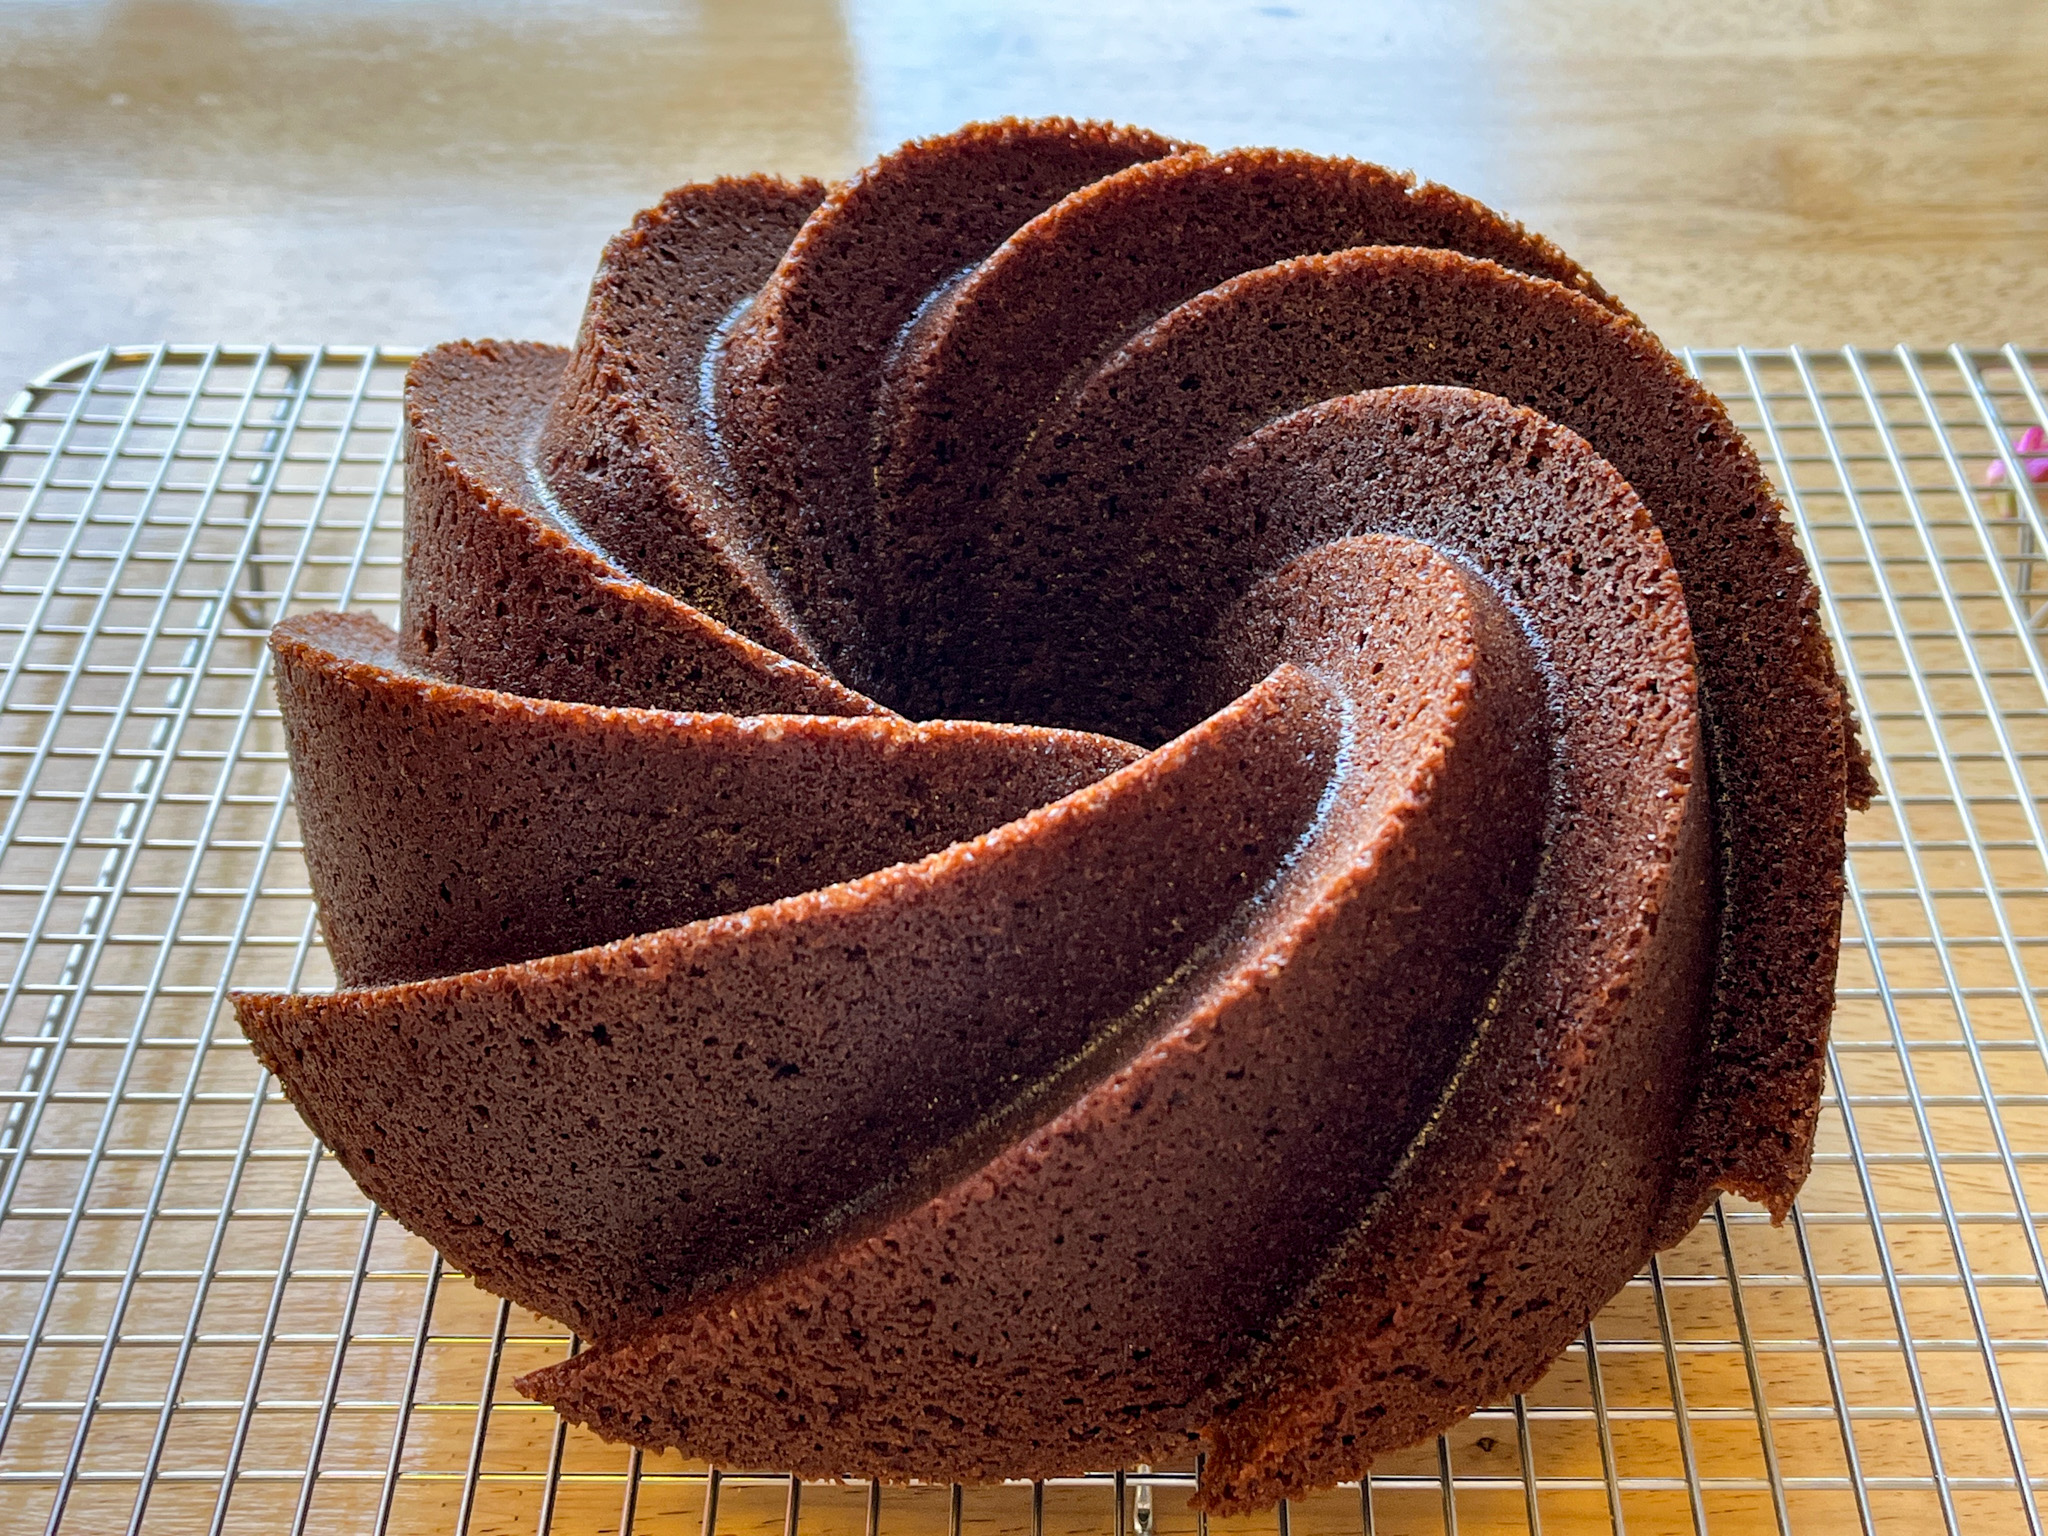
Comments: This classic Nordicware pan will always have a warm spot in my heart, as that was the very first pan I used in the tent in the Great American Baking adventure of years back. I remember the thrill when the cake un-molded beautifully in front of the cameras, and I always have the same smile when it un-molds at home (the thrill is not as intense, but still there!).

Once again it was a cake I did not get to taste, as it was donated whole. But I got real nice feedback about it, it cut very nicely in thin slices so that lots of people could get to taste it. Everybody loved it, the flavor of chocolate is intense and the ganache coating a perfect complement for it. I hope you give it a try!
ONE YEAR AGO: Peppermint Wreath Macarons
TWO YEARSAGO: Cornish Hens with Yogurt-Mace Marinade
THREE YEARS AGO: Cookies for the Holidays – Gingerbread
FOUR YEARS AGO: Incredibly Simple Times Four
FIVE YEARS AGO: White Chocolate and Raspberry Mousse Cake
SIX YEAR AGO: Panettone Time!
SEVEN YEARS AGO: Pistachio Creme Brulee
EIGHT YEARS AGO: Fast and Furious Bison Chili
NINE YEARS AGO: In My Kitchen, December 2014
TEN YEARS AGO: Braised Fennel with Saffron and Tomato
ELEVEN YEARS AGO: Revenge of the Two Derelicts
TWELVE YEARS AGO: Grilling Ribbons
THIRTEEN YEARS AGO: Peppery Cashew Crunch
FOURTEEN YEARS AGO: Baked Shrimp and Feta Pasta