BBA#17: LAVASH CRACKERS

ready1

BEWARE: THESE ARE ADDICTIVE!!!

Now that I finished this recipe, let me say that as I began I was not too enthusiastic about it.  I tried to make Ak-Mak-style crackers before, using an internet  recipe, and I was unhappy.  Not only was it a lot of work, but they had nothing to do with my favorite cracker.

But, a challenge is challenge, so I took a deep breath, grabbed the flour and went for it!  Thanks to the advice of those who are ahead of me, I knew that rolling a thin dough was important, or else the potential crackers would become pita bread.  Not that there’s anything wrong with pita, but…. pita is not a cracker.

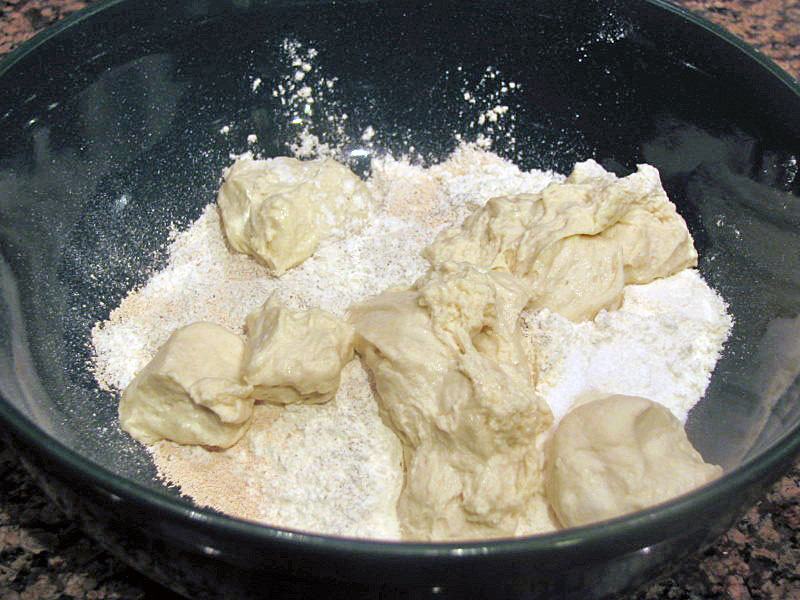
Here you see the beginning of the process, a simple dough (53% hydration) made with flour, honey, oil, salt and instant yeast. Again, I did not bother kneading it to death. After incorporating the ingredients into a ball, I allowed it to sit for 15 minutes, then folded it a few times until it got smooth. From that point, I followed the recipe as written.  In 90 minutes, it was ready to roll out.

triosmall

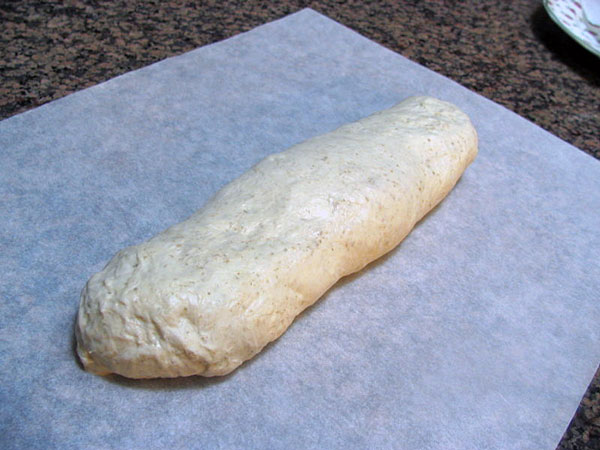
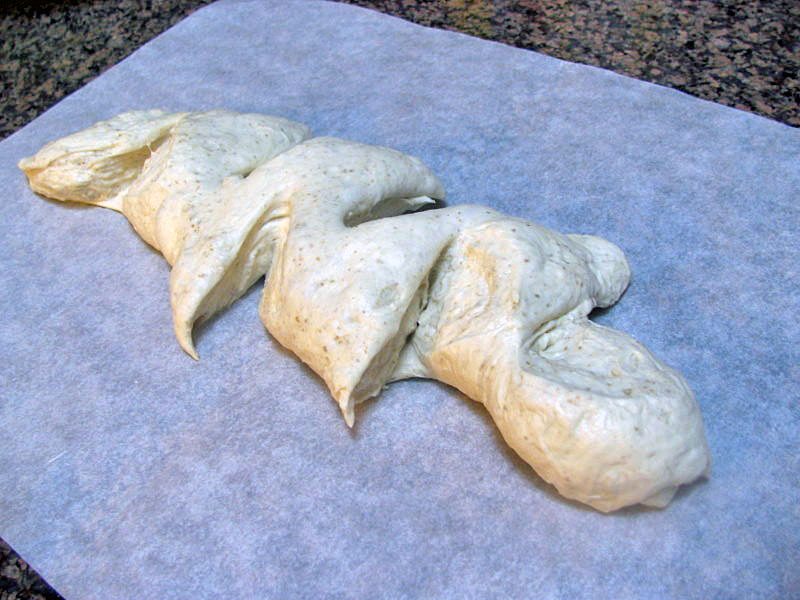
Make sure that you roll it as thinly as possible without tearing the dough. I found it very forgiving, with no problems to roll out, although it was a bit tricky to lift into the baking sheet.  To decorate the dough I used nigella seeds (which I bought here), black sesame seeds, smoked paprika, and coarse salt.

seedsondough

Into the oven it went… As you bake it, keep an eye on it, because if your rolling is uneven, some parts might darken faster than others. It happened to  me, but I broke the darker parts away and allowed the rest of the sheet to stay in the oven longer. This approach worked quite well.

As they cooled down, I decided to try one. Then another. Then another. My beloved husband was not expected back home for at least 3 more hours, and the deepest proof of my love for him was this bowl with many crackers still inside.

crackersready

See some of the happy bakers who made the lavash crackers before me:

Carolyn and Joe from Two Skinny Jenkins
Texas Farmer from Sina.blog (Blog in Chinese, amazing photos!)
Phyl from “Of Cabbages and King Cakes”
Deborah from “Italian Food Forever”
Oggi, from “I can do that”

BARM BREAD

IMG_2236

IMG_2246

This is my second submission to Yeastspotting

The recipe for this traditional wheat bread from England comes from Dan Lepard’s book  “The Handmade Loaf”, that I mentioned before. I’ve made quite a few  breads  from it, and at first this one seemed a little too involved,  because it required not only a levain (sourdough starter), but also a barm .  But, I was inspired to try it after reading a wonderful post about it.

Lepard  came up with a nice strategy to duplicate the barm at home by taking  a bottle-conditioned beer, and adding to it a small amount of your own  levain.  It’s a simple bread once  the barm is ready and bubbly…

To make the barm….
IMG_2216

125g Chimay beer (or other beer containing live yeast)
25g bread flour
2 tsp white levain (commercial or made from scratch)

Heat the beer to 160F, remove from the heat and quickly add the flour. Transfer to a bowl and allow it to cool to 68F, then add your white levain. Leave it at room temperature overnight or until it is very bubbly (my barm fermented for 30 hours).

Waiting for it to cool to 68F….
IMG_2219

To make the bread dough…

ingredientslabel

75g barm
125g water at room temperature
250g bread flour
3/4 tsp fine sea salt

Mix the barm in a large bowl with the water to completely dissolve it, then add the flour and salt. Mix it all with your hands;  it will be pretty shaggy and you will doubt that it will ever become smooth…. don’t worry, just let the dough sit there for 10 minutes, covered.
IMG_2224

Now follow this timeline, kneading for 10 to 15 seconds (yes, seconds) at each timepoint:

10 minutes / 20 minutes / 30 minutes / 1 hour / 2 hours /3 hours / 5 hours

at the 30 minute timepoint the dough will already be quite smooth…
IMG_2230

After 5 hours, knead it briefly again, allow the dough to relax for 10-20 minutes, and  shape it into a  “boule” (see one method here).  Gently transfer it to your vessel of choice for the final rise (about 4 hours) before baking. I used a banetton lined with a fine cloth, sprinkled with cornmeal.
beforeafter

The bread will rise to 1.5X  its initial volume; when you press it gently with a finger, it should feel airy and light. I baked mine in a clay pot at 430F for 30 minutes covered, and for 15 additional minutes with the lid off.

IMG_2241

This bread is a winner in every way:  flavor, crust and crumb texture, and looks. The beer gives it a subtle sourness completely different from a regular sourdough, made with levain only. It is a perfect match for a ham sandwich, or to go along a hearty soup or salad.  I kept thinking about split pea soup while munching on the bread. I’ll definitely make it again, with different beers and flour mixtures, as advised in Lepard’s book.

jump for more comments….

Continue reading

BBA#16: KAISER ROLLS

A Kaiser roll….
KR1

is the beginning of a great sandwich!
sandwich

But let’s not get ahead of ourselves… Back to this tasty bread…

Once more I switched from kneading the dough to folding it, and the results couldn’t have been better. For those following along the “challenge”, here’s a heads up: the recipe uses only half the amount of the pate fermentee shown on page 105. If you make the full amount, remember to only use half of it. 😉

After incorporating the pate fermentee into the flour, egg, oil, malt, and yeast, I folded the dough at 30, 60, and 90 minutes. At the 2 hour mark the dough was bubbly and airy as expected, so I cut it into 6 pieces and formed the rolls using the knot method. They rose for almost 1.5 hours (see the before and after pictures, the two photos at the bottom of this gallery).

composite2

A little egg wash helped to glue the black sesame seeds on top…

seeds

Right out of the oven, a light roll, with a nice crumb structure…
IMG_2206

hand

And, before I forget… that sandwich was made with ham, cheese, yellow tomatoes, and a fried egg. Absolutely delicious!

For more Kaiser Roll adventures, here are links to blogs by fellow bakers who made the rolls ahead of me, check them out!

Carolyn, from Two Skinny Jenkins
Deborah, from Italian Food Forever
Maggie, from The Other Side of Fifty
Devany, from My Hawaiian Home
Oggi, from I can do That
Joelen, from What’s Cooking, Chicago?

BBA#15: ITALIAN BREAD

IMG_2097

Fifteen breads down, twenty-eight to go…

Once more I should say that all recipes from the challenge can be found here, a must-have book for any serious (or beginner) bread baker.

Reinhart’s Italian Bread is quite similar to the previous one (French Bread), except that it takes a “biga” instead of a “poolish”. No need to run away all scared, those are terms to describe the pre-mixture of flour, water, and yeast, that generally ferments for 24 hours before being used in the final dough. Usually a “biga” is firmer (contains less water).

For this bread, I changed the method of kneading. Instead of adding the dough to the Kitchen Aid and watching the machine do its job, I kneaded it myself, but used my favorite method: folding. I put the advice from bakers over at “The Fresh Loaf” to work, folding the dough twice, at 40 and 80 minutes, then forming a “boule” at 120 minutes. One more hour rising, and into the oven it went. These pictures show the second folding (made in two directions), and the “boule” right after shaping. Notice how bubbly it was, even before the final rise.
composite1

After 1 hour at room temperature, the dough rose about 1.5X of its original size, as expected. It had a spongy texture, airy and light. It lost some of it when I dumped it into my clay pot, but not much. It had good enough oven spring to recover.
finalboule

This bread is spectacular, the crumb has excellent texture, the crust is not too hard, not too soft, just right. As my husband put it, “it is not very easy to stop eating it”. Indeed. It was a wise decision to make half the recipe, because there is only so much running one can do. 😉
IMG_2095

A final shot of the crumb…

crumb

BBA#14: FRENCH BREAD

FB2

Another bread I was looking forward to! We arrived from the other side of the world a little tired, but after a nice shower I grabbed the book and prepared  “pate fermentee”. It’s a fancy name for a simple thing: flour, salt, yeast, and water, kneaded together, allowed to rise for one hour and placed in the fridge overnight.

French bread is reasonably easy to make, but tricky to shape, as the dough contains a high proportion of water. Refrain from adding too much flour and you are half the way there.

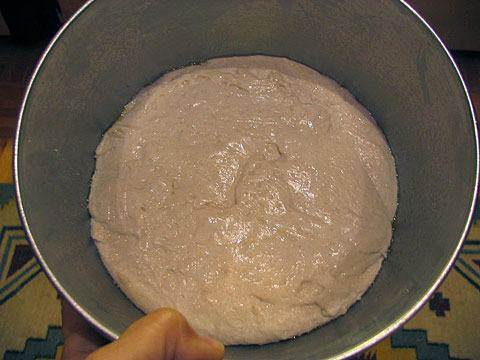
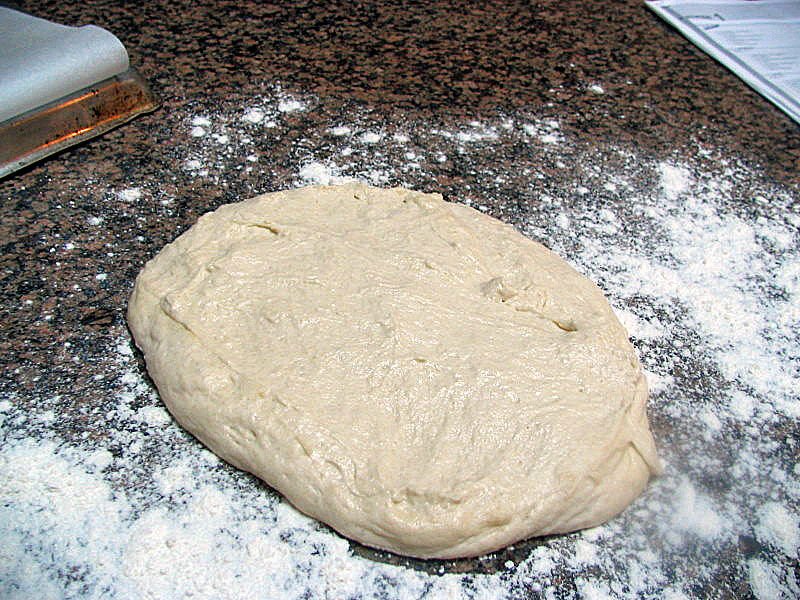
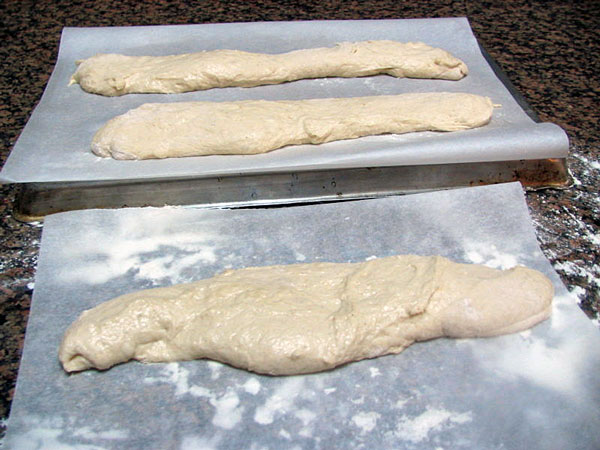
These photos show the complete dough (pate fermentee’ + more flour, salt, yeast and water) before and after rising for 2 hours at room temperature.  I cut the dough into three pieces, shaped as baguettes, taking care to deflate it as little as possible.

FB1

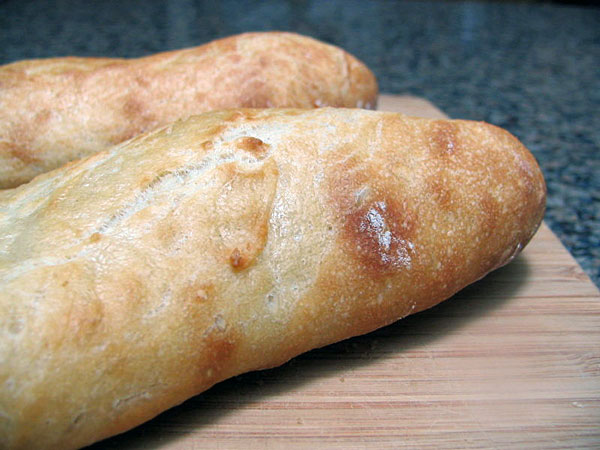
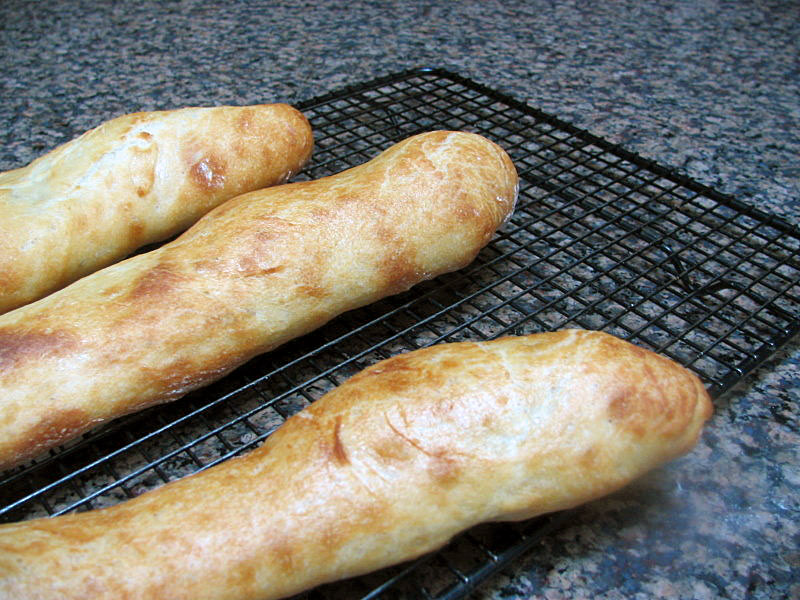
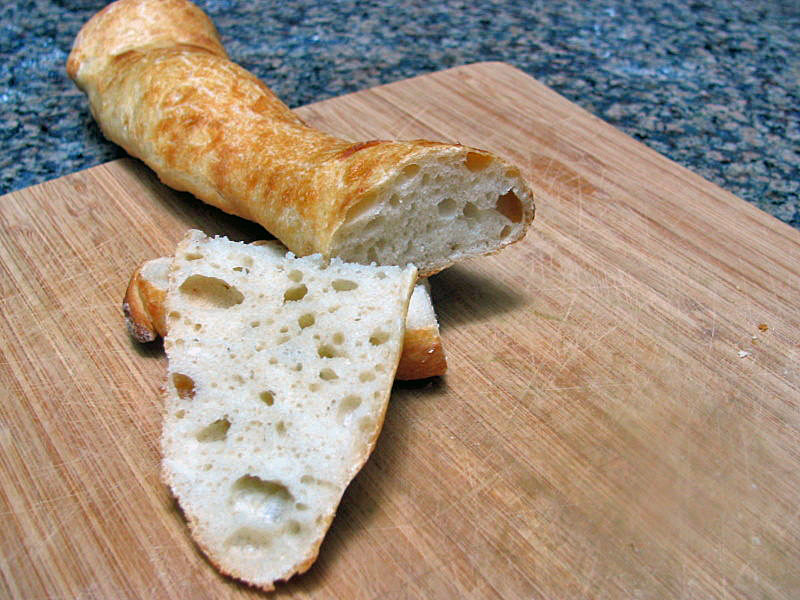
The baguettes rise one more time, at least 45 minutes, then go into a 500F oven. I need more practice shaping baguettes, but overall I think they worked quite well.

IMG_2039FBfirst

FBcrumb

The crumb is not very open, but the bread has excellent flavor and texture.  They were a nice complement to our dinner tonight!