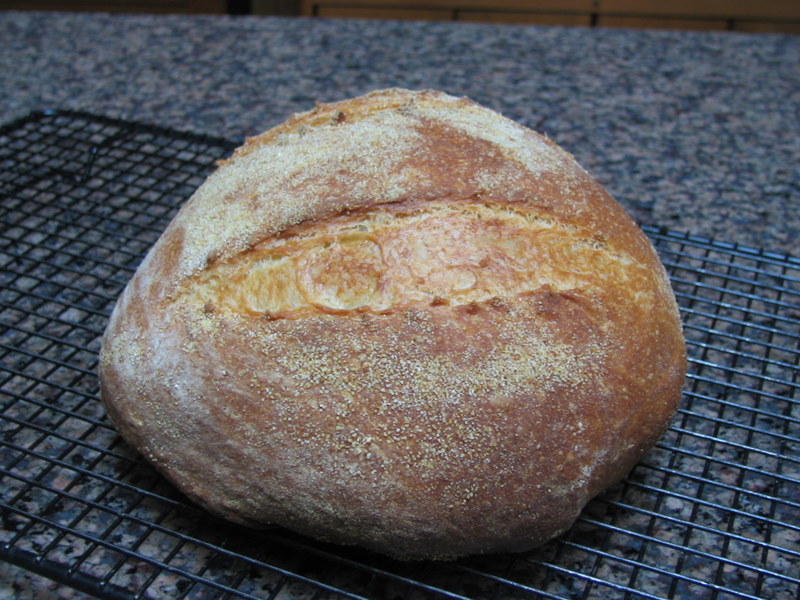
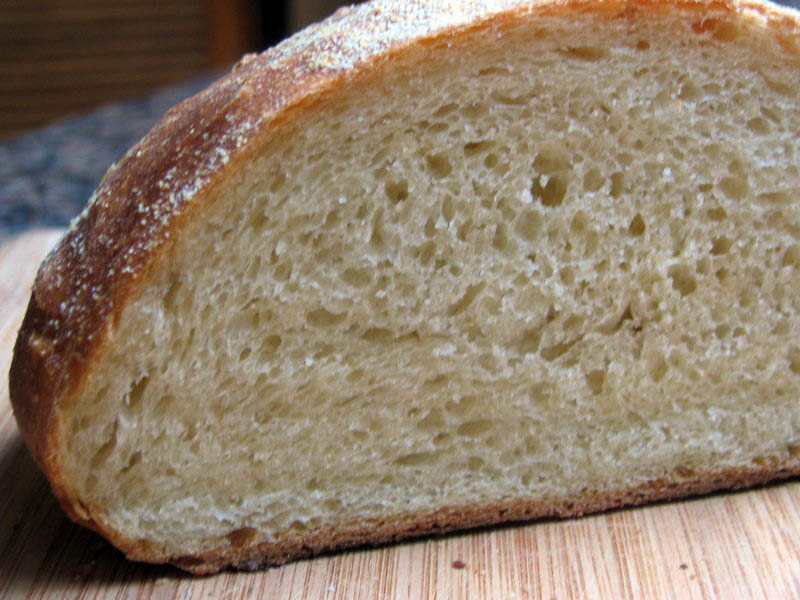
BBA#13: Focaccia

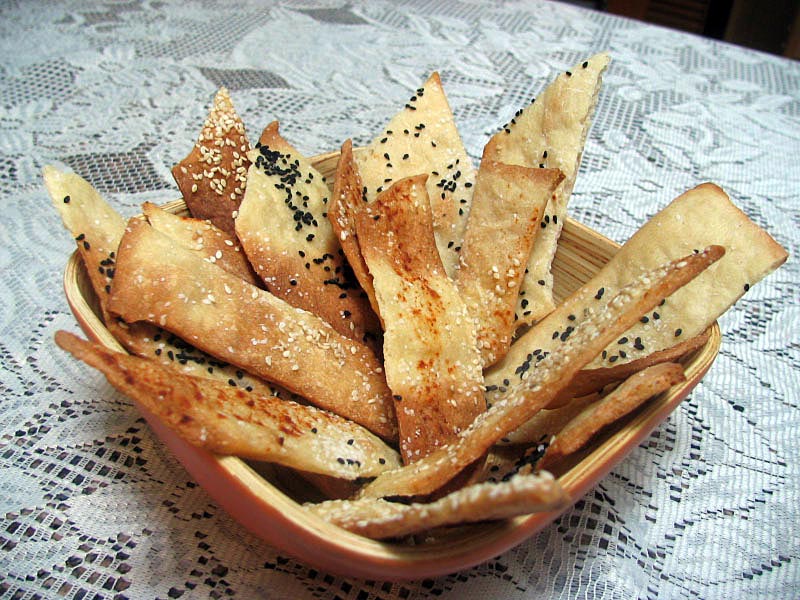
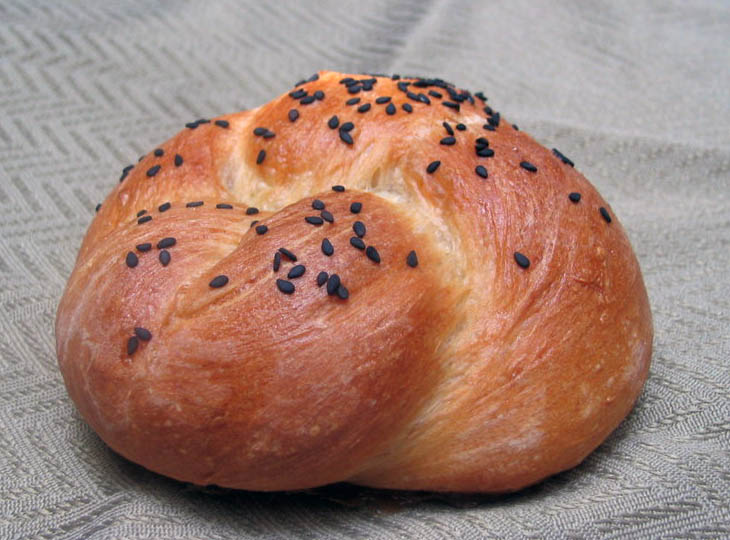
focacciaready

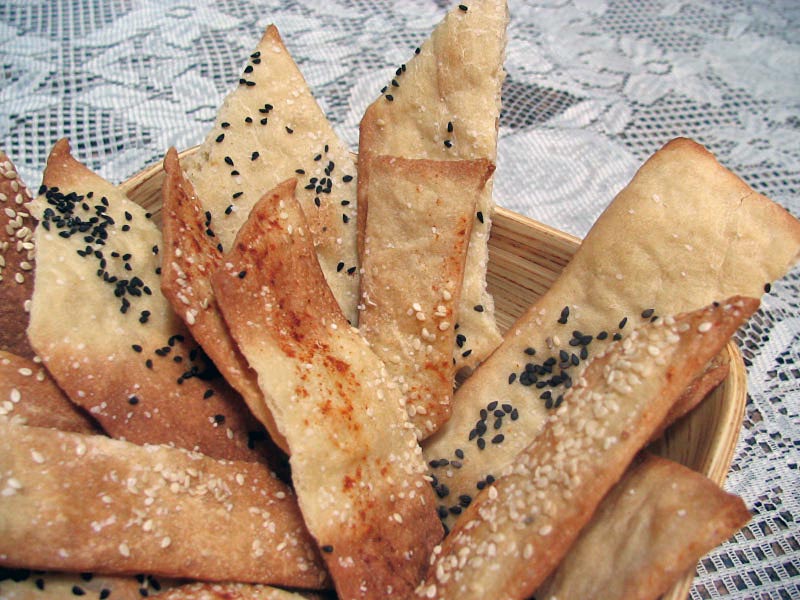
Not quite sure how else to put it: I LOVE focaccia! In fact, it was one  of my very first posts in Bewitching Kitchen, a straightforward recipe we’ve enjoyed countless times. If you haven’t seen it, click here for a flash back.

In the Bread Baker’s Challenge, it was time for Peter Reinhart’s recipe, which is a lot more involved. Whereas my usual method takes you from flour to baked focaccia in a little over an  hour, Reinhart’s calls for  almost 3 hours of preparation, followed by an overnight sleep in the refrigerator.  The next day it involves 3 more hours until baking;   I was understandably  anxious to see the results.

But first, the process…

As the ingredients mix it won’t look very promising…
dough1

But don’t worry about it, just get the dough hook going…. and going… and going… it might take 10 minutes to get it smooth

dough2.

This is exactly how it’s supposed to be: almost clearing the sides of the bowl, but still sticky at the bottom

Now, be brave and with wet hands, remove the dough to a heavily floured surface…

dough3

and proceed to make three folds, 30 minutes apart.  Don’t forget to enjoy the amazing changes in texture, as the dough gains strength and shape with minimal effort…

fold1fold2finalfold

I confess to having a bit of trouble with the next step.  It was tricky to move the dough to the sheet pan. If you have helpers around, line them up, and flour their hands… heavily. In fact, it might be even better to follow Paul’s suggestion (a fellow baker who recently posted about it here ), and transfer the dough to the sheet pan right after the last fold. It will make your life easier. 😉

sheetpan1

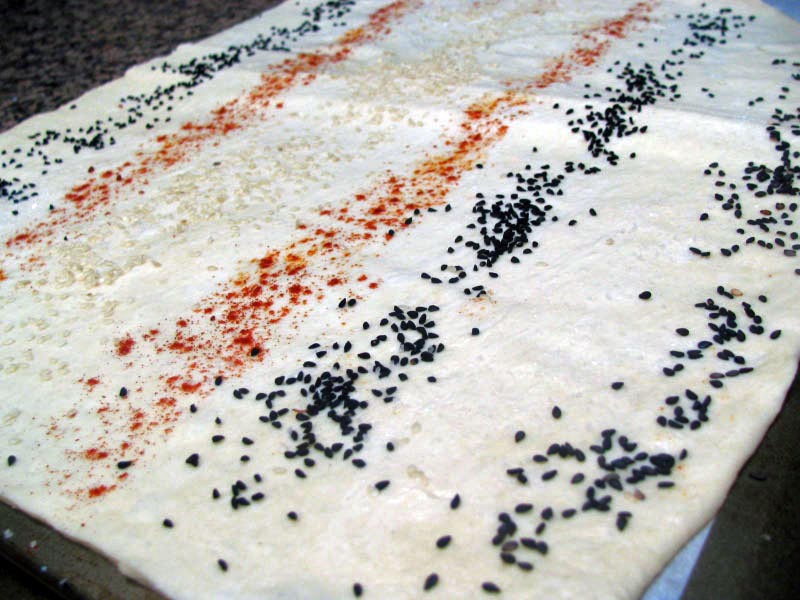
Reinhart’s herb oil is a must, I will definitely incorporate it in my focaccia from now on, no matter the recipe.

herboilsheetpan2

The next morning, after 3 hours of final rise at room temperature, the focaccia goes into the oven!

ready2

a few final comments after the jump….

Continue reading

BBA#12: Golly Moses, She’s a Muffin!

Unless you are a fan of “Two and a Half Men”, the title will not mean much to you. But, if you are like us, it will bring a smile to your face… 😉

I was “counting the breads” to this one, as making English muffins has been on my to-do list for years. In fact, with this bread, Reinhart starts on a very nice path down yeast lane: I look forward to many of the breads ahead.

IT’S A MUFFIN!

muffin1

This recipe (found here) was easy, absolutely no worries. Mix the flour, the yeast, the buttermilk, and wait for the dough to beautifully rise.  Form 6 balls of dough, let them rise again and plop them on the griddle.

The trickiest part is to cook undisturbed for several minutes, until the bottom is dark brown. I’m not a particularly patient person, and those minutes seemed like hours! But it was worth it, as the photos confirm.

Without further ado, muffin time!

Here they are, after the final rise, ready to cook…

muffindough

As you add them to the griddle, they spread a little. Just let them sit, don’t move them around.

ongriddle

close-up

muffingriddle

…and a “group shot”

muffingroup

General comments: it’s another great recipe to make with kids: they’ll have a lot of fun to see the changes as the muffins cook, and then to eat them with some butter and jam!  They finish in a 350F oven to make sure that the inside cooks thoroughly. The crumb turned out a little tighter than I like it, but maybe I was not gentle enough handling them. Make sure to sprinkle some cornmeal on the parchment paper or Silpat before resting the dough balls on top,  so that you retain the airy quality of the dough and the bread acquires the characteristic muffin texture inside. Eggs Benedict may well be on your menu in the near future! 😉

Note to self: explore variations using whole wheat flour and/or sourdough starter as part of the dough.

BBA#11: Cranberry-Walnut Celebration Loaf

Eleven breads down, thirty-two more to go!

A reminder to readers: recipes for all the breads from “the BBA challenge,” are found in Peter Reinhart’s book.
IMG_1656

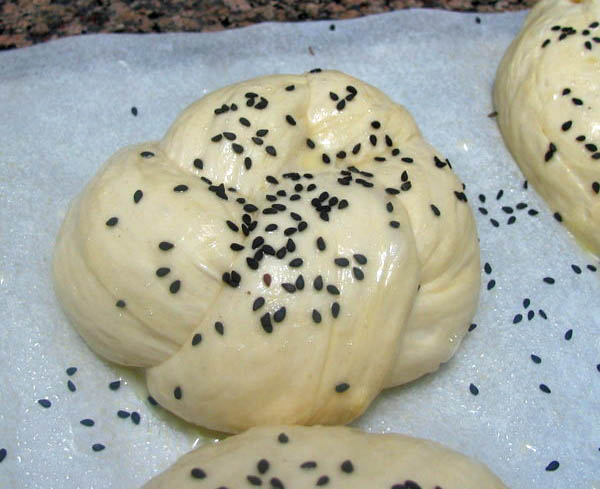
My hopes were not high for this one.   It’s a bit too festive for my taste, and I had trouble with a previous braided loaf (Challah), which made me a little worried.  However, much to my own amazement, this loaf was not difficult and turned out very well. My only remark is that the water  called for in the recipe (1/4 to 1/2 cup) seems excessive. I did not add any water, and the dough was already almost in need of a little flour.  Be careful if you make it, and hold back on the liquid  (thanks, Susie! If it wasn’t for your heads up, I would’ve probably ended up with trouble in my hands… :-))

The dough contains eggs, milk, cranberries and walnuts;  it is leavened by commercial, instant yeast.   After rising for 2 hours it is cut in 6 pieces (3 large, 3 small), that are shaped into logs, and braided. The small braid is placed on top of the big one, forming a double-braided loaf, quite impressive!

doughballsIMG_1644IMG_1645formed

cranberry1

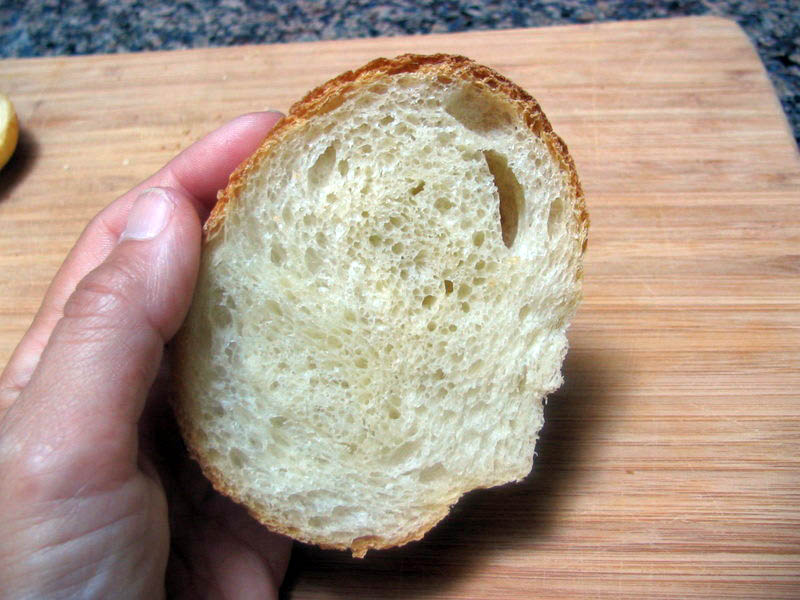
… a final shot of the crumb….

IMG_1660

We both loved the bread!  It’s rich, but not overly sweet due to the tartness of  the cranberries, and great toasted.   The orange extract complements the cranberries, but if I made it again I’d use orange zest instead.

THE BREAD WE LOVE

Two food items that I can’t survive without are bread and cheese.  When I lived in Paris I had a permanent smile on my face because it seemed like every street corner had a fantastic boulangerie, with wonderful fresh bread.  Often, not far away was a strategically placed  fromagerie wafting the intoxicating smells of cheese through the neighborhood, the best possible form of advertisement.
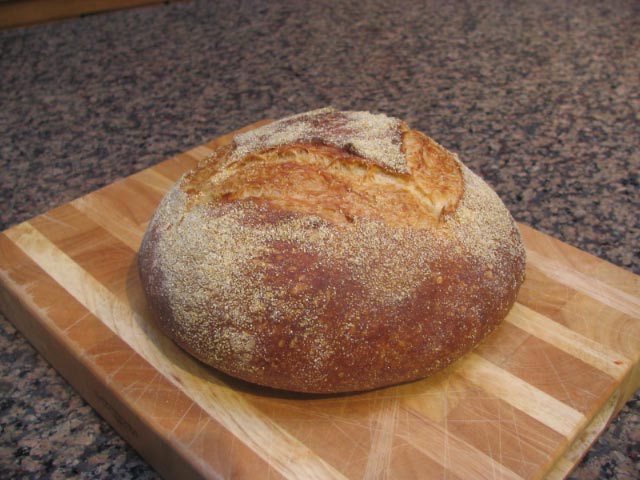
IMG_1633

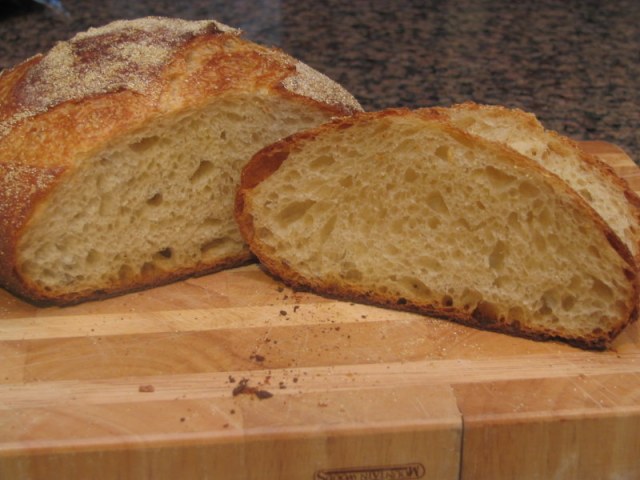
My favorite bread is a sourdough loaf with delicate flavor, a hardy crust, and a creamy crumb with open, uneven holes. Simple to say, but a little harder to accomplish.   After more than a year of experimenting with different recipes I’m ready to share one of my favorites, not only because it delivers on all these counts, but because it’s excellent when prepared in the evening and baked the next morning.  To me, it’s the perfect way to make bread during the hot Summer months.

The recipe comes from a book that should be part of any bread baker’s library, called quite simply: “BREAD: A baker’s book of techniques and recipes,”  by Jeffrey Hamelman. You can find it here. This post will be my first submission to Yeastspotting.

VERMONT SOURDOUGH WITH WHOLE WHEAT
(adapted from Hamelman’s “Bread”)

Liquid Levain
2.4 oz bread flour
3 oz water
1 oz mature liquid levain (see comments at the end of the post)

Final dough
12 oz bread flour
1.6 oz whole-wheat flour
7.4 oz water
5.4 oz Liquid levain
0.6 oz salt (1/2 T)

Make the liquid starter (levain) 12 to 16 hours before preparing the dough, and let stand uncovered at room temperature. If you don’t have a sourdough starter, follow this link for a great lesson on how to make it.

Add all the ingredients for the dough (except the salt) in the bowl of an electric mixer. Mix on first speed (or by hand) just until they are combined into a shaggy mass. Cover the bowl and let it sit at room temperature for 20 minutes to 1 hour (this is called autolyse). At the end of autolyse, sprinkle salt all over and mix with the dough hook on second speed for 1 to 2 minutes (or knead by hand about 4 minutes).

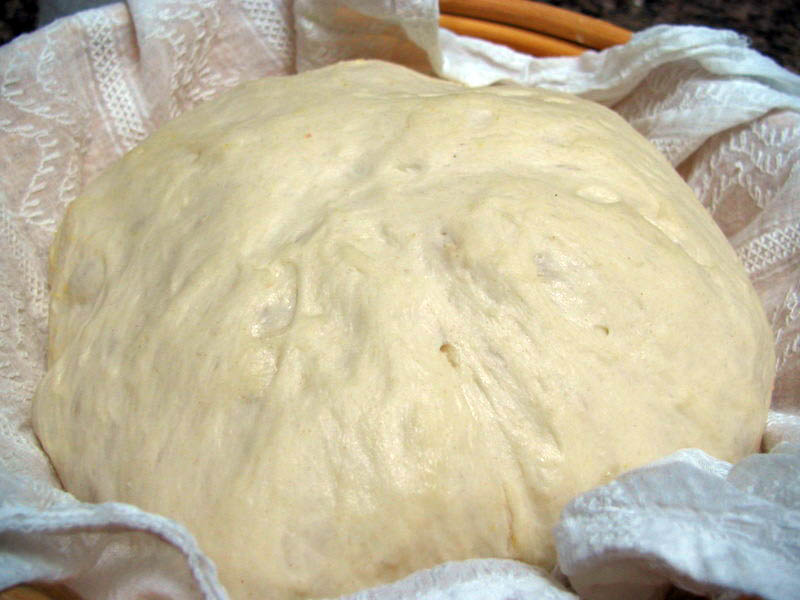
Let it rise (ferment) at room temperature for 2.5 hours, folding the dough at 50 and 100 minutes (see my photos after the jump).

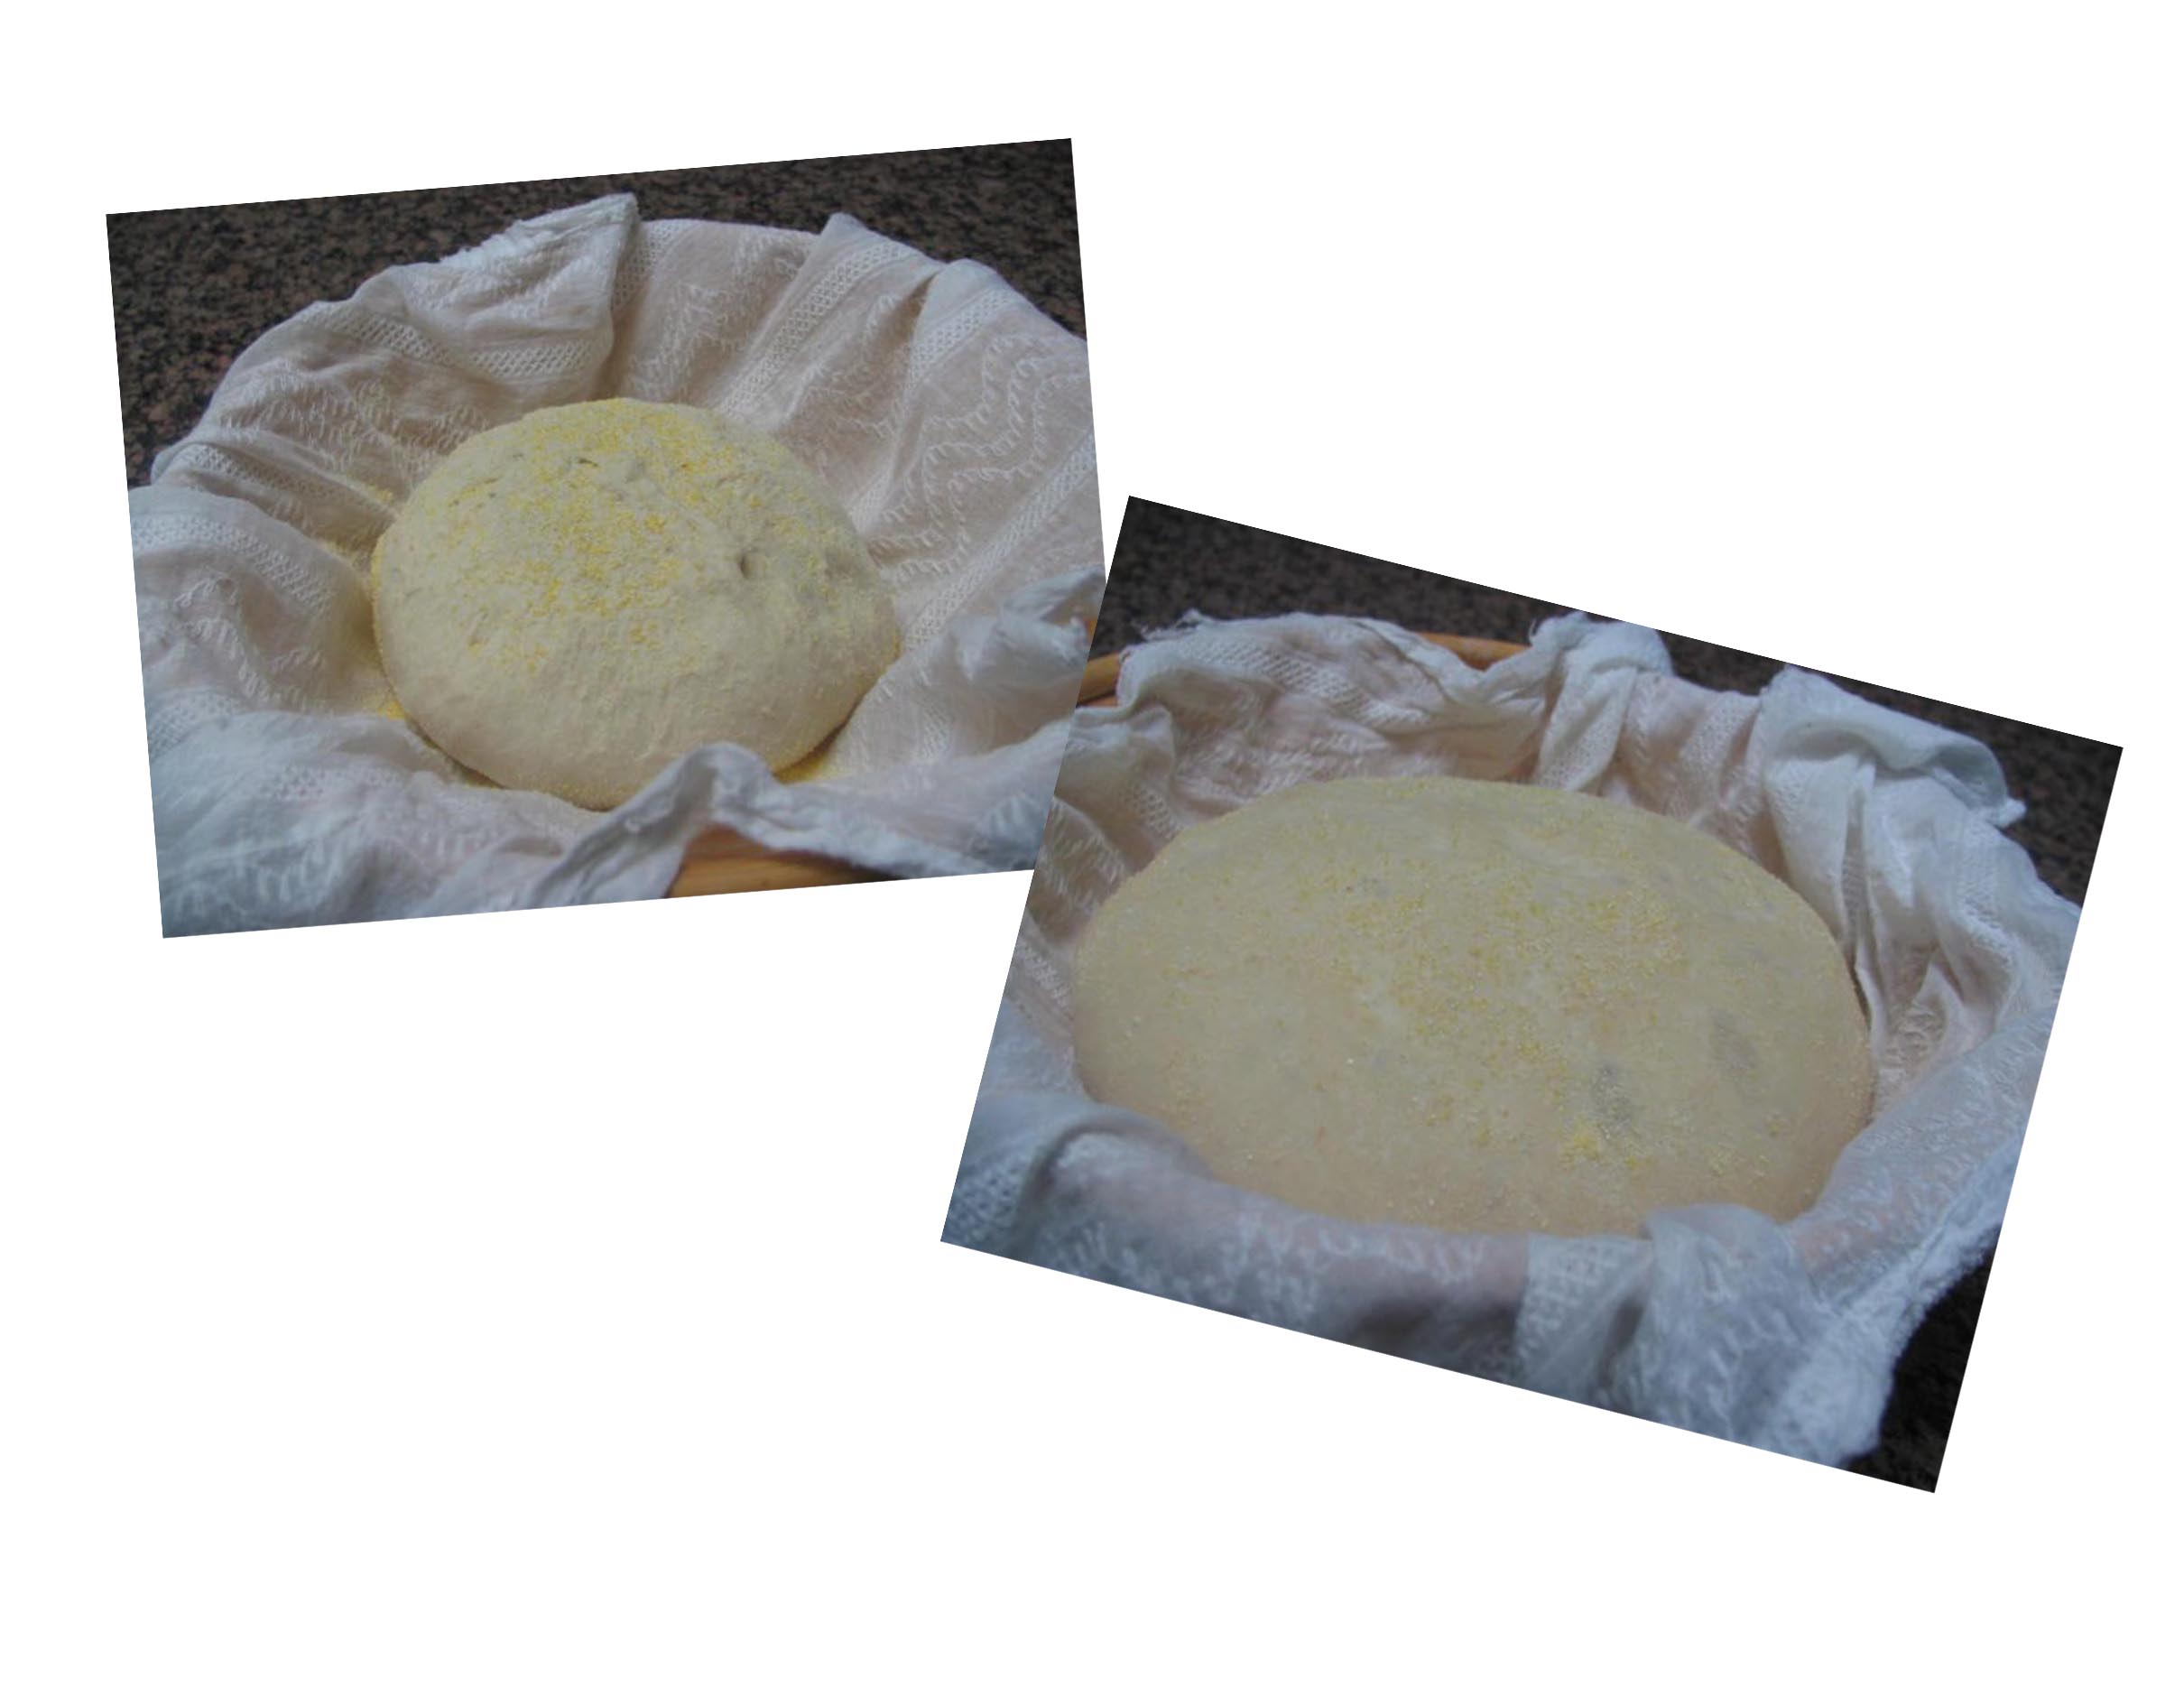
Shape the dough into a ball ( “boule”; great youtube video for shaping all kinds of bread can be found here), place it with the seam up  in a round container (banettons are your best option) lined with a fine cloth and transfer to the refrigerator for 8 to 12 hours. Remove from the fridge a couple of hours before baking (Hamelman says it is not necessary, that you can bake it straight from the fridge).

If using a clay baker (my favorite way), place the baker in the cold oven and turn it on to 440F. Allow the oven to warm to that temperature for at least 10 minutes. Using mittens, open the lid and quickly transfer the dough to the baker, so that the seam is now down, then slash the surface according to your liking, and close the lid.

Bake covered for 30 minutes, open the lid (don’t forget the mittens), and allow it to bake for at least 15 more minutes. You want a dark crust and internal temperature of at least 200F. Allow it to completely cool on a rack before cutting the bread (2 hours should be enough).

IMG_1627

Continue reading

BBA#10: CORNBREAD

cornbread4

With this bread, almost 25% of the challenge is completed. Ten breads down, thirty-three more to go…

Reinhart tells us that cornbread normally would not fit into a bread book, as it is not leavened by yeast. However he had to include this one because, according to him, “it is the best cornbread you will ever taste”. Since taste is such a personal thing, I tend to take statements like that with a grain of salt, but needless to say, I had high expectations for it.

The recipe is very straightforward, but you must remember to soak the cornmeal with buttermilk the day before. Which, of course, I almost forgot. Spent Friday evening with a strange feeling of something left undone. Shortly after 10pm you could see me dashing to the kitchen, screaming “cornbread! cornbread!”.   My beloved by now is used to this sort of stuff.

click for more photos and comments