
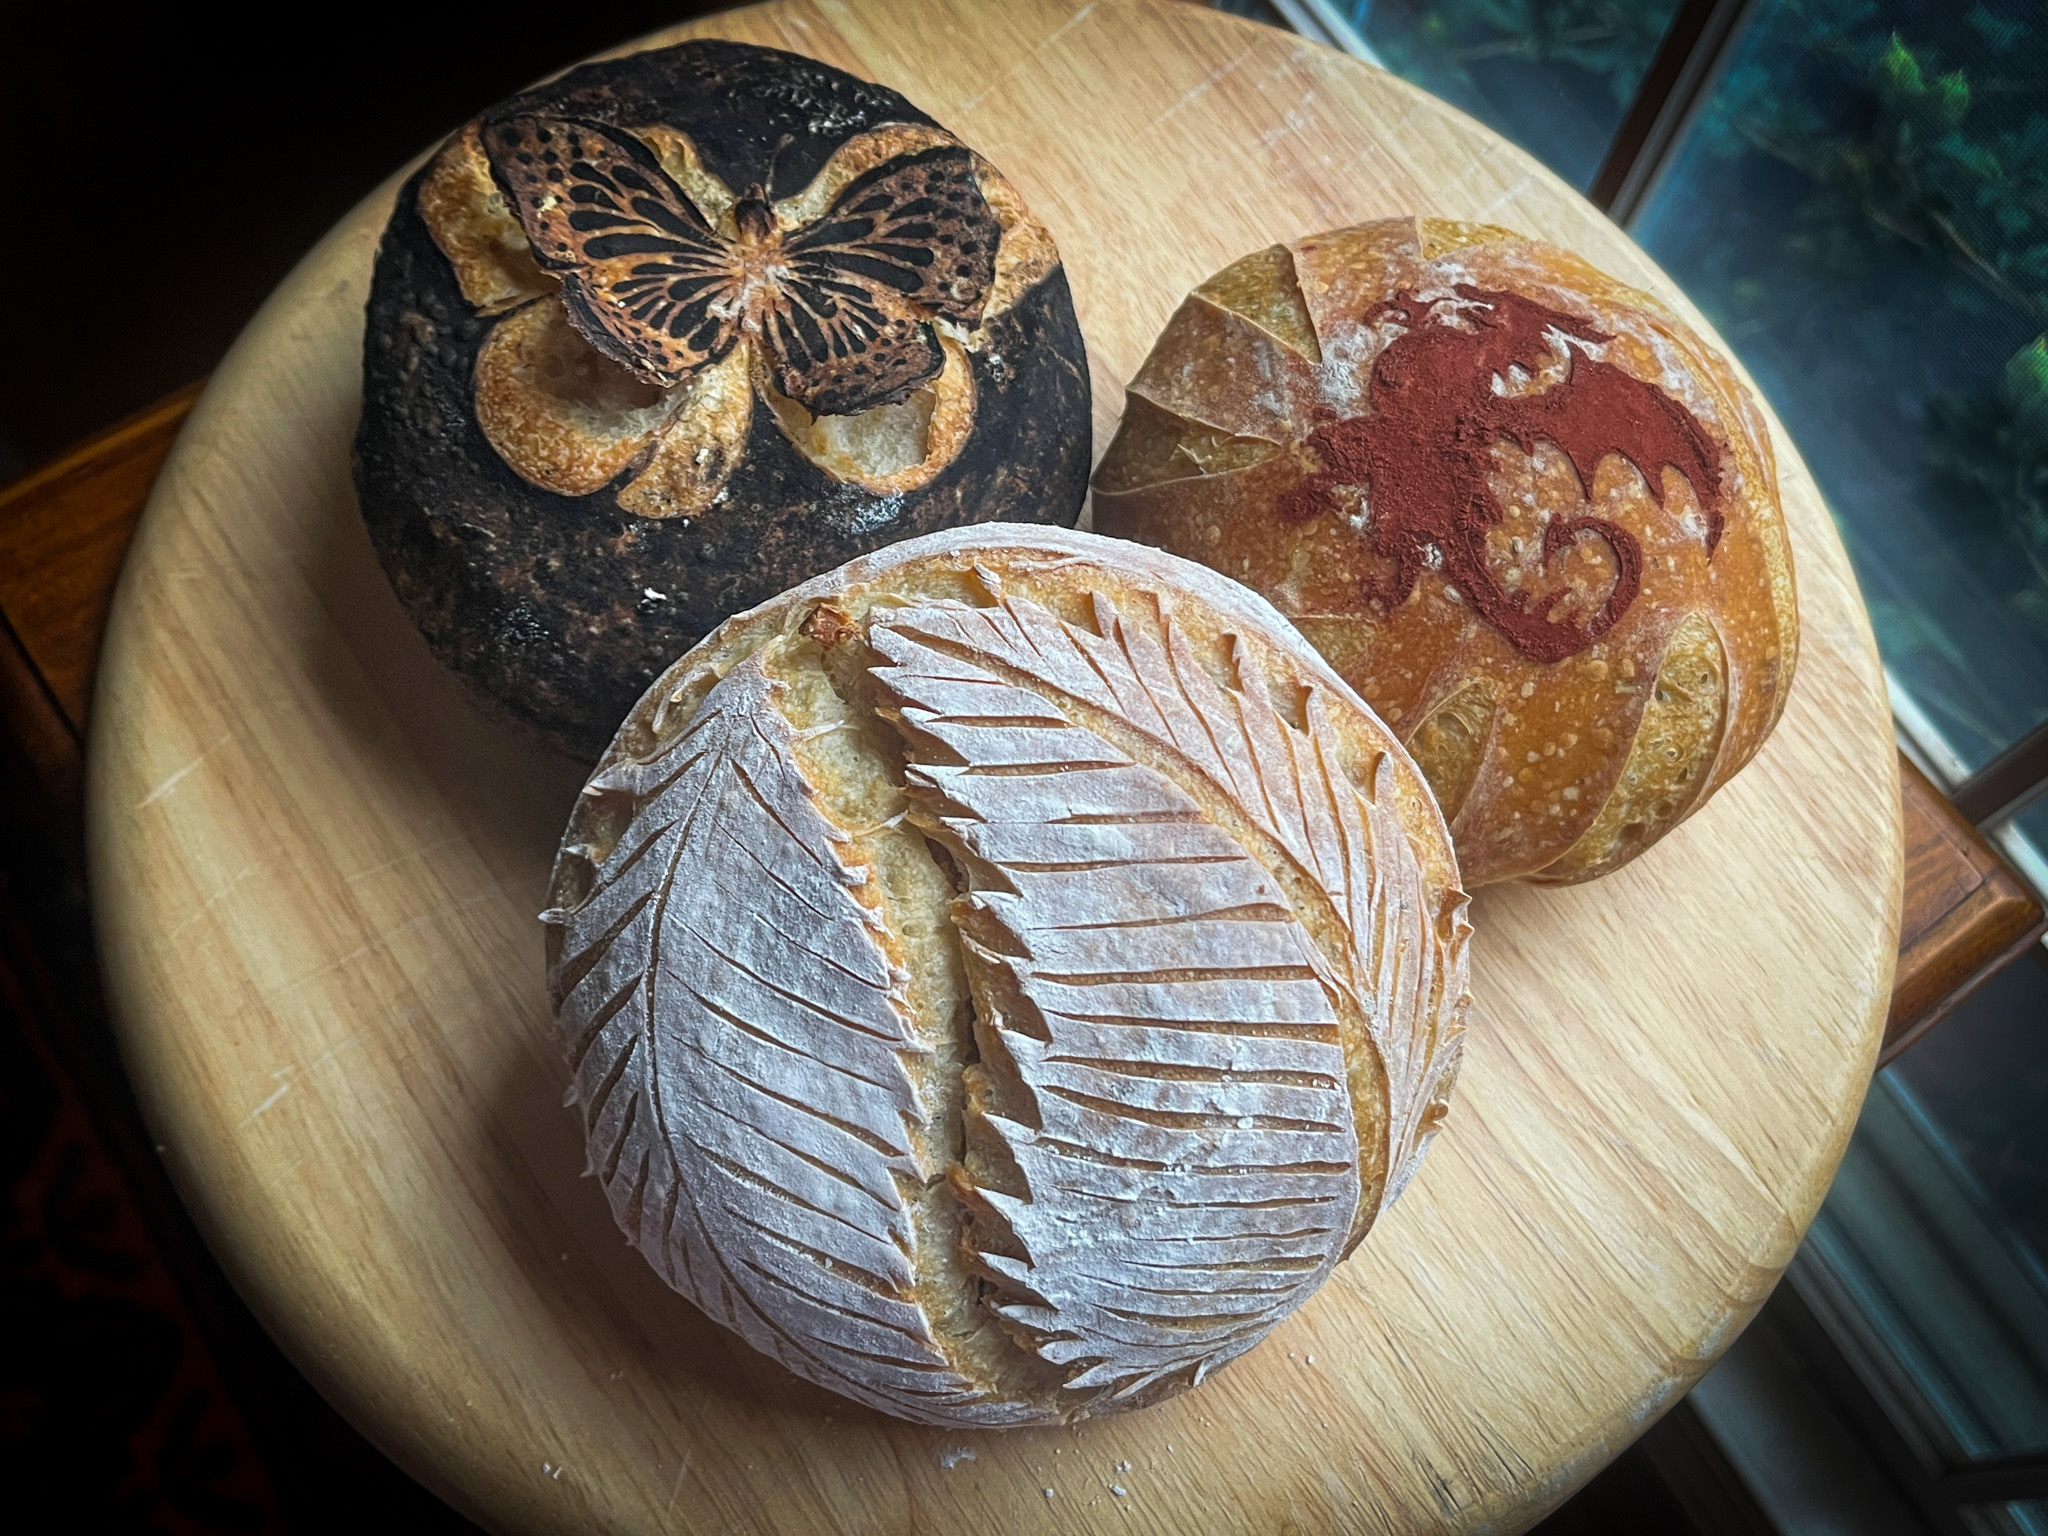
Baking small breads is a great way to practice different decorative designs starting with a single batch of dough. That’s exactly what I am sharing with you today. My default recipe, using 500g of total flour gave exactly 4 little balls with 230g total dough each. The bannetons I used were bought on eBay. As far as I can tell, they are not available anymore, but I found the same kind at Evil Empire (click here), although you do have to buy a set with way too many…
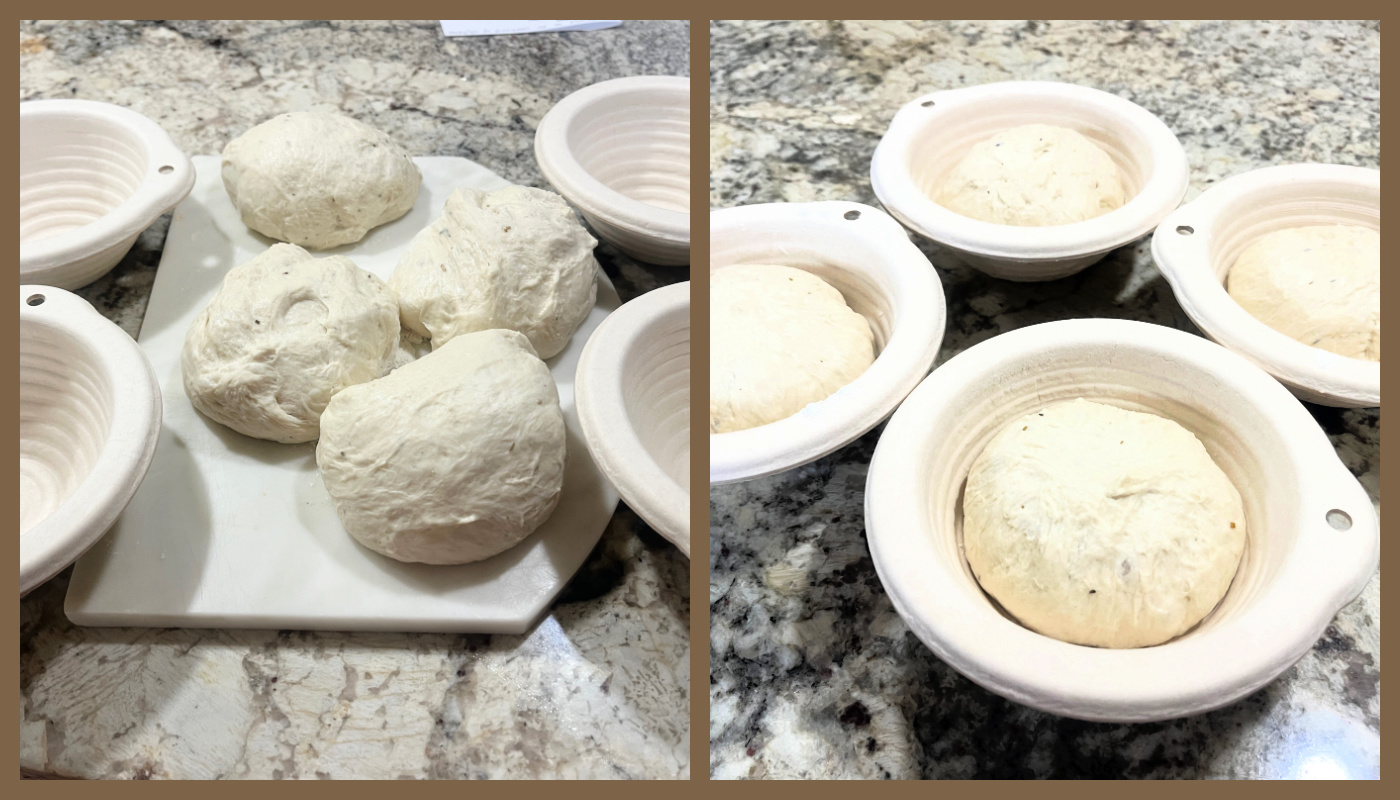
After overnight in the fridge, I froze them still in the banneton for 30 minutes to facilitate scoring and working with the stencils. I start with my favorite, the floating butterfly…
.
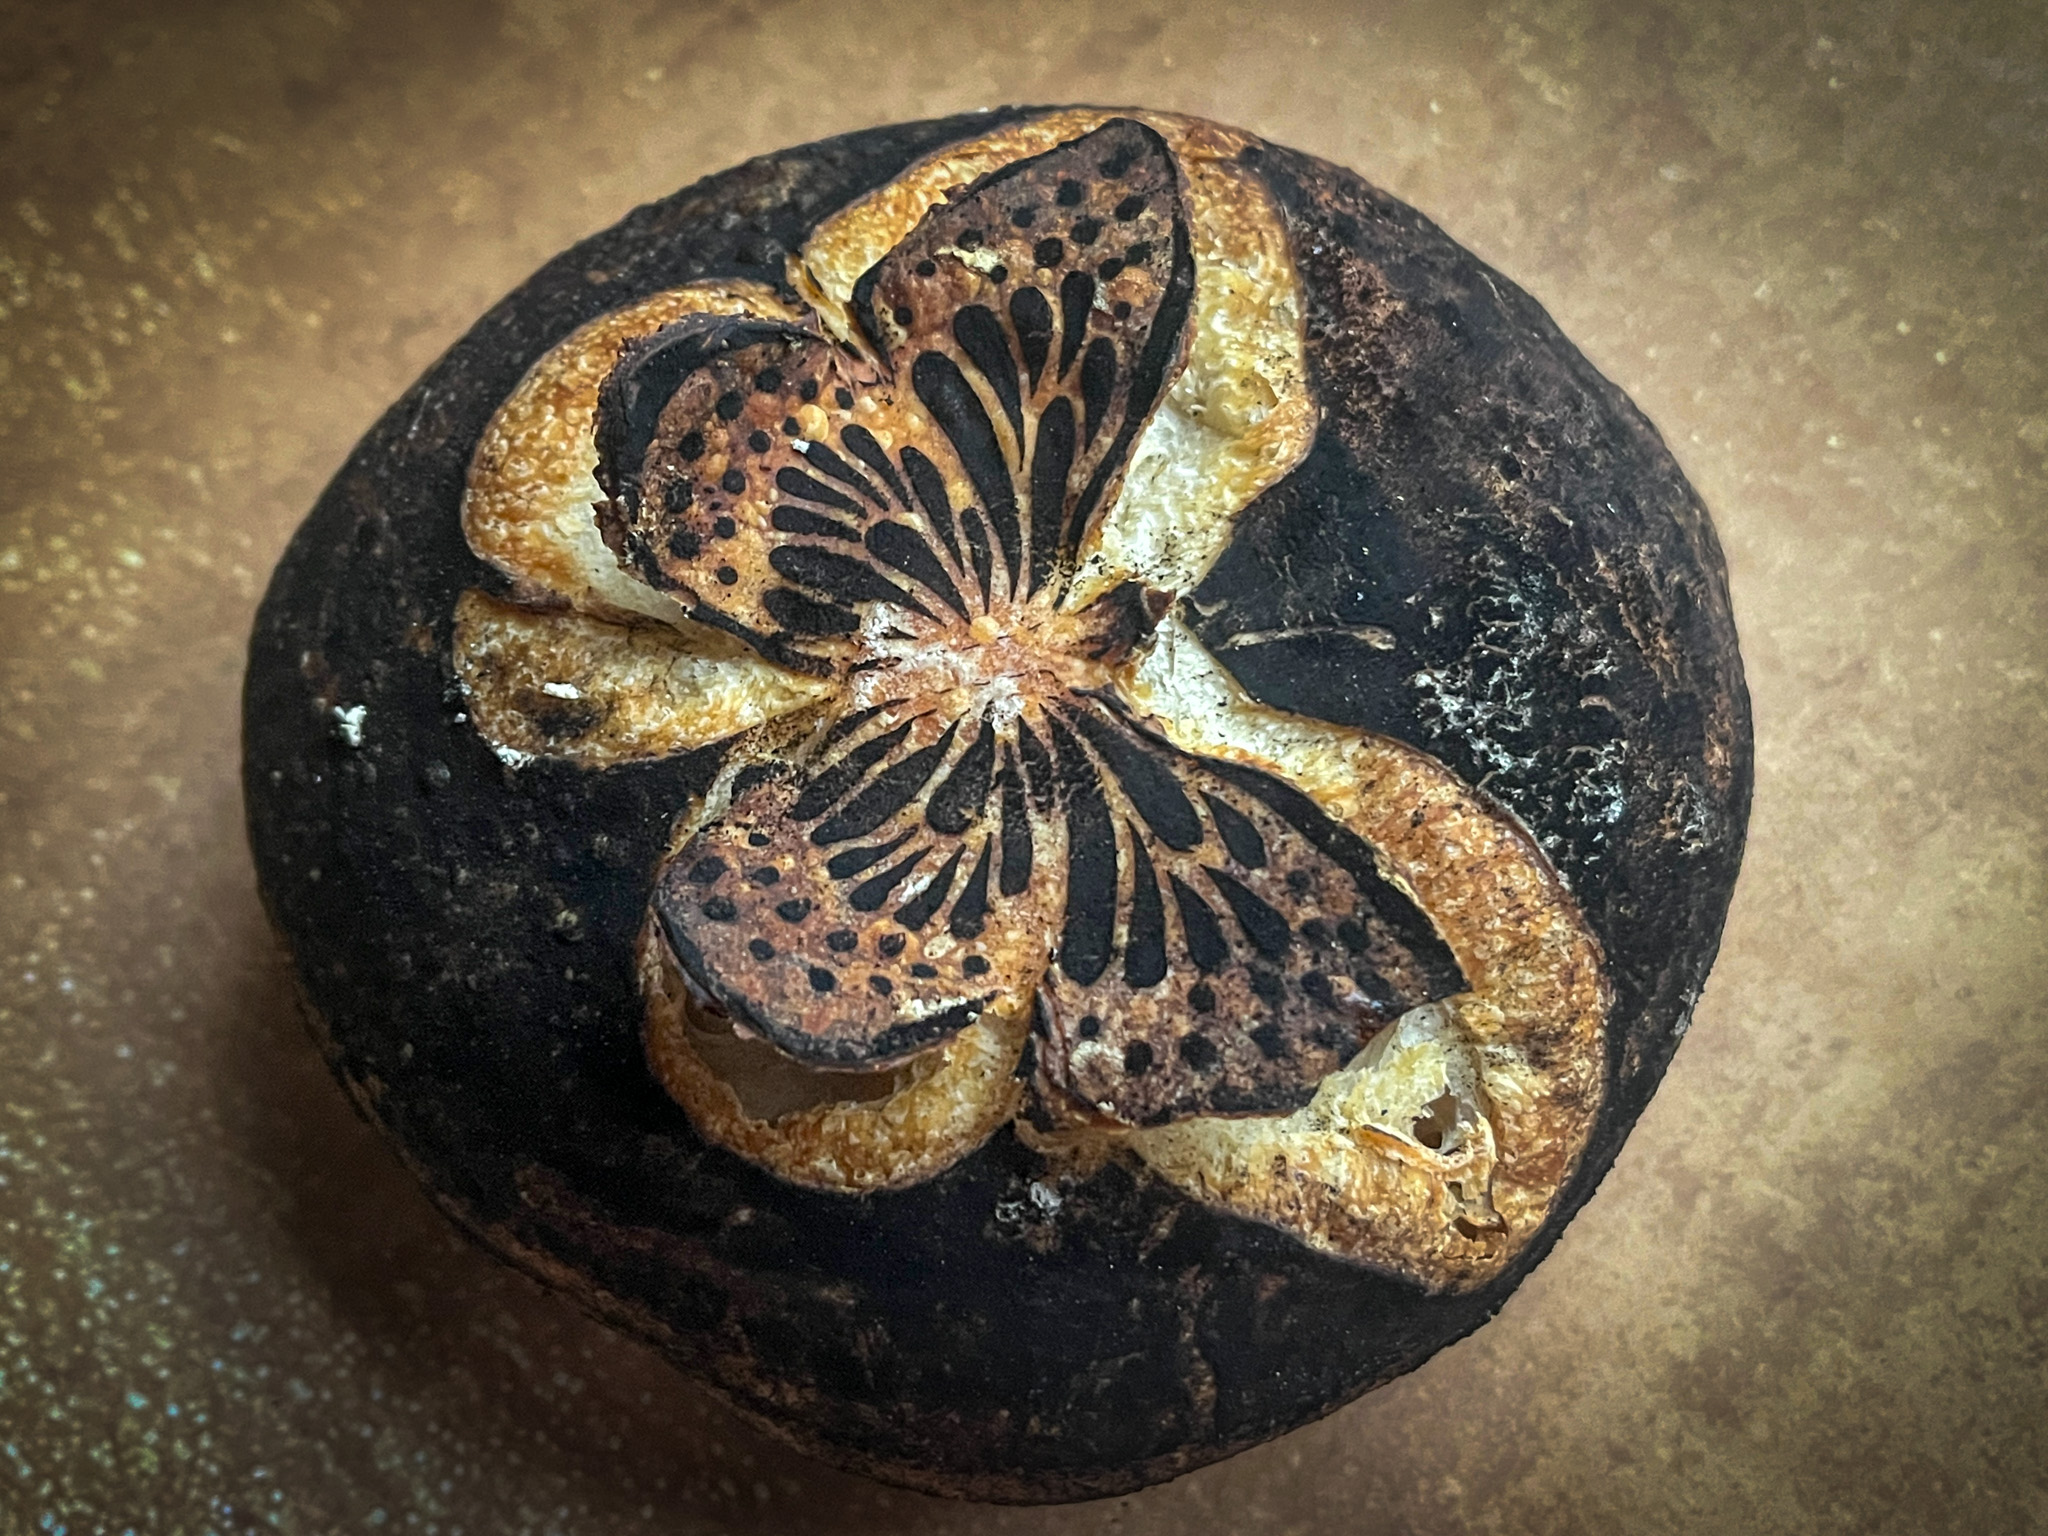
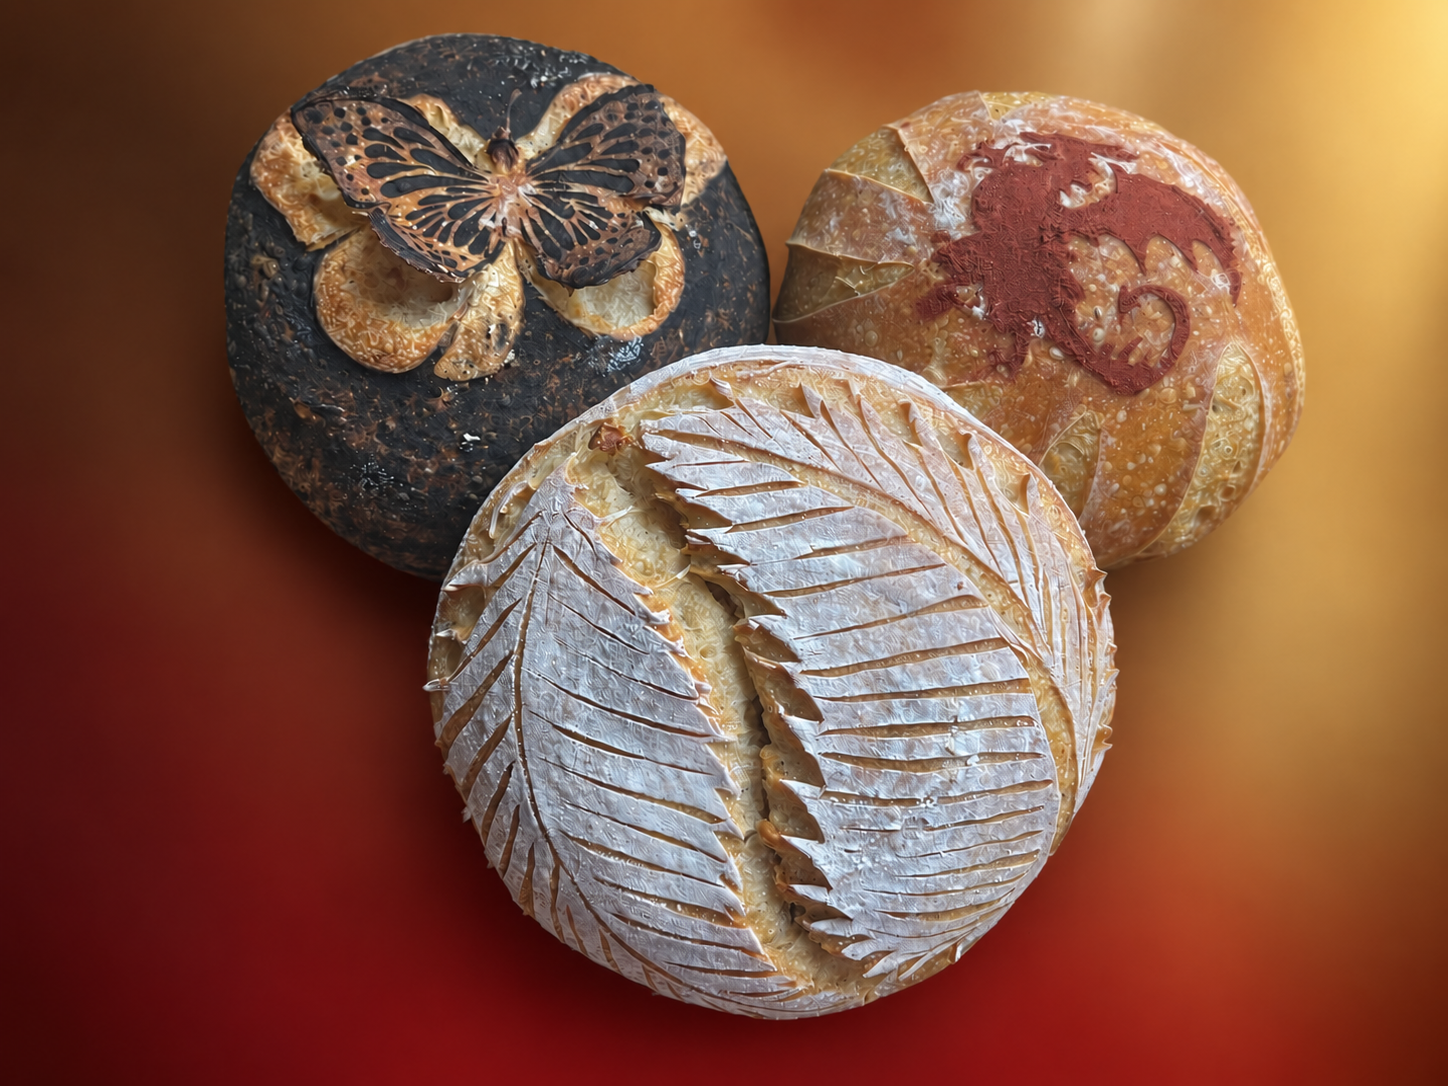
THE FLOATING BUTTERFLY
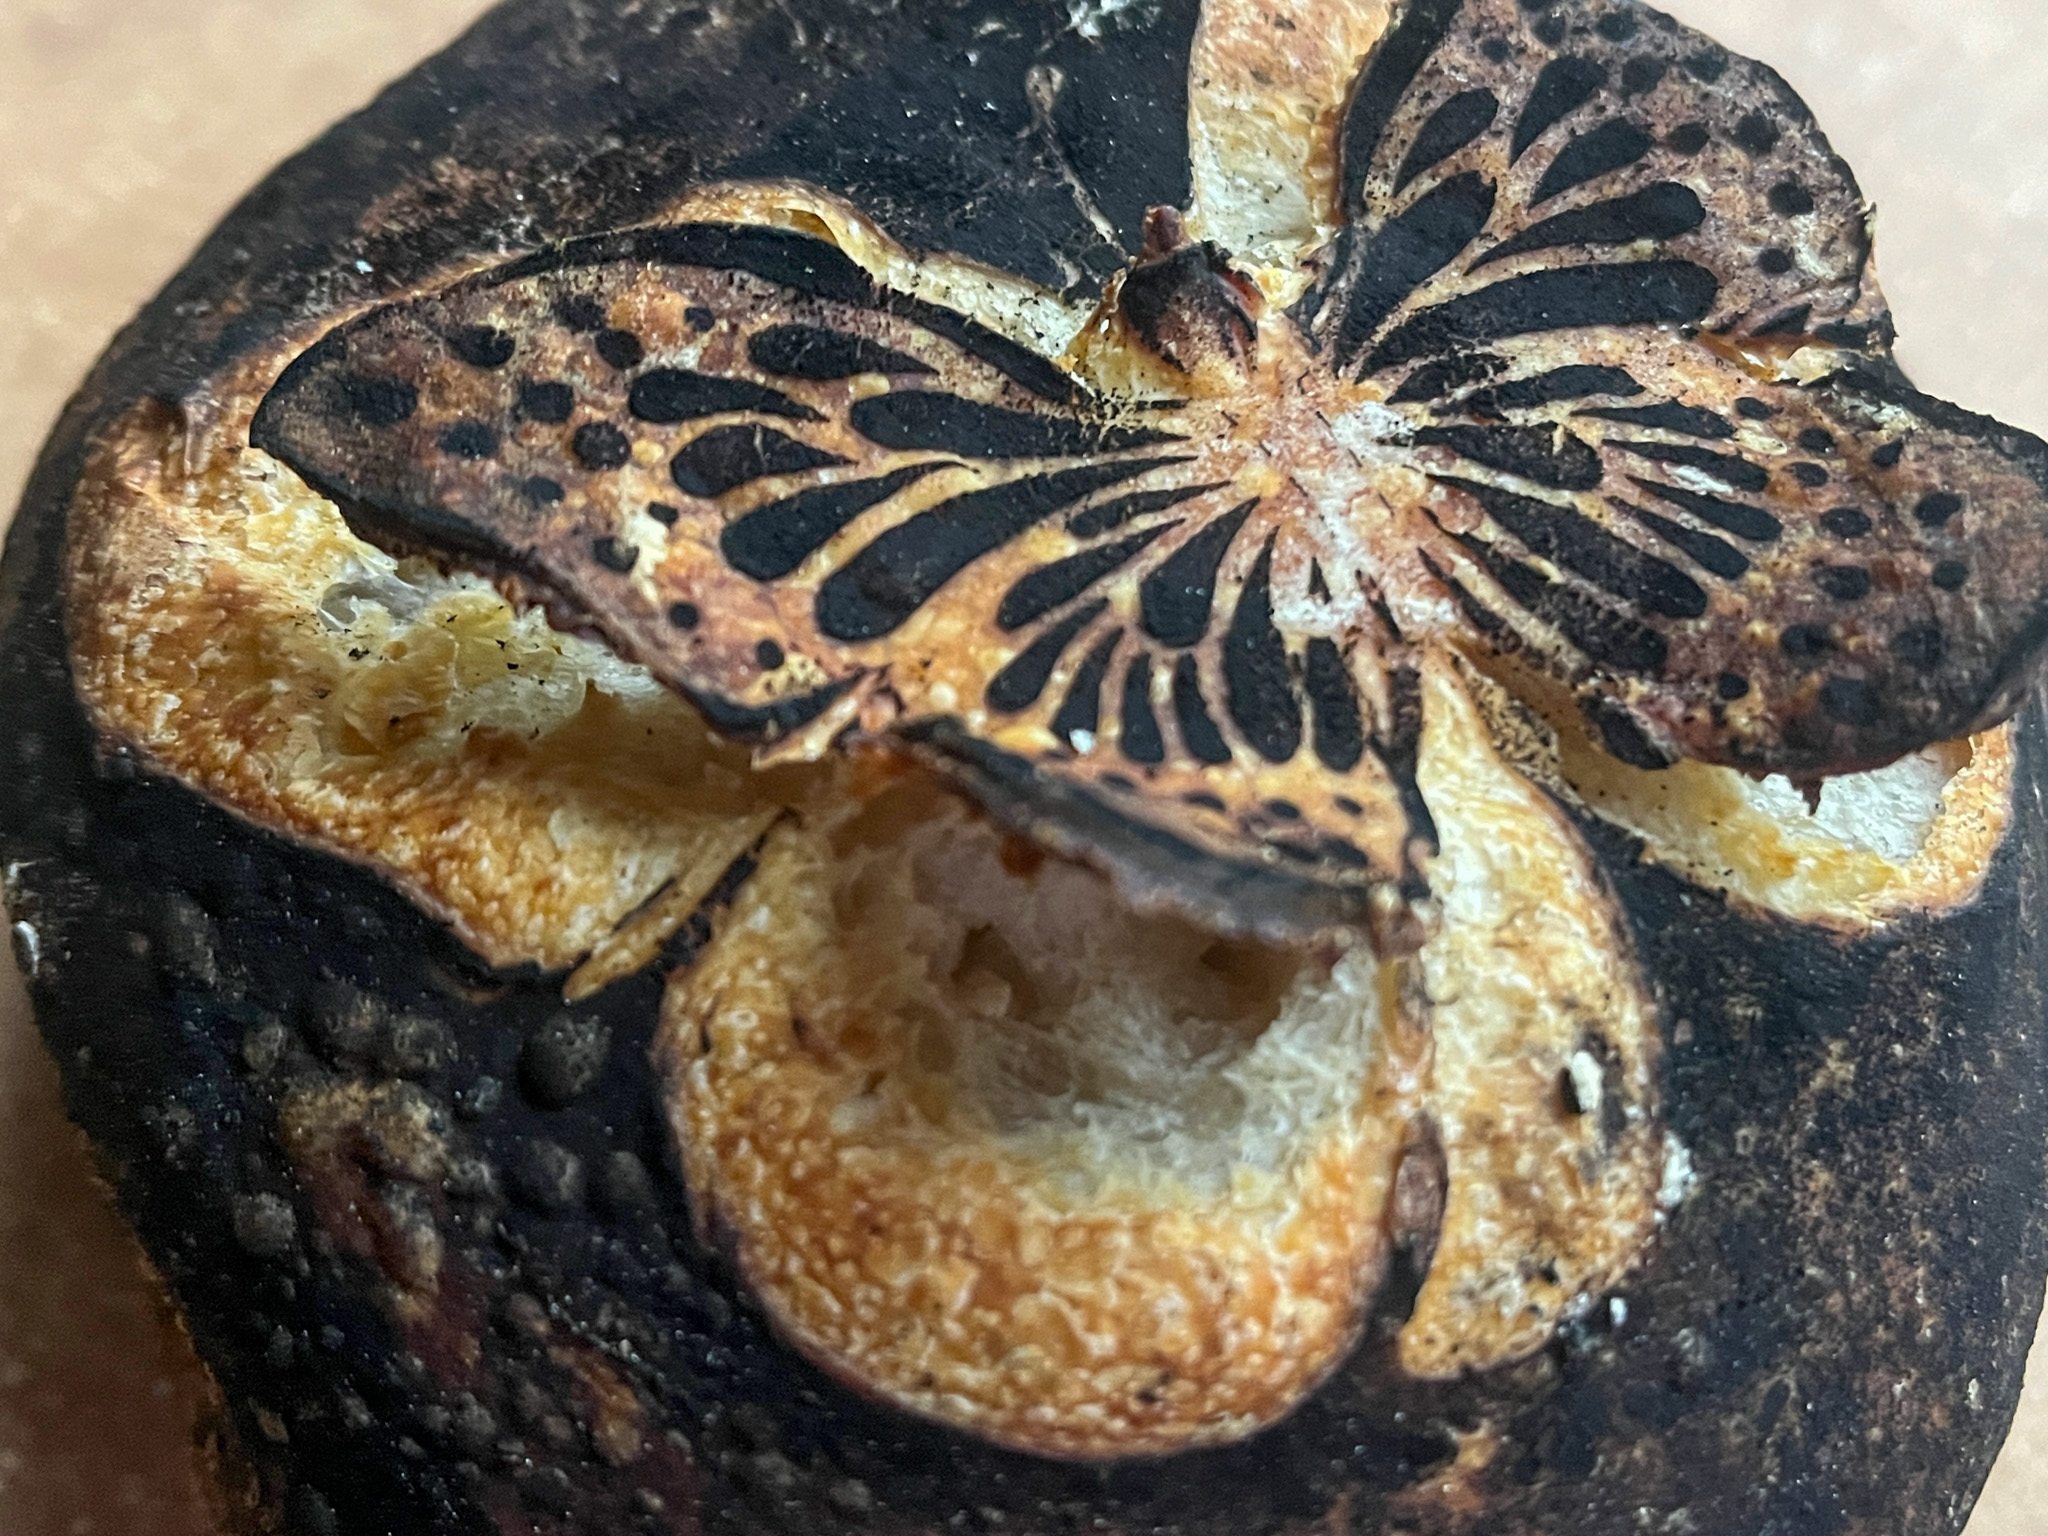
For this design, I rubbed the bread with back cocoa powder, and used a thin metallic stencil that I got recently (click here, it is part of a big series of stencils sold together in a bundle). After gently lifting the stencil, I cut around the edge of the butterfly, and lifted that area a bit. Baked for 7 minutes covered in a 450F oven, then carefully removed the bread from the oven and made the cuts deeper, adding a small ball of parchment paper on the four corners of the wings where I hoped for more lift. You can see the process below. The bottom right picture is what it looked like after 7 minutes in the oven, when I put the little balls underneath the wings. If you’d like a more detailed visual explanation, I will have a blog post exclusively about this type of decoration in a day or two. Stay tuned!
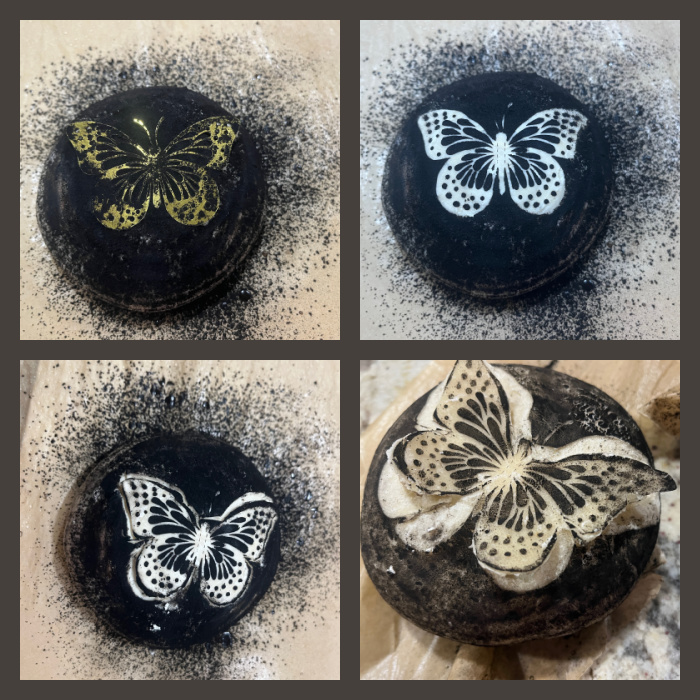
The bread was covered again, baked for additional 8 minutes covered, then 15 more minutes uncovered. Since it is a small loaf, it bakes faster, but the best approach is to check the internal temperature, aiming for 205-210F. As soon as it comes out of the oven, remember to remove the little balls of paper, or they will glue to the bread. I’ve had a lot of struggle to make this method work, finally realized that one very important thing is the material of the banneton you use for the proofing after shaping. The best ones for this type of scoring are wood pulp bannetons. They dry the skin of the dough much more efficiently. I was using a plastic wrap to facilitate removing the dough after overnight proofing, and that was the reason for all my disasters. The plastic did not allow the dough to dry, so there was no way to slice it nicely. Finally I changed to wood pulp, skipped the layering of plastic wrap, and things started to work better, not only for lifted designs, but scoring the bread in general. Keep that in mind if you are into decorating your bread.
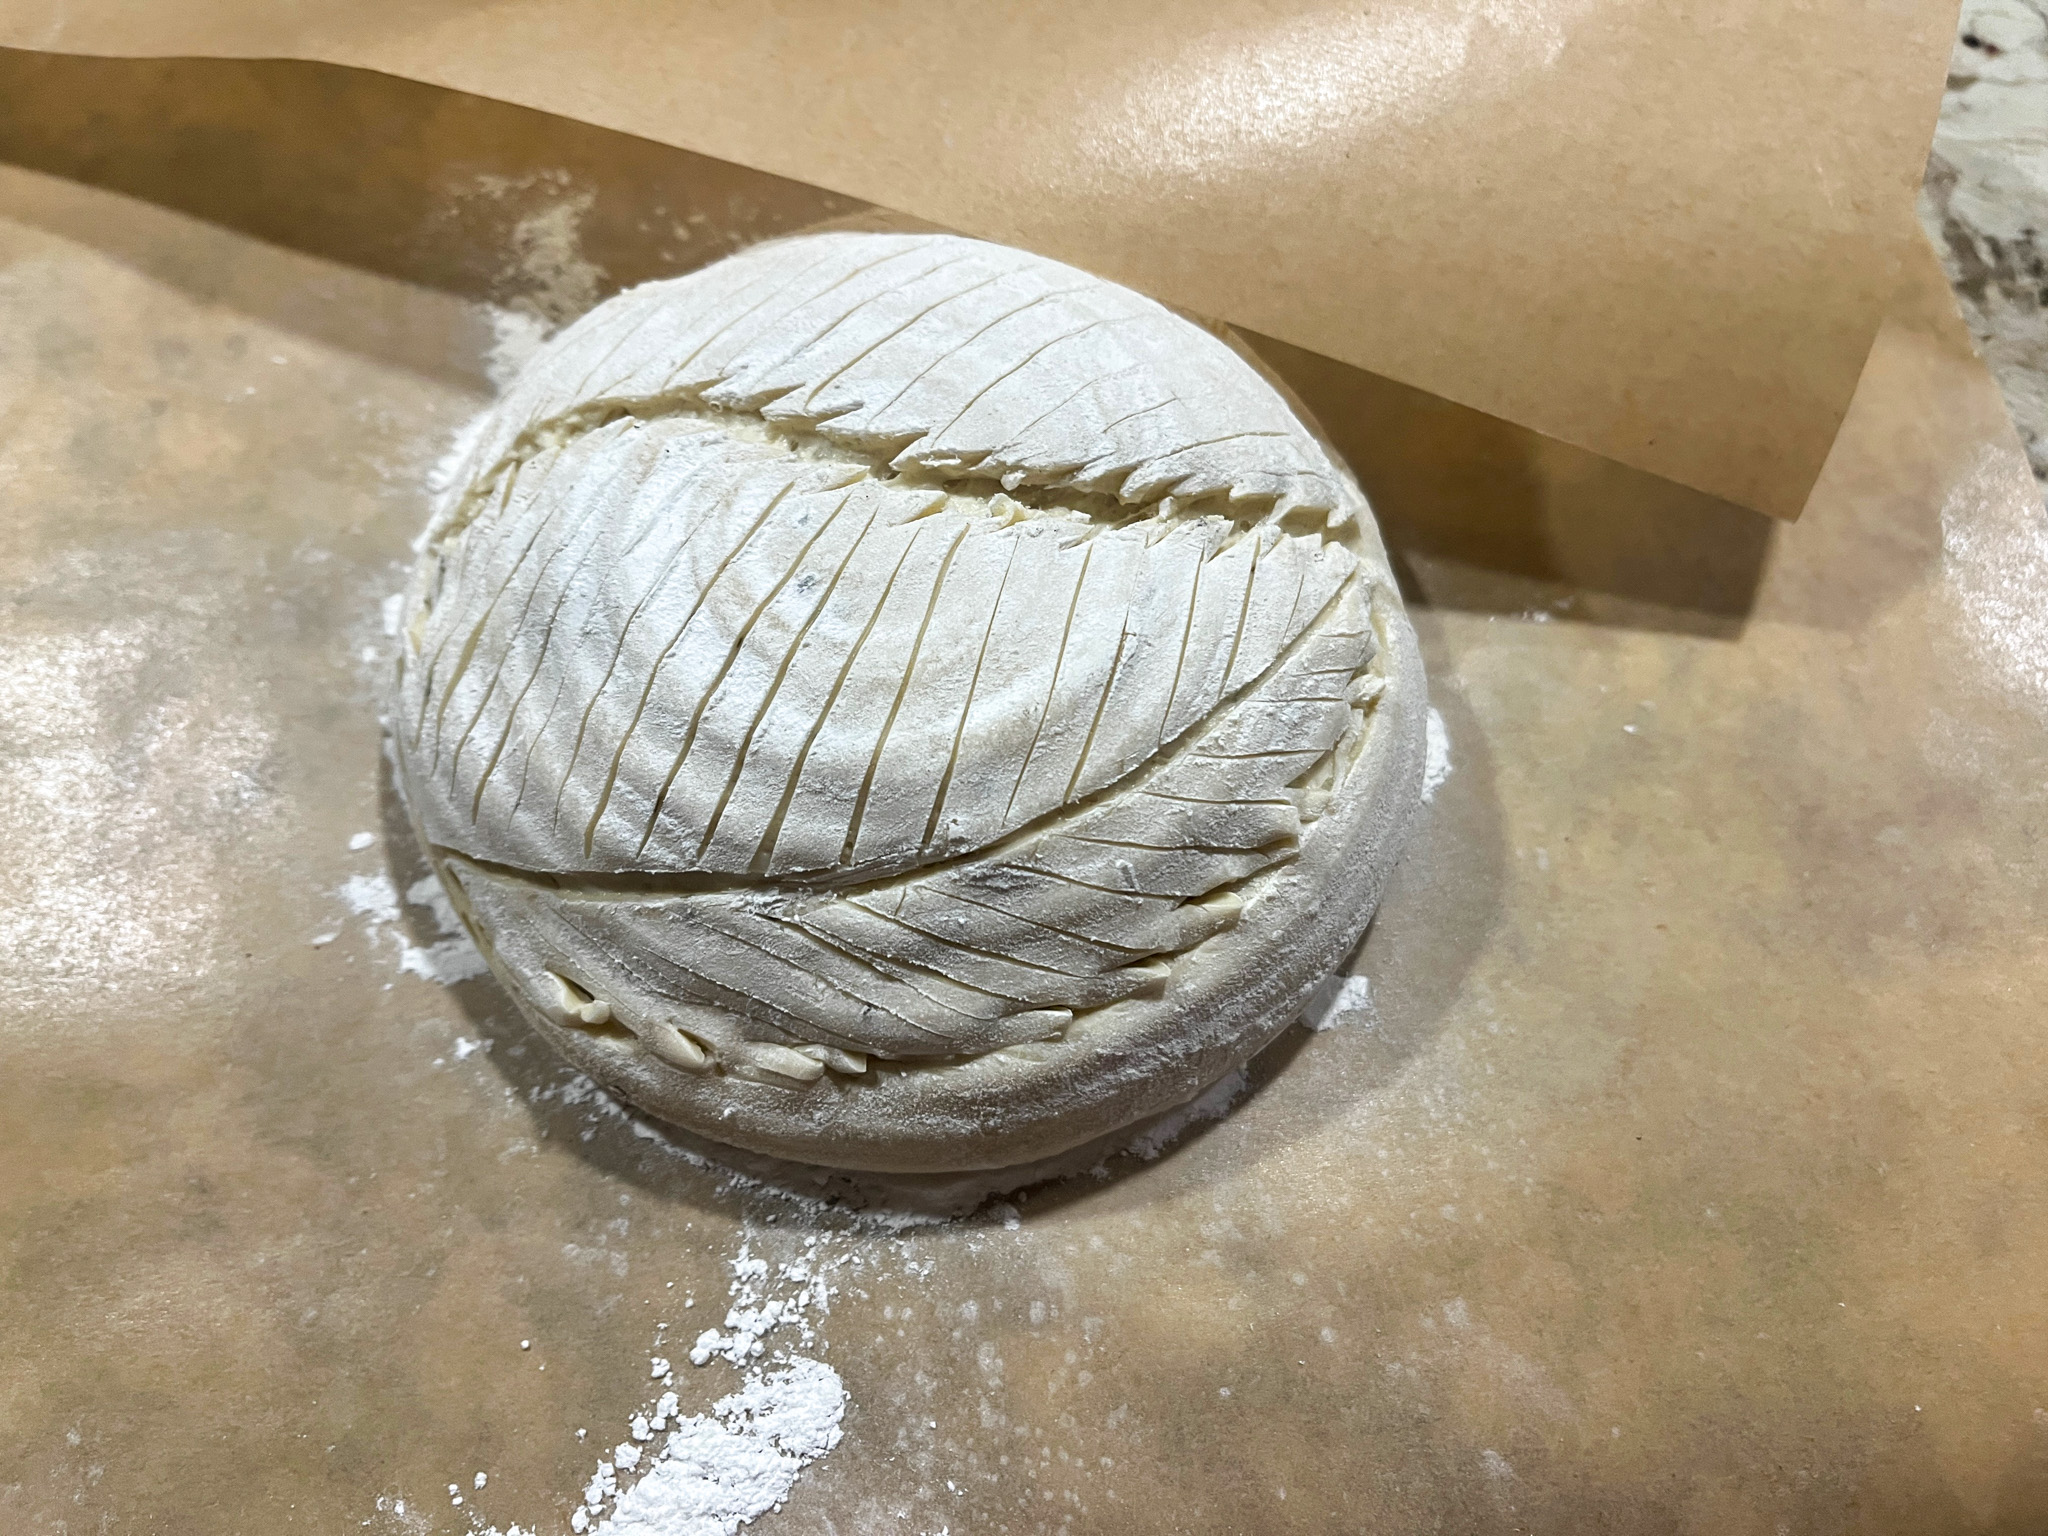
YIN AND YANG LEAF DESIGN
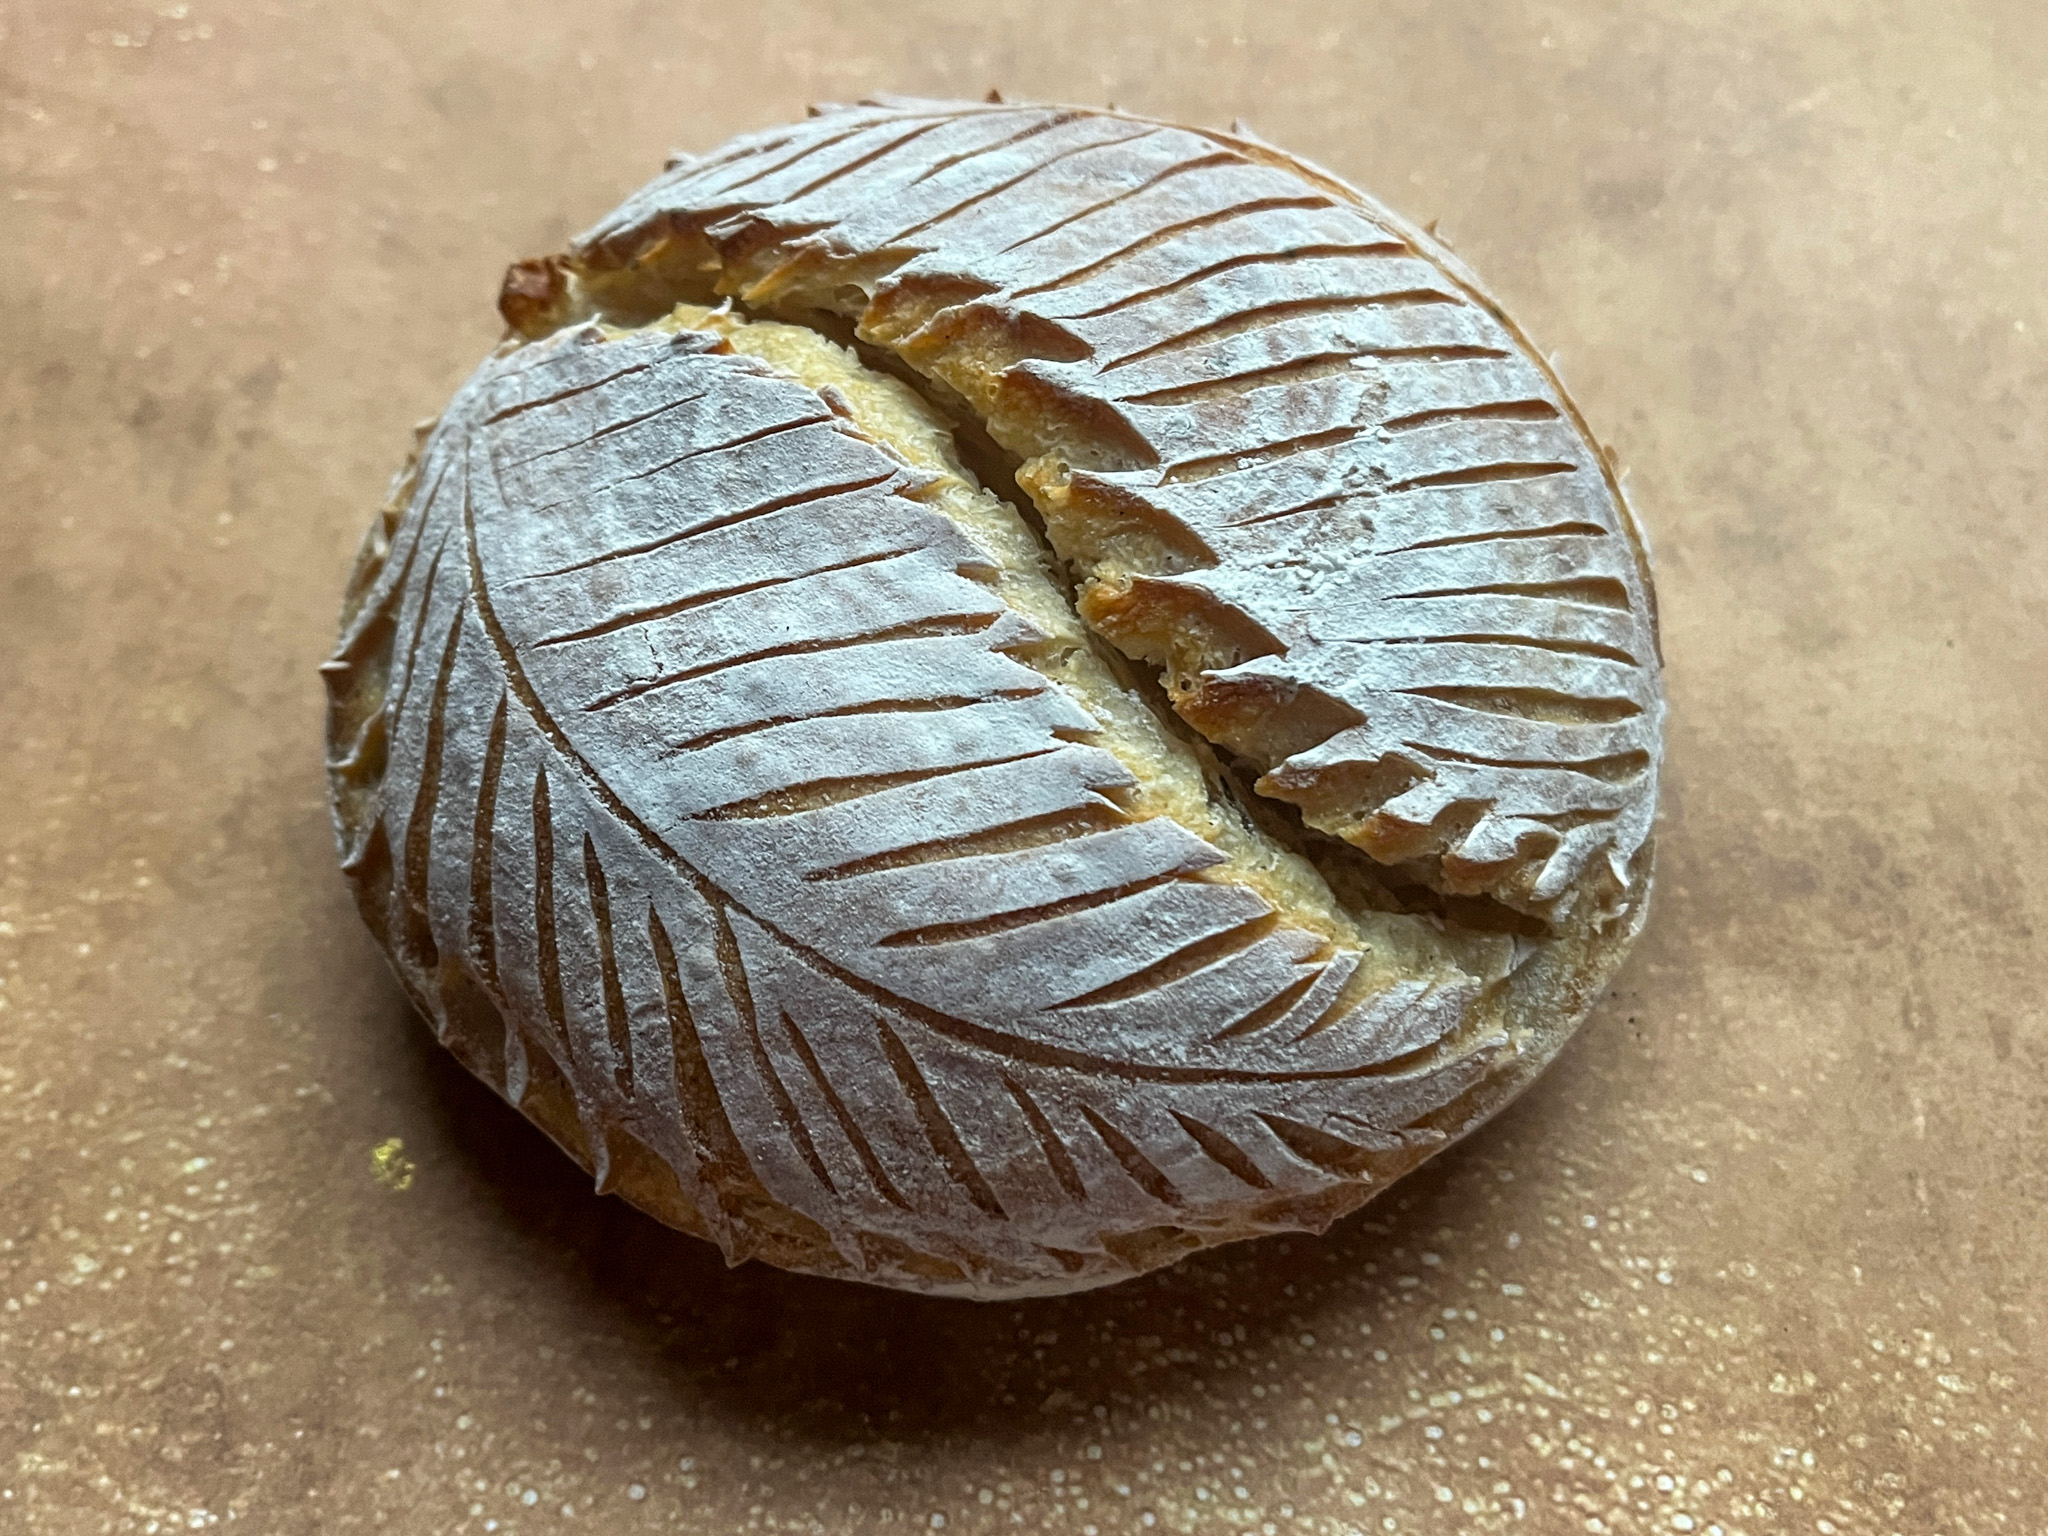
This design requires just a razor blade and scissors, very simple and quite effective. Again, I froze the dough for 30 minutes before inverting it out of the banneton and proceeding with the scoring.
GAME OF THRONES SOURDOUGH
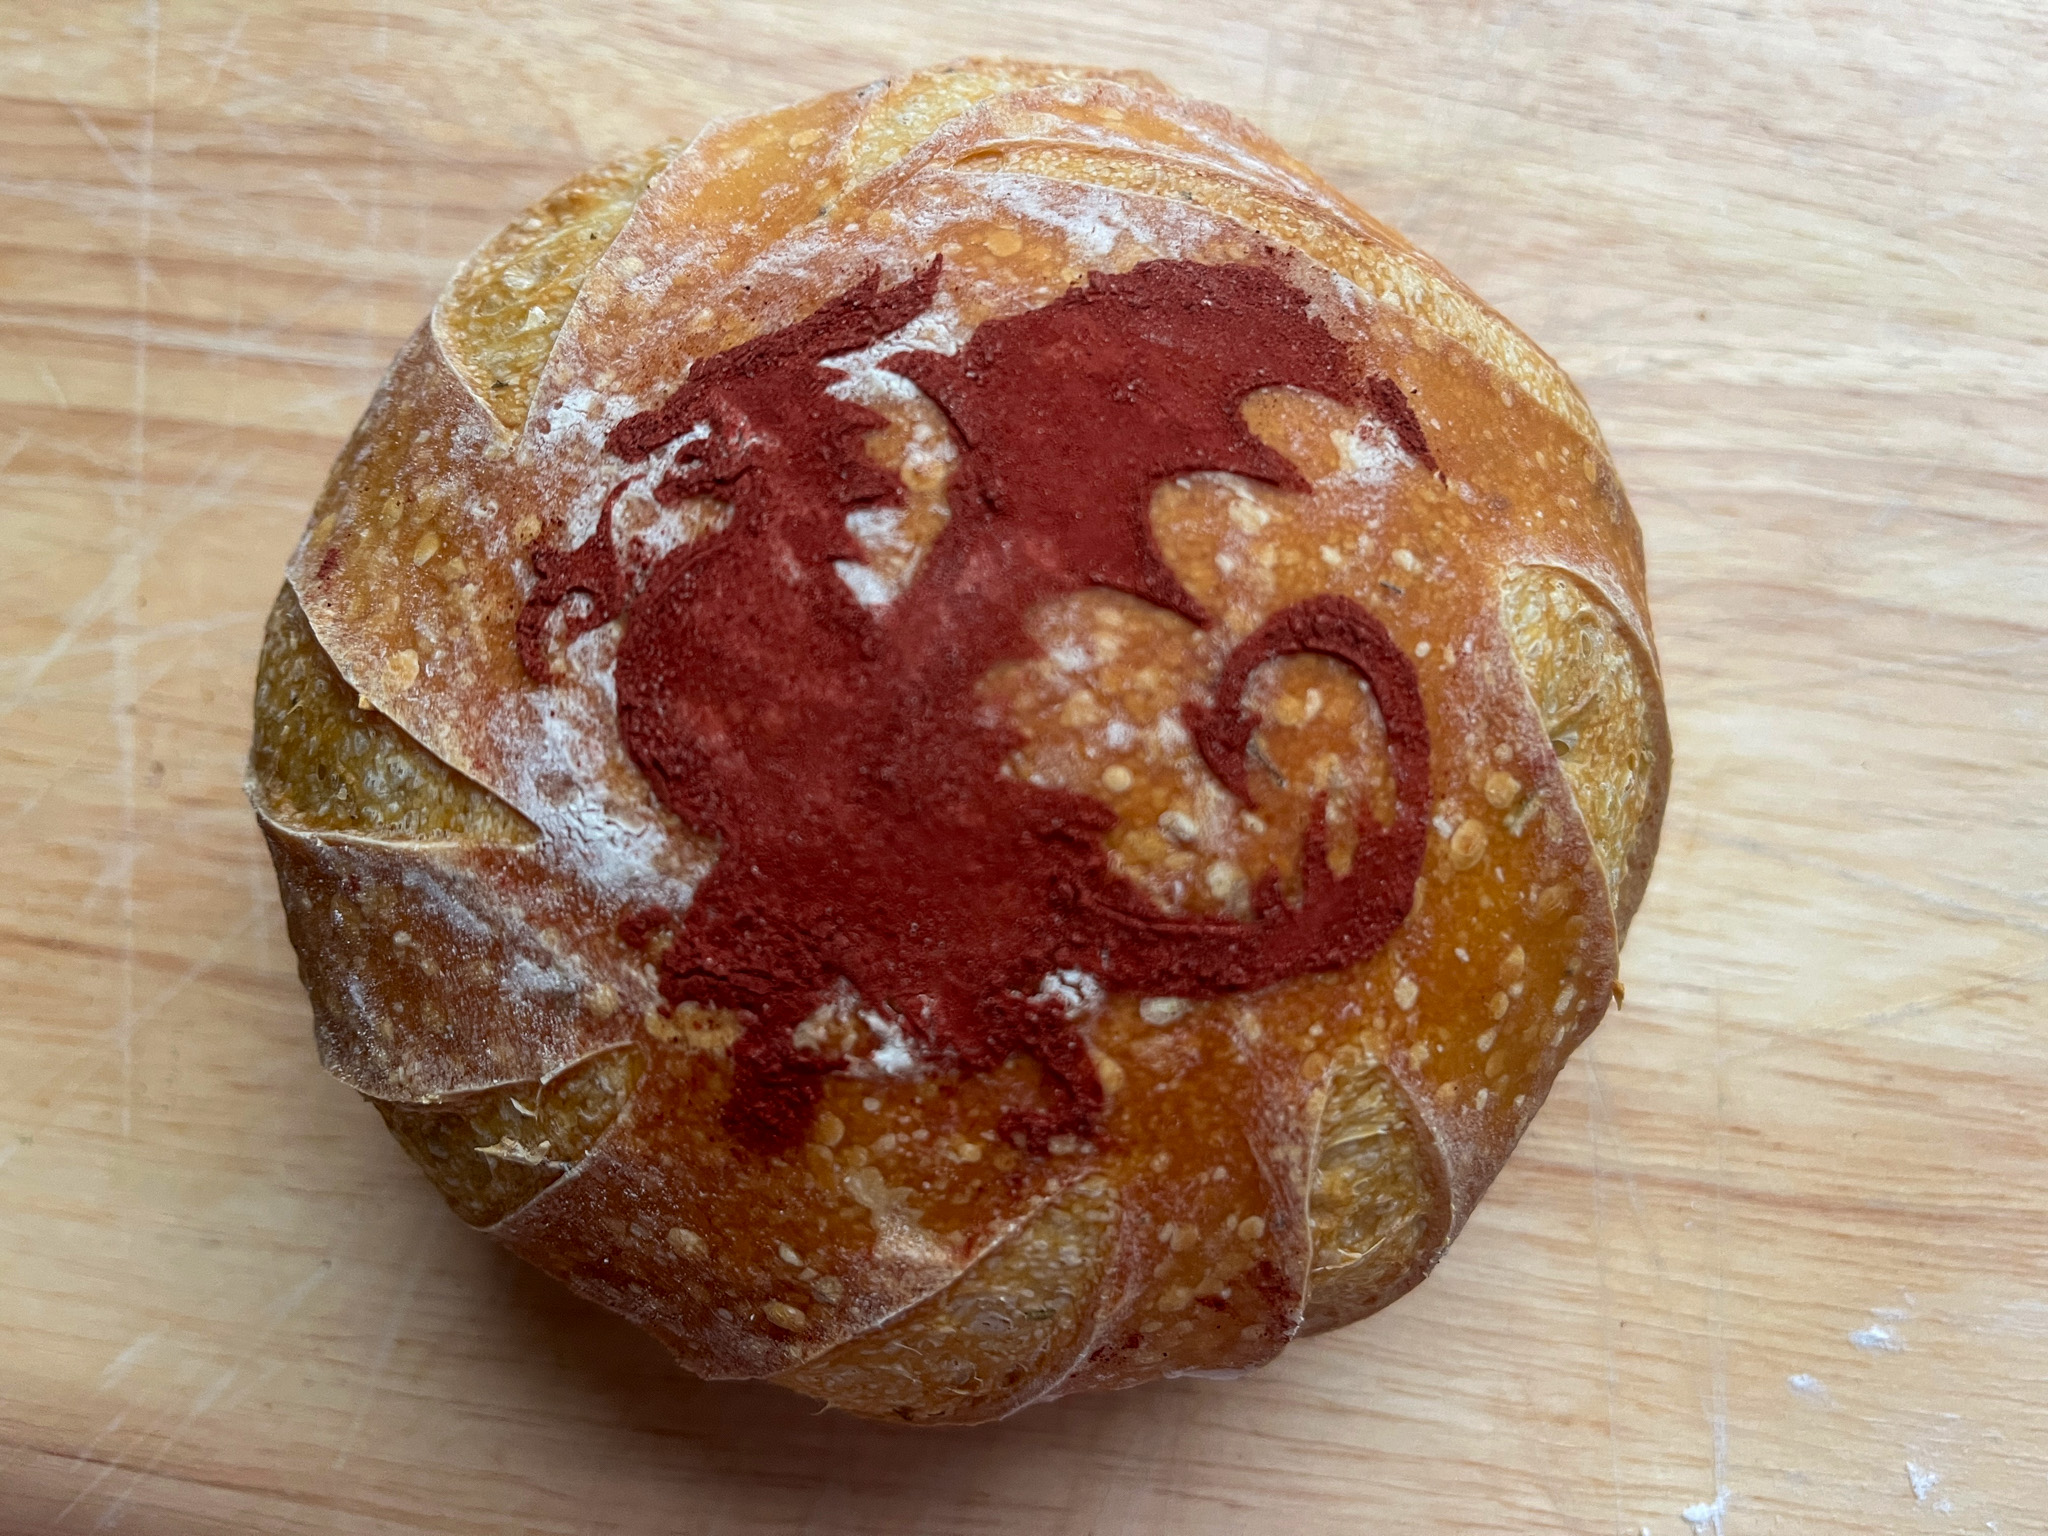
The simplest of the three, all I did was freeze the dough, wet the surface very lightly with a spray bottle, set the dragon stencil on top, and rub red yeast powder. Lift the stencil gently and make some cuts around it. Baked at 430F, covered for 15 minutes, uncovered for 15 more minutes.
You maybe noticed I started with 4 small boules of dough but you only see three baked breads. At first I thought I could bake two at a time, but it was not feasible. One of them sat at room temperature after scoring, it deflated pretty badly and it ended up as bread for croutons. Oh, well. Live and learn!
1 YEAR AGO: Cottage Cheese Flourless Muffins
2 YEARS AGO: Açai-Blackberry Sorbet
3 YEARS AGO: A Bouquet of Macarons
4 YEARS AGO: Chocolate-Hazelnut Tartlets
5 YEARS AGO: Turkey Taco Salad
6 YEARS AGO: Cheese and Pesto Emmer Roll-ups and Elaine’s Cookbook Review
7 YEARS AGO: Mango-Hazelnut Entremet Cake
8 YEARS AGO: Lebanese Lentil Salad and a Cookbook Review
9 YEARS AGO: Cottage Loaf
10 YEARS AGO: Sourdough Loaf with Cranberries and Walnuts
11 YEARS AGO: Sichuan Pork Stir-Fry in Garlic Sauce
12 YEARS AGO: Our Green Trip to Colorado
13 YEARS AGO: Ditalini Pasta Salad
14 YEARS AGO: Celebrate Wednesday with a Thai Seafood Curry
15 YEARS AGO: Post-workout Breakfast
16 YEARS AGO: Semolina Barbecue Buns
17 YEARS AGO: Lavash Crackers


Your patience is remarkable! After all that endeavour, physical and mental, I just would not be able to demolish such beauty . . . oh, I may pretend to fly the world like a butterfly, but love your ‘yin and yang’ one the best . . .
LikeLike