This bread originates in Lyon, and is shaped as a crown, therefore the name “couronne”. However, there are several ways to gild this lily. I am sharing two methods, the first one worked exactly the way I hoped, the second I consider a work in progress. So, yes, I will be back, hopefully with improvements on the second version…

.
METHOD ONE
A SIMPLE COURONNE
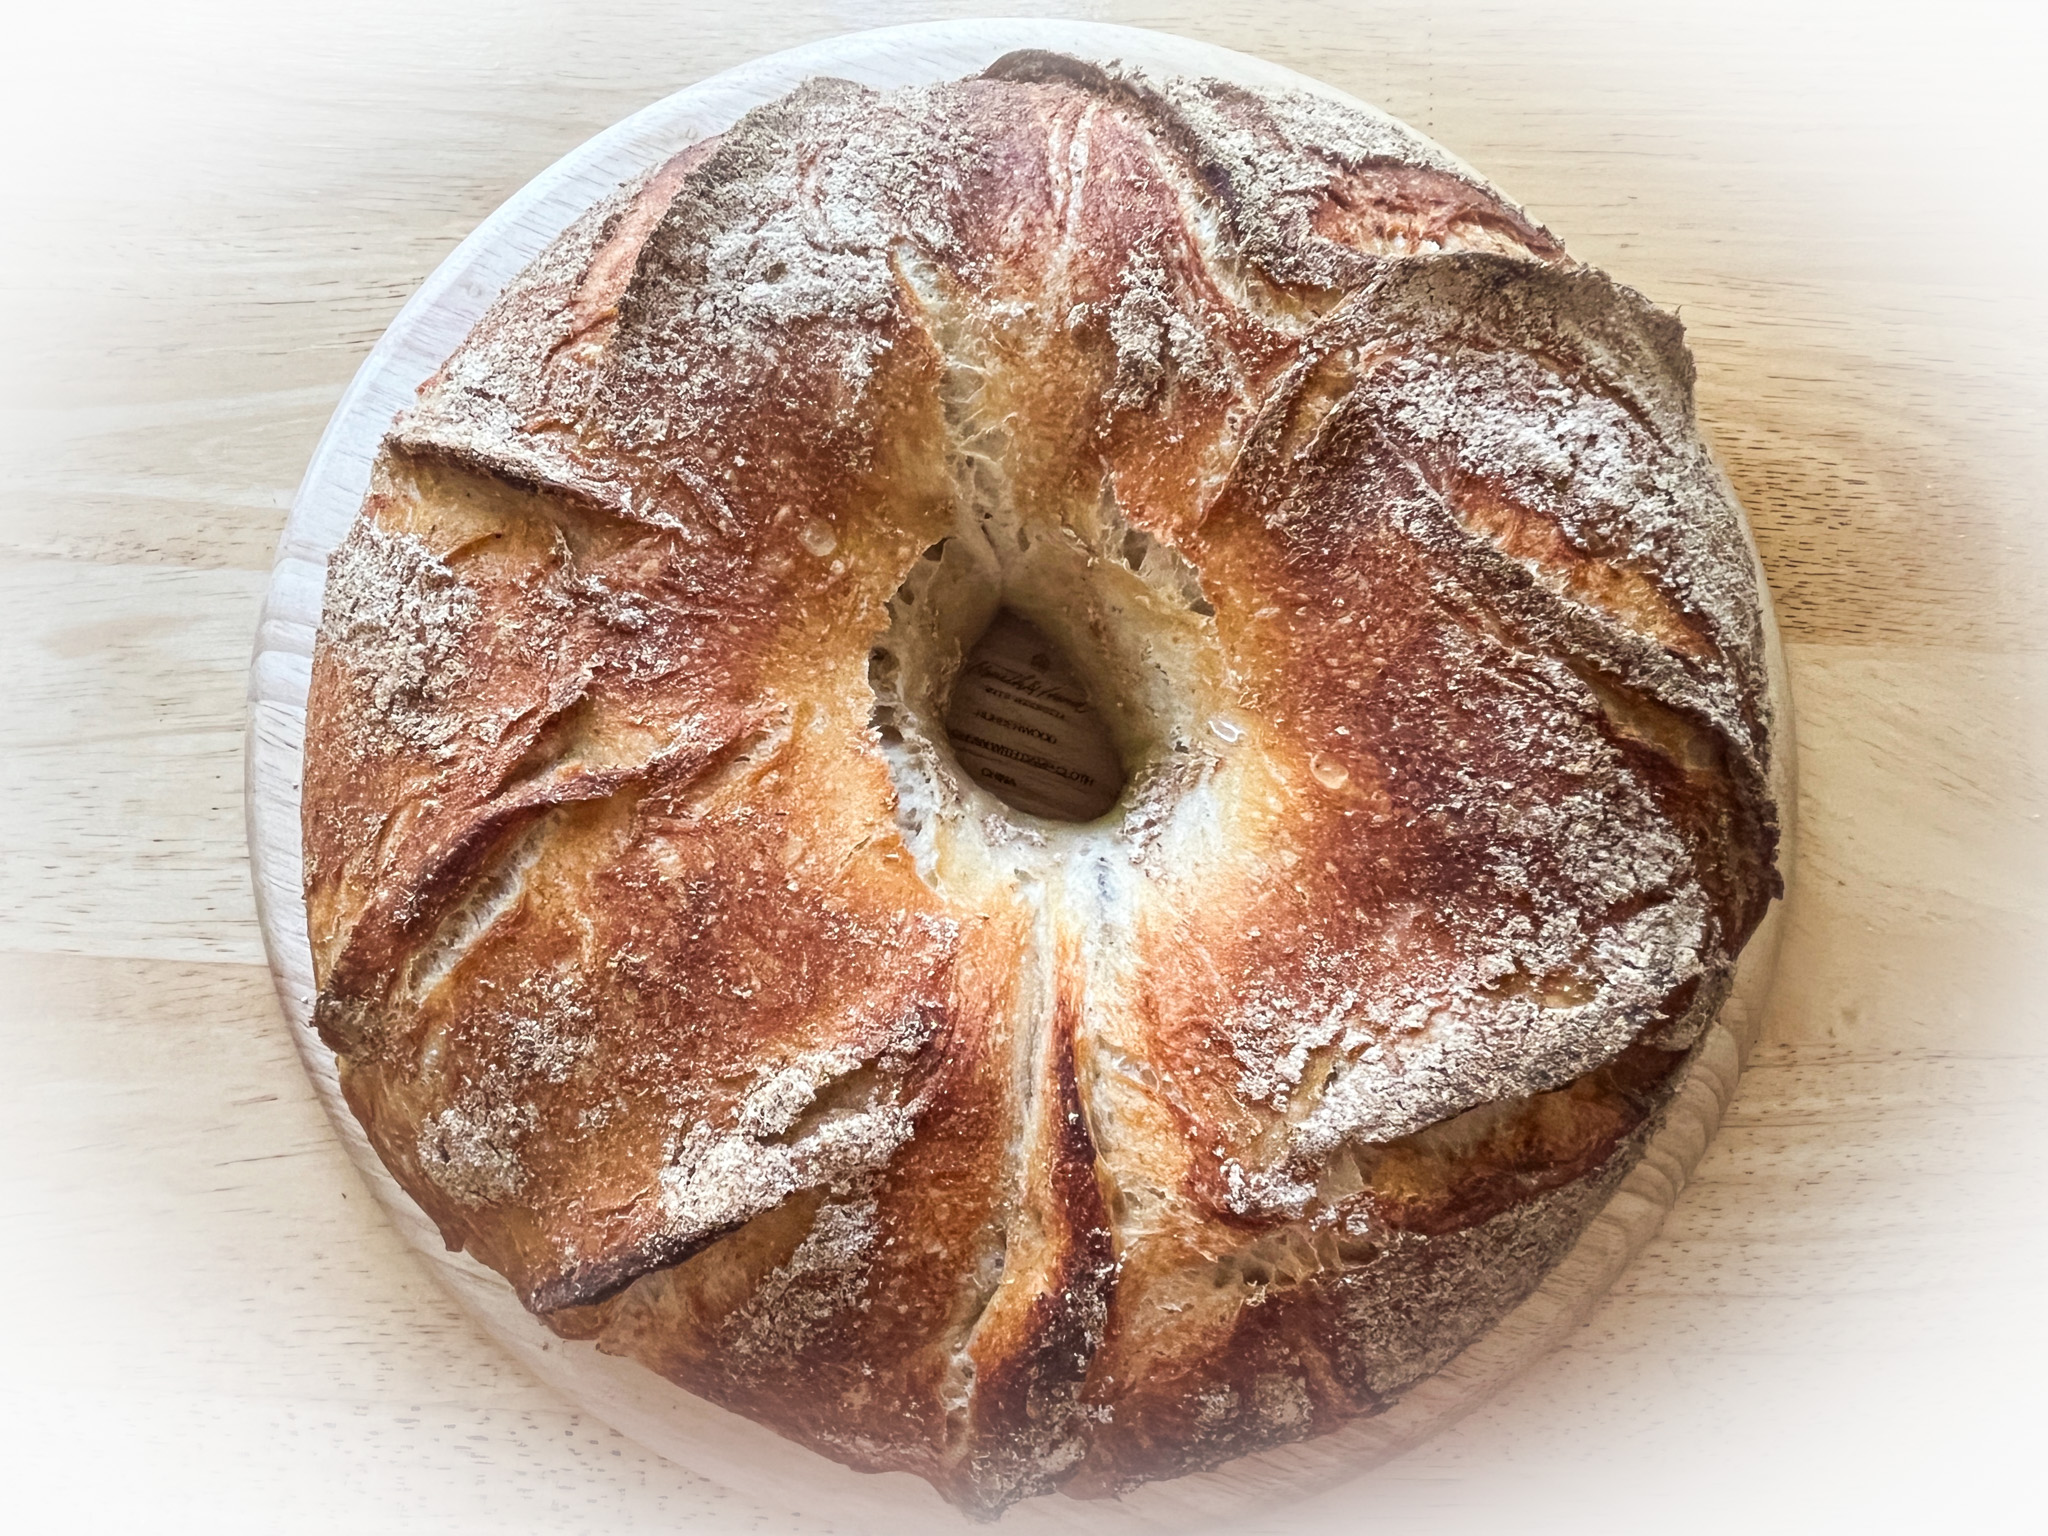
LA COURONNE LYONNAISE
(adapted from Henri-Luc’s blog)
530g bread flour
10g salt
160g sourdough starter at 100% hydratioin
300g water
rye flour for dusting
Mix sourdough starter in water and whisk to distribute well. Add bread flour and salt, incorporate either by hand or with a KitchenAid type mixer fitted with a hook dough for a few minutes. Proof at room temperature for 4 to 5 hours with folds at every 45 minutes.
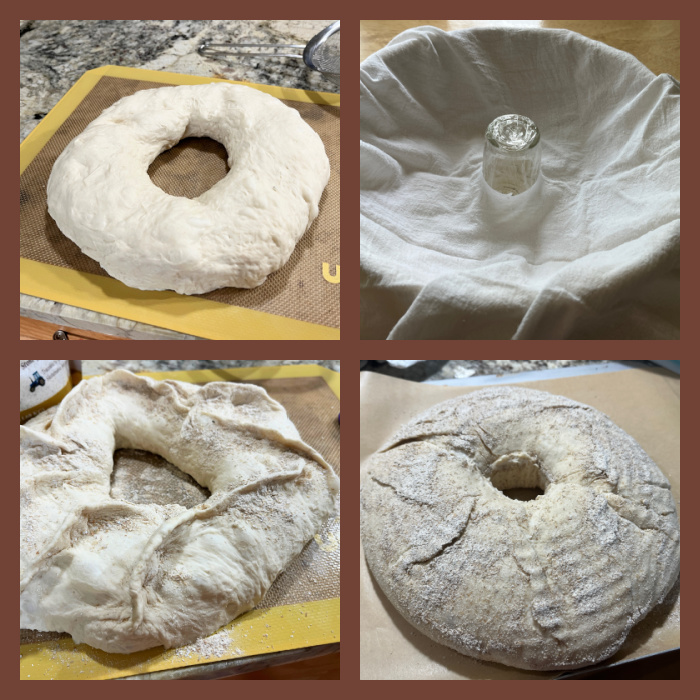
Prepare your round banetton to proof a crown, by placing a small glass or plastic container in the center. Cover with a cloth and flour it lightly with rye flour.
Pre-shape the dough as a round ball. Allow it to relax for 15 minutes. Make a hole in the center (traditionally bakers use their elbow, do what you feel is right…). Enlarge the whole until you get to the size of your round banetton. Now grab some rye flour with your fingers and pinch a series of alternating straight lines on the surface. Pinch the dough well to make a super sharp line of dough raising up. Then flour the surface lightly again and invert the dough on the banetton. Side with the ridges should go down. Proof at room temperature for 2 hours. Place a parchment paper on top, invert the bread over it and slide into the hot oven right away.
Bake at 450F over a stone with steam for 20 minutes, then remove the steam (I used a large roasting pan inverted over the stone as a lid). Bake for 20 to 25 minutes longer. If the bread darkens too much cover it with foil. Internal temperature should be around 210F.
Cool completely before slicing.
ENJOY!
to print the recipe, click here
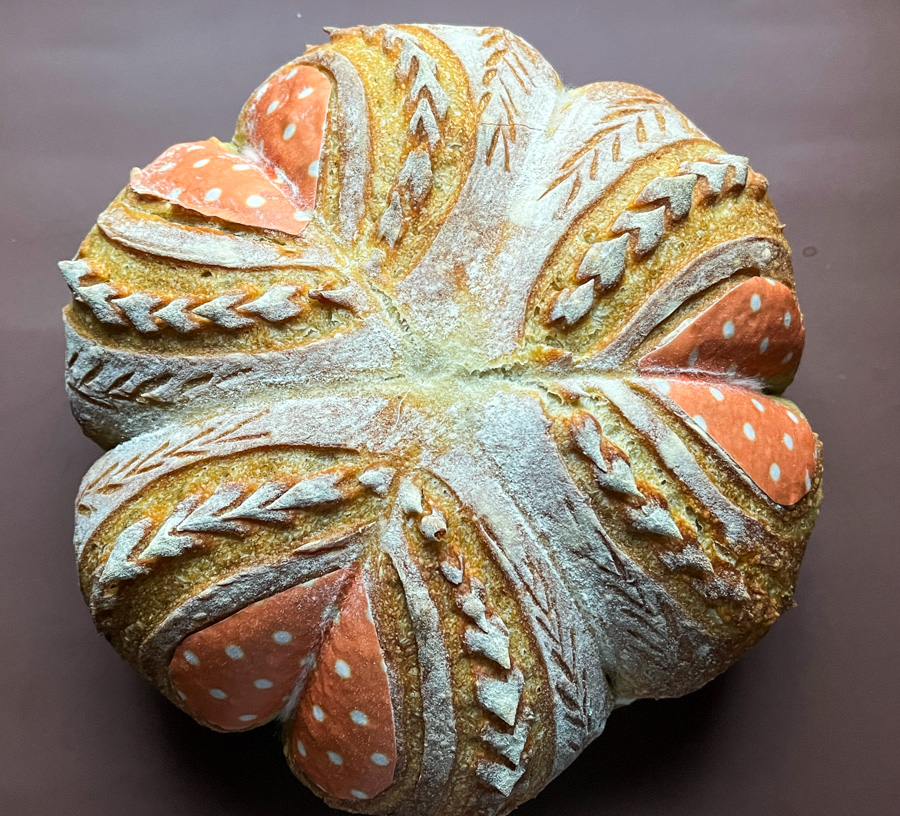
Comments: This was such a fun bread baking adventure! I loved making the ridges and the way they gave the bread that incredibly nice rustic look once it baked. Make sure to use rye flour to dust the surface, it is going to make a big difference if you skip it. White flour won’t have the same effect.

.
METHOD TWO
COURONNE WITH FLAPS
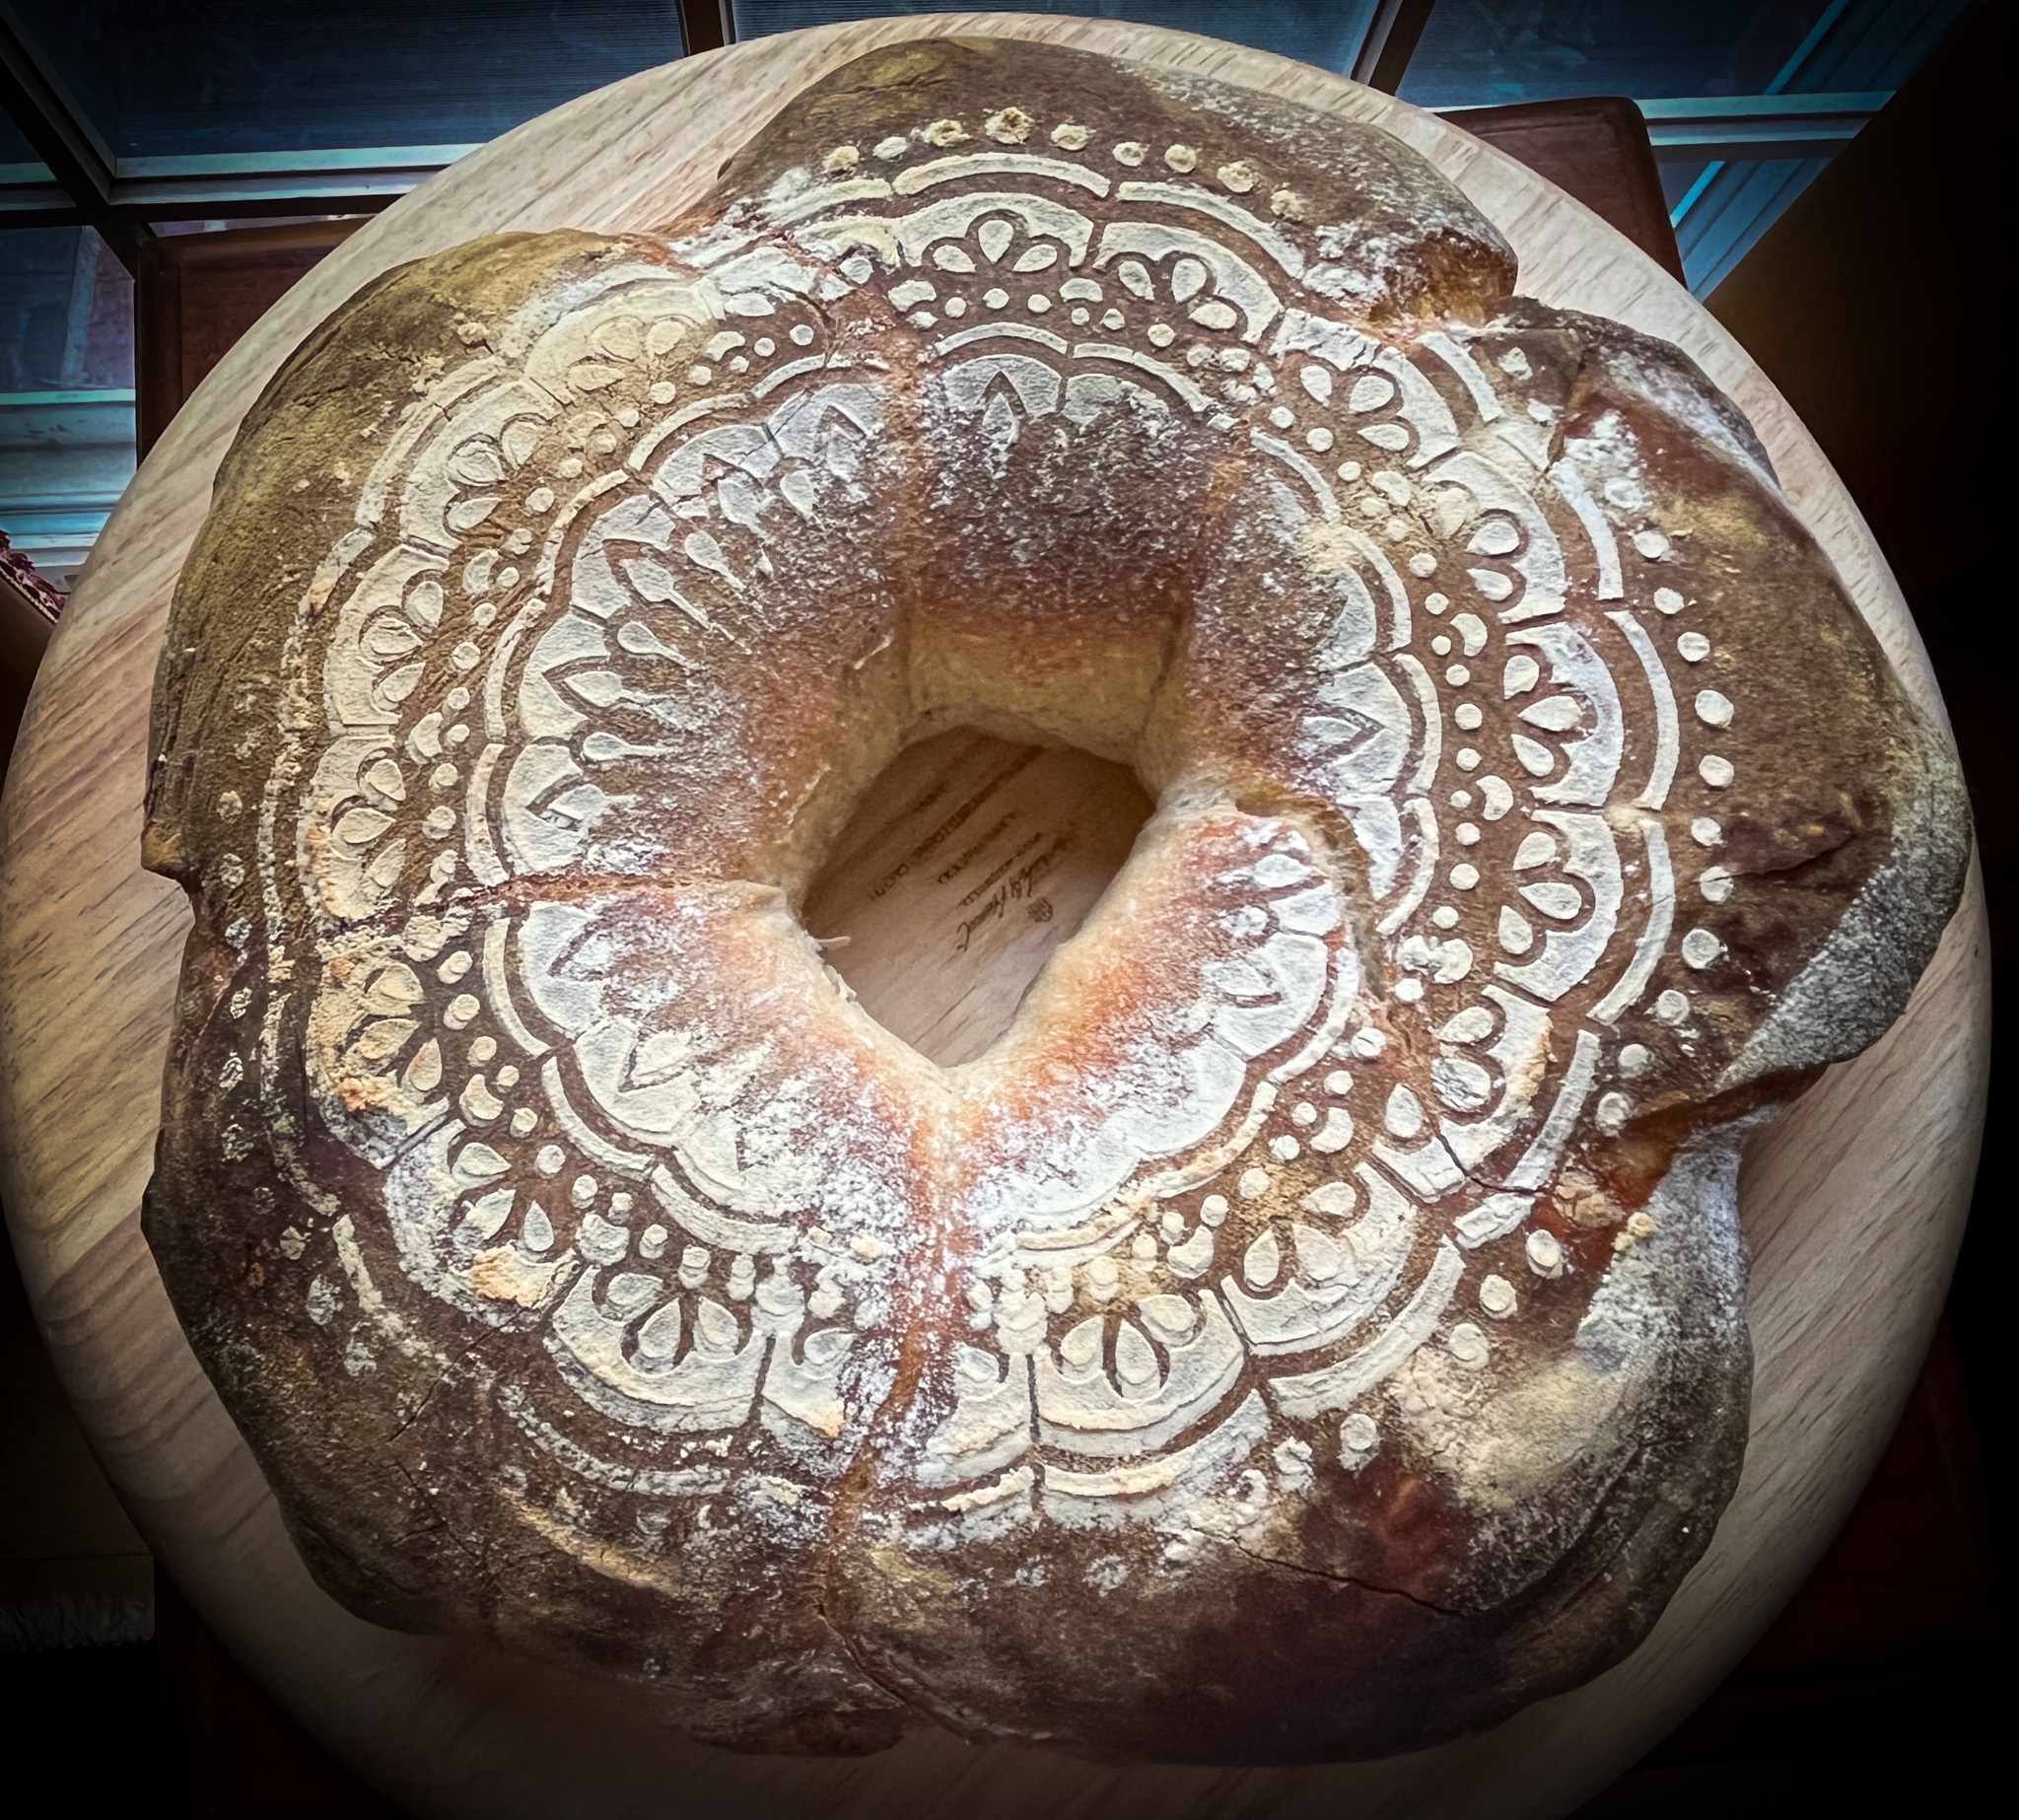
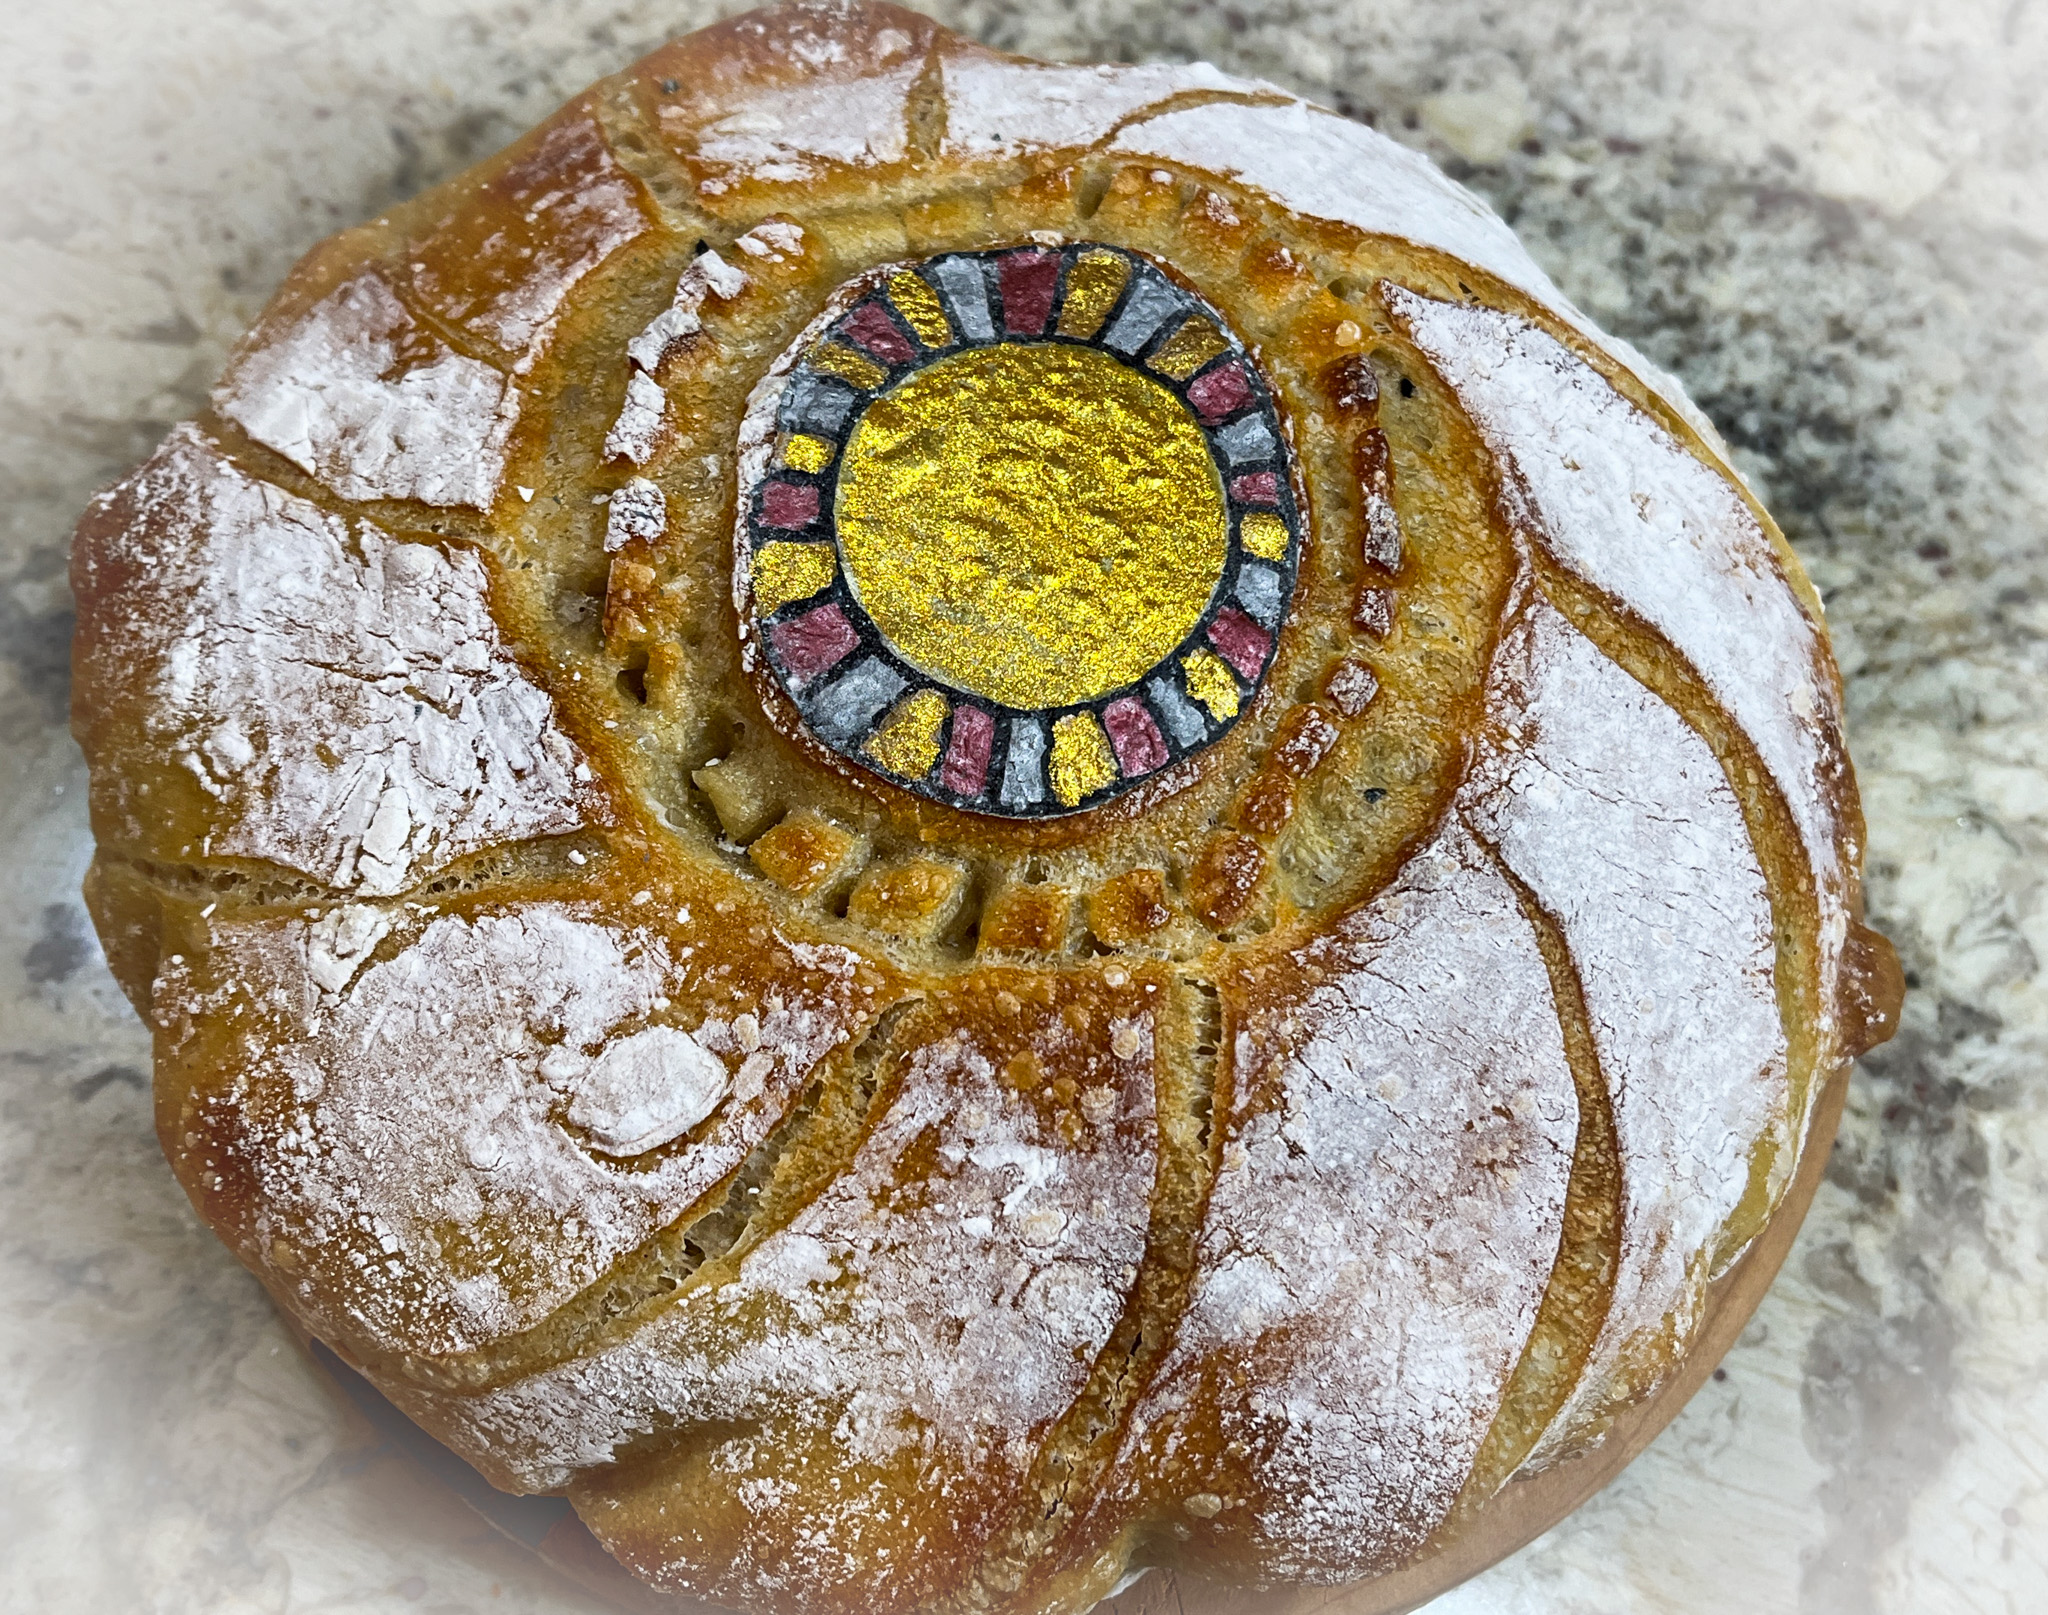
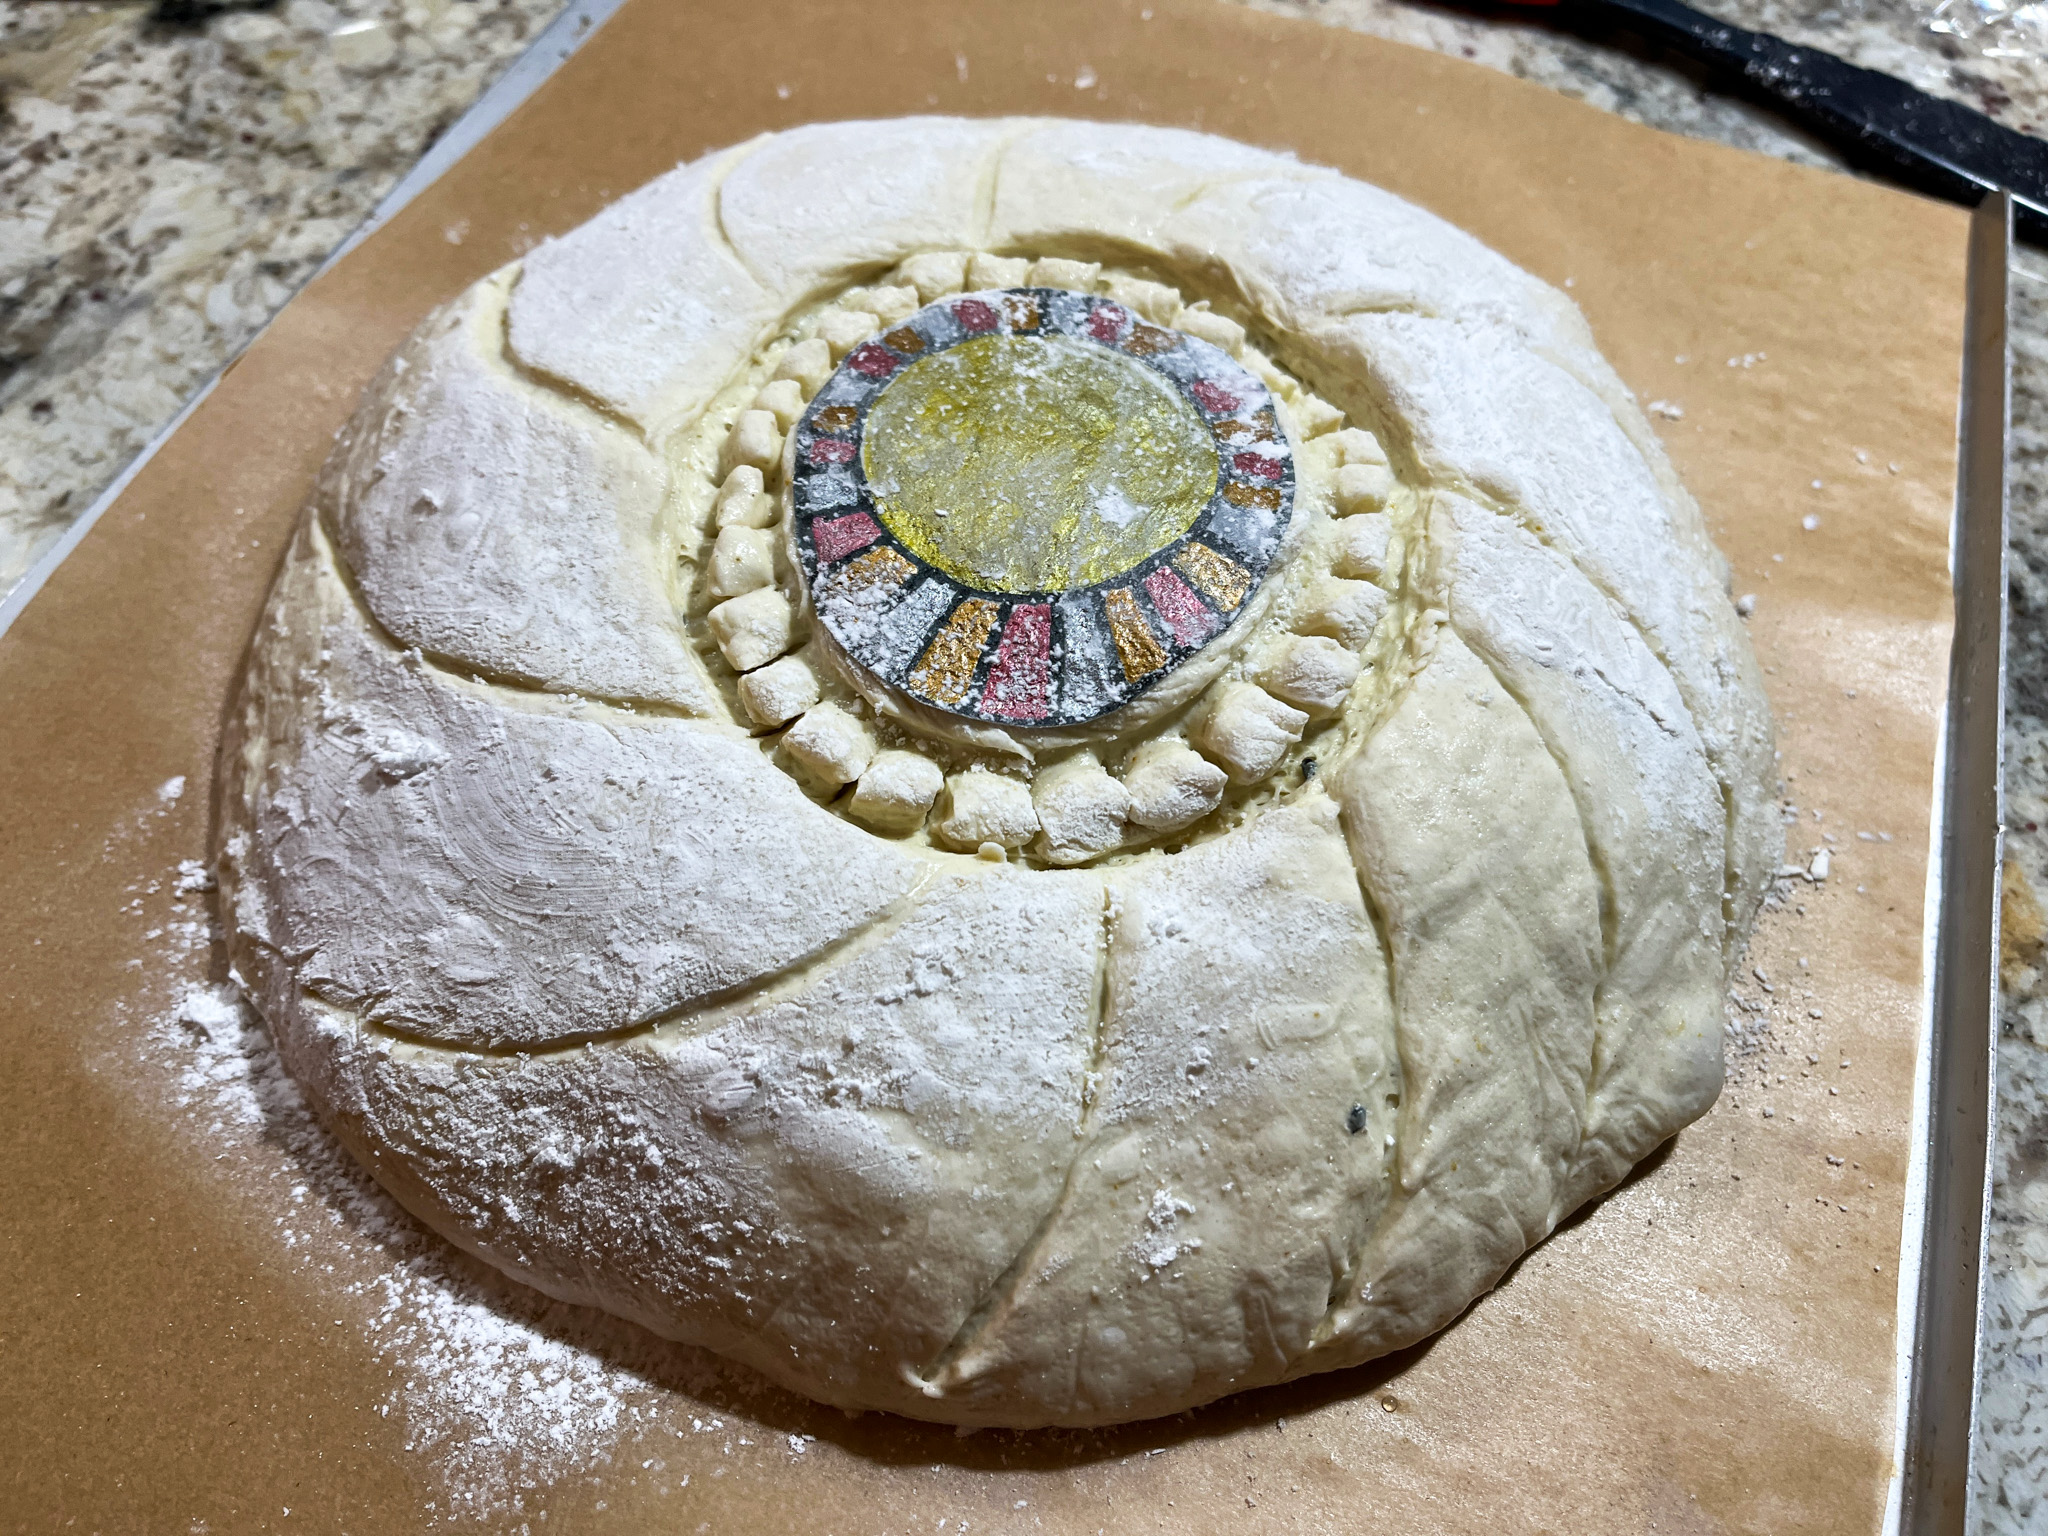
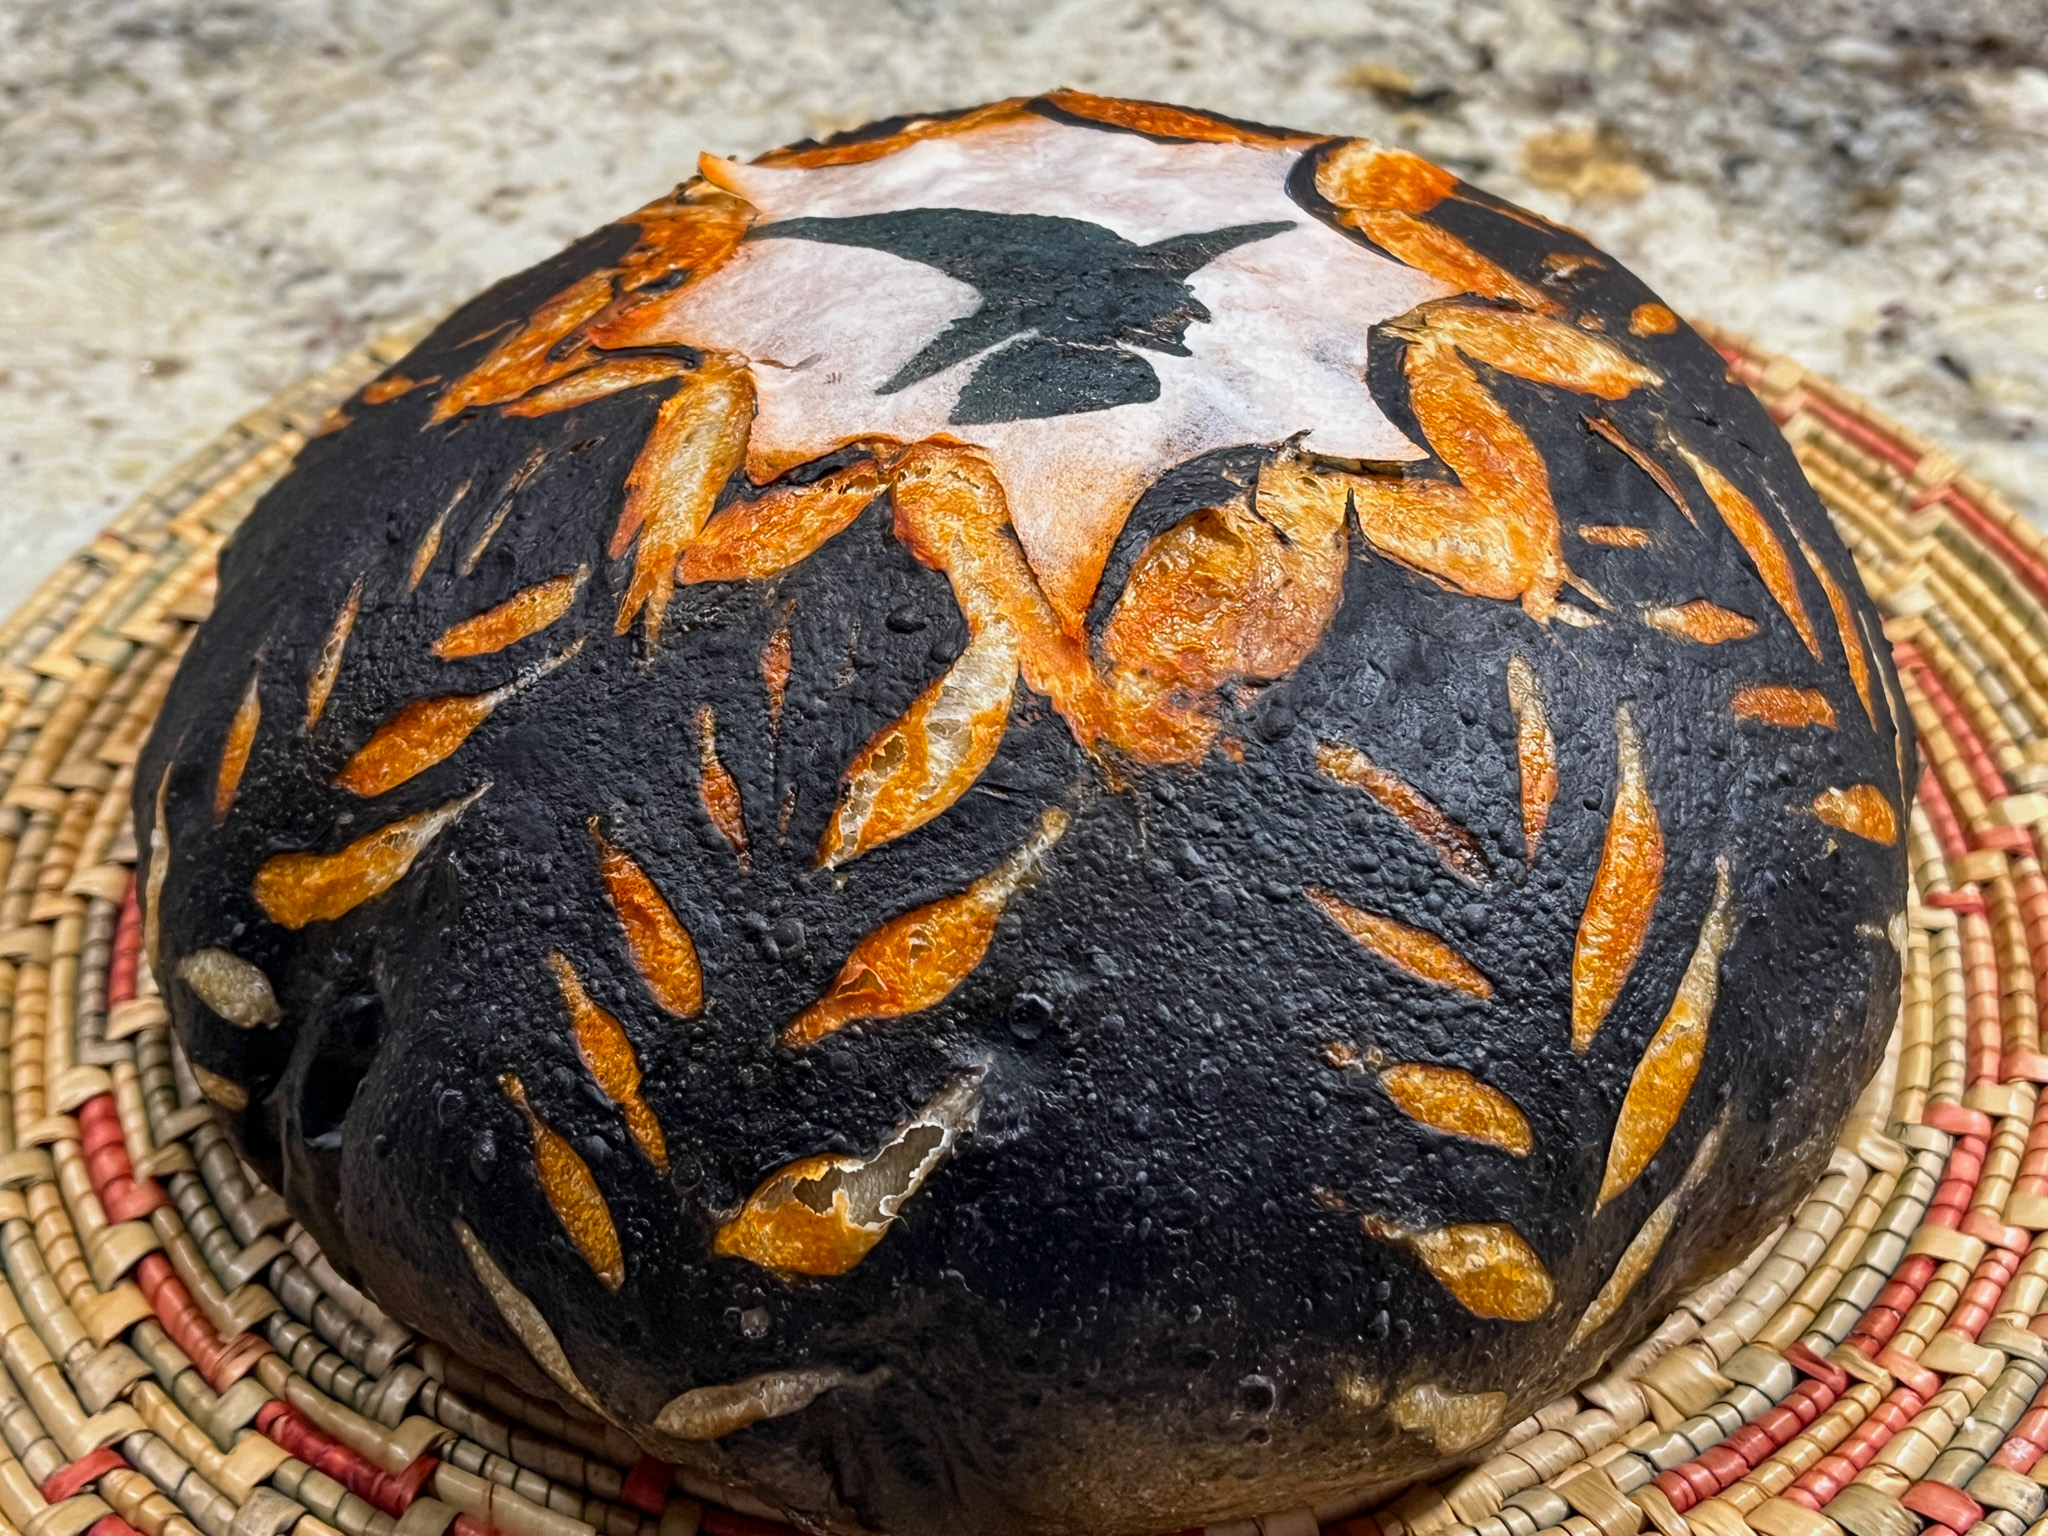
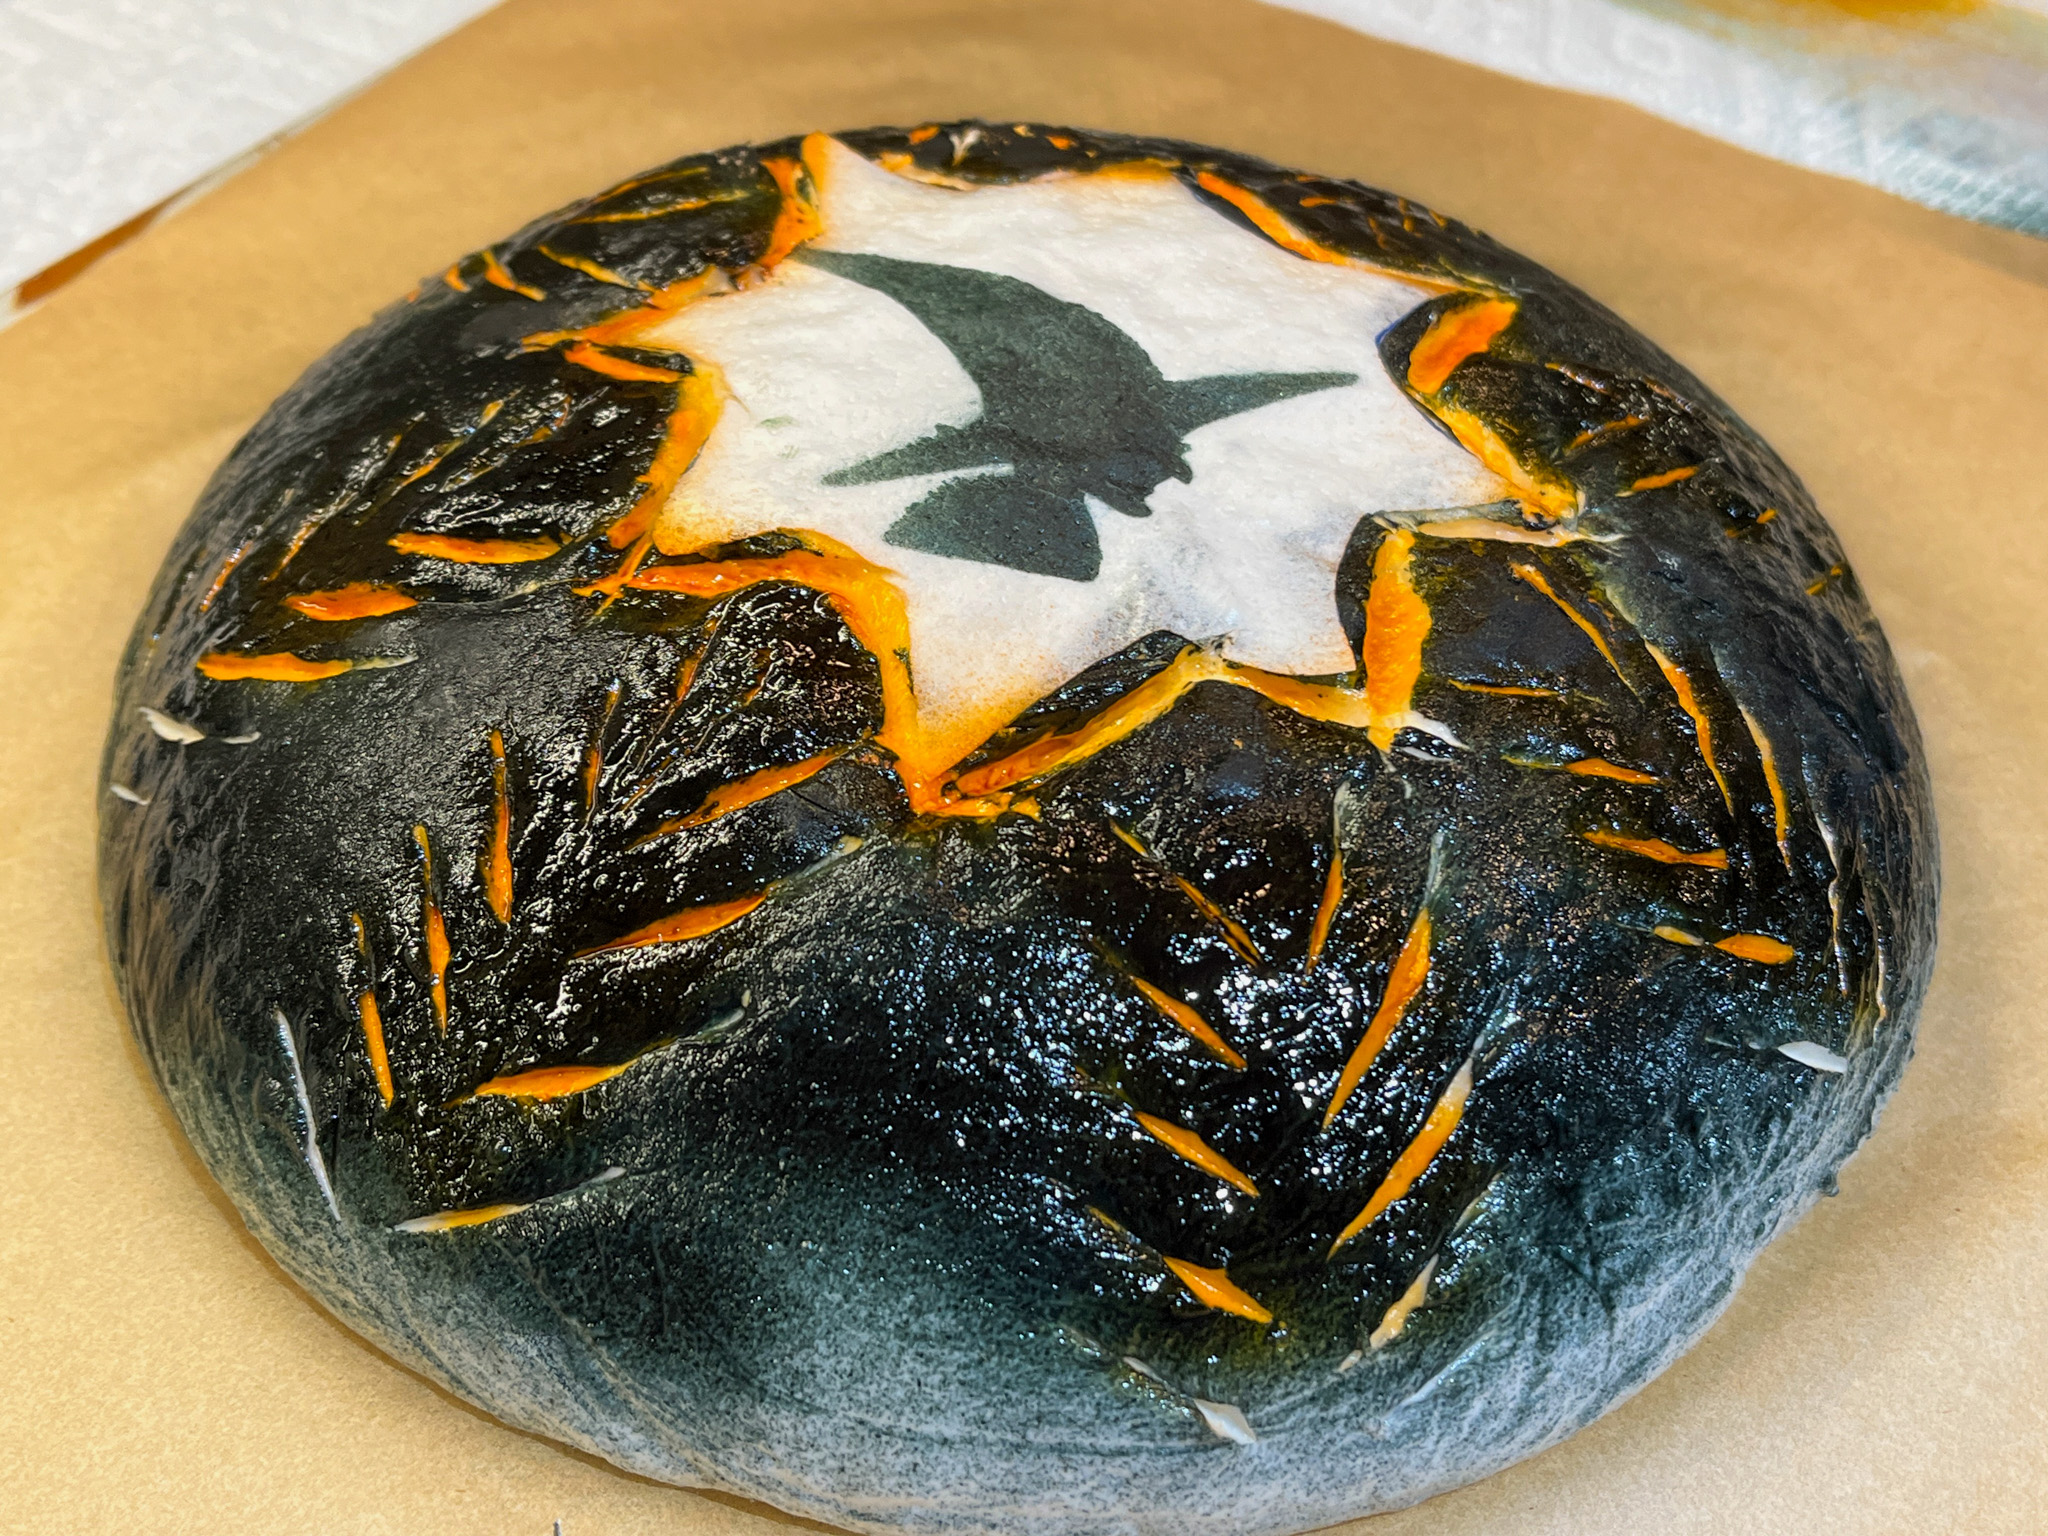
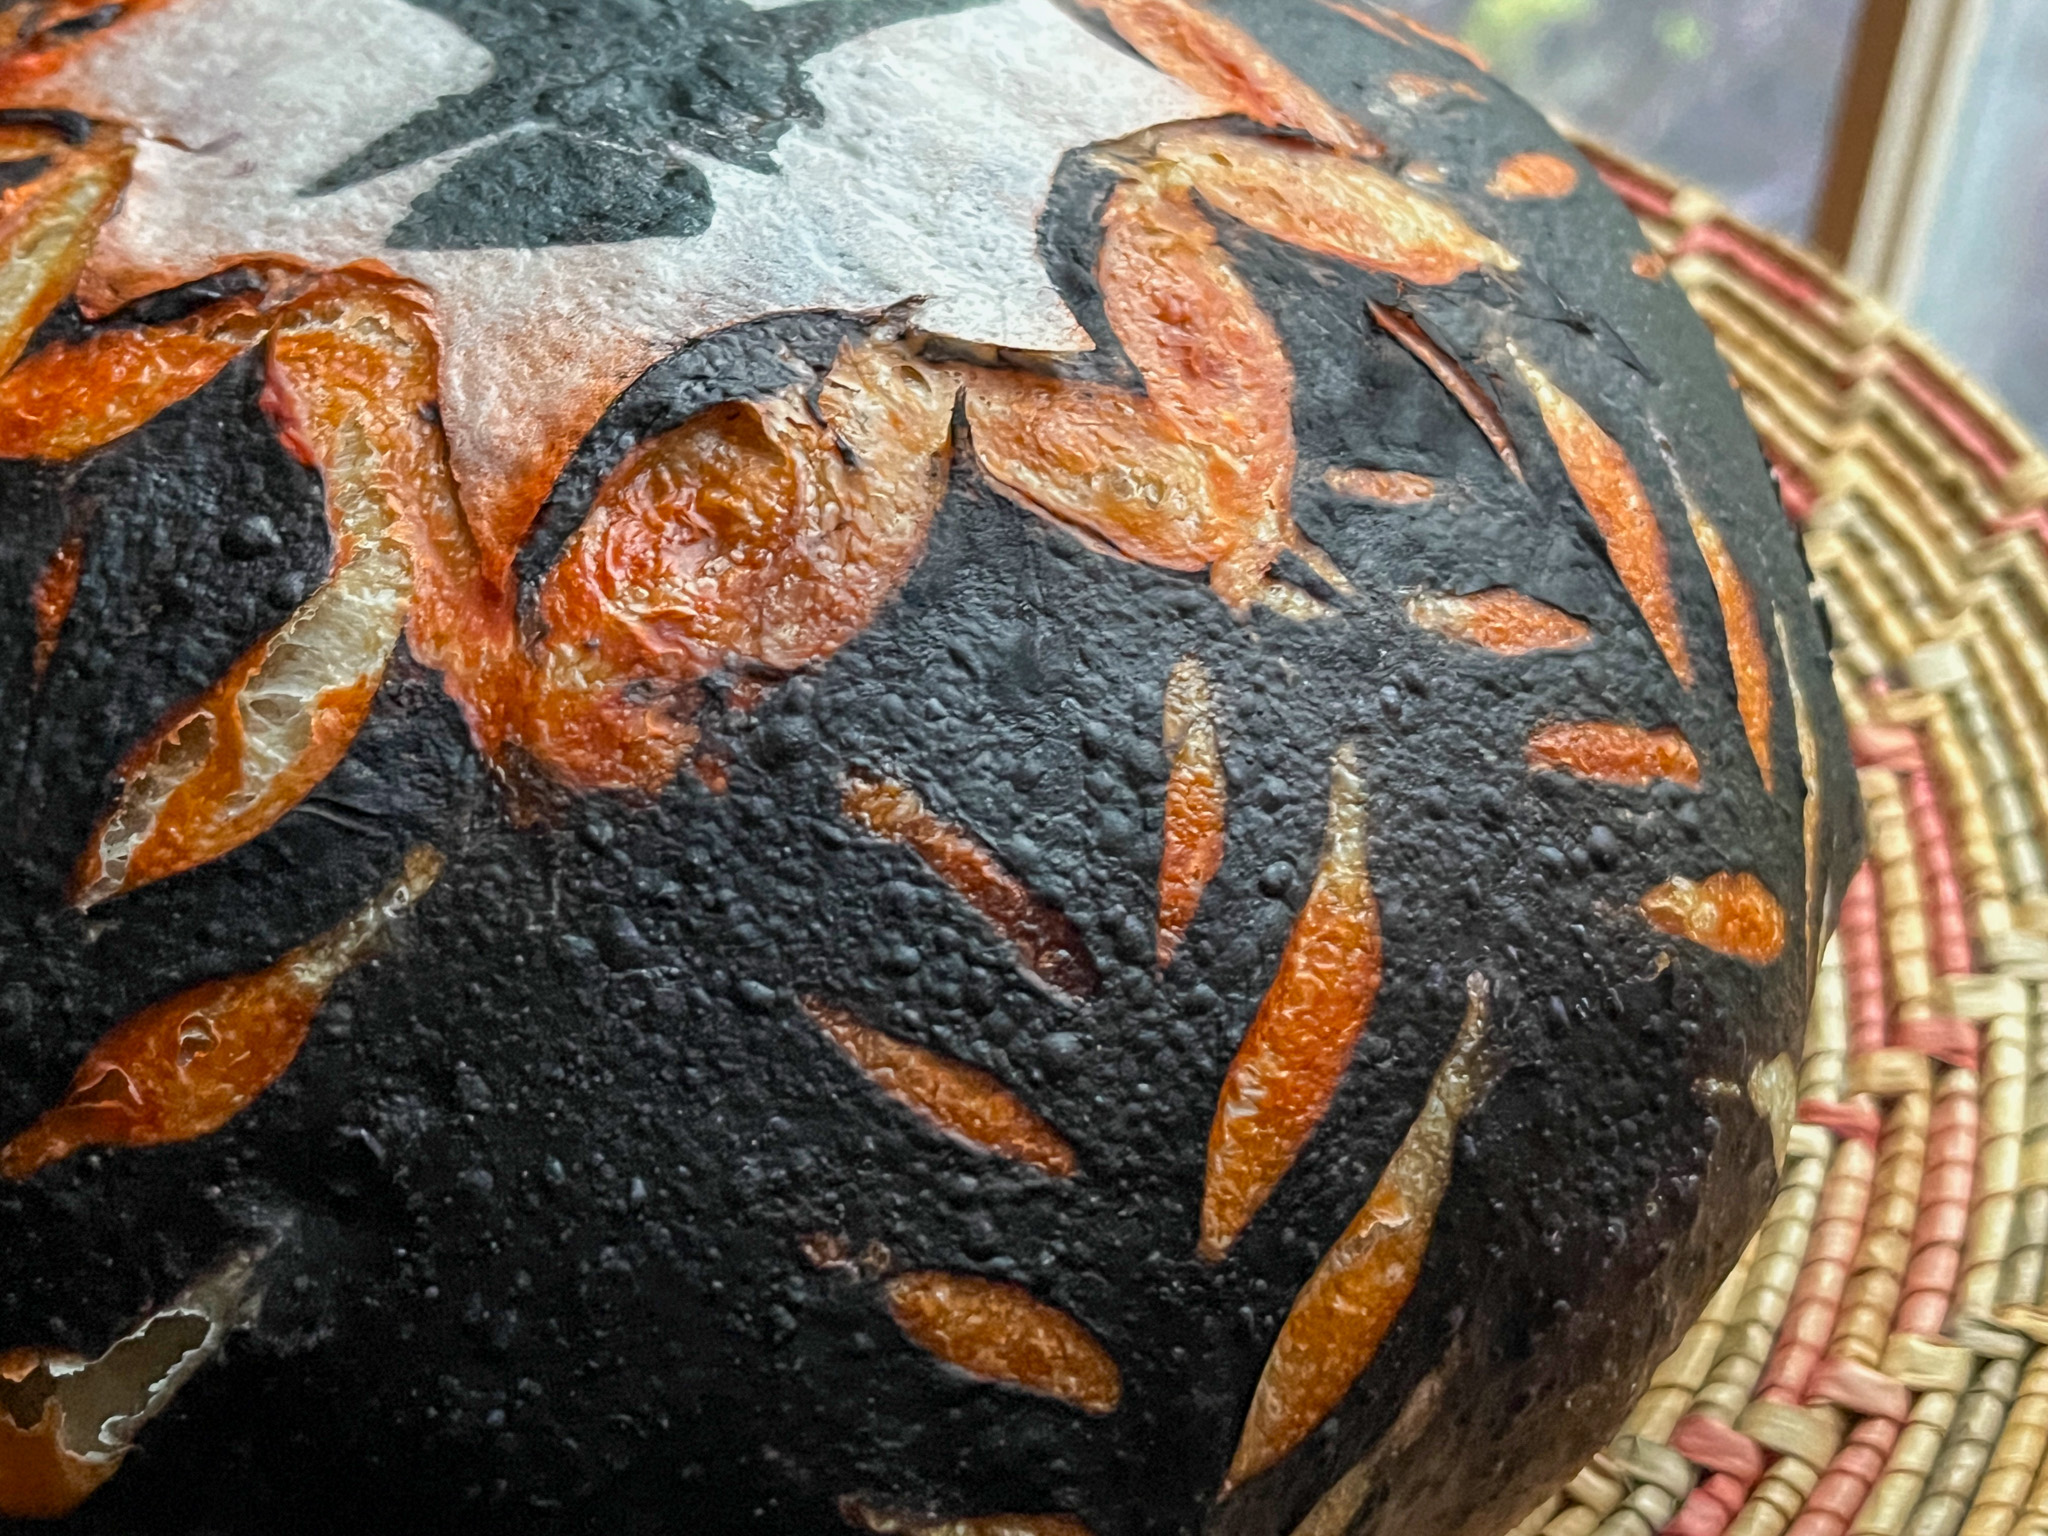
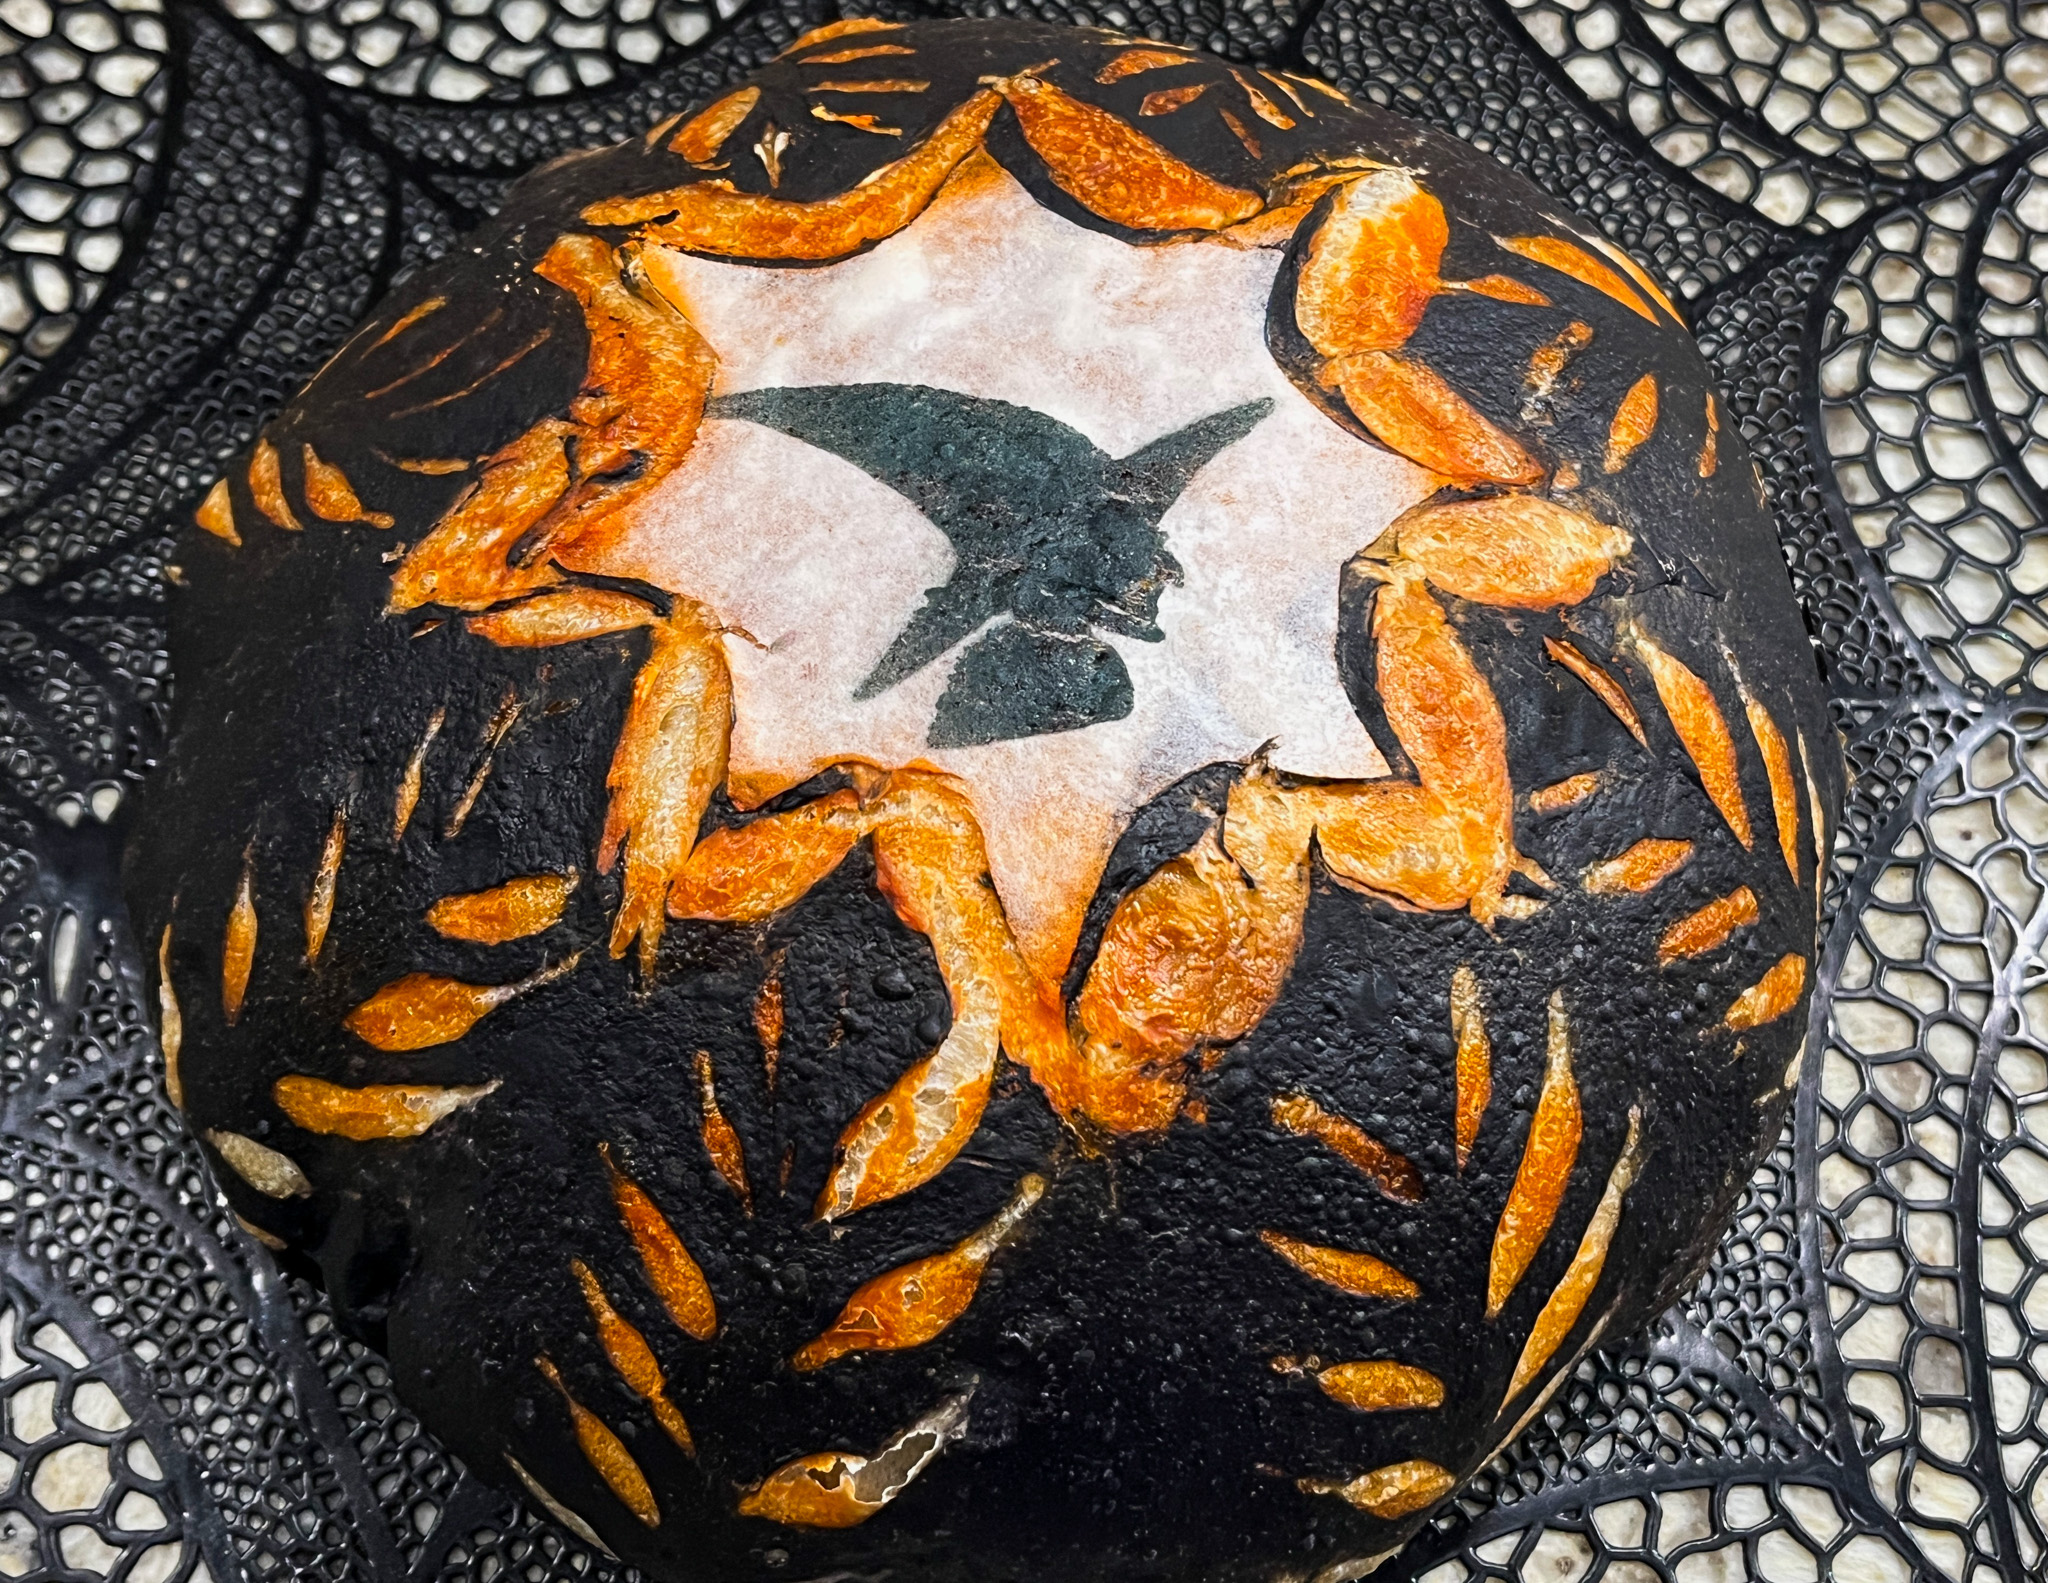
The flaps were a big flop. What can I say? The real beautiful version would have them all lifted up from the surface of the bread, mine stayed more or less glued to the surface. This was my second attempt, the first one was worse, so you won’t be seeing that (wink, wink). The shaping is quite a bit more elaborate. You form pieces of dough that are about 200g in weight, then roll a flap coming out of it, and roll the ball into it. Place to proof with the flap down, open side to the edge of the banetton. Before closing the flap over the ball of dough, a little olive oil is used to brush the edge, so the dough won’t stick and will instead lift during baking. Pictures below give you a general idea of the shaping method.

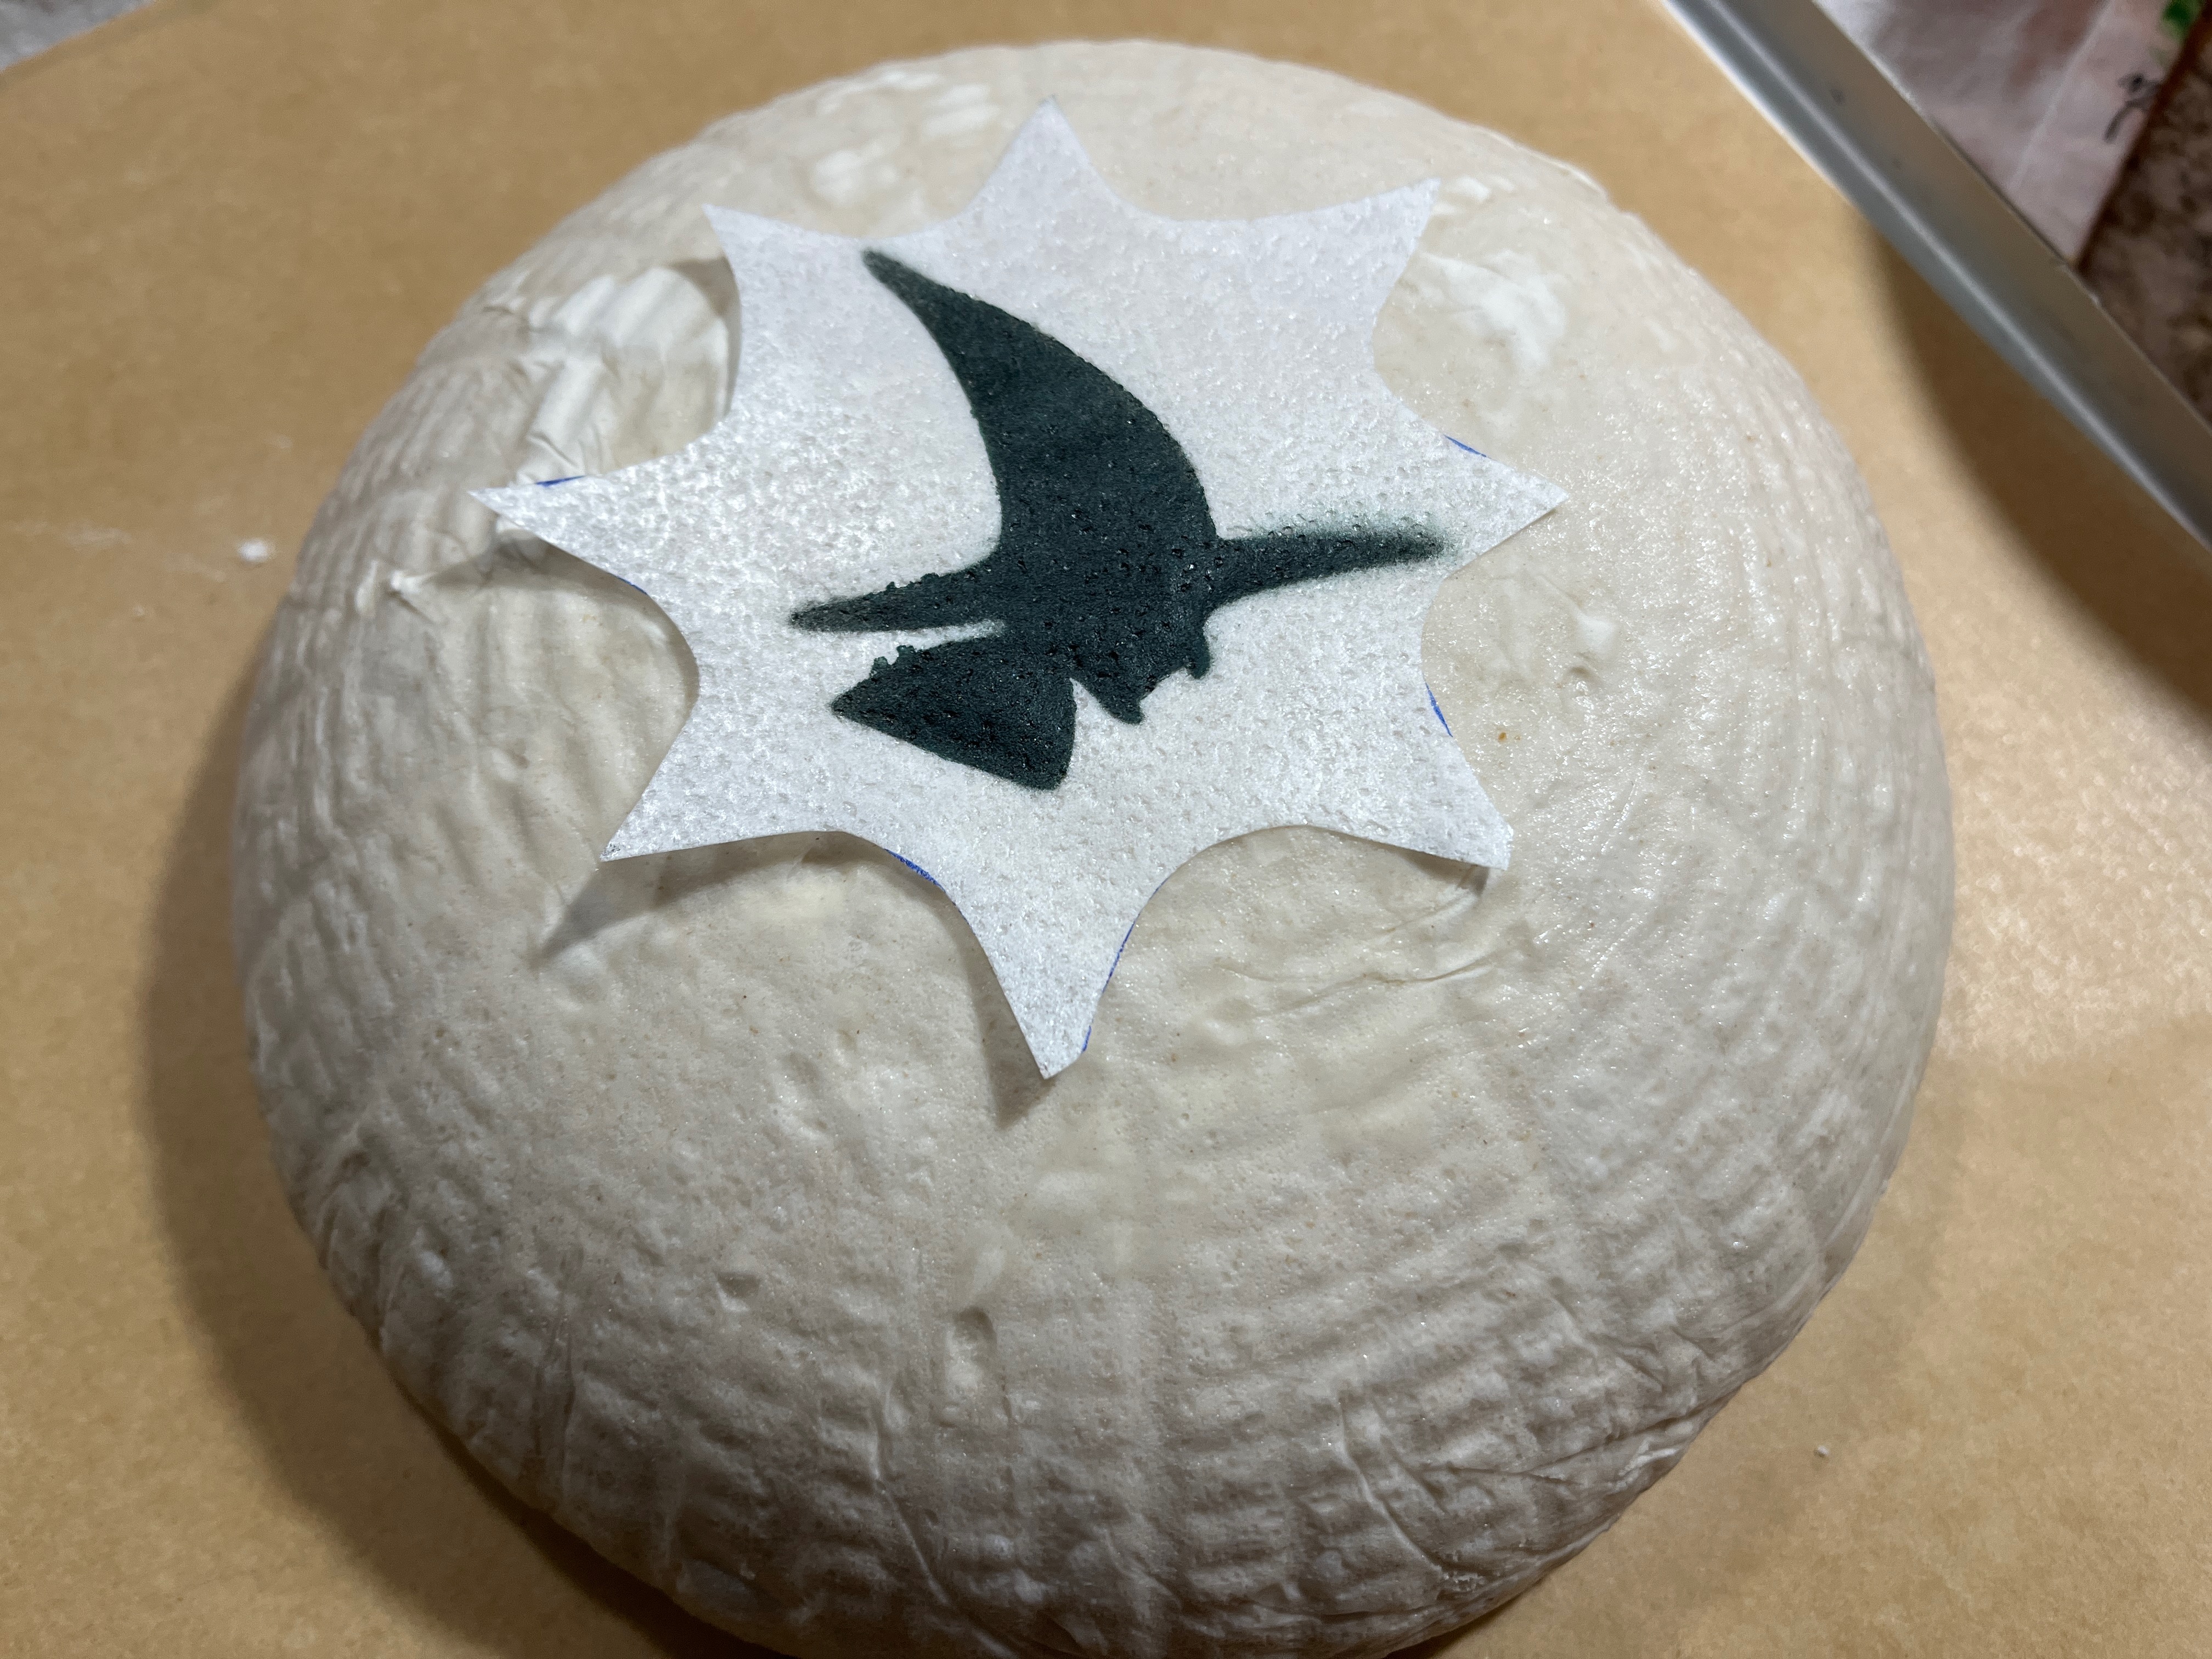
I had several issues, including the fact that 200g per ball of dough was probably too much. I will revise the whole thing and try again, because I really REALLY want to make it work right. I love the stencil decoration made right before baking (I will share info on the stencil and banetton in my upcoming In My Kitchen post, on October 1st).

I hope you enjoyed this post, and maybe you can give this method a try. If you get your flaps not to flop, let me know your secret!
ONE YEAR AGO: Have a Heart
TWO YEARS AGO: Chocolate-Hazelnut Tartlets
THREE YEARS AGO: Turkey Taco Salad
FOUR YEARS AGO: Cheese and Pesto Emmer Roll-ups and Elaine’s Cookbook Review
FIVE YEARS AGO: Mango-Hazelnut Entremet Cake
SIX YEARS AGO: Lebanese Lentil Salad and a Cookbook Review
SEVEN YEARS AGO: Cottage Loaf
EIGHT YEARS AGO: Sourdough Loaf with Cranberries and Walnuts
NINE YEARS AGO: Sichuan Pork Stir-Fry in Garlic Sauce
TEN YEARS AGO: Our Green Trip to Colorado
ELEVEN YEARS AGO: Ditalini Pasta Salad
TWELVE YEARS AGO: Celebrate Wednesday with a Thai Seafood Curry
THIRTEEN YEARS AGO: Post-workout Breakfast
FOURTEEN YEARS AGO: Semolina Barbecue Buns
FIFTEEN YEARS AGO: Lavash Crackers