I have used this simple recipe in countless ways and it simply never disappoints me. Because it has no leavening agent, it holds its shape either as a cutout or as a stamped cookie. You can also use it for thumbprint cookies. You can paint it, you can stencil it. And of course, you can treat it as a regular sugar cookie and decorate it with Royal icing. I will give you the basic formula and a few variations, but they will all perform exactly the same way.

HAZELNUT COOKIE DOUGH
(from The Bewitching Kitchen)
226 g butter
150g total sugar (100 + 50 white and brown or reversed, see comments)
30g egg (must weigh)
1 tsp hazelnut emulsion (variations in comments)
¼ tsp vanilla extract
380g all purpose flour
½ tsp salt
Soften butter on low mixer setting. Add sugars and mix on low until butter is incorporated. Add egg, extracts, mix on low. Add flour and salt and mix until dough comes together.
Form disc, wrap in plastic and place in fridge 10 minutes.
Roll out, press stamps or cut. Refrigerate for 90 minutes or freeze for 15 minutes before baking at 350F until done, depends on size and thickness of your cookie.
ENJOY!
to print the recipe, click here
Comments: Let’s talk extracts. I really love the Hazelnut Bakery Emulsion from LorAnn (click here). It has a strong smell but don’t let that scare you, it bakes with a wonderful flavor. Variations: use Pistachio Bakery Emulsion, or Natural Orange, all from LorAnn. As to sugars, you can either use 100g white and 50g brown, or the opposite. Some brown sugar is important, if you want a slightly crispier cookie, go for higher amount of white sugar. The cookie will also be obviously lighter, so that might be more appropriate for some designs. Finally, it is very important to weight the egg. I know, if you don’t own a scale, it is a problem but if you add one full egg it will be too much. I rarely need to adjust anything in the dough if I follow this recipe to a T. Having covered the basics, let me show you a few ideas to put this baby to use.
.
.
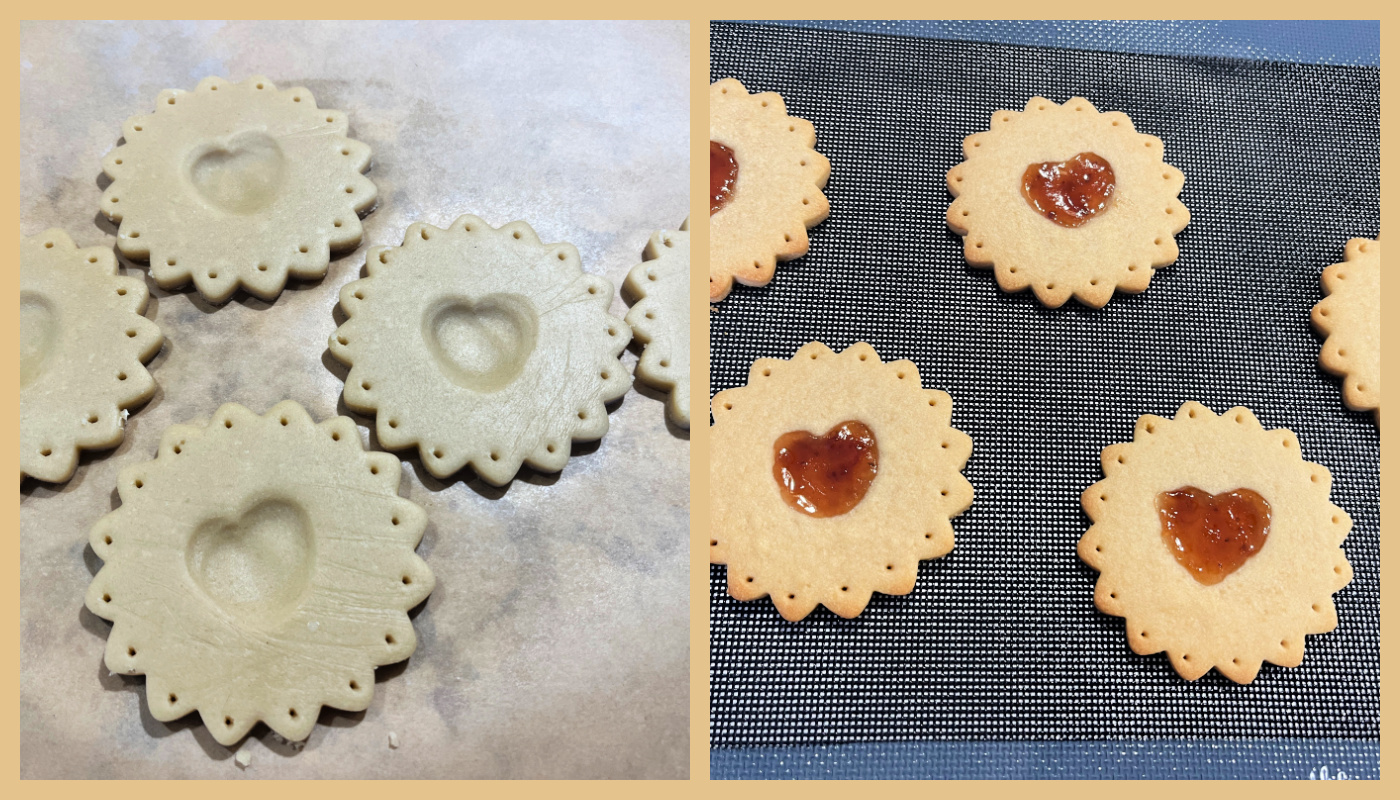
STRAWBERRY JAM COOKIES
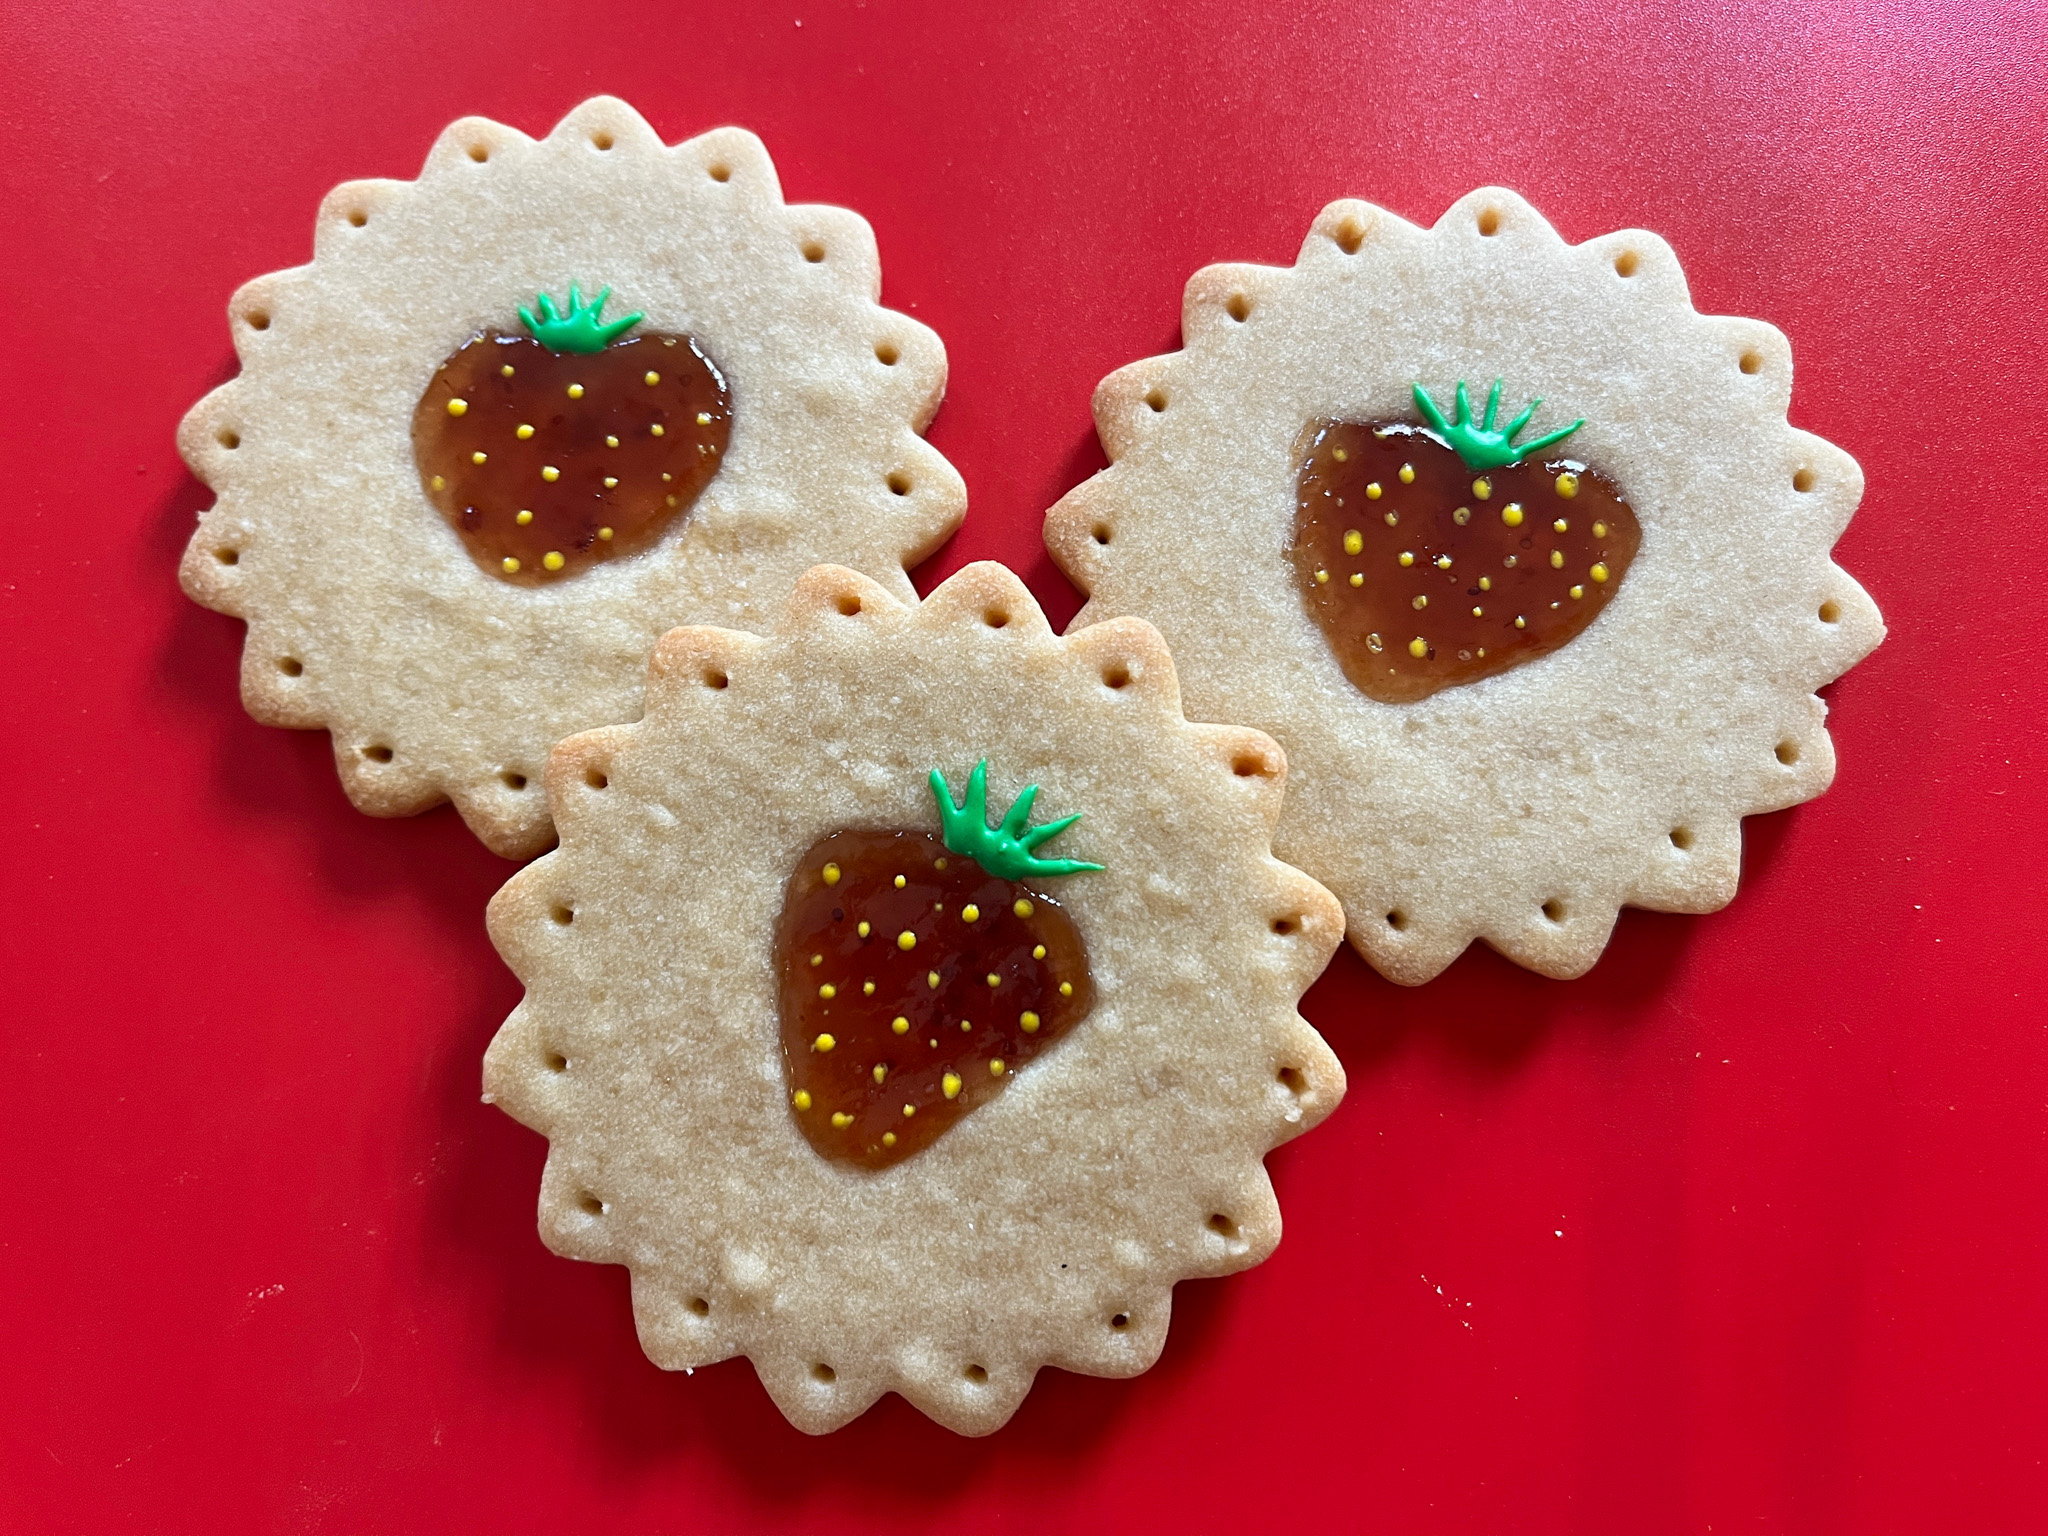
I used 100g white sugar and 50g brown for this one. Roll the cookie, cut the shape, make little holes with a toothpick for added cuteness. Press your finger twice to form a little heart shape. Fill with jam (do not add too much). Bake. Decorate with Royal icing once cool. If you don’t want to use the decoration, just make a round shape and fill it with jam.
.
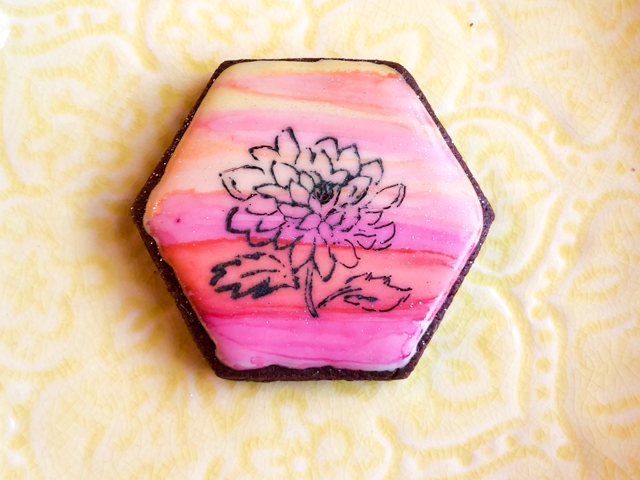
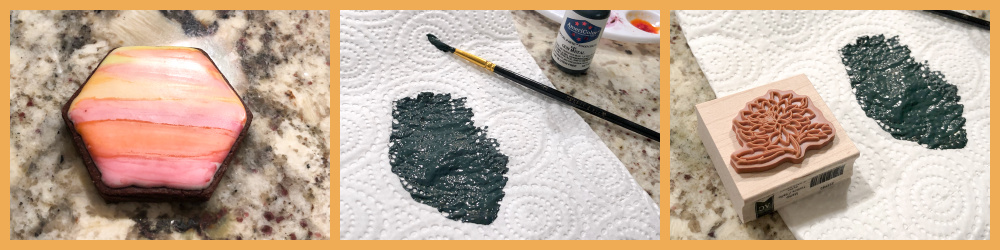
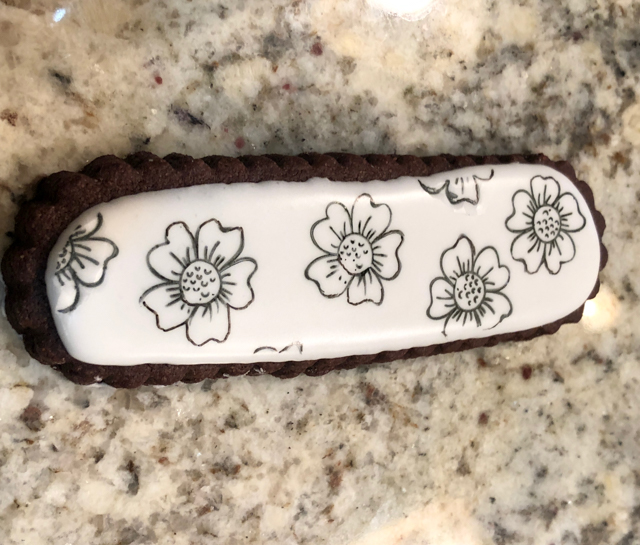
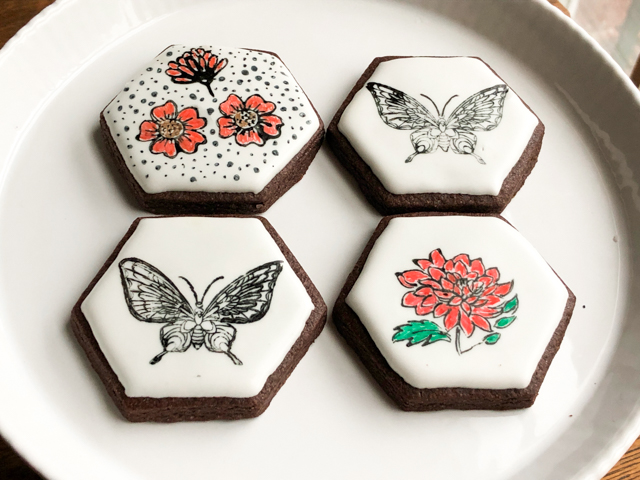
COCOA POWDER STENCILING
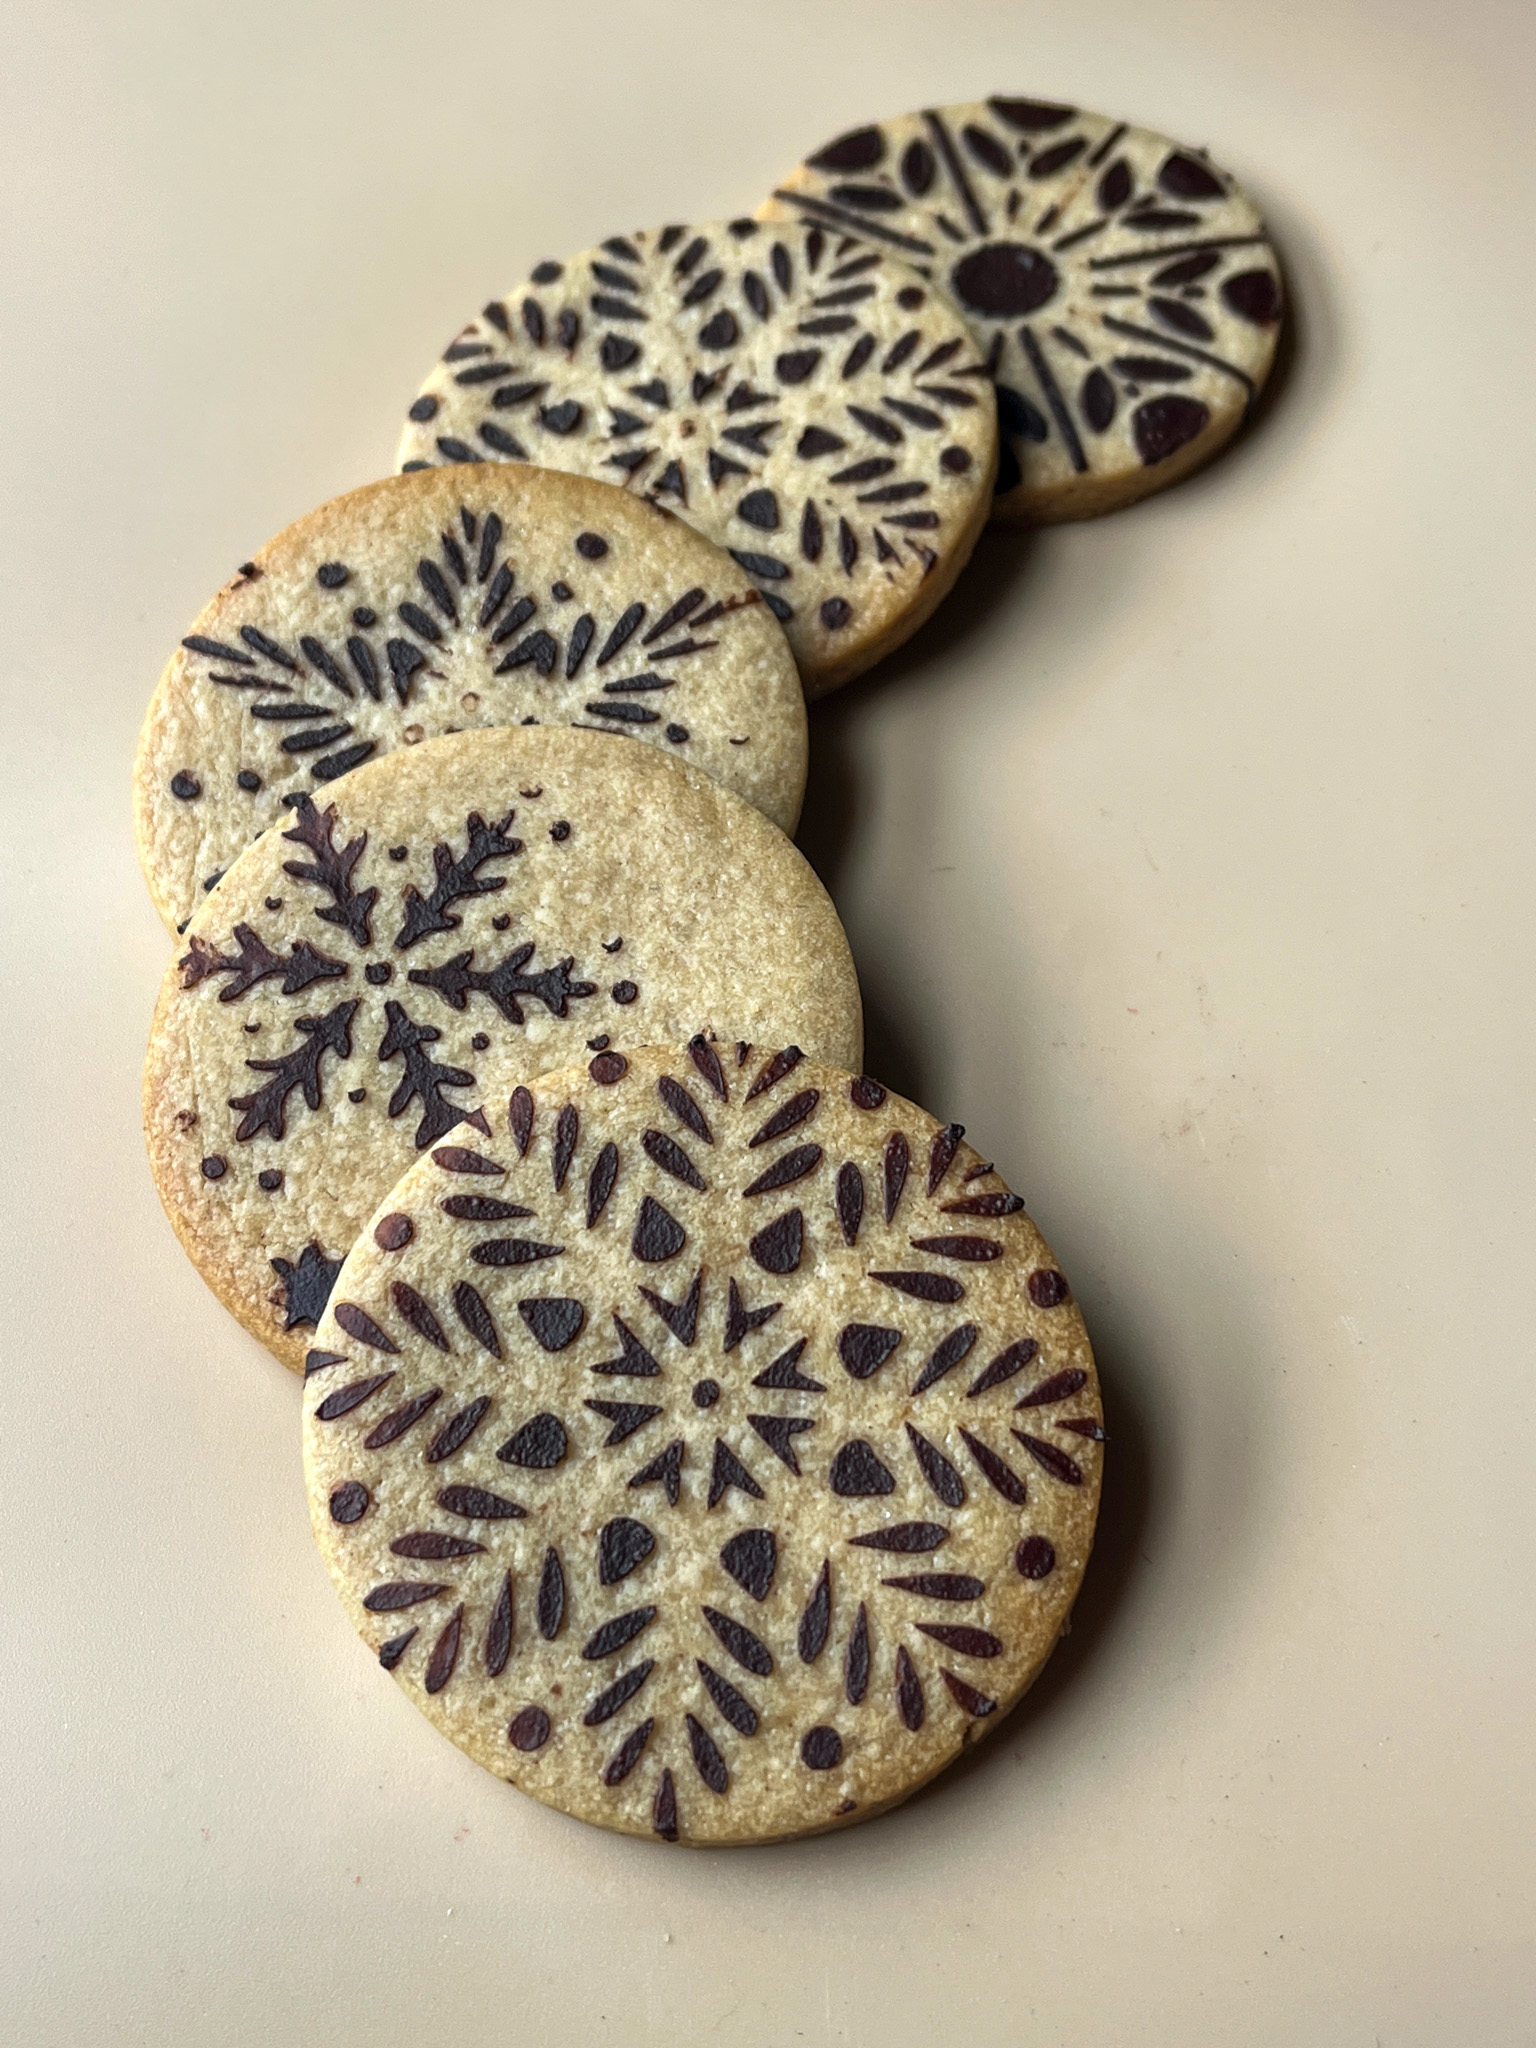
Super fun technique. You will brush a little cocoa powder on the raw cookie using a stencil, then bake. I have also used a cocoa paste made with softened butter, powdered sugar and flour, but managed to lose that recipe. Could not retrieve it, don’t remember where I saw it. Very sorry, but cocoa powder by itself works great (you can see my full blog post about it here).
.
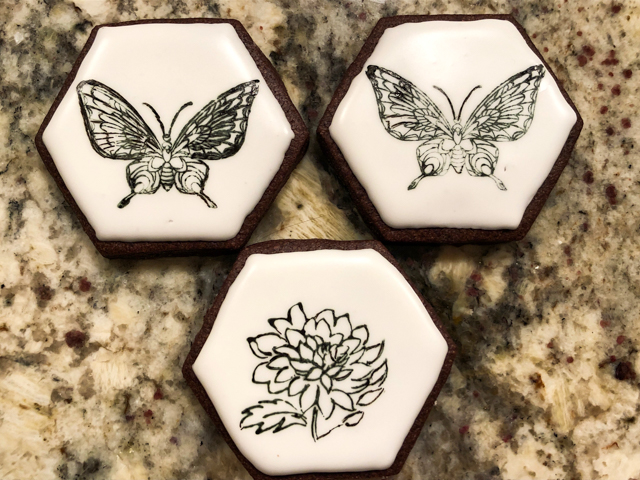
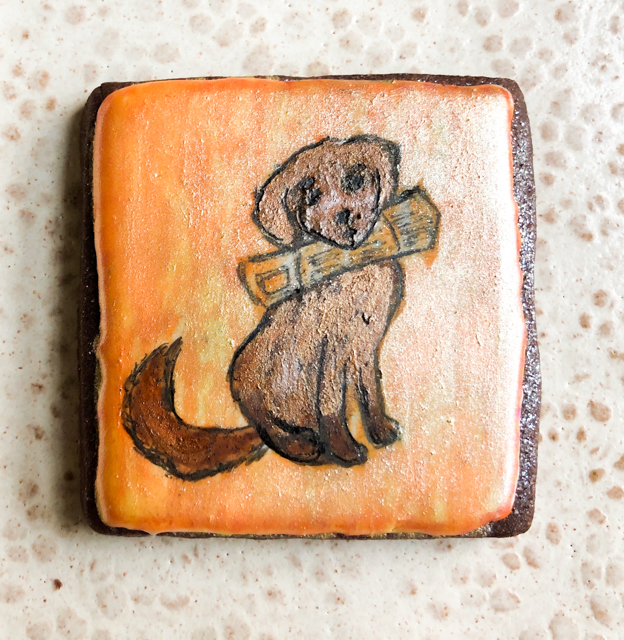
STAMPED COOKIES
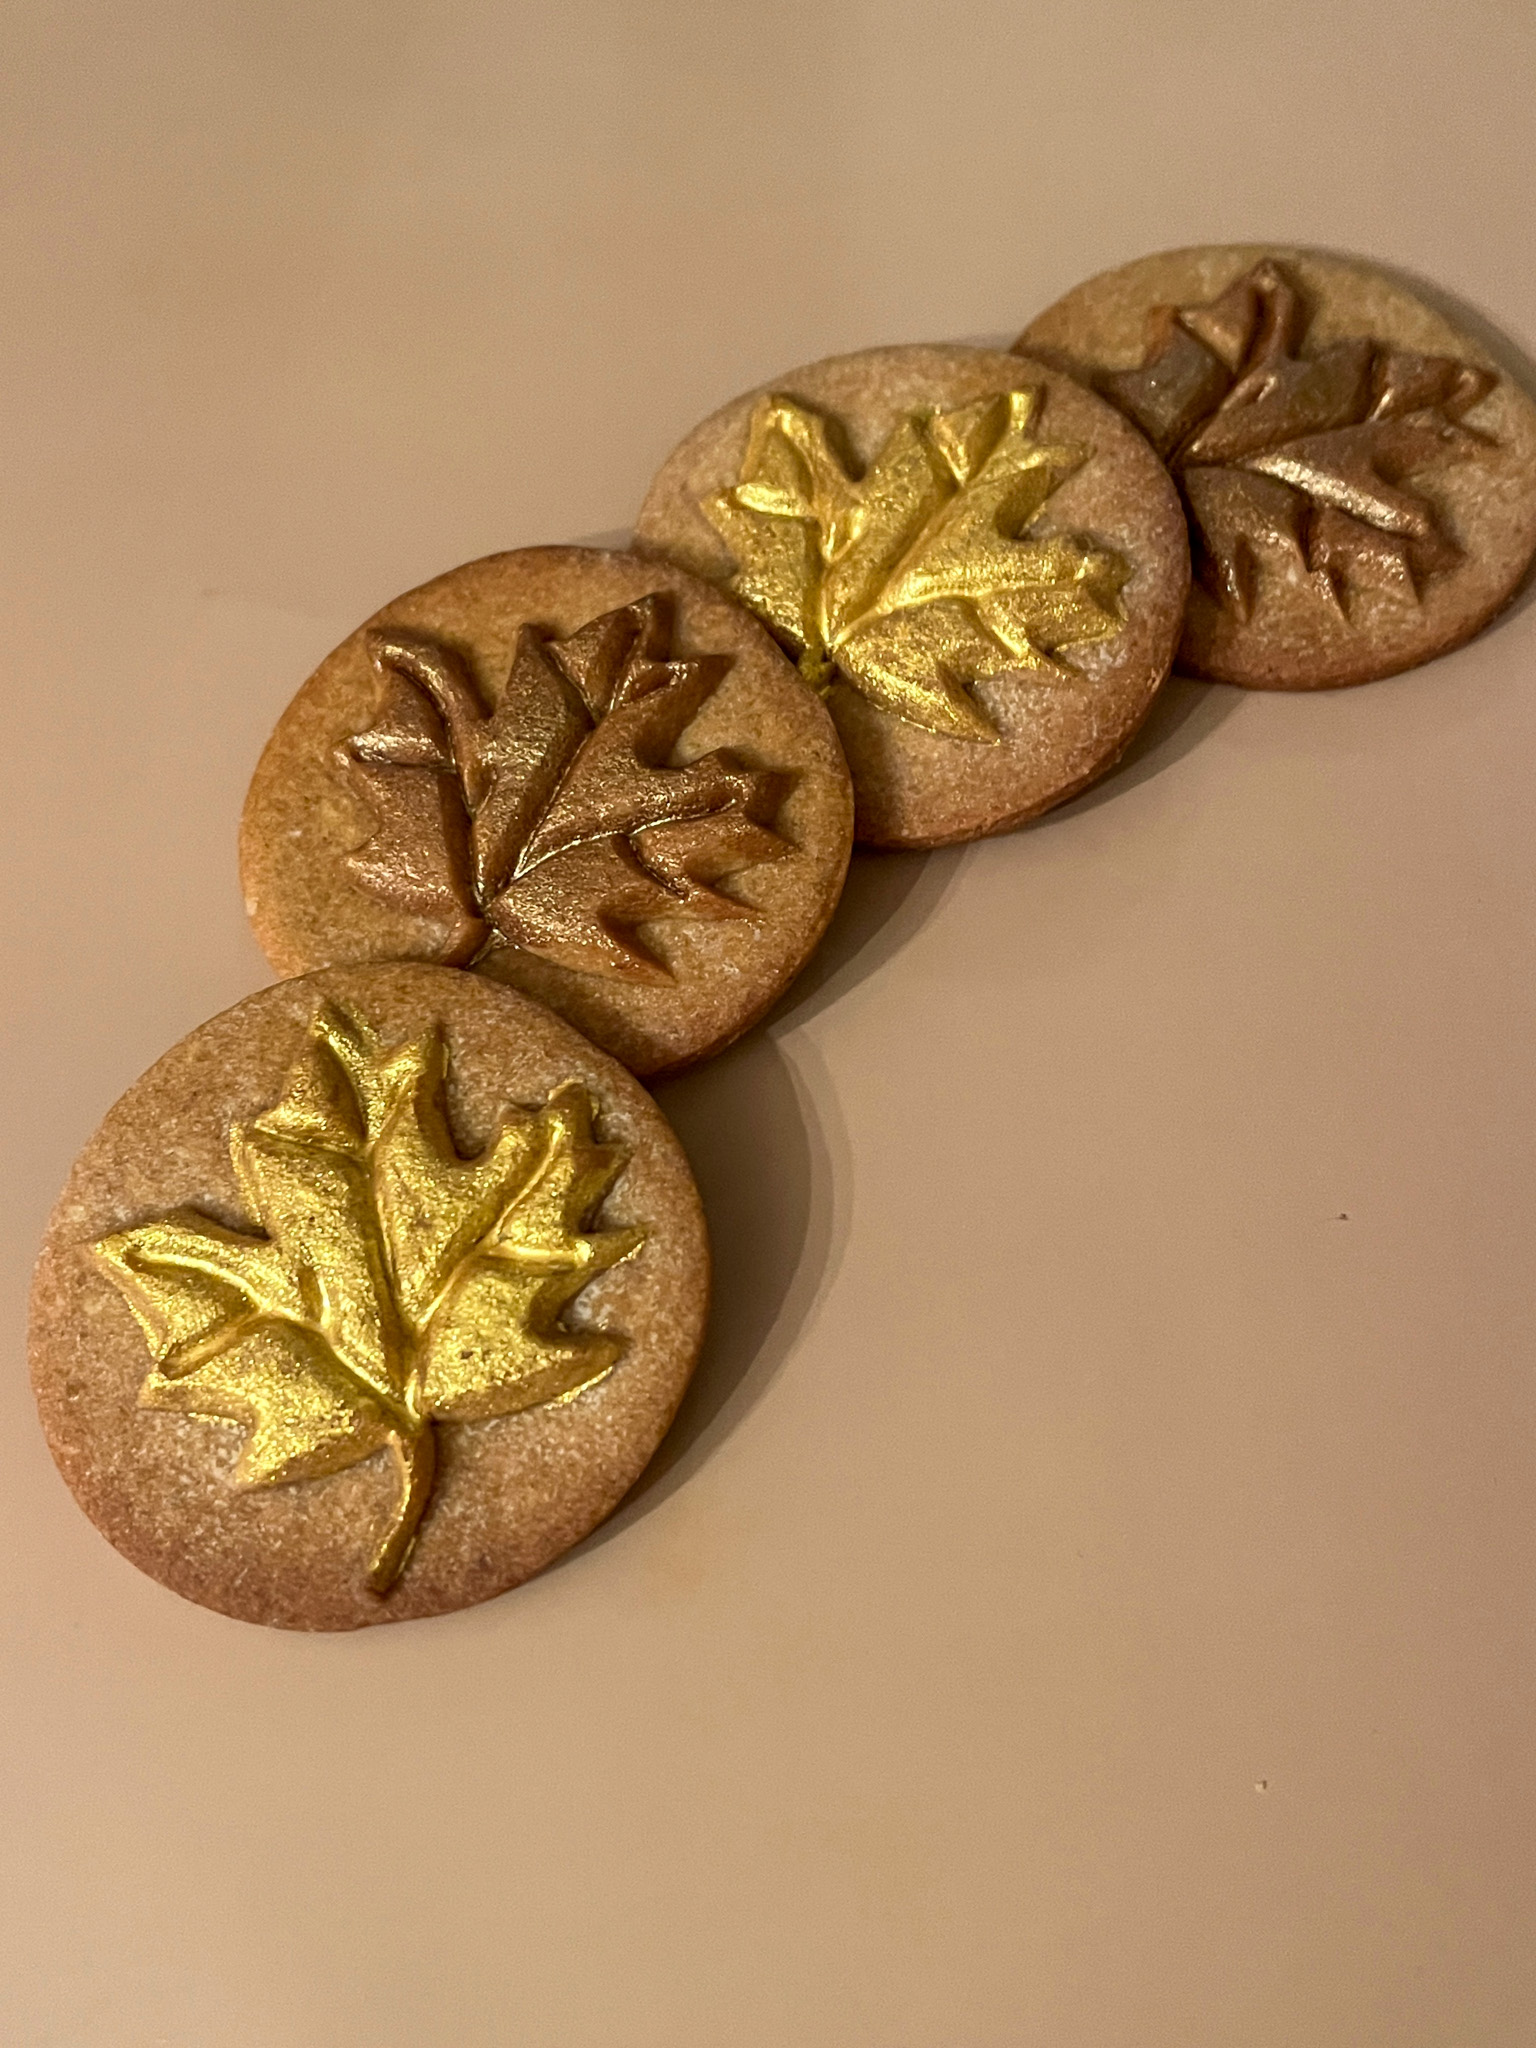
For these cookies, I went with 100g brown sugar and 50g white. I wanted a darker shade to start with. After baking, I painted the design with luster powder, either gold or bronze. The cookie stamp is available here.
.
.
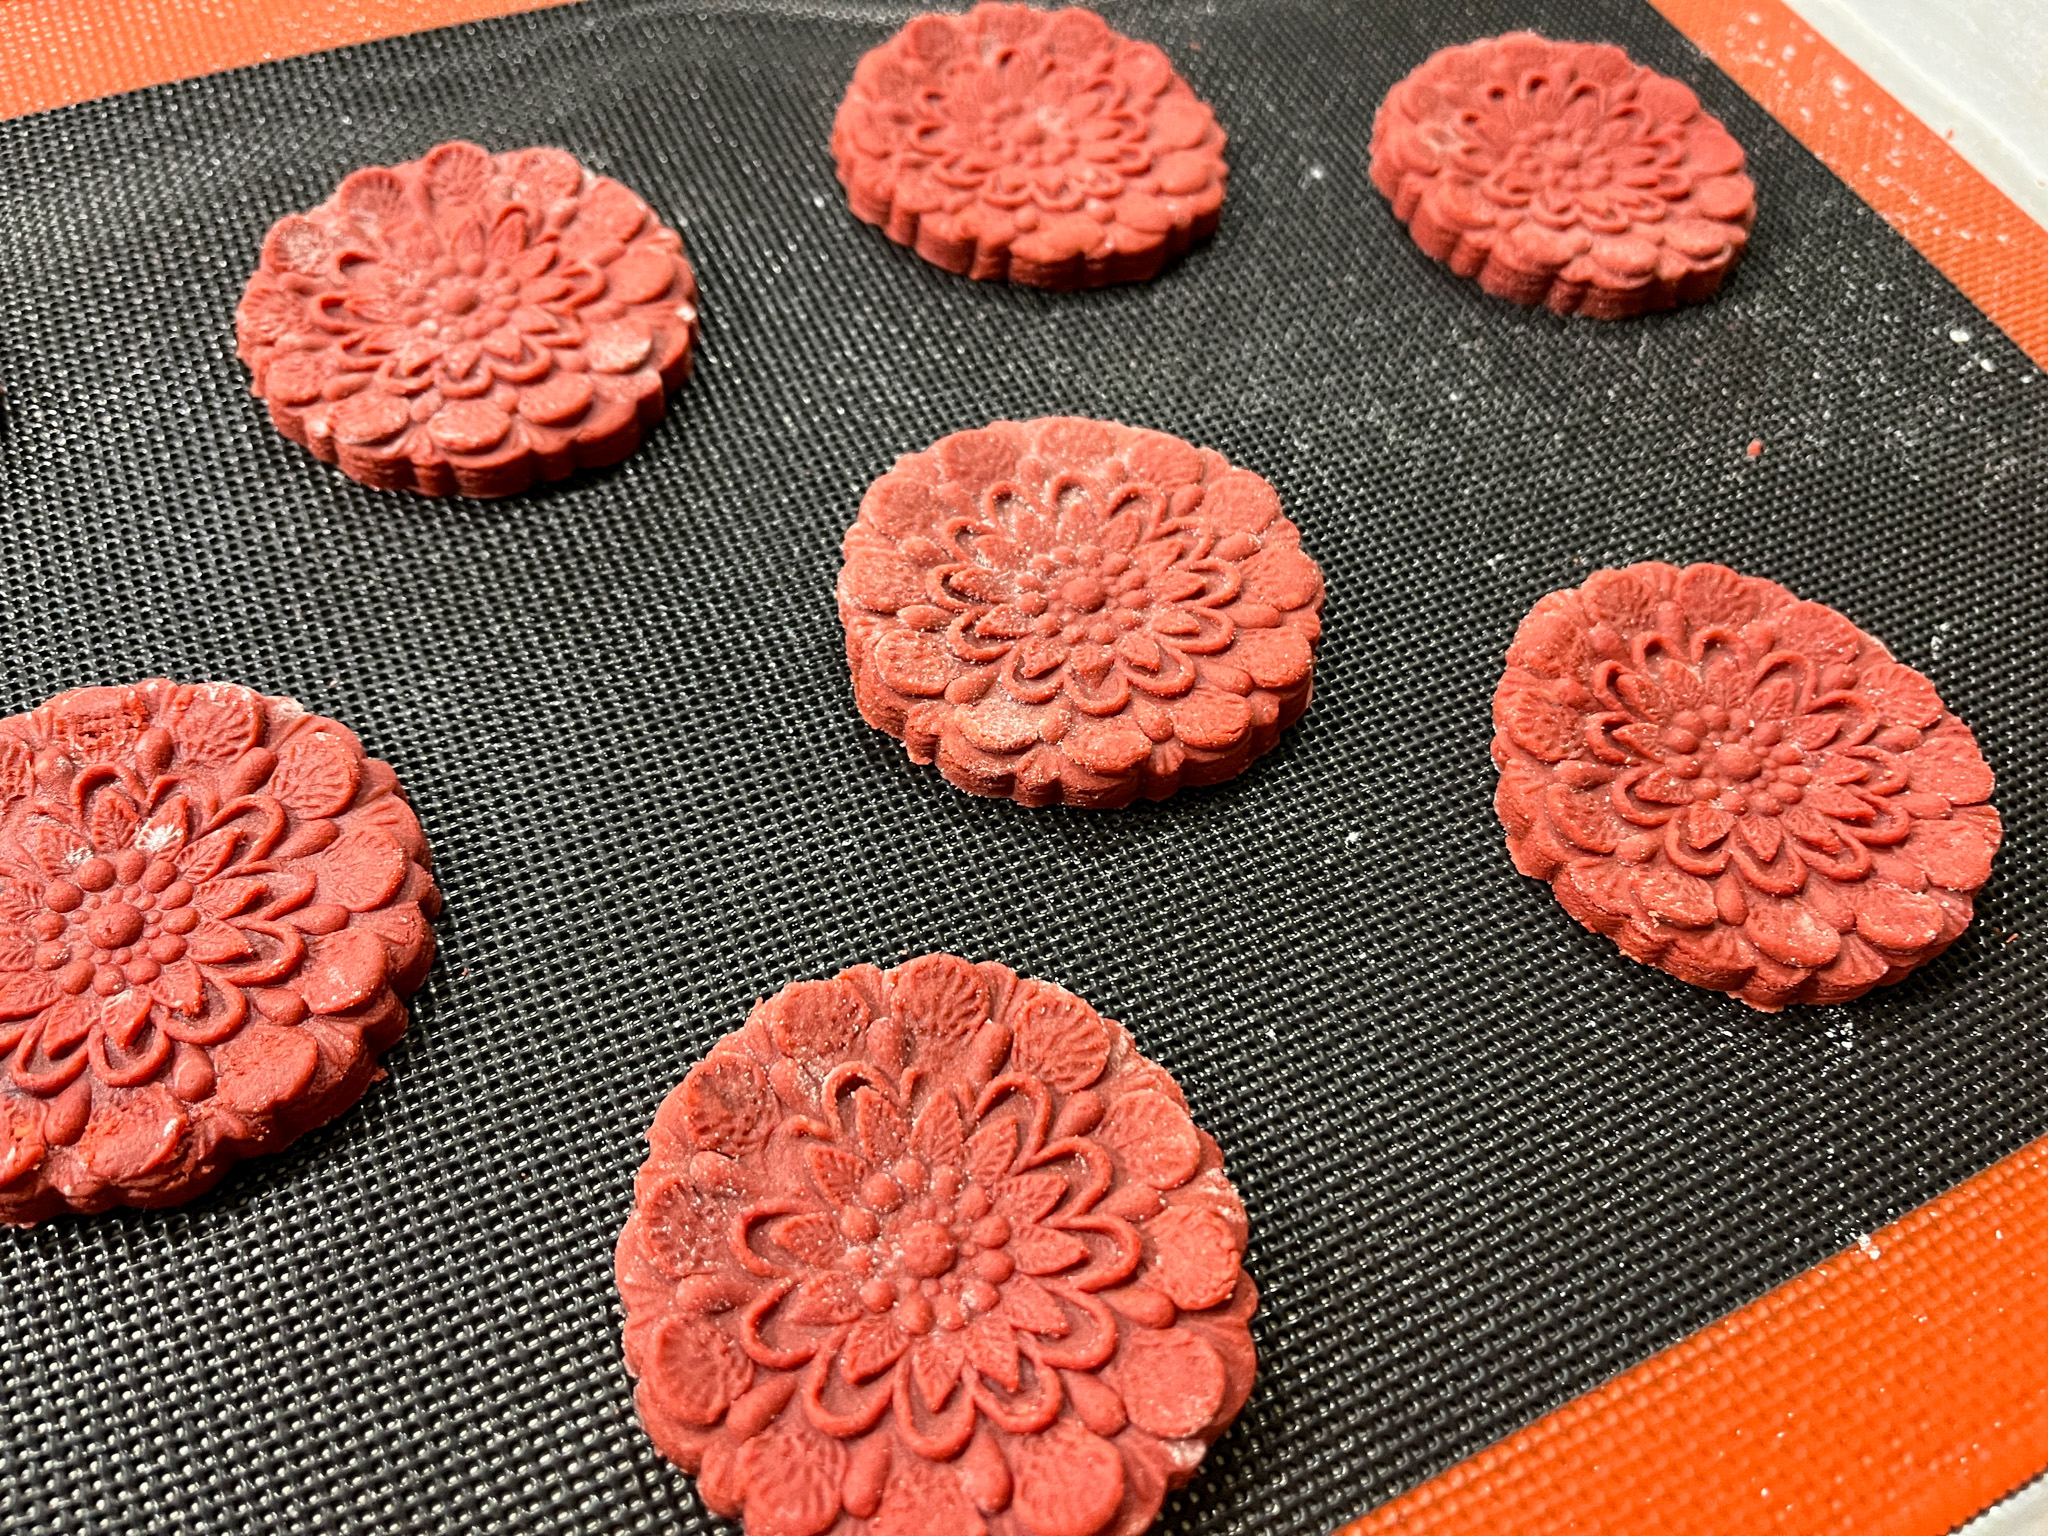
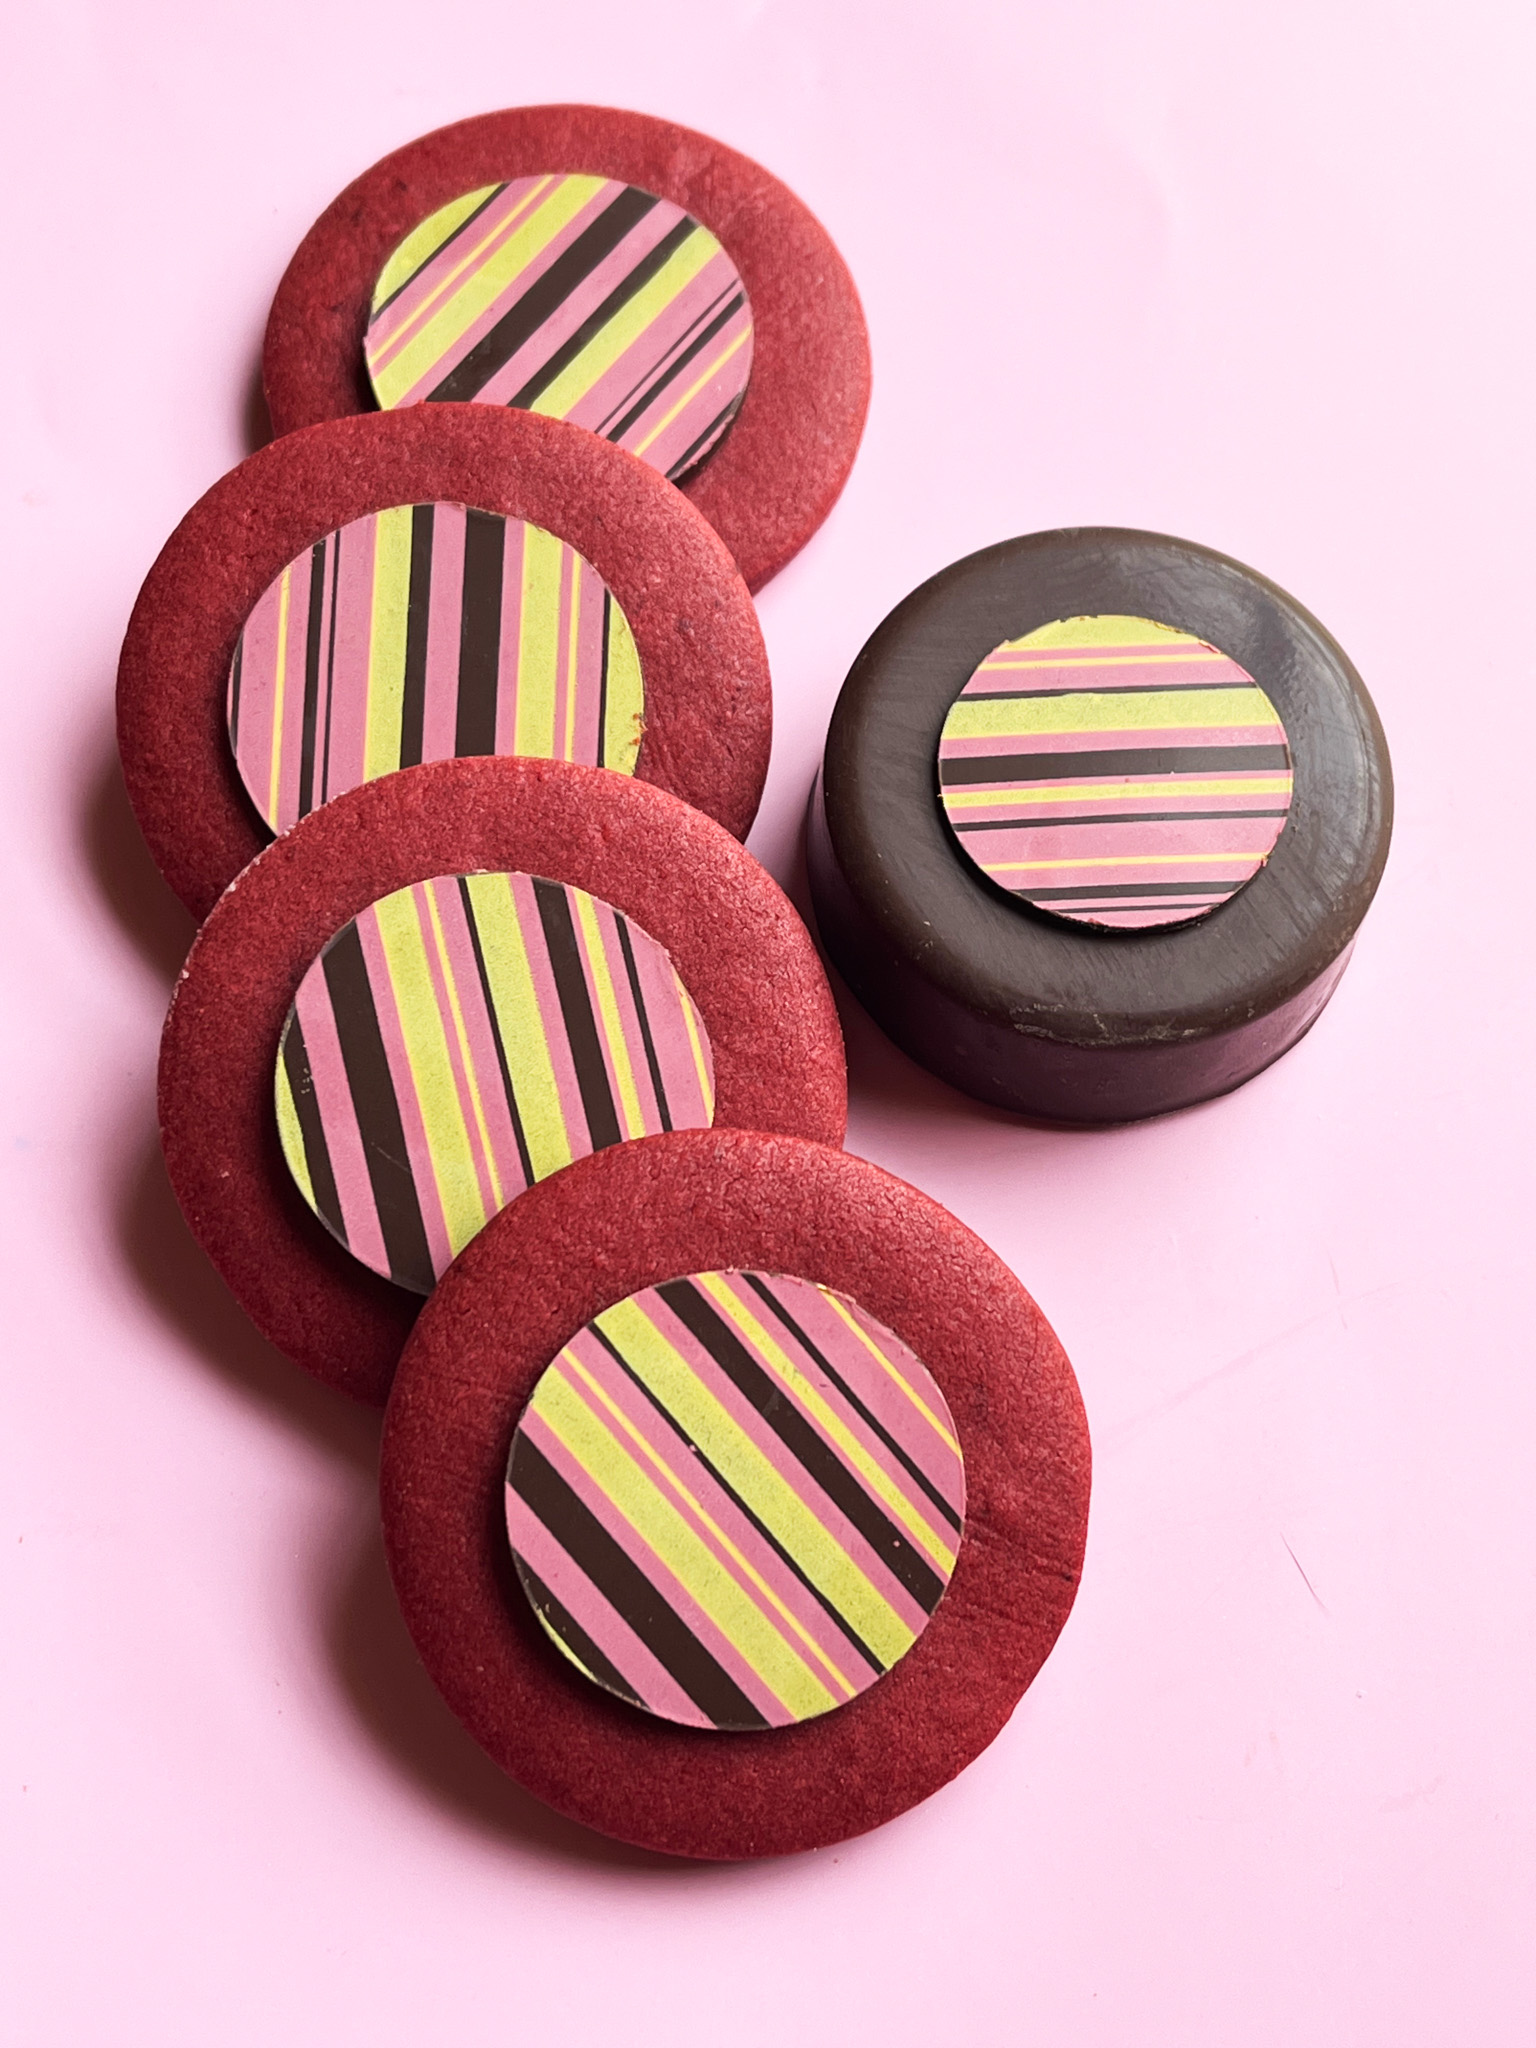
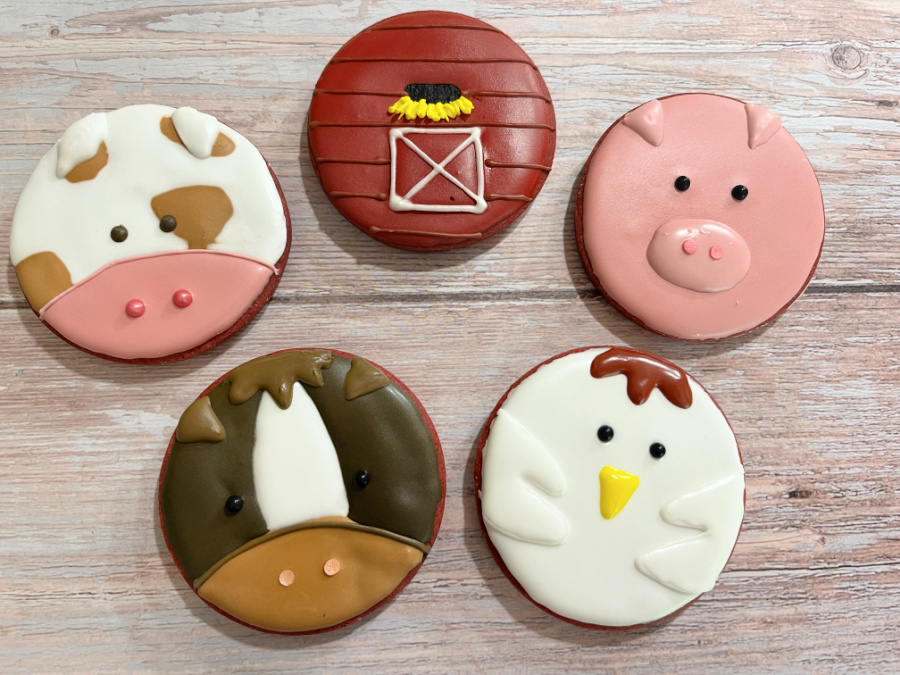
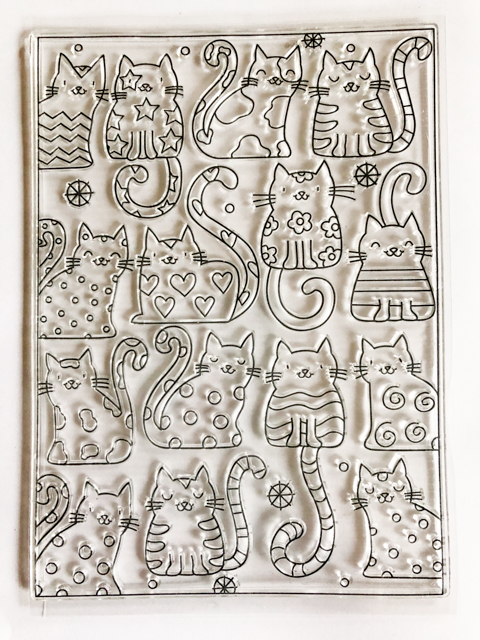
ROLLED, MOLDED, PRESSED
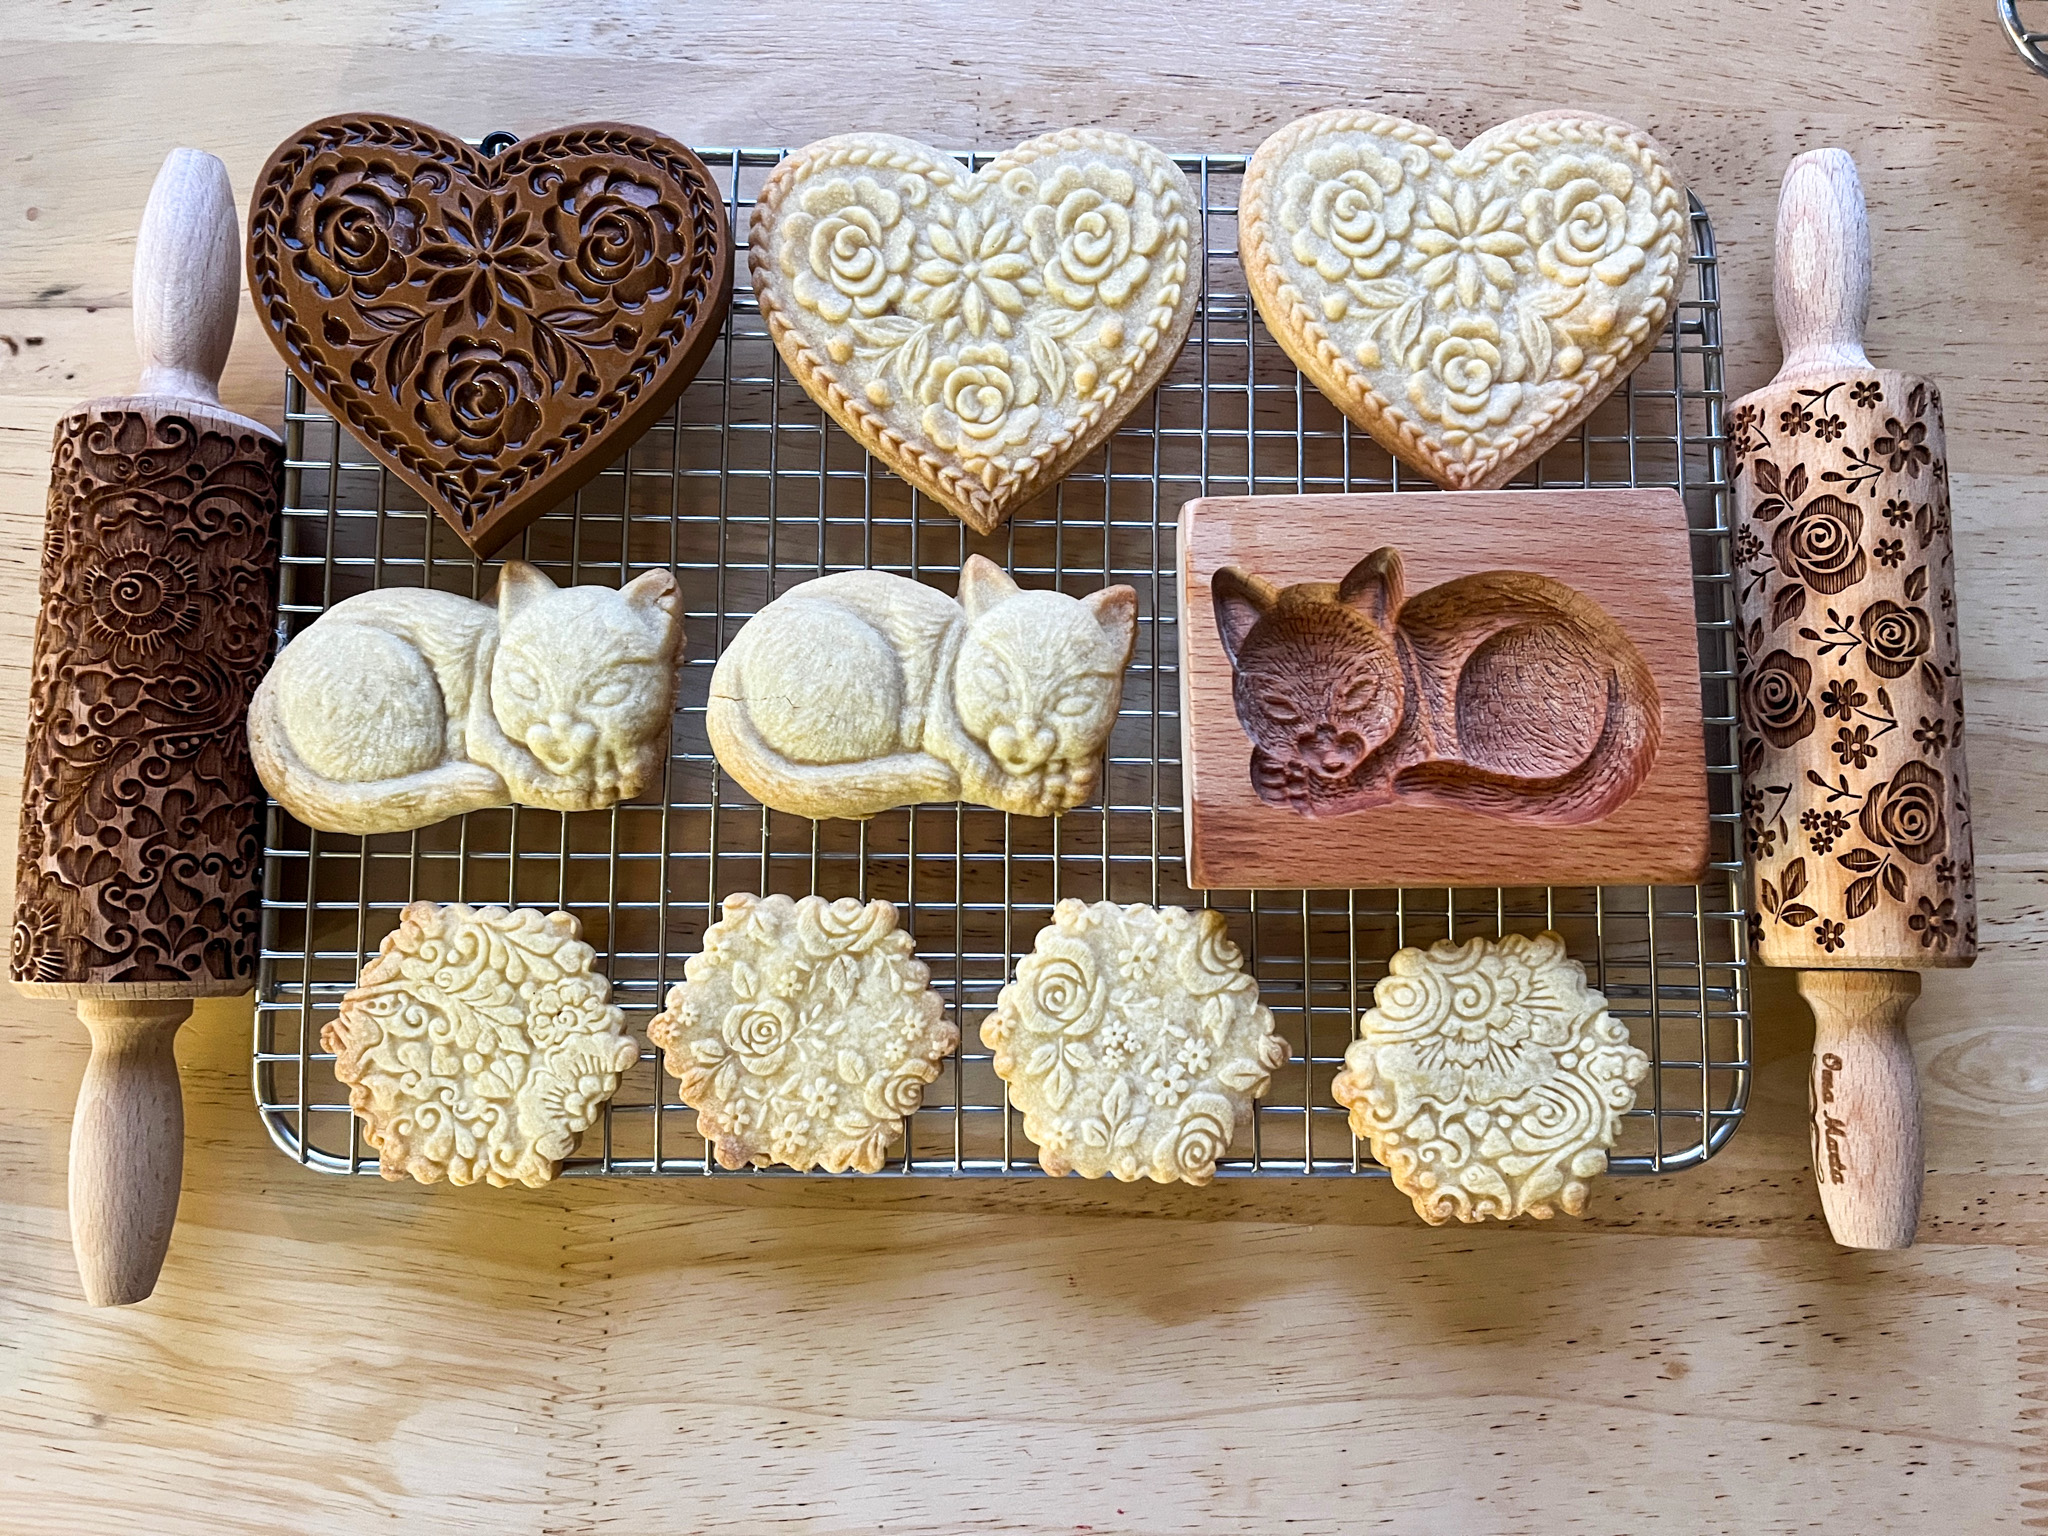
Higher proportion of white sugar for all of those. Notice how the impression stays nicely, no matter the technique you choose to work with the dough.
.
.
.
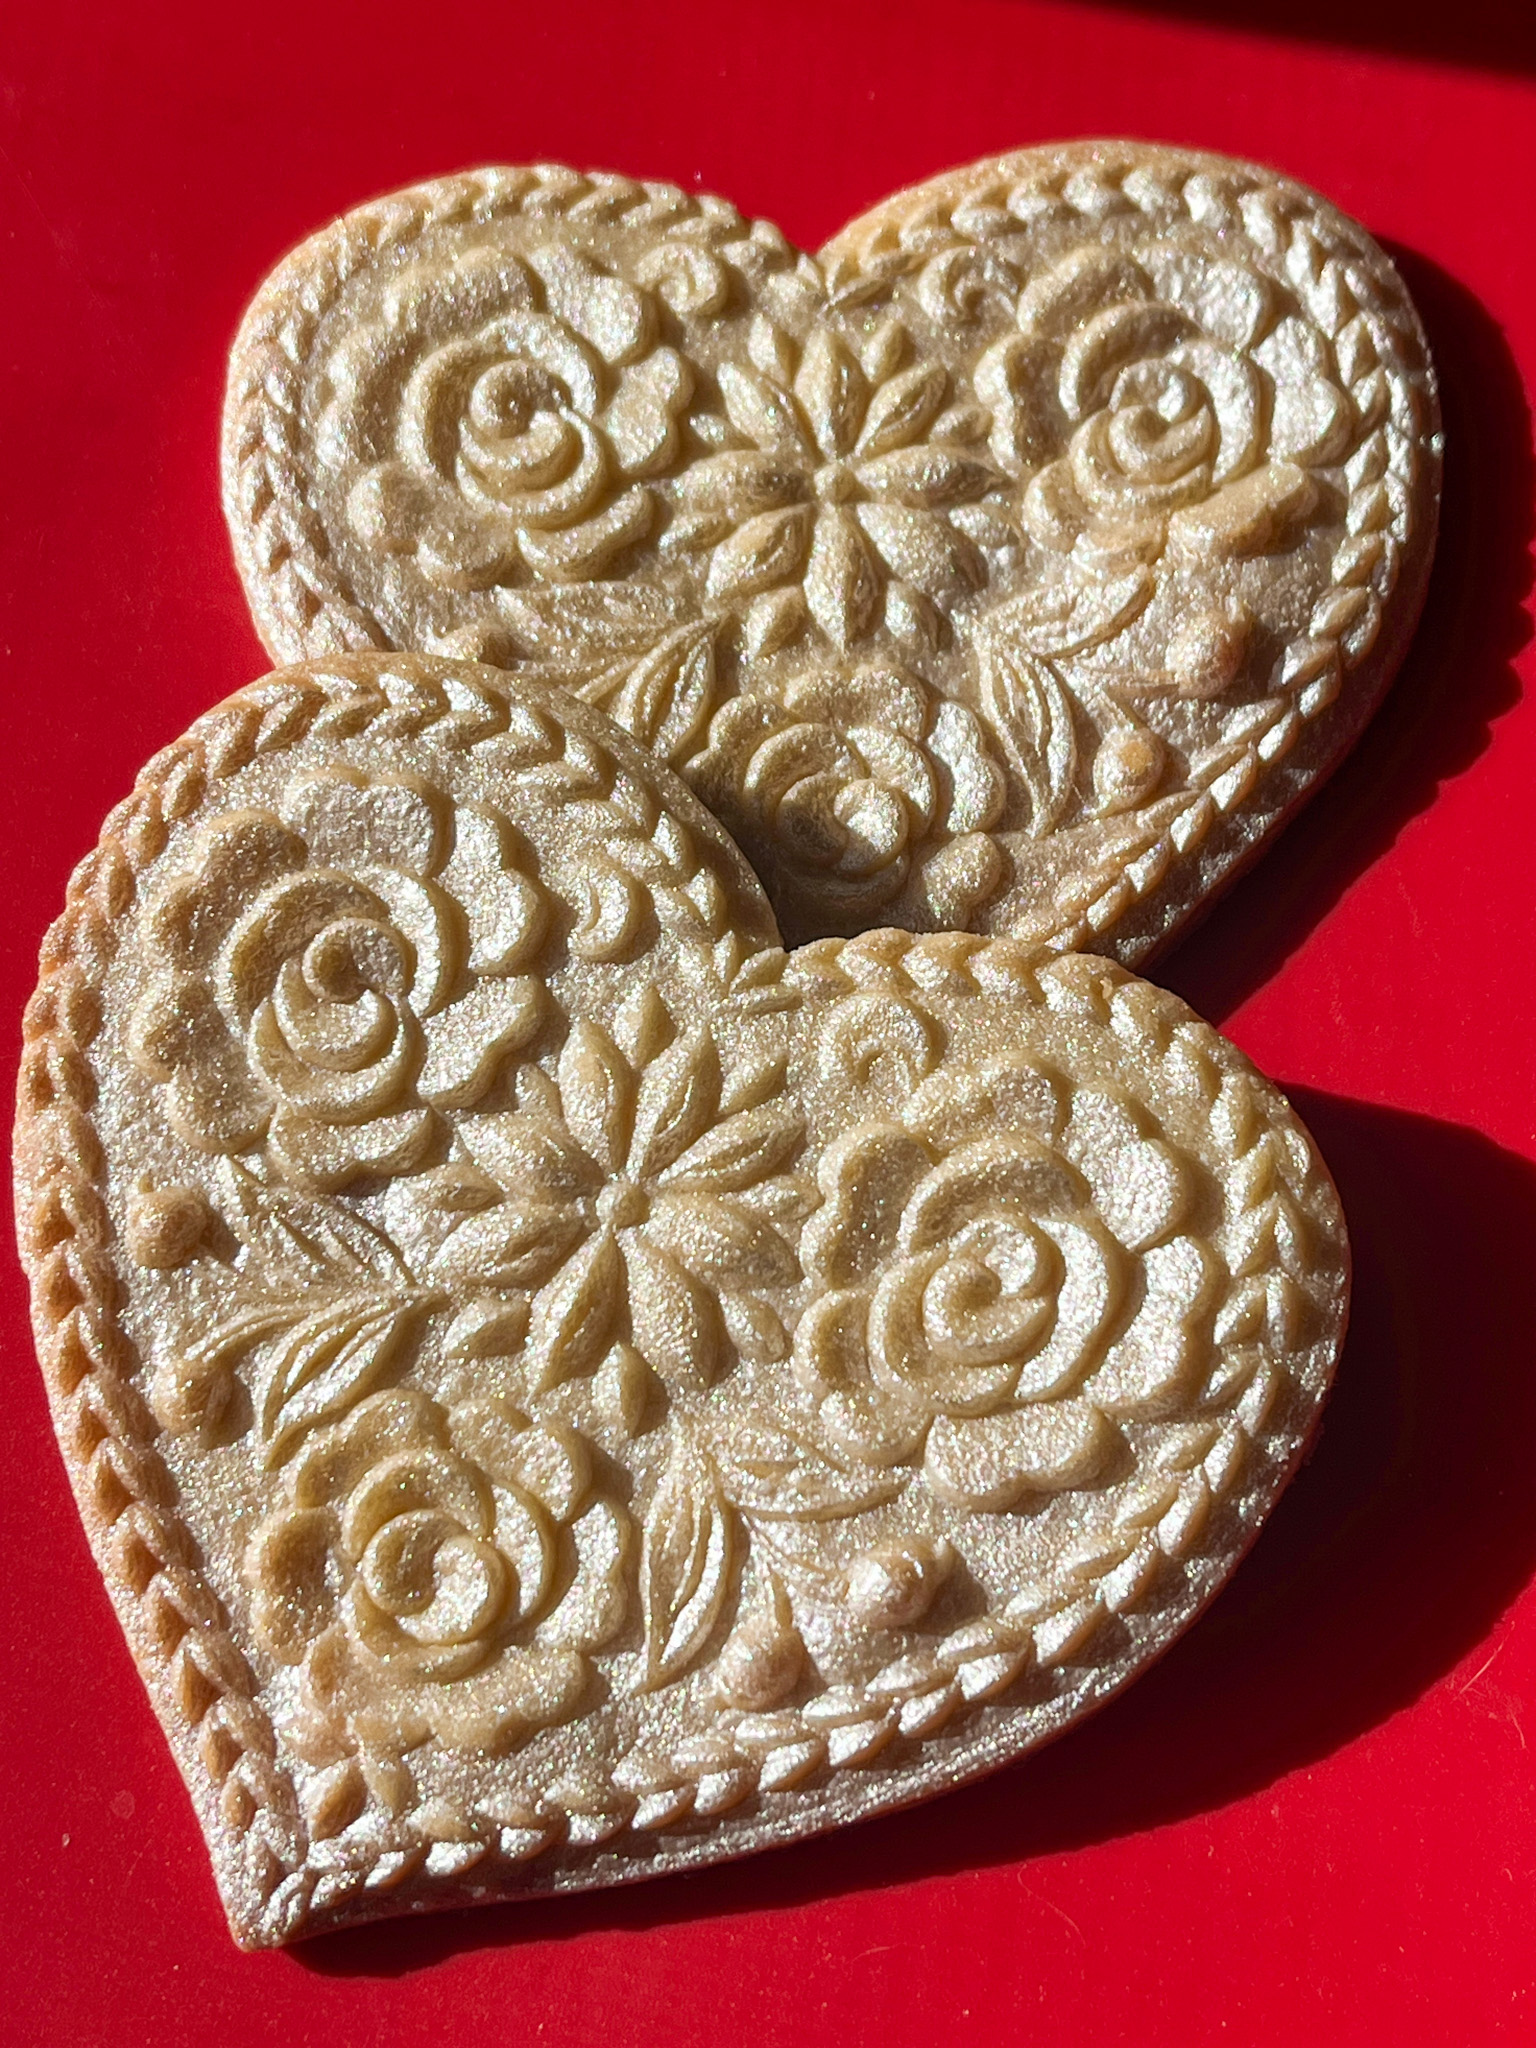
SPRINGERLE MOLDS
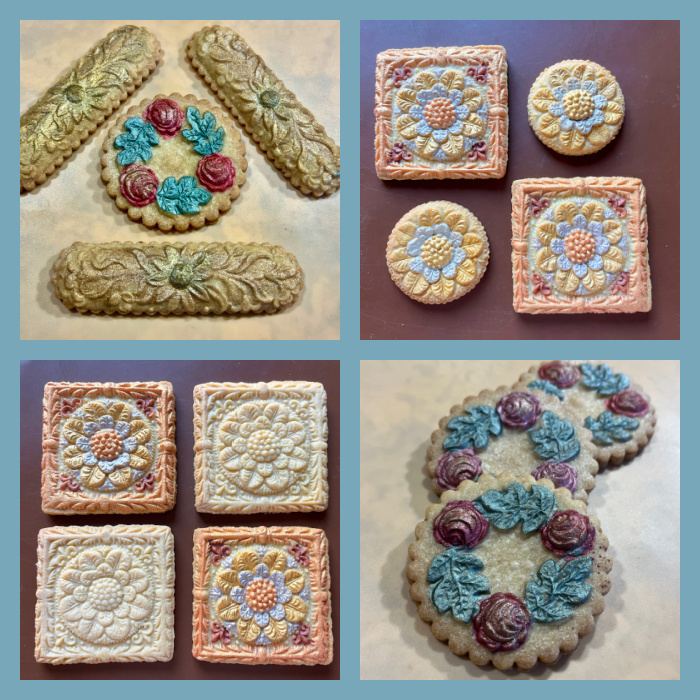
You can leave the cookie unpainted, or have some fun with colors. I do like luster powder for this type of decoration, it comes with a natural shine I adore. When I leave the cookies unpainted, I sometimes like to spray a little PME luster pearl, but that is totally optional.
.
.
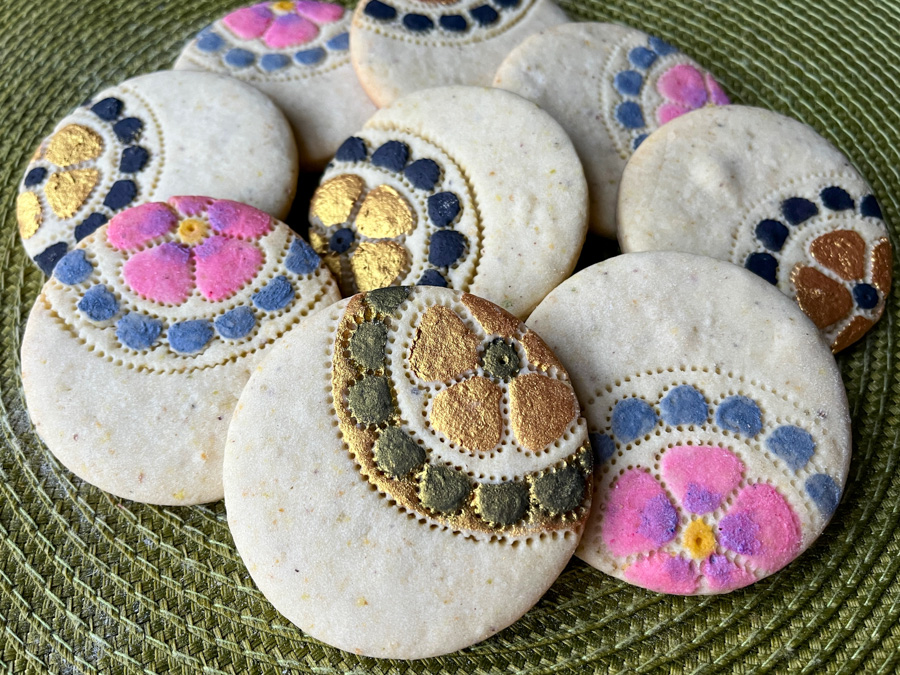
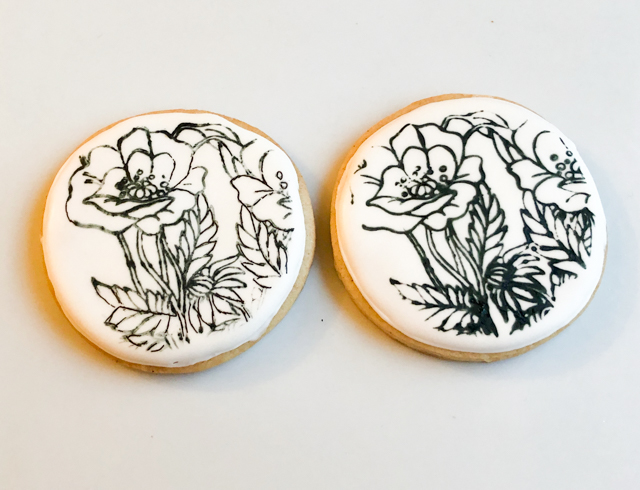
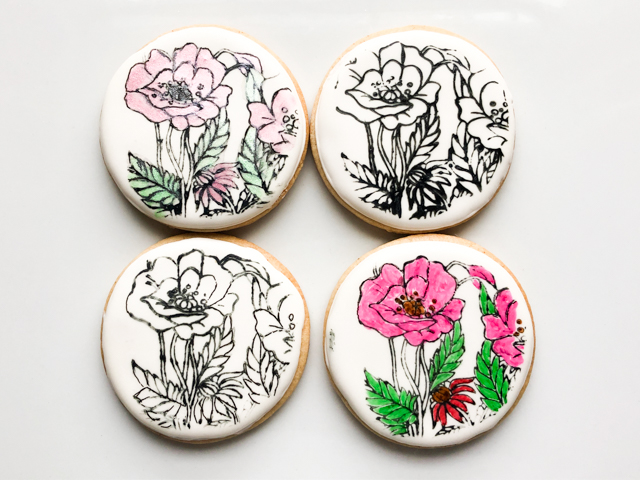
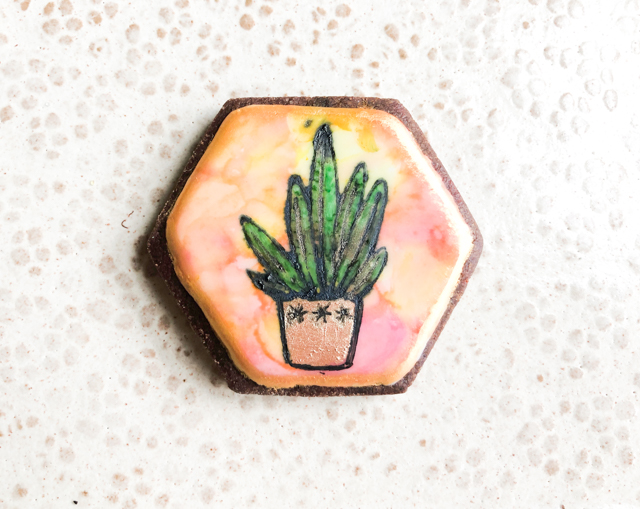
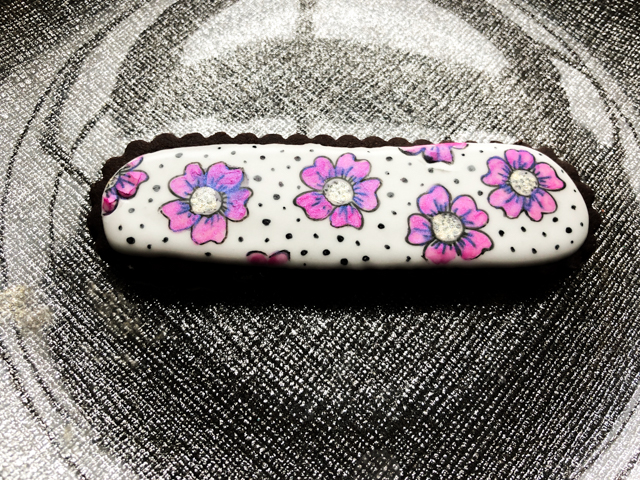
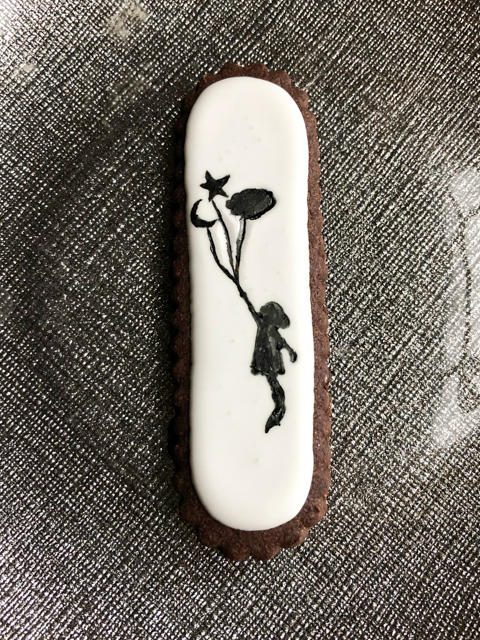
PAINTED COOKIES
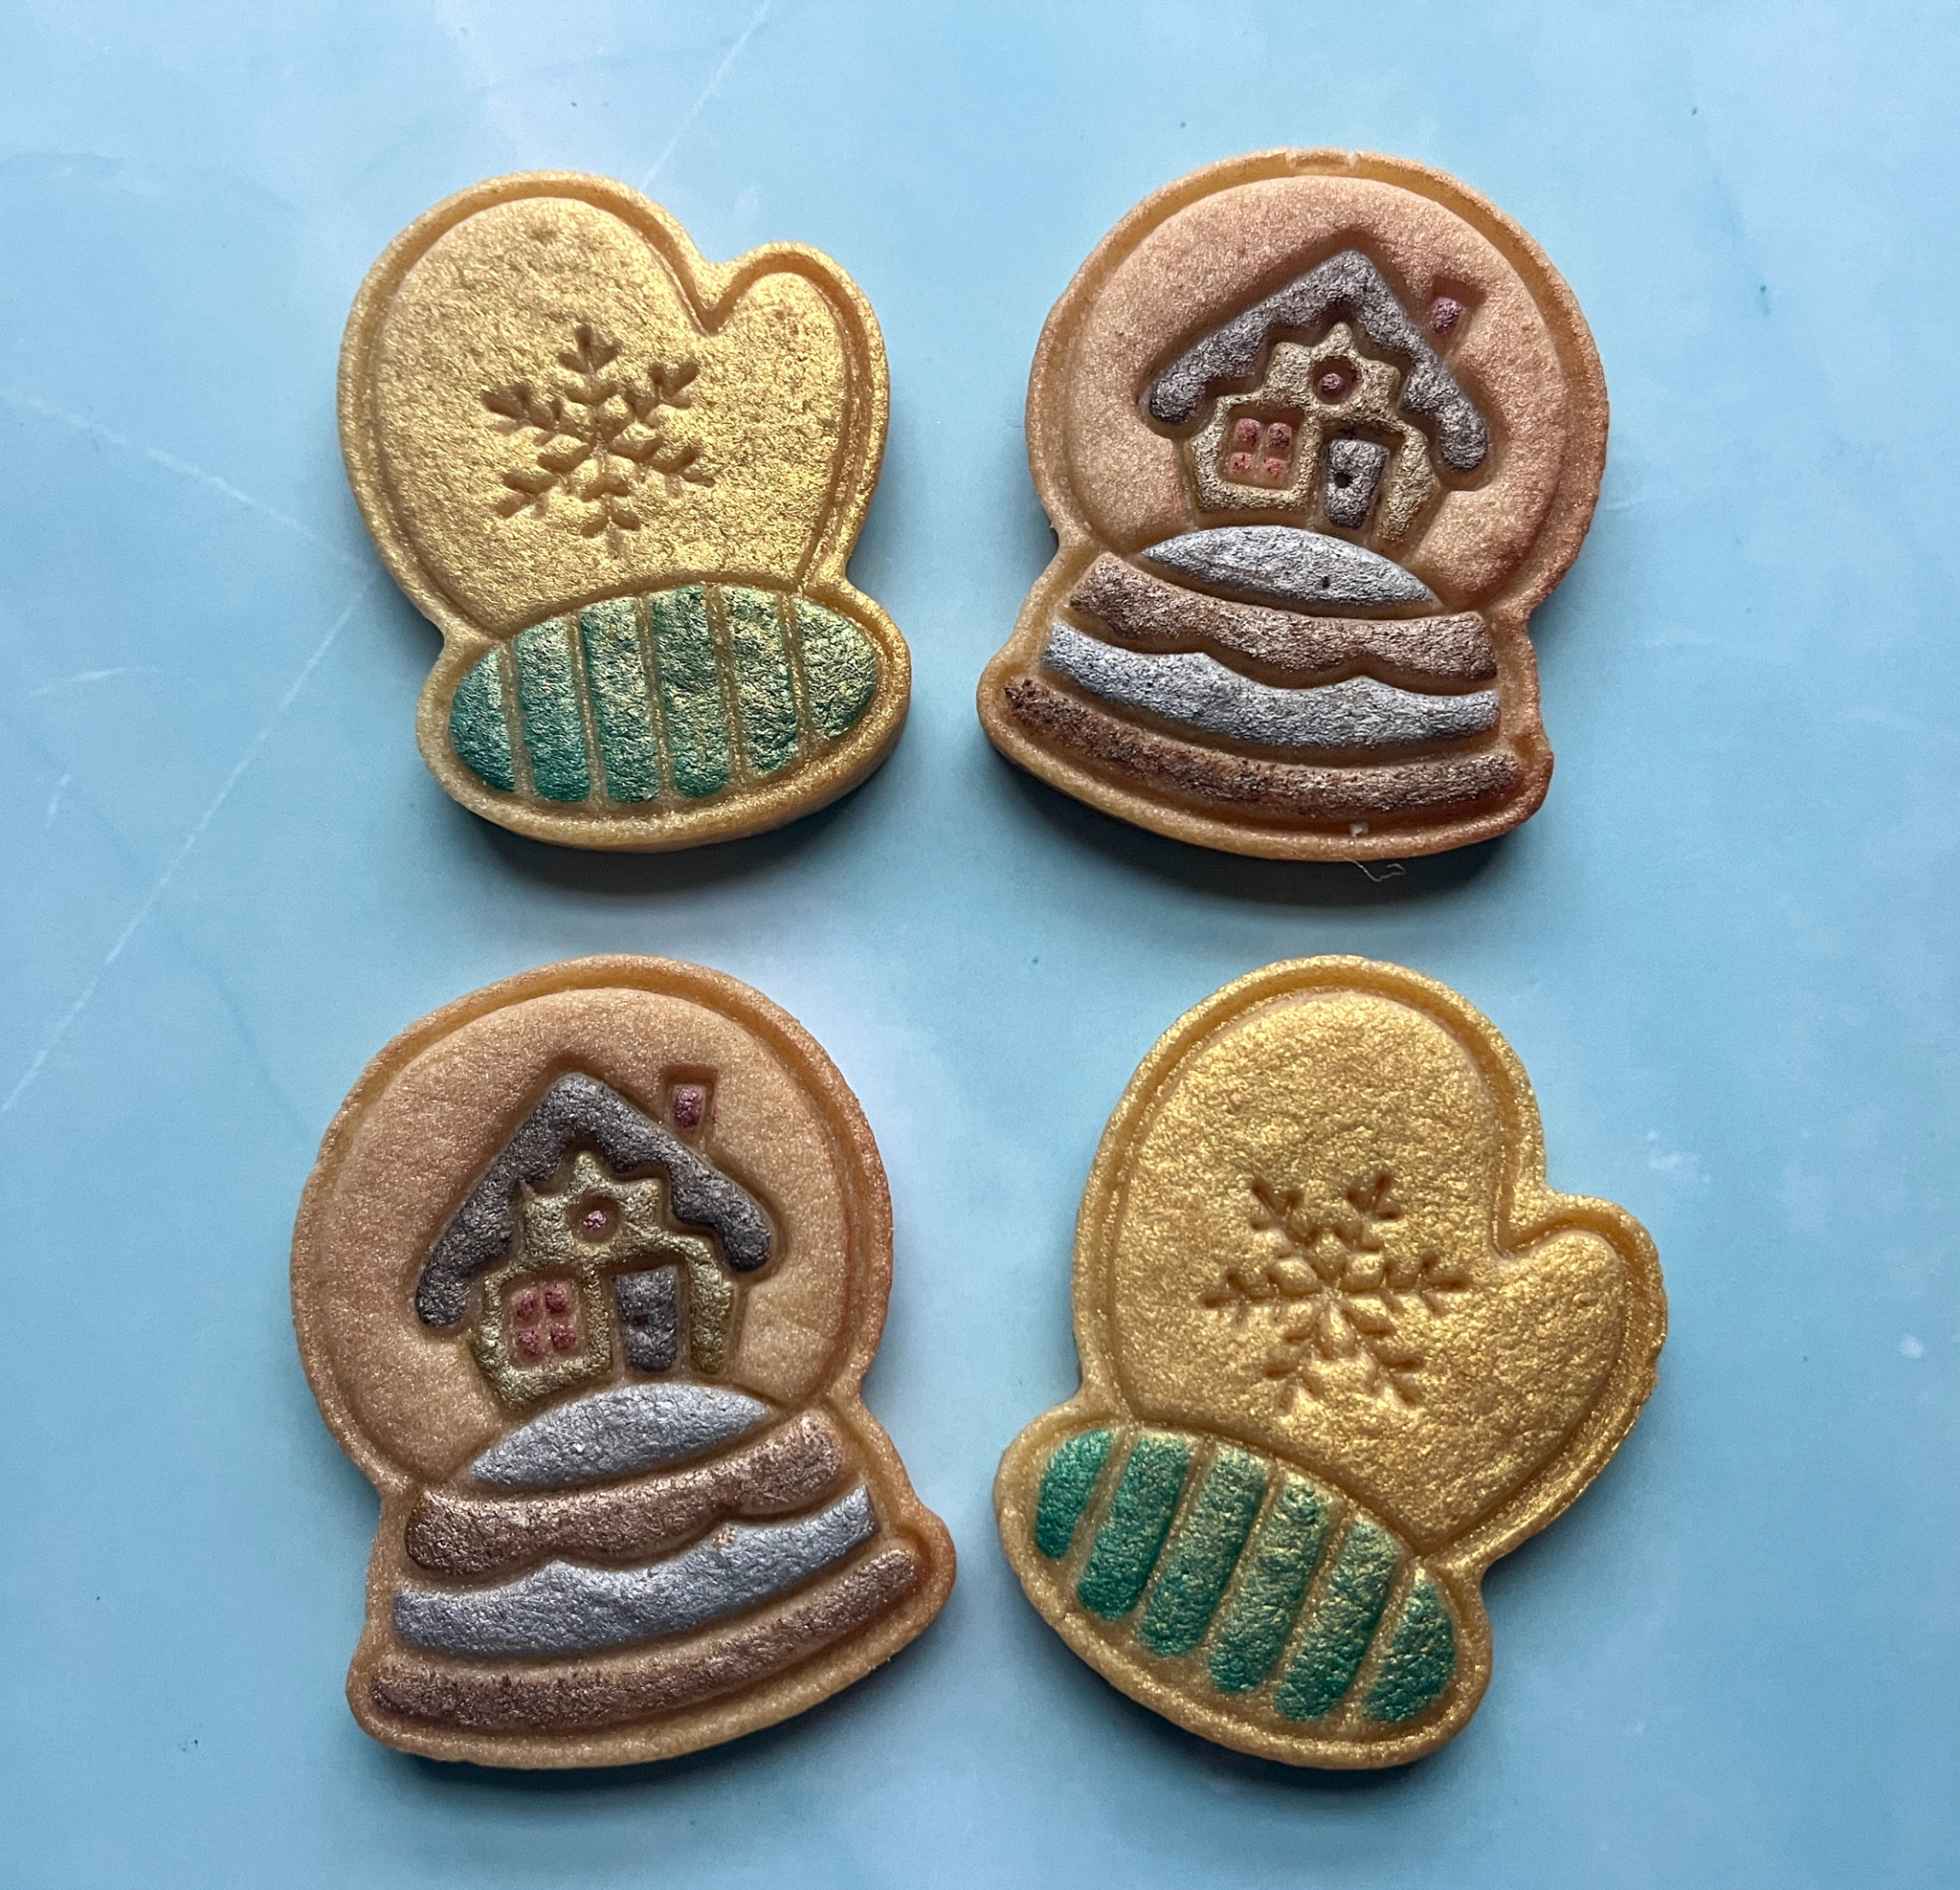
Those were tiny little cookies, baked, cooled, and painted with different colors of luster powder + vodka. Also pretty cute if left unpainted. But you know I find it hard to resist the call of color…
.
I hope you will give this recipe a try, and love it as much as I do.
ONE YEAR AGO: White Chicken, a Cantonese Classic
TWO YEARS AGO: Baking with the Heart
THREE YEARS AGO: Roasted Cauliflower with Chickpeas and Quinoa
FOUR YEARS AGO: A Savory Phyllo Pie
FIVE YEARS AGO: Nut-Free Lady Grey Macarons
SIX YEARS AGO: Mini-Heart Cakes for your Valentine
SEVEN YEARS AGO: Blue Moon Milk
EIGHT YEARS AGO: Slow-Cooked Chicken Meatballs
NINE YEARS AGO: Zesty Flourless Chocolate Cake
TEN YEARS AGO: Maple Pumpkin Pecan Snacking Cake
ELEVEN YEARS AGO: Silky Gingered Zucchini Soup
TWELVE YEARS AGO: Sweet Fifteen!
THIRTEEN YEARS AGO: Sesame and Flaxseed Sourdough
FOURTEEN YEARS AGO: Green Beans with Miso and Almonds
FIFTEEN YEARS AGO: Saturday Morning Scones
SIXTEEN YEARS AGO: White Bread