BAKING WITH THE HEART

This is the time to focus on everything we are grateful for.
Cook with love, bake with love. Share. Repeat.

DRAGON FLOWER SOURDOUGH LOVE
(from The Bewitching Kitchen)

STENCIL from Sourdough Fever, available HERE

480g bread flour
20g spelt flour
16g dragon flower powder
10g salt
350g water
75g sourdough starter (70-100% hydration)

Make the levain mixture about 6 hours before you plan to mix the dough. It should be very bubbly and active.

When you are ready to make the final dough, place the water in the bowl of a KitchenAid type mixer and dissolve the starter in it, mixing with a spatula briefly, then add the two types of flour, the Dragon flower powder and the salt. Turn the mixer on with the hook attachment and knead the dough for 4 minutes at low-speed all the time. If the dough is too sticky, add a maximum of 1/4 cup flour, you want the dough to start clearing the sides of the bowl, but still be sticky at the bottom.


Remove from the machine. Get a small piece of dough and place in a little glass container to follow fermentation (optional, but highly recommended). Transfer the dough to a container lightly coated with oil, cover lightly with plastic wrap and allow it to ferment for 2 hours, folding every 30 minutes or so. After the fourth folding cycle, let the dough sit at room temperature until doubled in size, following the progress in the small amount of dough removed.

Shape the dough as a ball, and place, seam side up, in a lightly floured banetton. Place in the fridge overnight, from 8 to 12 hours or even longer, if you prefer.

Next morning, heat the oven to 450F. Invert the dough over parchment paper, carefully place the stencil on top, and dust with flour. Make sure to rub the flour well into the design, a small brush is helpful. Lift the stencil and place the dough in a Dutch oven.

Bake at 450F for 45 minutes, preferably covered for the first 30 minutes to retain steam. Cool completely over a rack before slicing.

ENJOY!

to print the recipe, click here


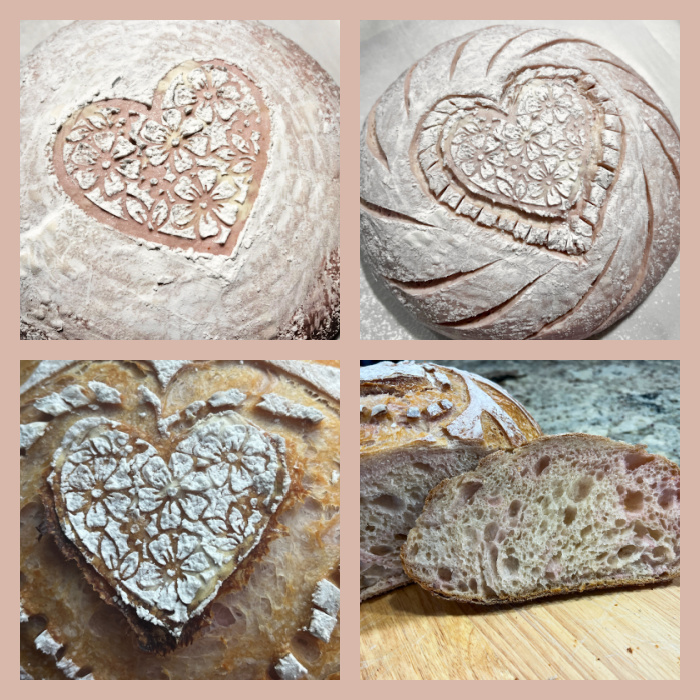
Comments: This is actually my second loaf with the Dragon flower powder, the first one was beautifully pink inside, but this turned out marbled and light. Cannot quite figure it out, it was the same exact formula and method. Oh, well. Still absolutely delicious, no change in flavor, maybe the crumb has slightly more moisture, the bread is a bit more tender than a sourdough without the powder.
.

Moving on, I share a series of cookies that center on a message of love….


Royal icing lavender base; details in piping consistency white. Fondant rose detail.

.


Scalloped edge heart cookie. Iced in two tones of Dusty Rose. Details in piping consistency gray.

.


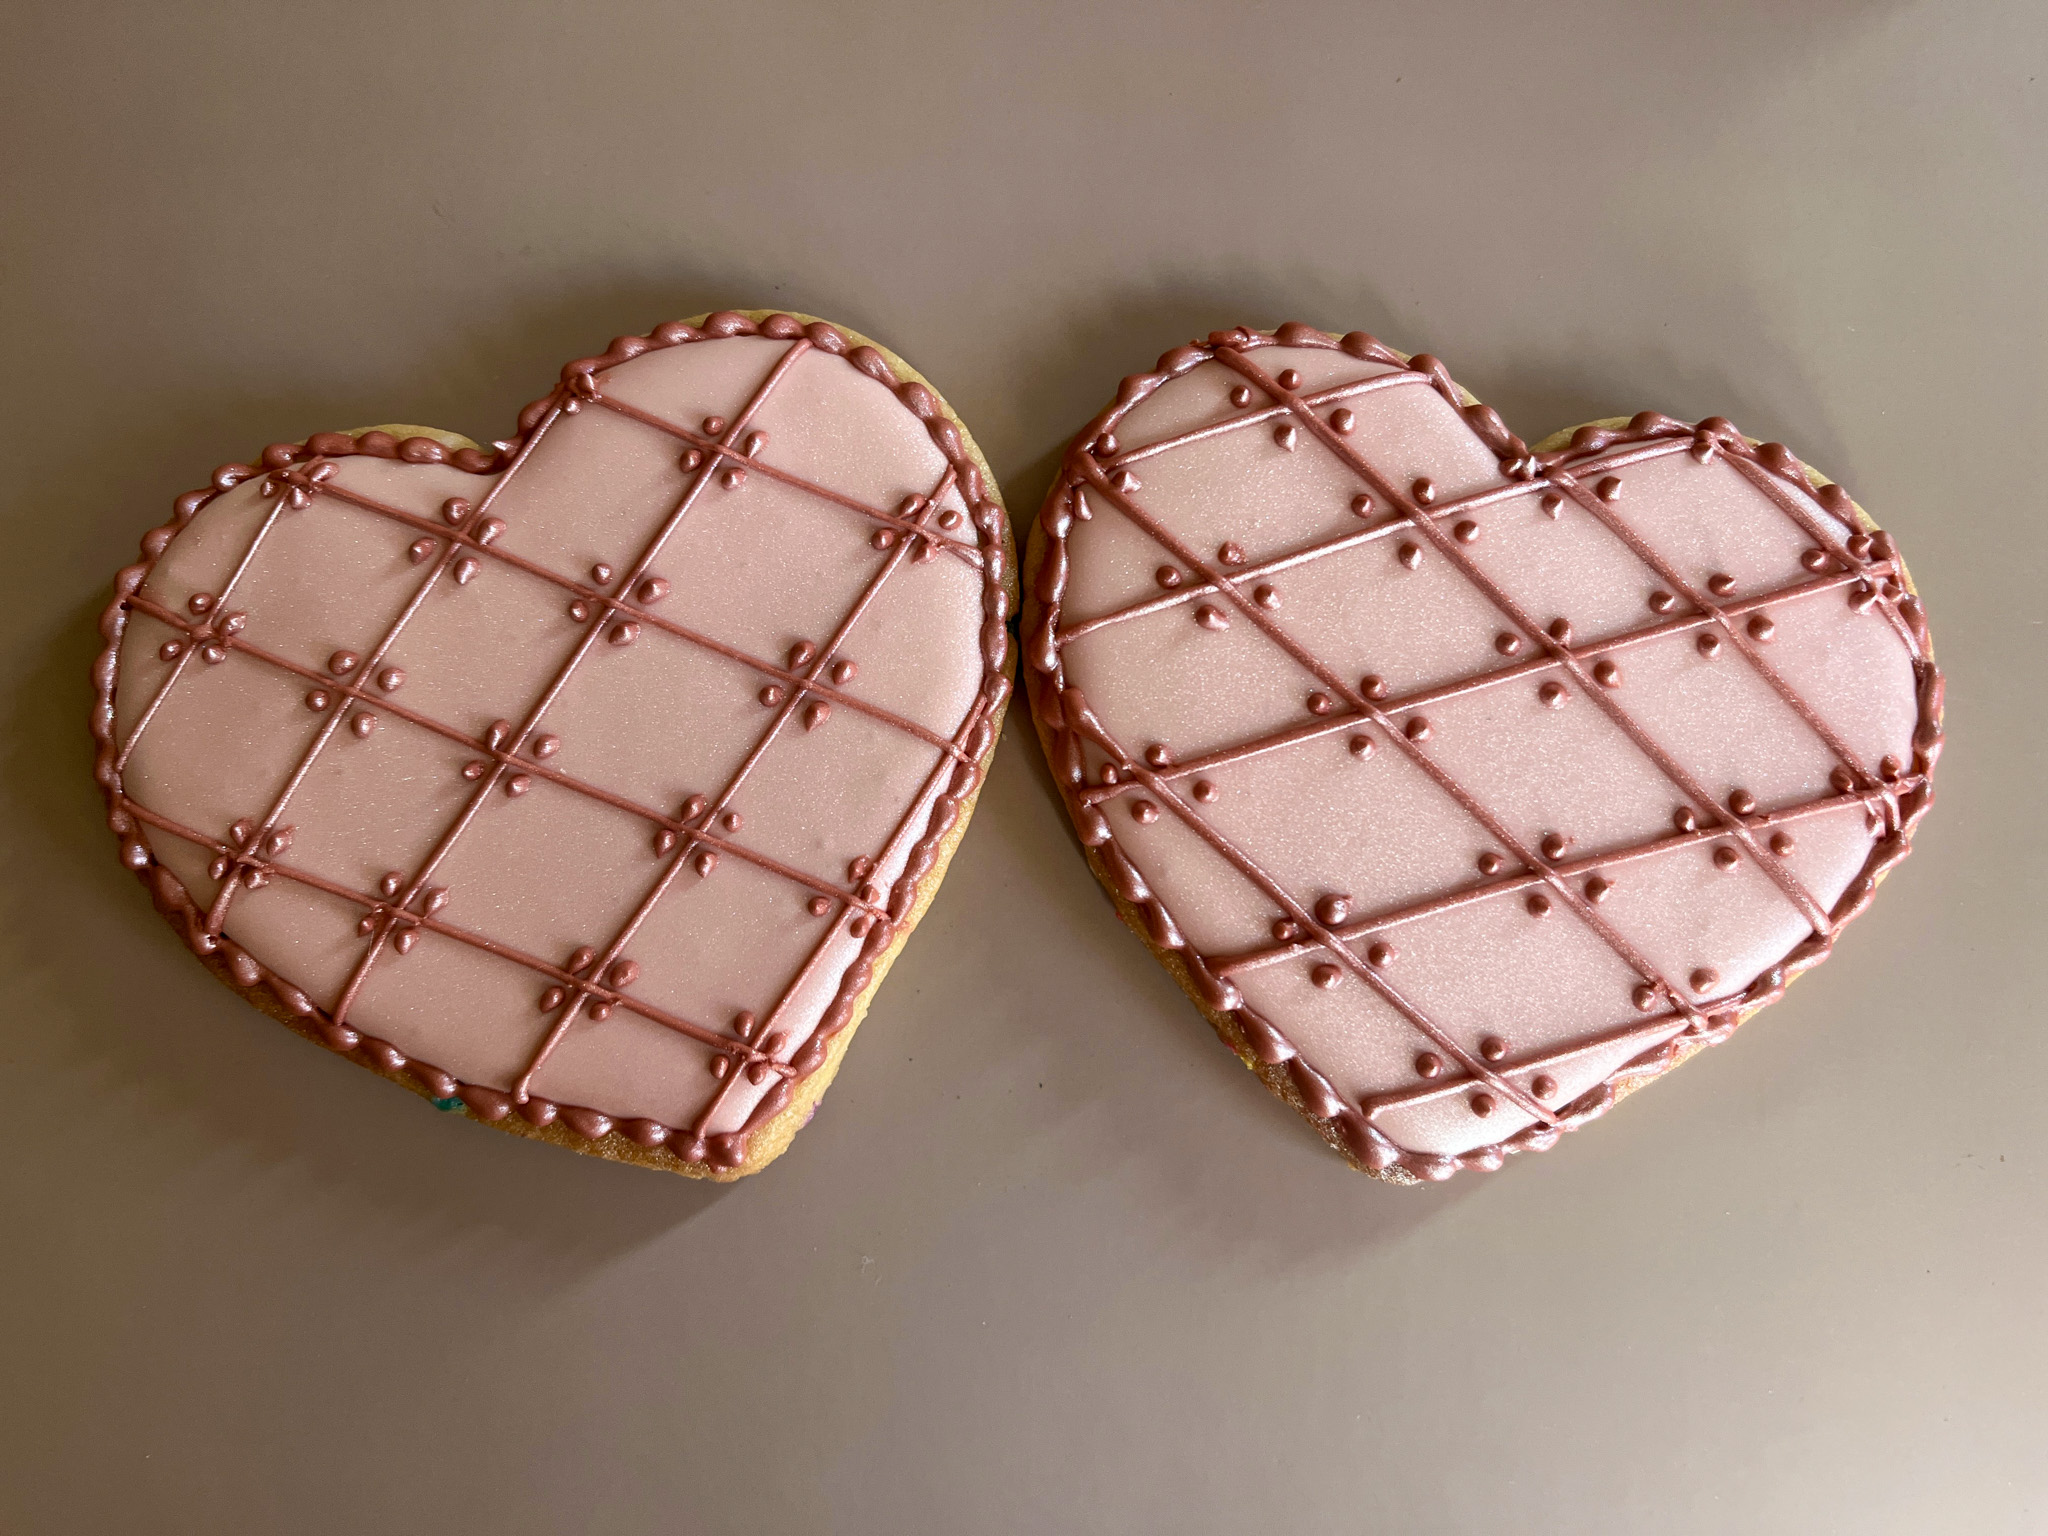
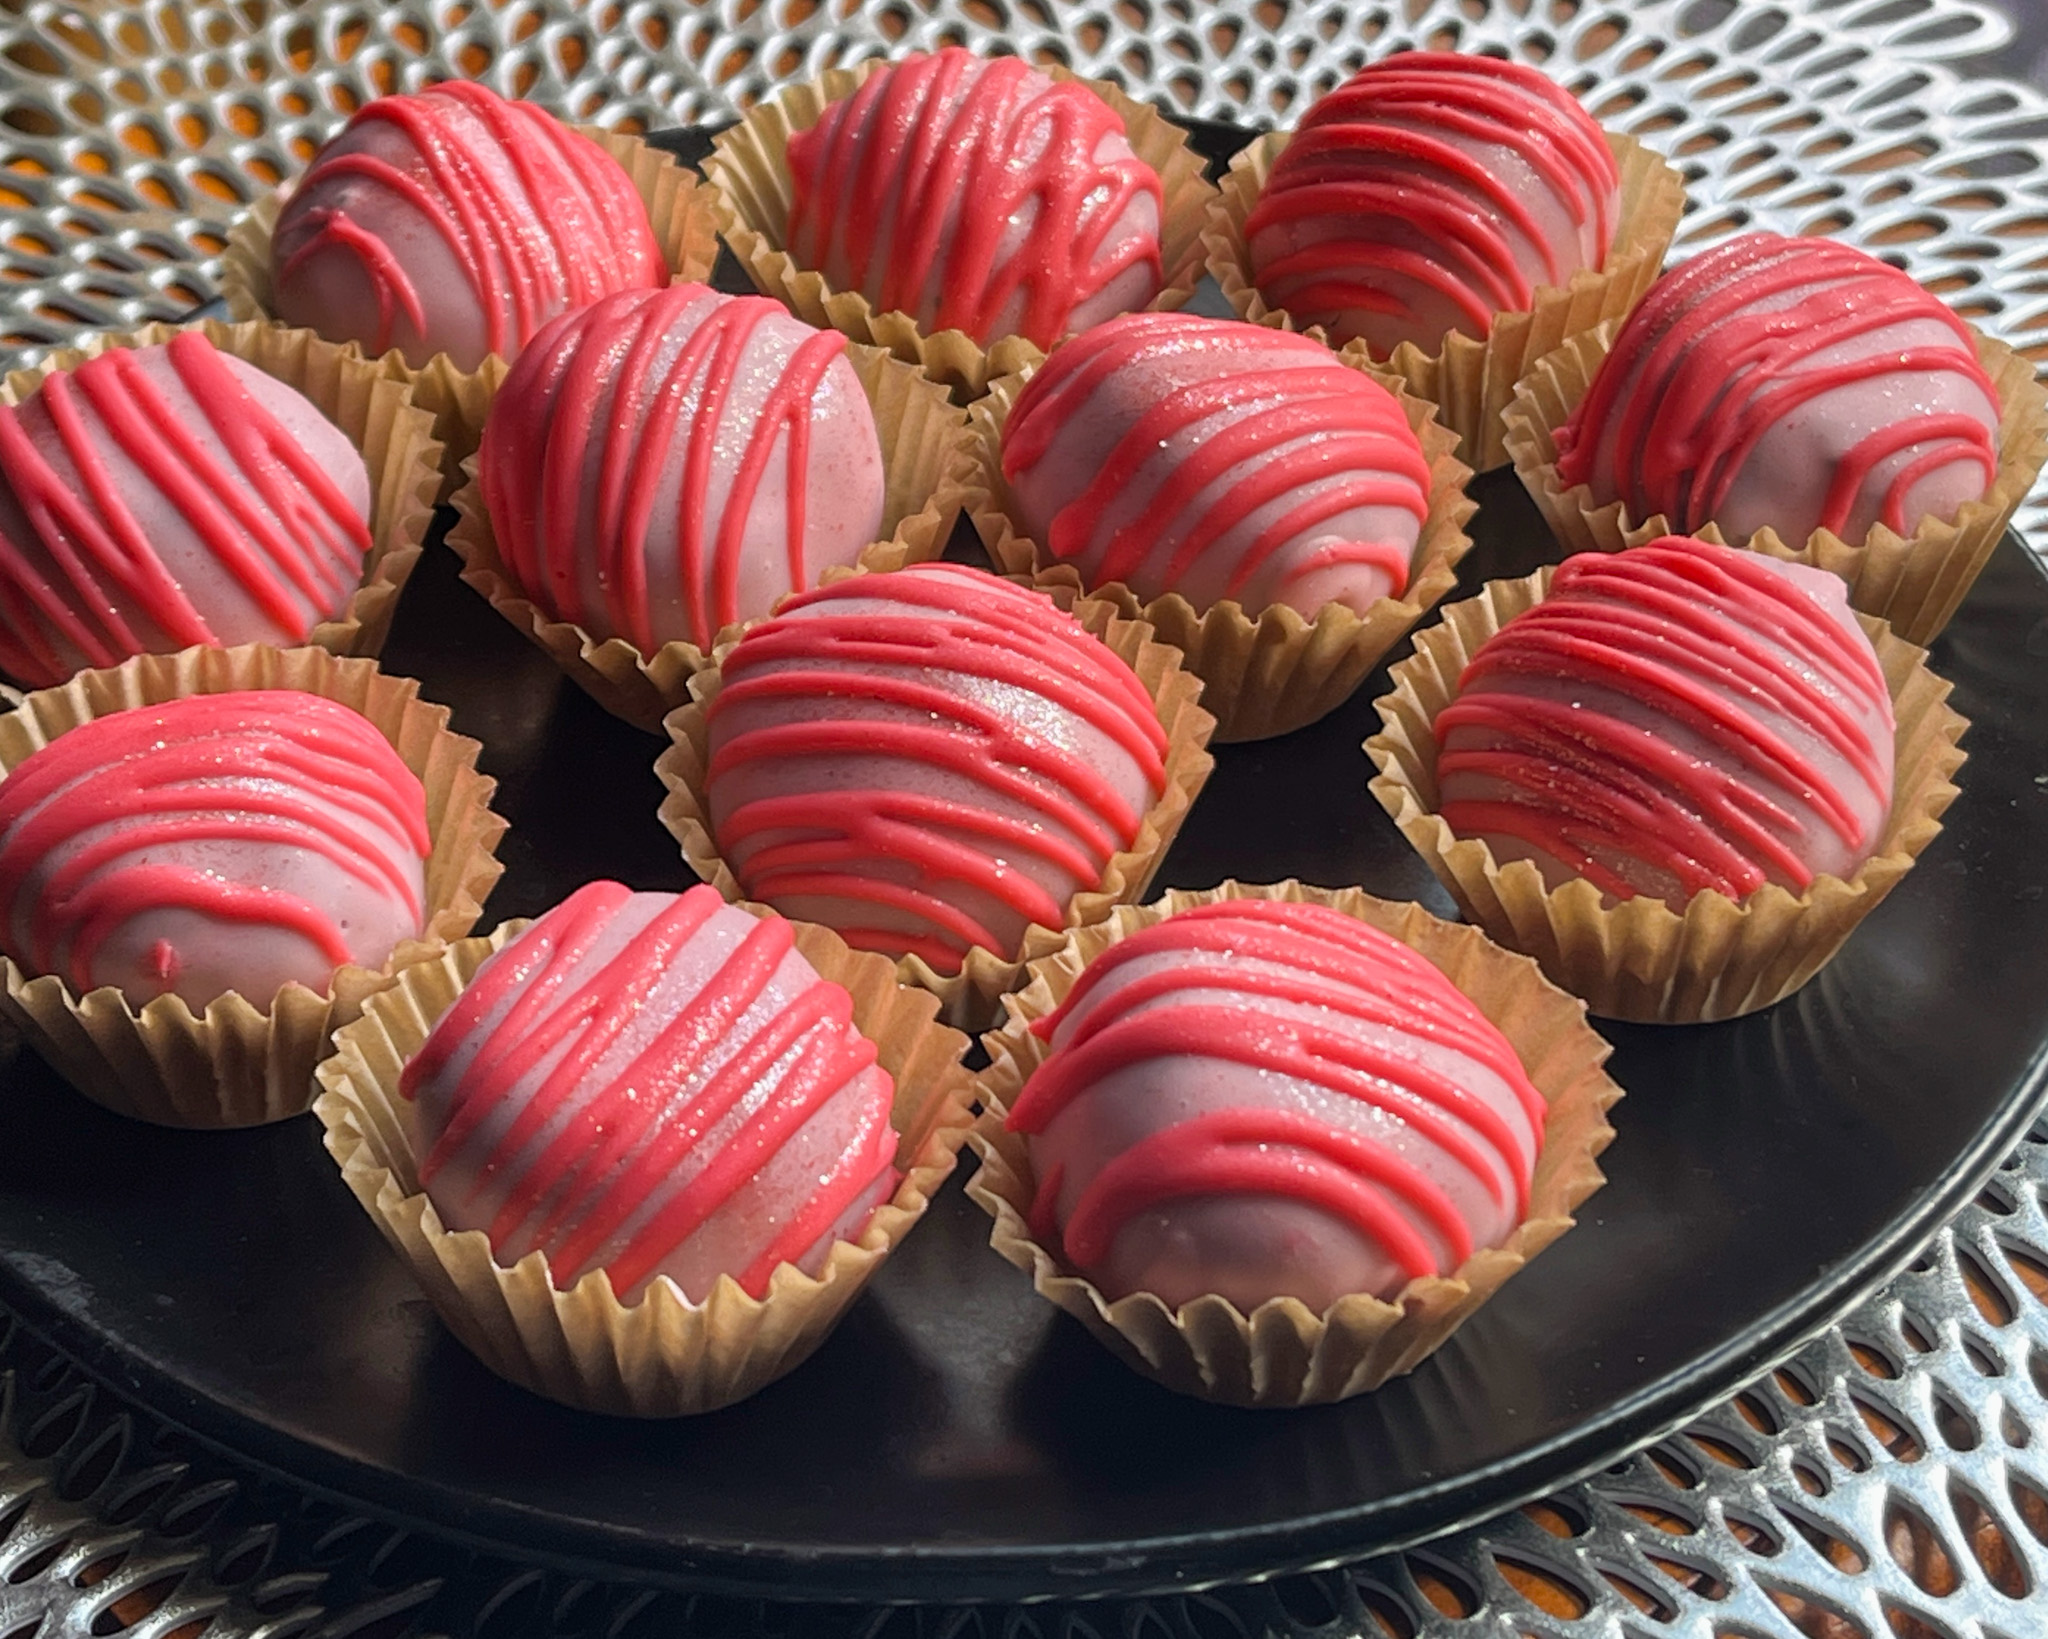
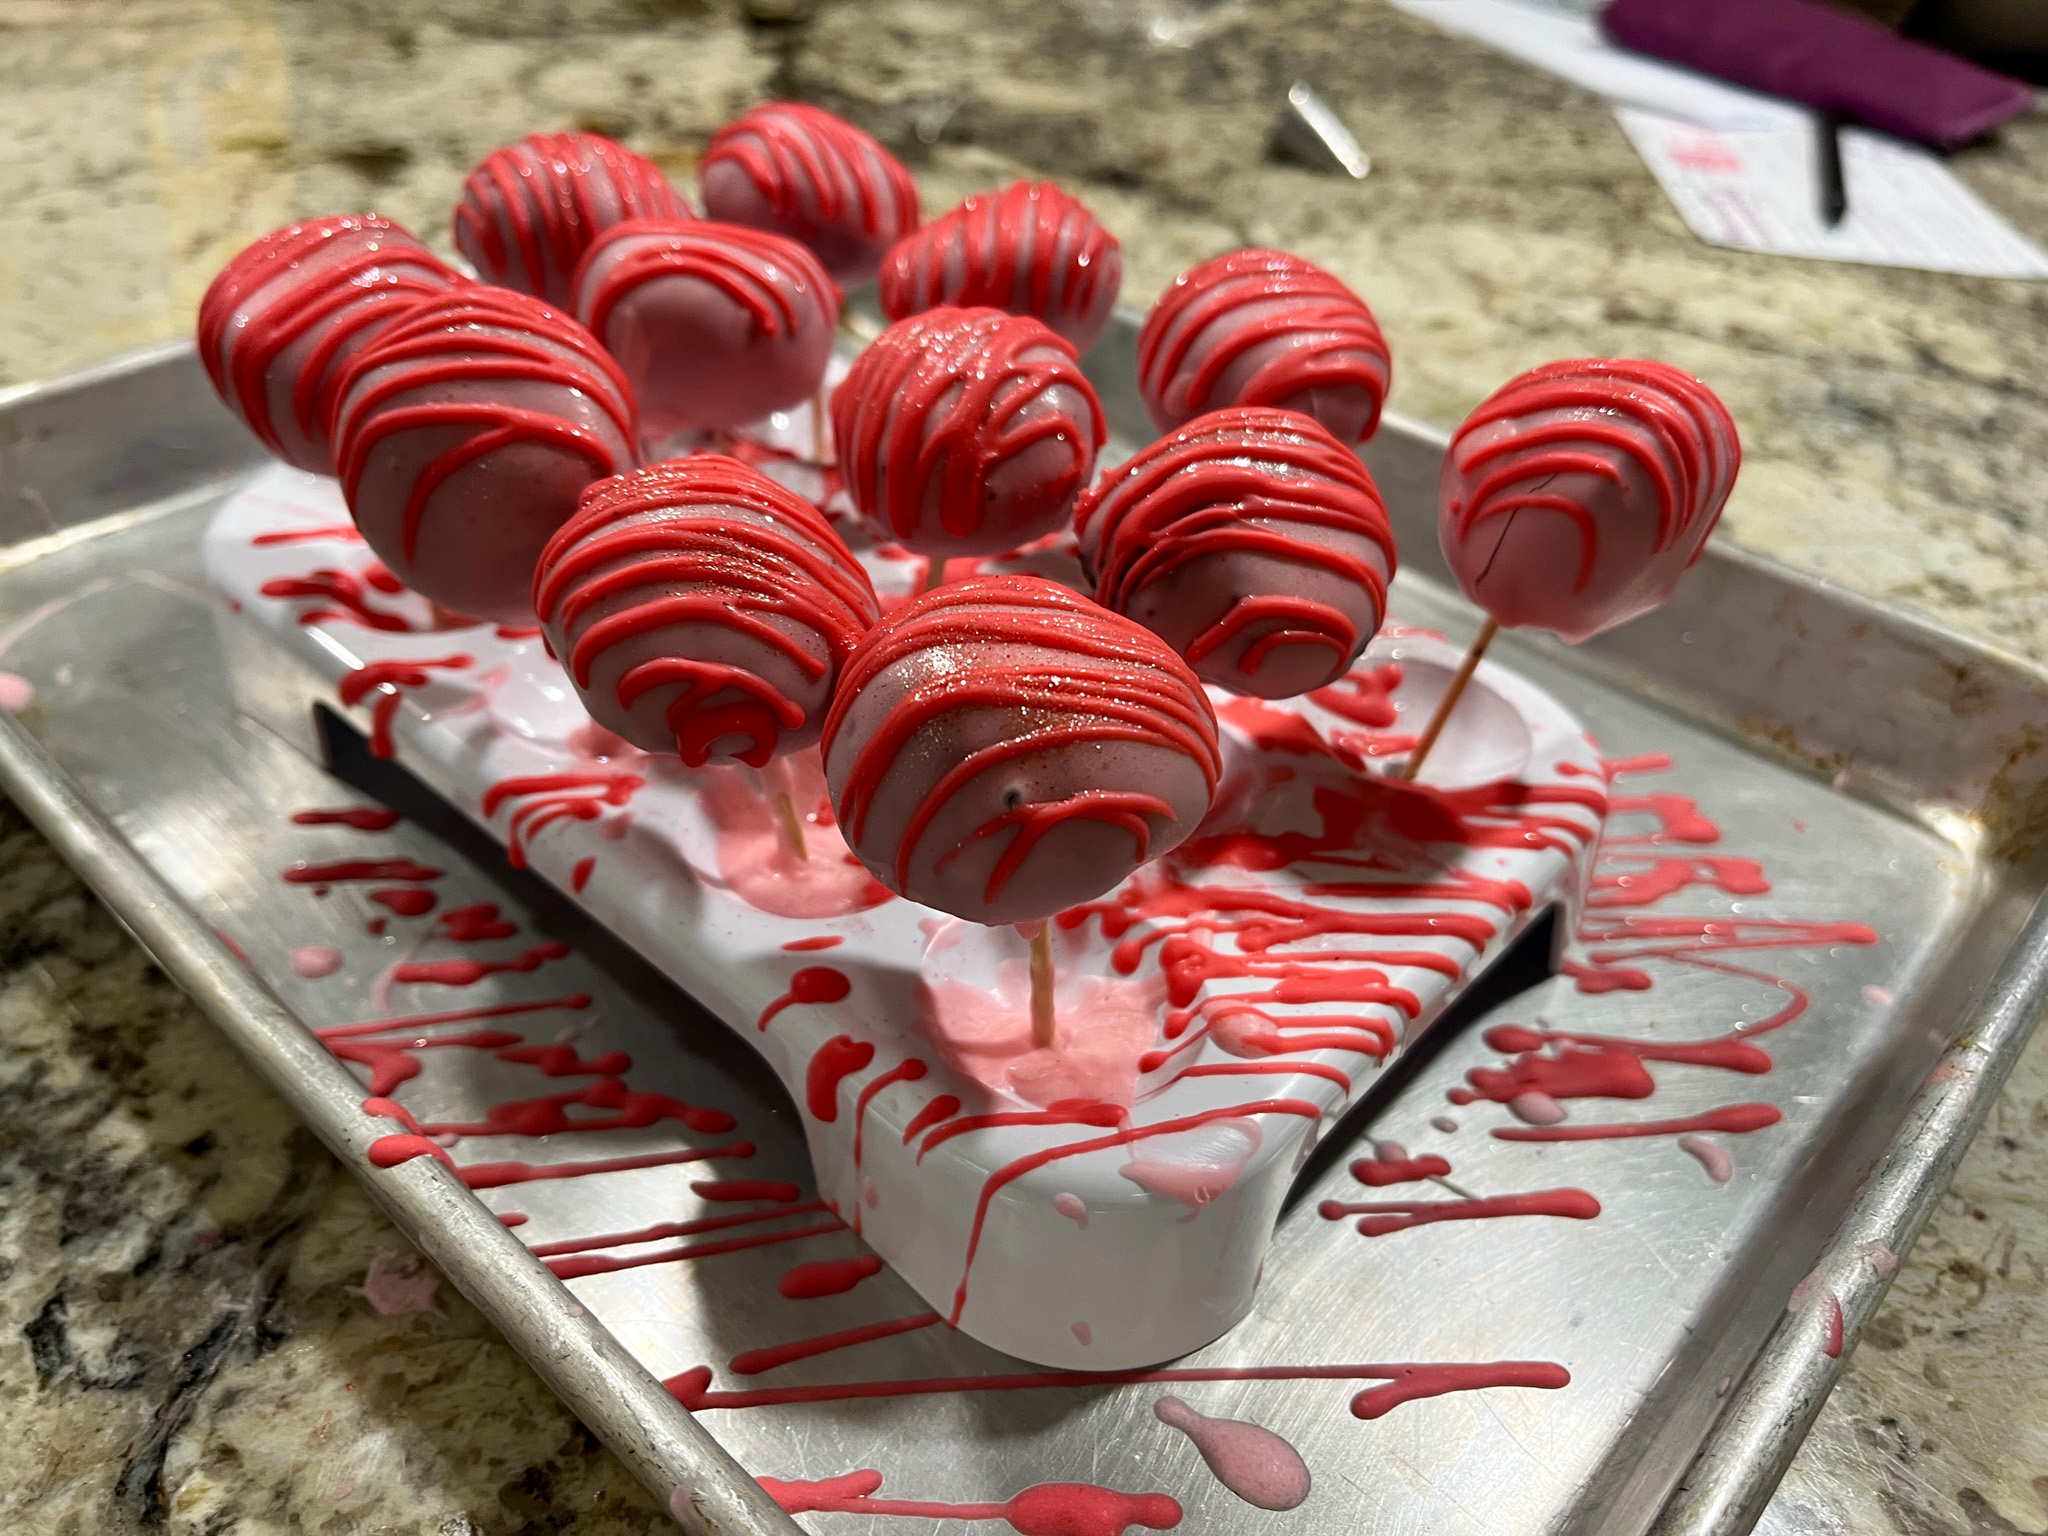
Dusty Rose for the base icing. Details in dark Dusty Rose, piping consistency, same for bead border.

.


Inspired by a little reel I saw on Facebook. Shape cut by hand. Iced in two stages, wet on wet details, and piping consistency dark Dusty Rose. Fondant for the detail at the bottom.

.


Two-toned heart. Once again using Dusty Rose as the main color. Details piped in white. White pearls for bling.

.

.


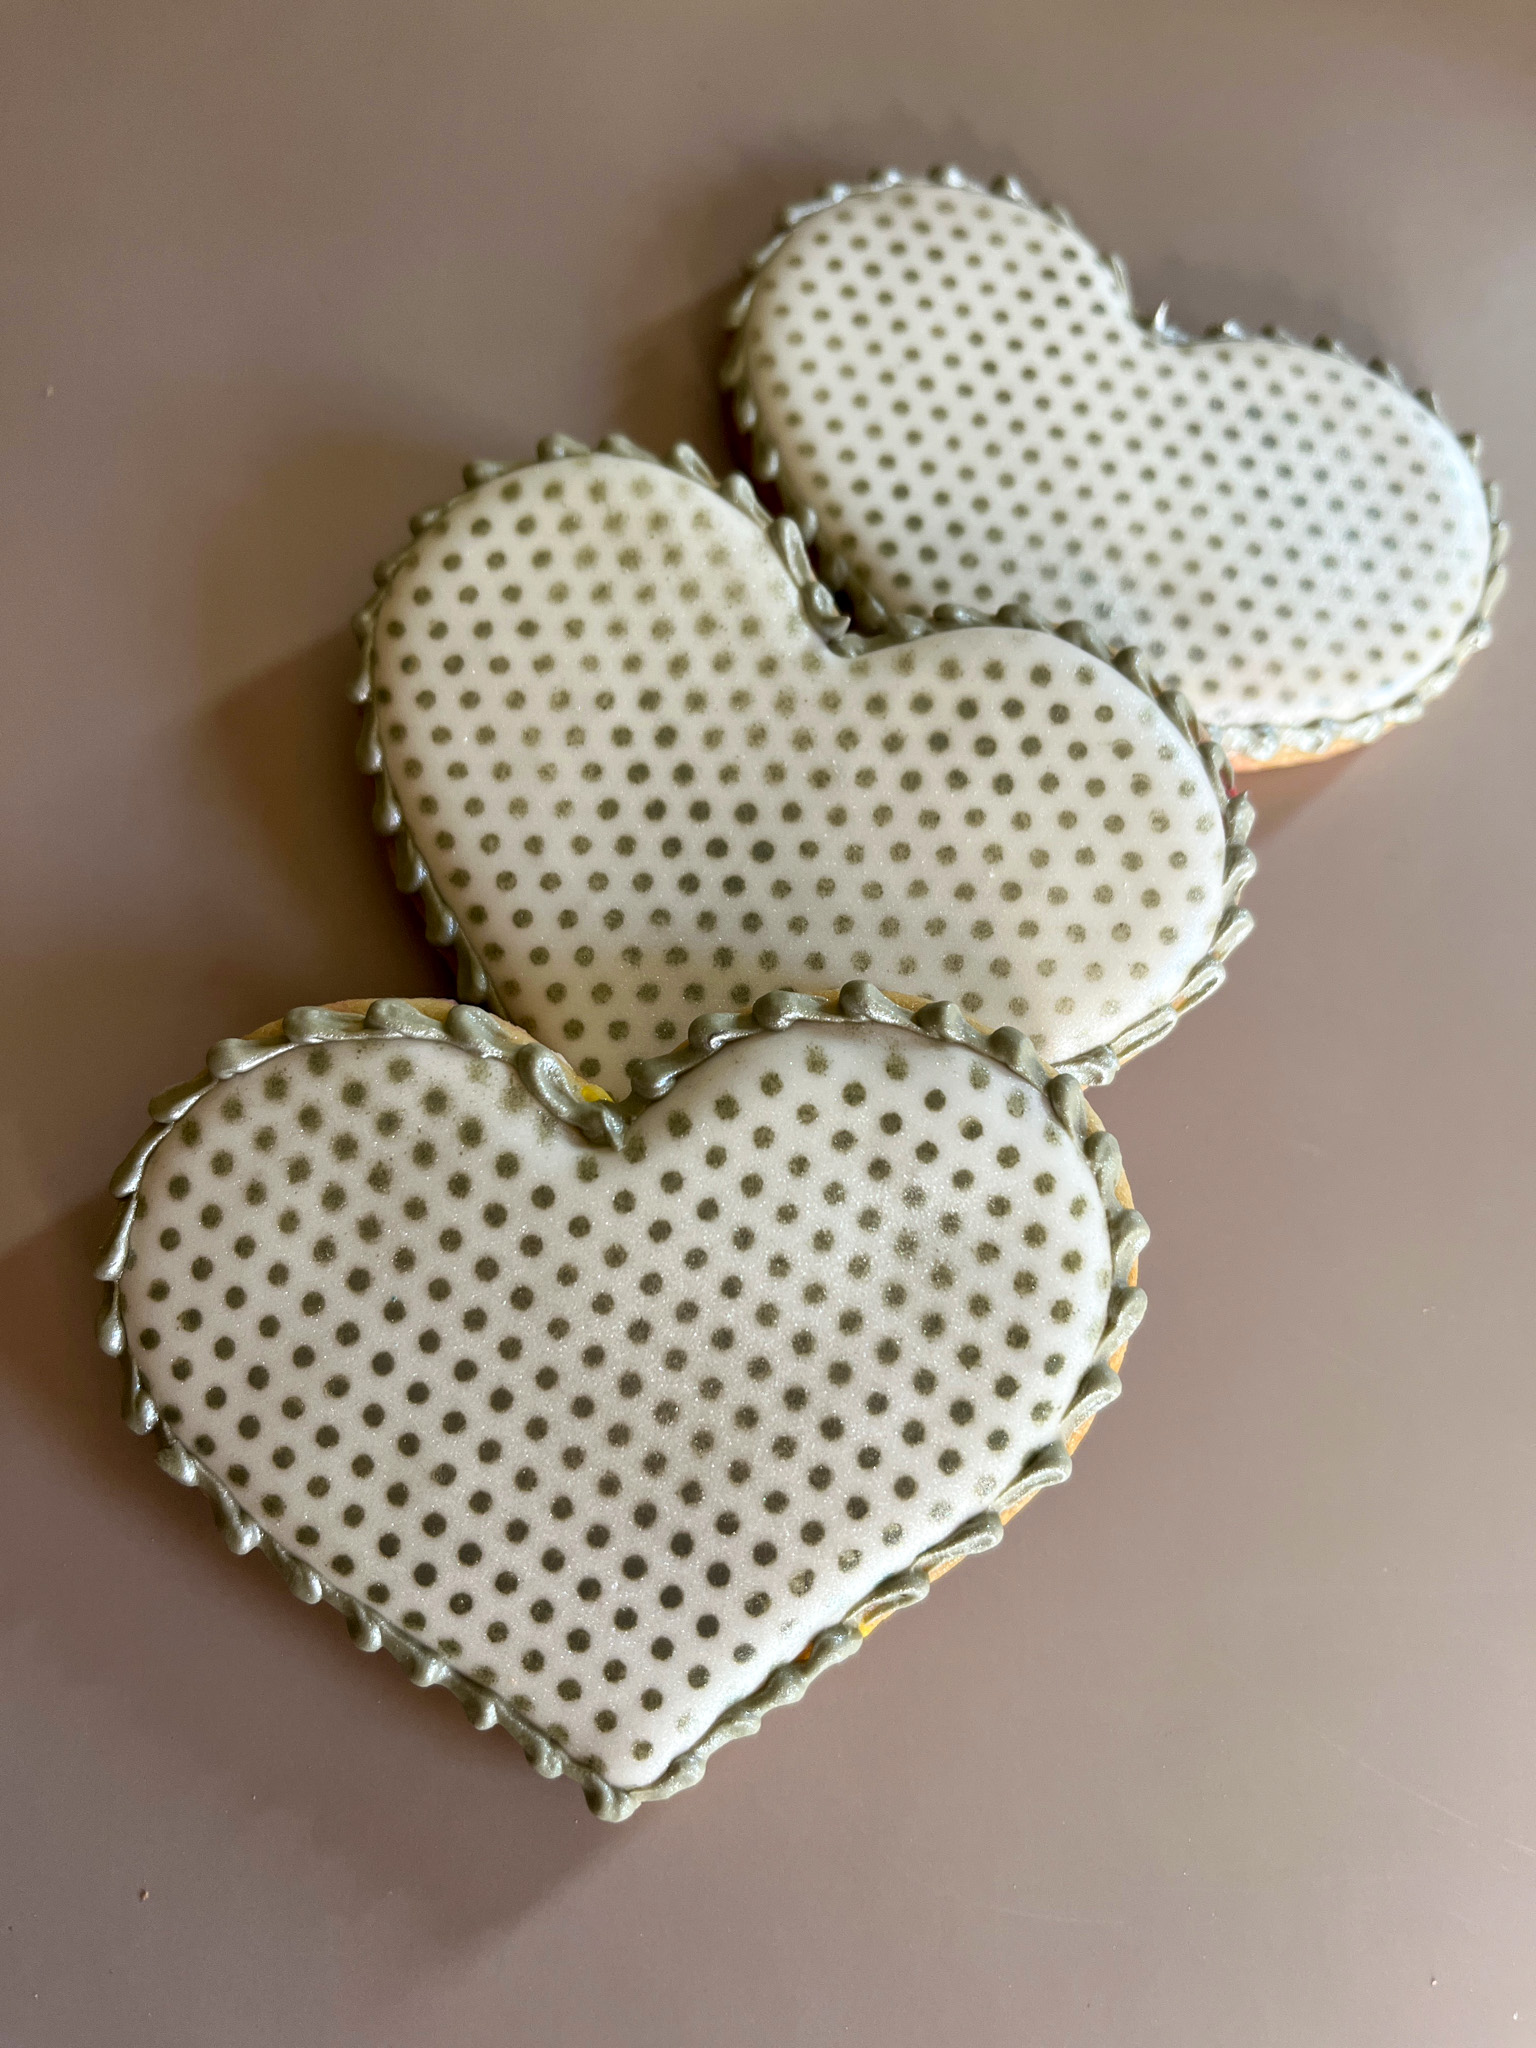
Stencil + Air-brushing over cookies iced with pure white.

.


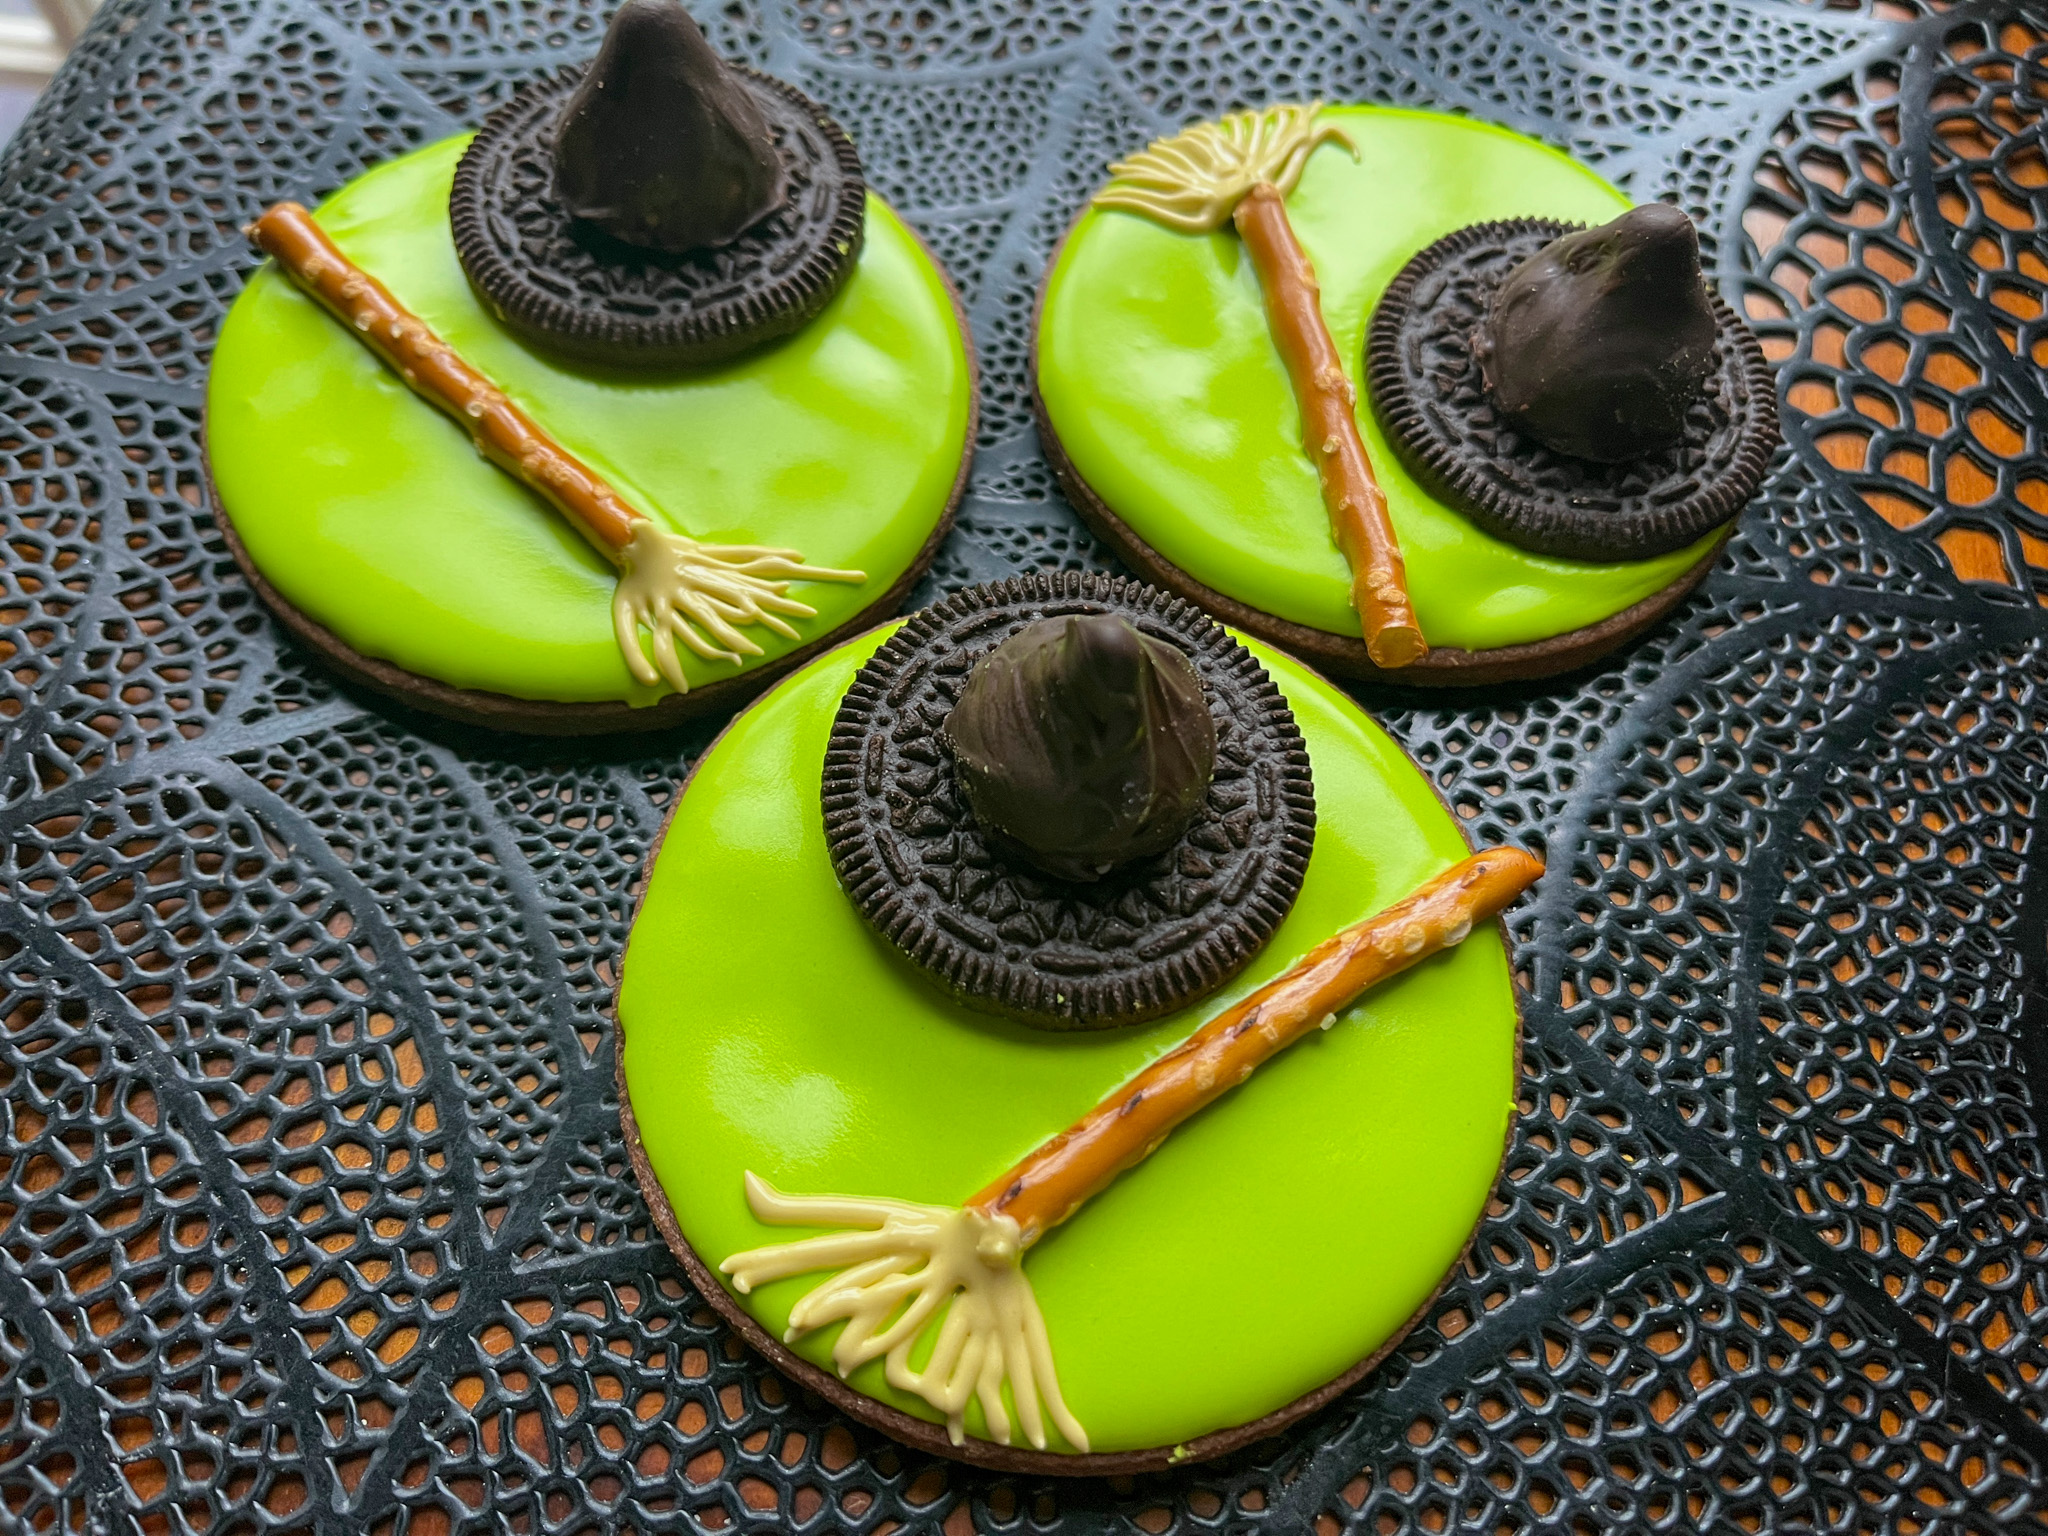
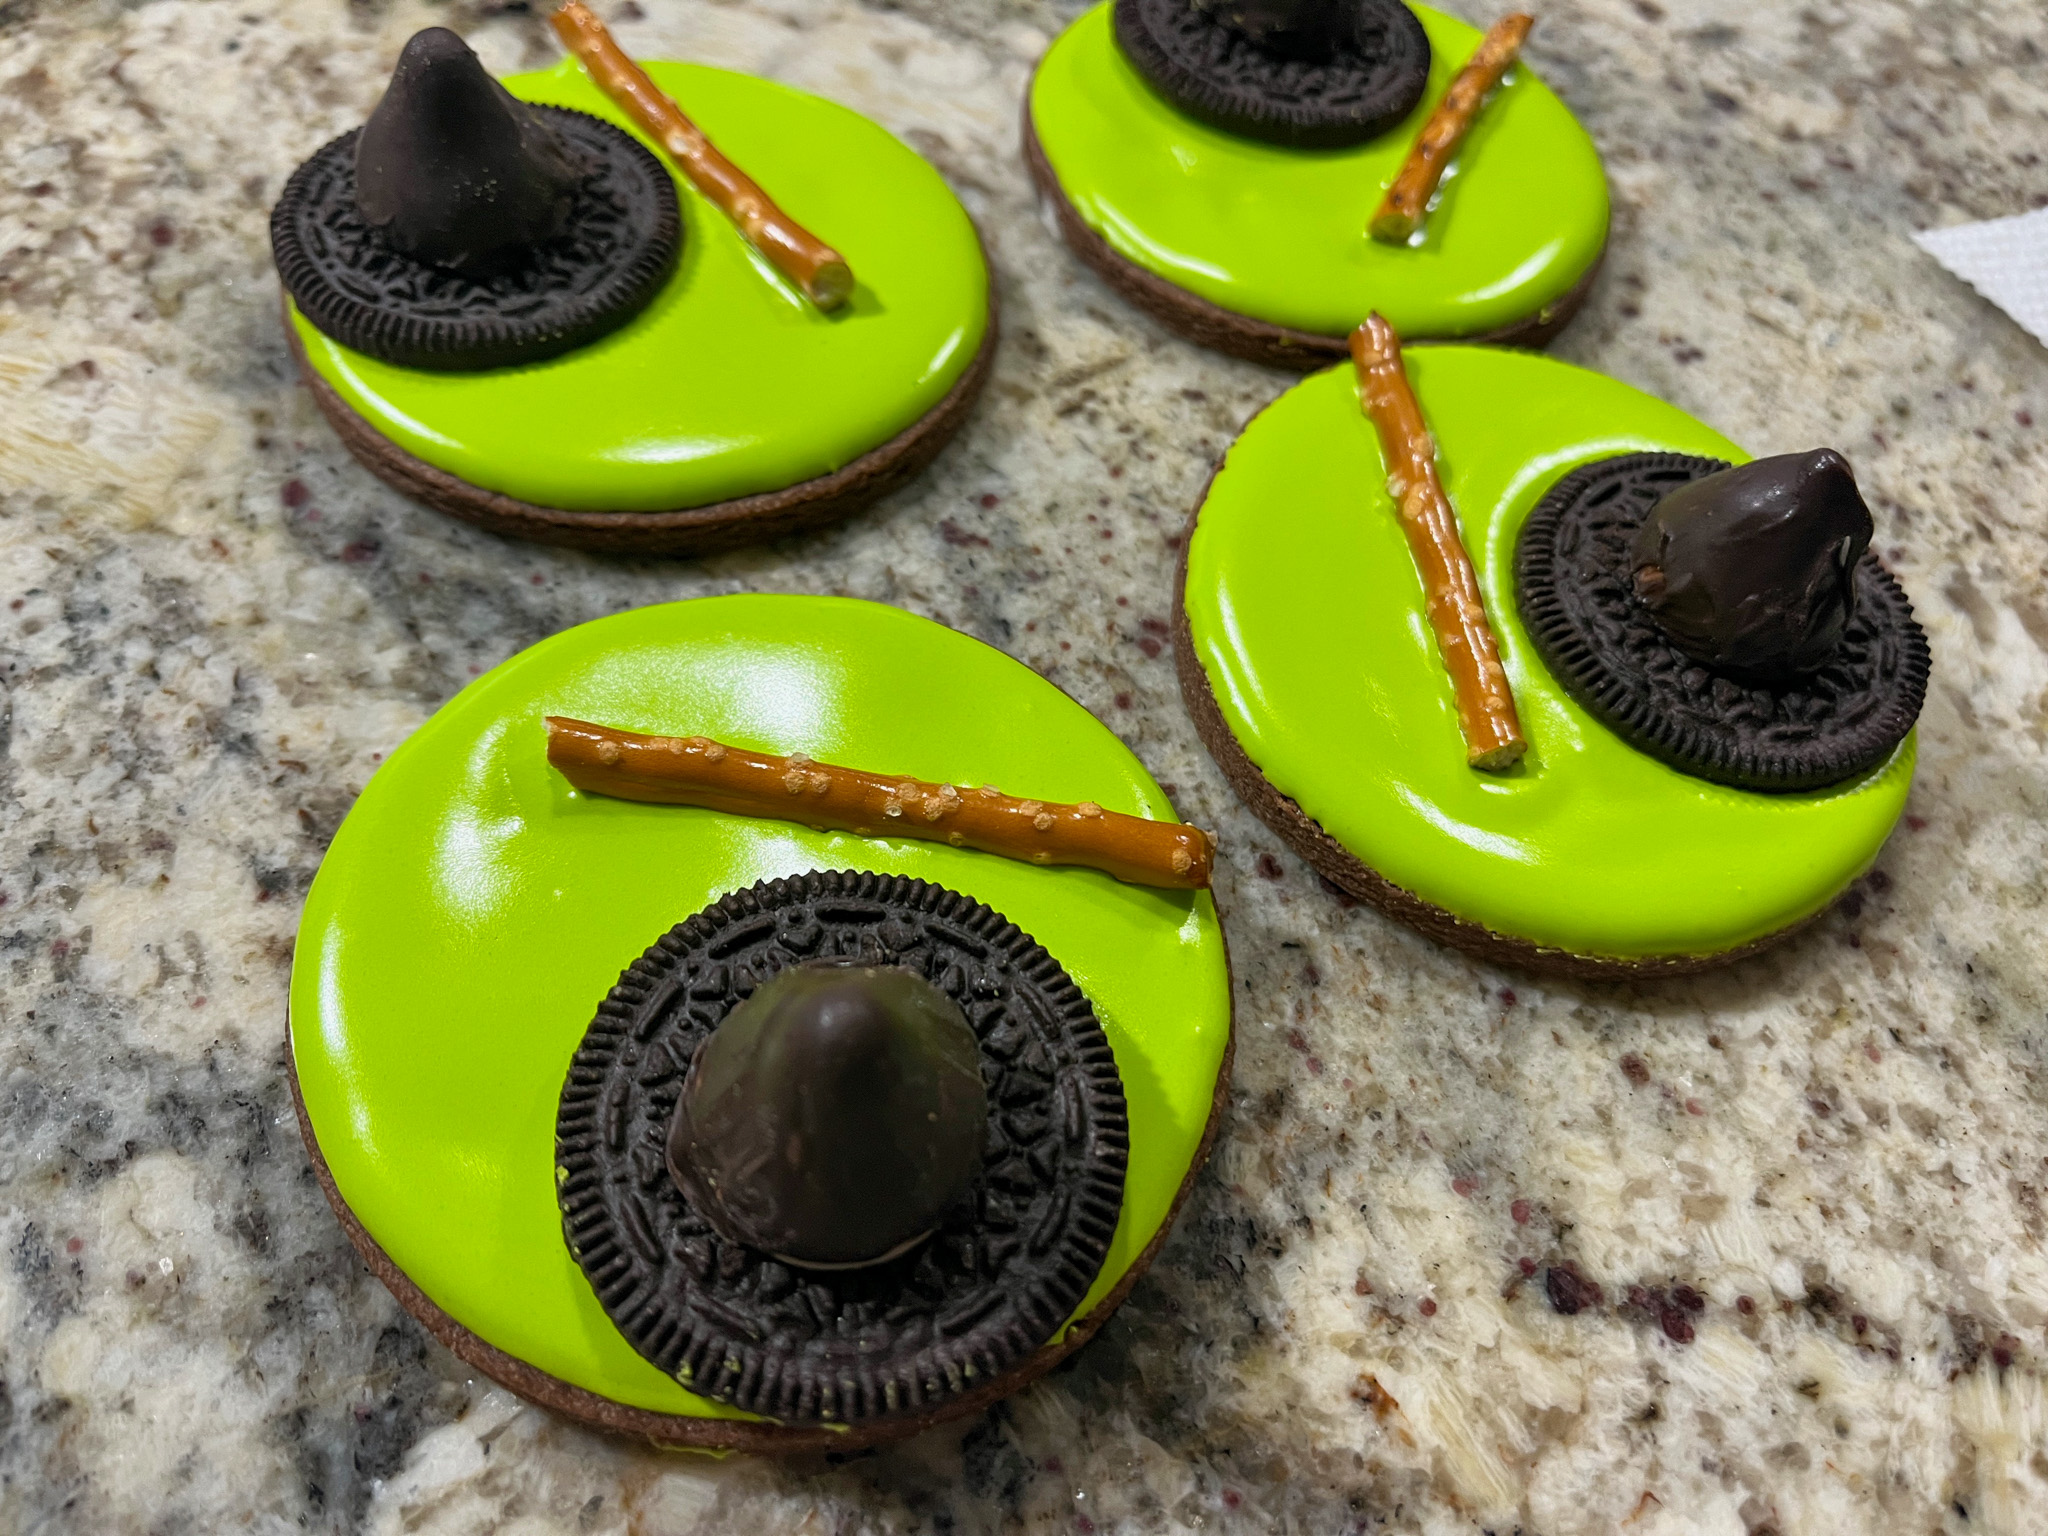
For a different take, a little pastel green. Details in piping consistency white.

I hope you enjoyed this little round-up of love in baking format. And don’t forget, always follow your heart!

ONE YEAR AGO: Fall-Inspired Vanilla Cupcakes

TWO YEARS AGO: Bake it Better with a Friend

THREE YEARS AGO: Bison a la Mode de Bourgogne

FOUR YEARS AGO: Masala Mashed Potatoes

FIVE YEARS AGO: Lessons from Tanya: Sugar Cookie Silhouettes

SIX YEARS AGO: Cherry-Chipotle Chicken Thighs

SEVEN YEARS AGO: White Chocolate Mini-Mousse with Sugared Cranberries

EIGHT YEARS AGO: You Say Ebelskiver, I say Falafel

NINE YEARS AGO: Happy Thanksgiving!

TEN YEARS AGO: Two Takes on Raspberries

ELEVEN YEARS AGO: Spice Cake with Blackberry Puree & The Global Pastry Review

TWELVE YEARS AGO: Own Your Kitchen with Cappuccino Panna Cotta

THIRTEEN YEARS AGO: Chicken Parmigiana, the Thriller

FOURTEEN YEARS AGO: Wild Mushroom Risotto

FIFTEEN YEARS AGO: Tartine Bread:  Basic Country Loaf 

SIXTEEN YEARS AGO:  Pugliese Bread

.

.

FUN WITH OREO COOKIES

Four ways to use Oreos in your baking, starting with my favorite of this set…

The Melting Witch Chocolate Cookie

I cannot take credit for this cute idea, but I modified it slightly from what was published in this site.

For the cookie, I used my default recipe with a touch of chipotle pepper and cinnamon (click here). For the hat, I used Hershey’s kisses, but gave it an additional coat with Candy Melts dark chocolate, to make it match the color of the Oreo underneath. Then all you need to do is flood the cookie with Electric Green icing, immediately add the half Oreo cookie and the pretzel stick. Once that sets, pipe the broom detail, and glue the Hershey kiss on the Oreo. You are done!

.

STRAWBERRY OREO LITTLE BALLS

OREO STRAWBERRY BALLS
(from The Bewitching Kitchen)

24 Oreo cookies
90g strawberry cream cheese, at room temperature
200g white chocolate
30g grape seed oil
fat-soluble dye, pink and red

Place the Oreos and cream cheese in the bowl of a food processor and process until it starts to form a dough.

Form little balls using about 20g of Oreo dough. Place them in the freezer for 1 hour.

Melt the chocolate gently in a microwave at 50% power, together with the oil. Whisk gently from time to time. Separate a small amount to dye red. Dye most of the batch pink.

Remove the Oreo balls from the freezer, and gently but quickly dip each one in the melted chocolate (ideally at about 100F), using a toothpick or medium-size wooden stick. Place upright to set. Drizzle the red chocolate all over for decoration. Remove the stick and place on paper cups to serve.

If desired, spray a little Diamond dust or pink luster powder over them.

ENJOY!

to print the recipe, click here

.

These are nothing short of amazing… For the full recipe, please visit the site where I originally found them (click here). One cookie will feed a family of four, so to speak… But absolutely worth the calories!

.

CHOCOLATE-COVERED OREOS

I do these often, as I like to include a small batch in my donation box of Friday. Two ways to decorate them for the Halloween season. On the left, ghosts made with candy melts, just a drop on parchment paper, then pull the shape with a gloved finger. Add eyes. Done! On the right, chocolate transfer sheets. Sweet and simple!

I hope I convinced you to go out and buy a big package of Oreos, so you can have some fun in your own kitchen…

ONE YEAR AGO: Halloween Brownies, Two Ways

TWO YEARS AGO: Revving the Engines for Halloween

THREE YEARS AGO: Happy Halloween from my Cookie Blog to You!

FOUR YEARS AGO: Incredibly Simple Carrots

FIVE YEARS AGO: Sarah Bernhardt’s Cookies

SIX YEARS AGO: A Really Big Announcement

SEVEN YEARS AGO: Stir-Fried Chicken in Sesame-Orange Sauce

EIGHT YEARS AGO: Monday Blues

NINE YEARS AGO: A New Way to Roast Veggies

TEN YEARS AGO: Two Takes on Raspberries

ELEVEN YEARS AGO: Spice Cake with Blackberry Puree

TWELVE YEARS AGO: Own Your Kitchen with Cappuccino Panna Cotta

THIRTEEN YEARS AGO: Chicken Parmigiana, the Thriller

FOURTEEN YEARS AGO: Wild Mushroom Risotto

FIFTEEN YEARS AGO: Tartine Bread:  Basic Country Loaf 

SIXTEEN YEARS AGO:  Pugliese Bread

PISTACHIO SHORTBREAD COOKIES

Super easy. Food processor does most of the work. Then the dough rests in the fridge, you can too, although I advise you not to be inside the fridge for that. Slice and bake. Gilding the lily with some white chocolate is optional.

PISTACHIO SHORTBREAD COOKIES
(slightly modified from Leite’s Culinaria)

113 g butter, very cold, cut in pieces (1 stick)
1 cup flour (about 125g)
1/4 cup sugar (50g)
1/2 cup roasted, salted pistachios
1/2 tsp vanilla paste
white chocolate for decoration (optional)

Pulse the flour, granulated sugar, pistachios, and vanilla in the bowl of a food processor until the pistachios are finely ground. Scatter the butter pieces in the food processor and pulse several times to cut the butter into the flour. Stop pulsing when the ingredients just start to come together.

Turn the dough onto a lightly floured work surface and shape it into a log about 2 inches in diameter and 10 inches long. Place the log on a piece of plastic wrap or parchment paper. Tightly roll the wrap around the log and twist the ends to seal them securely. Refrigerate for 2 hours or a few days.

Heat the oven to 325ºF. Line 2 rimmed baking sheets with parchment paper and set aside.

Cut the chilled cookie dough into 1/2-inch-thick coins and place about 2 inches apart on the prepared baking sheets. Lightly brush the top of each shortbread cookie with water and sprinkle with sugar. Bake for 15 to 18 minutes, or until the cookies are lightly golden brown on both top and bottom. Let the cookies cool on the baking sheet for 5 minutes, then transfer to a wire rack to cool completely.

Optional step: drizzle tempered white chocolate or melted compound white chocolate over the cookie.

ENJOY!

to print the recipe, click here

Comments: I cut the dough in two pieces and made two individual small logs, each being enough for 10 cookies. The first one got dusted with demerara sugar, but it kind of disappeared during baking. I decided to decorate that batch with white chocolate to give it a little more pizzazz. The second batch I dusted with coarse sanding sugar, and left it alone after baking. The cookies are delicious, melt in the mouth, with perfect pistachio flavor.

ONE YEAR AGO: Shiroi Koibito Biscuits
TWO YEARS AGO: Mini-Cakes, Two Ways
THREE YEARS AGO: Earl Grey Shortbread Cookies
FOUR YEARS AGO: Summertime Macaron Duet
FIVE YEARS AGO: Pain de Mie Dressed up for Party
SIXYEARS AGO: Five-Stranded Bread
SEVEN YEARS AGO: Green Olive Salad
EIGHT YEARS AGO: Coffee Macarons Dressed up to Party
NINE YEARS AGO: Blogging Hiatus
TEN YEARS AGO: Tomato Tatin
ELEVEN YEARS AGO: Headed to Colorado!  
TWELVE YEARS AGO: Farofa Brasileira
THIRTEEN  YEARS AGO: Thai-Inspired Pork Tenderloin
FOURTEEN YEARS AGO: A yummy Brazilian cake: Bolo de Fuba’
FIFTEEN YEARS AGO:  Summer’s Tomatoes
SIXTEEN YEARS AGO: Leaving on a jet plane… 

HAPPY MOTHER’S DAY!

A cookie composition for all the Moms out there, you can check the details about how to make it with a visit to my cookie blog (click here for the post, that also has two additional design ideas).

PASTA FROLLA FOR LINZER-STYLE COOKIES

Some baking projects make me very happy. This was definitely one. For starters, the idea to make them came from my dear friend Jill, who shared a picture she saw in a Facebook group, and led me to investigate how to get my hands into those cookie cutters. It turns out, they are from Italy. That did not stop me….

PASTA FROLLA COOKIES WITH RASPBERRY JAM
(From the The Bewitching Kitchen)

200 g butter, cut in pieces and softened
75 g powdered sugar
40 g honey
2 g salt
1 egg yolk
1/2 tsp vanilla paste
300 g all-purpose flour
raspberry jam for filling
powdered sugar to shower the assembled cookies (optional)


Mix the flour with salt, reserve.

In the bowl of a KitchenAid type mixer, beat the butter with powdered sugar and honey until lighter in color and the sugar is fully dissolved, about 2 minutes. Add the yolk and vanilla paste, and mix well at low-speed.

Gradually add the flour/salt mixture. Mix until fully combined, but it is best to finish mixing by hand. Remove the dough from the bowl, wrap in plastic refrigerate at least 4 hours, preferably overnight.

Roll the dough, one half at a time 1/8 inch thick. Cut shapes (tops and bottoms) and bake at 350F for 10 to 12 minutes, depending on the size. Remove shapes that are smaller as they get ready.

Once the cookies are cool, cover the bottom part with raspberry jam and add the top half. Shower with powdered sugar before serving, if so desired.

ENJOY!

to print the recipe, click here

Comments: Pasta Frolla might very well be my favorite for cookies at the present time. Texture, taste, everything works. As to the cookie cutters, they can be found here. Beware, that site has things that are VERY hard to say no to. I did not worry about how long it would take for shipping, and it was a little less than 1 month. Not bad. Here is the set I used for this first adventure.

You will need two of the large 7-petal flower, 14 of the other two shapes. Then the smaller cutter is used to make the empty space in half of the cookies before baking. It is best to do the cut while the dough is still in the large cutters as I show below:

By doing that, you prevent the dough from getting distorted as you cut the inner portion out.

The other thing to consider is that the cut shapes will bake faster. Either bake them separately or be sure to remove them before the larger pieces get done, or they will brown too much.

I am totally in love with this cookie set…
Stay tuned for more “Italian Adventures” in the future.

ONE YEAR AGO: Ravioli Cookies, the Shortest Path to Insanity

TWO YEARS AGO: Peanut Butter and Jelly Babka and a Cookbook Review

THREE YEARS AGO: Painted Sourdough

FOUR YEARS AGO: Over-the-Moon Blueberry Lemon Macarons

FIVE YEARS AGO: Springtime Macarons Bake-Along

SIX YEARS AGO: Macarons for a Little Princess

SEVEN YEARS AGO: Gilding the Sourdough Loaf

EIGHT YEARS AGO: Lolita Joins the Bewitching Kitchen

NINE YEARS AGO: Cashew Cream Sauce

TEN YEARS AGO: Blood Orange Margaritas

ELEVEN YEARS AGO: Smoked Salmon Appetizer

TWELVE YEARS AGO: Clementine Cake

THIRTEEN YEARS AGO: Springtime Spinach Risotto

FOURTEEN YEARS AGO: The end of green bean cruelty

FIFTEEN YEARS AGO: Torta di Limone e Mandorle