Years ago (2018, to be exact), I blogged on the classic version, and you can check it out here. Today, I offer you a variation using a leaner type of meat and the crockpot. Lately I’ve been exploring different uses for country style ribs, and this was a crowd-pleaser. Even if it was a crowd of two…
SLOW-COOKER PORK WITH PRUNES
(from the Bewitching Kitchen)
2 packages of country-style pork ribs, boneless
(or amount enough to fully cover the bottom of your slow-cooker, some overlapping ok)
1 cup dry white wine
1 cup pitted prunes (or amount to taste)
1/2 cup pitted black olives
2 Tbsp capers
2 tbsp Herbes de Provence
2½ tsp sea salt flakes
freshly ground black pepper
1 cup water
juice and zest of 1 lemon (or more to taste)
fresh parsley leaves to serve
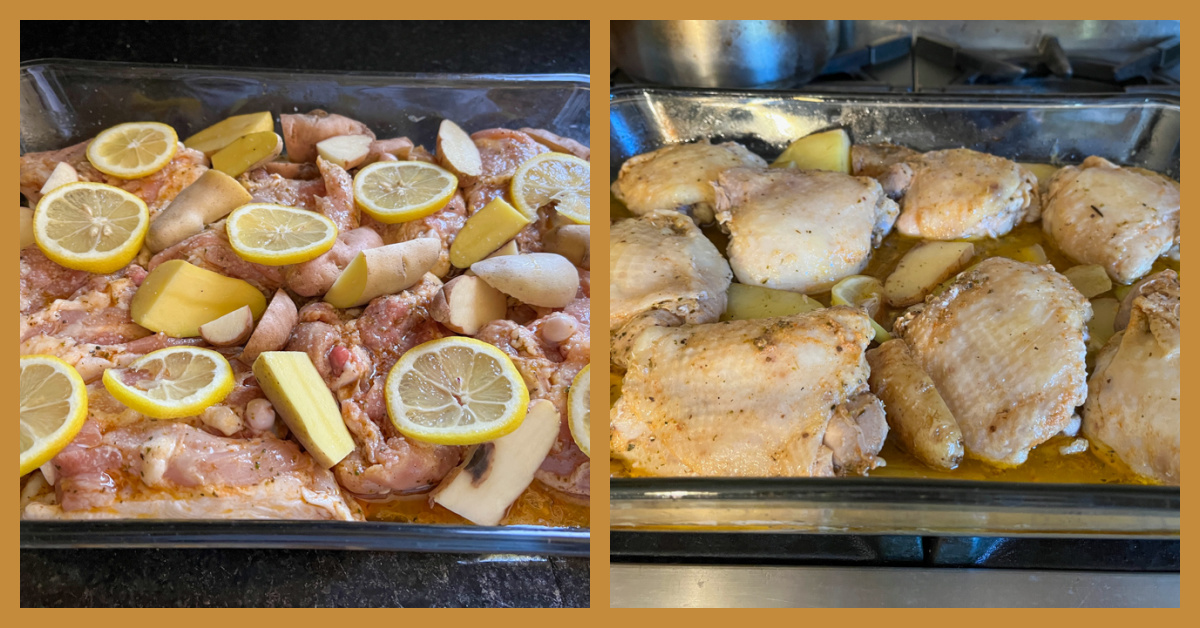
Place all the ingredients except lemon juice, zest, and parsley in your slow cooker, distributing the pieces of meat with a little overlapping if necessary.
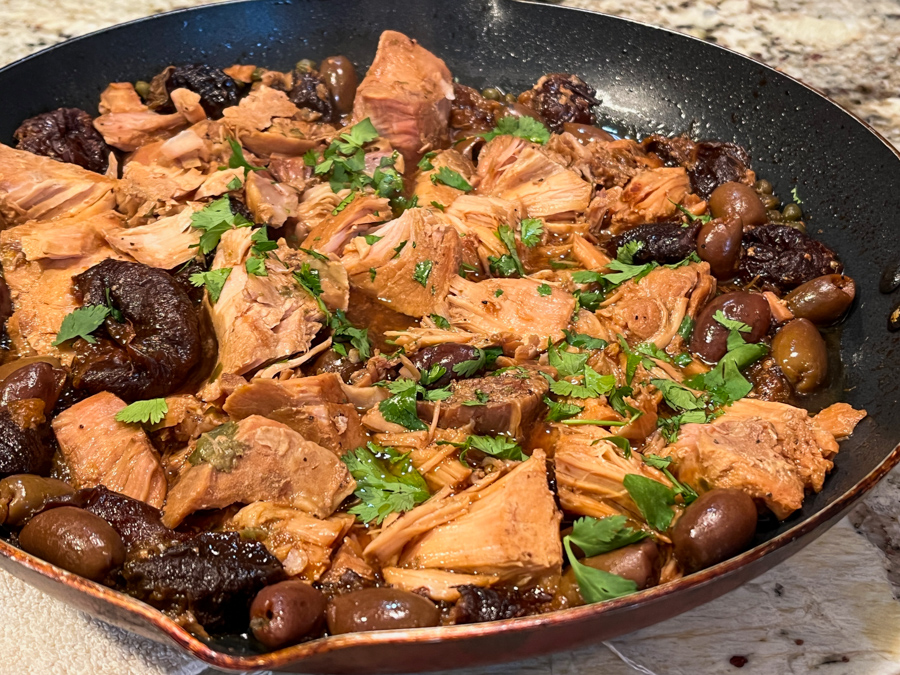
Cook on low for 7 hours. Remove the meat gently from the liquid that accumulates in the crockpot, transfer the liquid to a large skillet and reduce it by half or more, until slightly thick. Add the meat back to the skillet, and allow to simmer with the sauce for a few minutes.
Squirt the lemon juice, add the zest and parsley, and serve.
ENJOY!
to print the recipe, click here
Comments: I’ve been on a roll with the country-style pork ribs lately. The crockpot performs miracles with this particular cut of meat, which can dry out easily. Just make sure to stop the cooking at 7 hours, so that the texture is not compromised. Once you open the crockpot, you will have excess liquid, that will be much improved by a little extra step to concentrate it. That is why in the picture you see the meat on a large non-stick frying pan. You can do this final concentrating step later, so the whole meal can be prepared a couple of days in advance, it will only get better.
ONE YEAR AGO: Honeyed-Jalapenos on Spelt Pizza
TWO YEARS AGO: Bulgur and Chickpea Salad with Pomegranate Seeds
THREE YEARS AGO: Purple Star Macarons
FOUR YEARS AGO: Smoked Salmon, Fait Maison
FIVE YEARS AGO: Kouign-Amann, Fighting Fire with Fire
SIX YEARS AGO: In My Kitchen, Yin and Yang
SEVEN YEARS AGO: Chocolate Toffee Banana Bread
EIGHT YEARS AGO: In My Kitchen, June 2014
NINE YEARS AGO: Strawberry Frozen Yogurt
TEN YEARS AGO: Baked Coconut and “The Brazilian Kitchen”
ELEVEN YEARS AGO: Honey-Glazed Chicken Legs
TWELVE YEARS AGO: French-Style Rolls