GOLDEN ZUCCHINI: A TASTE OF YELLOW

It is almost impossible to find a person whose life has not been touched by cancer. Whether friends, family members or co-workers, we all know someone who either battled this disease and hopefully beat it, or sadly, someone whose life was cut short by it.

A Taste of Yellow is a food blogging event that started through the initiative of Barbara from “Winos and Foodies”, who is herself a cancer survivor. You can read her touching tribute here.  She launched this event in support of  The Lance Armstrong Foundation, an organization with the goal of increasing cancer awareness in society.

Food bloggers participate by sharing their stories and a recipe with a yellow ingredient; Barbara assembles all the links and publishes them in her website. This year the event was postponed until October 2nd, to fall on the 10th anniversary of Lance Armstrong’s cancer diagnosis (LiveStrong Day). As everyone knows, he not only won that medical battle, but went on to win the Tour de France seven times! And after taking some time off from competing he went back at it this year and finished in third place.   Of course, he did run a few marathons while away from the “Tour”…   Talk about an inspirational story!

This is my first time in “A Taste of Yellow”. I chose yellow zucchini to convey the “LiveStrong” message.
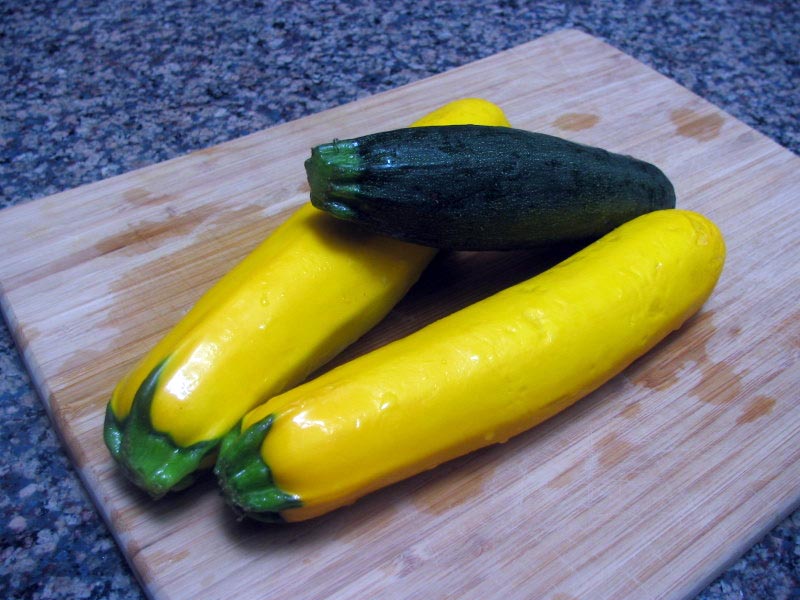
zucchini1

Even though yellow is often associated with lemons, a nice golden zucchini also says yellow in all its glory… This past week our farmer’s market had such beautiful golden zucchini for sale that I had to bring some home with me!

I went with a mix and match of recipes, joining the method from Vegetarian Cooking for Everyone and my favorite yogurt sauce from Mediterranean Fresh.  I tweaked the yogurt sauce ever so slightly.  Both cookbooks are amazing, by the way…

ZUCCHINI DUO WITH YOGURT SAUCE

(receita em portugues na proxima pagina)
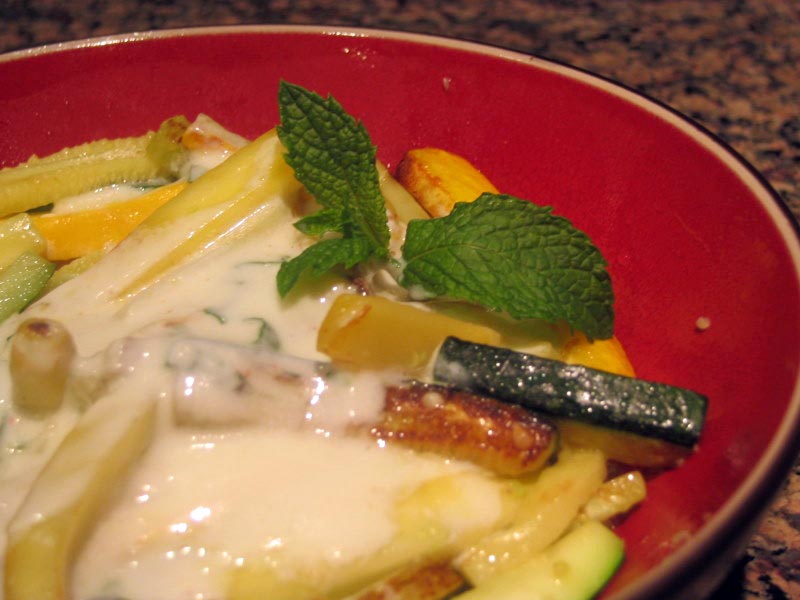
plated2

for the veggies:
2 golden zucchini
1 green zucchini
1 T olive oil
salt
freshly ground black pepper

for the sauce:

1/2 cup Greek style yogurt
1 T olive oil
1 T fresh lemon juice
1 T fresh mint leaves, minced
pinch of cayenne pepper
salt to taste

Remove both ends of the zucchini; slice them in half crosswise, then lengthwise in 1/3 inch-thick slices. Cut each slice again, into sticks, also 1/3 inch thick, as shown in photo. Sprinkle the slices with salt and place them in a colander for 20-30 minutes. Rinse well and drain, pat dry.

Prepare the sauce by mixing all the ingredients. If using regular yogurt, then drain it for a couple of hours, because you need thick yogurt for this recipe.

Heat the olive oil in a non-stick pan, and add the zucchini sticks when its very hot. Cook them undisturbed for a couple of minutes to get the pieces lightly browned, then move them around, cooking for a total of 5 minutes.

Transfer the zucchini to a bowl and spoon some of the sauce over it when serving. Garnish with fresh mint, if you like.

ENJOY!

To print the recipe, click here.

jump for comments, photos and receita em portugues…
Continue reading →

BBA#17: LAVASH CRACKERS

ready1

BEWARE: THESE ARE ADDICTIVE!!!

Now that I finished this recipe, let me say that as I began I was not too enthusiastic about it.  I tried to make Ak-Mak-style crackers before, using an internet  recipe, and I was unhappy.  Not only was it a lot of work, but they had nothing to do with my favorite cracker.

But, a challenge is challenge, so I took a deep breath, grabbed the flour and went for it!  Thanks to the advice of those who are ahead of me, I knew that rolling a thin dough was important, or else the potential crackers would become pita bread.  Not that there’s anything wrong with pita, but…. pita is not a cracker.

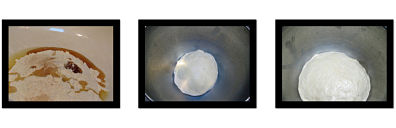
Here you see the beginning of the process, a simple dough (53% hydration) made with flour, honey, oil, salt and instant yeast. Again, I did not bother kneading it to death. After incorporating the ingredients into a ball, I allowed it to sit for 15 minutes, then folded it a few times until it got smooth. From that point, I followed the recipe as written.  In 90 minutes, it was ready to roll out.

triosmall

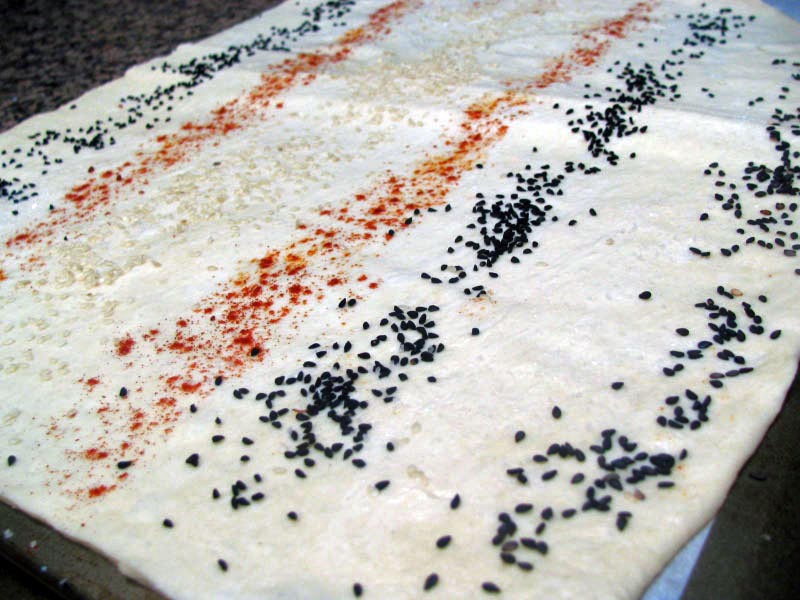
Make sure that you roll it as thinly as possible without tearing the dough. I found it very forgiving, with no problems to roll out, although it was a bit tricky to lift into the baking sheet.  To decorate the dough I used nigella seeds (which I bought here), black sesame seeds, smoked paprika, and coarse salt.

seedsondough

Into the oven it went… As you bake it, keep an eye on it, because if your rolling is uneven, some parts might darken faster than others. It happened to  me, but I broke the darker parts away and allowed the rest of the sheet to stay in the oven longer. This approach worked quite well.

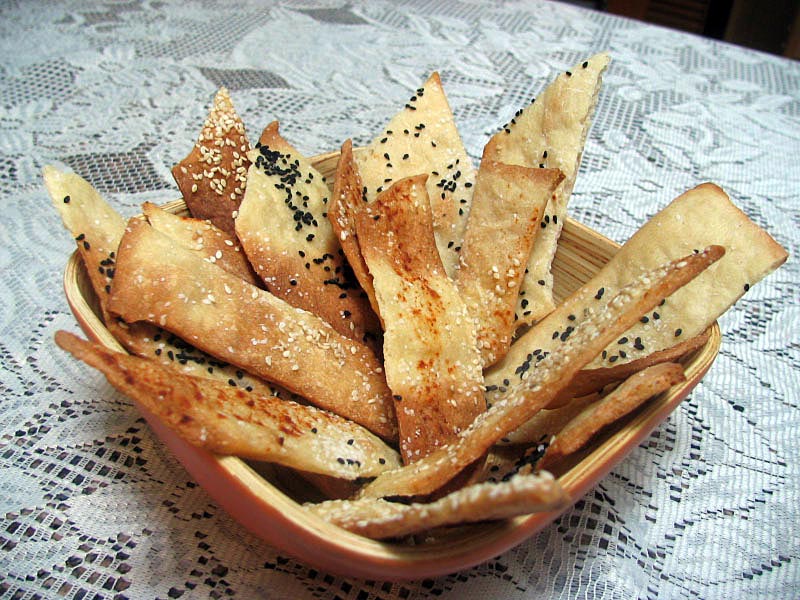
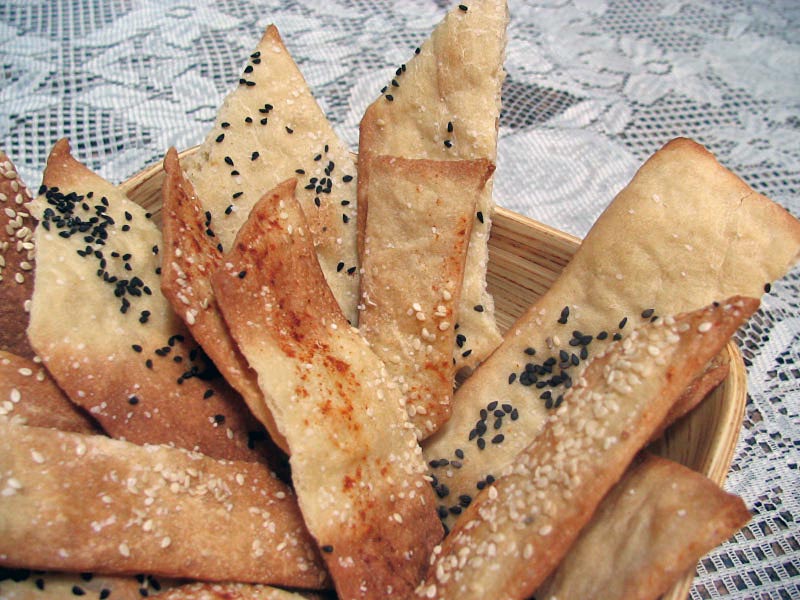
As they cooled down, I decided to try one. Then another. Then another. My beloved husband was not expected back home for at least 3 more hours, and the deepest proof of my love for him was this bowl with many crackers still inside.

crackersready

See some of the happy bakers who made the lavash crackers before me:

Carolyn and Joe from Two Skinny Jenkins
Texas Farmer from Sina.blog (Blog in Chinese, amazing photos!)
Phyl from “Of Cabbages and King Cakes”
Deborah from “Italian Food Forever”
Oggi, from “I can do that”

THE LIGHTER SIDE OF MEATLOAF

I’m a firm believer in “Everything in moderation,” so I often make the “real” (rather than light) versions of lasagna, potato dauphinoise, risotto milanese or other classics, instead of trying to cut calories. I’d rather eat less of the real thing, or run an extra mile or two later… 😉

But sometimes, a dish that was maybe conceived as a lighter variation of a classic  turns out so good that I wind up craving it.  For example: this turkey loaf is absolutely delicious, and compared to its original parent, quite a bit healthier.  The recipe comes from  “American Favorites“.

turkeyloaf1

THYME-SCENTED TURKEY LOAF WITH MUSHROOM GRAVY
(adapted from American Favorites, by Betty Rosbottom)
receita em portugues ao final do texto, na proxima pagina

for turkey (or chicken)  loaf…
1 tablespoon butter
1/3 cup diced carrots
1/3 cup finely diced yellow onion
1/3 cup finely diced celery
1.2  pounds ground  turkey (or chicken)
1 ¼ cups fresh bread crumbs
1  teaspoons fresh thyme leaves
1/2 teaspoon salt
½ teaspoon freshly ground black pepper
1 medium unpeeled tart apple, grated
3/4  tablespoon fish sauce (optional)
2 egg whites

Melt  the butter in a skillet over medium heat and add the carrots, onions, and celery, season with a pinch of salt, and sautee’ until soft.  Remove from heat and allow it to cool.

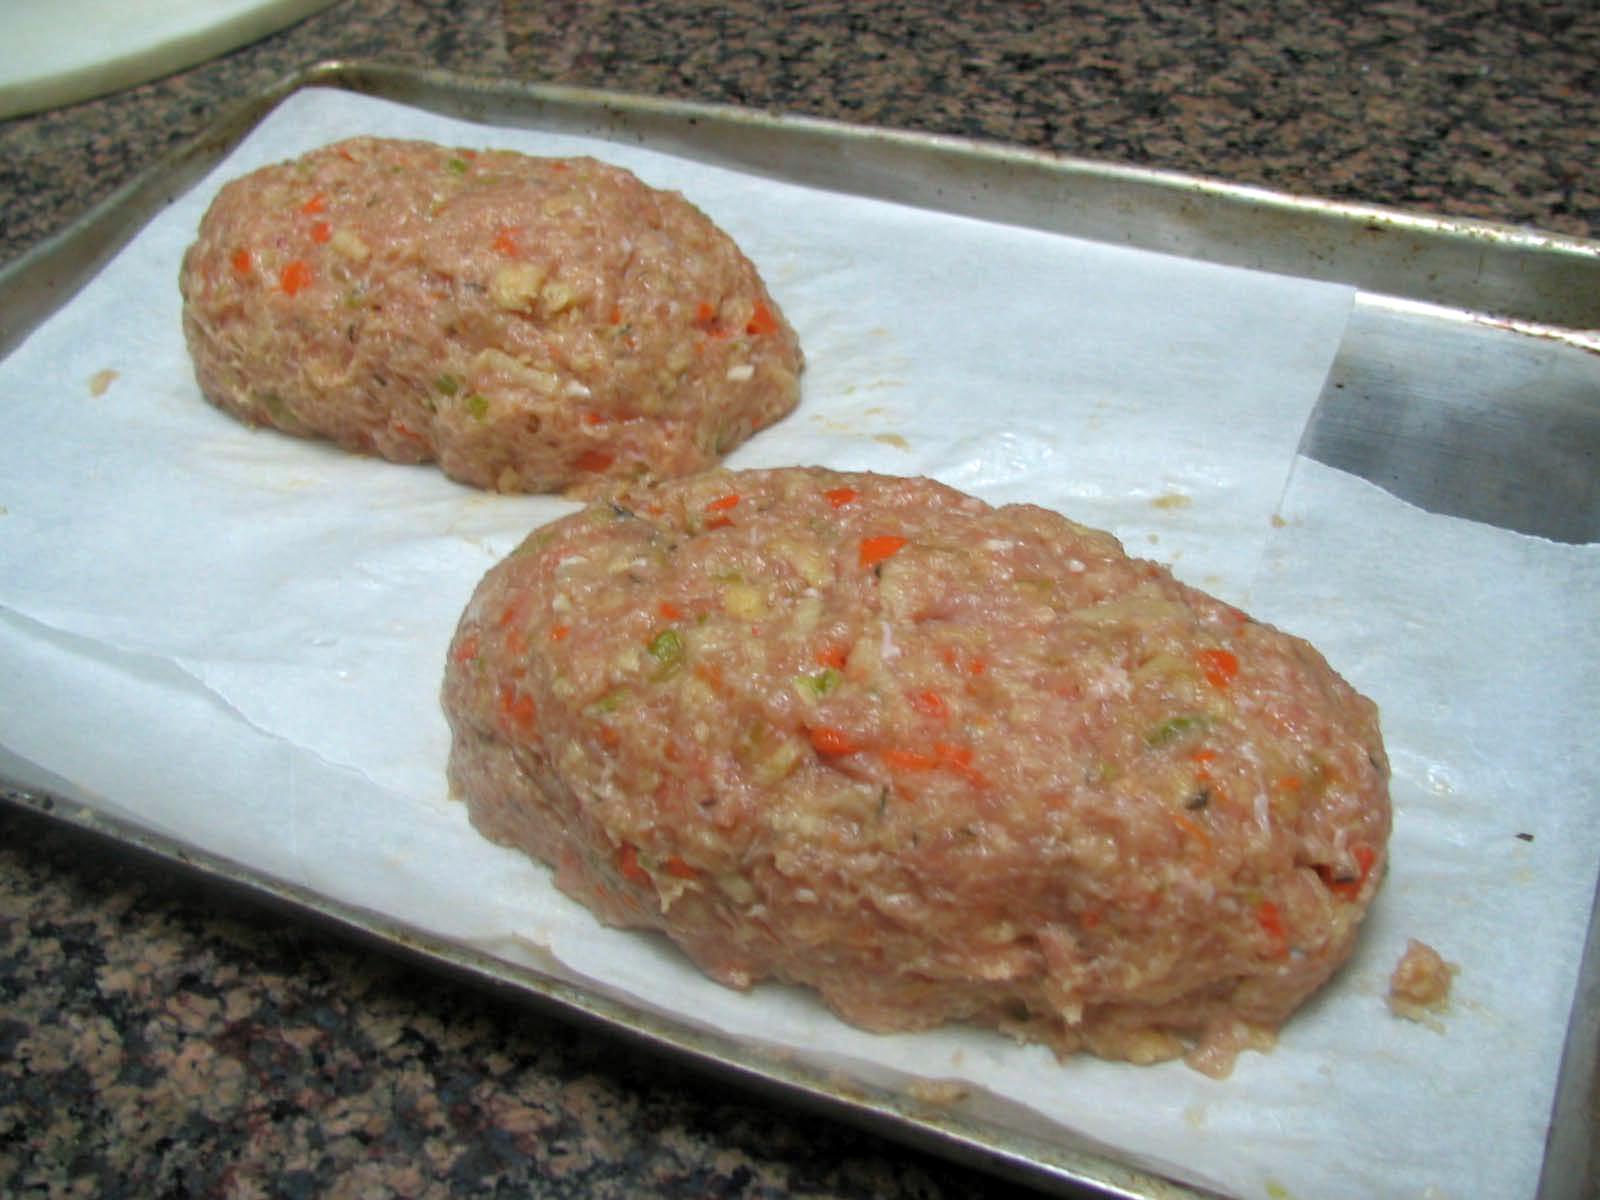
Place ground turkey in a large bowl and mix in all the other ingredients, adding the egg whites last. The mixture will be quite “wet”.  Shape it in two oval loaves as shown in the photo, pace them in a roasting pan (I like to use parchment paper or Silpat underneath).

Place in a 350F oven and cook for 45 minutes to 1 hour.  Remove and allow it to cool for 5 minutes before cutting into slices. Serve with or without mushroom gravy.

for gravy…
2 tablespoons unsalted butter, divided
2 tablespoons flour
1/4 cup finely chopped chives
8 ounces white mushrooms cut into thin slices
Salt  to taste
1 ½ cups chicken broth
2 teaspoons soy sauce

Heat the  butter in a  heavy skillet, add in the chives and cook, stirring, for about 2 minutes. Add the mushrooms and cook them until tender, 4 to 5 minutes. Season with salt to taste and transfer to a bowl. Melt the remaining 1 tablespoon of butter in the same pan and add the flour and cook, stirring, for 2 minutes. Add broth and whisk until sauce is smooth and thickens slightly, 2 to 3 minutes. Whisk in the soy sauce, and put  the reserved mushroom mixture back in the pan.  To serve meat loaves, cut into 1/2-inch-thick slices and arrange on a serving platter. Ladle some mushroom gravy over the slices.

ENJOY!

This is a good opportunity to show you my Zyliss (an older version of this one),  a  little gadget I’ve had for a long time, but neglected to put to use until I saw Michael Chiarello on FoodTV using his.   He removed the plastic base that came with the cutter, instead placing it directly on the cutting board. Why didn’t I think of that? I tried his method and loved it!  The plastic base is a pain to use and  wash; by placing the cutter on a cutting board you get its full benefits without any hassles. Carrots, onions, celery, garlic and  peppers are prepared in seconds! Check it out in this photo (click to enlarge).

prep1

Meatloaves are often baked in pans, I prefer to shape them in free form, to get a nice crust all over, and make cleanup much easier…
loavesbefore

General comments

Fish sauce, that Vietnamese touch: The addition of fish sauce was my main modification to the basic recipe – I was inspired by an interesting twist on a hamburger recipe shown in the blog  “White on Rice Couple”.  Fish sauce was the secret ingredient, and I thought it could go well in this loaf too.   As in the hamburger, you won’t be able to taste it, but it will add that “umami” component to the loaf.  Give it a try, you won’t be disappointed. If you want to play with fish sauce in your recipes, just keep in mind that it is salty, and adjust your seasoning accordingly.  And avoid sniffing the bottle!  Its smell has little to do with its taste, and for that I am  grateful… 😉

The mushroom gravy: Even though its taste was excellent, if you prefer a more contrasting color in the gravy then add a little tomato paste or sautee some tomatoes with the mushrooms.

A little rice, a little tomato salad, and…. dinner is served!

plated

para receita em portugues clique aqui

BARM BREAD

IMG_2236

IMG_2246

This is my second submission to Yeastspotting…

The recipe for this traditional wheat bread from England comes from Dan Lepard’s book  “The Handmade Loaf”, that I mentioned before. I’ve made quite a few  breads  from it, and at first this one seemed a little too involved,  because it required not only a levain (sourdough starter), but also a barm .  But, I was inspired to try it after reading a wonderful post about it.

Lepard  came up with a nice strategy to duplicate the barm at home by taking  a bottle-conditioned beer, and adding to it a small amount of your own  levain.  It’s a simple bread once  the barm is ready and bubbly…

To make the barm….
IMG_2216

125g Chimay beer (or other beer containing live yeast)
25g bread flour
2 tsp white levain (commercial or made from scratch)

Heat the beer to 160F, remove from the heat and quickly add the flour. Transfer to a bowl and allow it to cool to 68F, then add your white levain. Leave it at room temperature overnight or until it is very bubbly (my barm fermented for 30 hours).

Waiting for it to cool to 68F….
IMG_2219

To make the bread dough…

ingredientslabel

75g barm
125g water at room temperature
250g bread flour
3/4 tsp fine sea salt

Mix the barm in a large bowl with the water to completely dissolve it, then add the flour and salt. Mix it all with your hands;  it will be pretty shaggy and you will doubt that it will ever become smooth…. don’t worry, just let the dough sit there for 10 minutes, covered.
IMG_2224

Now follow this timeline, kneading for 10 to 15 seconds (yes, seconds) at each timepoint:

10 minutes / 20 minutes / 30 minutes / 1 hour / 2 hours /3 hours / 5 hours

at the 30 minute timepoint the dough will already be quite smooth…
IMG_2230

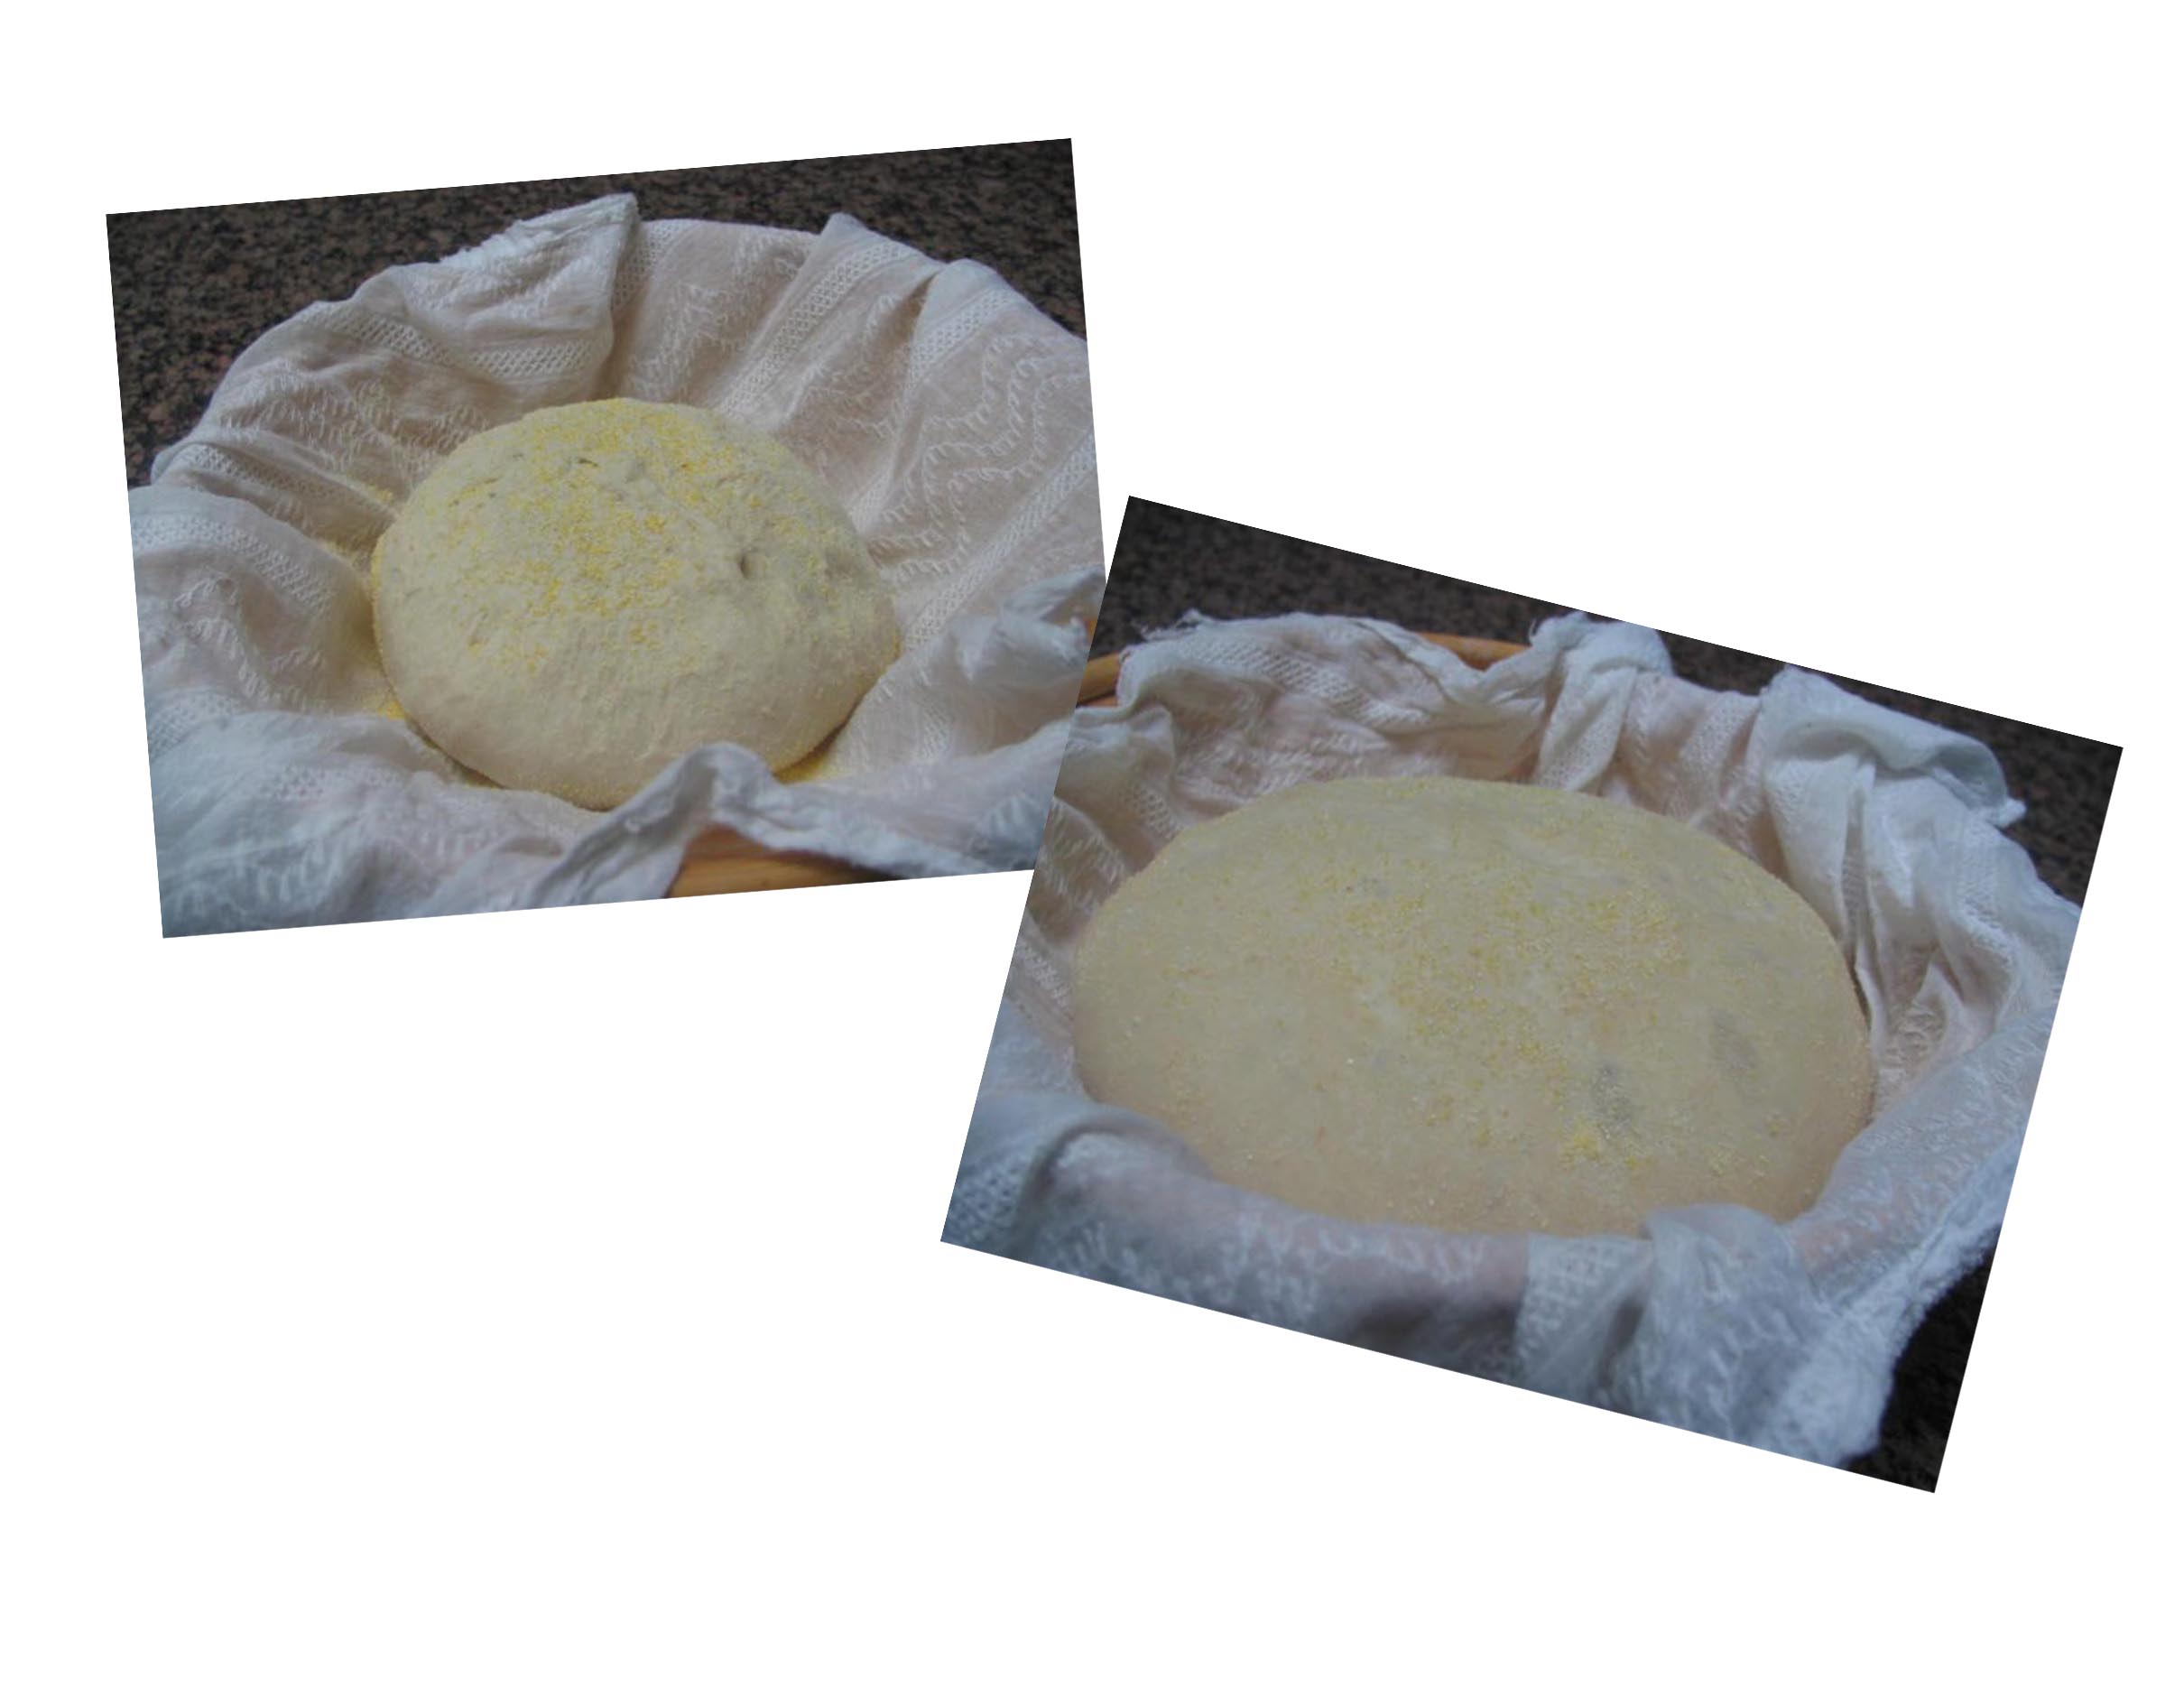
After 5 hours, knead it briefly again, allow the dough to relax for 10-20 minutes, and  shape it into a  “boule” (see one method here).  Gently transfer it to your vessel of choice for the final rise (about 4 hours) before baking. I used a banetton lined with a fine cloth, sprinkled with cornmeal.
beforeafter

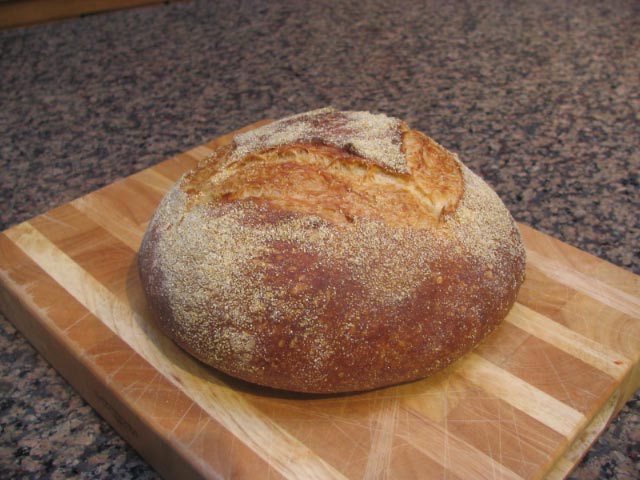
The bread will rise to 1.5X  its initial volume; when you press it gently with a finger, it should feel airy and light. I baked mine in a clay pot at 430F for 30 minutes covered, and for 15 additional minutes with the lid off.

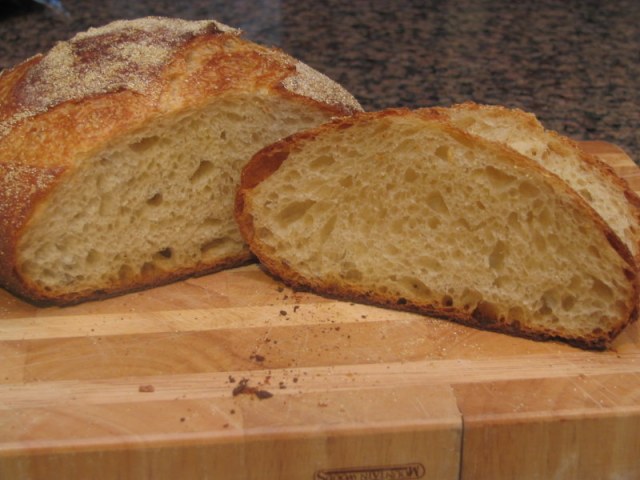
IMG_2241

This bread is a winner in every way:  flavor, crust and crumb texture, and looks. The beer gives it a subtle sourness completely different from a regular sourdough, made with levain only. It is a perfect match for a ham sandwich, or to go along a hearty soup or salad.  I kept thinking about split pea soup while munching on the bread. I’ll definitely make it again, with different beers and flour mixtures, as advised in Lepard’s book.

jump for more comments….

Continue reading →

LEMONY CHICKEN CURRY

I love Indian food, but I don’t cook it very often. It’s easy to make mistakes with ethnic foods, because of the many “variations” that, in the name of “simplifying” or “adapting” the dish to an  American palate, wind up doing more harm than good. Indian food is prone to this kind of abuse.  Search for “chicken curry” and you’ll find all sorts of recipes:  some might have you add a little curry powder to pieces of sauteed chicken breasts, and call it a day!

When I want to “go ethnic” I search the advice of experts.  In the case of Indian food, I like Madhur Jaffrey, as well as excellent food blogs like Monsoon Spice , Sailu’s Food, or Lisa’s Kitchen.

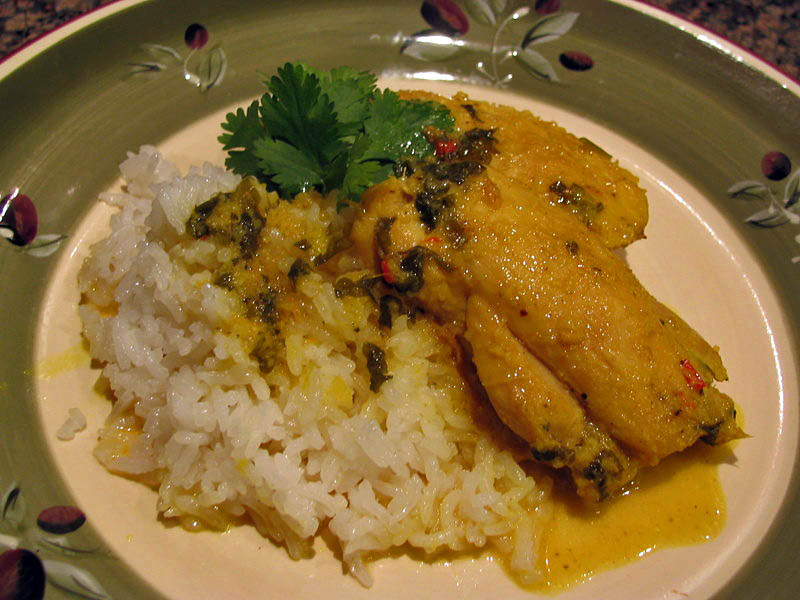
I’ve made this recipe from Jaffrey’s cookbook many times.  It’ s light, not too spicy, and joins two of my favorite ingredients: ginger and lemon.

LemonCurry1a

LEMONY CHICKEN CURRY
(adapted from Madhur Jaffrey’s recipe)
(para receita em portugues, siga ate’ o final do texto, na proxima pagina)

1 piece of ginger root, 2 inches long, coarsely chopped
1/4 cup water

2 1/2 pounds chicken thighs, skinless
2/3 cup water
2 cloves garlic, minced
7 ounces fresh cilantro, minced
1/2 serrano pepper, minced
1/4 tsp cayenne pepper
2 tsp ground cumin
1 tsp ground coriander seed
1/2 tsp turmeric
1 tsp salt
2 Tbs lemon juice

Place the ginger root and 1/4 cup water in the bowl of a food processor, and blend until it forms a paste.

Heat the oil over medium-high heat, and brown the chicken pieces on both sides. Remove the pieces to a bowl as they get ready.
Add the garlic to the oil, as soon as the pieces start to get some color turn down the heat to medium and add the ginger paste (now, take a deep breath and enjoy the amazing smell coming from the pan!). Cook for a minute or so, and add the fresh cilantro, serrano pepper, cayenne, cumin, coriander, turmeric, and salt. Stir everything well and cook for a minute.

Put back the chicken pieces and any liquid that accumulated in the bowl. Add 2/3 cup water and lemon juice. Bring to a boil, cover the pan, turn the heat down to low, and cook for 25 minutes.

Turn the chicken pieces over, cover again and cook for 15 to 20 minutes more, until tender. If the sauce is too thin, then uncover the pan and cook it down.

Serve over rice, with a veggie side dish of your preference.

ENJOY!

More comments and photos after the jump….

Continue reading →