When I lived in Paris, I had crepes often. Once back in the US I made them at home every once in a while. However, I am the first to admit, not often enough. It is such a simple meal to put together, and yes, it can be light if you don’t go overboard on cream sauces and cheese. Our version is quite austere, so feel free to change it to your liking.

SAVORY CREPES
(from The Bewitching Kitchen)
1 cup milk
2 eggs
2 tablespoons olive oil
salt and pepper to taste
dash of nutmeg
1 cup all-purpose flour
fillings:
sauteed mushrooms
ham
cheese
tomatoes
To a blender, add all ingredients for the crepes except the flour. Blend for a couple of minutes, then add the flour and blend again until smooth. Place it in the fridge for 2 hours if you have the chance.
Pour 1/3 cup batter on a non-stick crepe pan (or small skillet), and cook on both sides. I like to brush a little oil before the first crepe, and work carefully with the flame to cook them to a light brown without browning too much. Place the crepes over a plate separated by parchment paper until time to assemble them. They can sit in the fridge for hours or even overnight.
Place a crepe on a surface, add your fillings to half the area, fold the other half over, then fold again to form a sort of triangle. Bake in a 350F oven for 10 minutes.
ENJOY!
to print the recipe, click here

Comments: With this meal, we’ve decided that crepes will be part of our regular rotation. The batter can actually sit in the fridge for a day or so, making it even simpler to get them going. The possibilities for fillings are endless, as you can imagine. Salmon with cream cheese and dill, sautéed shrimp, chicken breast in a cream sauce. We will quite likely stick with our versions, and serve a little something on the side. Like this delicious zucchini-sesame soup…
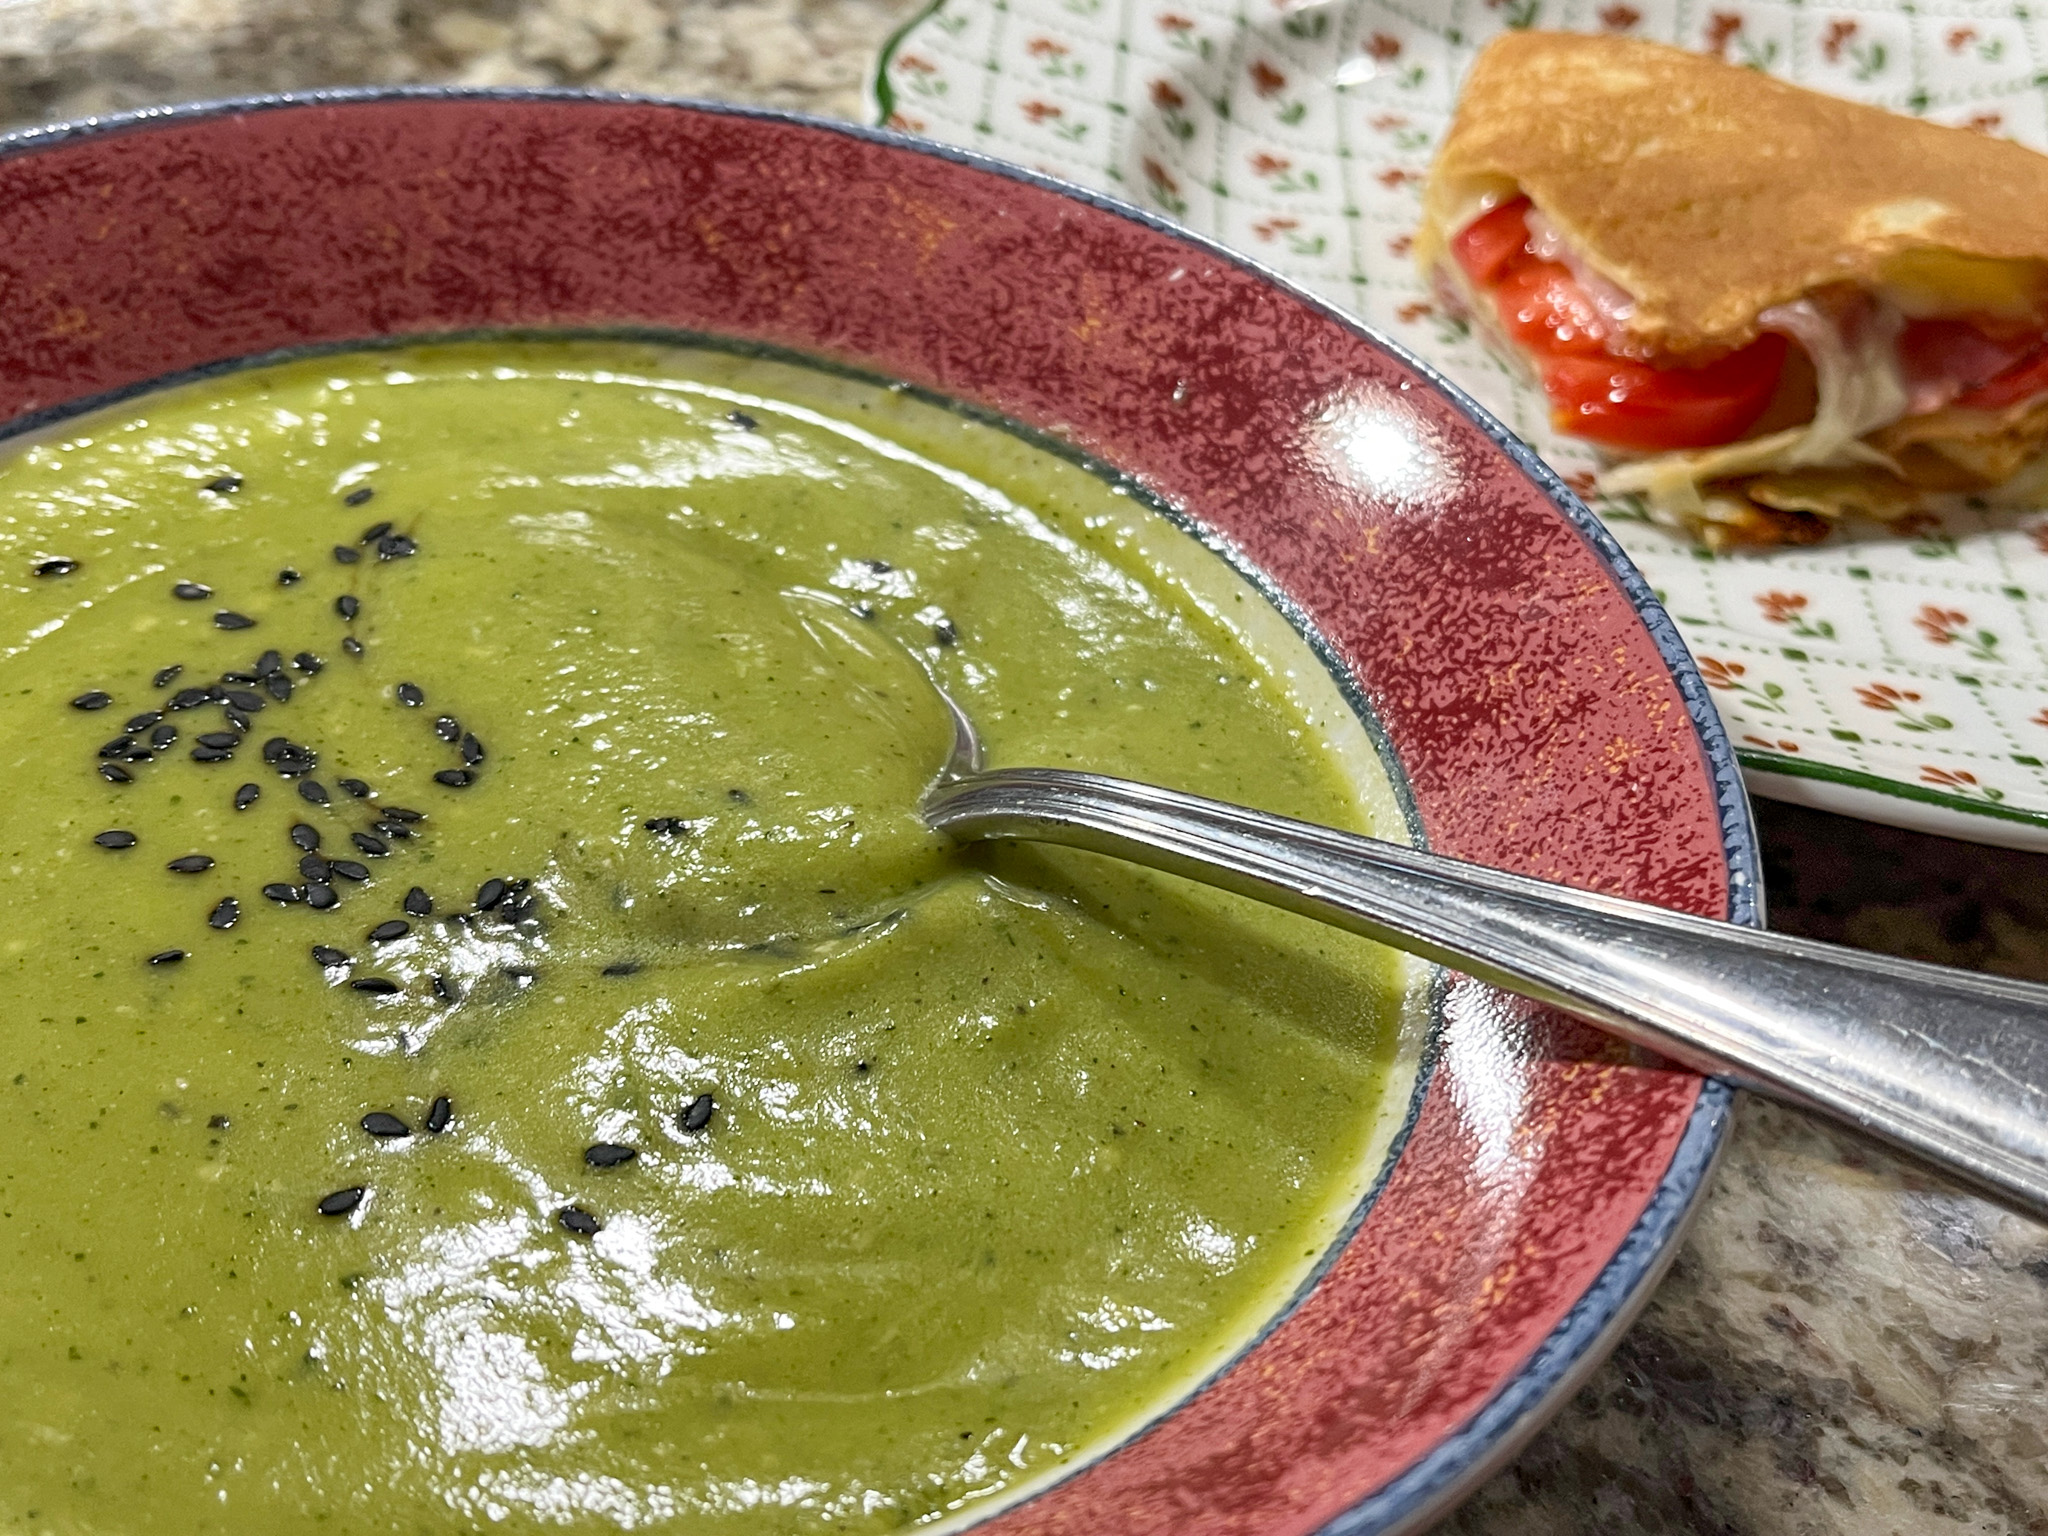
And of course, the icing on the cake…. my lunch next day!!!!

ONE YEAR AGO: My First Video Tutorials
TWO YEARS AGO: Citrus and Herbs Roasted Chicken Thighs
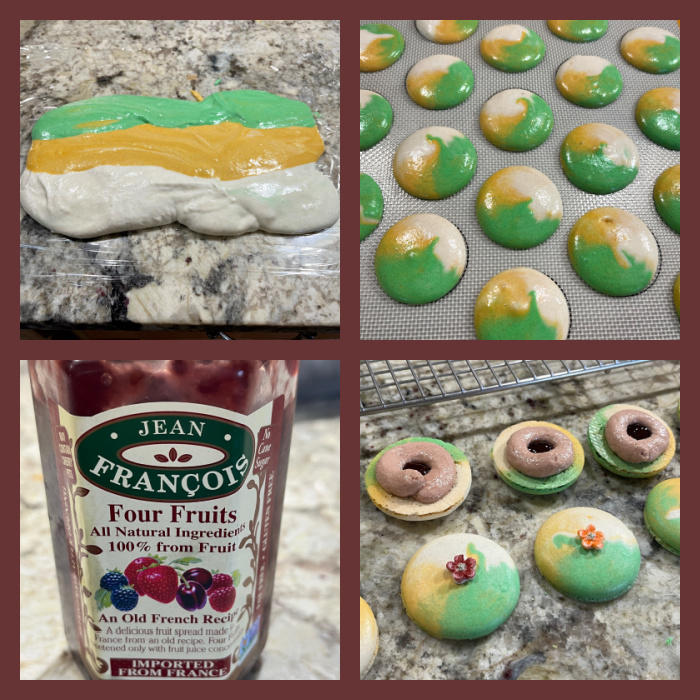
THREE YEARS AGO: Springtime Piped Flower Macarons
FOUR YEARS AGO: Charcoal Sourdough
FIVE YEAR AGO: Smokin’ Hot Meatloaf and Homemade Ketchup
SIX YEARS AGO: Ispahan Macarons
SEVEN YEARS AGO: Banana Bread with Espresso Glaze
EIGHT YEARS AGO: Slow-Cooker Carnitas & Paleo Planet Cookbook Review
NINE YEARS AGO: The Making of a Nobel Reception
TEN YEARS AGO: Fennel Soup with Almonds and Mint
ELEVEN YEARS AGO: Green Curry Pork Tenderloin
TWELVE YEARS AGO: Farfalle with Zucchini and Ricotta
THIRTEEN YEARS AGO: Slow-baked Salmon with Lemon and Thyme
FOURTEEN YEARS AGO: Hoisin Explosion Chicken