HEARTS OF PALM SALAD WITH CILANTRO VINAIGRETTE

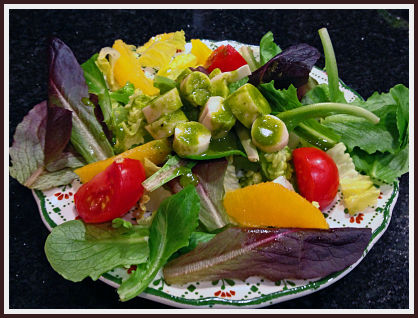
Cilantro haters better quit reading right away!  This is a salad for those of us who can take this gorgeous herb in all its green glory…   Very tropical, very Brazilian with the addition of hearts of palm and oranges.

served1_opt

HEARTS OF PALM SALAD WITH CILANTRO VINAIGRETTE
(adapted from Food and Wine magazine)

for the vinaigrette
2/3 cup cilantro leaves
1 tablespoon finely chopped shallot
3 tablespoons fresh lemon juice
1 tablespoon red wine vinegar
2 teaspoons honey
1/2 cup extra-virgin olive oil
Salt and freshly ground pepper

for the salad
baby romaine lettuce leaves
campari tomatoes, quartered
orange segments
hearts of palm, sliced

Add the cilantro leaves, shallots, lemon juice, vinegar, and honey into a blender. Process until very smooth.  With the blender running, slowly add the olive oil. Season with salt and pepper. Reserve.

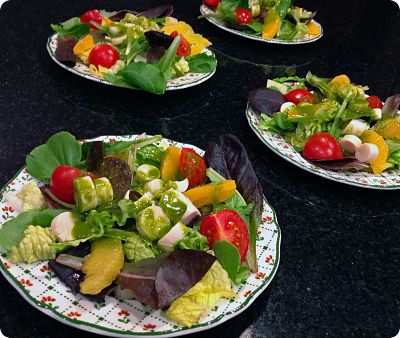
Assemble the salad on individual plates, making a bed of lettuce leaves, adding tomatoes and orange segments on top. Place the hearts of palm slices in the center, drizzle the vinaigrette all over. You should have vinaigrette leftover; it keeps well in the fridge for a few days.

ENJOY!

to print the recipe, click here

Comments:  When we have friends over for dinner, we normally bring the food to the table and let the guests serve themselves. I like informal. But, for this salad I opened an exception, and pre-assembled four individual servings. I wanted to highlight the hearts of palm, and make sure they would shine at the center, lightly covered by the bright green vinaigrette.  I loved the way the plates stood up waiting over the black granite, colorful, bright, as if calling for an early spring…  What am I saying? Spring can never be too early! 😉

party_opt

ONE YEAR AGO: Watercress Salad

TWO YEARS AGO: Curried Zucchini Soup

THREE YEARS AGO: Chocolate Bread

THE BLOGGER AND THE SHRINK

This really made me laugh!   Maybe if you are not a blogger some of its impact will be lost, but this cartoon is perfect…

CommentBlues

Have a great Friday, everyone!  And remember, as a friend of mine always says: Humor is medicine!

(cartoon from Ward Sutton appeared on The New Yorker)

BOEUF BOURGUIGNON ON A SNOWY EVENING

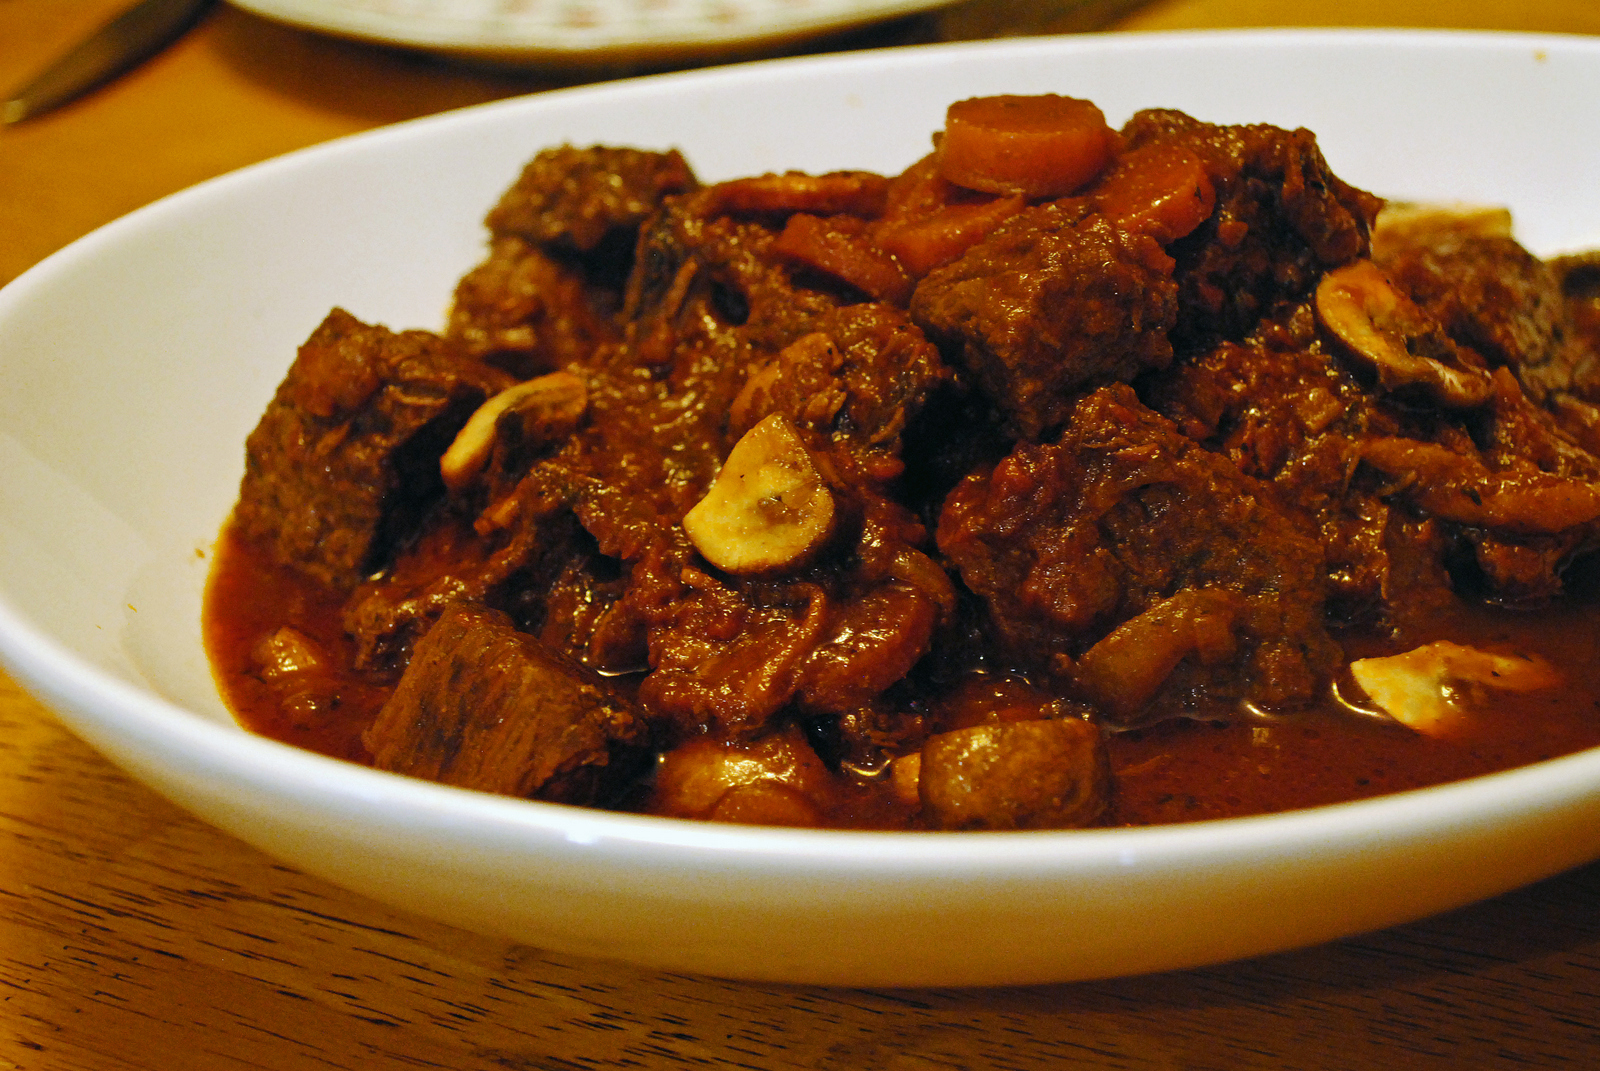
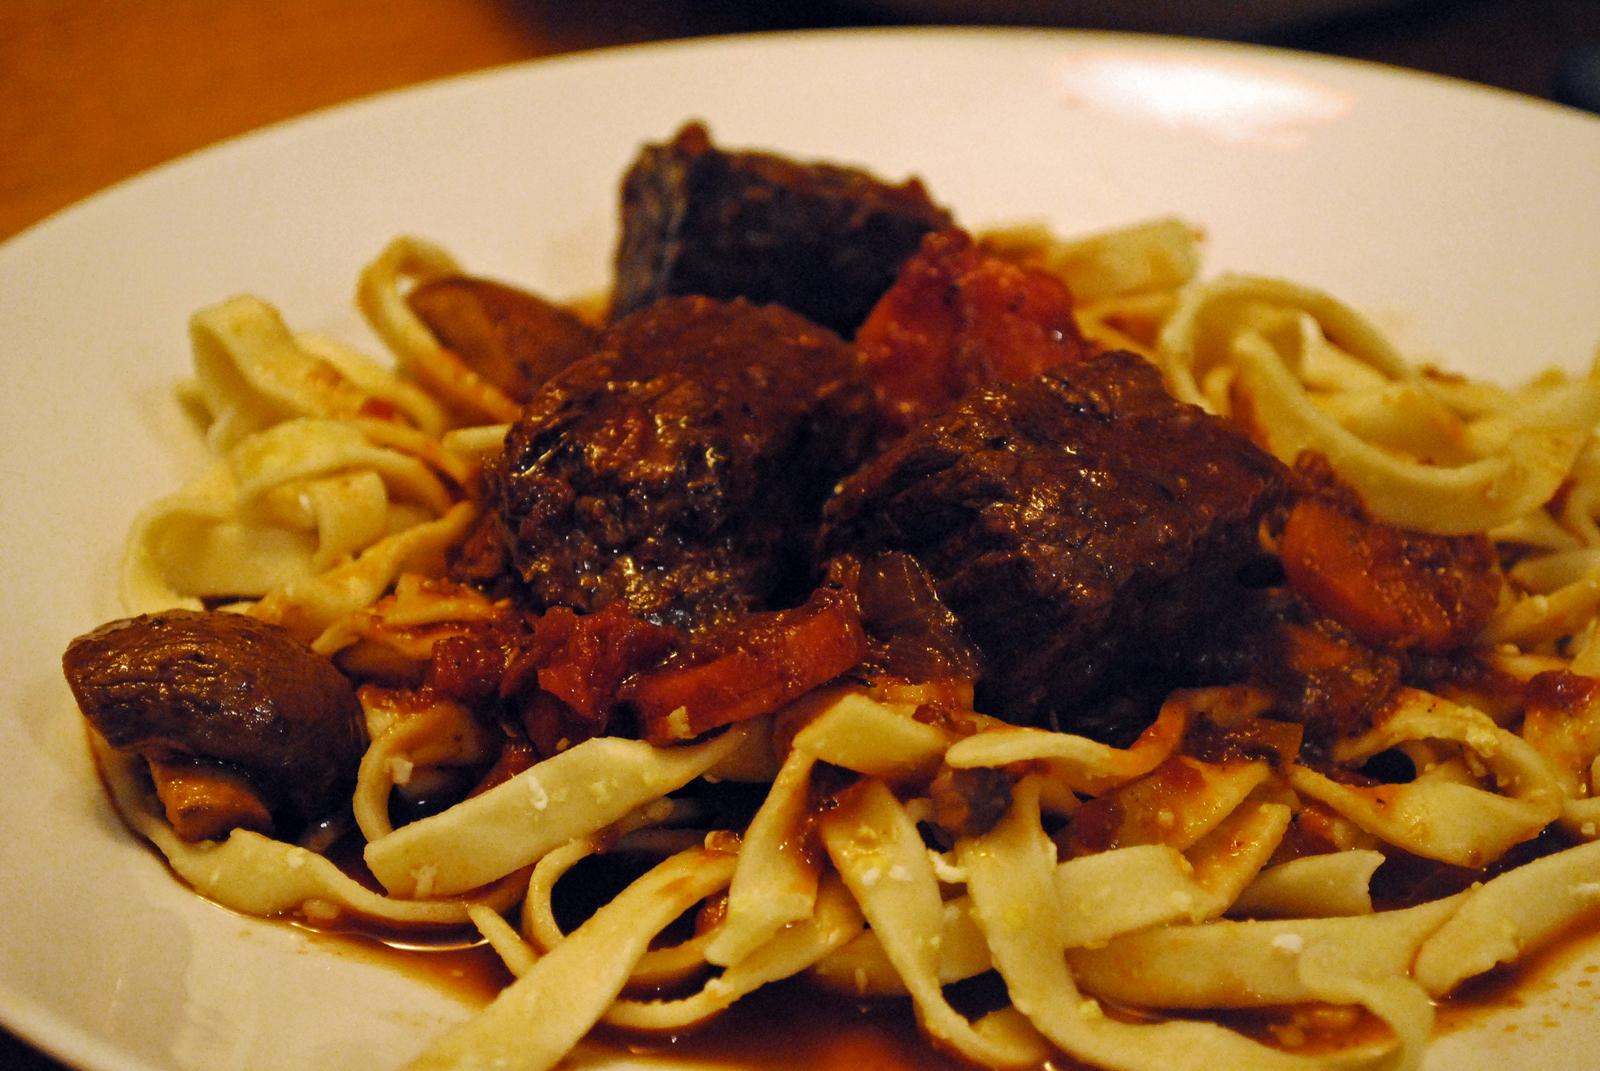
Phil rarely requests a specific recipe for dinner, with the exception of my chicken parmigiana, that he craves on a regular basis.  Last weekend, though, he did not even blink when I asked for ideas.  Boeuf Bourguignon.  Clearly, a man of fine tastes! It was my turn to cook on Sunday, so that was a perfect suggestion.  With all our grocery shopping done the day before, I indulged in the preparation of this French classic all afternoon.  The snow falling outside was a perfect setting for our dinner…
served1

BOEUF BOURGUIGNON
(adapted from Julia Child)

6 oz bacon
2 Tbsp olive oil
4 pounds beef chuck, cut into 2-inch cubes
Salt and freshly ground pepper
1 cup sliced onions
2 cups sliced carrots
1 bottle of red wine
2 cups beef broth
1 cup chopped tomatoes
1 bouquet garni (tie 8 parsley sprigs, 1 large bay leaf, a few sprigs of dried thyme and wrap in cheese cloth)
24 pearl onions
2 tablespoons butter, divided
1 teaspoon sugar
Chicken stock
1  pound cremini mushrooms, cut in large pieces

Blanch the bacon to remove its smoky taste by dropping the slices into 2 quarts of cold water, bringing to a boil, and simmering for 6 to 8 minutes. Drain, rinse in cold water, and dry on paper towels.

In a large frying pan, sauté the blanched bacon to brown slightly in a little oil; set them aside. Brown the chunks of beef on all sides in the bacon fat and some olive oil, season with salt and pepper, and put them into a heavy casserole pan with a lid. Cut the bacon into 1-inch pieces and add to the browned beef.

Remove all but a little fat from the frying pan, add the sliced vegetables and brown them.  Add the veggies to the casserole containing the beef and bacon. Deglaze the frying pan with the wine, mixing it well to dissolve all the browned bits left from browning the meat and veggies. Once it’s all deglazed, add the wine into the casserole along with enough stock to almost cover the meat. Stir in the tomatoes and add the herb bouquet. Bring to a simmer, cover, and place in a 325°F oven, until the meat is tender, about 3 hours.

While the stew is cooking, prepare the onions. Blanch them in boiling water for 1 minute. Drain and rinse in cold water to stop the cooking. Peel the onions and score the root end with 1/4 inch cuts. Sauté onions in a single layer in a tablespoon of butter until lightly browned. Add chicken stock or water half way up the sides of the onions. Add a teaspoon of sugar, and season with salt and pepper. Cover and simmer slowly for 25 minutes or until tender. The onions should absorb most of the water. If there is water remaining after cooking, drain the excess. Set aside.

A few minutes before serving the stew saute’ the mushrooms in butter until browned and cooked through.

When the meat is tender, remove the bouquet garni from the cooking liquid, if necessary cook longer without the lid to reduce it further. Add the onions, mushrooms, and serve.

ENJOY!

to print the recipe, click here

plated1-001

This is comfort food at its best!  The big batch I made lasted us for three meals, and it was better and better each day.  My only modification of the classic was omitting a beurre manie’ step at the end.  Julia thickens her sauce with a mixture of butter and flour, but instead I cooked the meat longer in the oven, reducing the sauce without any need for thickening agents.  It was luscious and plenty thick for our taste. In fact, on the last evening I had to add some water to the leftovers to thin it slightly.

When you make this dish, I’d say the most important step is browning the meat.  You’ll need all that caramelization on the outside to give maximum flavor and a perfect texture at the end of the cooking time.  It makes me think of a Zen proverb, full of the wise simplicity often associated with them:  “When walking, walk. When eating, eat.”    Not to make light of the Chinese wisdom, I’d like to add:  “When browning the meat, brown the meat.”   😉  Do it slowly, do it mindfully, do it well.  No crowding the pieces in the oil, no moving them around until they are properly seared.  Enjoy the process!

ONE YEAR AGO: Chickpea Salad

TWO YEARS AGO: Soft Spot for Chevre

THREE YEARS AGO: Roasted Onion and Asiago Cheese Miche (this bread is simply outstanding!)

SECRET RECIPE CLUB: OATMEAL FUDGE BARS

platter2

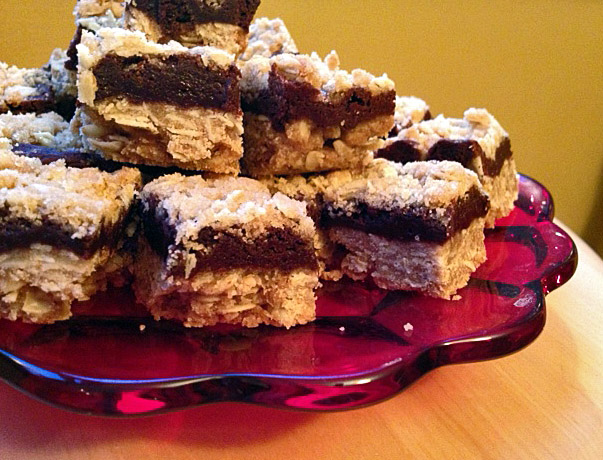
Mondays keep coming, rushing over me, but the toughest day in the week is made brighter when it’s…. Reveal Day of The Secret Recipe Club!  This club is getting more and more interesting, as new food bloggers join in. I heard the waiting list is huge, so if you have any interest in this type of group event, get yourself in line!    This month I was paired with the blog Everyday Insanity. The name describes my days quite closely… 😉  I also love her tag line: Tackling life, one brownie recipe at a time!  Everyday Insanity is hosted by Cindy, and her choice of name for the blog might be due to her having 6 kids and 14 grandchildren!  My life all of a sudden feels like a walk at the park. Seriously.  Her blog is full of tasty recipes, not only sweets.  I was very tempted to make her Thai Coconut Chicken soup, but these bars won me over. Plus, the timing was perfect: I brought them to our department on Valentine’s Day!

OATMEAL FUDGE BARS
(from Everyday Insanity)

1 cup quick-cooking oats
1+1/4 cup light brown sugar, divided
1 cup all-purpose flour, divided
1/4 tsp baking powder
1/4 tsp baking soda
1/4 tsp salt + 1 pinch, divided
10 tbsp unsalted butter, divided
1 + 1/2 cups chocolate chips
1 egg

Heat your oven to 325 degrees. Line an 8 inch square baker with aluminum foil, allowing excess to hang over the edges of the pan.  Grease foil; set pan aside.

Combine the oats, 1 cup of brown sugar, ¾ cup of flour, baking powder, baking soda, and a pinch of salt.  Stir together in a bowl to combine.  Melt 8 Tbsp butter and stir into the oat mixture until combined.  Reserve ¾ cup of the mixture for the topping.  Sprinkle the remaining oat mixture over the bottom of the prepared pan and press into an even layer.  Bake until light golden brown, about 12 minutes.  Cool completely, about 1 hour.

Combine the remaining ¼ cup flour, the remaining ¼ cup brown sugar, and the remaining  ¼ tsp salt in a bowl.  Set aside.

Melt the chocolate chips and the remaining 2 Tbsp butter in a large bowl, microwaving at 50% power in 30 second intervals, stirring after each.  Let cool slightly.  Add the egg and whisk until combined.  Use a rubber spatula to fold in the flour mixture, stirring until just combined.

Pour the chocolate filling over the cooled crust and sprinkle with the remaining oatmeal mixture.  Bake until a toothpick inserted into the center comes out with a few moist crumbs attached, 25-30 minutes. Cool completely on a wire rack.  Using the foil overhang, lift the bars from the pan and cut into squares.  Store leftovers in an airtight container at room temperature.

ENJOY!

to print the recipe, click here

cutting
Comments:  Valentine’s Day this year fell on a Thursday, so I bravely decided to tackle this recipe the evening before. After work. After dinner. Not a smart move.  I completely overlooked the instruction to “reserve part of the mixture for the topping”, and of course got into full-blast panic mode when I noticed my mistake.  By then the base of the bar was already in the oven.   I rushed to make a little more topping, calculating proportions of all ingredients quickly in my mind, hoping for the best.  Probably due to my level of stress, the chocolate seized in the microwave, prompting me to throw one of those fits that brings Phil back into the kitchen, already holding a box of Kleenex.  To make a long story short, without him, there would be no bars.  Unbearable thought.

So, when you make these absolutely delicious bars, do yourself a favor and follow the recipe as written.  That way the base of your bar will the thinner, and the crumb topping will be lighter, as intended.

Cindy, it was wonderful to get to “meet” you through this baking adventure!  Thanks to you (and also to the imperturbable man I married), I could take a platter full of sweetness to work on the sweetest day of the year!
department

To see what others in my group prepared for Reveal Day, click on the funky little frog smiling at the end of the post. Do you want to know who got my blog and what she cook from it?   Jane, from The Healthy Beehive picked a favorite recipe of mine, check it out by clicking here

ONE  YEAR AGO: Cauliflower Steaks

TWO YEARS AGO: Soft Spot for Chevre

THREE YEARS AGO: Quick sun-dried Tomato Crostini



JAMMIN’ BLUEBERRY SOUR MILK PANCAKES

Once again, a guest post by Phil, my husband, best-friend, and labmate!  😉

closeup

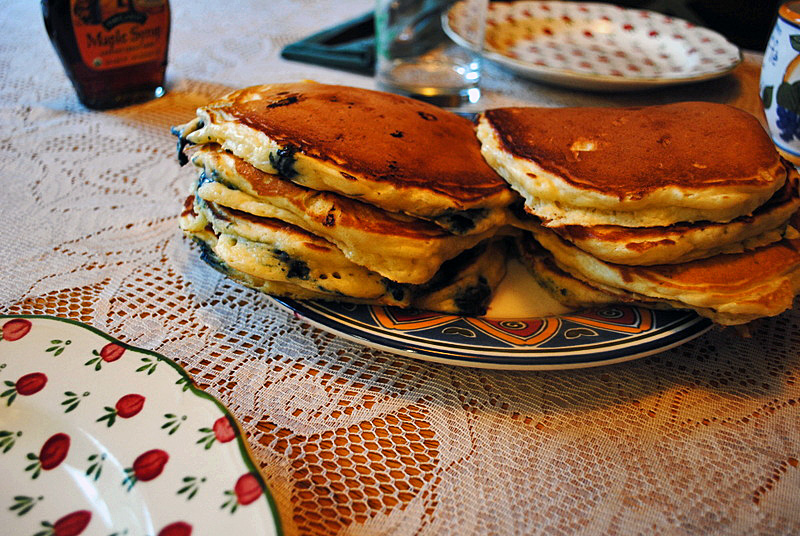
This delicious recipe goes back to another era, back to Sunday Mass at St. Casimir’s  in Lansing MI, when I was 8 or 9 and each week mom and dad dragged us in our Sunday best to the 8 or 9 am mass, about which I most remember kneeling for extended periods with my head buried in my clasped hands on the pew, thinking about playing baseball or slot cars.   The only “redemption” from that experience was the batch of sour-milk pancakes  my mom often whipped up afterwards.   I liked them so much that after a while I began to help her, and eventually took over the Sunday morning cooking duties.   Since then I made these pancakes for my housemates, girlfriends, wife, siblings, sons and visitors to our home.    They are so simple that I never forgot them.  The key component is a now seldom-used or seen ingredient, sour milk.  In those days it was easy to come by, probably from less efficient pasteurization or fewer preservatives.   But, you can still let a quart of milk go sour, or you can buy a quart of buttermilk,  an adequate substitute.

Of course, I try to make them in a way that duplicates my mom’s,   and also my grandma’s and aunt Mildred’s pancakes.  The recipe became so popular in our family that everyone from Detroit to Chicago knew it, and they both made them for us when they visited.   However, because they all departed this world before I thought to question them about their excellent techniques, my recipe has a few of my own modifications.  I’m still wondering why my grandma’s rose less during the cooking.  I’m working on that.
pancakes1

SOUR MILK PANCAKES
(a family recipe)

Ingredients:
1 Tablespoon butter
2 Tablespoons sugar
1/2 teaspoon salt
1 large egg
7/8 cup flour (see recipe for details)
1/2 teaspoon baking powder
1 cup sour milk (or buttermilk)
1/2 teaspoon baking soda

Method:
1.  In a large bowl cream 1 T butter, 2 T sugar, ½ t salt.

2.  Beat in 1 large (or extra-large / jumbo) egg.

3.  To the flour  (cake, unbleached, whole-wheat, buckwheat or my favorite: half unbleached/half whole-wheat flour) mix in ½ t baking powder; add it to the egg mixture.

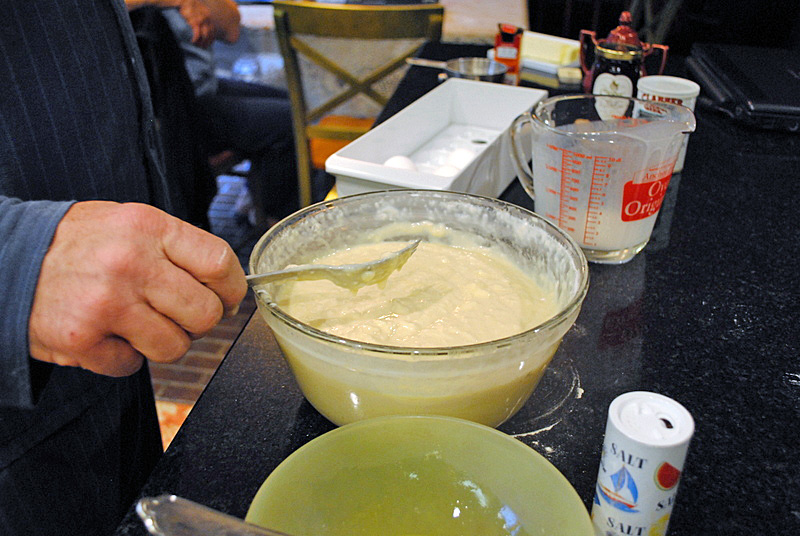
4.  To 1 cup sour milk (or buttermilk) in a 2-cup measuring container add ½ t baking soda; whip by hand with a fork until the sound deepens when the milk thickens; add to the batch and fold until fully mixed.

5.  Rub a gas or electric griddle (at 375 F) with a small tab of butter on a paper towel.  Use an ice-cream scoop to deposit the pancakes; sprinkle in blueberries if you like; cook until the bubbles pop and then flip them for a couple of minutes.

6.  Splurge and serve with real maple syrup.  No need to butter them.   Skip the blueberries on half the batch and  top a couple of  pancakes with  eggs fried over-easy…that’s breakfast, baby.

ENJOY!

to print the recipe, click here

composite

Sally’s comments: I find it hard to believe that this blog is approaching its 4th year of life, and I had not yet shared Phil’s recipe for blueberry pancakes. It is outrageous! One important thing to consider: these pancakes must be made by a man still wearing his pajamas. It is part of the deal. They taste much better this way…  😉

battertable

ONE YEAR AGO: Scallops with Black Pasta in Orange Cream Sauce

TWO YEARS AGO: Stir-fried Chicken with Creamed Corn

THREE YEARS AGO: Potato, Cheddar, and Chive Torpedo