It is that time of the year… I invite my readers for a walk around our kitchen. In My Kitchen posts started many years ago with Celia and is now hosted by Sherry, from Sherry’s Pickings. The idea is to share whatever you feel like. New gadgets, new ingredients, new cookbooks. Perhaps a few kitchen boo-boos (read on). Make sure to visit Sherry’s site, so you can check what is happening in kitchens all over the world. And, if you are a food blogger, why not join this virtual fun? I’d love to see what’s happening in your kitchen too…
In our kitchen….

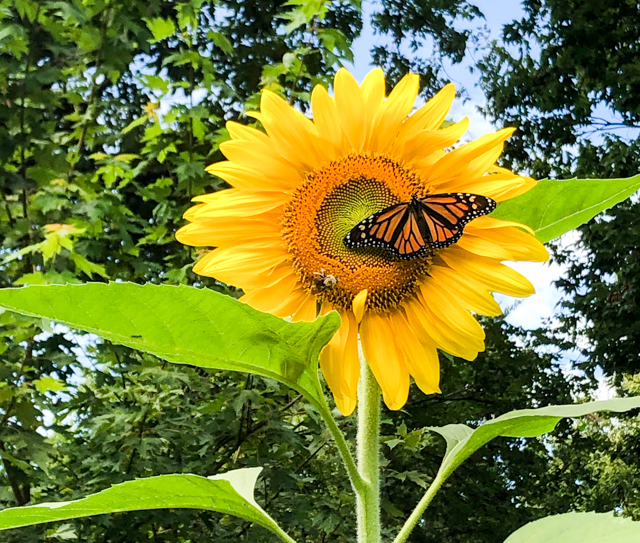
I never get tired of these Japanese fermented drinks! In fact, they transport me straight to my childhood in Brazil. They were sold door to door by beautiful Japanese women carrying them in some type of insulated bag, and my Mom used to buy enough to last us until the next visit. Not very easy with me around. For decades I lost track of Yakult, but a few years ago our main grocery store in town started to sell them. And the best part is that I “converted” Phil into a Yakult-lover too.
In our kitchen….
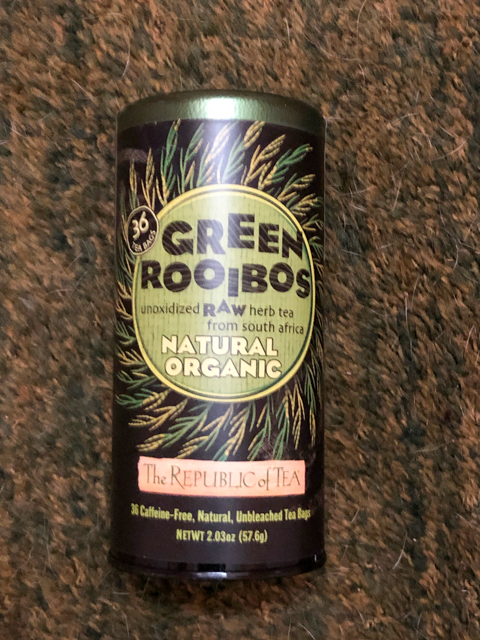
My new tea-passion (it seems I keep finding teas to fall in love with on a regular basis). I’ve always known and enjoyed the regular type, red rooibos, but my friend Heather gave me the heads up on the green version which is not roasted. Oh, my! The flavor! It is so subtle and mellow, I highly recommend you try it if you just know the more common type.
In our kitchen…

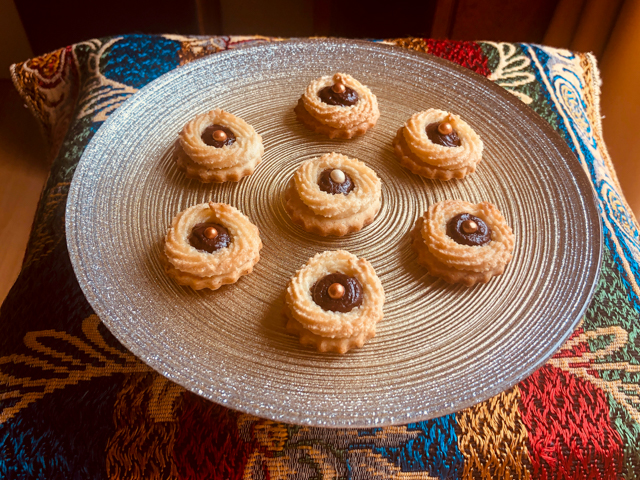
Speaking of tea, I got a little Japanese tea cup that I found online. However, although I love the pattern, it is a bit too small, so I will use it instead to serve nuts and crackers. But it is so whimsical, I intend to somehow mimic the pattern in a certain cookie made with almond flour and meringue. Can you guess which?
In our kitchen….
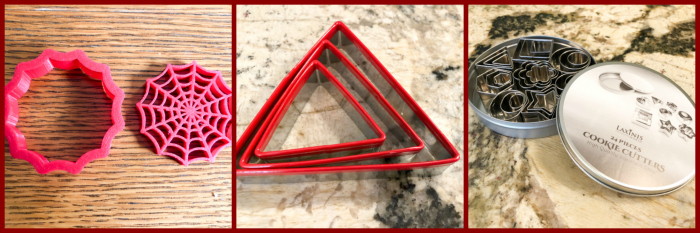
A few cookie cutters, the spider web is pretty cute, makes it a lot easier to decorate a spooky sugar cookie. The triangular coupled with mini-cookie cutters came in pretty handy to make some chocolate sandwich cookies that at some point shall be blogged about. I share a little sneak preview of both cookies…

In our kitchen…
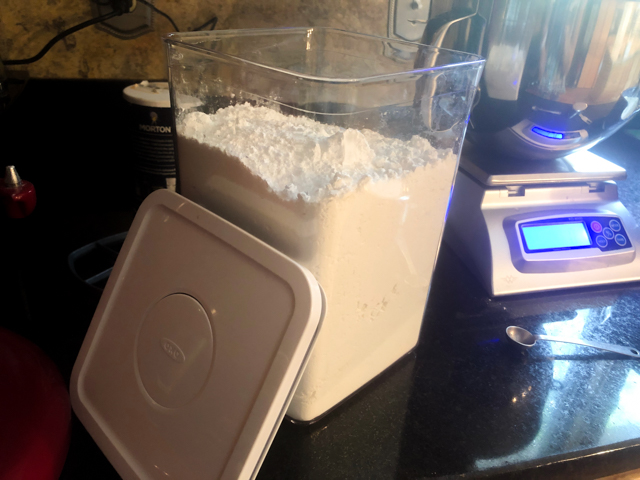
I cannot believe that it took me years to figure out that a huge container for powdered sugar is the best way to deal with it. It holds several bags, and makes life so much easier!
In our kitchen….
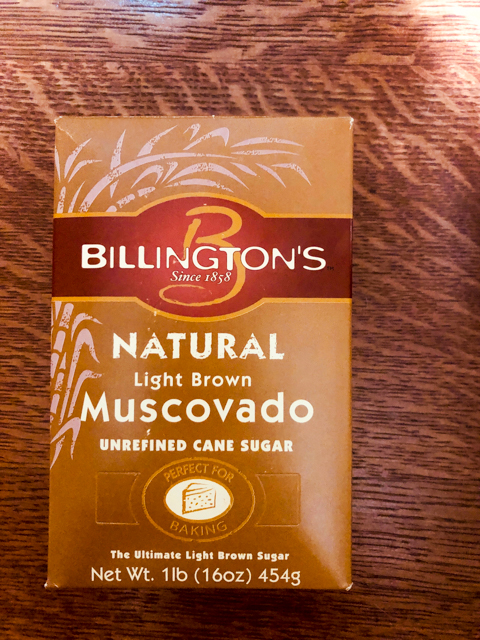
This is my favorite light brown sugar, straight from the UK, but I found at amazon for a pretty good price, and of course, could not resist ordering some.
In our kitchen….
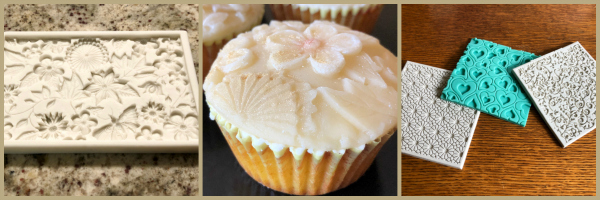
Fondant mats, also work great for marzipan, as you can see in the little lemon cupcake at the center. You simply roll the marzipan on top of the mat and gently pull it with the nice impression formed on it. Etsy is a great place to find them, although the first one is from Nycake.com. and to be honest, their stuff is a bit pricey. But very high quality.
In our kitchen….
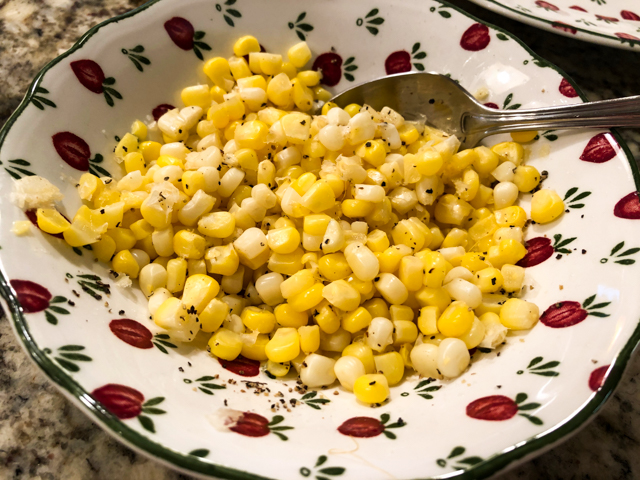
This is the labor of my beloved husband to his braces-wearing wife. Every time he cooks corn on the cob, he shaves the kernels off for me, season with salt, pepper, and lime, the way I like it… And it just melts my heart. It is still a bit of an ordeal to brush the teeth later, but totally worth it. You guys have no idea how much I miss eating corn on the cob with gusto.
In our kitchen….
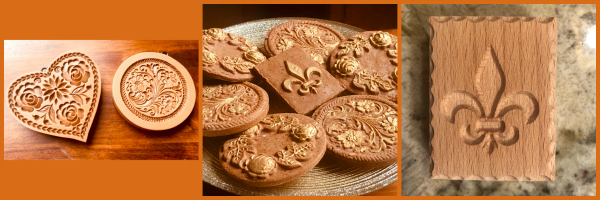 Springerle molds, which are slowly turning into an obsession of mine. It is the type of baking that brings me peace and serenity. Some molds work better than others, and I am still figuring things out in terms of dough recipes, flavors, decorations.
In our kitchen….
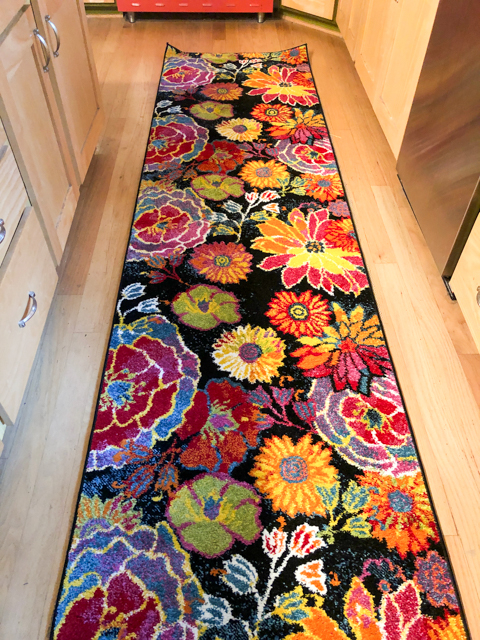
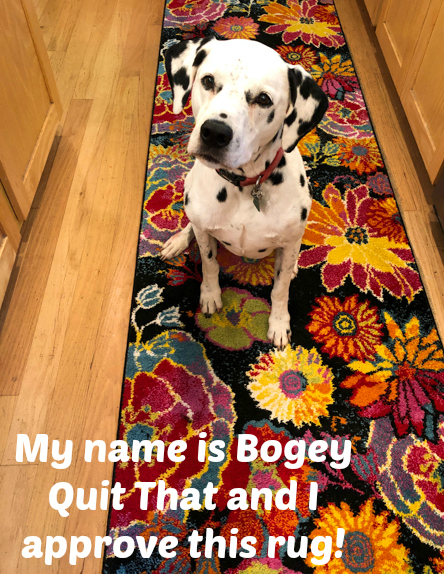
A new runner rug, as the old one got all stained and ugly as the years went by. I love the colors, and some of the flowers will definitely inspire cookie decorations…
In our kitchen….
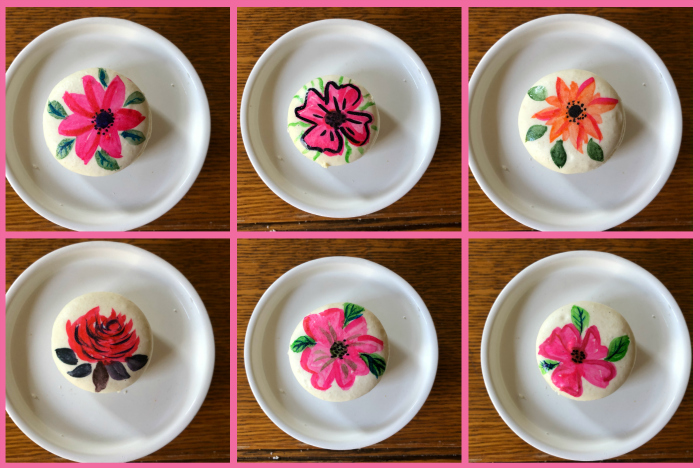
Speaking of cookie decorations… Painted Macarons… Yes, I know there is room for improvement, but I still have a lot of fun channeling my inner Monet. Painting cookies, oddly enough, relaxes me. I don’t think about politics, I don’t think about Covid, I get into a soothing Zen-mode instead.

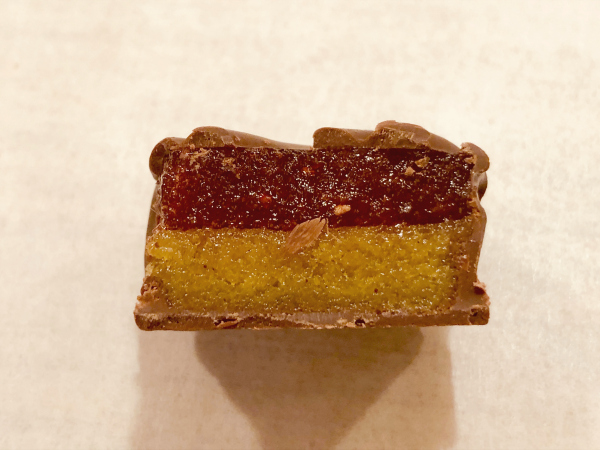
In our kitchen…
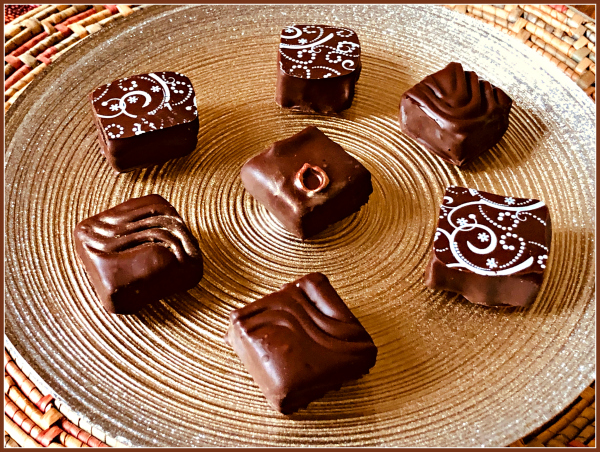
A work in progress… my first attempt at hand-dipped bonbons, these are filled with pistachio and strawberry, but I had issues with the decoration. They were supposed to be decorated with two circles, one red, one green, but I was barely able to add one ring in some. I ended up using transfer sheets for many of them instead, the famous Plan B. I am gathering my strength to try again, it is quite a bit of work, but also a ton of fun!
In our kitchen…

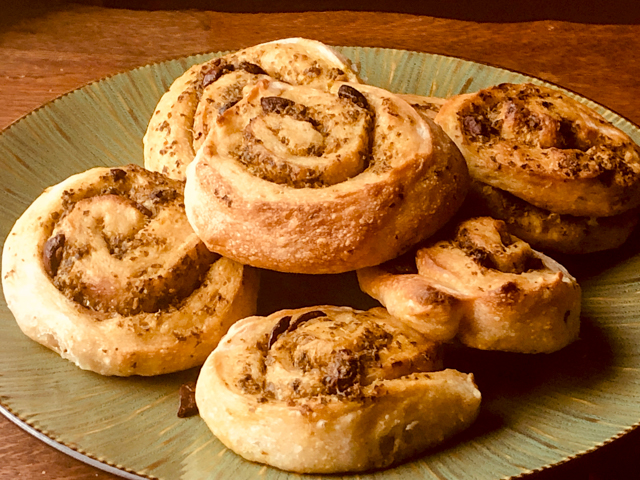
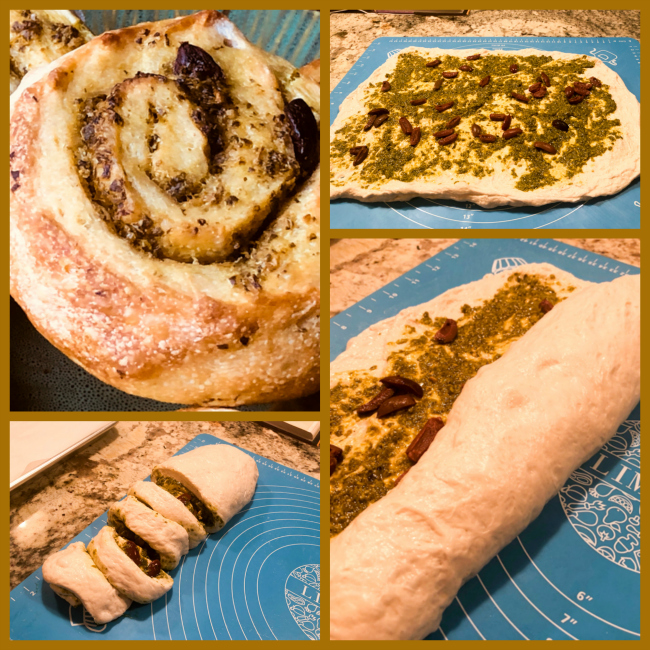
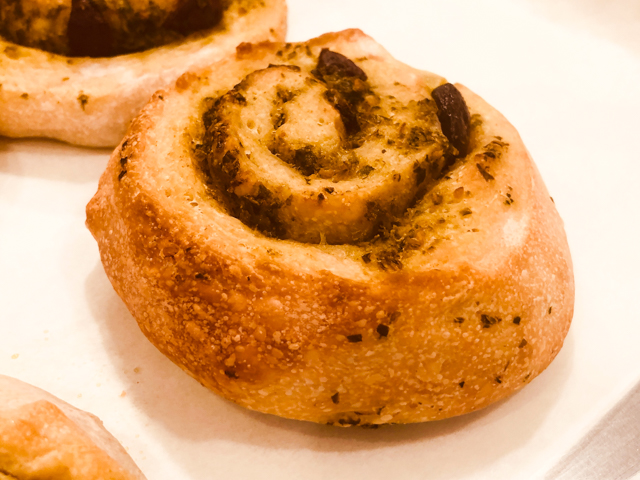
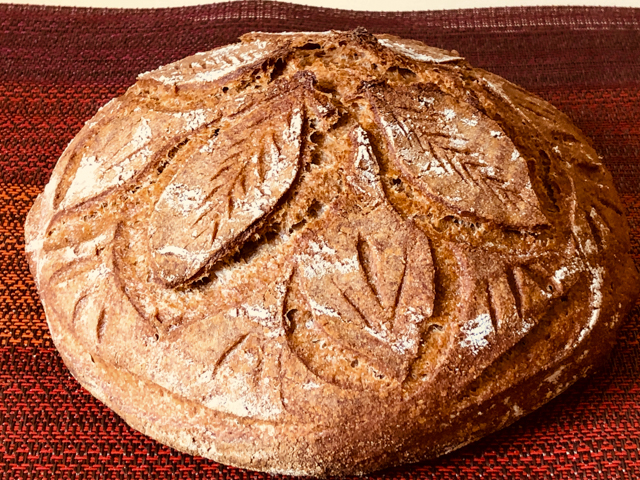
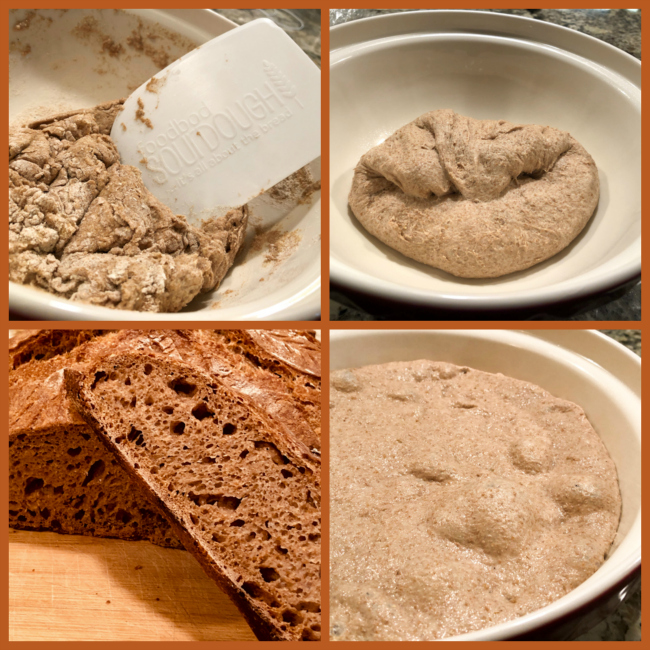
A truly spectacular cinnamon raisin bread, which was part of a bake-along organized by my friends Caroline and Robyn, associated with a Facegroup Fan Page for the Great British Bake Off. If you want to see a very detailed tutorial to bake it, click here. I made half the recipe for one loaf only.
Speaking of Caroline….
In our kitchen….
The clash between dream and reality….

This fun picture was a gift from my friend Caroline, who runs a fantastic baking blog that I urge you to visit (click here). Her son made this composite shot, with the mixer of my dreams, a beauty I saw face to face (rather… face to machine) in London last year (for a picture of the real meeting, go to last year’s IMK). Yes, allow me to dream…
Because reality is quite a bit harsher as far as mixers are concerned….

Bread dough was happening. As I added a bit more flour with the machine still running, the hook hit the measuring cup, catapulting it up and… well, the picture is worth a thousand words. It did not bring me joy.
And do you want to know what else did not bring me joy?
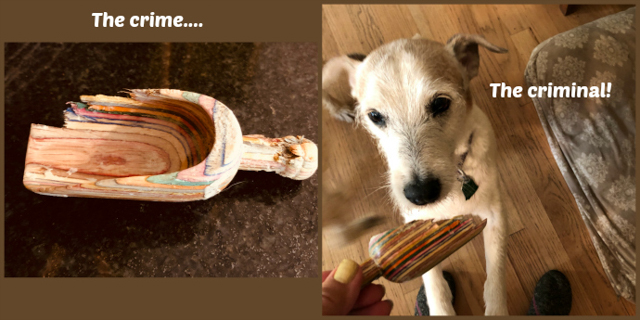
My favorite flour scoop, that I’ve had for years and years, somehow found its way to Buck’s bed, and again, the rest is history. I’ve been searching for one like it, so far, no luck. If anybody knows where to get it, please leave me a comment.
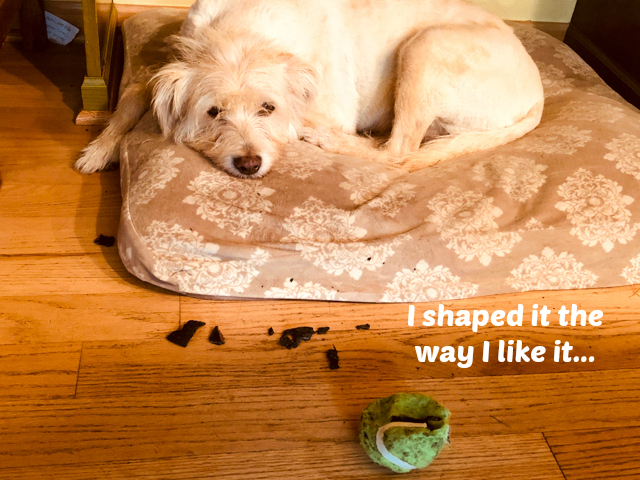
And along the non-joy movement…. (RESPECT: something I seem unable to obtain in the sanctity of my own home)
Well, I guess the pups made their way into my post, once again. Come to think of it, this round up of In My Kitchen did not start with gifts, as I did not get any lately. Proving that the pups are way more popular than the food blogger, they got a gift in the mail, from my friend Jennifer…. Thank you, Jennifer!!!!

Life in pandemic times seem to suit them well. They are rarely outside, and “vacations” at the kennel are now nothing but a distant memory. Their main concern? Protect their humans and their property.
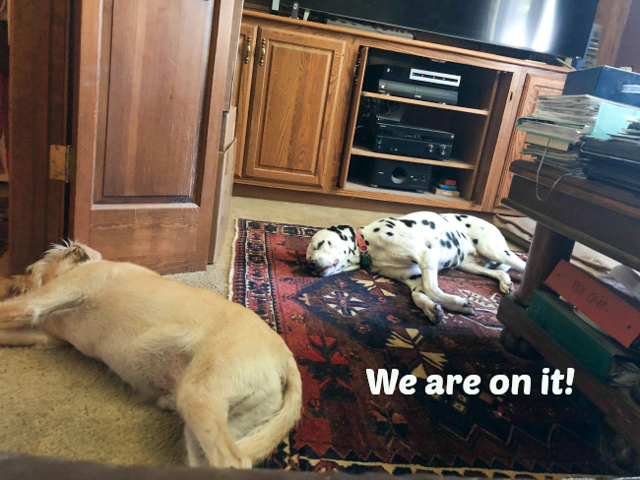

They will take breaks from snoring away anytime their help in the kitchen is needed.’

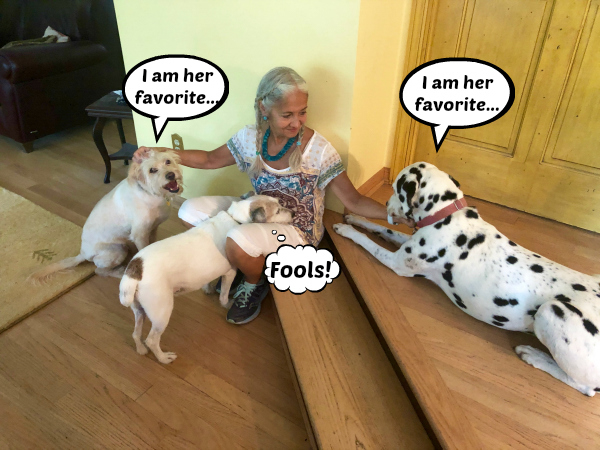
And are always happy to bond with one of their favorite humans…
So much sleeping and hanging around the house gets Buck a bit worried about his waistline, so he decided to drop us some hints….

Which prompted me to take him for walks, where love at first sight was waiting just a few houses down the street….

That female Jack Russell is a firecracker indeed! She is just one year old, and patrols her front yard like nobody’s business… barks, barks, and runs around the tree in circles (they keep a long leash tied to the tree). But that day, they both froze, staring at each other as if struck by Cupid’s arrow. It was very sweet to witness…
 Unfortunately, his sex appeal is a bit diminished after he and Oscar got into a little fight. Not over the attention of a female pup, but over an EMPTY food bowl that Oscar decided to protect as if it contained medium-rare T-bone steak. Go figure that one out. He is fully recovered by now, just a small scar and a bald spot where the cut was.
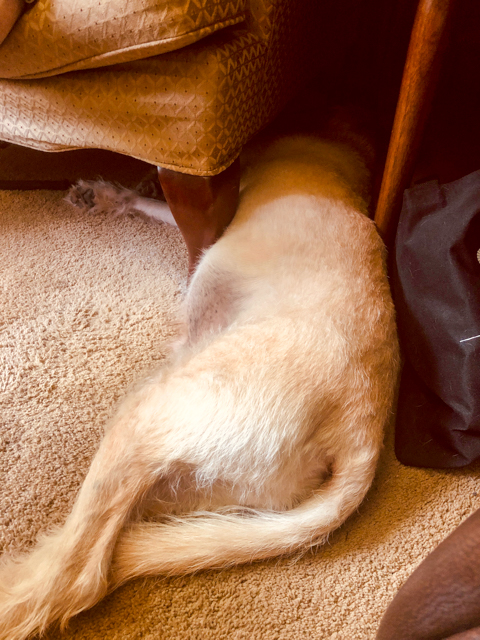
What can I say? Oscar is a special boy…
With very odd ways to get comfortable around the house. This is by far his new favorite spot now, wedged in between the leg of an armchair and the leg of the table. It hurts my ribs to look at it.
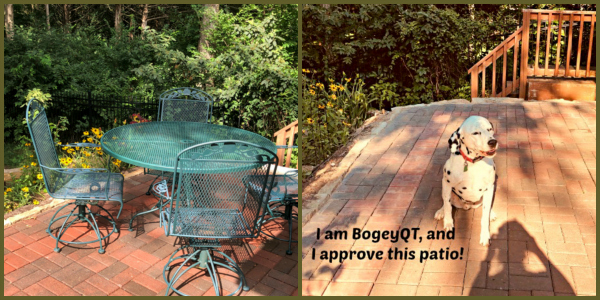
If you remember from my last In My Kitchen, Phil worked hard to build us a little outside patio, and I am thrilled to inform that the project is finished and was a total success! Every evening we have a cup of tea together sitting outside. We are thinking of getting one of those stand up propane heaters so we can still enjoy our patio as the weather gets colder (sigh).
So that’s all for now, folks. I hope you liked this little tour around the Bewitching Kitchen… see you for another one on the first day of 2021! And may 2021 be A LOT better than 2020. Right? Right?

ONE YEAR AGO: In My Kitchen (and Beyond), October 2019
TWO YEAR AGO: In My Kitchen, October 2018
THREE YEARS AGO: In My Kitchen, October 2017
FOUR YEARS AGO: Little Bites of Paradise
FIVE YEARS AGO: Coxinha de Galinha: A Brazilian Delicacy
SIX YEARS AGO: Prosciutto-Wrapped Shrimp Skewers
SEVEN YEARS AGO: A Simple Dinner
EIGHT YEARS AGO: Brown Butter Tomato Salad
NINE YEARS AGO: Spelt and Cornmeal Rolls
TEN YEARS AGO: Roasted Potato and Olive Focaccia
ELEVEN YEARS AGO: Multigrain Bread Extraordinaire