Huge thank you to my daughter-in-law Courtnie, for bringing this recipe to my attention. But first, let’s go over a few issues: the authentic Alfredo sauce, created in Italy back in 1908 by Chef Alfredo di Lelio, has very little to do with the versions made in the USA to this day. The traditional sauce (you can find the recipe here), uses only butter, Parmigiano cheese and pasta cooking water to form a rich emulsion. In the USA, heavy cream, cream cheese, garlic and other items are added, to create an even richer dish, that requires less skill from the cook, as the tricky emulsification step is not needed: things get saucy almost with no effort. If you want to have the real thing, try the original. The version I share with you today is creamy, satisfying, but has a lot less saturated fat (and calories). We loved it so much, it became part of our dinner rotations and you can read the comments after the recipe for different ways we’ve been using it.
LIGHT “ALFREDO” SAUCE
(slightly modified from showmetheyummy)
1 tablespoon extra virgin olive oil
2 tablespoons cornstarch
1 cup vegetable broth
½ cup skim milk
½ cup non-fat greek yogurt room temperature
½ teaspoon salt
¼ teaspoon black pepper
½ cup freshly grated Parmigiano cheese
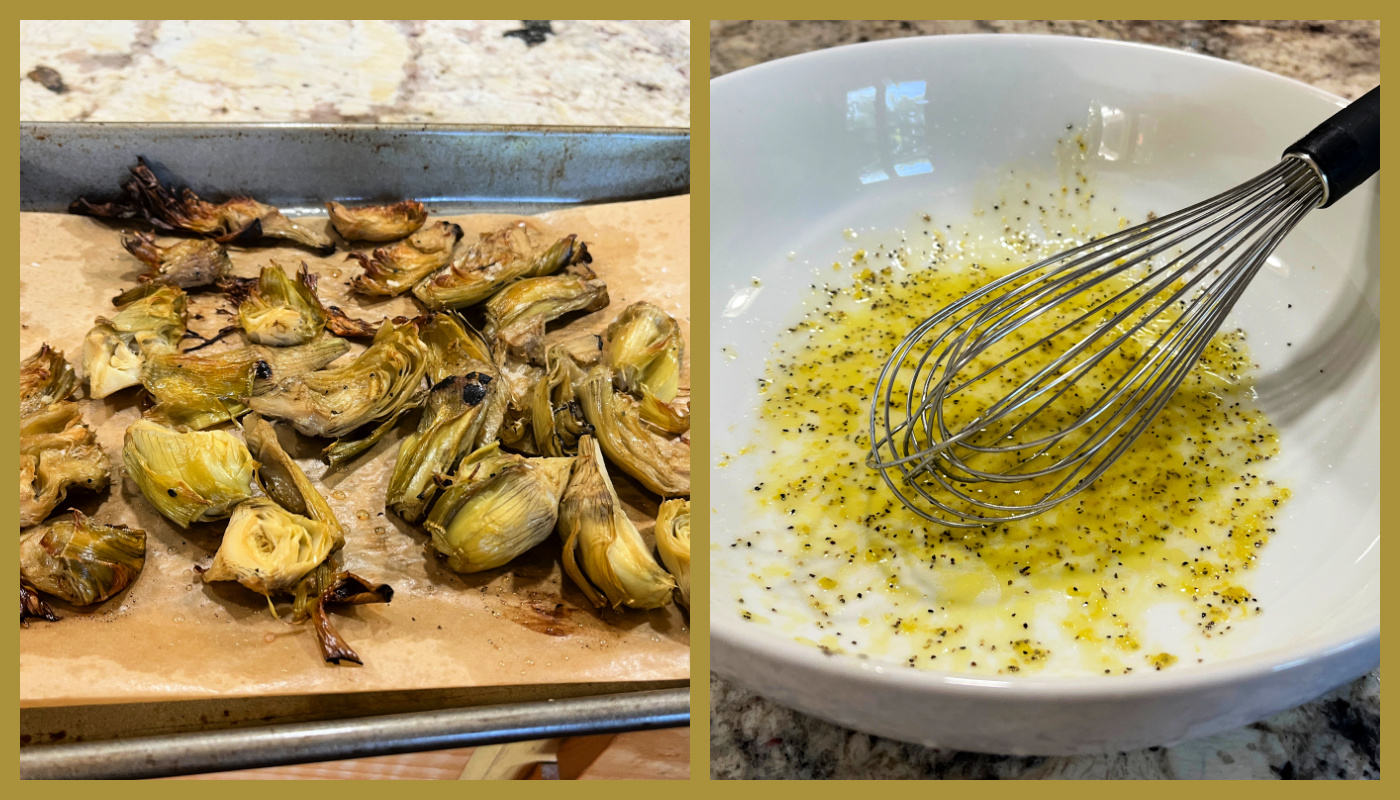
Heat olive oil in a large sauce pan over medium heat. Sprinkle with cornstarch and cook for one minute, stirring constantly. While whisking, slowly add in broth and milk. Continue whisking to combine until smooth.
Raise heat to medium high and bring the mixture to a simmer. Keep cooking for about 2 minutes, until it starts to thickened, again, whisking constantly. Remove from heat and little by little, whisk in greek yogurt. Once combined, place back on the heat (medium) and stir in Parmesan cheese, salt, and pepper. Simmer for a final couple of minutes and add to your pasta.
ENJOY!
to print the recipe, click here
Comments: When this Brazilian sees versions of vegetarian feijoada, she gets really upset, so I hope that Italians and Americans will forgive me messing with such a classic. Truth is, when you need to worry about following a heart-health diet, some adjustments are called for. If you want to indulge without overindulging, this might be the recipe to try!
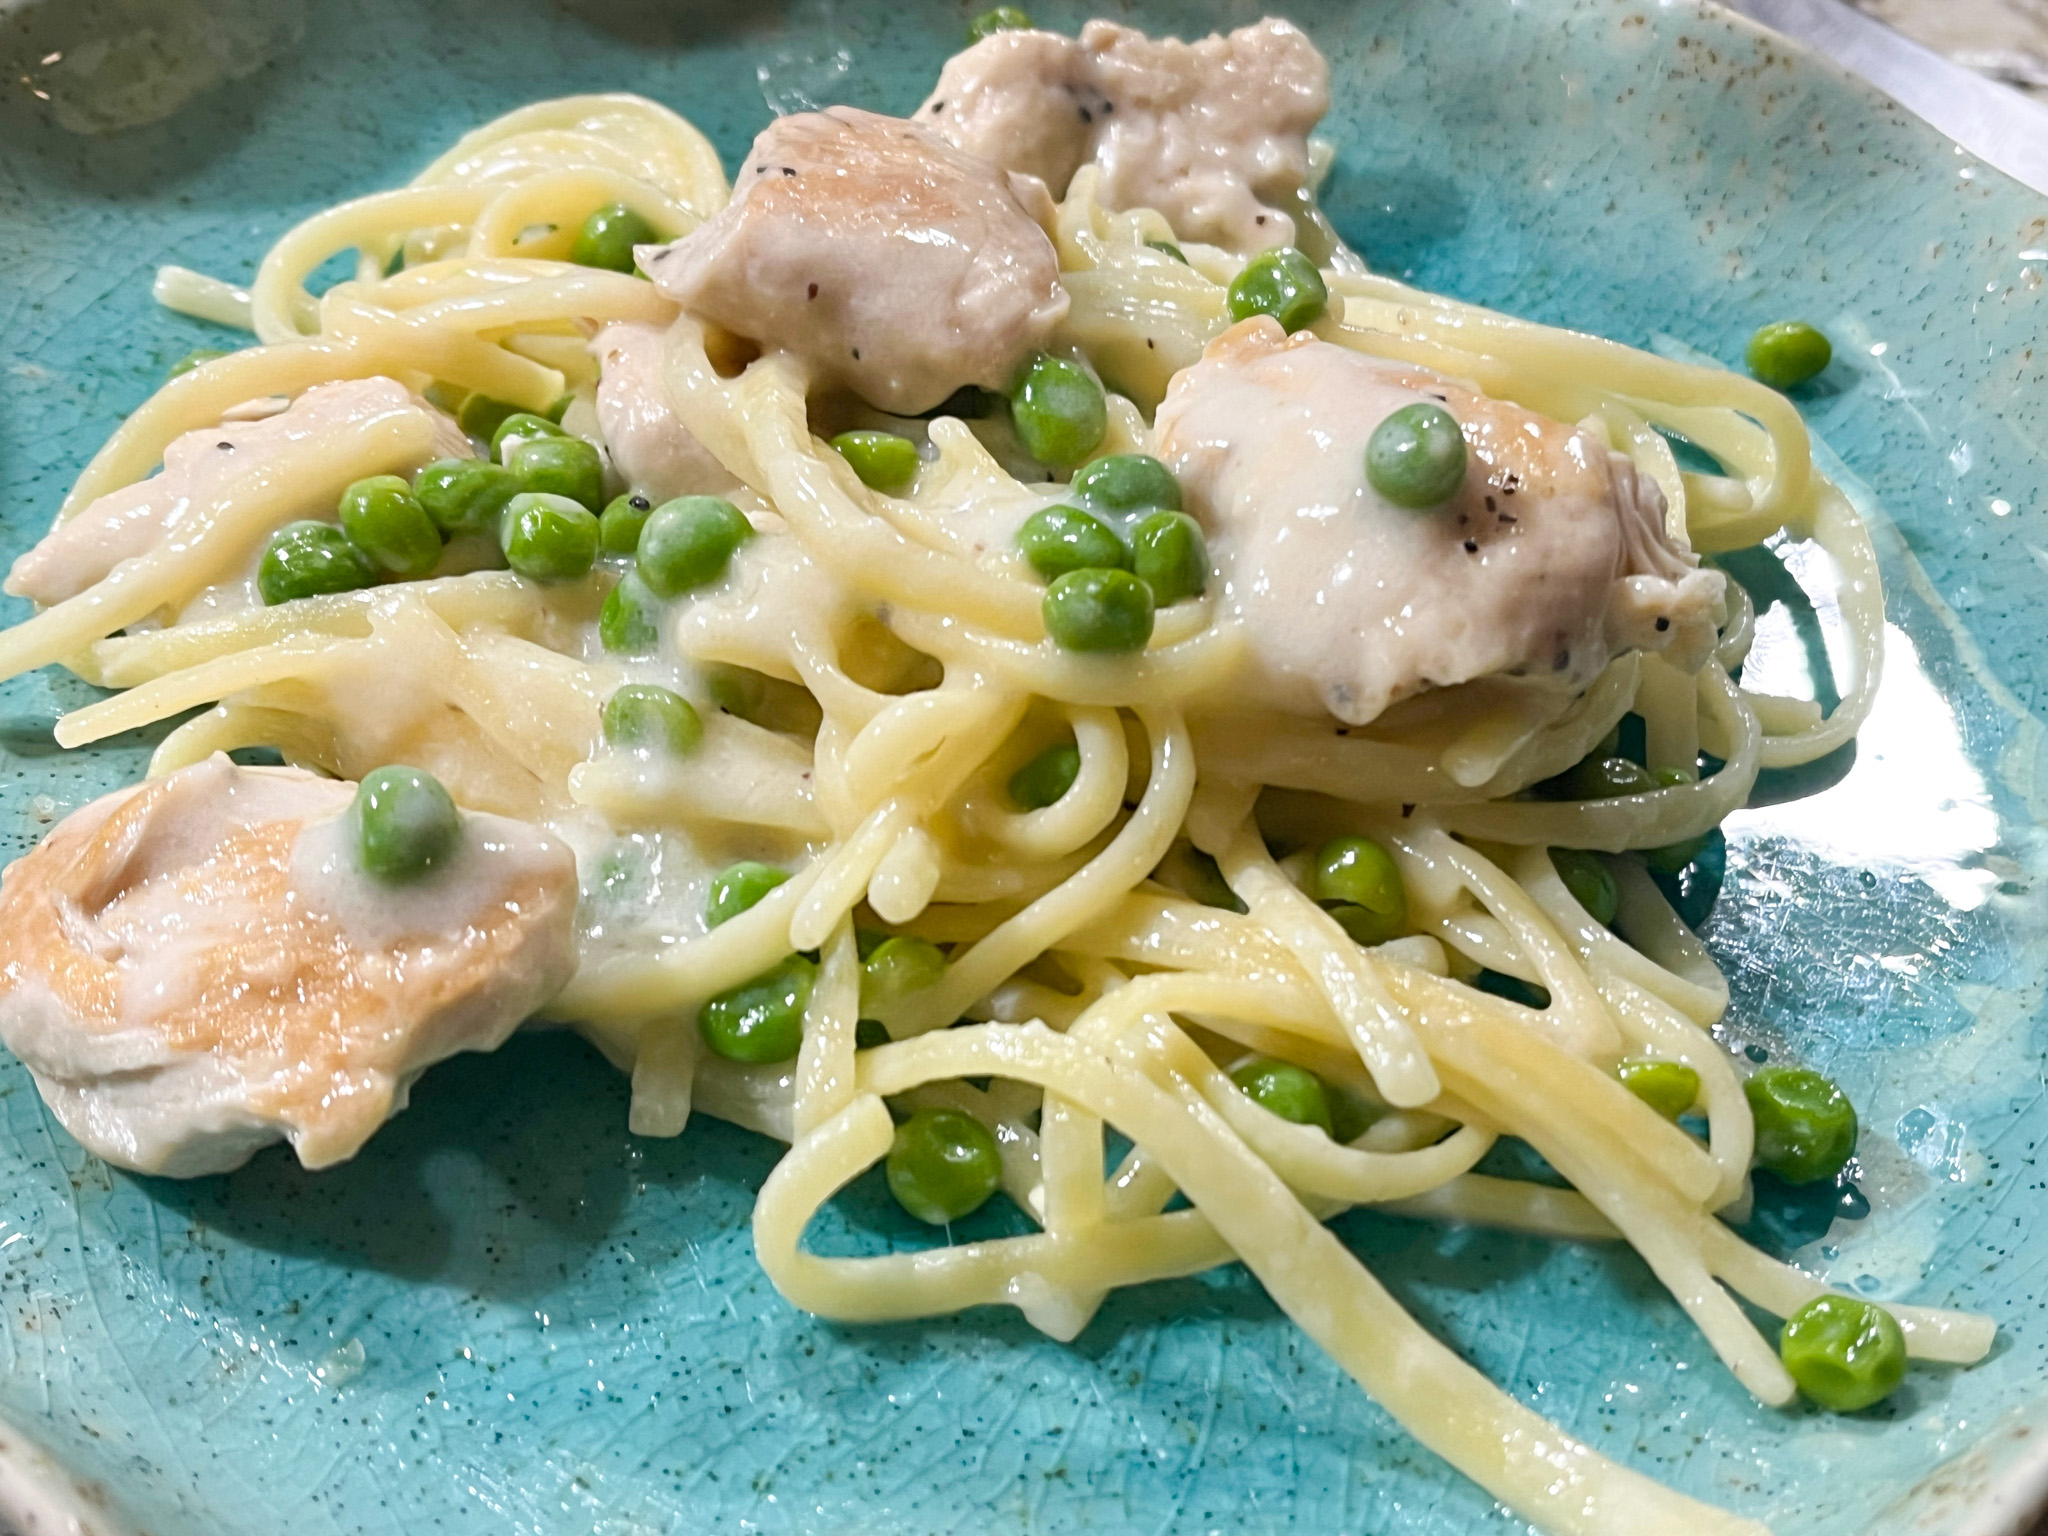
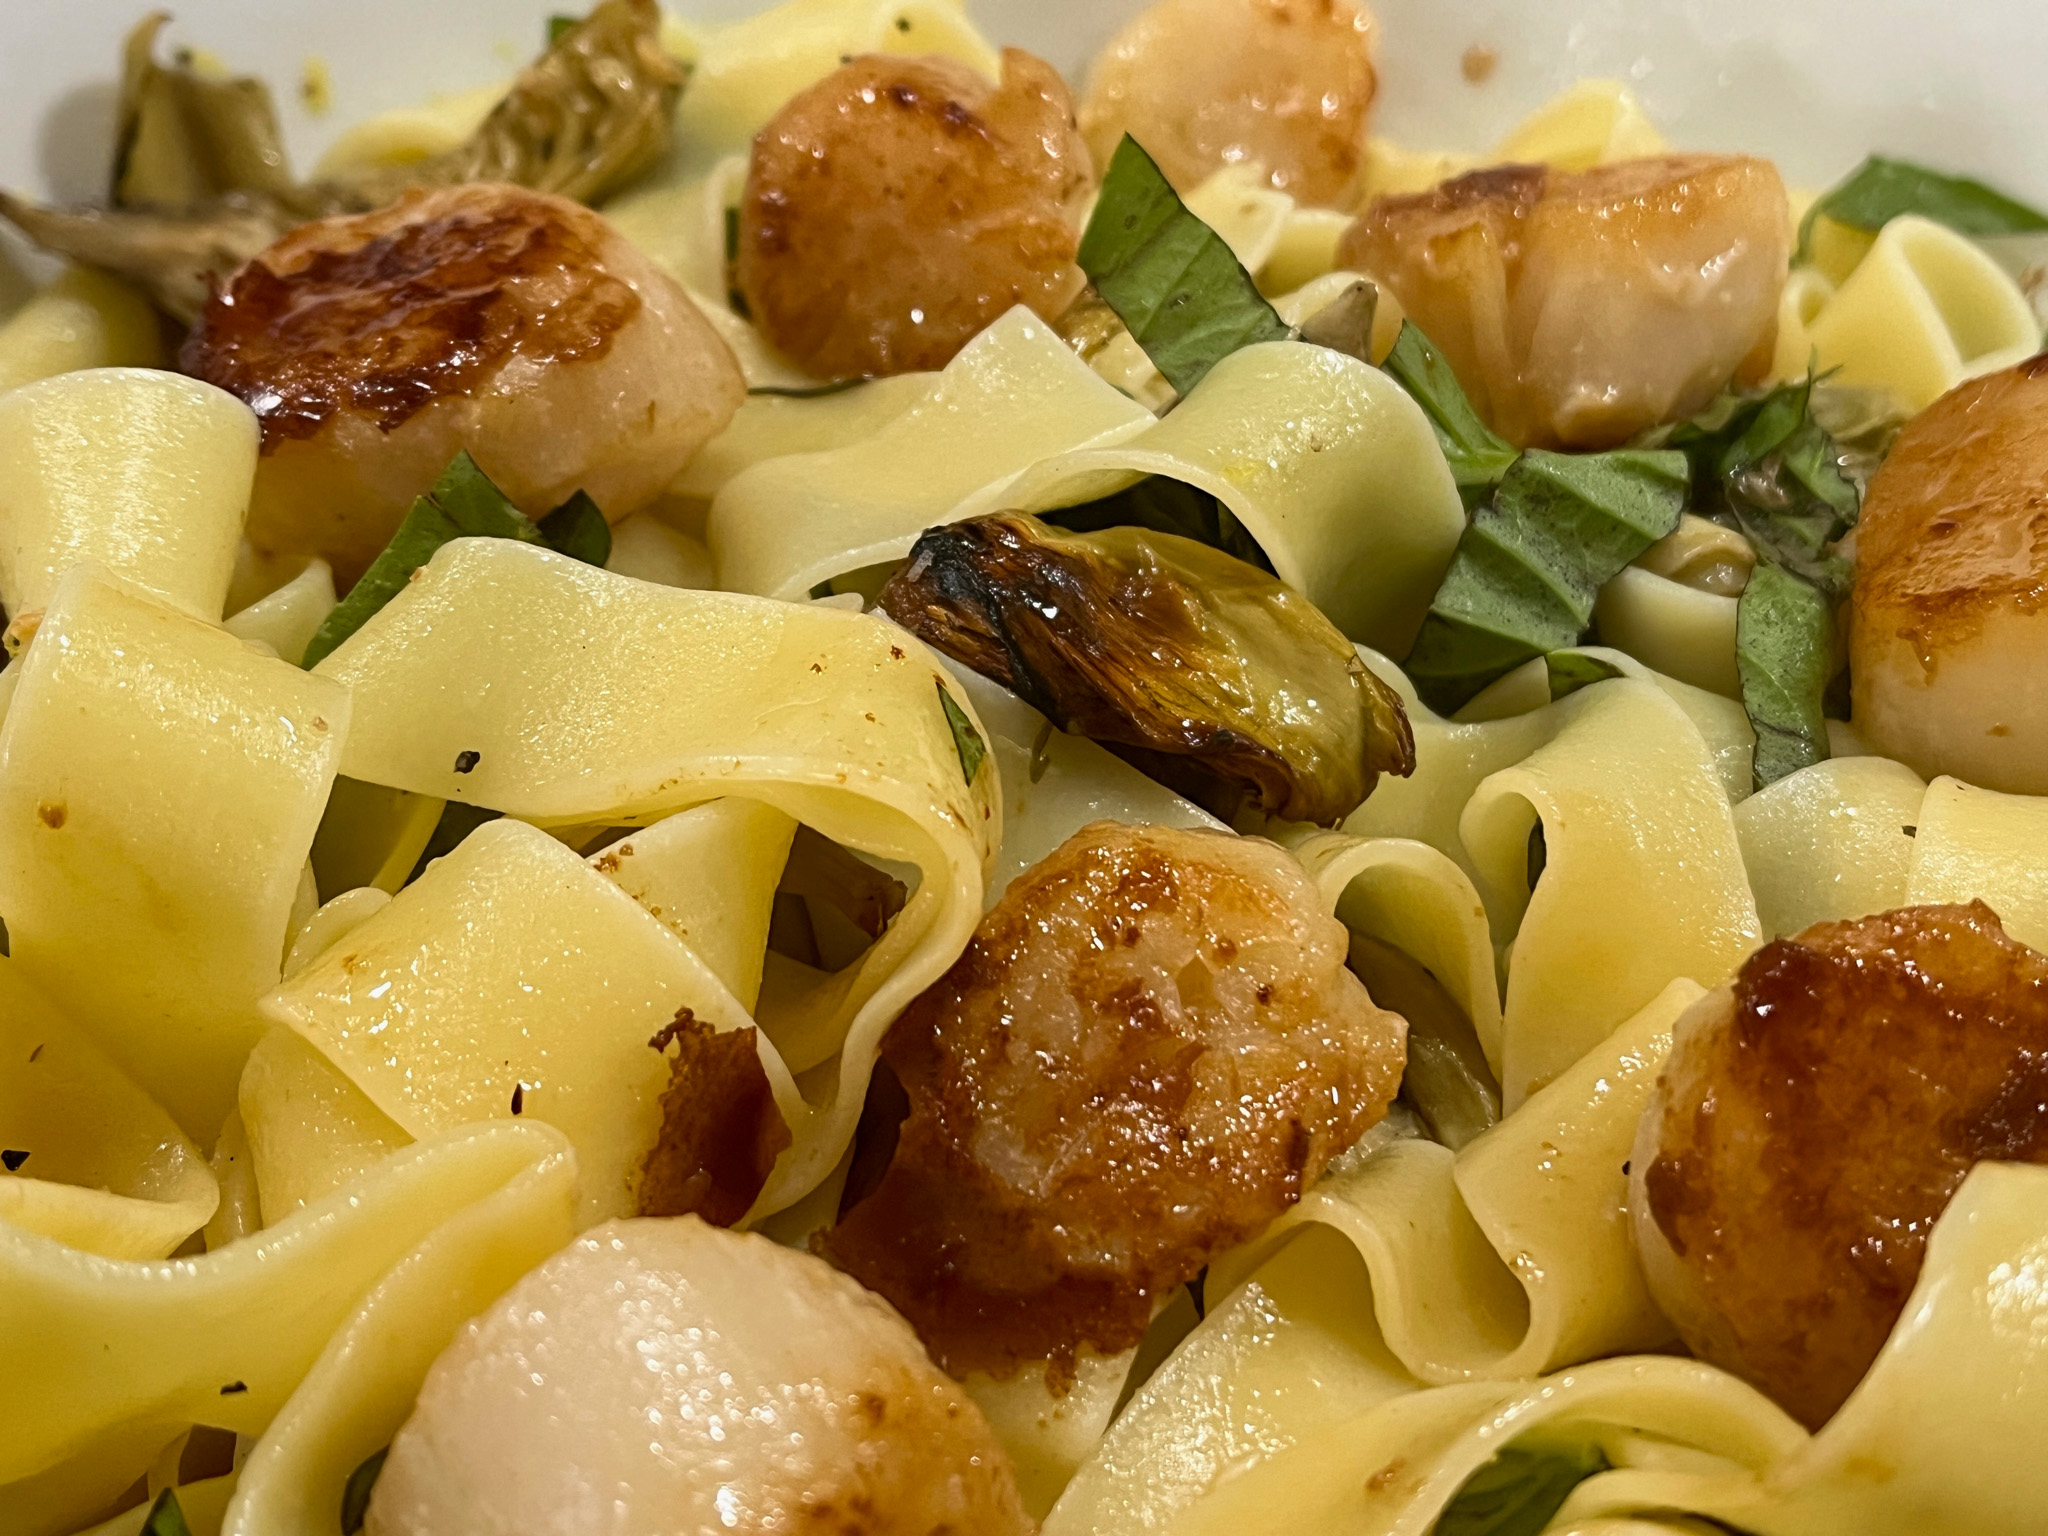
Apart from pasta sauce, we use it to make “Pizza Bianca”, just a simple pizza dough with this sauce, and some toppings like grilled zucchini, mushrooms, black olives. In the picture above, you see a recent version in which I joined chicken breast and green peas. I have also used it to make eggplant Parmigiana, omitting the tomato sauce. Lastly, we tried it as the bechamel component in a Croque Mosieur type sandwich. Huge success! We are hooked…
ONE YEAR AGO: Cottage Cheese Wrap
TWO YEARS AGO: Nutella Shamrock Macarons
THREE YEARS AGO: Air-Fryer Corn Ribs
FOUR YEARS AGO: Lemony Chicken Thighs with Artichokes and Olives
FIVE YEARS AGO: Farari Bateta
SIX YEARS AGO: Covid-19, Keeping yourself safe
SEVEN YEARS AGO: Carrot Cake Macarons
EIGHT YEARS AGO: Soup Saturday: Say Goodbye to Winter
NINE YEARS AGO: Manchego and Poblano Soup
TEN YEARS AGO: A Smashing Pair
ELEVEN YEARS AGO: Spinach and Mushroom Stuffed Pork Tenderloin
TWELVE YEARS AGO: Crispy Chickpea and Caper Spaghetti
THIRTEEN YEARS AGO: Spring has Sprung!
FOURTEEN YEARS AGO: Chickpea and Fire Roasted Tomato Soup
FIFTEEN YEARS AGO: Double Asparagus Delight
SIXTEEN YEARS AGO: Sun-dried Tomato and Feta Cheese Torte