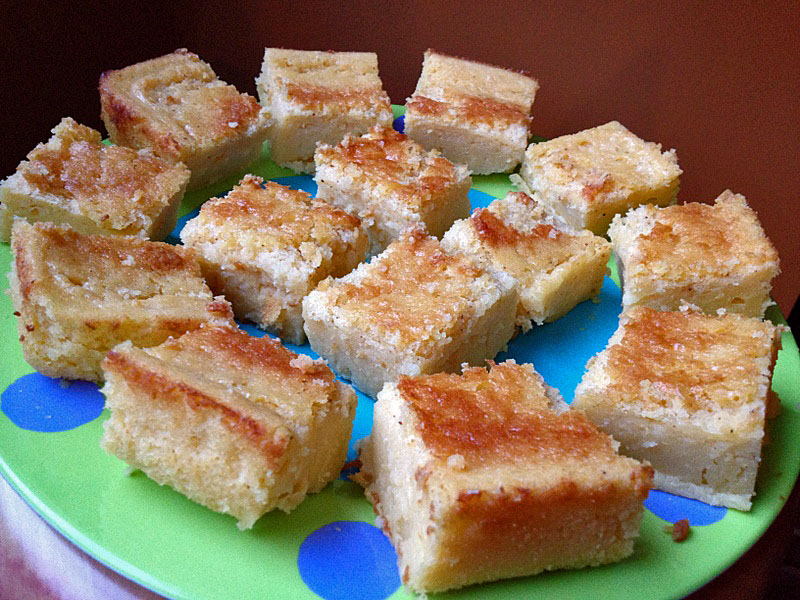
CLEMENTINE CAKE

cake

Clementines will always remind me of my stepson Alex, as he and his Dad would sit together devouring a few of them after dinner or mid-afternoon on weekends. We made sure to keep a backup bag stored away, just in case.  In our neck of the woods, they are sold as cuties, a well-chosen name. This cake – made in the food processor – is supposed to be very easy.  Of course,  Sally + Cake = Drama.  But it  ended reasonably well, except for a burn on my right hand. Actually, two burns.  A sticky kitchen floor. And a major spill of orange extract.

served2

CLEMENTINE CAKE
(From Razzle Dazzle Recipes)

Cake:
3 clementines
1 1/2 cups granulated sugar
3/4 cup softened butter
3 eggs
2 cups all-purpose flour
2 teaspoons baking powder
pinch of salt

Icing:
1 clementine
2 tablespoons softened butter
1 1/3 cups confectioners’ sugar
1 tablespoon orange liqueur (I used orange extract, about 1/4 tsp)

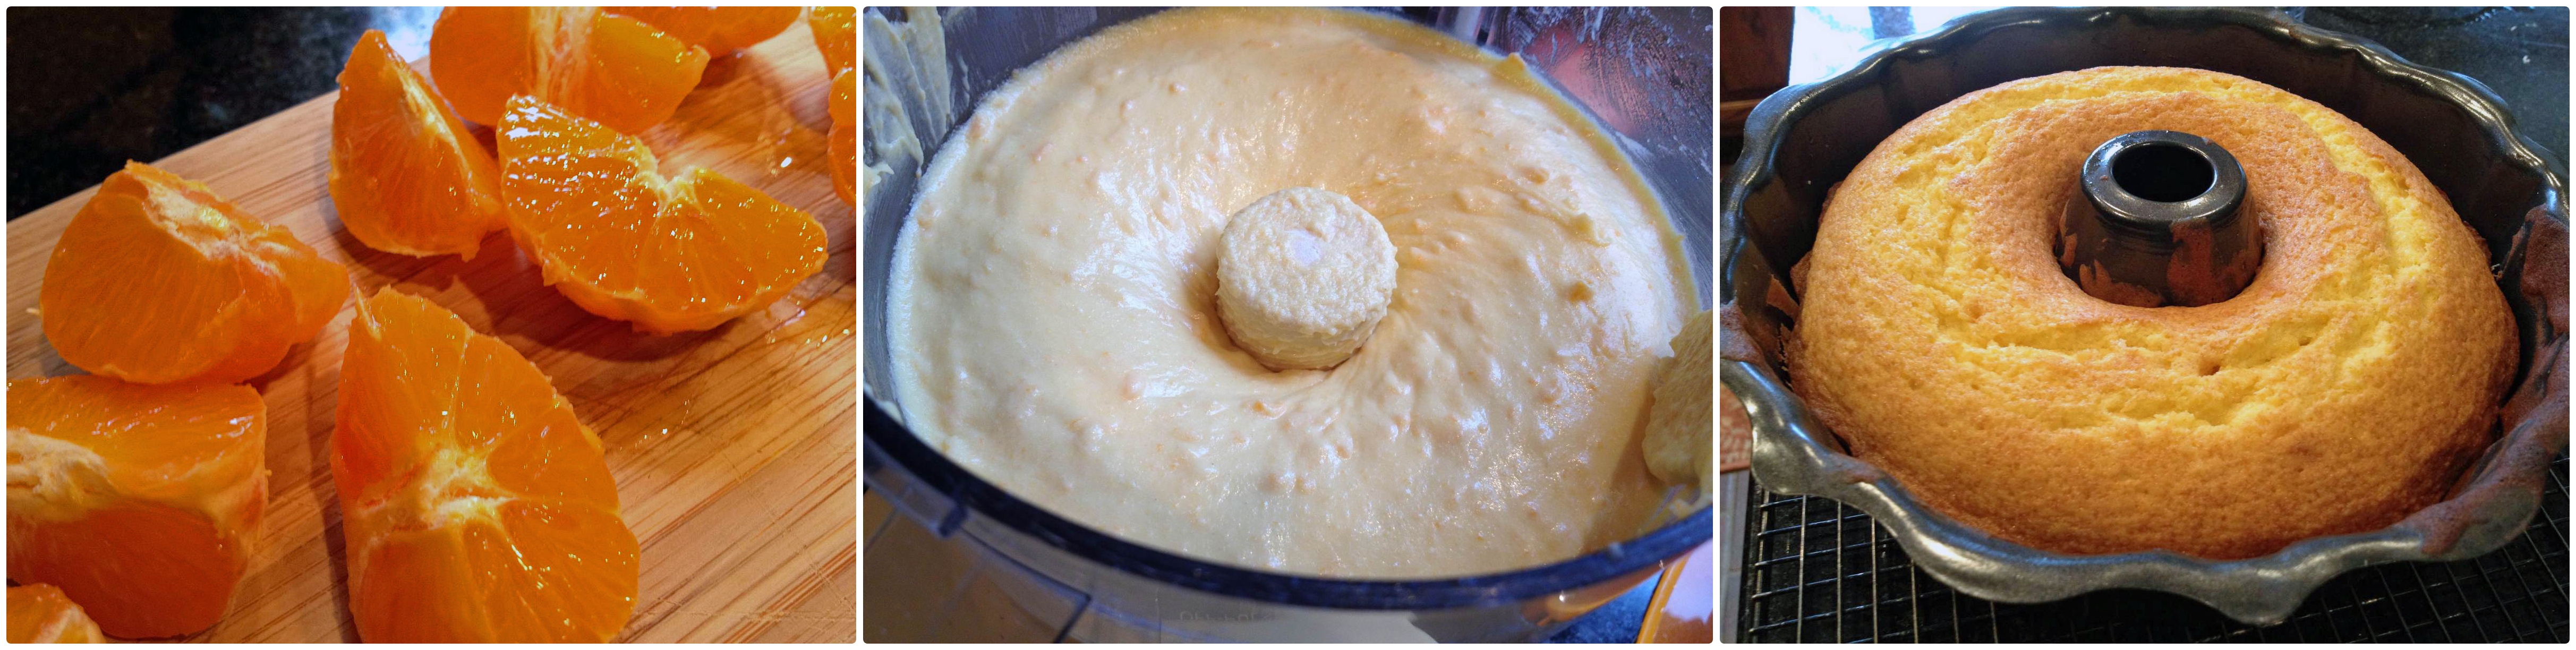
Grease an 8-cup bundt pan. Peel clementines; cut into quarters. If there are seeds, remove them (they are normally seedless).  Process with sugar in food processor until smooth. Add butter, then eggs; processing after each addition until smooth.  Add flour, baking powder, and pinch of salt; process until combined. Spoon into prepared pan. Bake in 350-degree oven for 40 to 50 minutes or until golden.  Cool on rack for 10 minutes. Remove cake from pan.

For icing: Grate and squeeze juice from clementine. In food processor, measure 1 teaspoon rind and 2 tablespoons juice; add butter, confectioners’ sugar and liqueur. Process until smooth. Drizzle over cake.

ENJOY!

to print the recipe, click here
composite

At some point I would like to be able to bake a cake smoothly. No bumps, no boo-boos.  In this particular case, the cake part went fine, except for the fact that since our oven is a perverse piece of equipment, I had to keep moving the pan around to try to cook it evenly.  Burned my hand twice in the process, touching the grids. I thought I was off the hook, and proceeded to make the icing.  Knowing how powdered sugar has a tendency to make a mess, I was extra careful measuring the first cup, and then, all confident in my flawless technique, grabbed the 1/3 measuring cup but the bag literally Poltergeisted on me!  Powdered sugar everywhere, counter, floor, rug, my shoes…   Truth be told, not the first time it happened, and I suspect it won’t be the last.  (sigh)  No time to clean then, just chased the dogs away, failing to  notice I had the bottle of orange extract already open next to the food processor.  I bumped it. Double mess to clean up, a sticky mixture of powdered sugar and orange extract.  Its smell lingered for a looong while…

Although I greased the pan well, some parts of the cake stuck while unmolding.  I went Zen, and carefully lifted the stuck parts, patching them nicely back on top of the cake.  I expected the icing to hide my poor baking skills.   That takes me to the icing part. Since I did not have orange liqueur and the orange extract seemed quite strong, I reduced the amount to 1/4 teaspoon.  Eyeballed a little water to compensate. It seemed too thick, so I added more water.  That was a mistake in judgment.  The icing ended up too thin and failed to cover the cut and paste job on the surface of the cake. It explains why you only see a close-up photo of my production… I may not know how to bake a perfect cake, but I can point the camera like a pro!  😉 Anyway, I took the cake to the department already sliced, so the boo-boos were less evident.

The cake has a very intense clementine flavor, if you like cakes that are not too sweet, this is a great option.  Of course, it does have a lot of sugar in it, but the clementine juice and zest comes through loud and clear.   A perfect cake to make graduate students happy.  And lots of staff and faculty members too…

served1

ONE YEAR AGO: Springtime Spinach Risotto

TWO YEARS AGO: The end of green bean cruelty

THREE YEARS AGO: Torta di Limone e Mandorle
SECRET RECIPE CLUB: OATMEAL FUDGE BARS

platter2

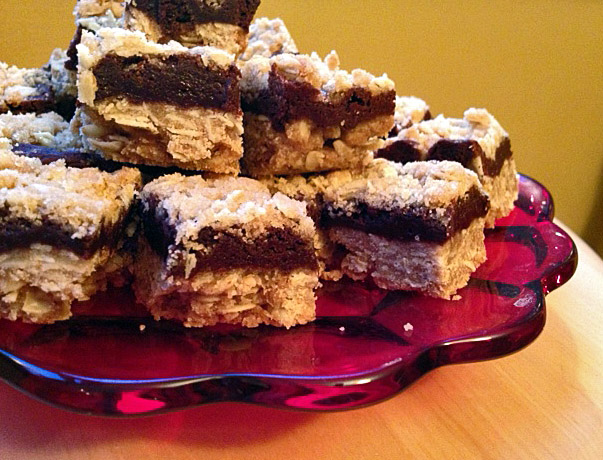
Mondays keep coming, rushing over me, but the toughest day in the week is made brighter when it’s…. Reveal Day of The Secret Recipe Club!  This club is getting more and more interesting, as new food bloggers join in. I heard the waiting list is huge, so if you have any interest in this type of group event, get yourself in line!    This month I was paired with the blog Everyday Insanity. The name describes my days quite closely… 😉  I also love her tag line: Tackling life, one brownie recipe at a time!  Everyday Insanity is hosted by Cindy, and her choice of name for the blog might be due to her having 6 kids and 14 grandchildren!  My life all of a sudden feels like a walk at the park. Seriously.  Her blog is full of tasty recipes, not only sweets.  I was very tempted to make her Thai Coconut Chicken soup, but these bars won me over. Plus, the timing was perfect: I brought them to our department on Valentine’s Day!

OATMEAL FUDGE BARS
(from Everyday Insanity)

1 cup quick-cooking oats
1+1/4 cup light brown sugar, divided
1 cup all-purpose flour, divided
1/4 tsp baking powder
1/4 tsp baking soda
1/4 tsp salt + 1 pinch, divided
10 tbsp unsalted butter, divided
1 + 1/2 cups chocolate chips
1 egg

Heat your oven to 325 degrees. Line an 8 inch square baker with aluminum foil, allowing excess to hang over the edges of the pan.  Grease foil; set pan aside.

Combine the oats, 1 cup of brown sugar, ¾ cup of flour, baking powder, baking soda, and a pinch of salt.  Stir together in a bowl to combine.  Melt 8 Tbsp butter and stir into the oat mixture until combined.  Reserve ¾ cup of the mixture for the topping.  Sprinkle the remaining oat mixture over the bottom of the prepared pan and press into an even layer.  Bake until light golden brown, about 12 minutes.  Cool completely, about 1 hour.

Combine the remaining ¼ cup flour, the remaining ¼ cup brown sugar, and the remaining  ¼ tsp salt in a bowl.  Set aside.

Melt the chocolate chips and the remaining 2 Tbsp butter in a large bowl, microwaving at 50% power in 30 second intervals, stirring after each.  Let cool slightly.  Add the egg and whisk until combined.  Use a rubber spatula to fold in the flour mixture, stirring until just combined.

Pour the chocolate filling over the cooled crust and sprinkle with the remaining oatmeal mixture.  Bake until a toothpick inserted into the center comes out with a few moist crumbs attached, 25-30 minutes. Cool completely on a wire rack.  Using the foil overhang, lift the bars from the pan and cut into squares.  Store leftovers in an airtight container at room temperature.

ENJOY!

to print the recipe, click here

cutting
Comments:  Valentine’s Day this year fell on a Thursday, so I bravely decided to tackle this recipe the evening before. After work. After dinner. Not a smart move.  I completely overlooked the instruction to “reserve part of the mixture for the topping”, and of course got into full-blast panic mode when I noticed my mistake.  By then the base of the bar was already in the oven.   I rushed to make a little more topping, calculating proportions of all ingredients quickly in my mind, hoping for the best.  Probably due to my level of stress, the chocolate seized in the microwave, prompting me to throw one of those fits that brings Phil back into the kitchen, already holding a box of Kleenex.  To make a long story short, without him, there would be no bars.  Unbearable thought.

So, when you make these absolutely delicious bars, do yourself a favor and follow the recipe as written.  That way the base of your bar will the thinner, and the crumb topping will be lighter, as intended.

Cindy, it was wonderful to get to “meet” you through this baking adventure!  Thanks to you (and also to the imperturbable man I married), I could take a platter full of sweetness to work on the sweetest day of the year!

department

To see what others in my group prepared for Reveal Day, click on the funky little frog smiling at the end of the post. Do you want to know who got my blog and what she cook from it?   Jane, from The Healthy Beehive picked a favorite recipe of mine, check it out by clicking here

ONE  YEAR AGO: Cauliflower Steaks

TWO YEARS AGO: Soft Spot for Chevre

THREE YEARS AGO: Quick sun-dried Tomato Crostini


ALMOND BUTTER CHOCOLATE CHIP COOKIES

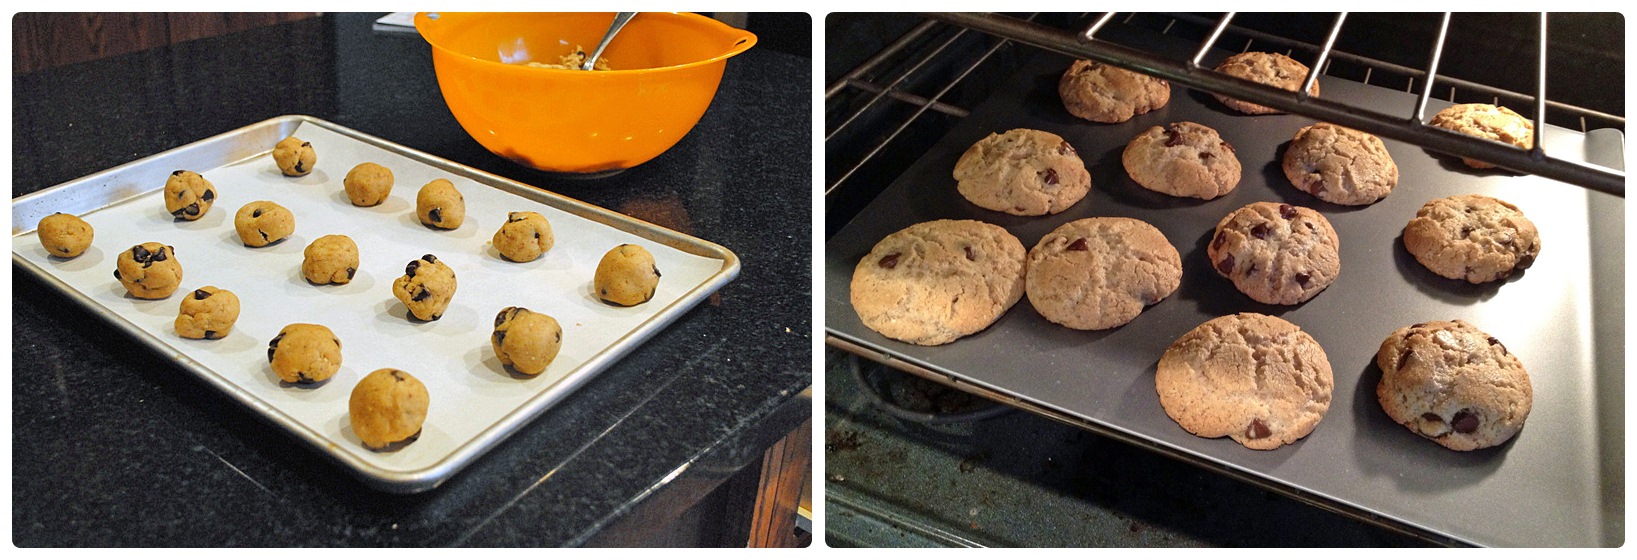
I am not very fond of peanut butter.  Its sticky, gooey nature manages to turn me off. I like to cook savory dishes with it, but I shy away from desserts that call for it as an ingredient.  Until now, I had placed almond butter in the same category. But, truth be told, I never bothered to try it.   Then,  I read Lynda’s post about Almond Butter Chocolate Chip Cookies.  A quote about this nut spread made me re-evaluate my position. Here’s what she had to say about it:

It’s not as pronounced in flavor as peanut butter which can overwhelm a cookie. Almond butter is mellower with notes of deeply roasted nuts, adding a subtle, golden background to the dough.

It was worth a try…   😉

closeup

ALMOND BUTTER CHOCOLATE CHIP COOKIES
(from Taste Food)

makes 36 cookies

1 + 3/4 cups all-purpose flour
1 teaspoon baking soda
1 teaspoon sea salt
1 cup unsalted butter, softened
1 cup brown sugar
1/2 cup granulated sugar
1 large egg
1 teaspoon vanilla extract
3/4 cup unsalted creamy almond butter (not raw)
1 cup dark chocolate chips or chunks

Whisk the flour, baking soda and salt in a bowl; set aside. Cream the butter and both sugars in the bowl of an electric mixer for a couple of minutes or until light and fluffy. Add the egg and vanilla. Mix well. Mix in the almond butter until smooth. Add the flour and mix to combine, then stir in the chocolate. Refrigerate the batter for at least one hour, or up to 24 hours.
Heat oven to 350 F. Drop rounded tablespoons of dough on baking sheets lined with parchment. Bake until light golden, about 14 minutes.

Optional: Sprinkle a few flakes of sea salt on the cookies before baking.

ENJOY!

to print the recipe, click here

composite2
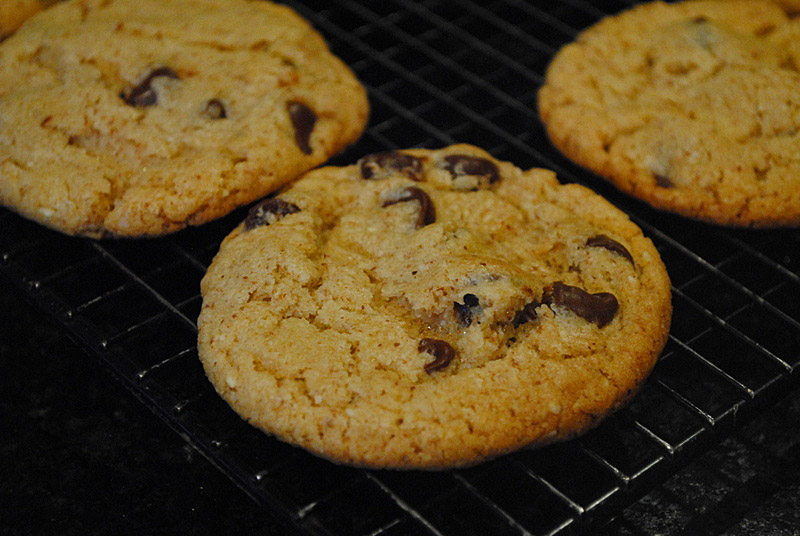
Comments:  I am so glad I did not allow prejudice to prevent me from trying this recipe!  Lynda was absolutely right, the almond butter gives these cookies a very unique flavor.  You won’t quite know what it is, they just taste rich and intense.  I omitted the sprinkle of salt on top.  However, I think the flavor of the salt added to the dough  was assertive enough for us.   Now, for the best part…  I fell in love with almond butter!   It is creamier, has a much more pleasant texture and mouth feel. All of a sudden, a new favorite concoction in my life: Toasted Ezekiel Sprouted Grain bread + Almond butter +  Banana Slices.  It has it all, the crunch of the bread, the sweetness of the fruit, and the rich almond butter to tie them together…

cooling

Lynda, once again your blog pointed me in a tasty direction!  Thank you!

ONE YEAR AGO: Dan Dan Noodles

TWO YEARS AGO: Sophie Grigson’s Parmesan Cake

THREE YEARS AGO: Antibiotics and Food

BRAN MUFFINS, TAKE TWO

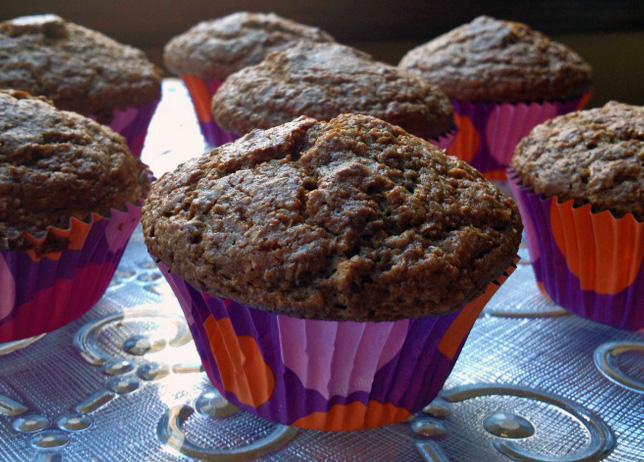
Bran muffins make Phil very very happy, so I tried a new recipe for his favorite morning treat.  On a whim, I went with the “back of the bag” recipe in the Bob’s Red Mill Wheat Bran product.  I reasoned that they probably tested and re-tested the recipe to make sure whoever baked a batch would love it and buy another bag. 😉  I also thought that using applesauce in the batter would make it moist and flavorful. I was right.
muffin2
MOLASSES BRAN MUFFINS
(from Bob’s Red Mill)

1 cup wheat bran
1 1/2 cups whole-wheat flour
1/2 cup raisins
1 tsp. baking powder
1 tsp. baking soda
1 cup milk
1/2 cup molasses (or honey)
3/4 cup applesauce
1/4 cup chopped walnuts (toasted is best)
2 Tbsp. oil
2 eggs, beaten

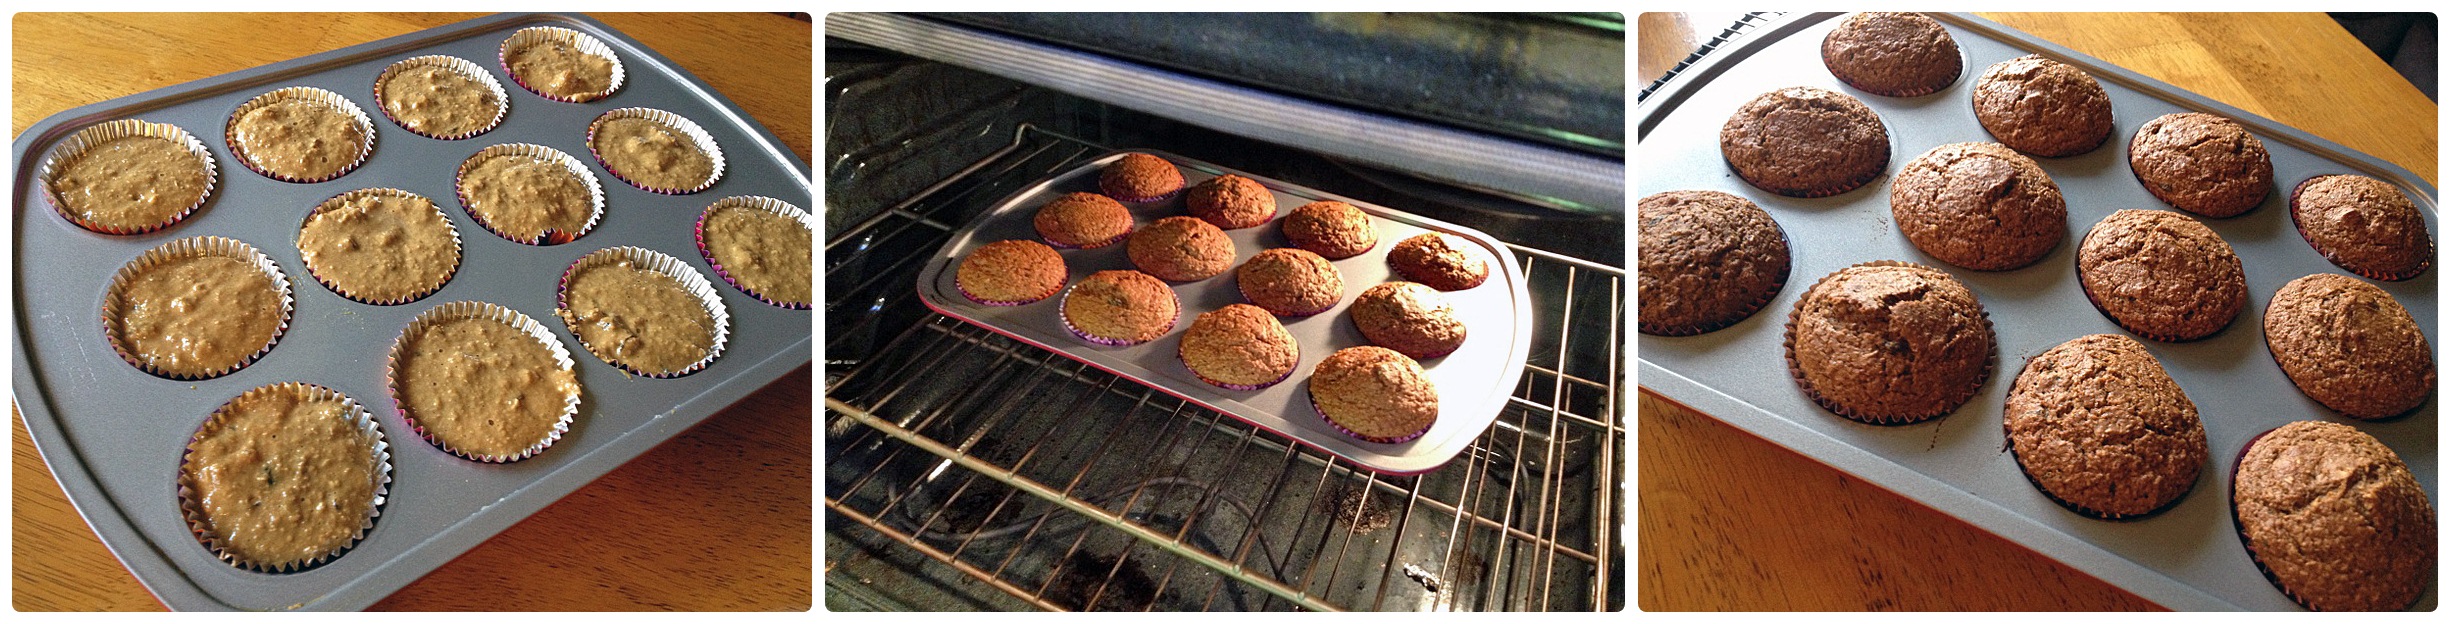
Heat the oven to 400°F. Combine wheat bran, flour, baking soda and baking powder. Stir in nuts and raisins. In a separate bowl, blend applesauce, milk, molasses, oil and egg. Add to dry ingredients and stir just until moistened. Spoon into a muffin pan lined with paper muffin cups) and bake for  20 minutes. Makes 12 regular-size muffins.

ENJOY!

to print the recipe, click here

composite

Comments:  Between these bran muffins and the first one I blogged about, I think I prefer this batch because of the prominent apple taste that mellows the “hippie factor” of the wheat bran.  Did I hit the jackpot with them?  And by jackpot I mean bran muffins that match the ones of Phil’s past. Not quite yet there.  However, after almost 13 years of marriage, I finally got a hint on one of the issues: size.  The muffins he loved so much were bigger.  Size does matter after all!  A shocking realization.   But, here is the tricky part, in those days they did not make them gigantic. They were just slightly bigger. So, now I am on a mission to find a pan that will make a muffin somewhere between “regular” and “jumbo”.   As to taste, I am on the right track.  Raisins and walnuts, yes.  But next time, less apple, and honey instead of molasses.

I do not go down without a fight, my friends! One day, I will bake the bran muffin of his dreams…

ONE  YEAR AGO: Brown Butter Chocolate Chip Cookies

TWO YEARS AGO: Breville Sourdough

THREE YEARS AGO: Vienna Bread

THE SECRET RECIPE CLUB: PUMPKIN BOLO DE FUBA’ CREMOSO

The Secret Recipe Club took a break in the month of December, but now we are back!  For those who don’t know, the SRC is a fun blogging event in which you are paired (in secret) with another blogger, and on reveal day post a recipe chosen from that blog.  Everyone in the same group posts at the exact same time, even if you are blogging from Japan.  😉  This month I was paired with Shirley, from the blog Enriching your Kid.  Shirley is a clinical psychologist who, after having kids, opted for working very hard at home taking care of them and paying particular attention to a healthy nutrition.   She cooks a lot of Indian food, so at first I had my mind set on one of her many paratha recipes, but then I spotted a very familiar Portuguese name – “bolo de fuba’ cremoso” – and that was it.  I knew it would be my choice for the first SRC post of 2013.   She added a nice twist to the classic, by incorporating pumpkin in the cake.  Check out her post about it here.

served
PUMPKIN BOLO DE FUBA’ CREMOSO
(adapted from Enriching your Kid)

1 cup masa harina (corn flour)
3/4 cup pumpkin puree’
1 cup sugar
2 tablespoons butter
2 cups milk
2 eggs
pinch of salt
1 cup grated cheese
1/2  tablespoon baking powder
1 tsp grated nutmeg
lemon zest

Pre-heat the oven to 350 degrees. Place all of the ingredients (up to the salt) in a blender or a food processor and mix for 4 minutes or until the mixture is smooth (it will be very liquid).  If your processor or blender is very large, you can add the rest of the ingredients. Otherwise, transfer the mixture to a bowl and add the cheese, baking powder, nutmeg and lemon zest, mixing well with a whisk.   Pour into a buttered and floured pan (8 x 8 inches).

Bake for 35-40 minutes or until the top of the cake is golden. Cool the cake before cutting it into slices.

ENJOY!

to print the recipe, click here

closeupbake

Comments: First, a little bit on language, as Shirley was puzzled about the gender issue in Portuguese.  All nouns have a gender, and for the most part words that end with “a” are feminine.  Words that end with “o” are masculine. However, there are exceptions.  Fuba’, for instance, the term that describes a particular type of corn flour, ends with “a“, but it is masculine.  Therefore, the adjective that goes along with it, “cremoso”  (creamy) must agree with the gender, and end with “o“.  Let’s suppose we were talking about a coconut concoction called “cocada“.  Cocada ends with an “a“, and it is indeed feminine.  In this case, creamy coconut would be described as “cocada cremosa“.  Clear as mud?  Well, mud is feminine: A lama.  Earth is feminine: A Terra. Love is masculine: O amor (gotcha there! Amor ends with “r”  to confuse non-native speakers ;-)).

Now, to the recipe:  I made a few small modifications, using cooked pumpkin instead of raw. I absolutely had to put my beloved pumpkin puree to use, and that was a perfect opportunity.  I also reduced the sugar slightly.  If you are Brazilian and grew up enjoying bolo de fuba’, this version seems like a different sweet, mainly because of the nutmeg. If you are not too fond of nutmeg, or if you want something closer to the Brazilian version, reduce the amount or omit it. Pumpkin was a great addition to bolo de fuba’, I  loved what its subtle taste brought to the cake.

Shirley, I will definitely be cooking other recipes from your blog,  as Indian cuisine is fascinating and I don’t have enough experience with it.  I hope you are having a great reveal day…  😉

For my readers: if you want to see what the crowd from SRC Group D came up with in this first posting of the year, click on the happy frog and a new page will open with plenty of great posts.

ONE YEAR AGO: Citrus-crusted Tilapia Filets

TWO YEARS AGO: Bran Muffins, not just for Hippies

THREE YEARS AGO: Flourless Chocolate Cake