PISTACHIO SHORTBREAD COOKIES

Super easy. Food processor does most of the work. Then the dough rests in the fridge, you can too, although I advise you not to be inside the fridge for that. Slice and bake. Gilding the lily with some white chocolate is optional.

PISTACHIO SHORTBREAD COOKIES
(slightly modified from Leite’s Culinaria)

113 g butter, very cold, cut in pieces (1 stick)
1 cup flour (about 125g)
1/4 cup sugar (50g)
1/2 cup roasted, salted pistachios
1/2 tsp vanilla paste
white chocolate for decoration (optional)

Pulse the flour, granulated sugar, pistachios, and vanilla in the bowl of a food processor until the pistachios are finely ground. Scatter the butter pieces in the food processor and pulse several times to cut the butter into the flour. Stop pulsing when the ingredients just start to come together.

Turn the dough onto a lightly floured work surface and shape it into a log about 2 inches in diameter and 10 inches long. Place the log on a piece of plastic wrap or parchment paper. Tightly roll the wrap around the log and twist the ends to seal them securely. Refrigerate for 2 hours or a few days.

Heat the oven to 325ºF. Line 2 rimmed baking sheets with parchment paper and set aside.

Cut the chilled cookie dough into 1/2-inch-thick coins and place about 2 inches apart on the prepared baking sheets. Lightly brush the top of each shortbread cookie with water and sprinkle with sugar. Bake for 15 to 18 minutes, or until the cookies are lightly golden brown on both top and bottom. Let the cookies cool on the baking sheet for 5 minutes, then transfer to a wire rack to cool completely.

Optional step: drizzle tempered white chocolate or melted compound white chocolate over the cookie.

ENJOY!

to print the recipe, click here

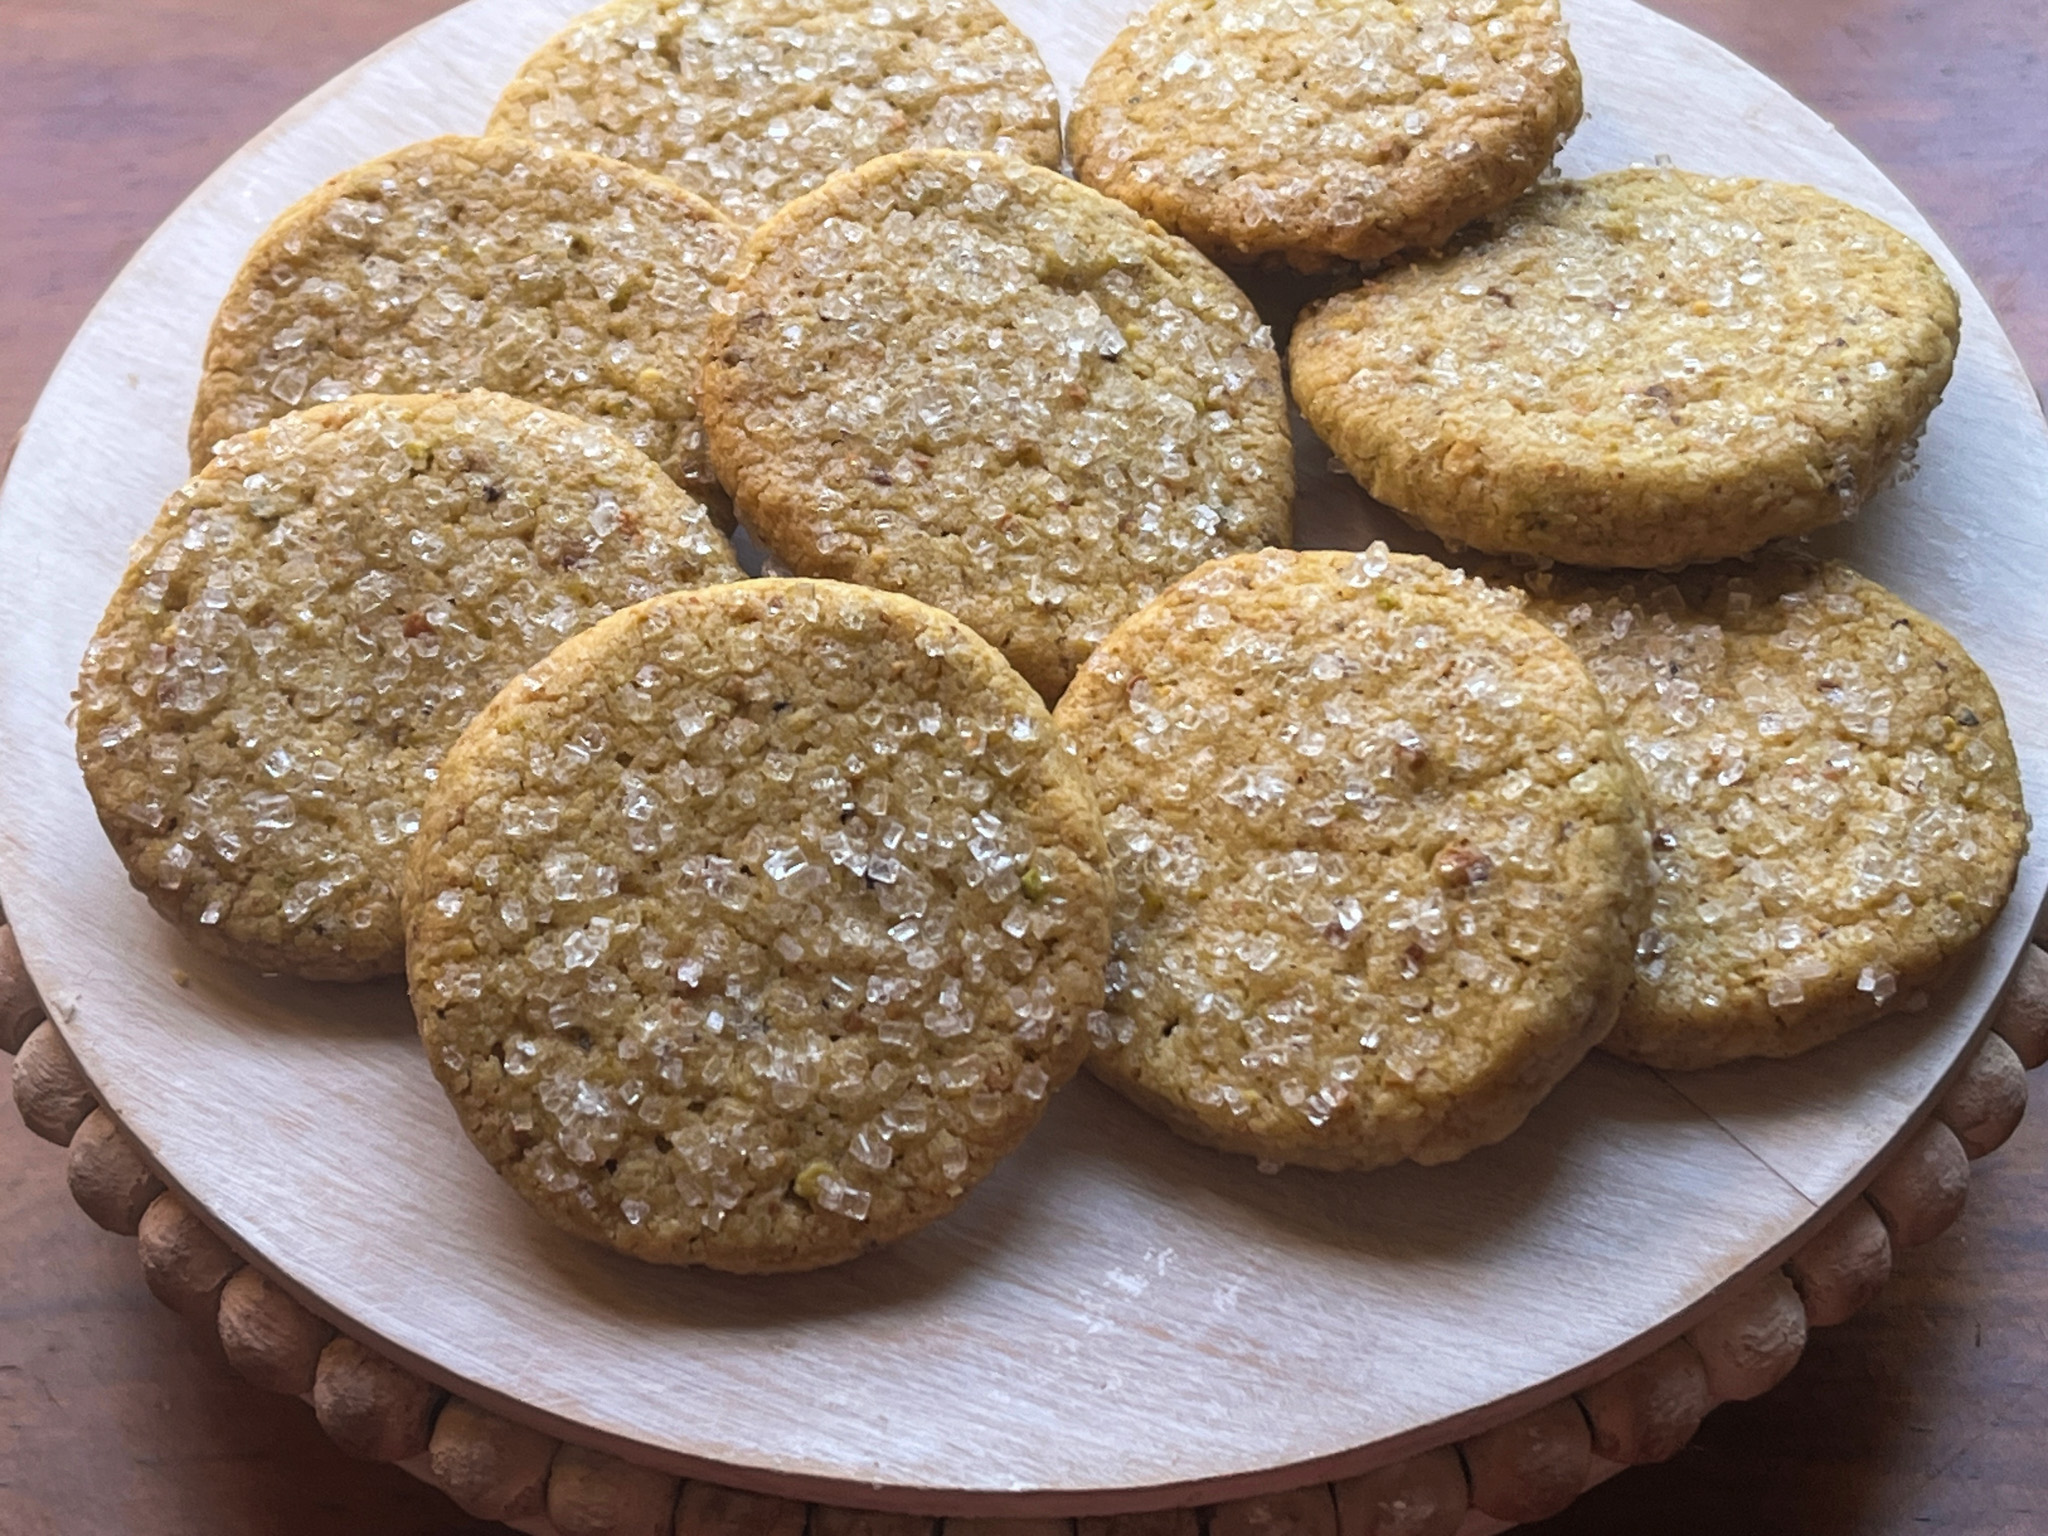
Comments: I cut the dough in two pieces and made two individual small logs, each being enough for 10 cookies. The first one got dusted with demerara sugar, but it kind of disappeared during baking. I decided to decorate that batch with white chocolate to give it a little more pizzazz. The second batch I dusted with coarse sanding sugar, and left it alone after baking. The cookies are delicious, melt in the mouth, with perfect pistachio flavor.

ONE YEAR AGO: Shiroi Koibito Biscuits
TWO YEARS AGO: Mini-Cakes, Two Ways
THREE YEARS AGO: Earl Grey Shortbread Cookies
FOUR YEARS AGO: Summertime Macaron Duet
FIVE YEARS AGO: Pain de Mie Dressed up for Party
SIXYEARS AGO: Five-Stranded Bread
SEVEN YEARS AGO: Green Olive Salad
EIGHT YEARS AGO: Coffee Macarons Dressed up to Party
NINE YEARS AGO: Blogging Hiatus
TEN YEARS AGO: Tomato Tatin
ELEVEN YEARS AGO: Headed to Colorado!  
TWELVE YEARS AGO: Farofa Brasileira
THIRTEEN  YEARS AGO: Thai-Inspired Pork Tenderloin
FOURTEEN YEARS AGO: A yummy Brazilian cake: Bolo de Fuba’
FIFTEEN YEARS AGO:  Summer’s Tomatoes
SIXTEEN YEARS AGO: Leaving on a jet plane… 

CHOCOLATE COVERED OREOS AND A VIRTUAL PARTY!


To say that I am excited about what will happen tomorrow is a severe understatement! As some might know, I never miss the weekly feature of cookie decorating that Haniela provides on Wednesdays at noon via YouTube and for a while also through Facebook. Much to my surprise, Hani invited me to do a little guest appearance in her weekly series and demonstrate how I make chocolate covered Oreos. So today I invite you to watch the live which you can join by following the link below. 


You don’t need to watch it live because it will be available on YouTube later. In theory, youtube does not delete a video once it is published, but the way everything is so finicky these days, who knows? Still, you don’t need to worry about joining the event live, although of course it would be wonderful to see you there. In the live session, I will show you how to make two types of designs… The first involves painting with luster powder, to make these babies:

And I will also demonstrate how to use chocolate transfer sheets to make the ones below…

But there is so much you can do with this concept! Below some other examples using transfer sheets to cover the bottom of the mold.

Whenever I use transfer sheets, I brush the leftover area of the sheet with melted chocolate and then use a small cookie cutter to make circles that can be centered on top of the Oreos at a later time. They can sit at room temperature for a very long time! All you need to do is make the chocolate covered Oreo with a background color that will complement the discs, and then use a bit of melted chocolate to glue the disc on top.

One of the simplest ways to decorate is just a drizzle of melted chocolate of contrasting color…

Recently I started playing with wafer paper, which you can buy in many styles…

Just like transfer sheets, you cut circles but simply glue them to the fully set surface of the Oreo with a little brushing of corn syrup. Some Royal icing and sprinkles add a nice border to smooth things out.

.

DECORATION DETAILS

Just like Royal icing transfers, fondant and chocolate decorations stay good for a long time, so when you make some for whatever project you have going on, make extras and save. You never know when they will come in handy…

.

.

Royal icing…

Chocolate on chocolate… all made with a mold

Finally, a bit more time consuming and labor intensive, you can dye small amounts of chocolate and use to paint molds, allowing each color to set before adding the next one and before filling the mold with the main chocolate component.

I hope you can watch the live tomorrow, and if you do it while it is happening, make sure to say hello in the comment area.

Huge thank you to Haniela for inviting me to be part of my very favorite online event!

.

ONE YEAR AGO: Chicken Fajita Bites and a Cookbook Review

TWO YEARS AGO: Oreo Balls, Fun and Easy

THREE YEARS AGO: Pork with Prunes

FOUR YEARS AGO: Honeyed-Jalapenos on Spelt Pizza

FIVE YEARS AGO: Bulgur and Chickpea Salad with Pomegranate Seeds

SIX YEARS AGO: Purple Star Macarons

SEVEN YEARS AGO: Smoked Salmon, Fait Maison

EIGHT YEARS AGO: Kouign-Amann, Fighting Fire with Fire

NINE YEARS AGO: In My Kitchen, Yin and Yang

TEN YEARS AGO: Chocolate Toffee Banana Bread

ELEVEN YEARS AGO: In My Kitchen, June 2014

TWELVE YEARS AGO:  Strawberry Frozen Yogurt

THIRTEEN YEARS AGO: Baked Coconut and “The Brazilian Kitchen”

FOURTEEN YEARS AGO: Honey-Glazed Chicken Legs

FIFTEEN YEARS AGO: French-Style Rolls

HAPPY MOTHER’S DAY!

A cookie composition for all the Moms out there, you can check the details about how to make it with a visit to my cookie blog (click here for the post, that also has two additional design ideas).

THERE’S A PARTY NEXT DOOR!

My cookie blog turns FOUR YEARS OLD TODAY! Please stop by to see a cookie set I made to celebrate the occasion…

CLICK HERE

EASTER BAKES


A small collection of bakes to celebrate the occasion… Cupcakes, cookies, bonbons…
Let’s start with cupcakes, shall we?

For the cupcakes, I went with chocolate, and used this recipe which is simple and wonderful. Frosting was a simple American buttercream, but the gilding of the lily was the little nest made with rice noodles broken up in little pieces, coated with melted chocolate and assembled in mini-muffin tins. I have tried other methods to make the nests and this was by far my favorite.

This is really a very very messy process, and there was some colorful language going around The Bewitching Kitchen, I won’t lie to you. But aren’t those nest super cute? Totally worth the trouble. Get the noodles and cut them with scissors in small little pieces. It will make a Royal mess in your kitchen and you will find pieces of noodles in unexpected places. Melt chocolate, coat them well (gloves are mandatory), and while everything is still pliable and warm, stick little portions inside mini muffin tins. Add the eggs and let it all set.

TRI-DIMENSIONAL EASTER EGGS

These are not made of chocolate, the shells are my favorite chocolate cookie (click here for recipe, I omitted the chipotle powder for this version) baked into these cute little molds. Once they are baked, I brushed them with luster powder mixed with vodka, decorated with Royal icing and filled with mini peanut butter eggs.

.

BUNNY BONBONS

A little labor of love, you’ll need a special mold for these babies, found at one of my favorite stores, Evil Cake Genius. It is a three component mold, so you make the top, let it set, fill with whatever you want (I used lemon brigadeiro), then close the bottom with more chocolate. A very detailed video is available here.

.

EGG NESTS CHOCOLATE COOKIES

Very little icing on these cookies, I brushed them with Americolor White + a touch of turquoise before baking. Then just added a few details with piping consistency icing, and placed mini eggs on top. They went together nicely with the cupcakes!

.

THE GOLFING RABBIT

Same cookie, made with the help of AI-generated image, and a mini-projector… Love these goofy fellows!

If you celebrate the date, I wish you a Happy Easter! Hope you have a wonderful day…

.

ONE YEAR AGO: Bicolor Ravioli

TWO YEARS AGO:  Crispy Asparagus Salad with Toasted Bread Crumbs

THREE YEARS AGO: Low-Carb Super Fast Chicken Parmigiana

FOUR YEARS AGO: Sundried Tomato Spelt Sourdough

FIVE YEARS AGO: A Duet of Chocolate Bonbons

SIX YEARS AGO: Chocolate Tartlets with Honey-Caramel Filling

SEVEN YEAR AGO: Zucchini Soup with Tahini

EIGHT YEARS AGO: Black Sesame Macarons

NINE YEARS AGO: Fine Tuning Thomas Keller

TEN YEARS AGO: Cauliflower Tortillas

ELEVEN YEARS AGO: Majestic Sedona, Take Two

TWELVE YEARS AGO: Secret Ingredient Turkey Meatballs

THIRTEEN YEARS AGO: Swedish Meatballs and Egg Noodles

FOURTEEN YEARS AGO: Italian Easter Pie

FIFTEEN YEARS AGO: Black Olive Bialy