BBA#31: NEW YORK DELI RYE

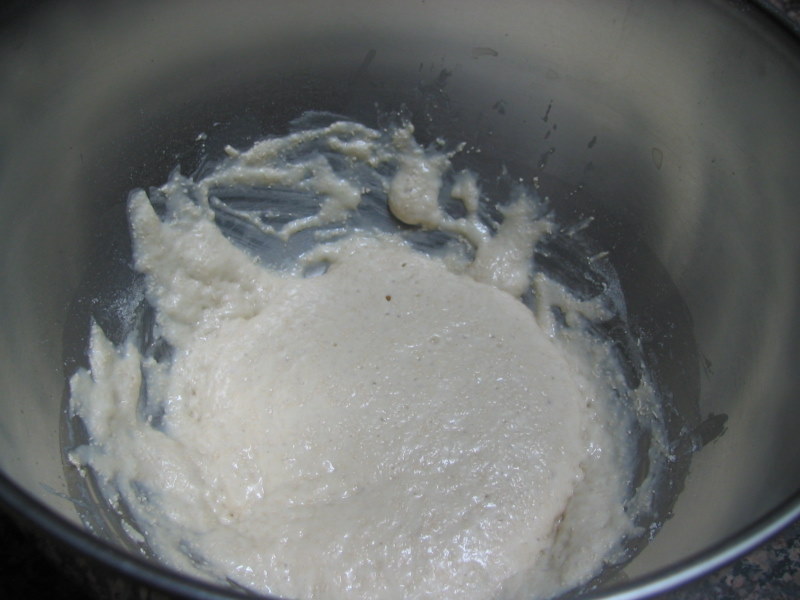
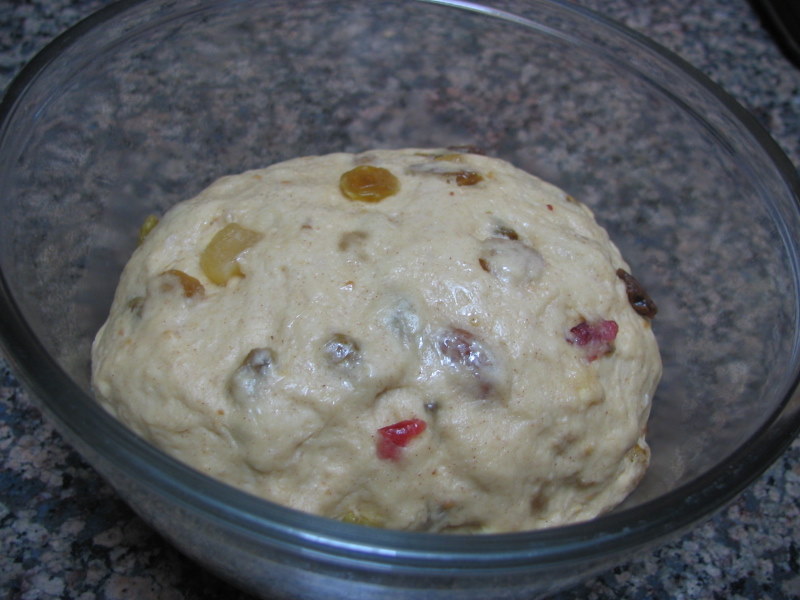
Following the BBA Challenge, we go forward with the sourdoughs, the next couple of which are made with rye flour.  Rye is low in gluten,  which increases the difficulty of handling it.  In this recipe Peter Reinhart uses a rye sponge, that’s made with a sourdough starter, rye flour, and lightly sauteed onions.  The sponge ferments for a few hours, gets refrigerated overnight, and the next day it’s mixed into a final dough with brown sugar, buttermilk, white and rye flours, and a small amount of commercial yeast.

I was a bit insecure preparing this dough – it’s easy to turn a rye dough into a gummy mess, so I paid extra attention to Peter’s advice to avoid over-kneading it.   And the onion smell was too strong, which only added to my worries and bothered my husband!

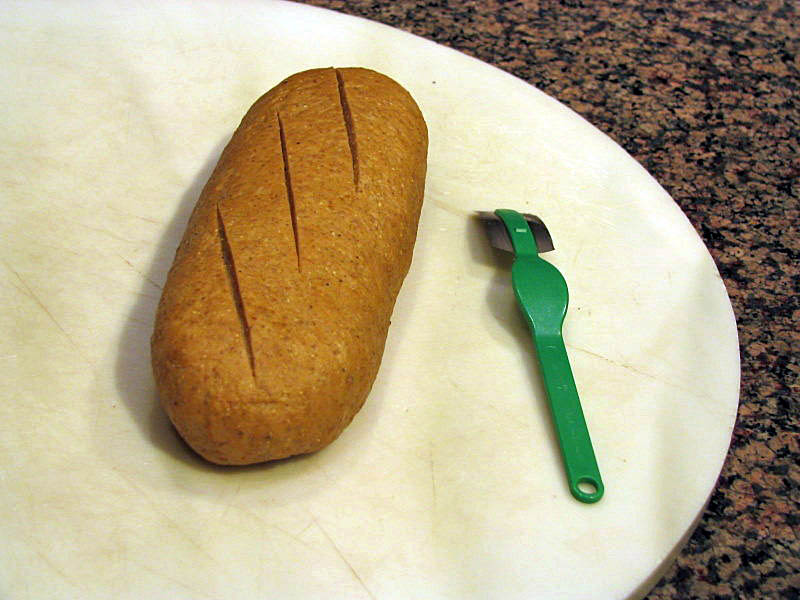
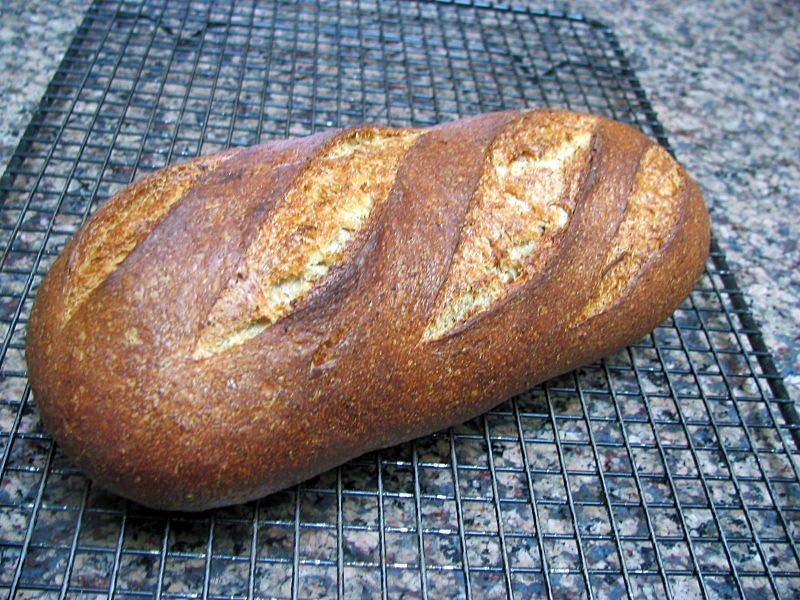
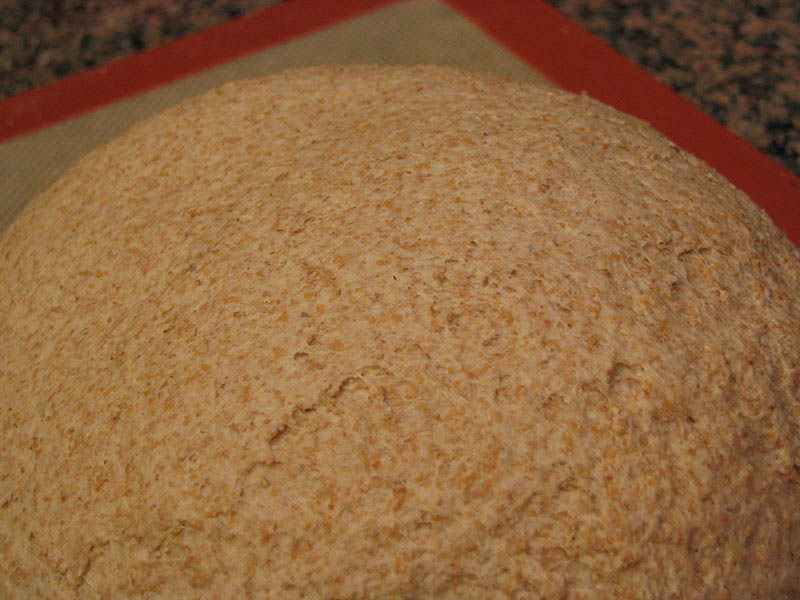
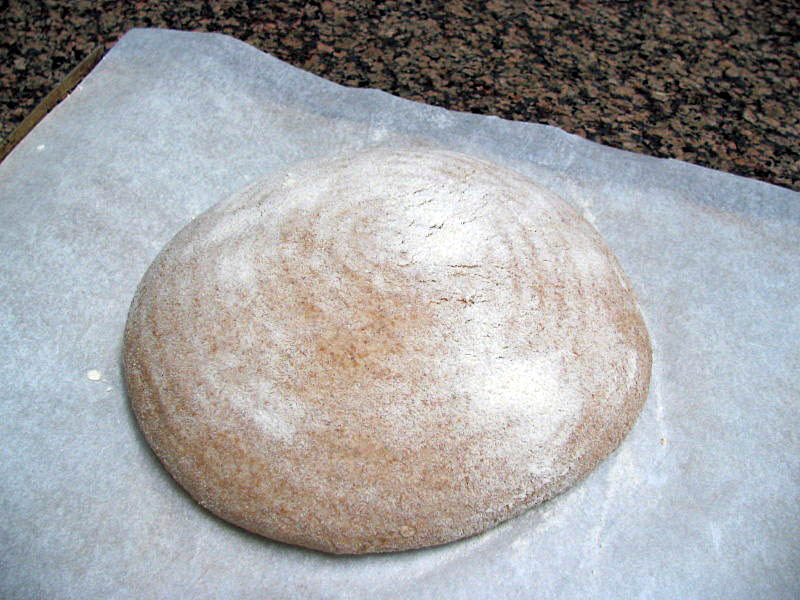
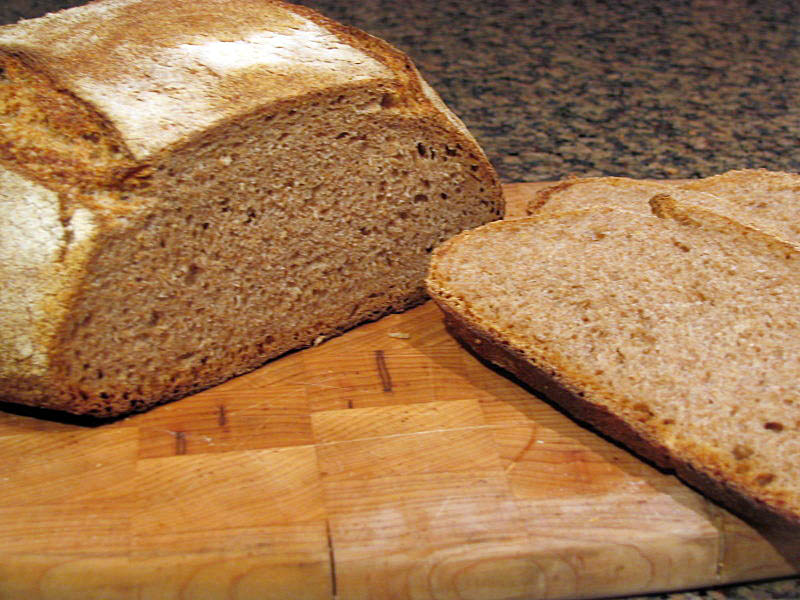
But, sometimes a bright light shines at the end of the tunnel!  This bread turned out awesome!  It delivered exactly what Peter promised: a flavorful New York deli rye bread…    My pictures don’t do it justice: it tasted much better than it looks.   😉

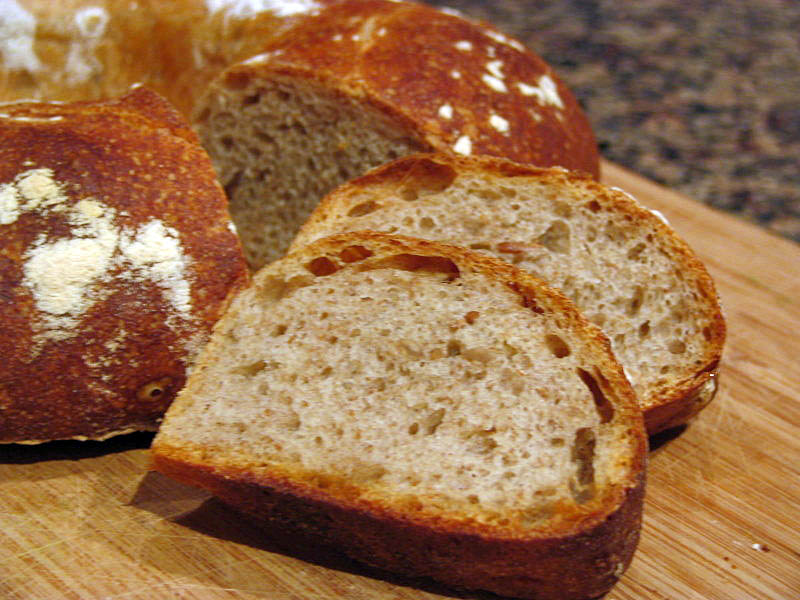
The crumb was tight but delicate, and the hint of onion in the background perfectly paired with the caraway spice.

My beloved, as usual, used it in a delicious sandwich creation:  grilled rib eye steak slices, sauteed mushrooms (both leftovers from last night’s dinner), and a few slices of Jarslberg cheese.   His remark afterwards:

Even Tom Colicchio would love this one!  😉

I’m pleasantly surprised by how much we both enjoyed this bread, especially because it’s my first time making this type of loaf.

Flash! Here’s something even more exciting… I enrolled in a class with Peter Reinhart himself in January!  I can hardly wait!   My Bread Baker’s Apprentice book is a little beaten up now, but  it’ll look like a million bucks once I get his autograph on it!   😉

Check the  New York deli rye made by Oggi, from “I Can do That”, by clicking here

Next on the challenge: 100% sourdough rye. That one’s REALLY intimidating.  Stay tuned…

BBA#30: BASIC SOURDOUGH BREAD

Here we are, at the beginning of my favorite, sourdough breads, which are all made from a “starter”, or, as Peter calls it, a  “seed culture”.    For  those unfamiliar with the BBA Challenge, it’s a net-event that was launched by Nicole, in which home bakers make every recipe from “The Bread Baker’s Apprentice“, in the order that they appear in the book;  forty-three breads in all.    People participating in this challenge agreed not to publish the recipes, so if you are interested, help the economy and buy the book.  😉

I’ve been regularly baking sourdough bread for the past two years, so I took some liberties and made a few changes in the overall method.  First, I didn’t put the “barm”  in the fridge overnight.  Instead,  I prepared it at 11pm the night before and used it next morning,  at 6am, without refrigeration.   I see no need to retard the barm in the fridge:  it adds an extra hour to the overall process (you do need to warm it to room temperature before using it), and from my experience it doesn’t  improve the bread’s flavor.  Retarding the dough after the final shaping is a better option, that is also discussed in the recipe.

My second change was the kneading method.  I am partial to folding the dough, as you can see by browsing my bread recipes in this site.   Why? Because it always works.   Kneading the dough in a machine or extensively by hand  may or may not produce the crumb texture I love: airy and full of uneven holes.  I don’t like to gamble with my breads, so I fold it.

The dough was easy to work with,  I am always  fascinated by the way it changes with minimal kneading over time.   These two photos show the dough 15 minutes after mixing all the ingredients, and after rising for 45 minutes.   I folded it at 45, 60, and 120 minutes, then allowed it to rise for 2 more hours (for a total of 4 hours) before shaping.

I’ve been flirting with the idea of stenciling my breads, and this time I decided to go for it.   It didn’t work perfectly.   I think I made my Chinese character too big, and I added too much flour in making it, but I’m hoping to improve my skills.

This is an ideogram that I like very much – guang – it means light, as in sunlight.  I guess my tropical nature attracts me to it.  😉

Excellent flavor, not too sour, the crust just the way we like it…

Click here is for a link to the sourdough post by Oggi, from “I Can Do That” – she did some nice different shapes  with her dough, very nice job!

BBA#29: PUGLIESE

Pugliese, as the name indicates, is a bread typical from Puglia, a region in the south of Italy. The bread is supposed to be quite crusty, perfect for olive oil tasting. Peter Reinhart’s recipe, like many others in the book, calls for a biga, prepared the previous day, and placed in the fridge overnight. For reasons absolutely out of my control, my biga stayed the whole night at room temperature instead of going to sleep in the fridge. I debated whether to go ahead with the recipe or start all over, but decided to go for it.

Other than forgetting to put the biga in the fridge… 😉  I had no issues with the recipe.  But, maybe my mistake contributed to a crumb texture a lot tighter than that shown on the book.  Still, it tasted very good, a little chewier than a regular Italian bread.   Once the BBA Challenge is over, I will revisit this recipe for sure!

Check out my fellow bakers’ take on Pugliese, by visiting:

Txfarmer’s blog here,

Oggi’s blog here

TROUBLE-FREE PIZZA DOUGH

Believe me, I’ve tried plenty of recipes for pizza made from scratch. But I always return to this particular version from Fine Cooking magazine.   The dough comes together in minutes in a food processor, and even though I’m a huge advocate for making dough by hand, once I tried this method, I was sold.

EASY PIZZA DOUGH
(from Fine Cooking, issue 49)

1 package (2 + 1/4 tsp) active dry yeast
1 +1/2 cups very warm water (110F)
18 ounces all purpose flour (4 cups)
1 + 1/2 t salt
2 T olive oil

Measure the water in a pyrex bowl, sprinkle the yeast on top, and mix gently to dissolve. Add the flour and salt to the bowl of a food processor and process for a few seconds to mix well.  With the processor running, add all the water/yeast mixture. Process for about 5 seconds, open the lid and add the olive oil.  Close the processor again and mix for about 20 seconds longer.  You want the dough to form a tacky ball, but don’t over process it or it may get too hot.

Remove the dough from the processor, knead it a few times by hand and form a ball. If you want to make a  large pizza, leave it whole. If you want to make individual pizzas, quarter it, place them in a large plastic bag and refrigerate until ready to use (from a few hours to a couple of days).

Remove the dough from the fridge 1 hour before shaping the pizzas.  Roll it out with a floured rolling pin, top with your favorite home-made tomato sauce, and the toppings of your choice.

ENJOY!

to print the recipe, click here

Comments: One of my favorite gadgets is a measuring spoon from King Arthur’s Flour, that holds the exact amount of a standard American package of yeast.  I buy my yeast in bulk, so having that spoon saves me a lot of time.

pouring

Sometimes I vary the flour composition of the dough, by including some whole wheat flour (regular or white), or some spelt flour in the mix. Usually I add only 1/8 of the total amount (1/4 cup, keeping the remainder as all purpose flour).  The overall process will be the same, add them to the bowl of the food processor with a little salt, and move on…  Once it gets into a shaggy ball, not quite cleaning the side of the bowl, it will be done…

ingredientsdough

The dough is very smooth, a pleasure to work with… divide it into four balls and place it to rise in the fridge, slowly… for several hours

dough2 4balls

Some people like to get artistic with the toppings….  😉

assembled

We make our pizzas on the grill, using it as an oven – an idea from my beloved husband that works very well. We place quarry tiles (6 of them from the Home Depot) on the grill and turn the gas as high as it will go. The pizzas  sit on the tiles, still on some parchment paper.  After a few minutes remove the parchment paper, and cook the pizzas in direct contact with the tiles until ready – about 8 minutes total, depending on the heat of your grill.

ready2

BBA#28: POTATO ROSEMARY BREAD

One more bread following along with the “Bread Baker’s Apprentice Challenge, the group project in which bakers make every single recipe from Peter Reinhart’s book, in the order they are published.

Potato Rosemary bread: I was looking forward to this one. Homemade bread has plenty of wonderful qualities, but often tastes best on the day it is baked, because contrary to its commercial counterparts, it has no preservatives.   However, something quite interesting happens once you add potato, or even potato cooking water to bread dough: the potato starch molecules “trap” water, and as a result, the bread stays fresh longer.   It will not lose moisture as fast as a regular bread.

Peter Reinhart’s recipe calls for a biga – a stiff mixture of flour, water, and yeast that ferments overnight – as part of the dough, that also contains a small amount of commercial yeast, flour, mashed potatoes, chopped rosemary, black pepper, and salt. Instead of kneading I folded the dough at 20, 60, and 90 minutes.  After two hours I formed a “boule”, and allowed it to rise 2 more hours.  My other modification was to bake it with steam, that is, I baked it for 30 minutes covered with a roasting pan, then removed the cover,  and allowed it to bake for ten more minutes. The internal temperature of the bread was a little higher than 200F at that point.

Here are some photos of the process…

Slashing for this kind of bread is optional, but I like to practice my skills with the baker’s blade…   😉

Large, uneven holes, a vision that makes me very happy…

Time for lunch!   Everyone is invited…

Some of my fellow bakers already made this bread, please visit their sites following the links:

Paul loved this bread, particularly how wonderful it made his home smell during baking (the same happened in our home)

TxFarmer, as usual, does a great job shaping her bread in unique ways, I love to visit her blog, even if my Chinese skills are not up to par to read the text. Maybe one day… 😉