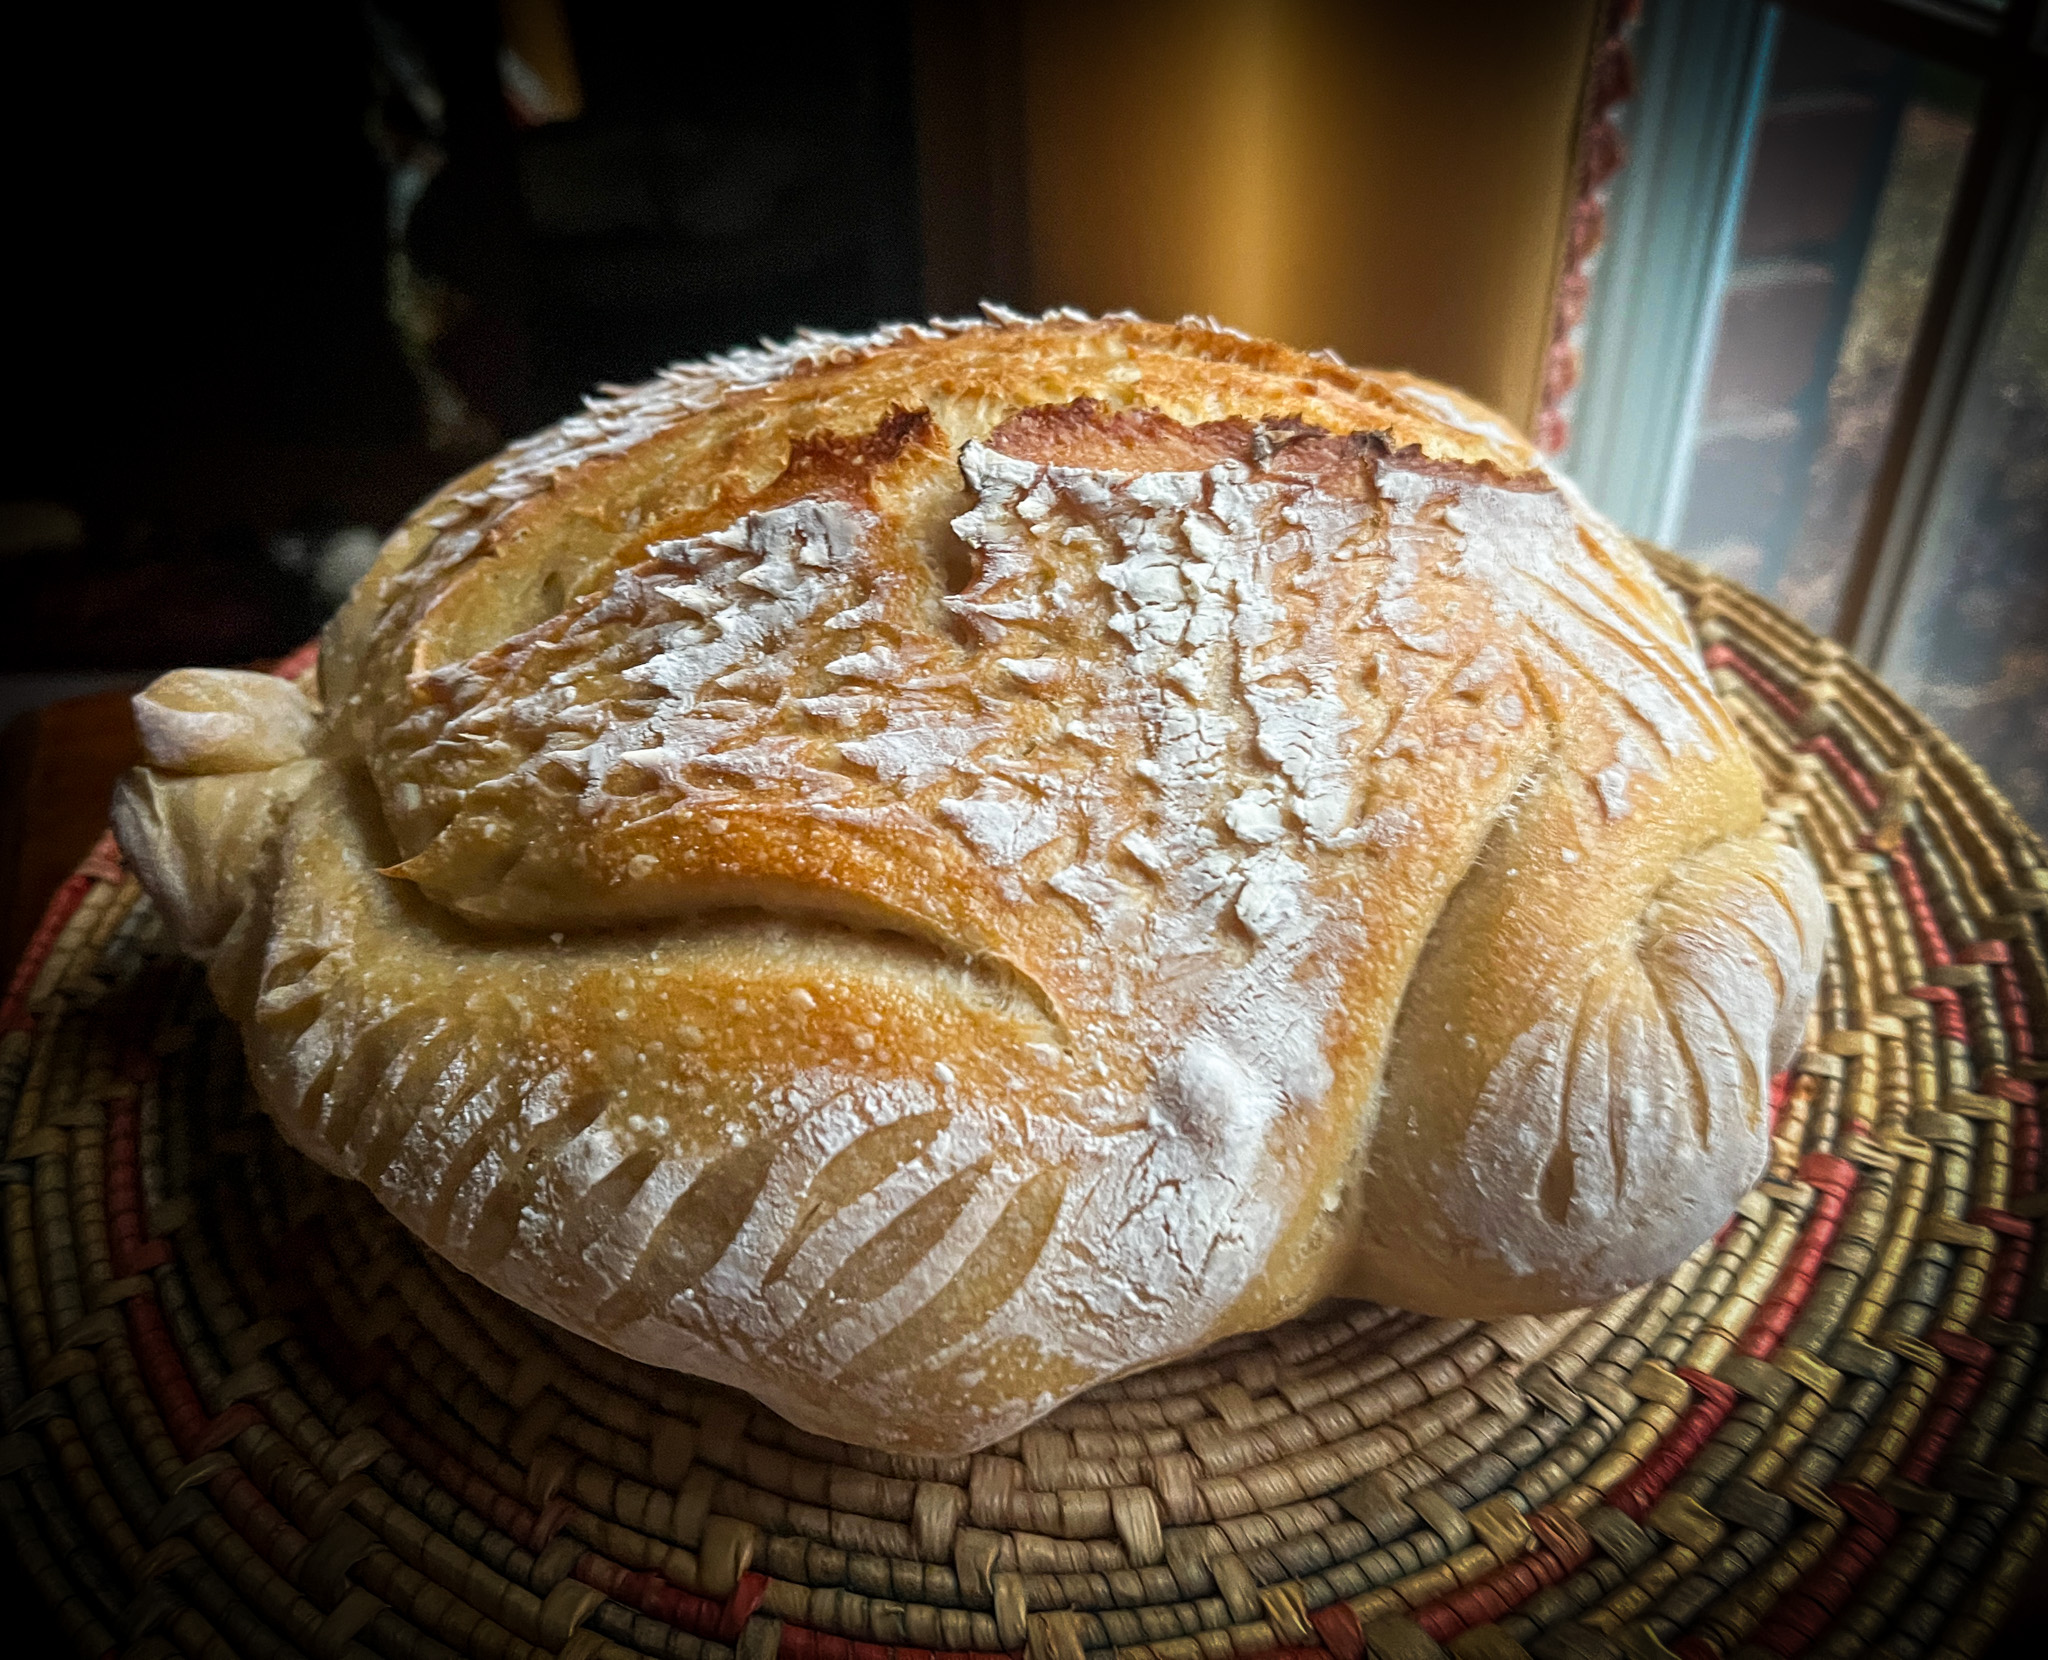
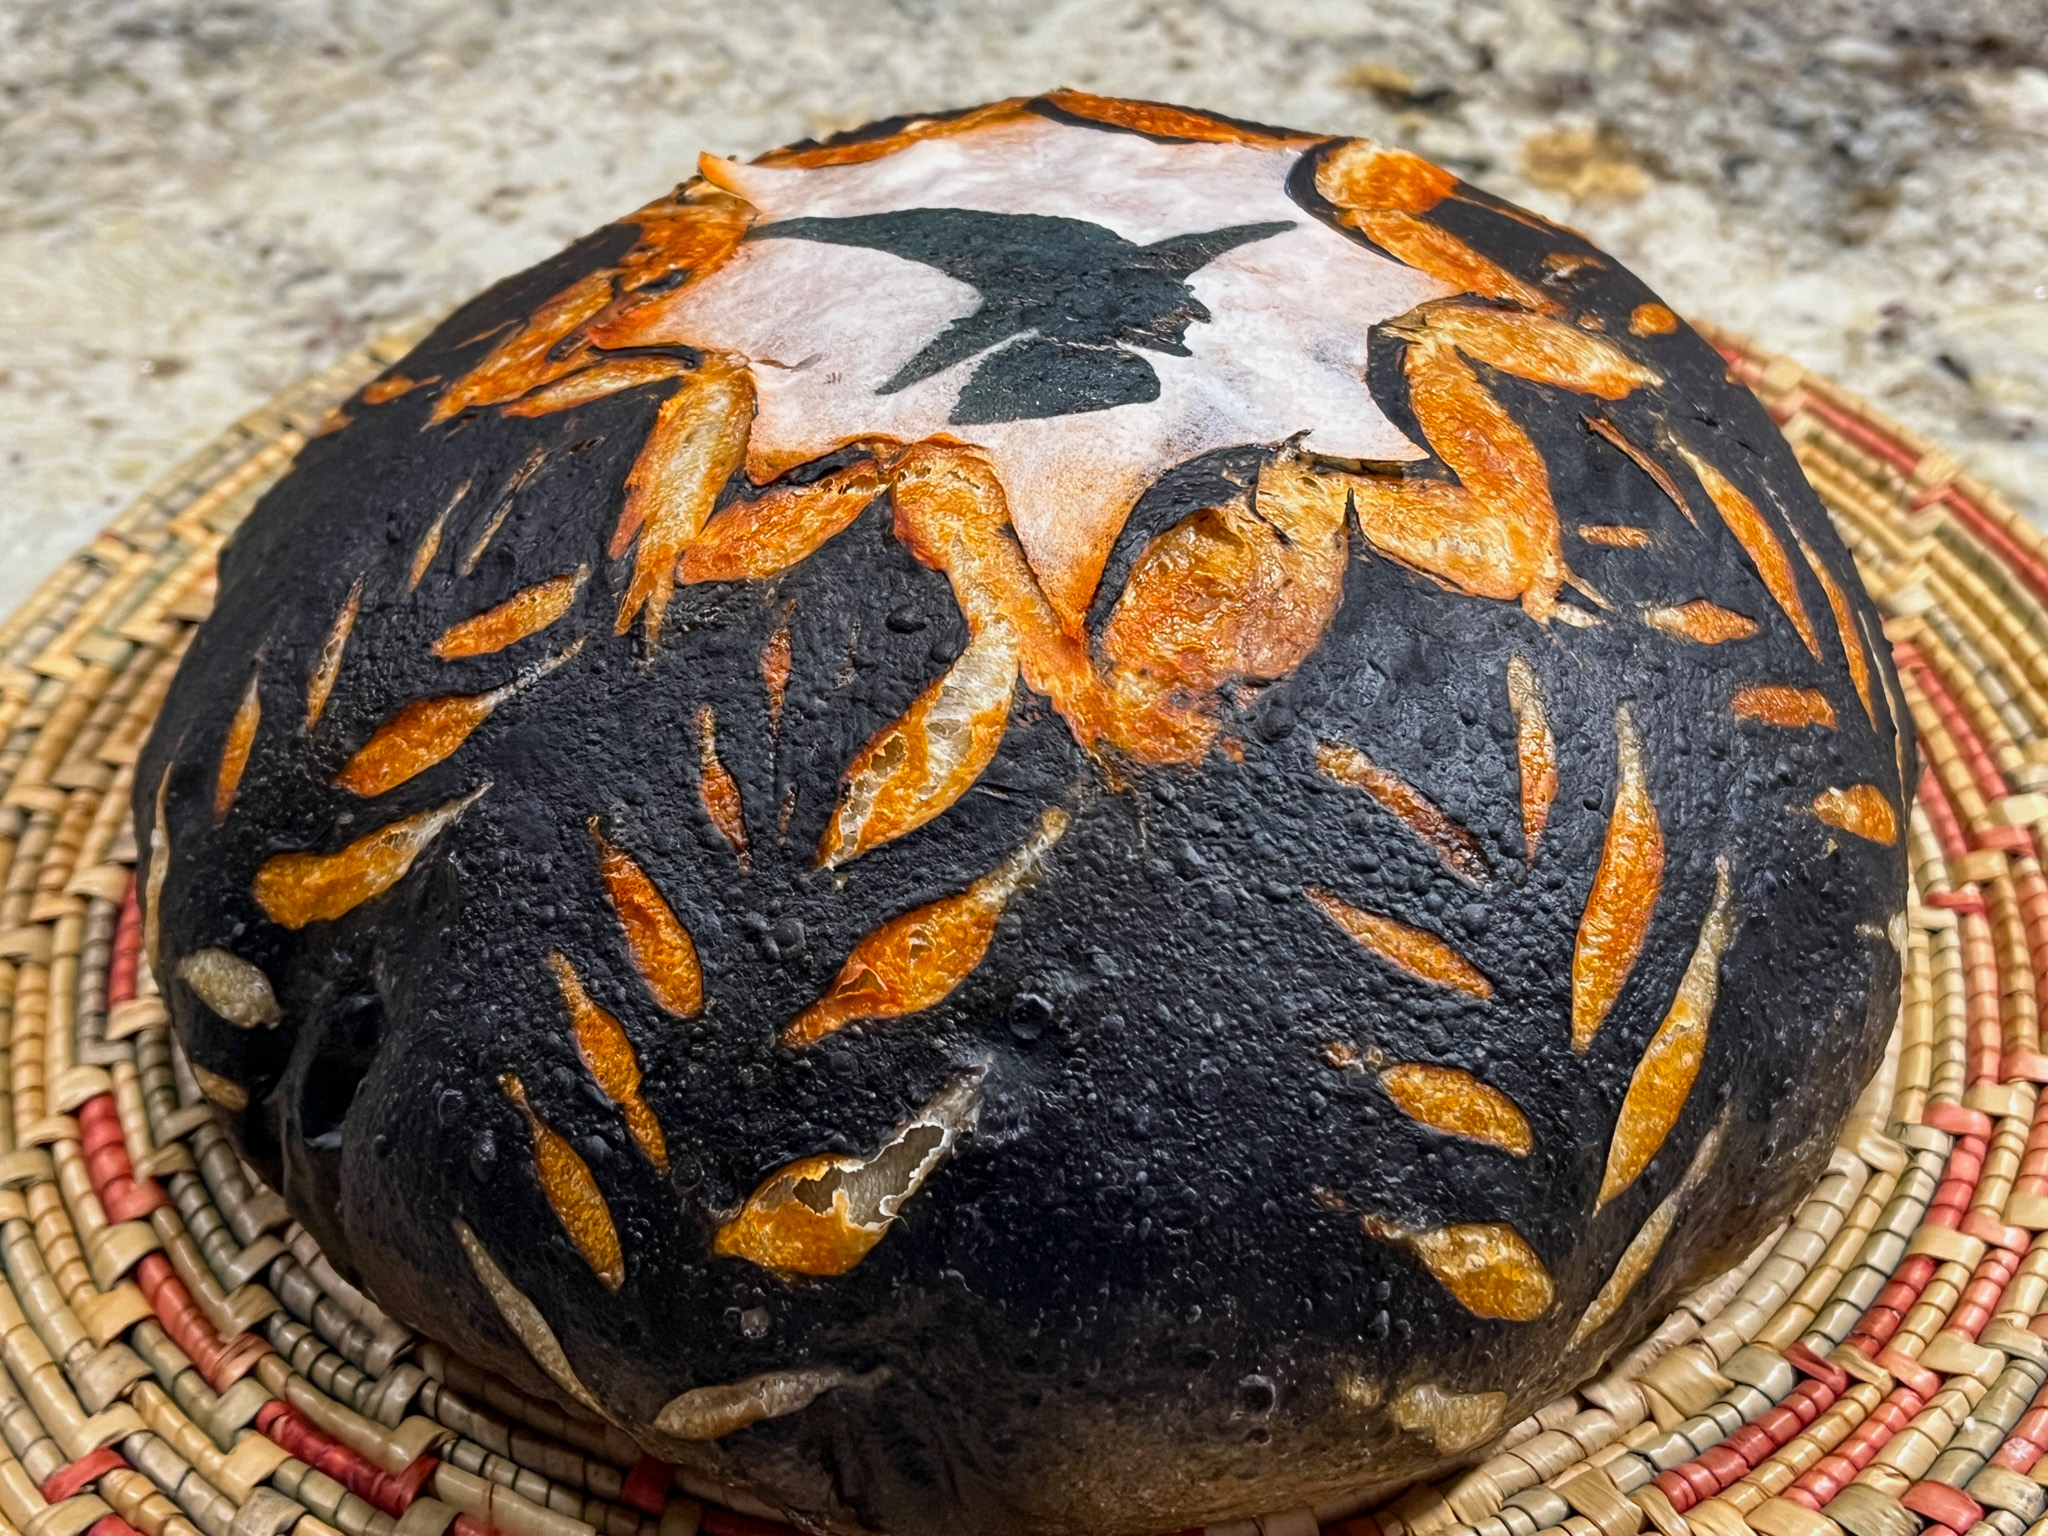
The cuteness factor of these is huge! They are adorable and so simple to make that you can plan to bake it with kids. The only messy (and potentially dangerous) part is the mandatory boiling in alkaline water so that you get the right texture and amazing color, but you can take charge of that step and let the kids get involved with all else. The recipe is from Haniela’s blog, she is not only a fantastic cookie artist, but a great cook too…

PUMPKIN SHAPED SOFT PRETZEL ROLLS
(from Haniela’s blog)
for the dough:
1 + 1/2 cup warm water
1tsp honey
1 package dry yeast (2 + 1/4 tsp)
2 cups (260g) all-purpose flour
2 + 1/2 cups (325g) bread flour (divided)
1tbs kosher salt
6tbs melted butter
For the alkaline solution:
5 cups water
1/3 cup baking soda
for brushing the rolls:
egg yolk
1 tbs water
pretzel salt (available here)
cashews (or other nuts) for stems
Pour warm water into the bowl of your mixer, add honey and stir in the yeast. Let stand for 5 minutes, until foamy.
Add 2 cups of all purpose flour, 2 cups (260g) of bread flour, melted butter and salt into the bowl with yeast and knead using the dough hook attachment. If dough is too sticky add additional 1/2 cup (65g) of bread flour. Knead for 5 minutes, or until the dough turns into a smooth ball. Lightly coat a large bowl with oil and put the dough into the bowl.Cover the bowl with plastic wrap and let rise in a warm place for one hour.
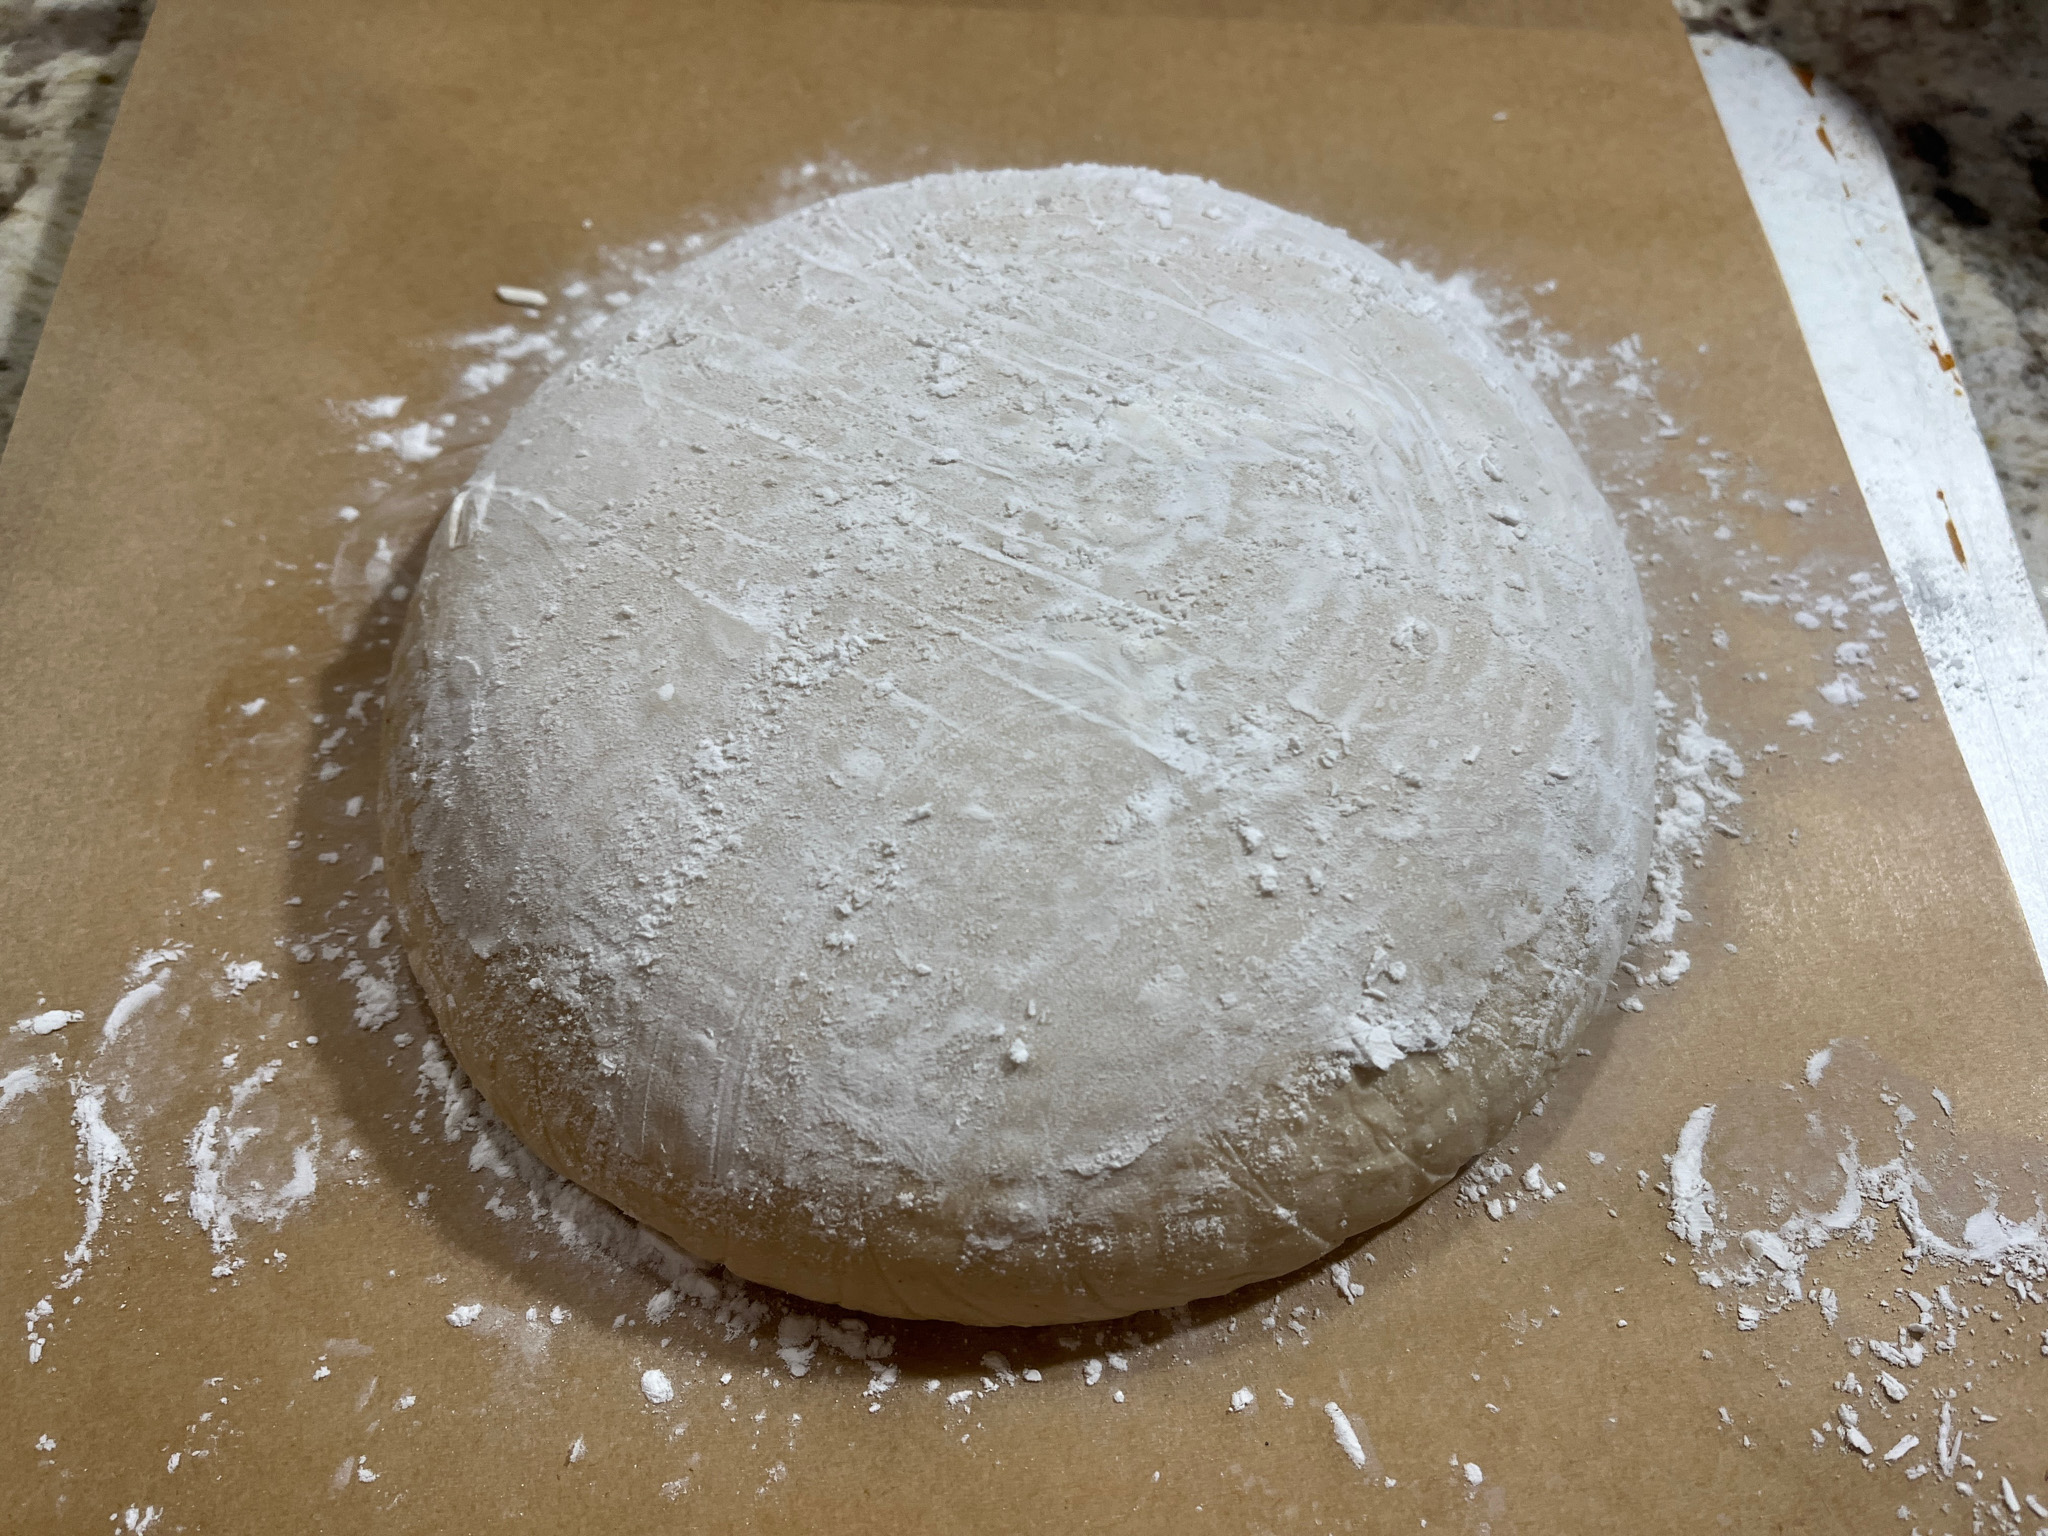
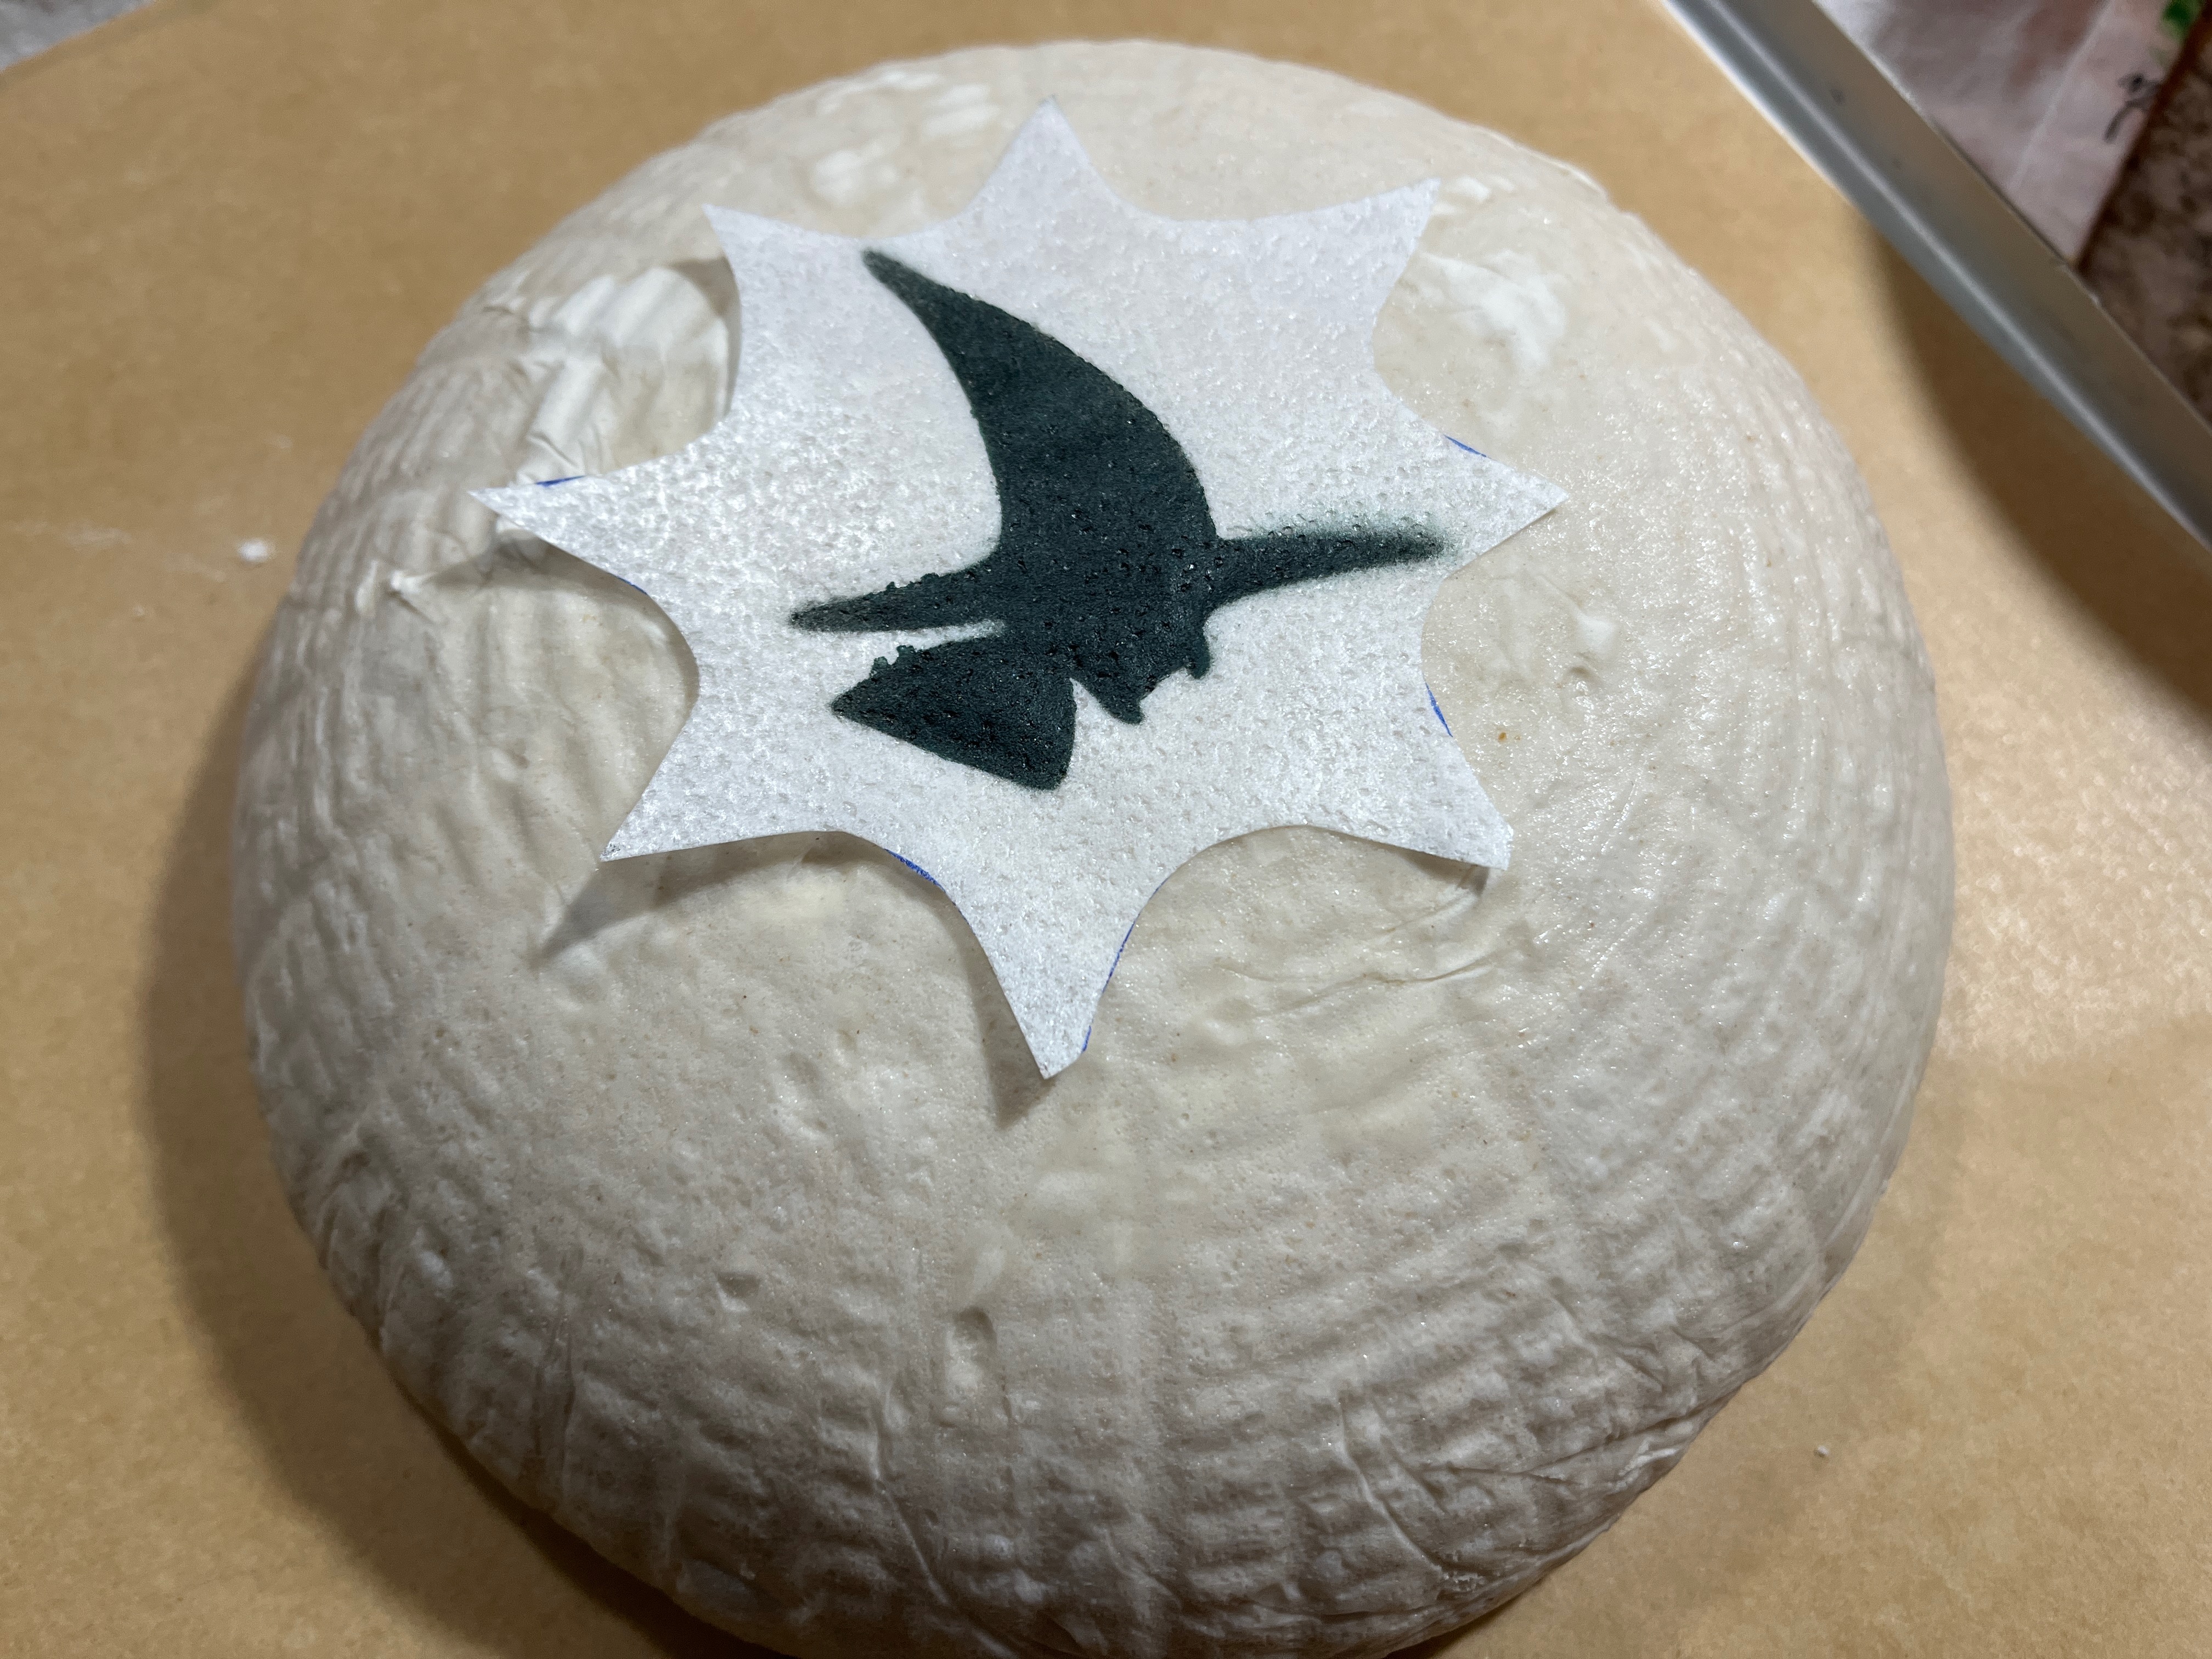
Invert the dough onto a clean work surface but do not use any additional flour. Roll the dough into a rectangle and using a knife or pizza cutter cut the dough into squares. The size is not important, just make them very small if you like to have tiny little rolls, or bigger. I divided my dough in about 25 portions. Using both hands, pull the dough together, form a ball from each square.
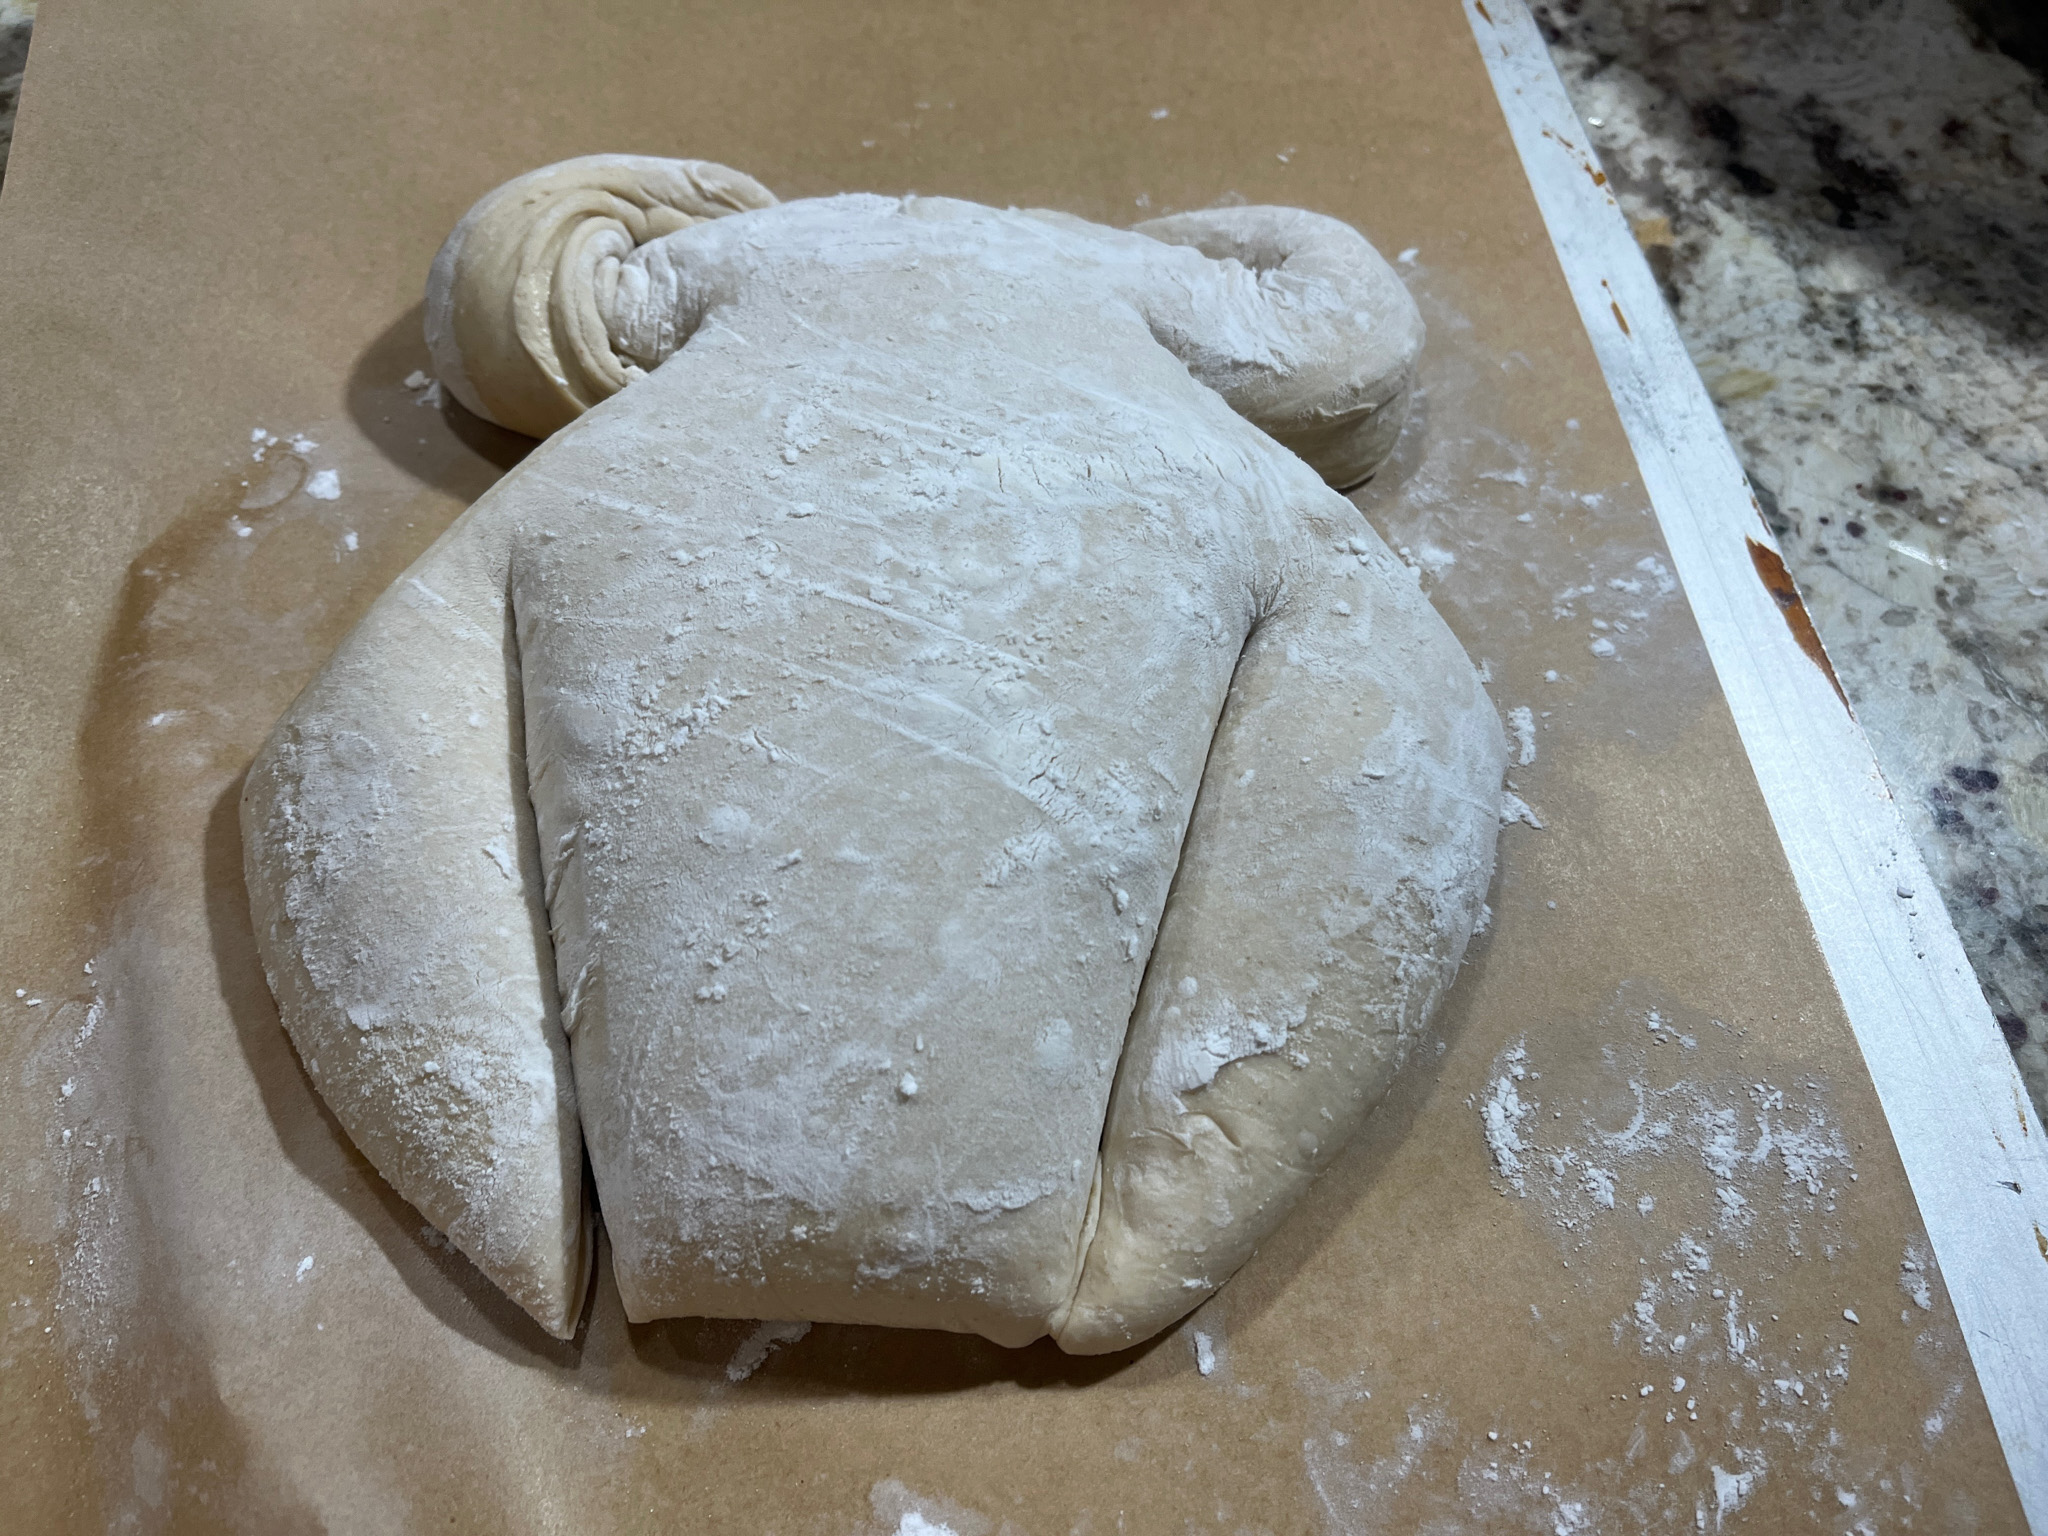
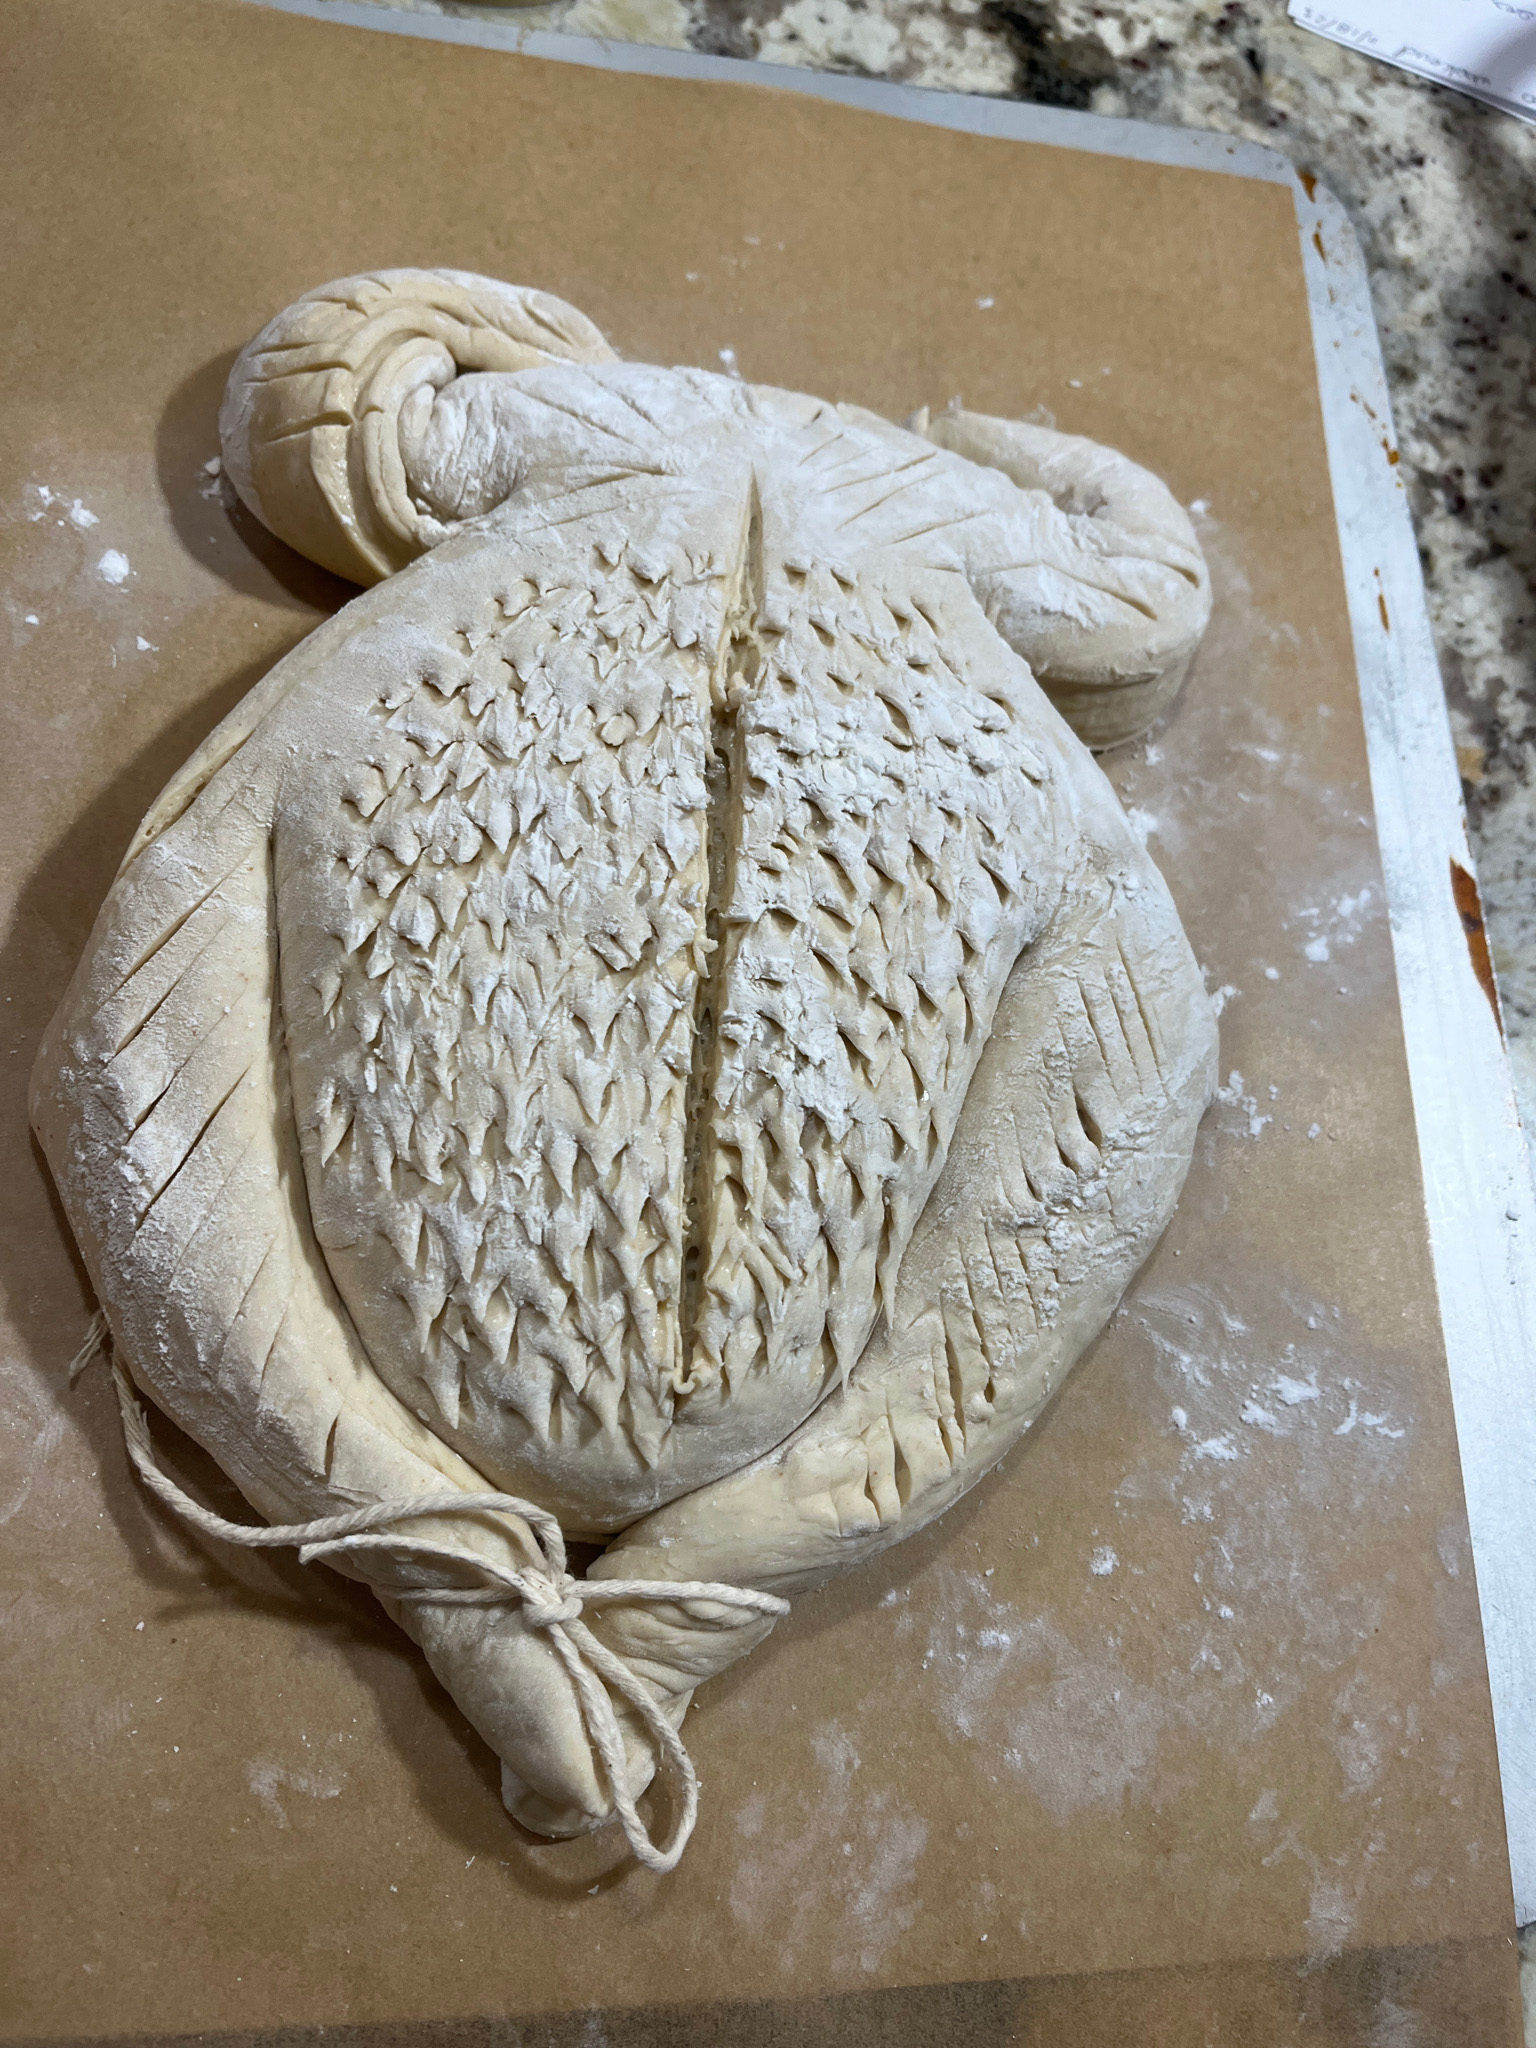
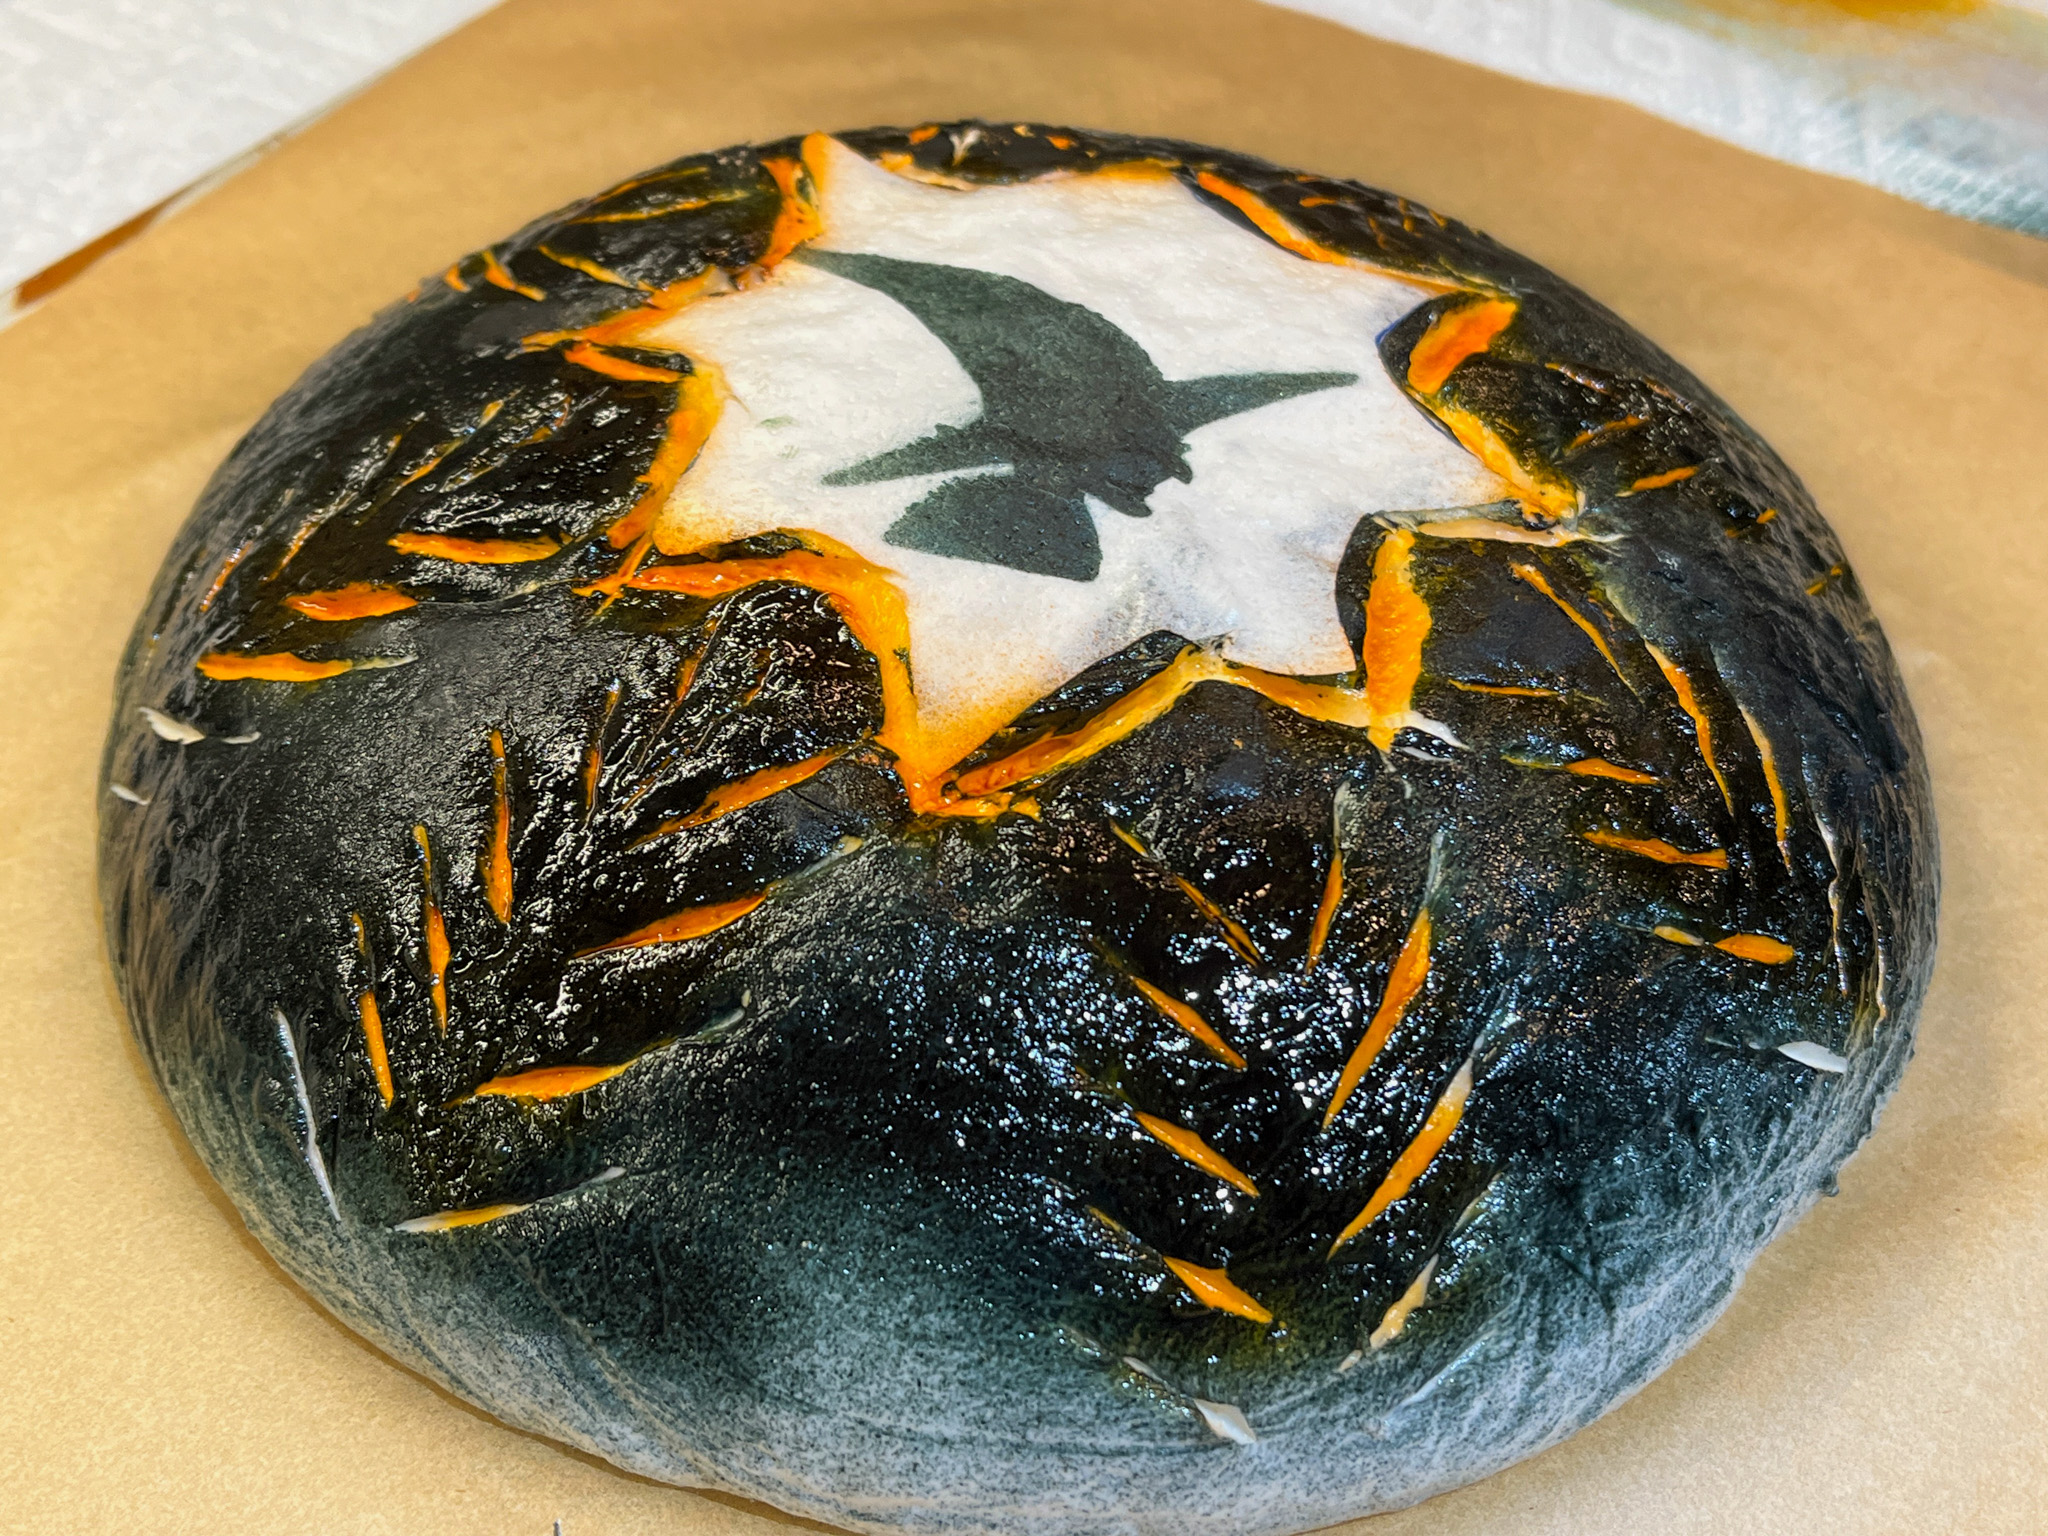
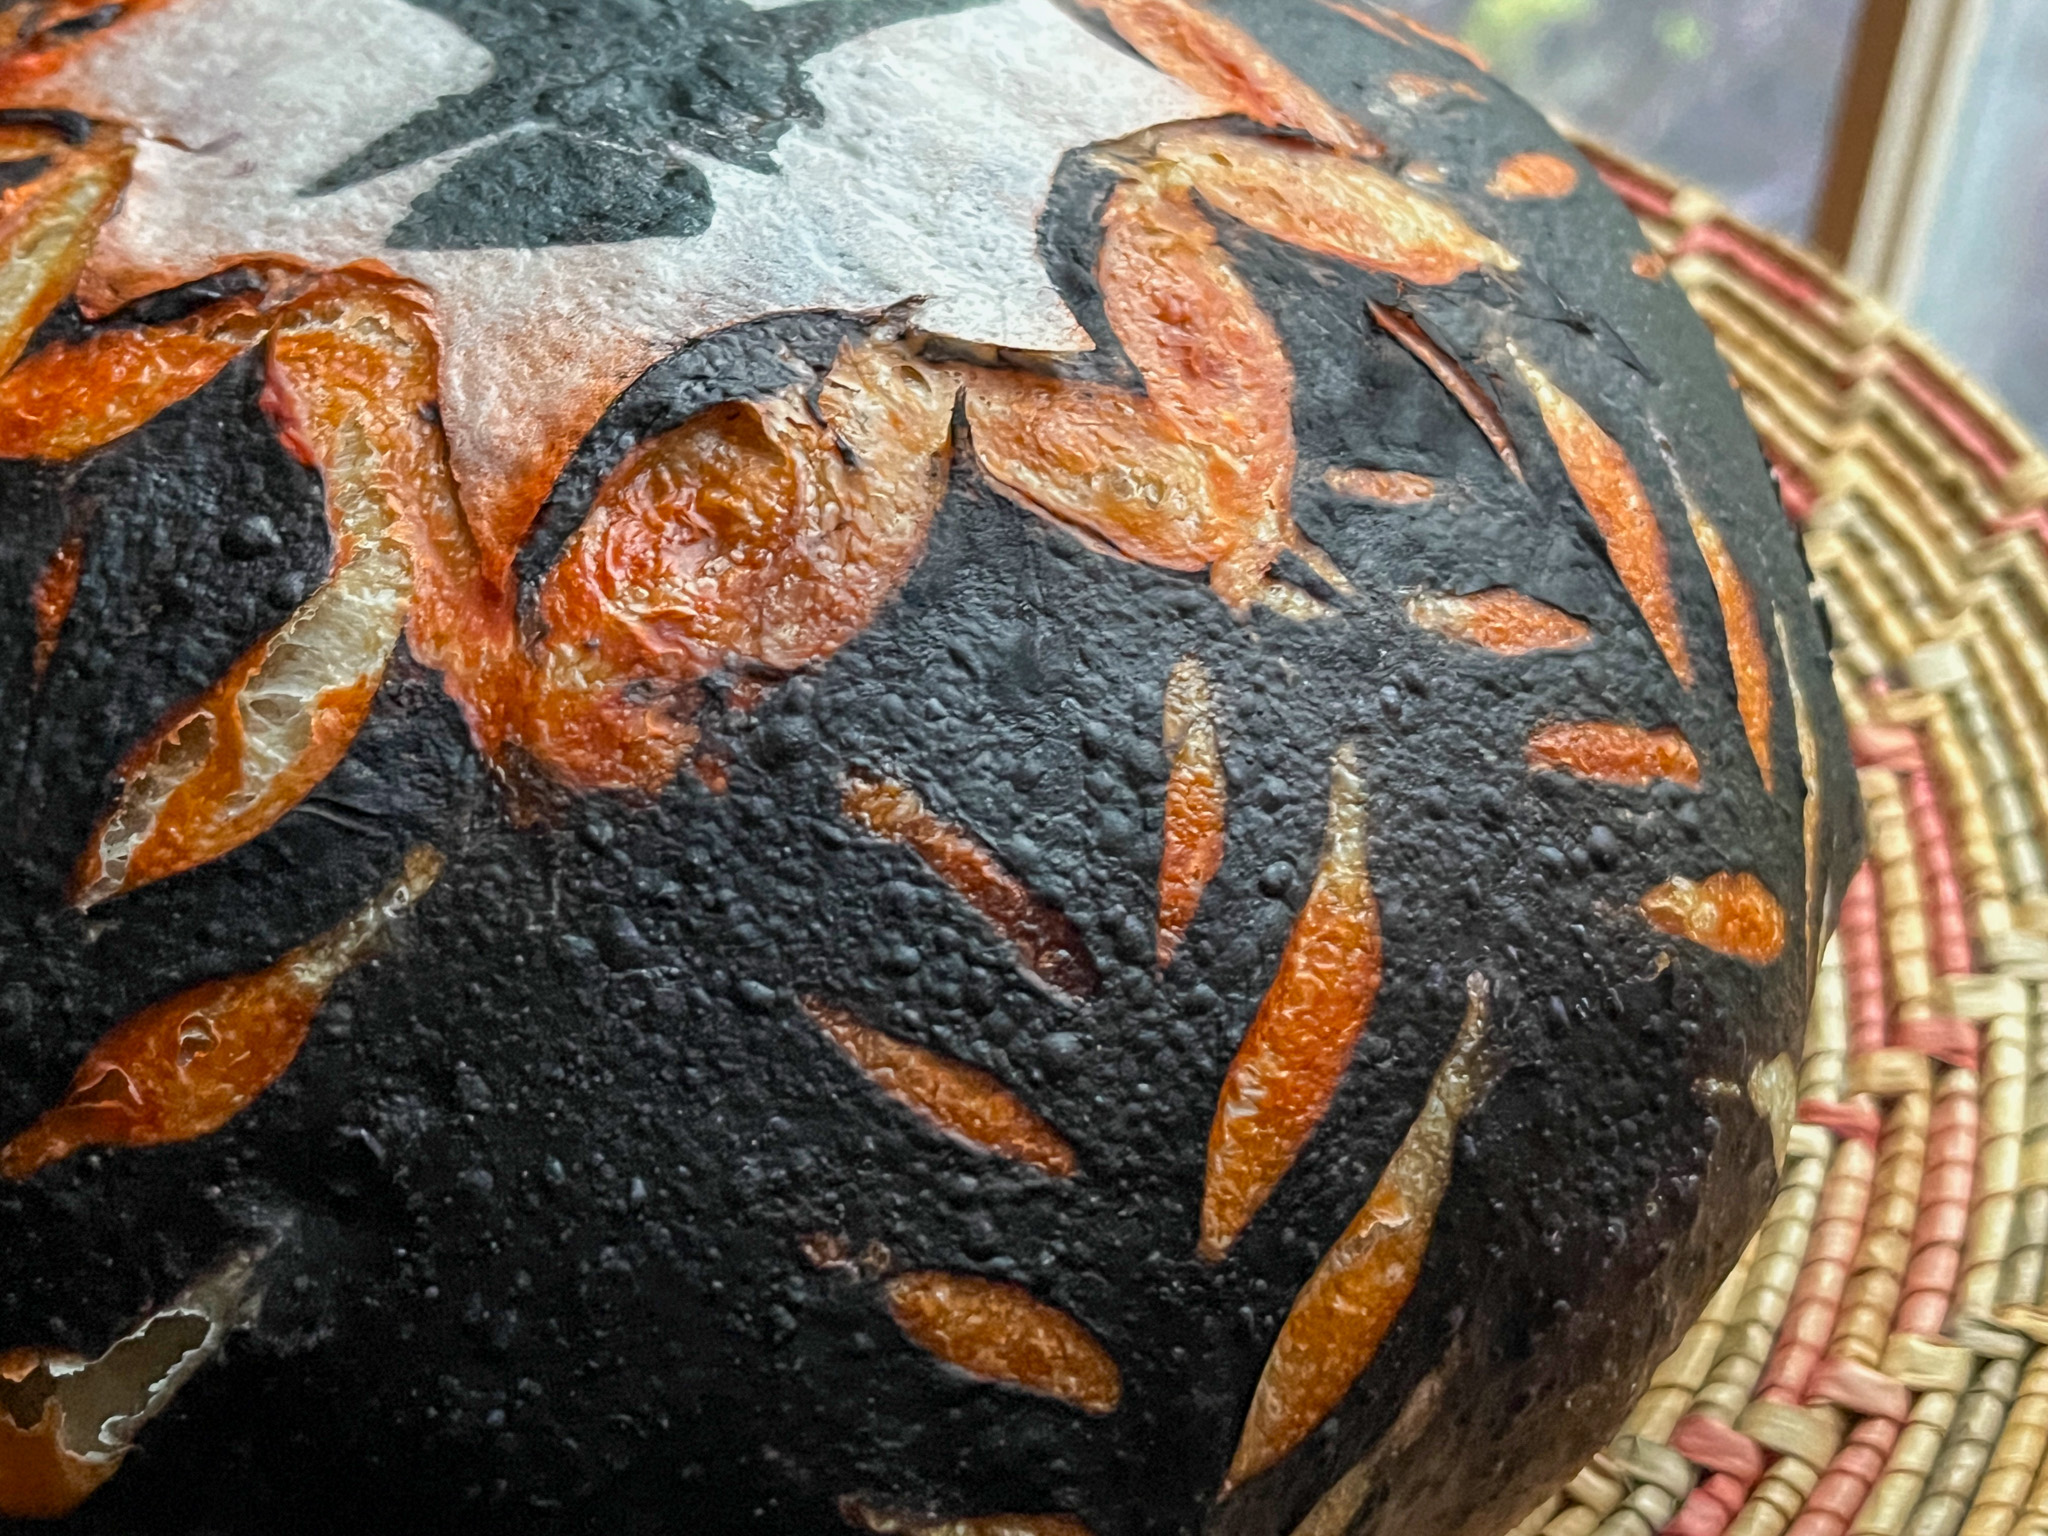
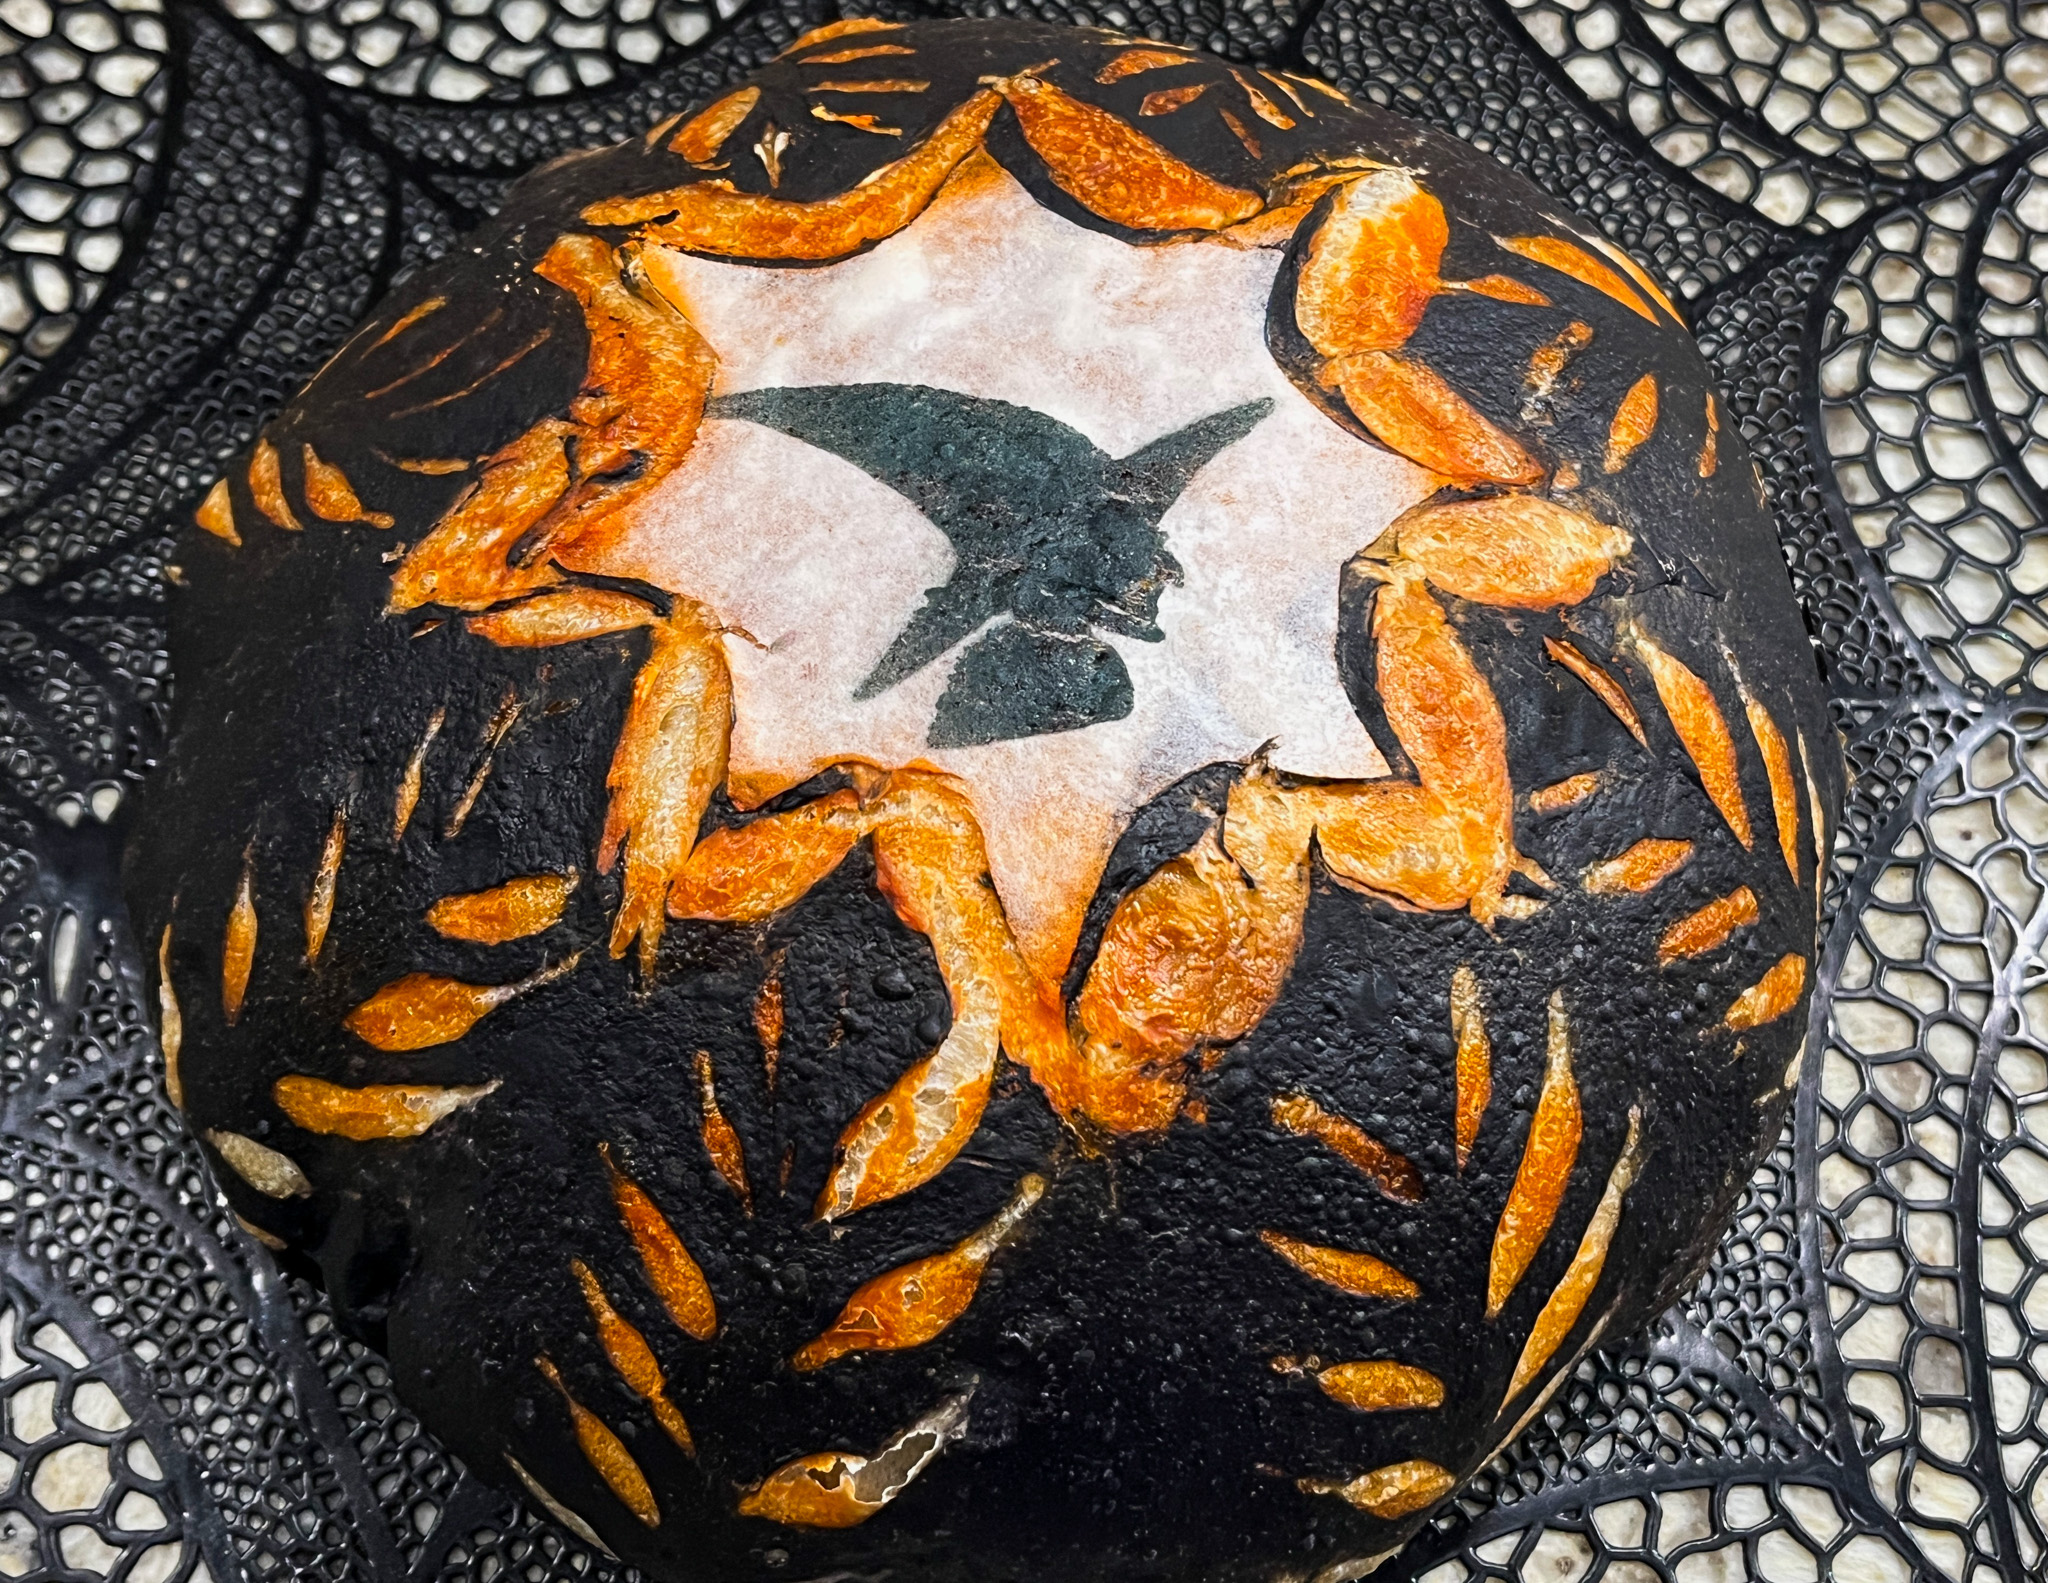
Bring 5 cups of water to boil, add 1/3 cup baking soda. Stir well until baking soda is dissolved.”Blanch” the pretzel rolls in the baking soda bath for 30 seconds. Remove from the solution onto a tray or bare baking sheet and continue with remaining rolls. Transfer pretzels onto a sheet lined with parchment paper, using kitchen shears, hold pretzel roll in your hand and using shears cut total of 8 cuts through the dough, all around, keeping the center of the roll intact. Then using a wooden spoon handle press deeply into the center of the roll, leaving a small dimple.
Whisk together egg yolk and water, strain through a small sieve. Brush sparingly tops of the pretzel pumpkins, sprinkle with pretzel salt. Bake pretzels at 450F for about 10-12 minutes, until golden brown.
Push a cashew into the center, into the dimple while still warm from the oven.
ENJOY!
to print the recipe, click here

Comments: The dough is a total pleasure to work with, soft, smooth, and the intense color when it bakes due to the alkalization of the surface is gorgeous. Some of my rolls got only six slits around, make sure you go for eight, it gives a better pumpkin impression. You will need the special salt to get the right pretzel experience, so I recommend you bite the bullet and order some.

A little mustard, a little ham, and that was a super tasty lunch, even after cutting my finger on a sharp ceramic knife…. Clumsy, who, moi?

ONE YEAR AGO: Cod Coconut Curry
TWO YEARS AGO: The Best Ever Eggplant Parmigiana
THREE YEARS AGO: Roasted Butternut Squash and Grapes with Maple Pomegranate Glaze
FOUR YEARS AGO: A Really Big Announcement
FIVE YEARS AGO: Stir-Fried Chicken in Sesame-Orange Sauce
SIX YEARS AGO: Monday Blues
SEVEN YEARS AGO: A New Way to Roast Veggies
EIGHT YEARS AGO: Two Takes on Raspberries
NINE YEARS AGO: Spice Cake with Blackberry Puree
TEN YEARS AGO: Own Your Kitchen with Cappuccino Panna Cotta
ELEVEN YEARS AGO: Chicken Parmigiana, the Thriller
TWELVE YEARS AGO: Wild Mushroom Risotto
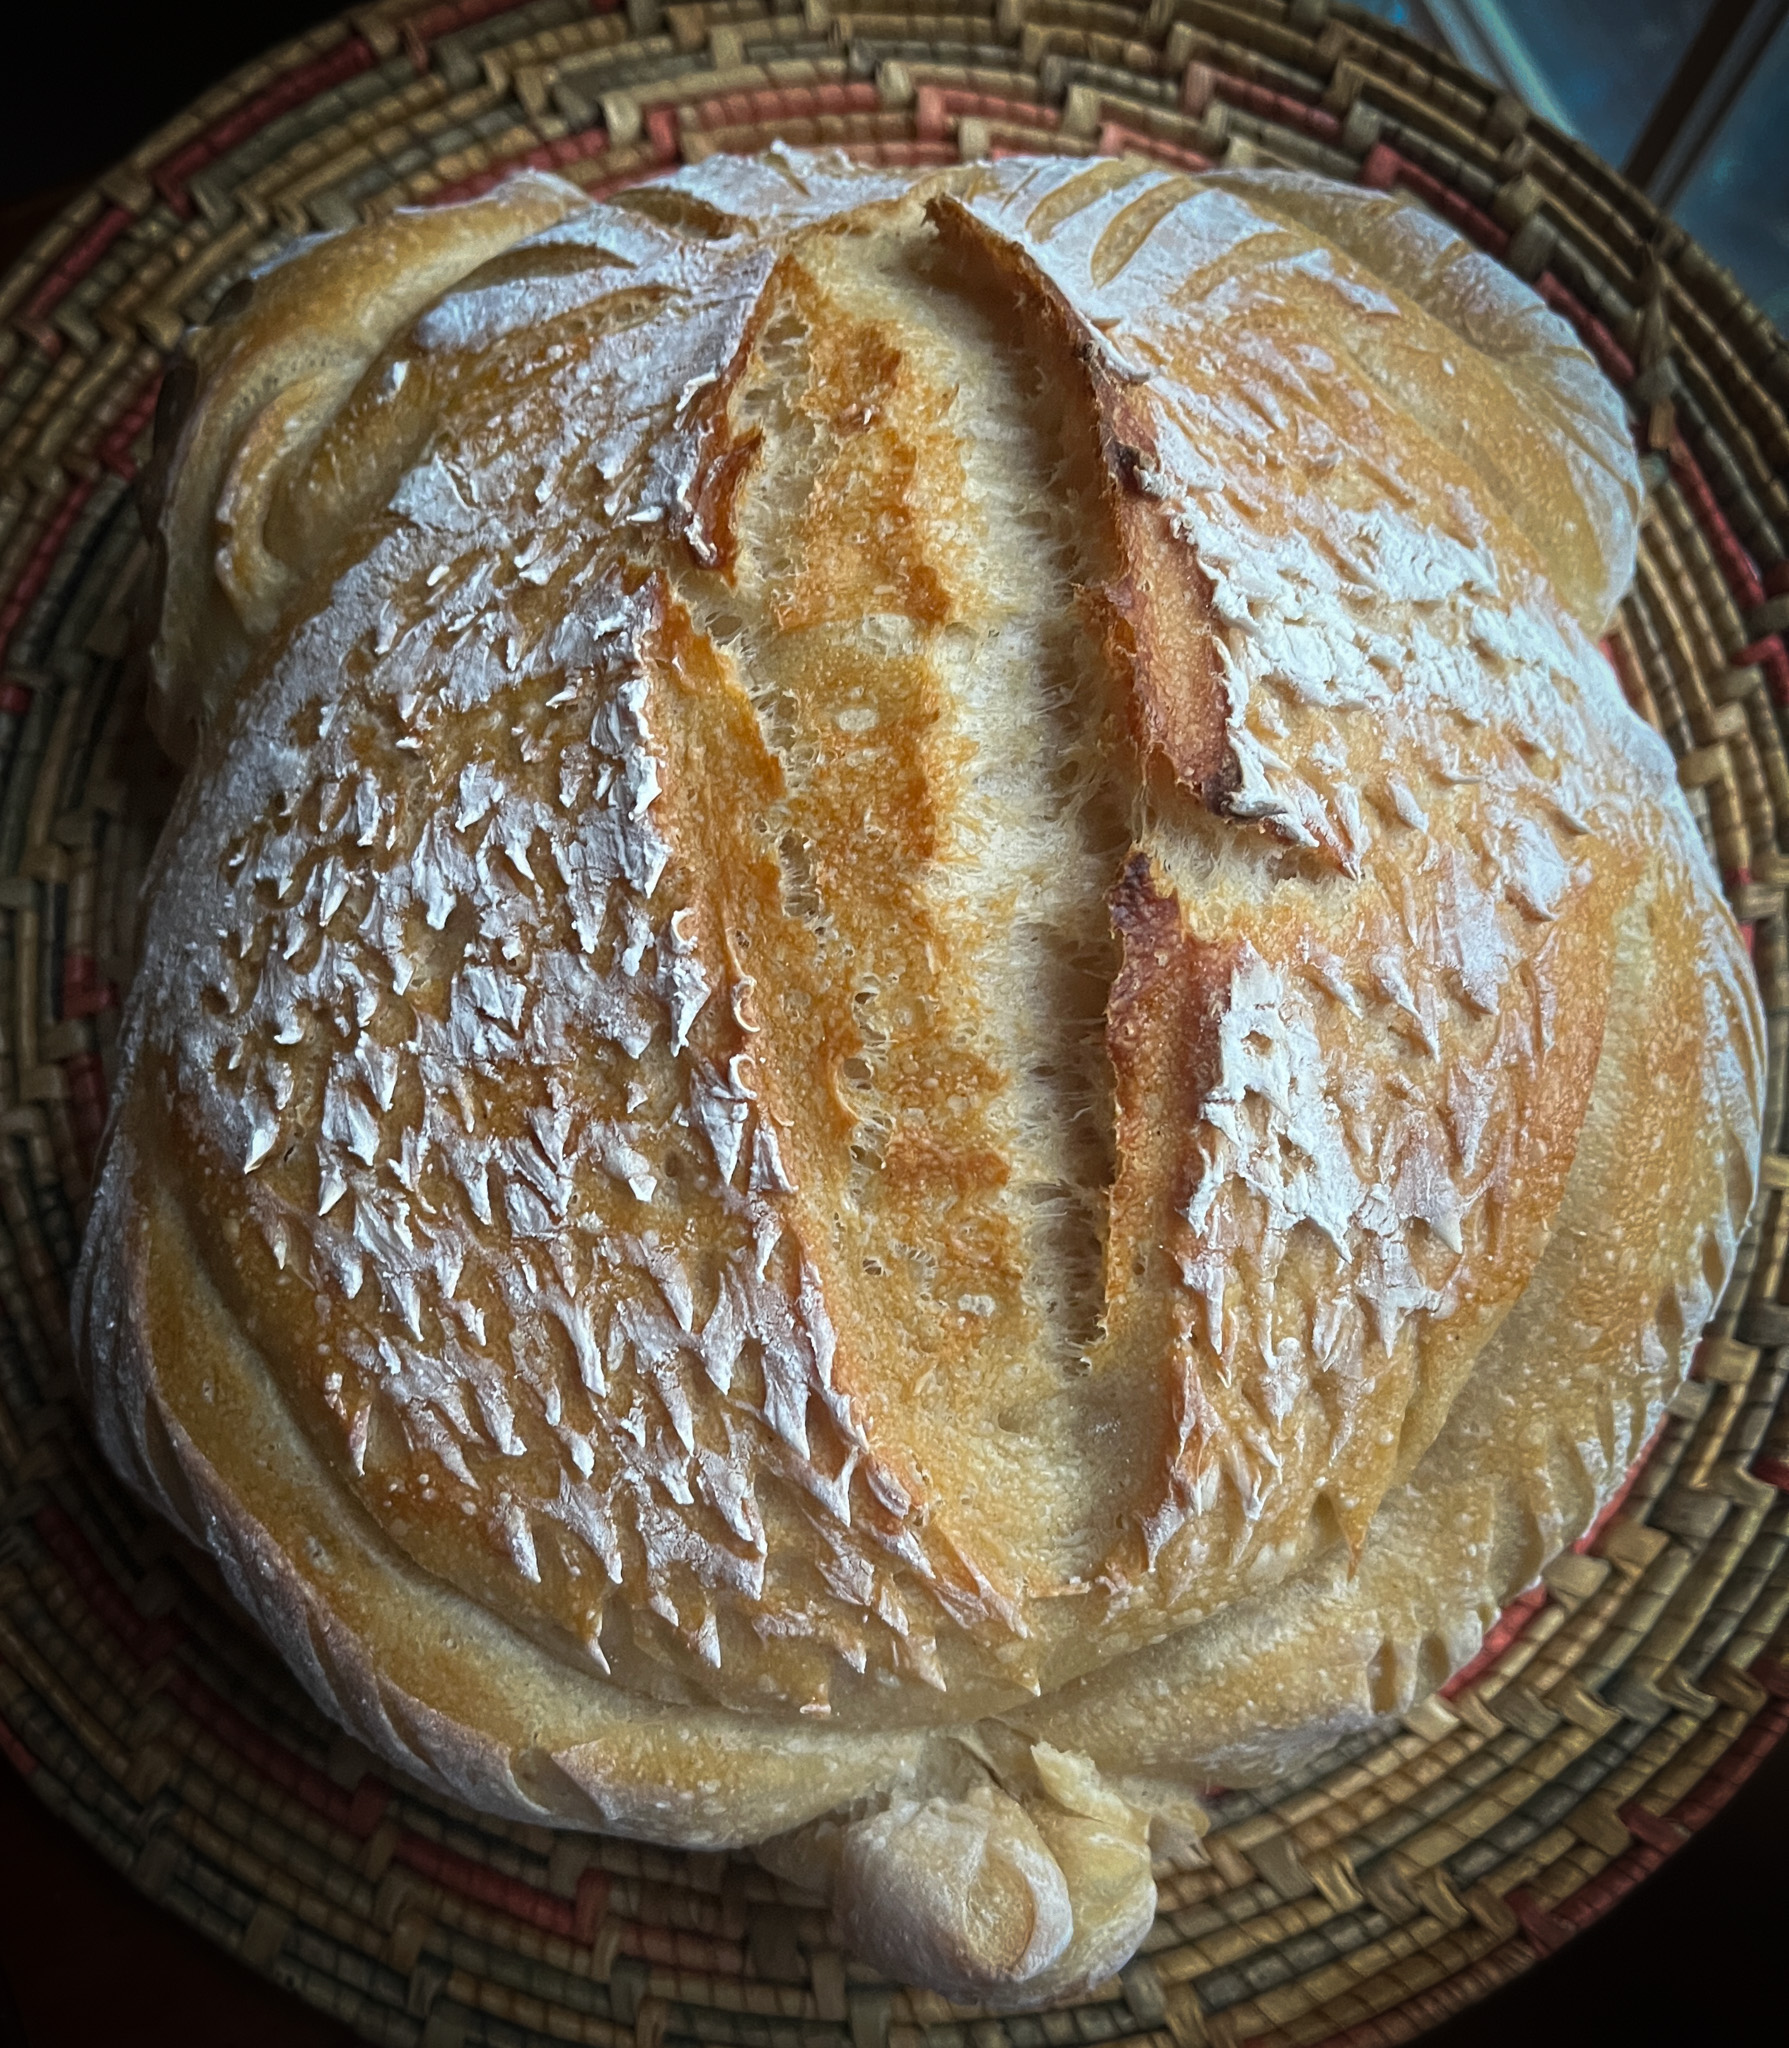
THIRTEEN YEARS AGO: Tartine Bread: Basic Country Loaf
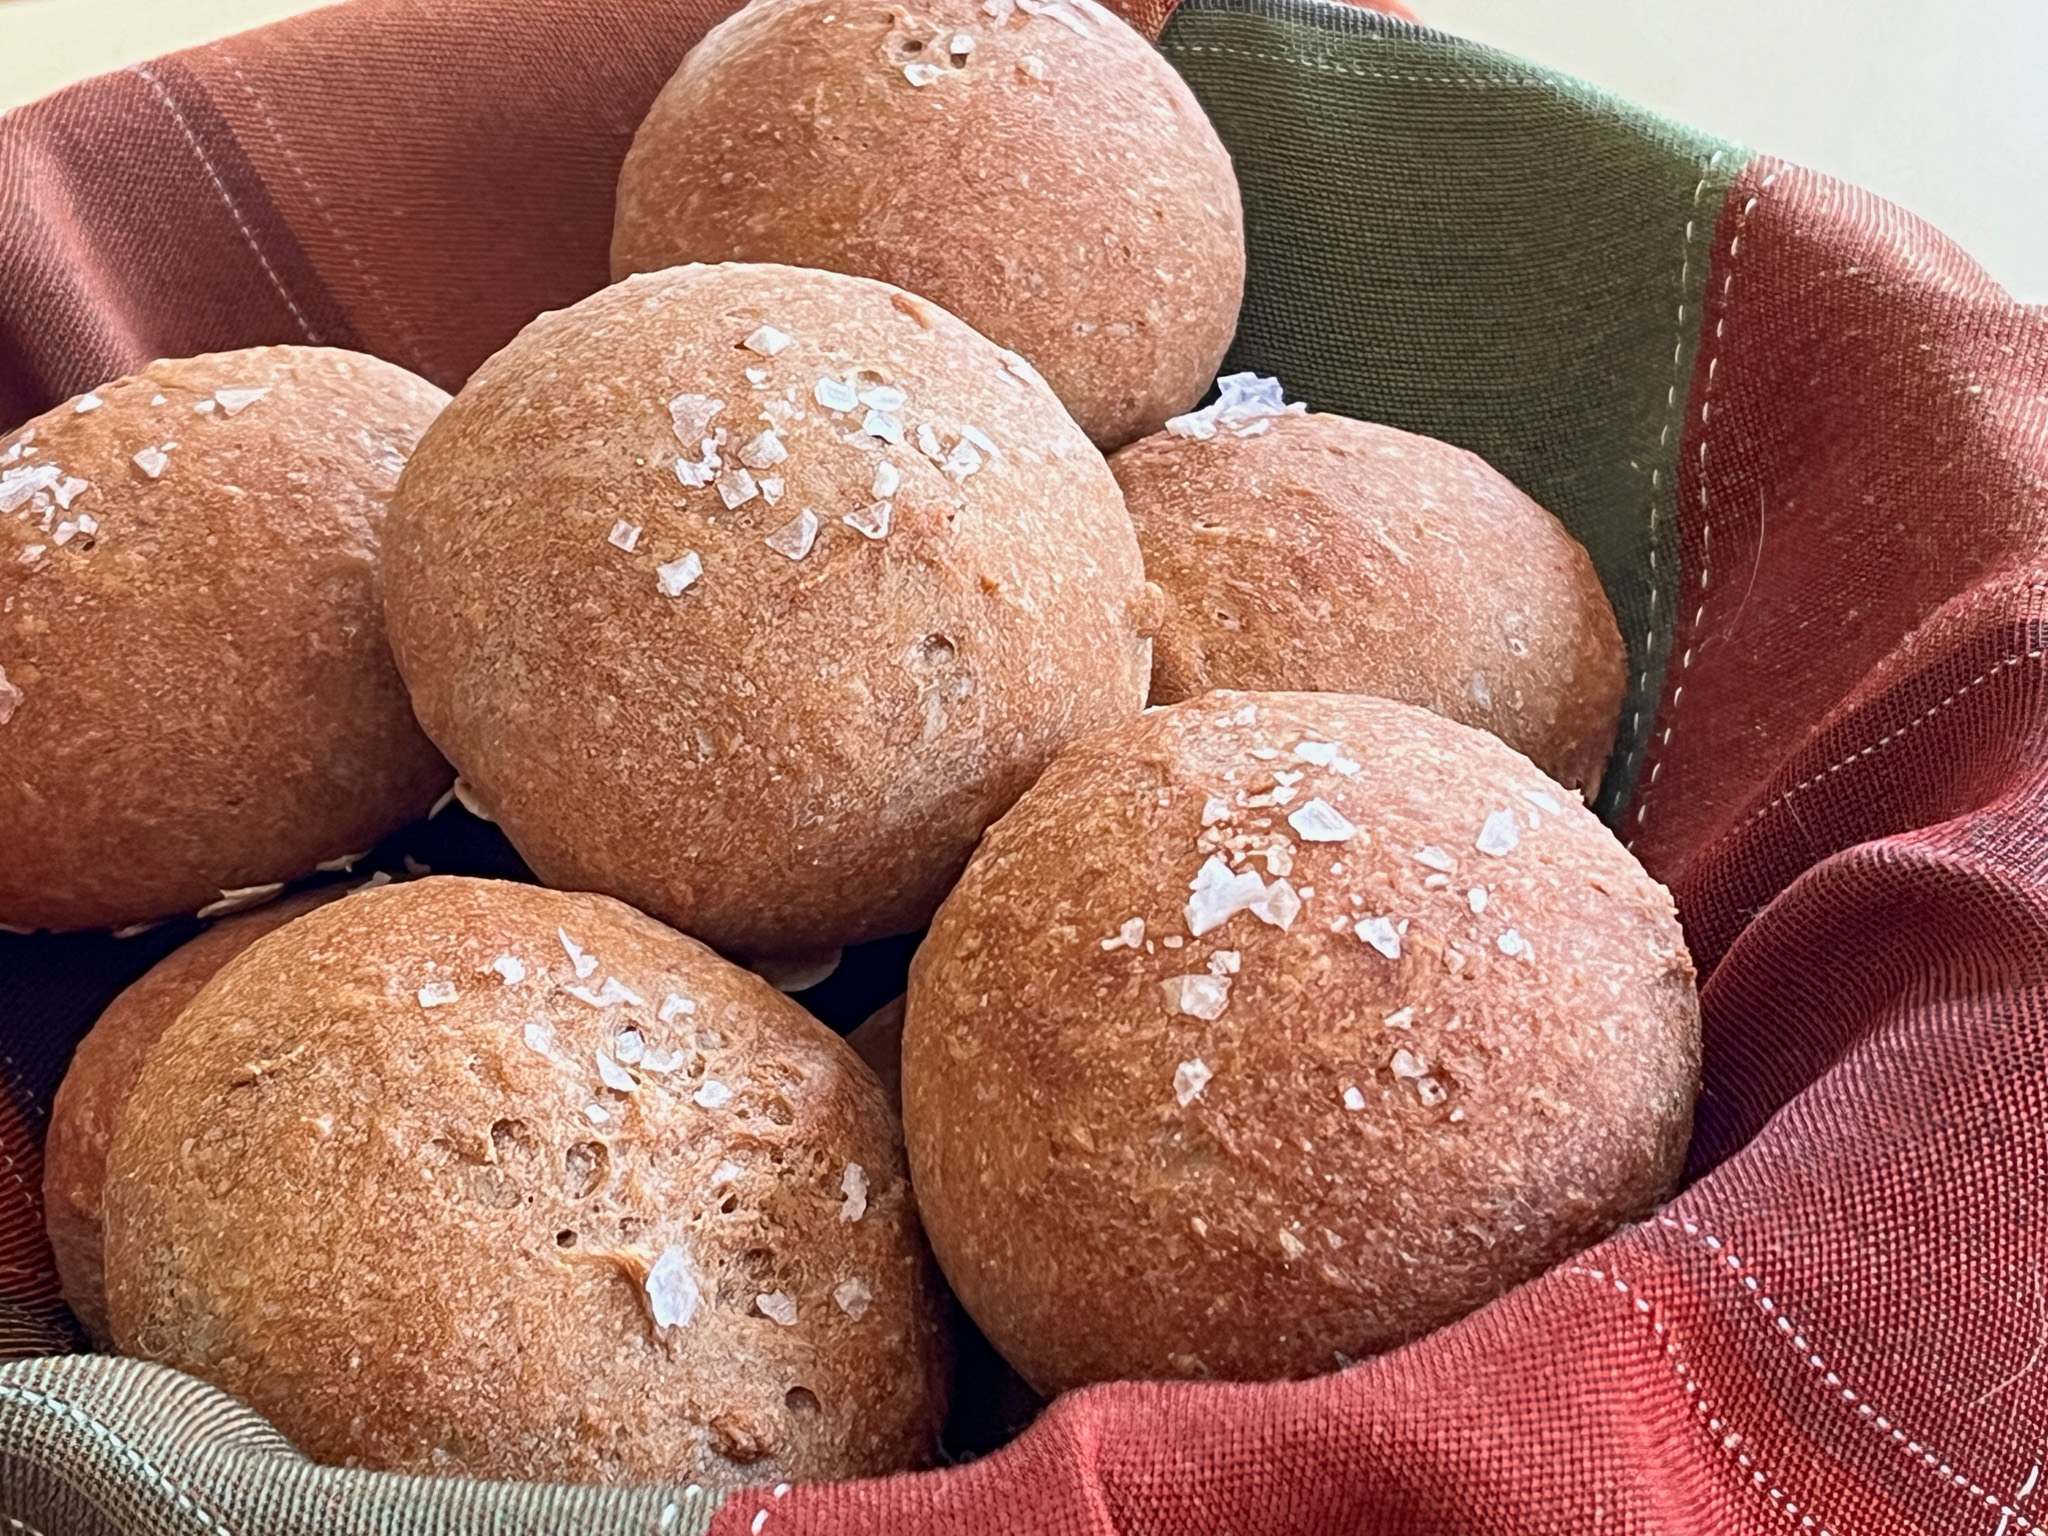
FOURTEEN YEARS AGO: Pugliese Bread