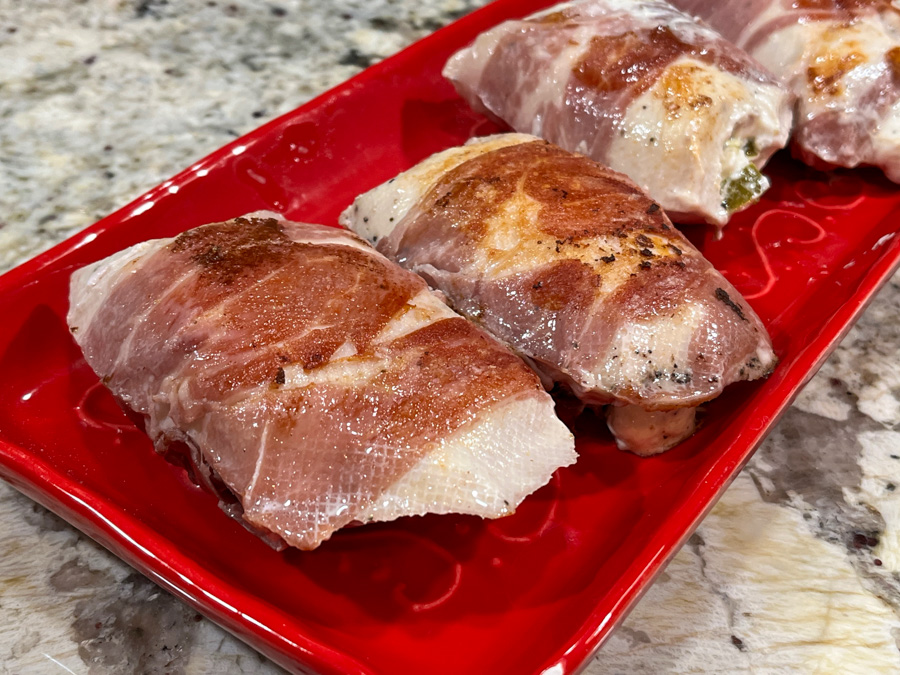
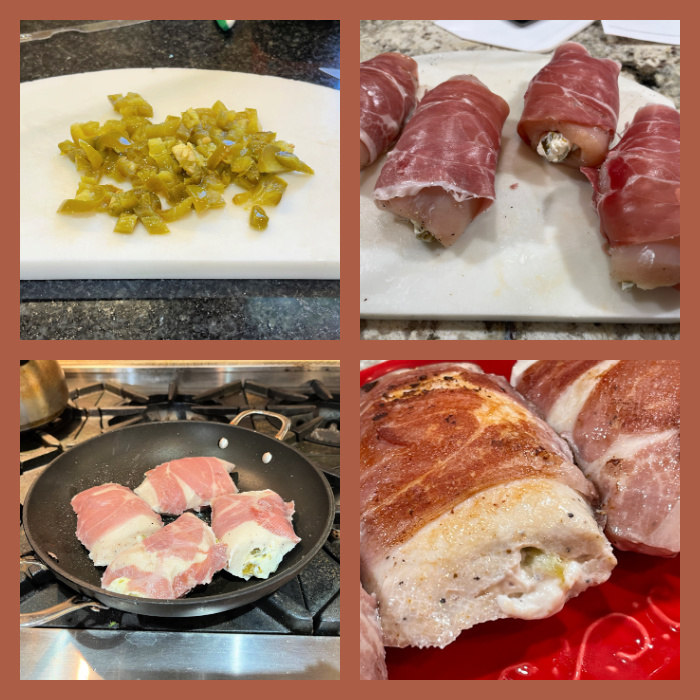
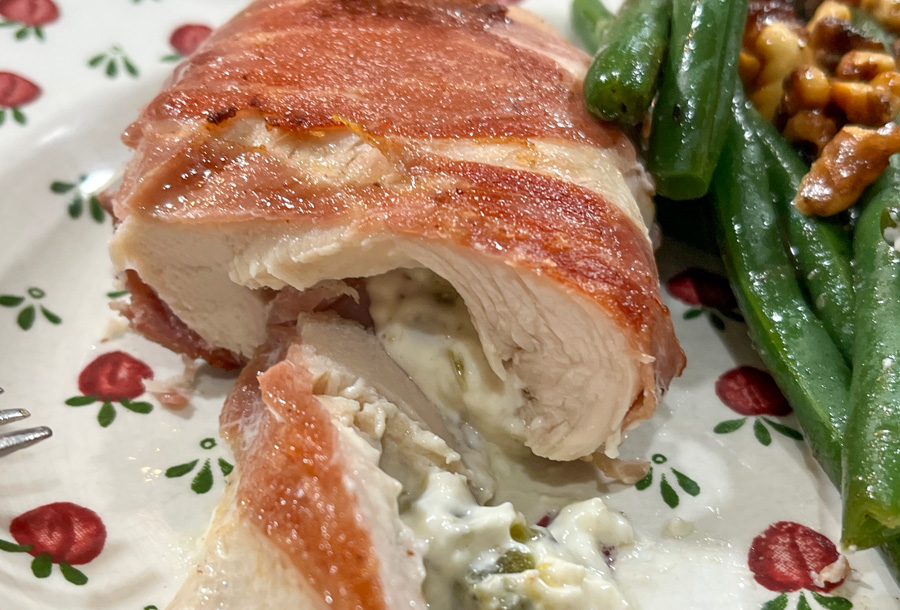
I am still totally in love with pickled jalapeños and this particular recipe has been in our menu three times in the recent past. It is very low in carbs, very flavorful, and if you own a sous-vide gadget, now is the perfect opportunity to put it to use, because the texture will be absolutely perfect. If you don’t have a sous-vide the process will be reversed. Start by browning the rolled chicken and then bake it. It will be a bit tricky to keep the shape, but doable.
PROSCIUTTO-WRAPPED CHICKEN BREASTS WITH PICKLED JALAPENOS (from the Bewitching Kitchen)
4 chicken breasts a little lemon juice salt and pepper 8 prosciutto slices reduced fat cream cheese (about 6 oz) finely diced pickled jalapeños, amount to taste finely minced kalamata olives (or sun-dried tomatoes) olive oil for searing the outside
Pound the chicken breasts to make the meat uniform – if they are too thick, trim them a bit cutting lengthwise carefully before pounding. Squirt a little lemon juice over the pieces of meat, then season with salt and pepper. Reserve.
Mix the cream cheese with the jalapeños and kalamata olives. Season with a l little salt if you like. Add a small amount on top of the meat, closer to one end. Roll the meat around the filling, lay the roll on top of two slices of prosciutto and roll as tightly as you can. Seal in a vacuum bag, and place in the sous-vide bath for 3 to 4 hours at 142F.
Remove from the bag, dry well and sear the outside quickly on a non-stick frying pan with a little olive oil. Serve right away.
Comments: We are pretty hooked on this preparation. I always do the pickled jalapeños and sometimes couple with different goodies. Olives, black or green, sundried tomatoes are both winner combinations. In this type of recipe the sous-vide truly shines. I don’t make it in the oven anymore, but as I mentioned in the beginning you can do that, reversing the steps. Start with searing. Probably 375 F for 30 minutes maximum will work.
With a side of green beans and walnuts, we did not need anything else! .
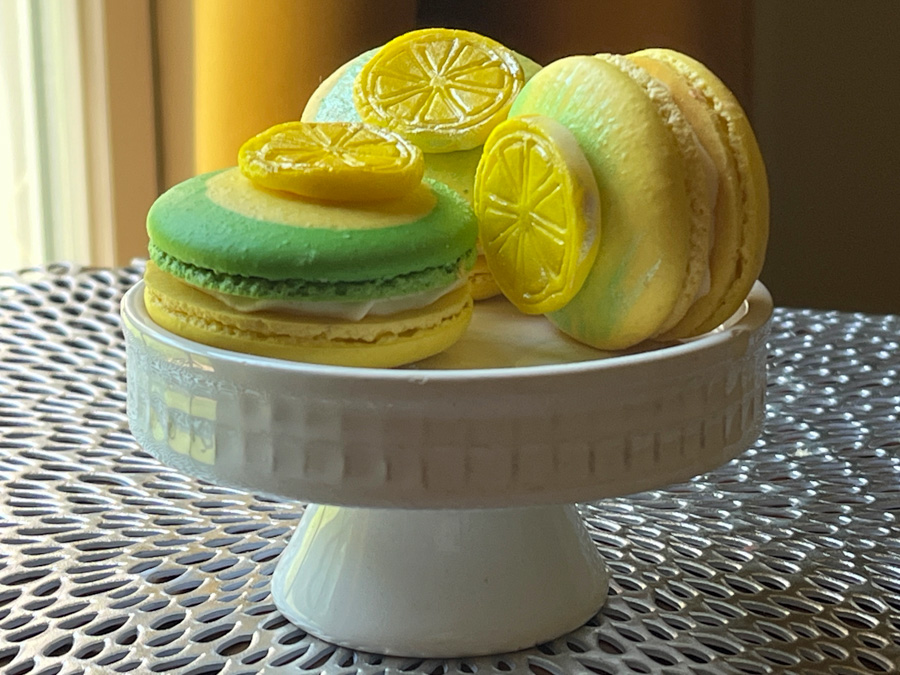
Nothing new in the recipe for the macaron shells but I am super thrilled to share the filling. Curds in general are a great match for the sweetness of these babies, but they have a major drawback: their moisture tends to destroy the shells, so usually they are best if not stored for more than a couple of days. But this curd recipe is different: it has lower moisture and won’t ruin the shells. I have tried and it delivers what it promised. It was designed by one of the greatest macaron bakers out there, Mimi. Check her very detailed post about her recipe here. I modified it slightly by using the microwave to cook the curd. I’ve been making curd in the microwave for years, to me it is easier and never fails. But you need to try with your own microwave and tweak the power and timing. Once that is done, you will love the method…
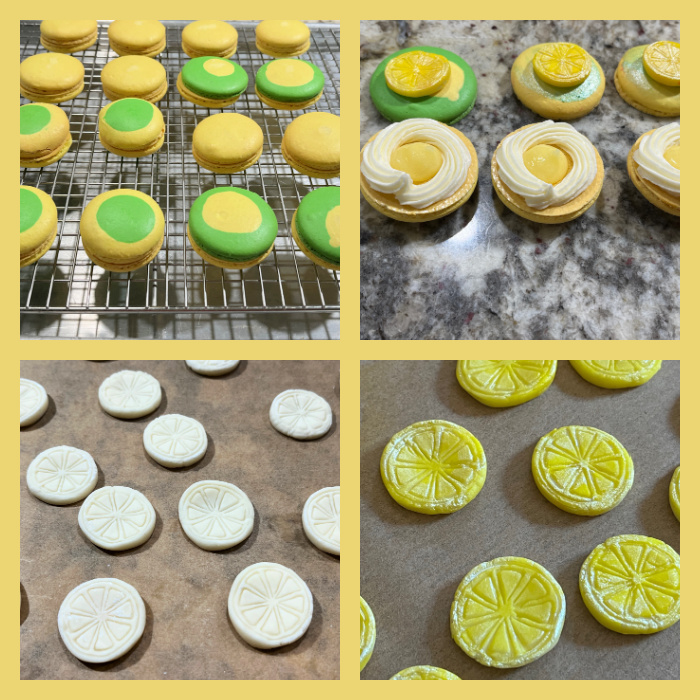
Divide the batter in two, dye one portion yellow, one portion green. Pipe shells starting with one color and piping the other in the center.
for the curd: zest of two lemons 76 grams lemon juice 2 eggs 50 grams butter, unsalted 180 grams granulated sugar
for the buttercream: 60 grams butter 160 grams powdered sugar 2 tablespoons lemon curd heavy cream to adjust consistency, if needed
Optional decoration: fondant lemon slices, painted with airbrush and pearl dust.
Make the curd: cream butter and sugar together until incorporated and lighter in color. Add the eggs and beat until incorporated, then add the lemon juice and whisk well. Transfer the mixture to a microwave-safe bowl and cook at 80% power for about 4 and a half minutes, stopping to stir gently every 45 seconds or so. The temperature should reach 180F to 185F. Remove from heat, immediately add the lemon zest and pass through a sieve to have a very smooth curd. Let it cool to room temperature with a plastic wrap touching the surface. Transfer to the fridge until needed for the macarons. It is perfect making one day in advance.
For the Lemon Buttercream: Use a hand-held electric mixer and whisk the butter until creamy. Add the other ingredients except the heavy cream, and whisk until creamy and smooth. If needed, add a bit of heavy cream to loosen the mixture.
Pair shells of the same size and add a center of lemon curd, with a circle of buttercream all around it. Glue a lemon slice on top of the macaron using Royal icing. Keep the macarons in the fridge for 24 hours before serving.
Comments: I cannot tell you how much I loved these! In part because curd has been such a disappointment when coupled with macs. Yes, I know one can paint some chocolate on the shell as a barrier but I absolutely hate doing that. A very cumbersome step that I rather avoid. These turned out very lemony, super fresh, and NO effect on the shells. Happy Dance ON! I hope you give it a try, if you are not sure about the microwave step, just follow Mimi’s directions on her blog. And while you are there, browse through her amazing productions!
I am as puzzled as you might be, because the recipe does not seem like Goulash to me, and I cannot even be sure it is truly from Egypt. But if you rather call it Phyllo Meat Pie, go right ahead. It is not going to sound nearly as sexy, though…
EGYPTIAN GOULASH (adapted from several sources)
16 ounce package of frozen phyllo dough 1/2 egg, whisked in 1/2 cup of milk salt and pepper olive oil spray
For the filling: 2 tablespoons olive oil 2 shallots, minced 3/4 pound ground turkey 3/4 pound ground bison 1 + ½ teaspoons baharat 1 cup red bell pepper, roasted (I used store-bought, 12 oz jar) 1/3 cup tomato passata Salt and pepper to taste
Heat the oven to 350 degrees F.
Heat the oil in a large nonstick pan. Saute the shallots. Add the two kinds of ground meat. Cook until fully browned, tossing regularly. Add the red bell pepper cut in small pieces. Saute a couple of minutes, add the tomato passata and the baharat. Season with salt and pepper. Heat everything together and remove to a bow to cool slightly before using. You can also do this step a day in advance.
Now, to assemble the phyllo pie, lay five sheets of phyllo dough on the bottom of a lightly greased 9 ½ x 13 x 2 ¼ inch baking pan. Spray a little olive oil between each sheet of phyllo as you lay them on the baking dish. Spray the top phyllo sheet generously with olive oil (or oil and butter mixture). Add the cooled meat mixture. Top with five or six more sheets of phyllo, always spraying with olive oil in between sheets. Tuck the edges in, spray a good amount of olive oil on top, and use a super sharp knife (ceramic is great) to cut the pie in squares, all the way to the bottom.
Whisk the egg and milk mixture well, season lightly with salt and pepper and pour it all over the pie, shaking the baking dish a bit to make sure the liquid is well dispersed.
Bake for about 40 minutes, until the phyllo is crispy and golden brown. Remove from the oven, let it rest for about 10 minutes and serve.
Comments: I love the mixture of ground turkey and bison because the turkey helps with moisture and texture for the ground bison, which can be a bit dry. If bison is hard for you to find, use ground beef instead, and you can even skip the ground turkey and go for 1.5 pounds of ground beef. I would then drain the excess fat after sautéing the meat just to make the whole dish lighter. Baharat is such a great spice mix, the delicate cinnamon flavor goes super well with this savory preparation.
This will definitely be in our rotation, and it is a nice option for a dinner party too. All you need is a little salad to go with it.
I am so excited to share this new method with you! Perhaps you’ve noticed that I talked about a little mysterious gadget in my previous post, and today I explain what it does. It is an adaptor for a razor blade to be used with a Sonic type toothbrush, You need to have the right model, in which the head is pushed into the toothbrush, not screwed in. I’ve had a Phillips Sonic toothbrush for many many years and was quite intrigued about using it to slash sourdough. Works like a dream. As one user described, “it is like having one of those lightsabers from Star Wars”. It does feel very smooth and efficiently goes through the surface without ripping the dough. You can read all about it here. Nicola, the person behind the invention is super nice and responsive, plus she is amazing at making all sorts of designs on her bread, available on youtube or IG. The website I linked has all the info to her social media.
Here is a little video of one of my recent adventures with Sonic scoring… It is 8X faster than real time. I followed one of the designs by Nicola to make this particular one.
As to the breads, I will share just one recipe because I used olive oil infused with fresh oregano to flavor it, and a little bit of dry oregano in the dough. It turned out absolutely delicious.
FRESH OREGANO SOURDOUGH (from The Bewitching Kitchen)
1/3 cup olive oil fresh oregano leaves, a big bunch 475 g bread flour 25 g spelt flour 60-70 g sourdough starter at 100% hydration 340 g water 10 g salt 1 tsp dried oregano
Make the infused olive oil by heating the oil in a small saucepan, adding the fresh oregano and simmering for a minute or so. Turn off the heat, cover the pan and let the oil sit for half an hour. Pass through a sieve to remove the leaves, pressing them well. Reserve the oil, allowing it to cool to room temperature or barely warm.
Mix all the ingredients and 2 to 3 tablespoons of the infused oil in a KitchenAid type mixer fitted with the dough hook.
Turn the mixer on with the hook attachment and knead the dough for 4 and a half minutes at low-speed all the time. If the dough is too sticky, add a little flour, you want the dough to start clearing the sides of the bowl, but still be sticky at the bottom.
Remove from the machine, and transfer to a container lightly coated with oil. Cover lightly with plastic wrap and allow it to ferment for 4 hours, folding every 45 minutes or so. After four hours bulk fermentation, shape the dough as a ball, and place, seam side up, in a lightly floured banetton. Leave at room temperature one hour, and then place in the fridge overnight, from 8 to 12 hours.
Next morning, heat the oven to 450F. Invert the dough over parchment paper, rub gently tapioca flour on the surface. Score with the pattern of your choice and bake at 450F for 45 minutes, preferably covered for the first 30 minutes to retain steam. Cool completely over a rack before slicing.
It is quite amazing to use that blade, you just need to be careful when placing it in the adaptor, for obvious reasons, it is sharp, very sharp. I like to add the adaptor to the toothbrush first, and then screw the bade in, because I find it safer to do it this way.
I love the clean cuts the blade does, and will be using it often in future breads, so stay tuned!
In My Kitchen posts are hosted by Sherry, from Sherry’s Pickings. Please visit her site to see whateverybody else is sharing this month. I join four times each year, on the first day of January, April, July and October. If you are a food blogger, considering taking part of this fun event. It is chance to share those little things you bought or received as gifts and that make your life in the kitchen easier.
Starting with gifts….
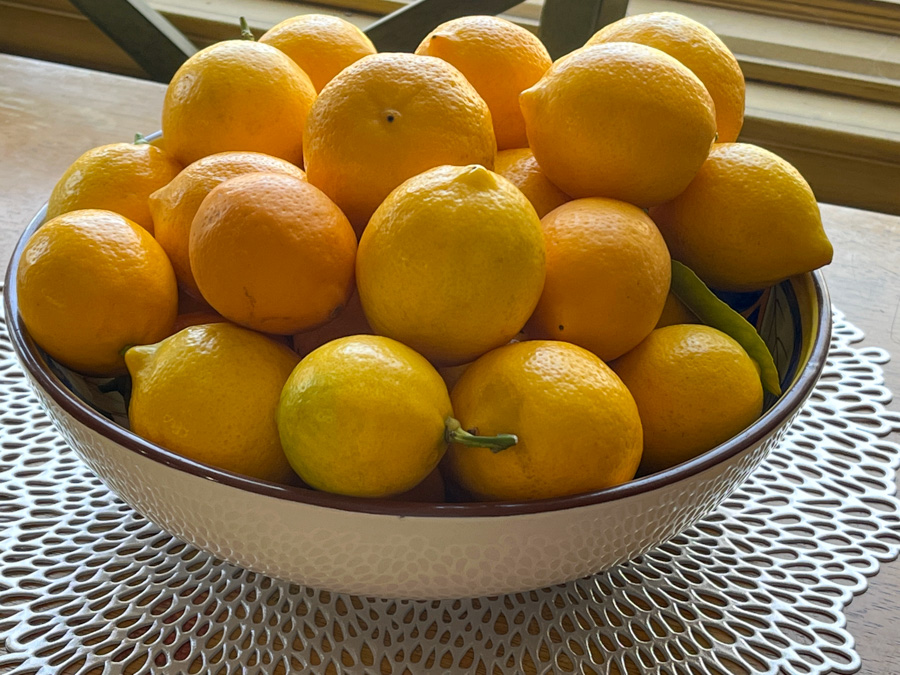
From our dear friends Heather and Tad, all the way from their garden in California, the most spectacular Meyer lemons, that we put to use in macarons, cookies, marinades, and buttercreams! The smell before we even open the box was amazing! THANK YOU!
From our friends Keith and Sarah, a very special mug that I’ve been using every evening for my tea… I did NOT to get to be a Star Baker in the tent, but I can be one in our kitchen!
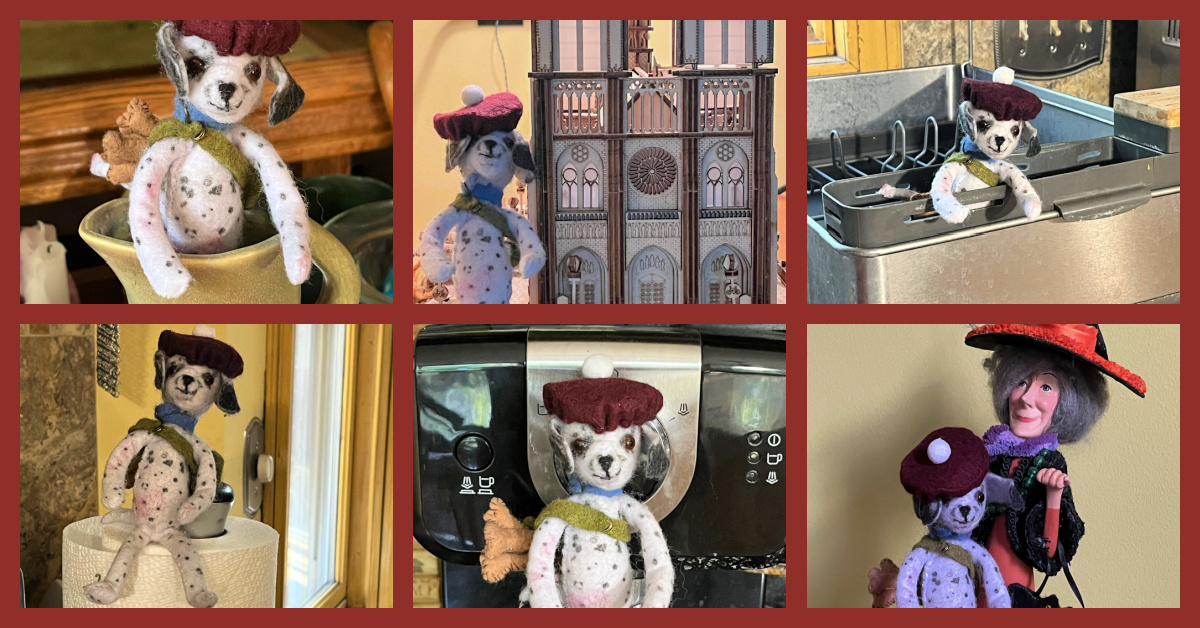
From my virtual friend Toni, the CUTEST Dalmatian golfer plush toy! Can you believe all the details? He carries a bag with golf “bones”, and I have absolutely NO WORDS! Approved by both resident Dalmatians, one yet to set paw on a golf course, the other a very seasoned caddy for his Dad. This little golfer has fun jumping around our kitchen, showing up in the most unexpected spots, never failing to give us a smile! A little like Elf on the Shelf…
Cannot thank you enough, Toni!
In our kitchen…
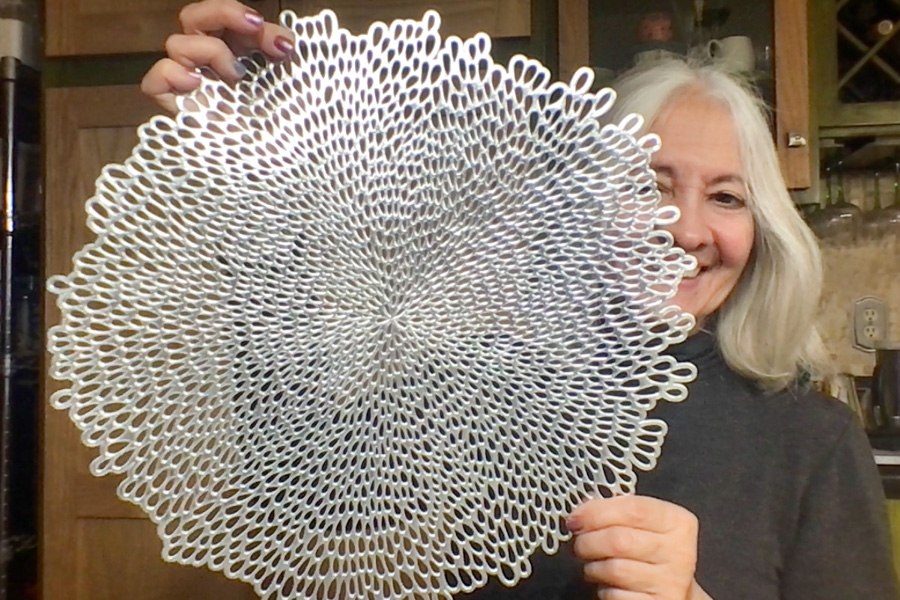
A new mat to replace one that lasted for many years, but could not resist the teeth of a certain Dalmatian puppy that attends by the name of Prince… oh, well……
In our kitchen…
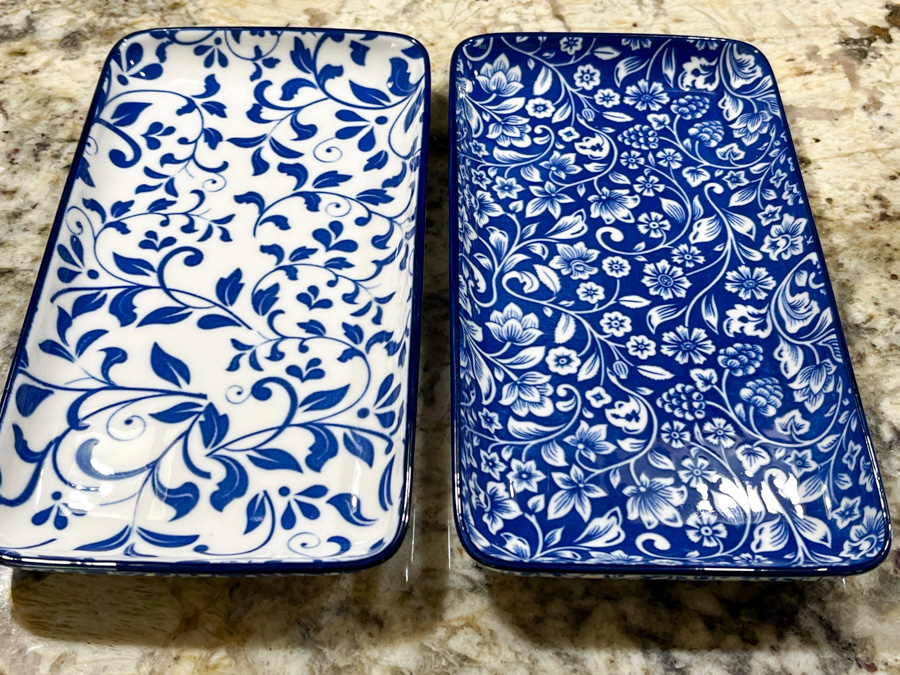
I have a weakness for small tiny colorful dishes, and these jumped into my shopping cart the other day. What can I say? I needed them in my life…
In our kitchen…
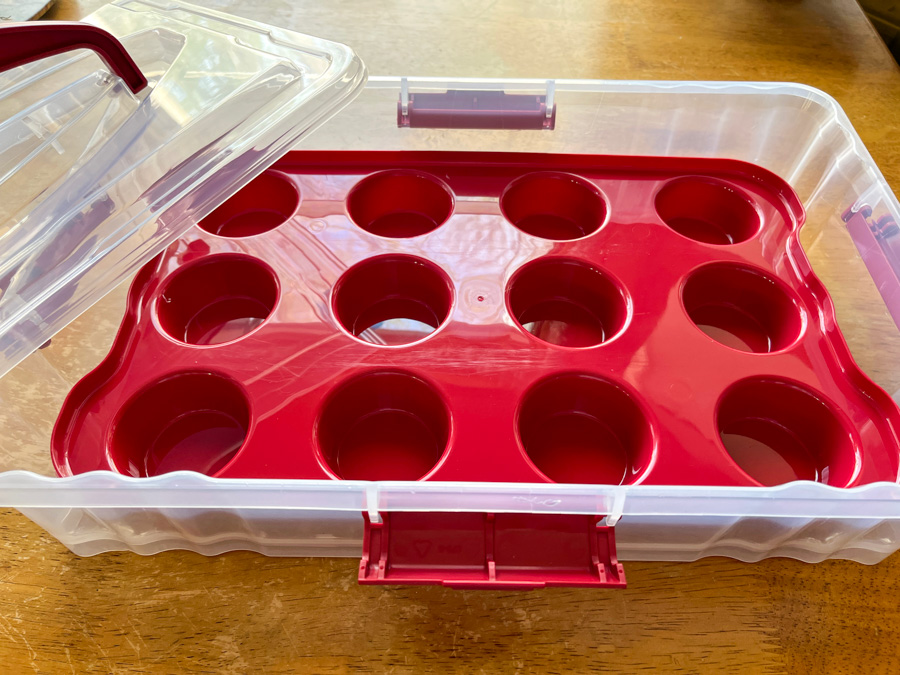
A cupcake carrier that is a must-have if you need to transport cupcakes around. Almost every week I’ve been including mini-cakes in my donation box, so I use it often. It is sturdy, very convenient. Available here.
In our kitchen…
I found those at Marshalls and of course, was forced to bring them home. How could I possibly resist them?
In our kitchen…
I got this set of flavoring oils from LorAnn straight from amazon. You cannot choose the flavors, they just assemble a dozen. I thought it was a good deal so I can try them and the ones that please me I can order later in a bigger size, although they are so potent that each little bottle will last well into their expiration date, I suppose. I was hoping Key Lime would be in the mix, but unfortunately it did not make it. ‘
In our kitchen…
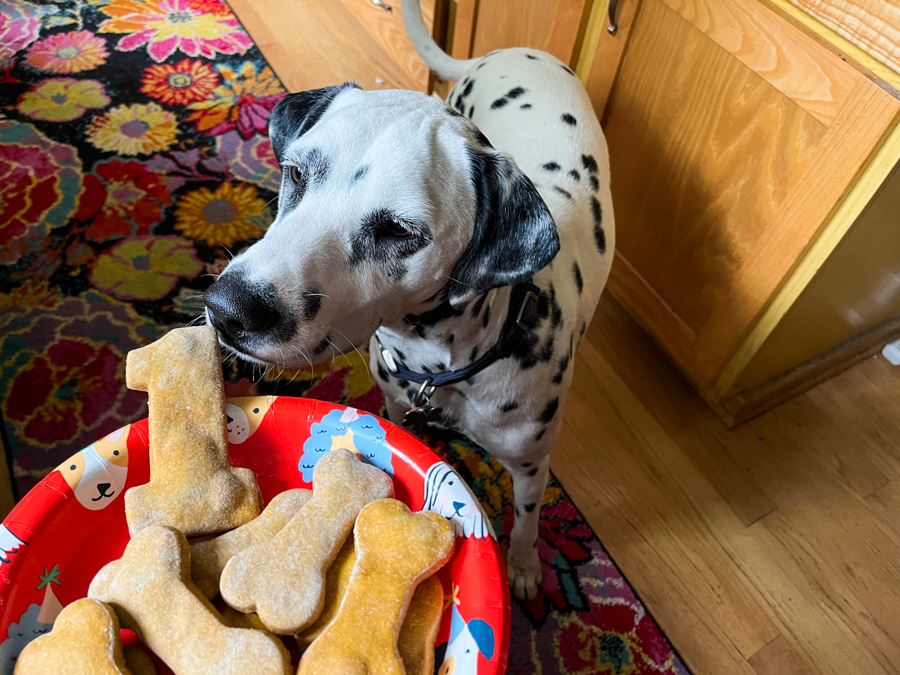
Someone turned 1 year old on June 12th, and we had a special bake… Dog cookies, made according to this recipe.
In our kitchen….
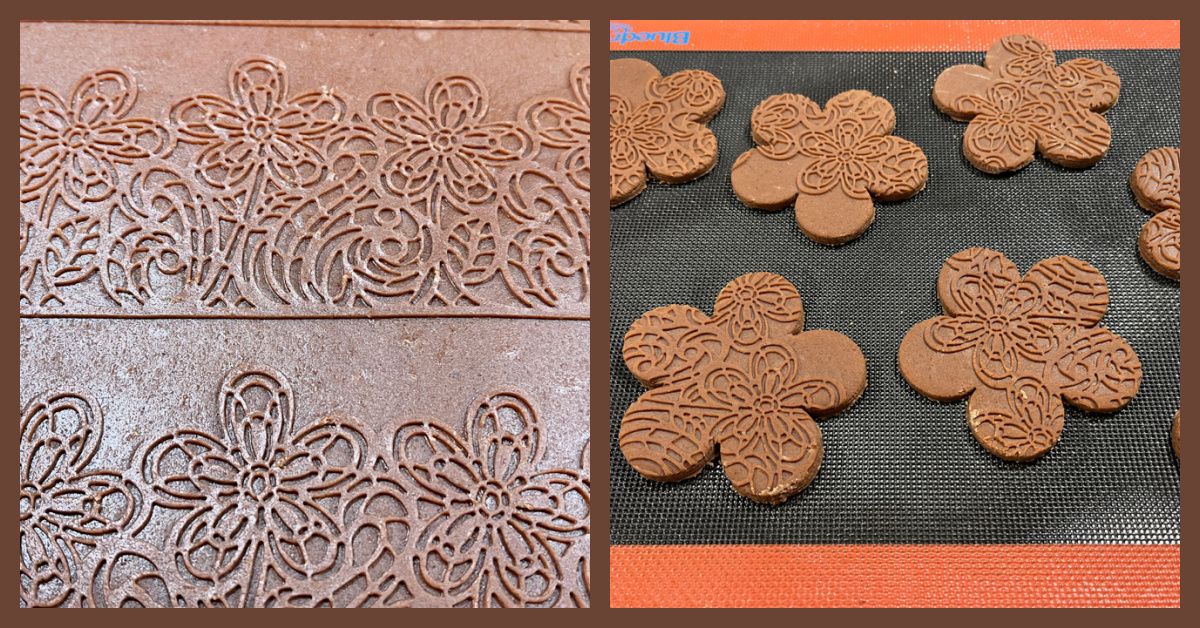
A silicone mat normally used for fondant, but I rolled it over chocolate cookie dough (without any leavening agent) and used to form a pattern over the cookie, as shown below. There are countless versions available in sites such as aliexpress.
In our kitchen…
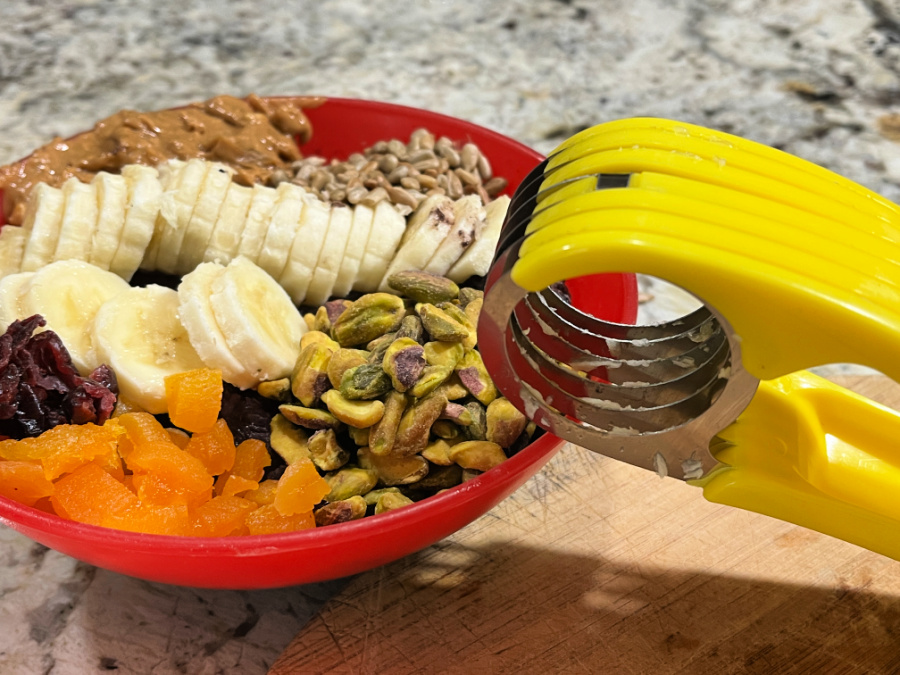
I normally hate single-function gadgets but we are loving this one! Hubby often makes açaí bowls for his lunch and the banana slicer works like a charm. Also great for strawberries, but a no-no for dried apricots, in case you are wondering. Available here.
In our kitchen…
A little ceramic container for olive oil. We had a different, fancier one, but it kept cracking because it was a bit too big to handle. This one is perfect for our needs. It does not hold as much oil as the previous one, but it is easier to use. Several colors available here.
In our kitchen…
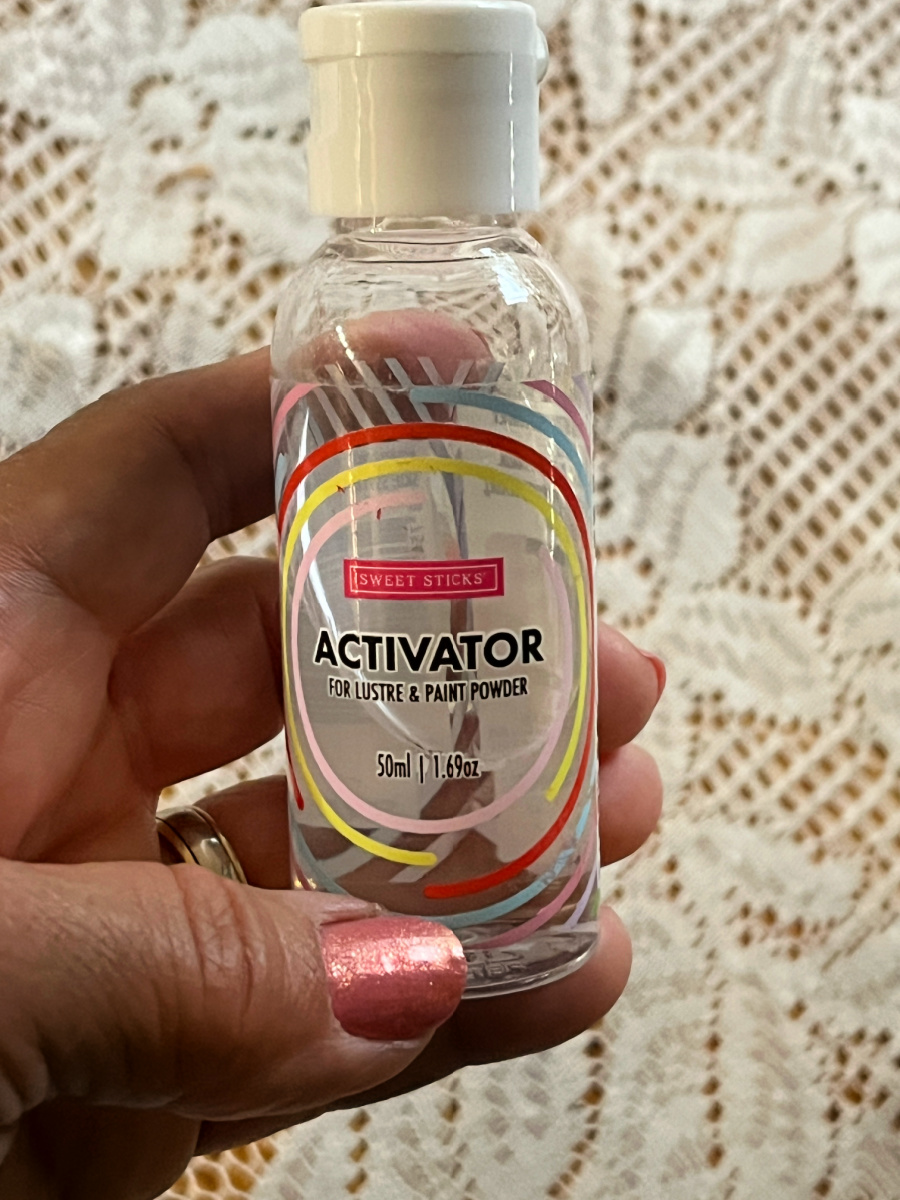
From Sweetsticks, a paint activator to use with all sorts of luster powders and also to dilute gel dyes. If you like to have the watercolor effect on the surface of an iced cookie, this is really helpful because it does not dry nearly as fast as alcohol-containing solutions. I won mine in a little cookie contest, but it is available here.
.
In our kitchen… a teaser little thing….
I am not going to explain what those are, but these are super cool! Wait for a blog post putting one of them into use… Of course you are more than welcome to try and guess what these are…..
.
And now, it is time to let our pups do the barking…. and the most vocal by far is our Little Star, getting less little each and every week!
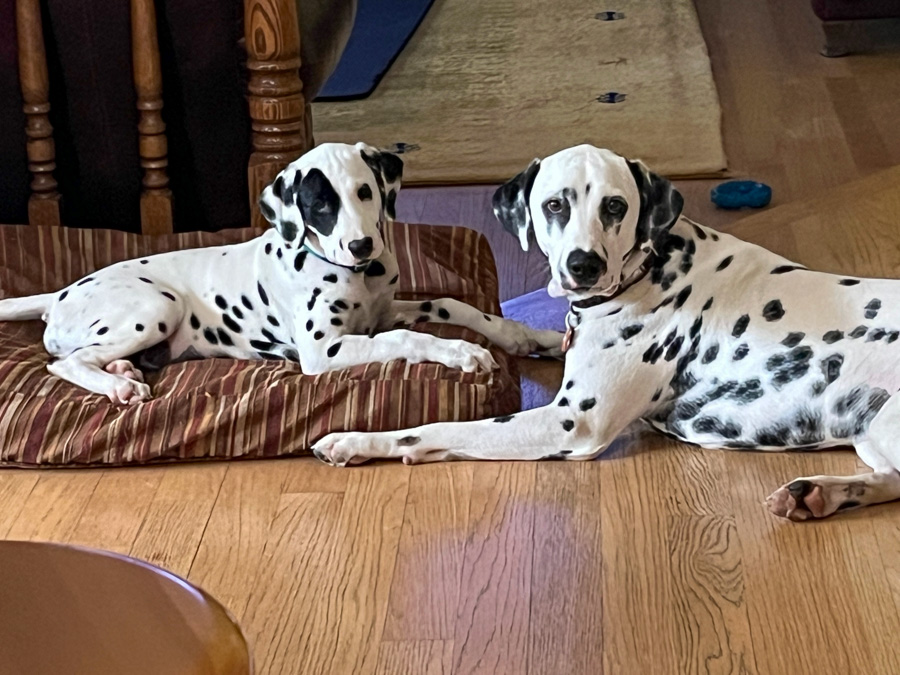
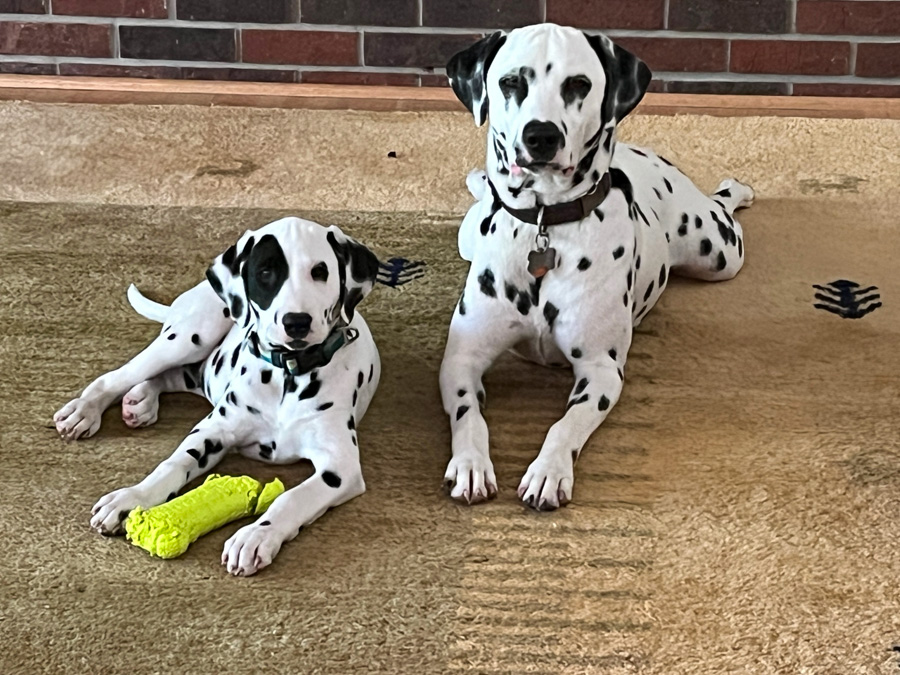
Prince and Star are pretty much inseparable now… She follows him, imitates him, adores him, and the feeling is definitely mutual…
Many thanks to our friend Jen, for quoting the phrase “Get your own Star!” Indeed, it says it all about their bond… Too cute for words. Oscar, however, has a slightly different take on the situation.
But, Star knows how to play the cute-card…
And she is incredibly cute even when slightly confused about the proper way to negotiate her bed…
Although we did not find it that cute when she decided to get up close and personal with mud, just an hour after we gave her a bath (and THAT was not easy, trust me).
But of course, things got much worse a few days later…
Still, not a chance to stay mad at her…
Prince has been the best Big Brother a pup can ask for… he is patient, loving, caring, and so so happy to have a playmate. They play non-stop from the moment they wake up until they crash side by side at night…
.
.
Osky is Osky. He is in many ways happier now that Prince leaves him alone, and Star is quickly learning that inviting him to play is a no-no. He is also very happy with his Summer look…
This is me, around The Black Spotted Deviants
This is me spared of their Annoying Presence…
.
Star is shaping up as a True Defender of her Brother’s Kingdom!
And, if you still need a little hit of The Cute… I am here for you….
Before I close this post, a little shout from the past. Today BUCK would be 16 years old. I miss you, Bucky Boy.