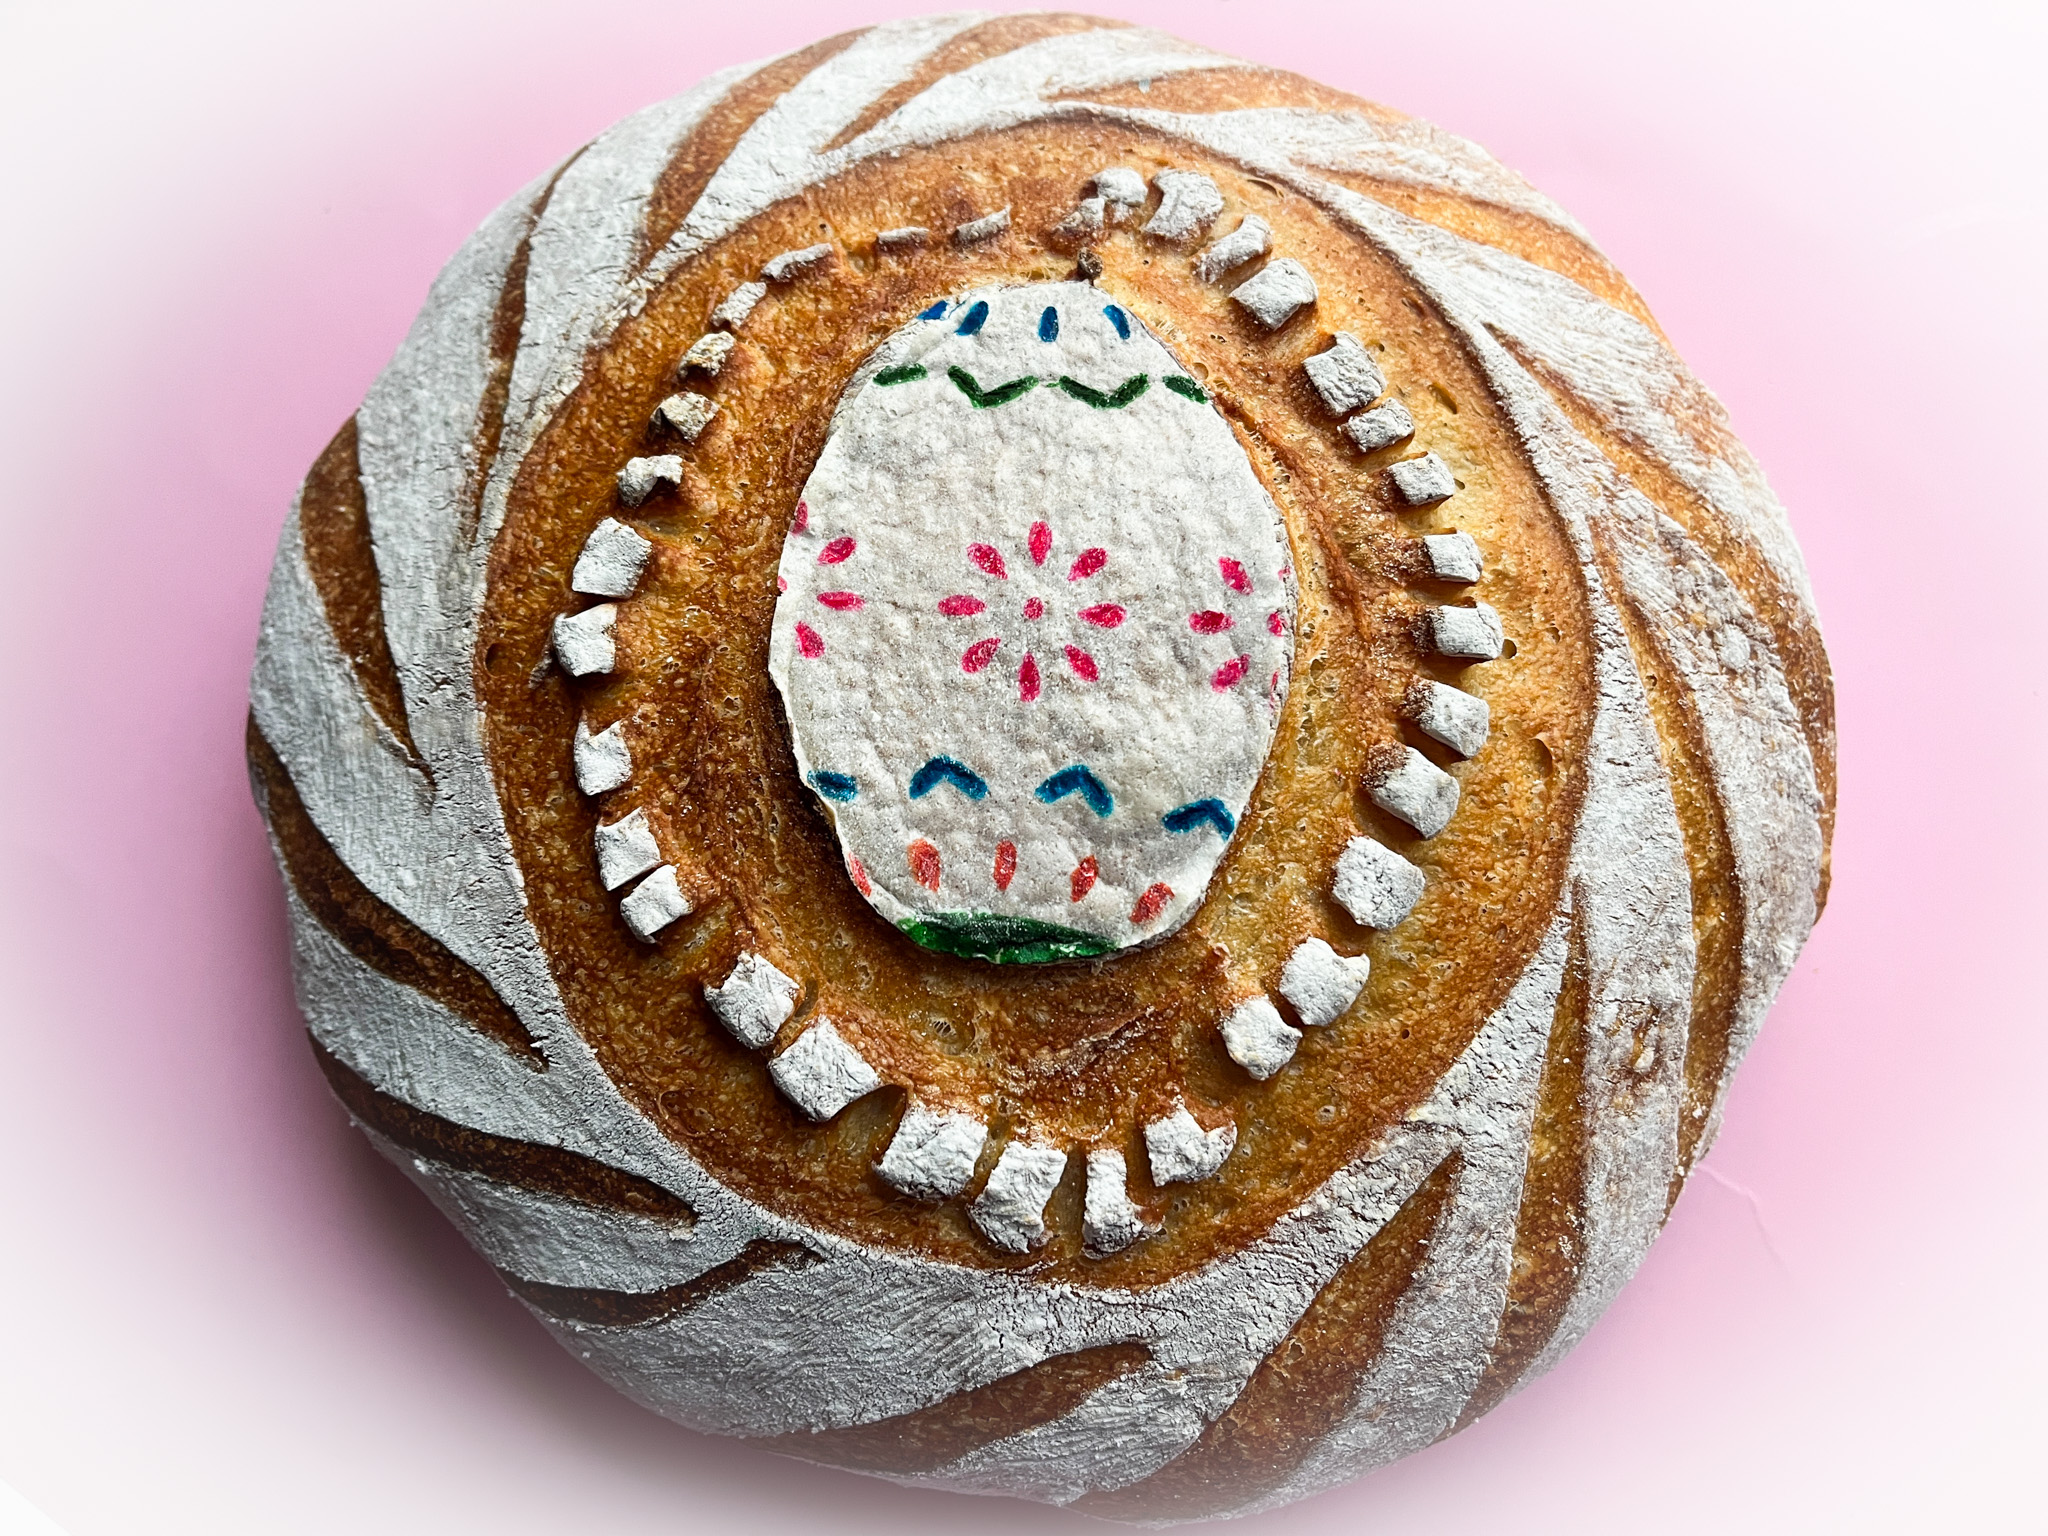
For this sourdough boule, I made a decoration using wafer paper and food safe pens, with a little stencil to help me out. Then a bit of scoring with my Sonic blade, and into the oven it went…
I love how the colors stayed during baking, it was my first time using food pens, until now I have relied on colors designed for air-brushing.
.
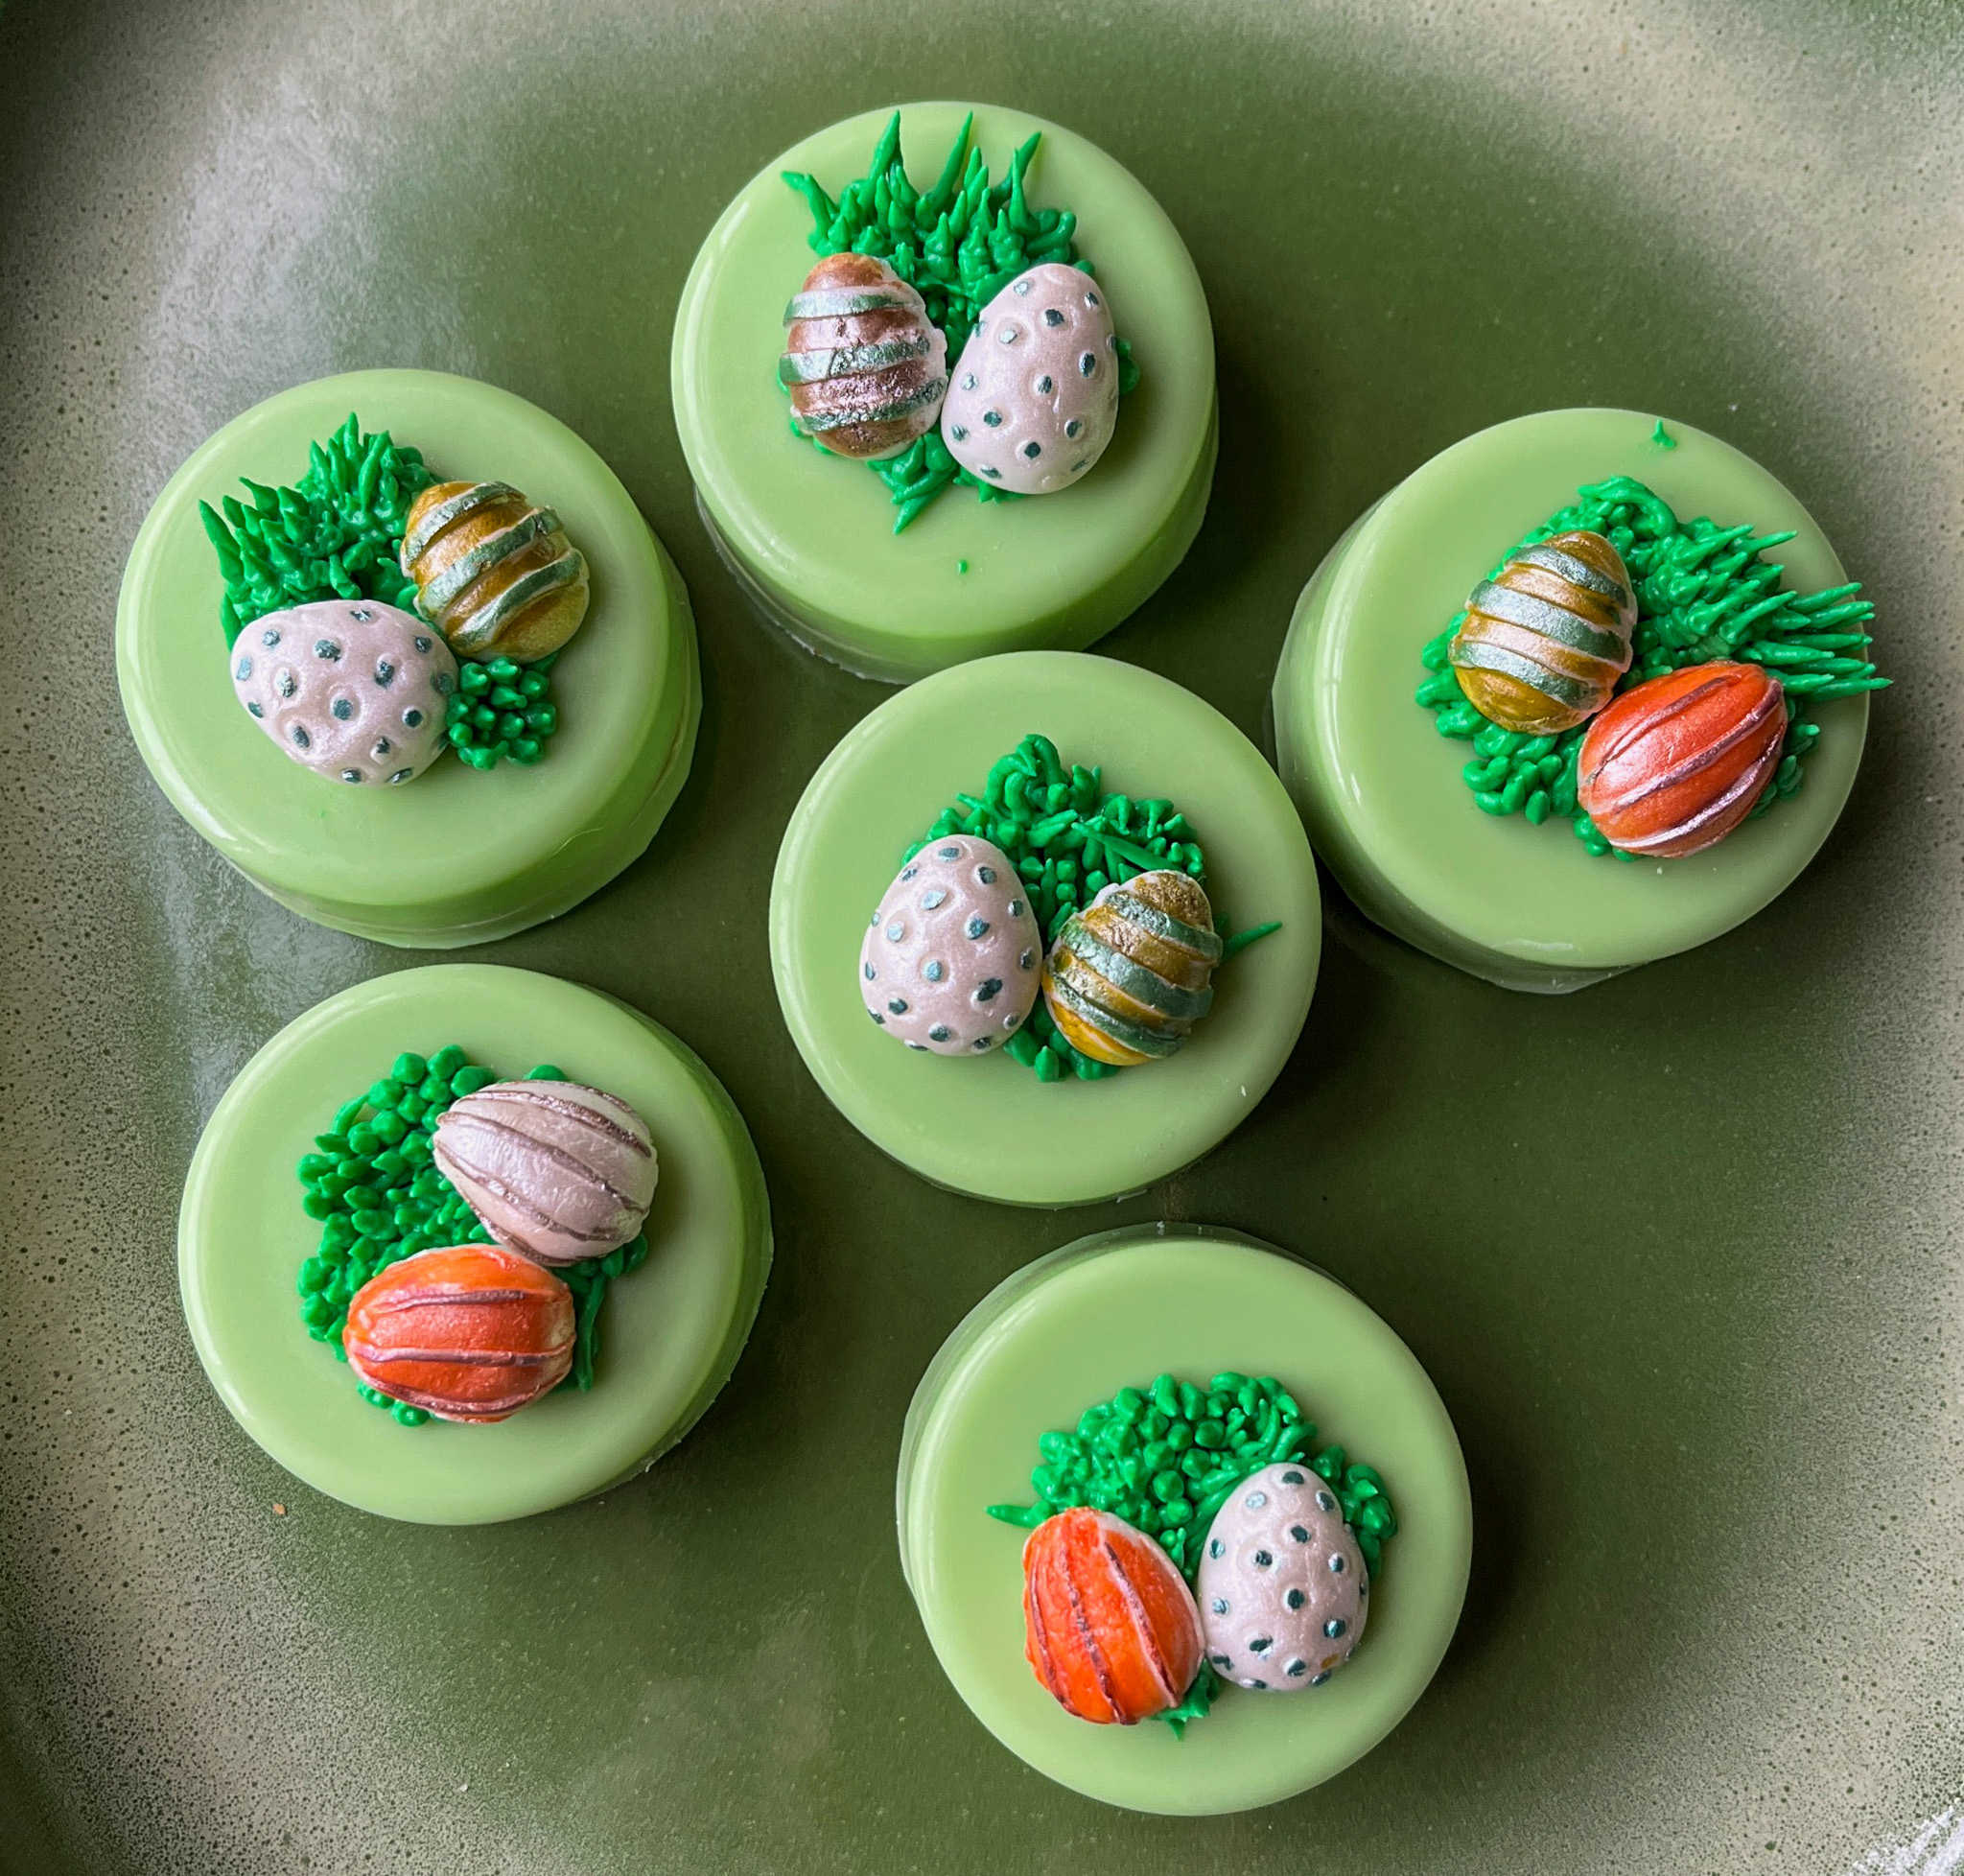
HAPPY EASTER CHOCOLATE-COVERED OREOS
I had so much fun with these! First, I made fondant decorations as little Easter eggs, and used a new set of food pens to paint them (they will be featured in my upcoming In My Kitchen post). Then I dyed white compound chocolate with oil-based green food color, and covered the Oreos. Once that set, I used thick Royal icing and a grass tip as the base to glue the eggs on the surface.
This is the full batch, donated on Good Friday…
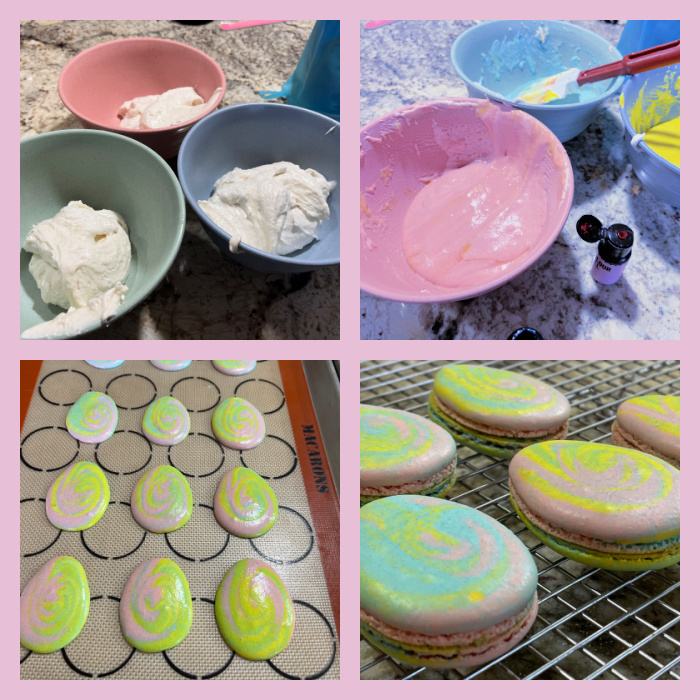
EASTER EGG LEMON MACARONS (recipe as published here, filling as published here)
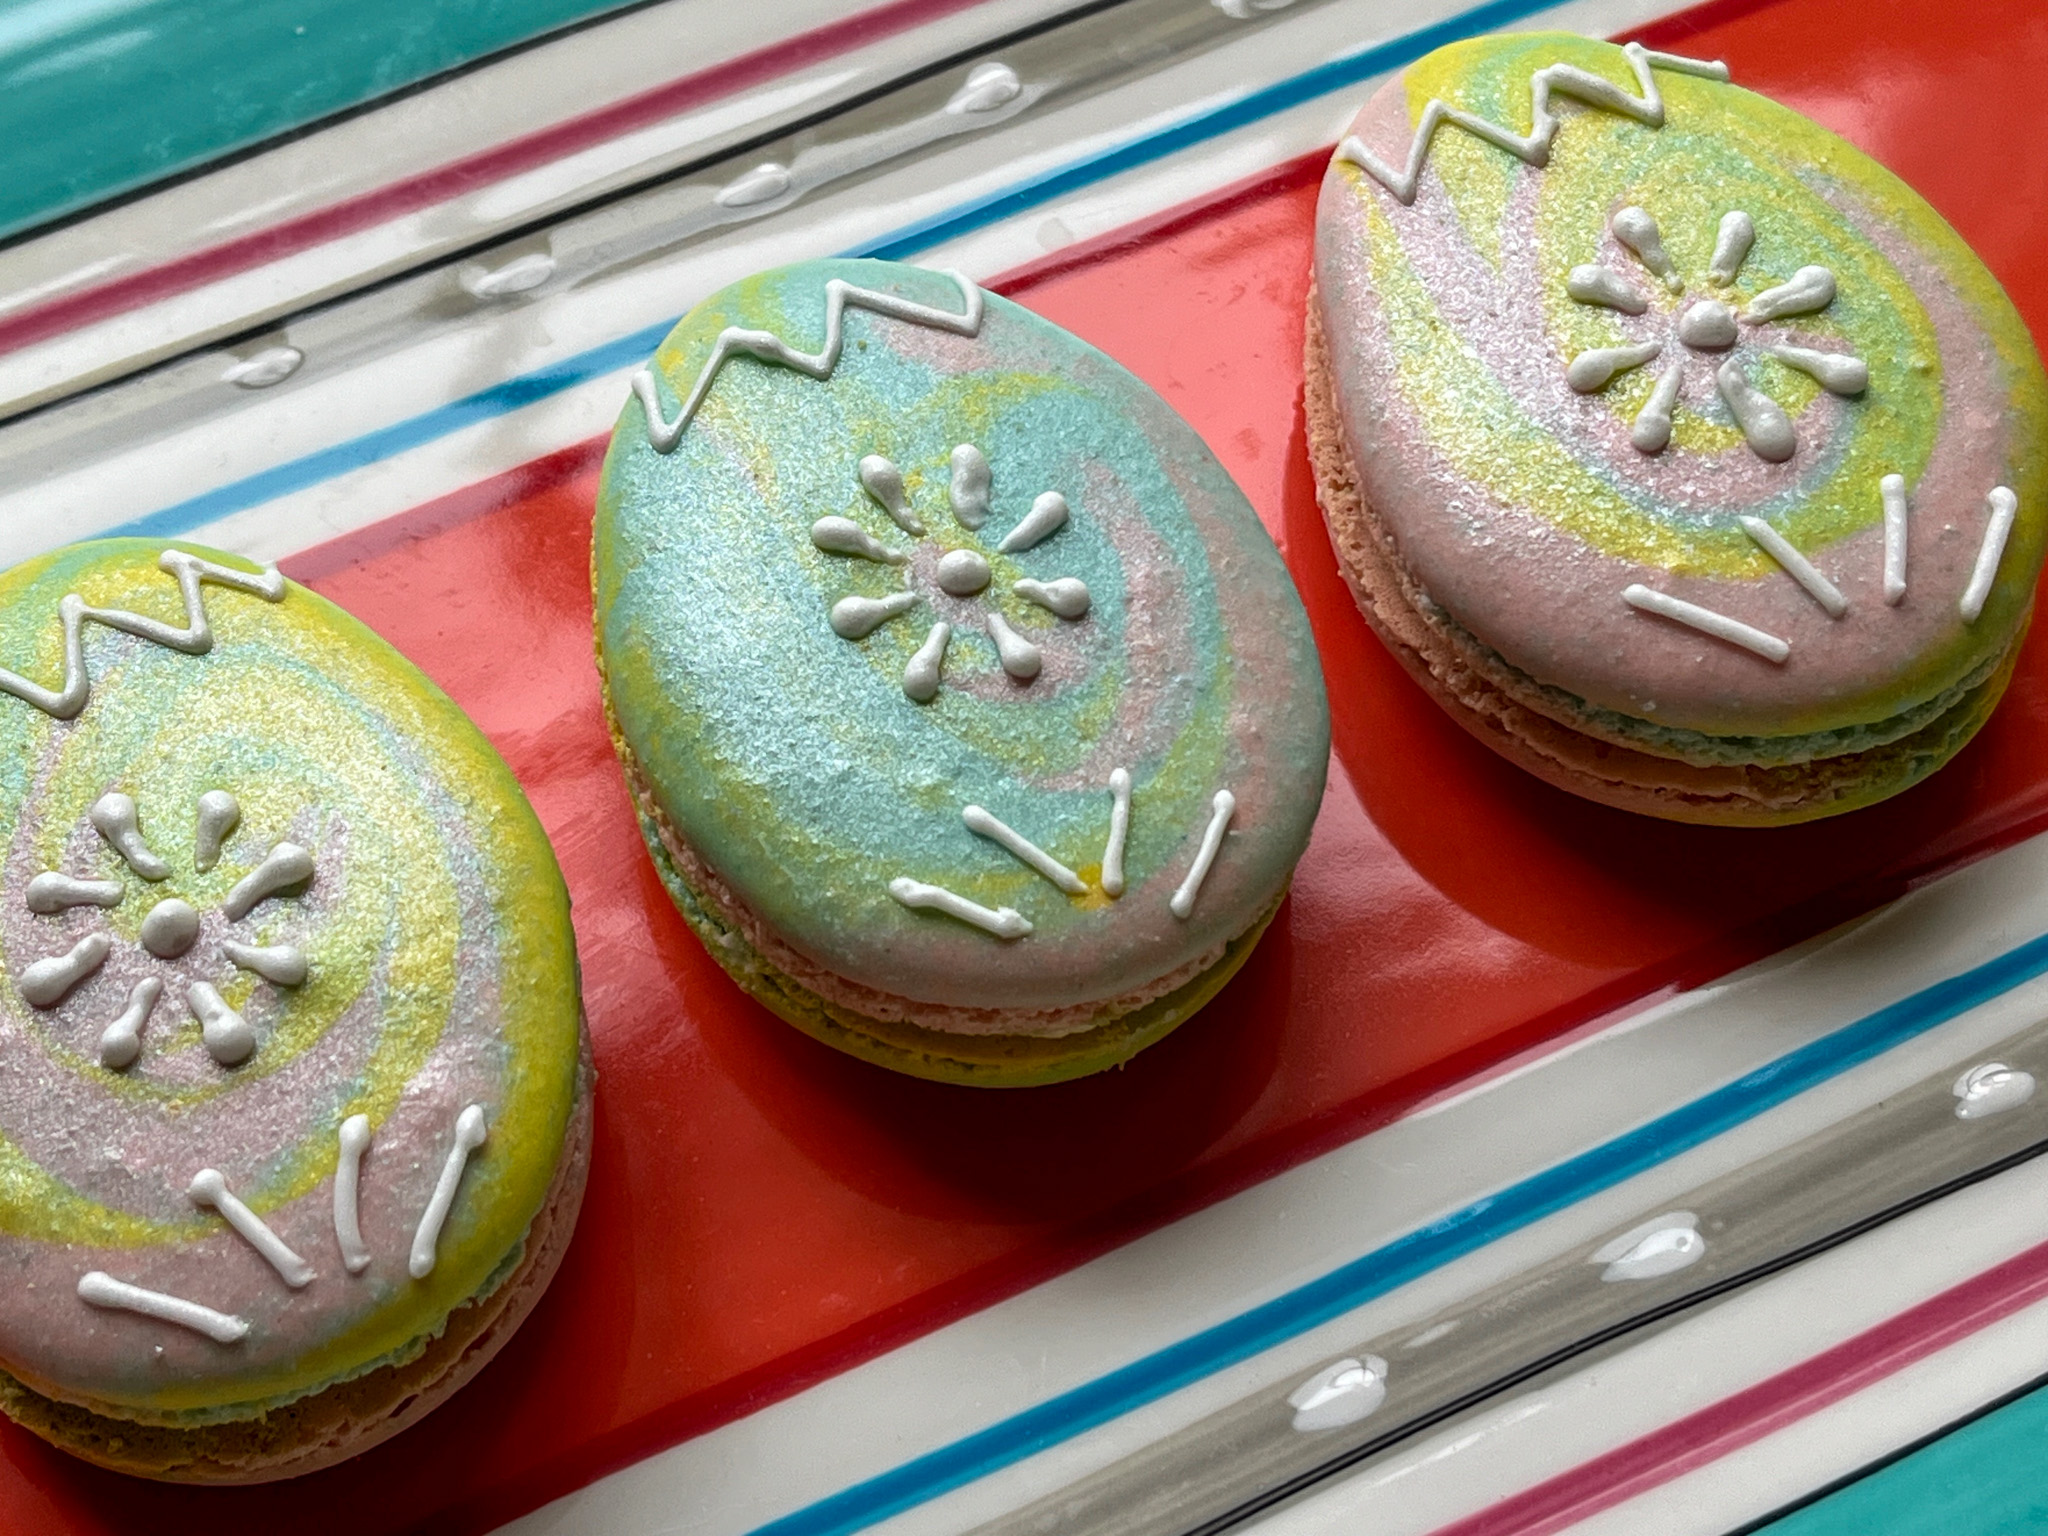
Sometimes a bake goes exactly the way I plan. It is rare, but it happens. These macarons turned out this way. I used a mixture of three colors (yellow, pink and blue), added them to the same piping back to get a tie-dye effect. After baking the details were piped with Royal icing, and in some I added sparkling sugar right away. Most were left plain, and got just a little spray with PME luster for some shine. That step is optional. They look nice without it.
I hate to pick favorites, but I must say of the three bakes I shared today, these macs might very well be the winners for me!
I hope you enjoyed this trilogy of bakes… The macaron design can be used on regular round macarons, piping flower shapes for a springtime version, so keep that in mind. I might just have to re-visit the method soon!
I am going to say something quite daring, so here it goes: this might very well be the best thing I’ve baked in a whole year! If you follow my blog, you probably know I am quite fond of Helen’s recipes, because not only they always work, but her explanations are crystal clear, and make you comfortable to try something even if it seems complex or out of your skill level. I had never made kolache, but following the method described in this post, I had no issues. They turned out fantastic! Check her post for all sorts of variations for the filling, or go with the one I chose: pineapple. Tart, bright, fresh, perfect contrast with the slightly sweet bread dough. A winner. I promise you.
for the pineapple filling: 1 cup well drained crushed pineapple ⅓ cup sugar 1 teaspoon potato starch or cornstarch 1 teaspoon lemon juice 1 tablespoon melted butter
Whisk together the sugar and potato starch or cornstarch. Combine all ingredients in a small pan and bring to a boil over medium heat. Boil for 1 minute. Cool completely. Refrigerate until needed.
for the dough: ½ cup butter (1 stick, 114 grams) ½ cup sugar (100 grams) 1 teaspoon salt 1 cup sour cream (225 grams) 2 teaspoons instant yeast ½ cup lukewarm water 2 eggs 4 cups all purpose flour (560 grams)
Cut the butter into pieces and place in a small saucepan along with the sugar and salt. Heat until the butter is melted. Remove from the heat and let it sit until it is lukewarm. Add the sour cream. Whisk it into the butter mixture. Add eggs and yeast, whisk them in. Lastly, add the water. Transfer to the bowl of a mixer. Add the flour and, beat until it comes together. Knead in the machine for 3 minutes, turning after about 1 ½ minutes as the dough will adhere to the top of the dough hook and not get beaten. The dough will be very soft and more of a batter.
Place it in a greased bowl or container, cover with plastic wrap and allow it to rise until doubled, about 2 ½ hours. After it has risen, punch it down, re-cover it and refrigerate overnight so the butter can firm up.
for shaping and baking: Refrigerated dough 1 egg, well beaten pineapple filling
Line three baking sheets with parchment. Set aside. Punch the dough down if risen and divide the dough in half (585 grams each). Shape each piece into a rectangle. Wrap each piece in plastic wrap and refrigerate for 10 to 15 minutes. Remove one piece of dough from the refrigerator and roll it out so it is ½ inch thick. The dough will be very firm. With a 3″ cookie cutter (or whatever size you want) cut out rounds and place them on the parchment about 1 inch apart. Repeat with the second piece of dough. Reroll and cut additional rounds. Cover them with tea towels and allow to rise until almost doubled.
Preheat the oven to 375°F. With your fingers, make a deep well in the rounds about ½ inches in from the edge of the dough but do not go through the dough. Start by making a hole in the center. Expand the well by pressing the dough down. Brush the top edges of the Kolache with the beaten egg. Fill the wells with 1 to 1 ½ tablespoons of filling. Bake on a double pan for about 20 minutes for the 3″ size until the top of the dough is well browned. Reduce the time for smaller pastries.
Makes about 20 – 3″ rolls with re-rolling the dough.
Comments: I highly recommend you visit Helen’s site to get her step-by-step photos and instructions, especially if you’ve never made enriched bread dough. The dough is very nice to work with, a bit sticky, but I urged the temptation to add more flour and all ended well in the end. I was intrigued by the pineapple filling because I rarely use pineapple in baking, but it was much better than I expected. I made the filling the day before, right after mixing the dough and placing it in the fridge for overnight proofing. Next day the whole thing was a breeze, just rolled the dough, cut circles, filled and baked. I donated them all, but sampled one for “quality control”. It was hard to stop, but I exercised herculean self-control.
Helen, cannot thank you enough for so many great recipes I’ve made from your site!
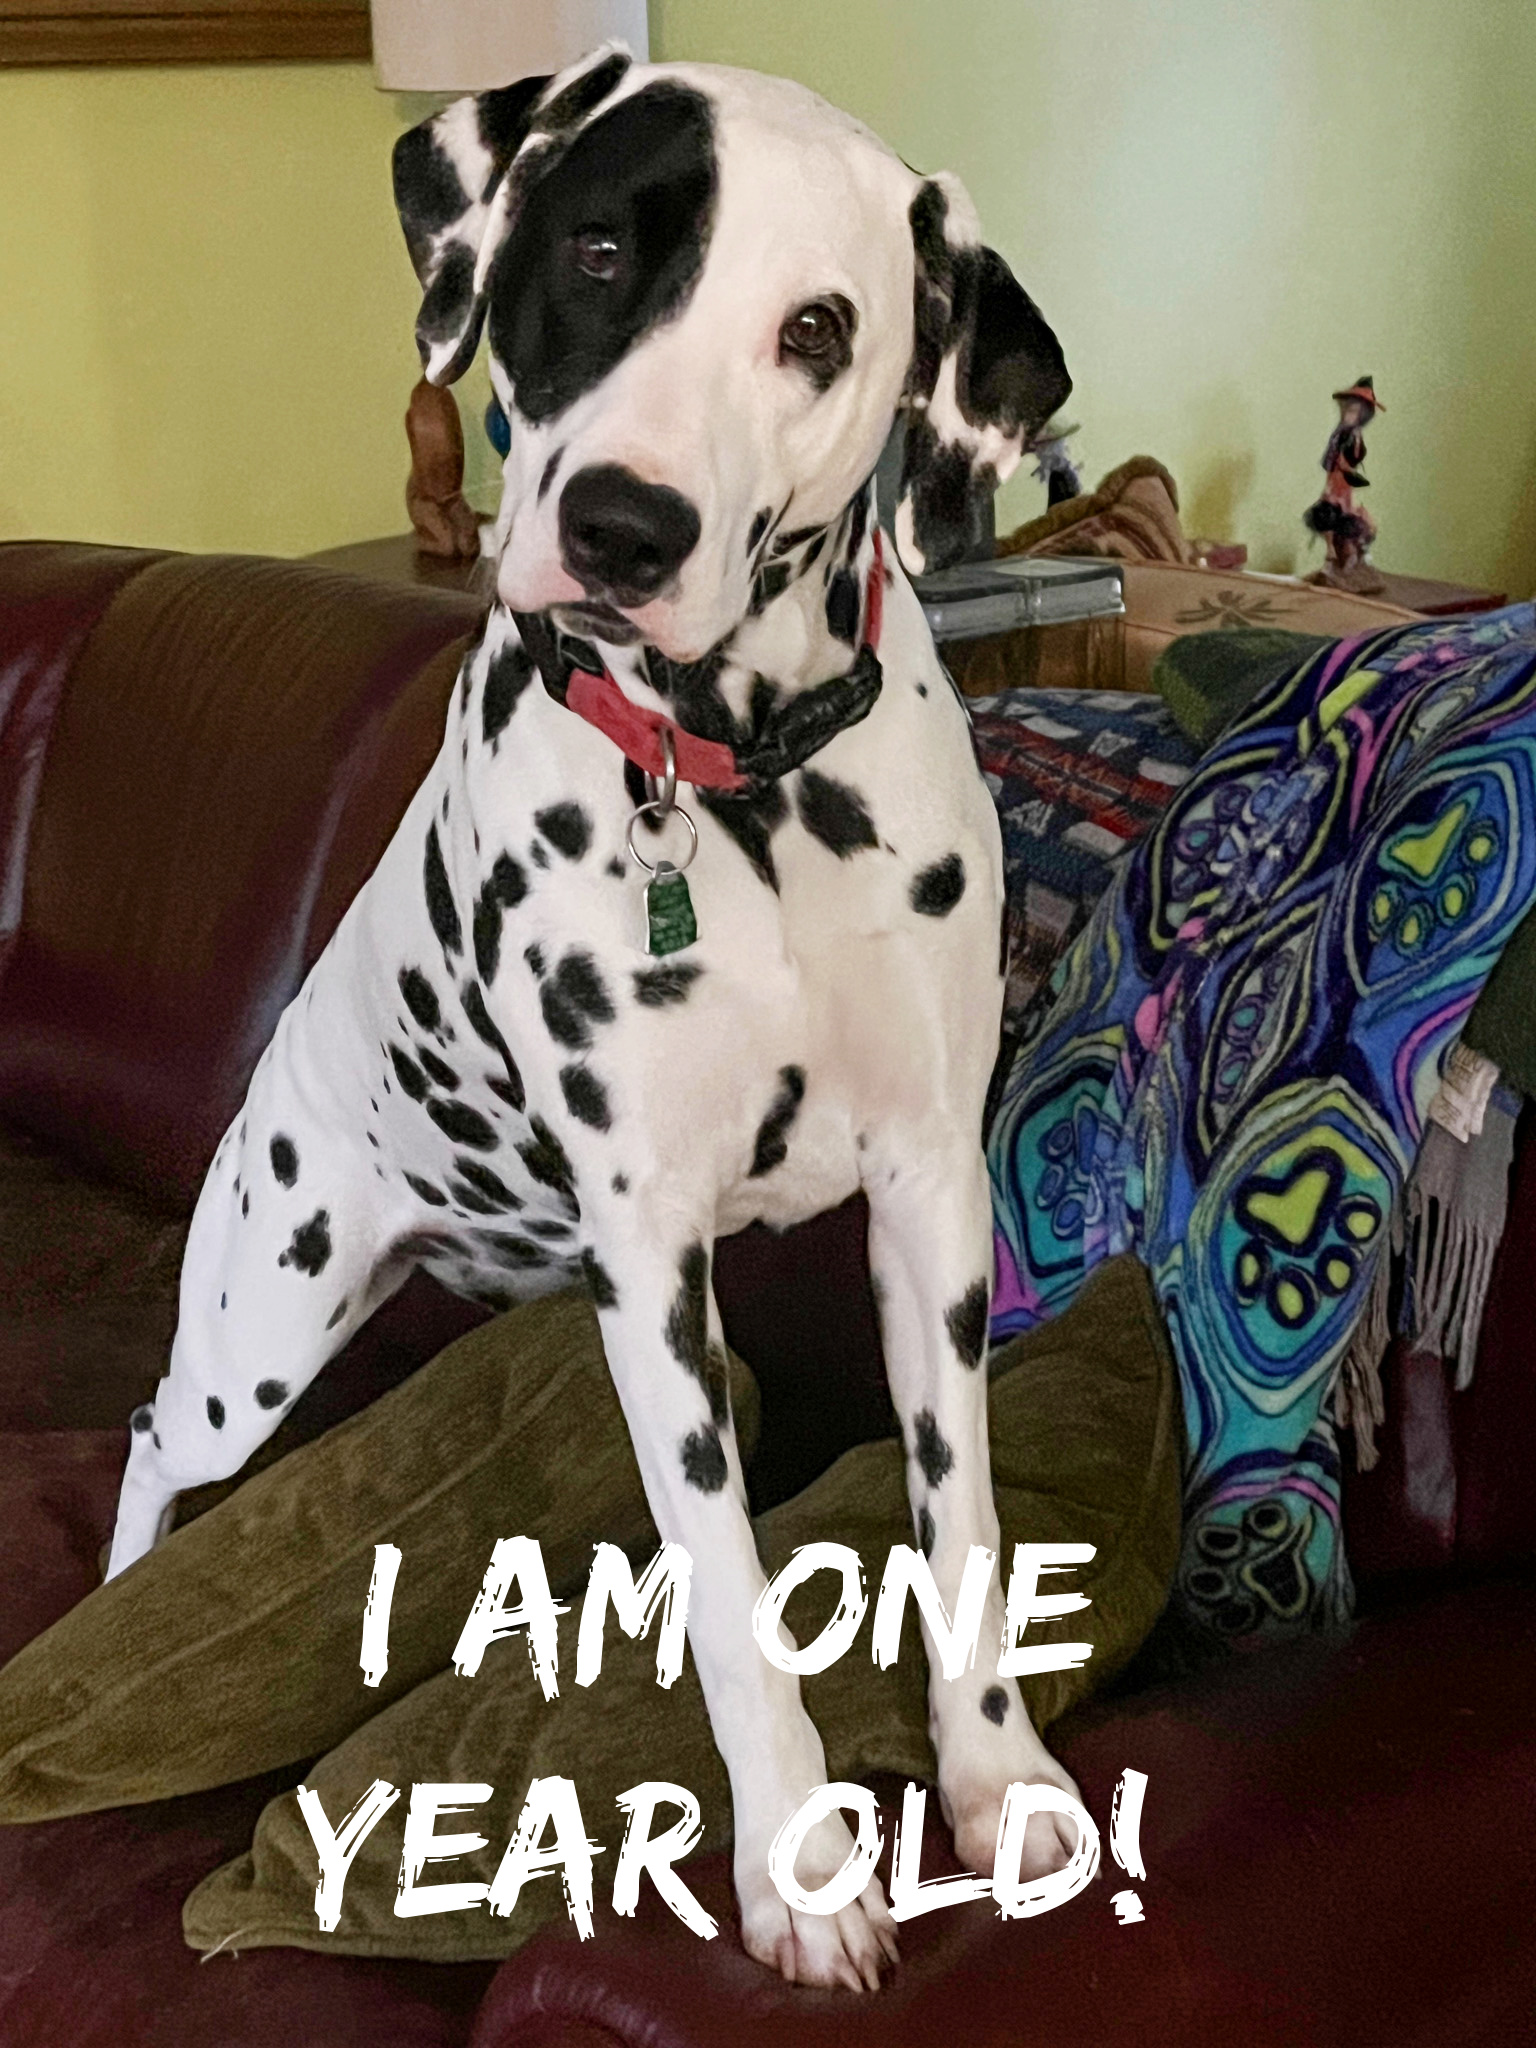
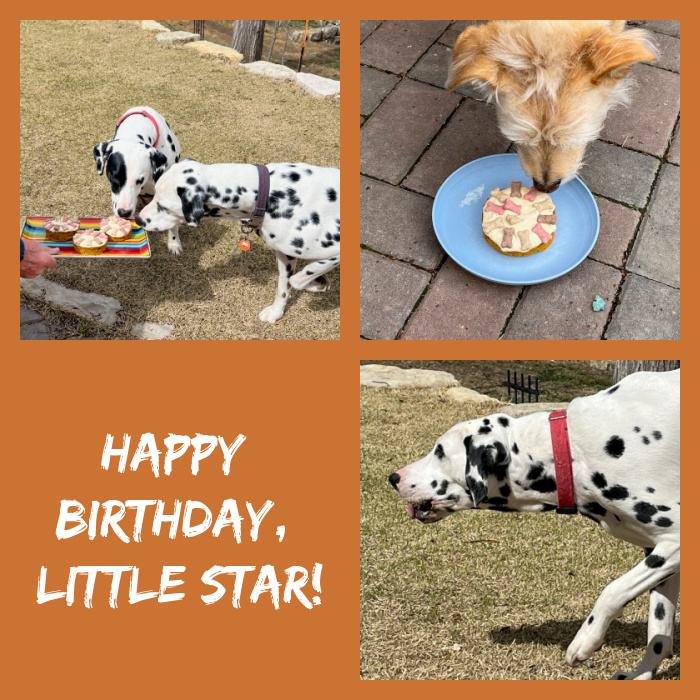
1 cup flour 1/2 tsp baking soda 1/8 cup vegetable oil 1/4 cup natural peanut butter (Do NOT use a peanut butter with Xylitol, as it is very toxic for dogs) 3/4 cup applesauce go with plain, unsweetened 1/2 cup pumpkin puree 1 egg FROSTING 1/2 cup plain Greek yogurt 1/4 cup peanut butter
Heat oven to 350 degrees F. In a large bowl, combine flour and baking soda. In a separate bowl mix together vegetable oil, peanut butter, applesauce and pumpkin puree. Once combined, mix in egg and mix well. Mix wet and dry ingredients and stir until no dried bits of flour are visible.
Pour mixture into an 7 inch square pan that has been greased with oil. Bake for 20 to 25 minutes or until a toothpick inserted into the center comes out clean and the cake springs back when pressed lightly. Allow to cool on a wire rack prior to removing from pan. After cooling, add frosting if desired.
For the frosting: Mix Greek yogurt and peanut butter until well combined. Spread over cake. If not serving immediately, store in refrigerator.
Comments: This is a super easy treat to bake, and we actually tried the cake (without the frosting) and it is not bad at all! We cut three circles to offer the pups, and the leftover was cut in cubes and saved for later. Tiny Milk Bones to decorate are optional, but dog-appreciated… Our Birthday girl gave it two paws high up!
Normally, when I share a recipe that uses the air-fryer, I offer alternative ways to make it, in case you do not own one. For this recipe, however, I have to say that the air-fryer method is a must. You simply cannot get the same results without it. Credit for finding the basic method goes to the husband. He often finds things for me to try and his intuition is pretty awesome. All recipes he picks turn out excellent. This was the most recent example.
24 oz salmon fillets (cut into 1-inch pieces) 3/4 tsp salt 1/4 tsp black pepper 3 tbsp honey 2 tbsp tamari sauce (or soy sauce, but reduce the salt slightly) 1 tbsp olive oil 1/2 tsp hot paprika
In a large bowl, whisk together the honey, tamari, paprika, salt, and pepper. Add the salmon pieces to the bowl and mix well to coat. Marinate for 1 hour. When time is up, turn the salmon pieces in the marinade again to coat well.
Turn the fryer to 400 degrees F. Place the salmon bites in the air fryer basket in a single layer, with some space between the pieces. Air fry for about 7 minutes, check the cooking by removing a piece and cutting through it. It should flake easily and the internal temperature should be around 140F.
Comments: This was soooo easy and soooo delicious! Plus, contrary to baking in the oven or using the stovetop, there was NO smell. Not sure how that magic works but I am sold. We only cook salmon by grilling it outside, as I have a serious problem with smells that linger in the kitchen. This was a winner in that aspect.
The meat flakes beautifully, and the marinade was perfect with it. A little sweet, a little spicy… I intend to play with different flavors soon, but the basic approach will be unchanged. I urge you to give this a try. If you are into bowls, Oriental style, this would be a great way to deal with the protein component.
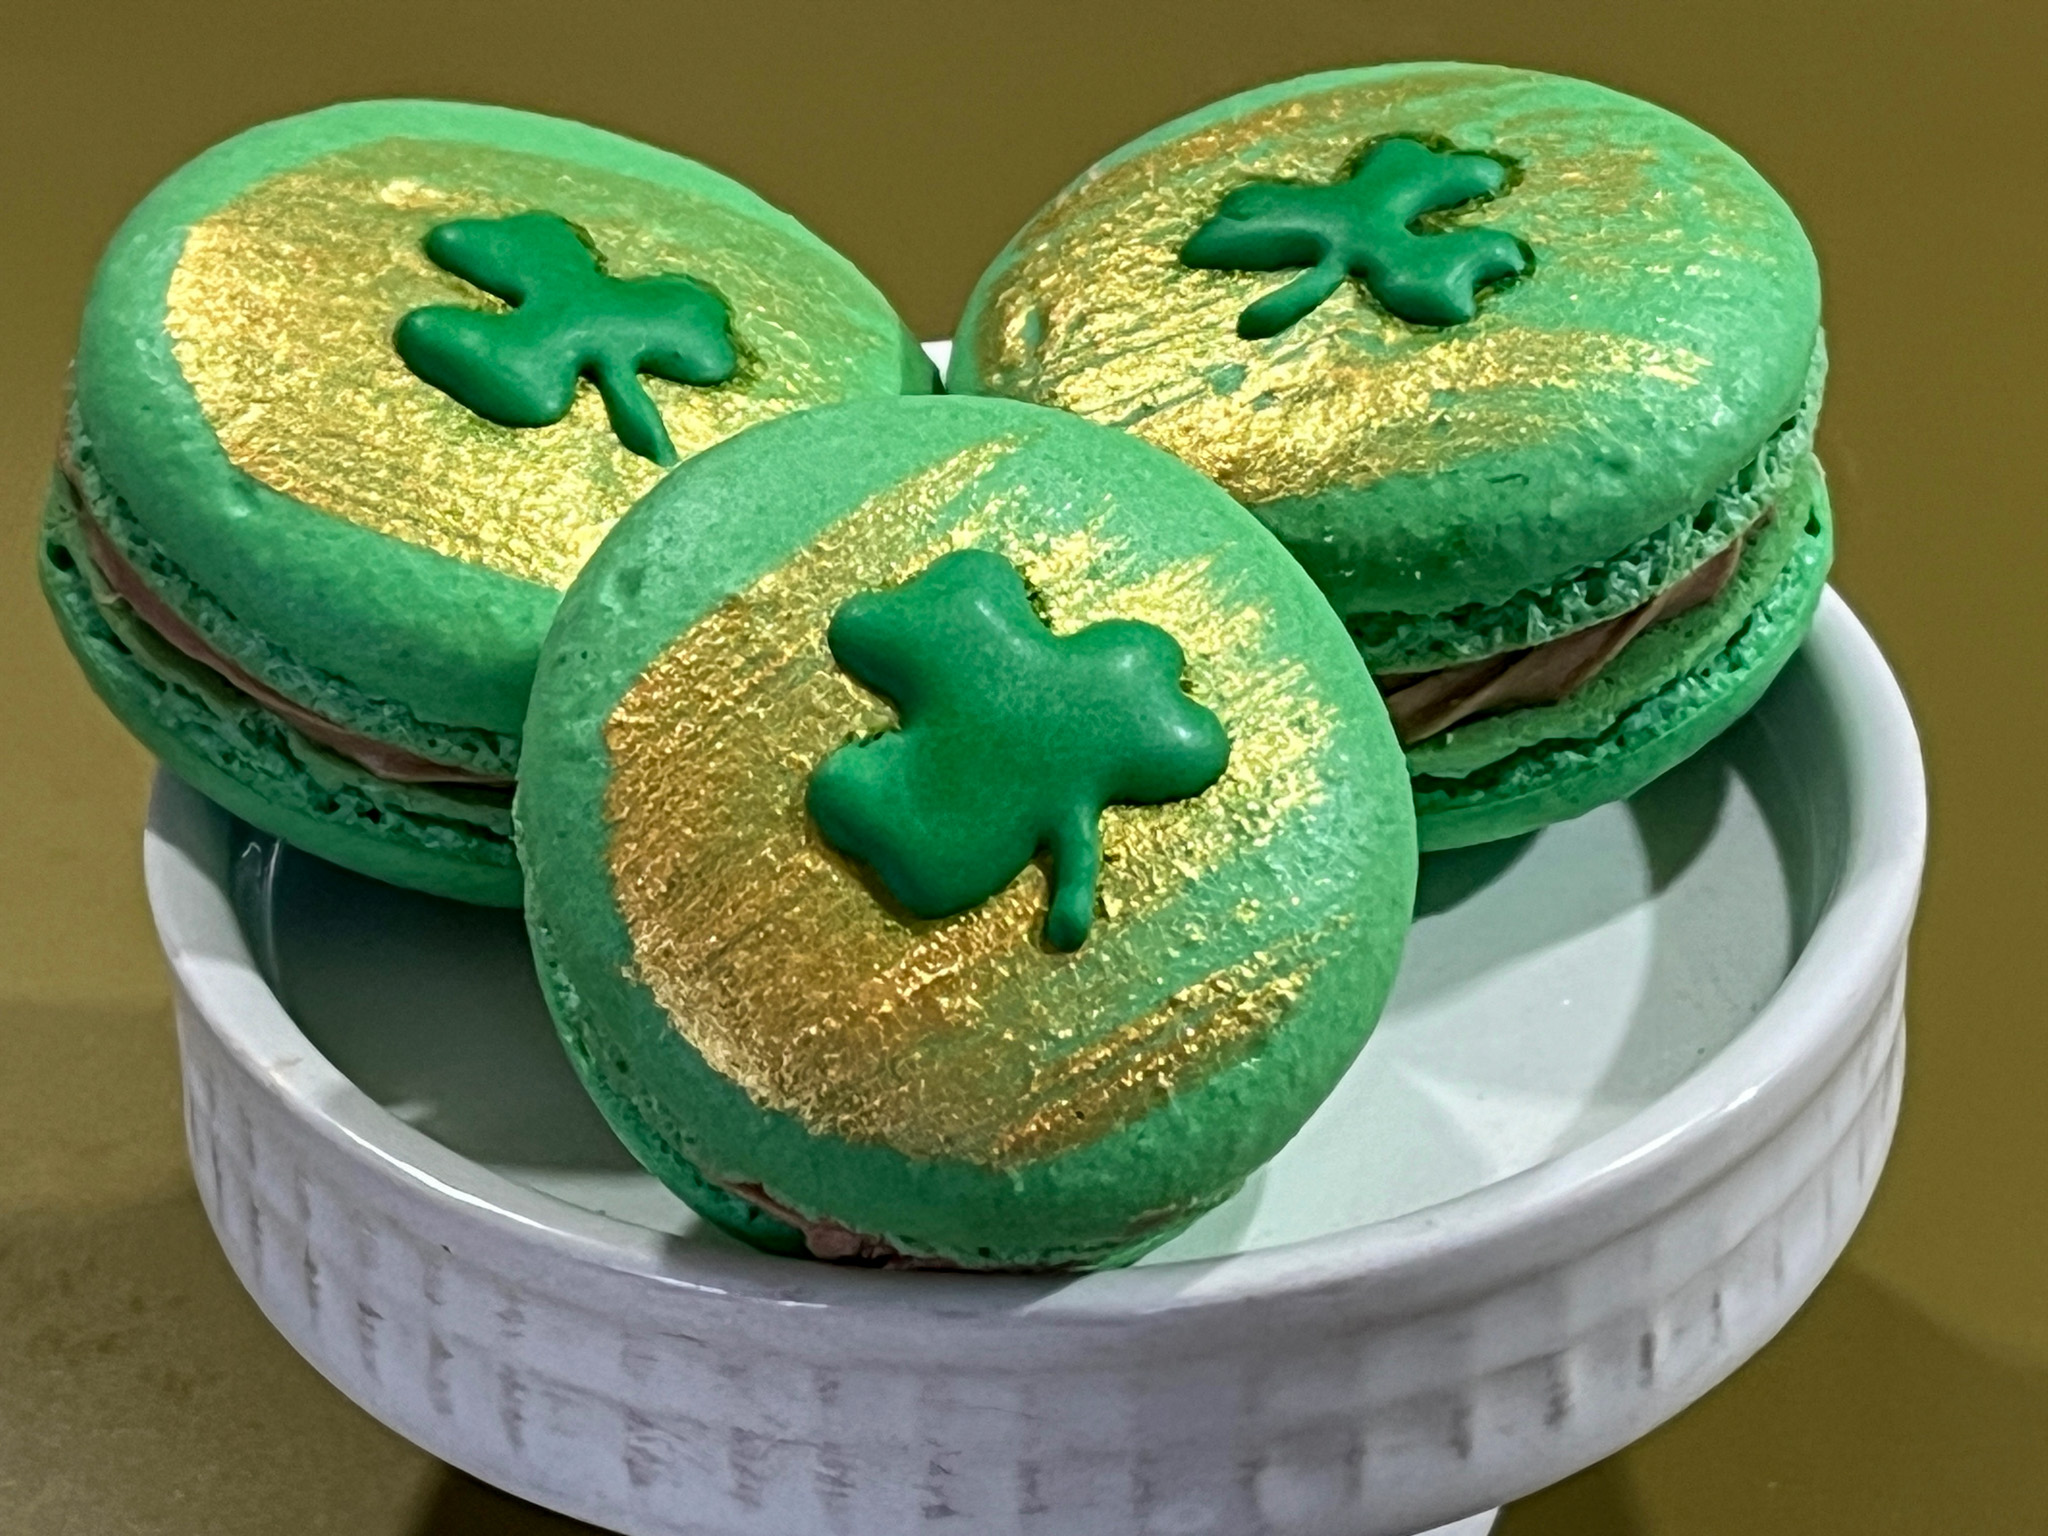
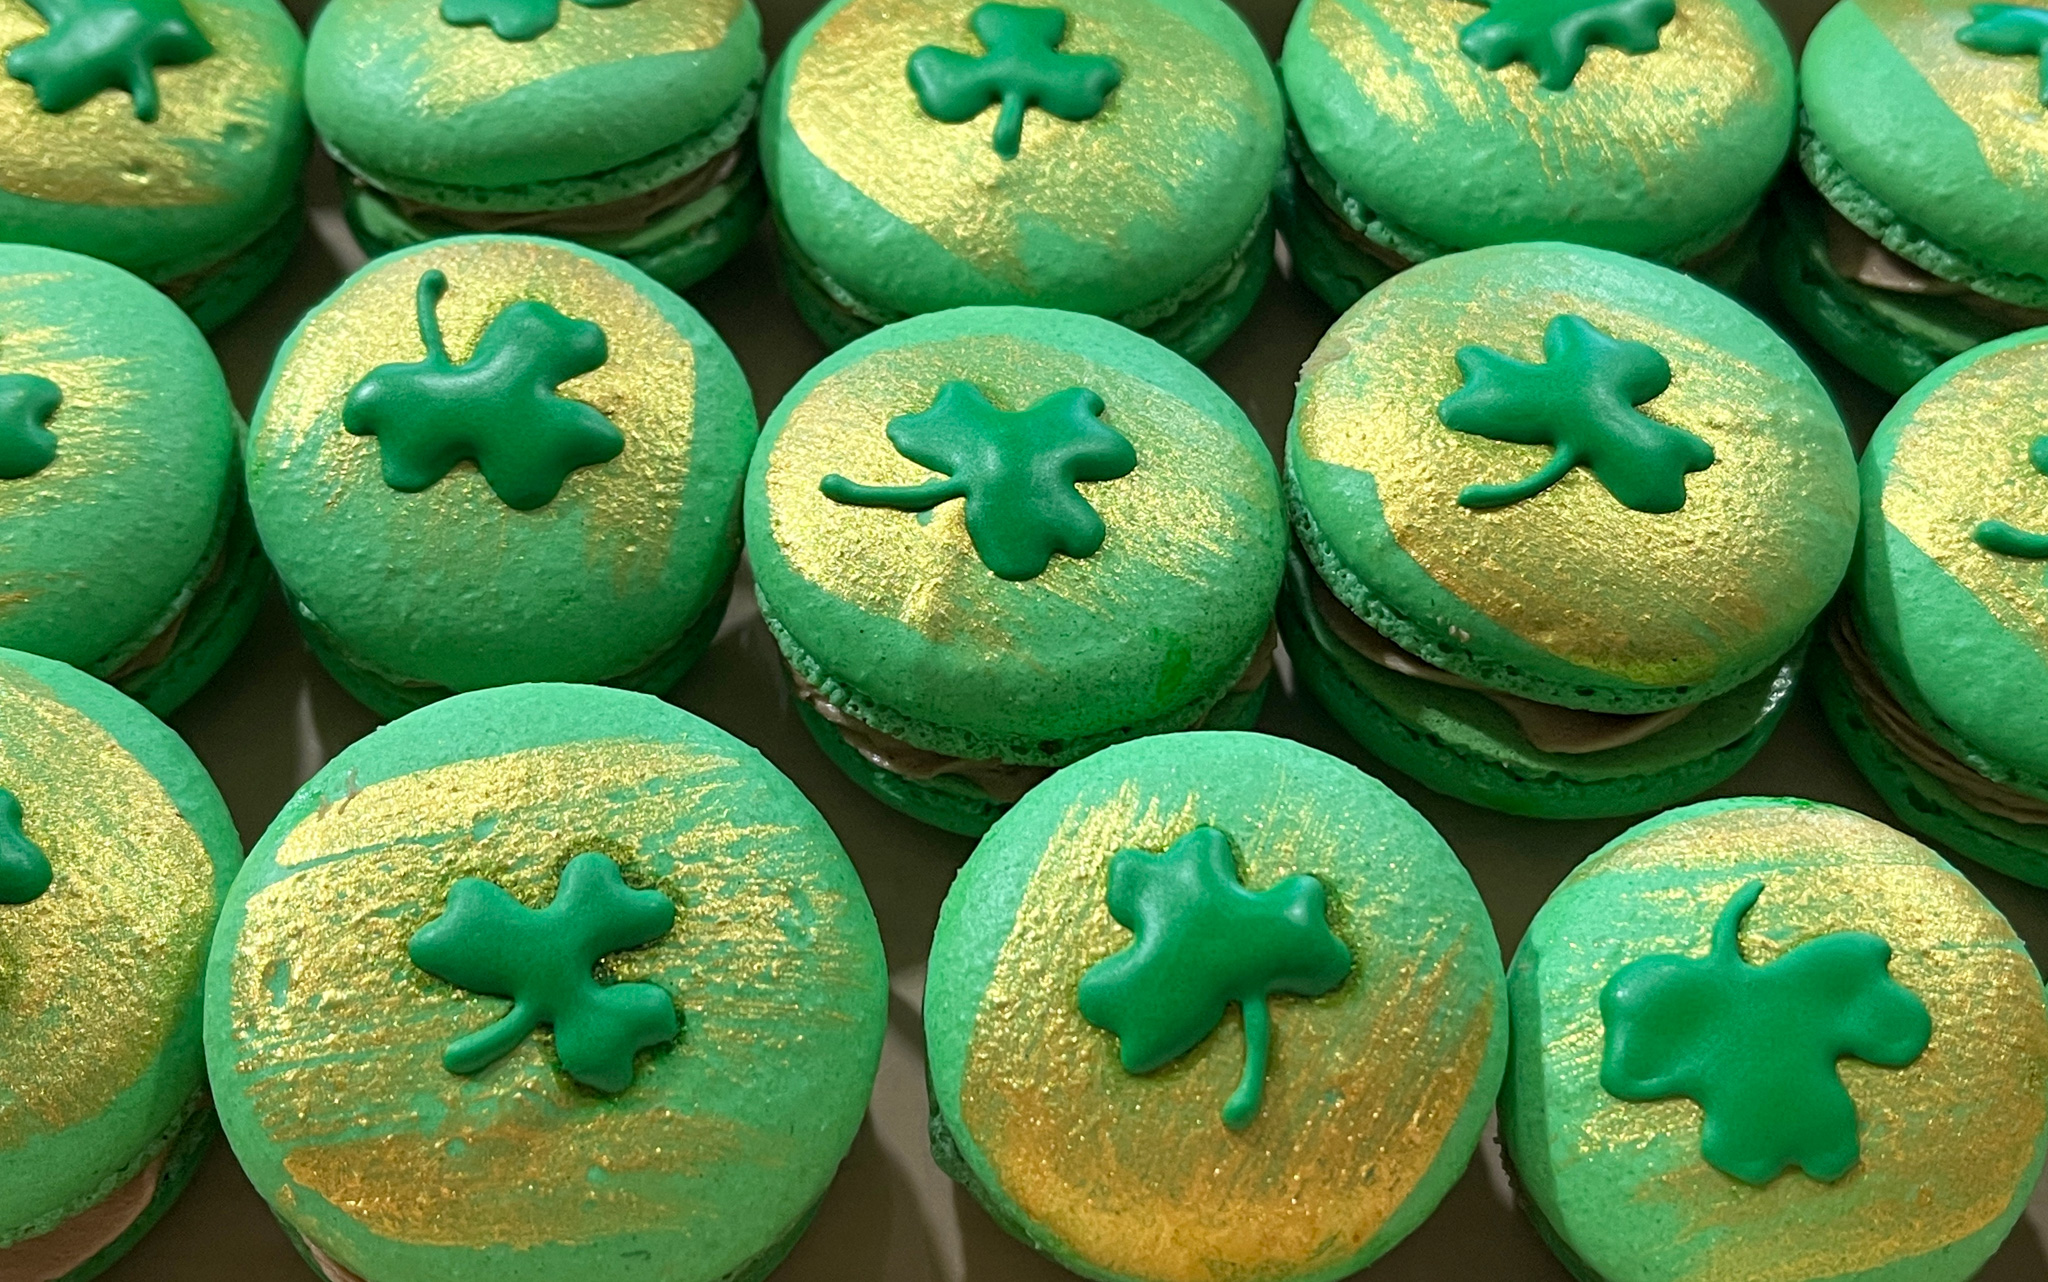
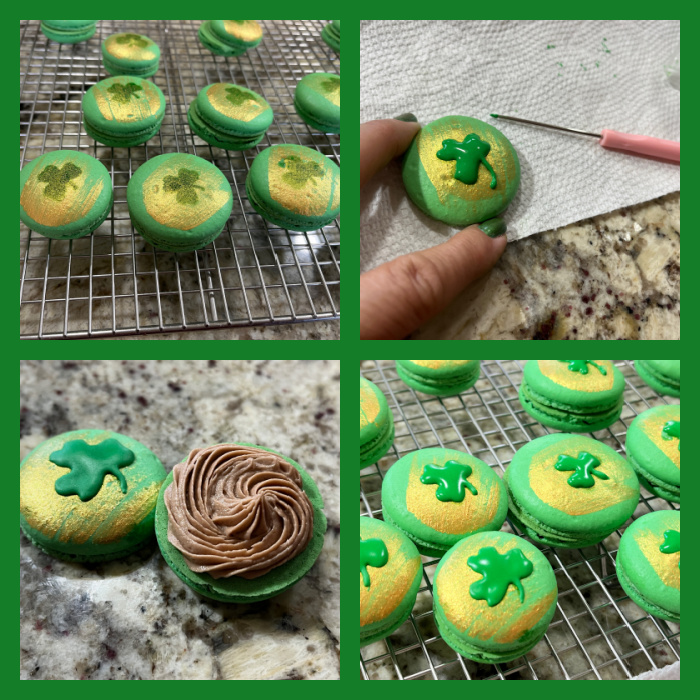
Green. Green for Spring, green for St. Patrick, green is definitely the color of March. These macs are simple to decorate, especially if you can free-hand the piping, which unfortunately I cannot. A little stencil to airbrush the shape helped me out.
NUTELLA SHAMROCK MACARONS (from The Bewitching Kitchen)
For the shells: 200g Icing/powdered sugar (1 ⅔ cups) 115 g Almond Meal (1 + scant ¼ cup) 115 g egg whites at room temperature (approx. 4 eggs) 1/8 tsp of cream of tartar (optional) 100 g granulated sugar (½ cup) 1/8 tsp vanilla extract leaf green food gel
Line 3 heavy baking sheets with parchment/baking paper or Silpat mats. Layer the powdered/icing sugar and ground almonds/almond meal in a food processor. Pulse until the mixture looks like fine meal, about 12 pulses. Pass through a sieve and transfer to a small bowl or to a sheet of parchment/baking paper. Set aside.
Place the egg whites and cream of tartar in the bowl of a stand mixer fitted with the whisk attachment. Make sure that the bowl and the whisk are impeccably clean. Starting on medium speed, whip the whites with the cream of tartar until they look like light foam. The whites should not appear liquid. The foam will be light and should not have any structure.
Slowly rain in the granulated sugar in five additions, trying to aim the stream between the whisk and the side of the bowl. Turn the speed up to high. Continue to whip the meringue until it is soft and shiny. It should look like marshmallow creme (marshmallow fluff). Add the vanilla and food gel color. Whip the egg whites until the mixture begins to dull and the lines of the whisk are visible on the surface of the meringue. Check the peak. It should be firm. Transfer the whites to a medium bowl.
Fold in the ground almond/almond meal mixture in two increments. Paint the mixture halfway up the side of the bowl, using the flat side of a spatula. Scrape the mixture down to the center of the bowl. Repeat two or three times, then check to see if the mixture slides slowly down the side of the bowl. Add drops of gel color and mix them briefly with a toothpick. Put the mixture in a piping bag fitted with your choice of piping tip (round, ¼ or ½ inch in diameter or 6 – 12 mm). If you don’t have a macaron mat, draw circles on baking/parchment paper about 2inches/5cm in diameter & turn the paper over before placing on the baking sheets. Pipe shells, I like to count numbers in my head and use the same count for each shell so they end up similar in size.
Slam each sheet hard four to six times on the counter/worktop. Let the unbaked macarons dry until they look dull but not overly dry. Drying time depends on humidity. In a dry climate, the macarons can dry in 15 to 20 minutes; in a humid climate, it can take 35 to 40 minutes.
While the macarons are drying, heat the oven to 300 F (150 C/130C Fan oven/Gas Mark 2). Bake one sheet at a time on the middle rack. Check in 11 minutes. If the tops slide or move (independently of the ‘feet’ when you gently twist the top), then bake for 2 to 3 more minutes. Check one or two. If they move when gently touched, put them back in the oven for 1 to 2 more minutes until they don’t move when touched. Let the macaroons cool for 10 minutes before removing from the pan. The macarons should release without sticking.
Assemble the macarons: find two macarons similar in size and add a good amount of filling to the bottom of one of them. Place the other on top and squeeze gently to take the filling all the way to the edge. Store in the fridge for 24 hours for perfect texture.
For the filling:
NUTELLA BUTTERCREAM 60g unsalted butter softened 125g powdered sugar 40g Nutella 1 to 2 tbsp heavy cream to adjust consistency
Whisk butter, powdered sugar and Nutella until light and fluffy. Adjust consistency with heavy cream, if needed. Transfer to a piping bag fitted with a open star tip. Match similar sized macaron shells with each other, fill and sandwich the cookies. Decorate the top with Royal icing in the shape of a shamrock, and if you like add a brush of gold before piping the decoration for added bling.
Comments: At first I wanted to make them filled with mint, but I have done two batches in a row with that flavor, so these went the Nutella route, which I also love… As to the decoration, I cut a small stencil to airbrush the leaf, but if you are brave and talented, skip the stencil and just go for it. Some of the steps are shown below.
.
I really like the way they turned out, and hope they brought a little smile to those who got them…