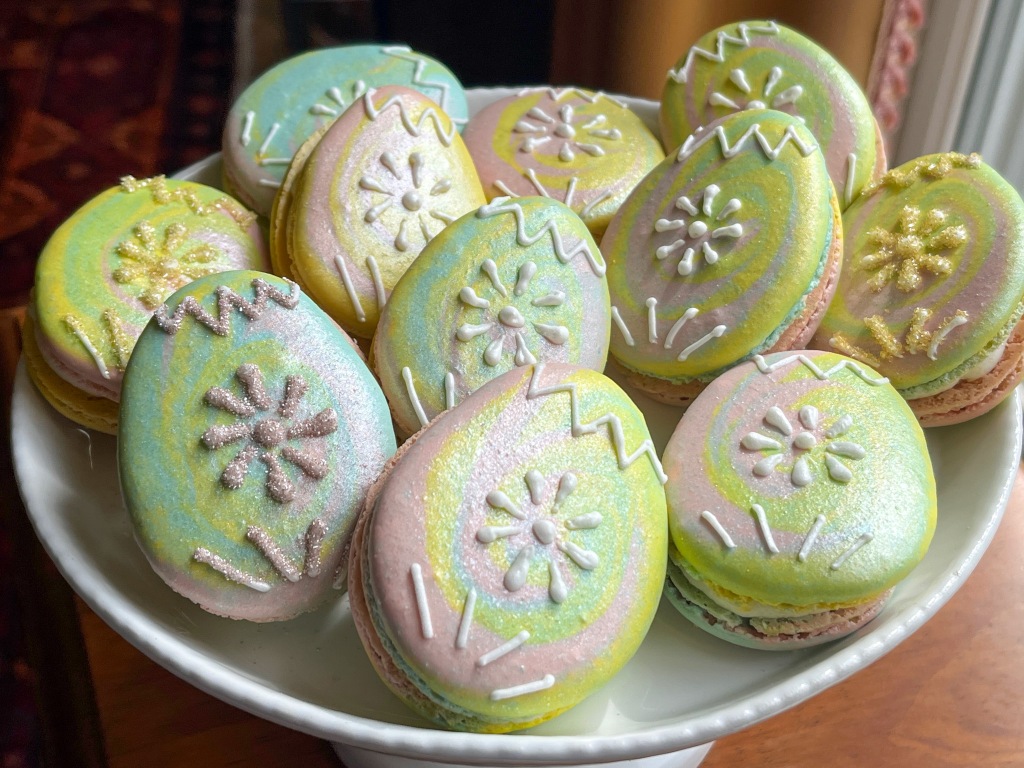
This method might seem a bit intimidating if you are new to baking these finicky creatures, but as long as you feel comfortable with the macaronage step, it’s not complicated at all. You will make a single batter, start incorporating the almond mixture with the meringue, and then divide the batter in four portions: one large to be left plain, and three smaller portions dyed with two different colors for the flower petals, and green for the leaves. The piping is very loose, no need for precision, no need for hyperventilation. You know I never lie to you. After baking, you can either leave the design plain or draw an outline with a fine tip black food pen. The outline gives a more dramatic look, it’s totally up to you to go for it or not. Your bake, your rules.
SPRINGTIME PIPED FLOWER MACARONS
(from the Bewitching Kitchen)
For the shells:
200g powdered sugar
115 g almond flour
115 g egg whites at room temperature (approx. 4 eggs)
1/8 tsp of cream of tartar (optional)
100 g granulated sugar
¼ tsp vanilla paste or extract
pink, purple and green food gel color (I used Sugarflair and Americolor)
For filling:
60 g unsalted butter softened
160 g powdered sugar
zest of 1 lemon
2 tsp lemon juice
1/8 tsp lemon oil
pinch of salt
heavy cream if needed to adjust consistency
Line 3 heavy baking sheets with parchment/baking paper or Silpat mats. Layer the powdered sugar and ground almonds/almond meal in a food processor. Pulse until the mixture looks like fine meal, about 12 pulses. Pass through a sieve and transfer to a small bowl or to a sheet of parchment paper. Set aside.
Place the egg whites and cream of tartar in the bowl of a stand mixer fitted with the whisk attachment. Make sure that the bowl and the whisk are impeccably clean. Starting on medium speed, whip the whites with the cream of tartar until they look like light foam. Add all the sugar at once and keep whisking until the meringue is soft and shiny. Add vanilla extract.
Whip the egg whites until the mixture begins to dull and the lines of the whisk are visible on the surface of the meringue. Check the peak. It should be firm. Transfer the whites to a medium bowl.
Fold in the ground almond/almond meal mixture in two increments. Start incorporating, but before you do the macaronage, divide the mixture in four bowls, one large, three small. Dye the small portions pink, purple, and green, then proceed with the macaronage for all four portions of the batter. Place the plain mixture in a piping bag fitted with your choice of piping tip (round, ¼ or ½ inch in diameter or 6 – 12 mm). Place the other portions in small piping bags, with no tips. Pipe shells, and then use the colored batters to make any design you like. Leave half of the shells plain, as they can be the bottom side of your macarons.
Gently bang each sheet four to six times on the counter/worktop. Be careful not to disturb the designs. Let the unbaked macarons dry until they look dull but not overly dry. Drying time depends on humidity. In a dry climate, the macarons can dry in 15 to 20 minutes; in a humid climate, it can take 35 to 40 minutes.
While the macarons are drying, heat the oven to 300 F. Bake one sheet at a time on the middle rack. Check in 11 minutes. If the tops slide or move (independently of the ‘feet’ when you gently twist the top), then bake for 2 to 3 more minutes. Check one or two. If they move when gently touched, put them back in the oven for 1 to 2 more minutes until they don’t move when touched. Let the macaroons cool for 10 minutes before removing from the pan. The macarons should release without sticking. If desired, do the outline and details with a black food pen.
For the filling, use a hand-held electric mixer and whisk the butter until creamy. Add the other ingredients except the heavy cream, and whisk until creamy and smooth. If needed, add a bit of heavy cream to loosen the mixture.
Assemble the macarons: find two macarons similar in size and add a good amount of filling to the bottom of one of them. Place the other on top and squeeze gently to take the filling all the way to the edge. Store in the fridge for 24 hours for perfect texture.
ENJOY!
to print the recipe, click here
Comments: As you can see, the design is very loose. Let your inner child come out to play, just have fun with it. I think I like the ones with the outline better, but in the end decided to leave half the batch without it. For this type of design to work, the batters need to have approximately the same texture, and should not be too thick, or it will look a bit coarse. Another thing to keep in mind is that piping the design adds additional batter to each shell, so they get bigger. Make a row with the flower piping, and then grab the plain batter and pipe a row of plain shells right by them so you can more efficiently match their sizes. Of course, you can draw on all shells, but I prefer to save my energy and leave the bottom shell plain.
ONE YEAR AGO: Charcoal Sourdough
TWO YEARS AGO: Ispahan Macarons
THREE YEAR AGO: Smokin’ Hot Meatloaf and Homemade Ketchup
FOUR YEARS AGO: Banana Bread with Espresso Glaze
FIVE YEARS AGO: Slow-Cooker Carnitas & Paleo Planet Cookbook Review
SIX YEARS AGO: The Making of a Nobel Reception
SEVEN YEARS AGO: Fennel Soup with Almonds and Mint
EIGHT YEARS AGO: Green Curry Pork Tenderloin
NINE YEARS AGO: Farfalle with Zucchini and Ricotta
TEN YEARS AGO: Slow-baked Salmon with Lemon and Thyme
ELEVEN YEARS AGO: Hoisin Explosion Chicken
