No air-fryer? Just use a very hot oven, preferably with convection. But I cannot tell you how much I adore my fryer and how often we put it to use. This preparation could not be simpler and I have made it three times, always starting with two eggplants for our meal, which will provide me with the leftovers I crave so much.
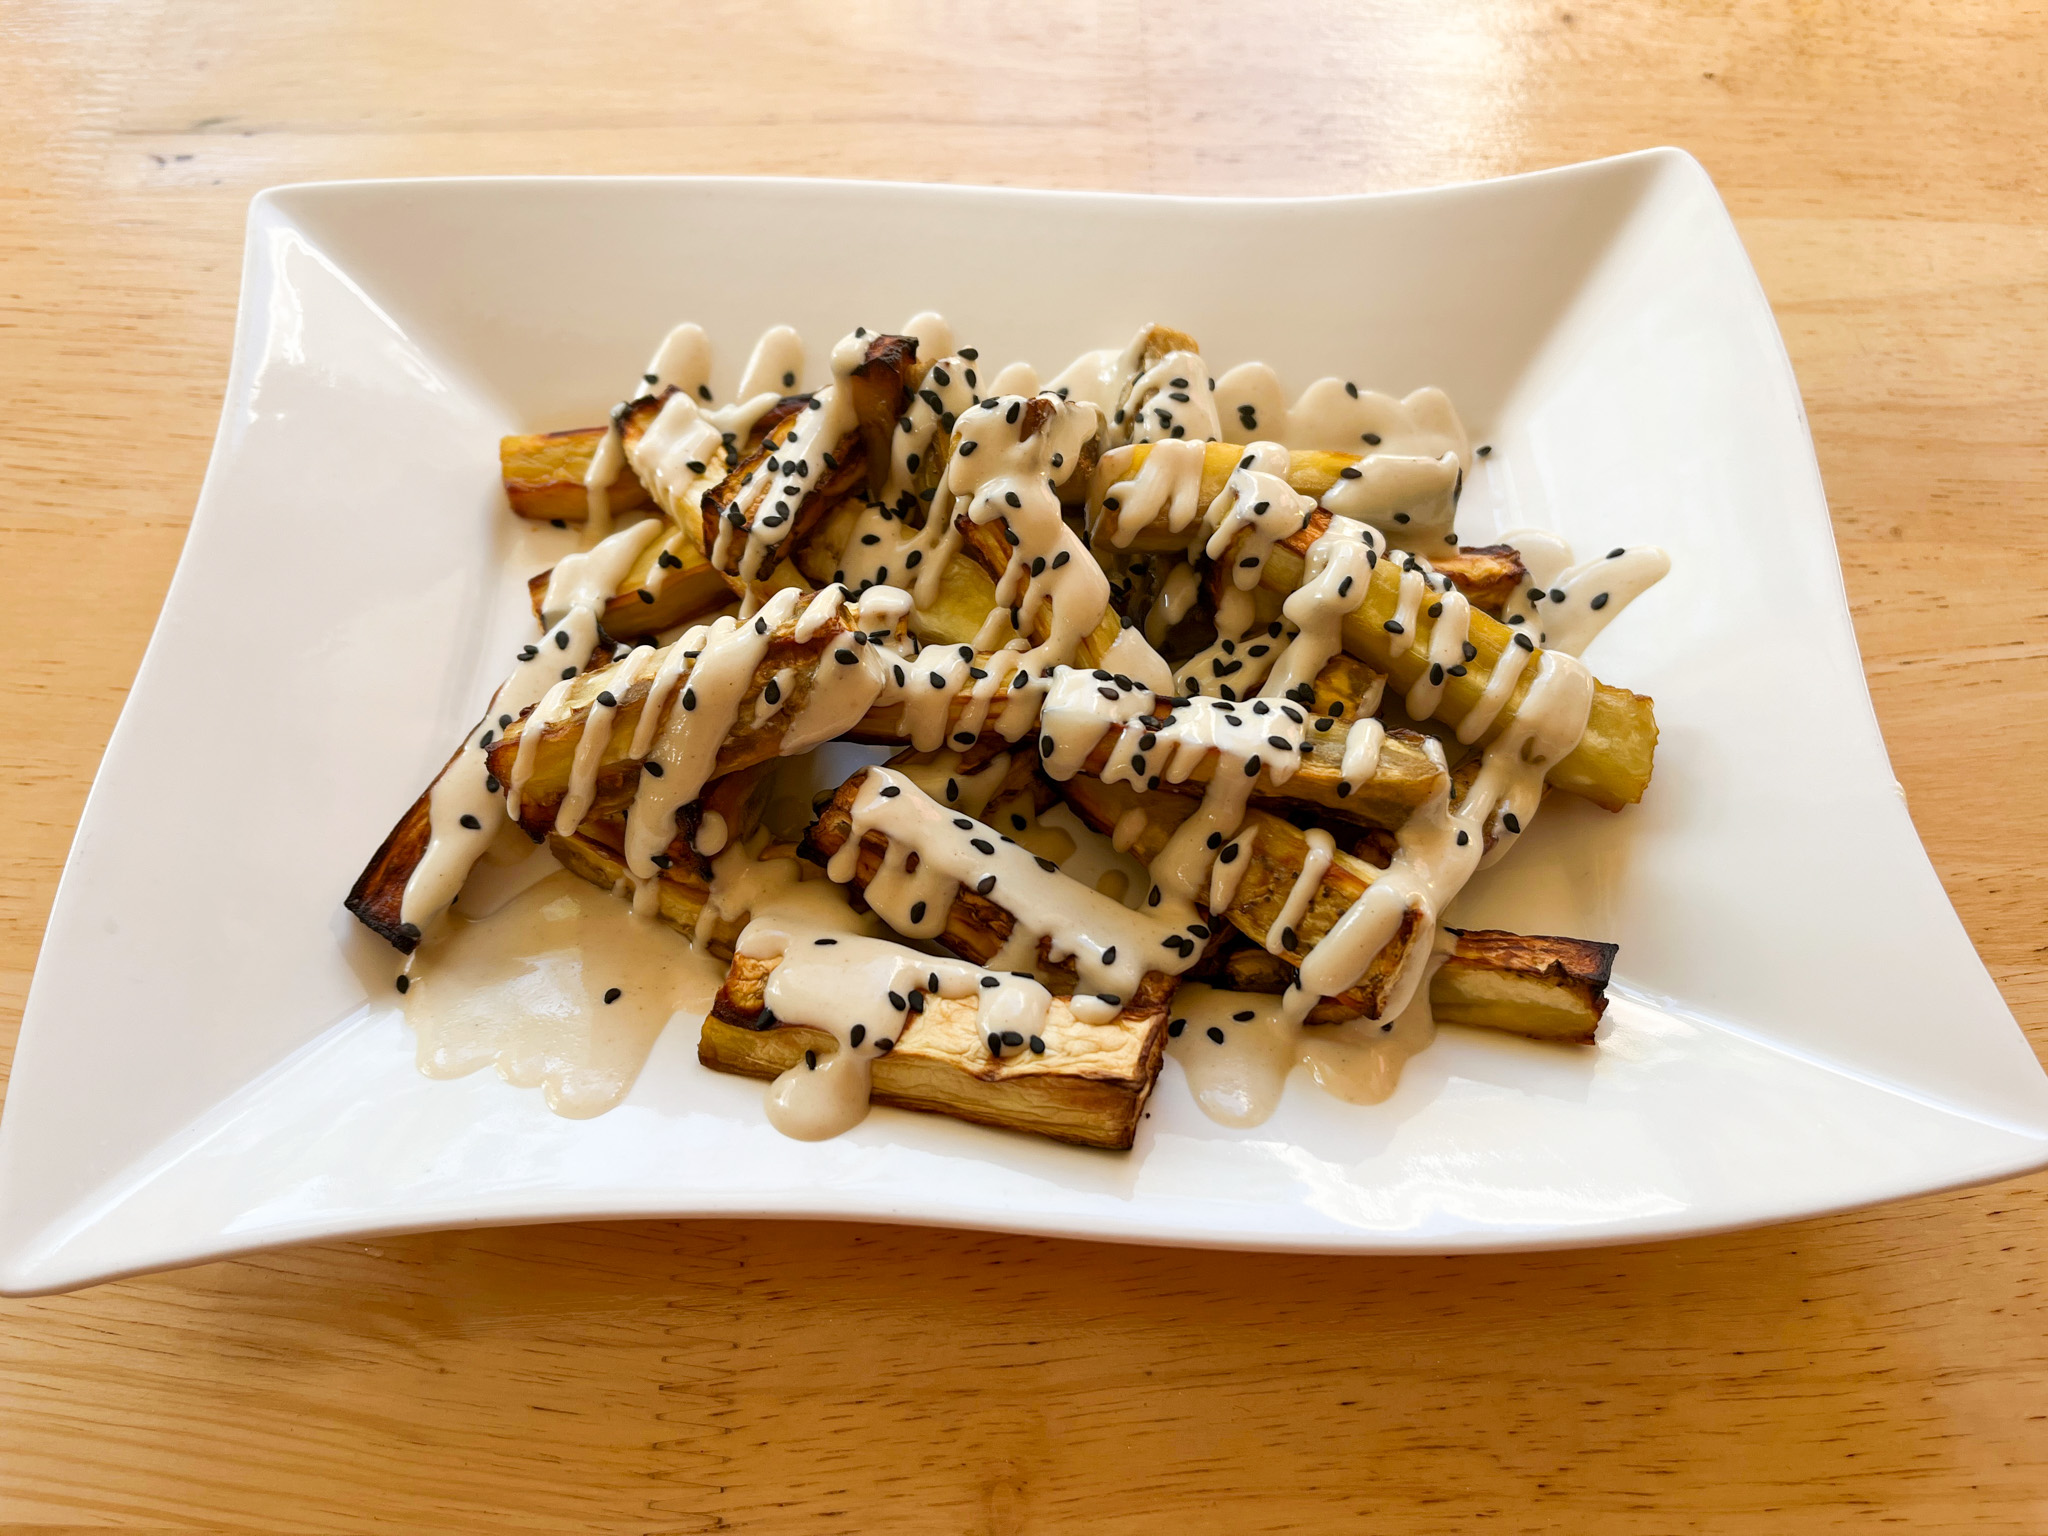
AIR-FRIED EGGPLANT STICKS WITH TAHINI SAUCE
(from The Bewitching Kitchen)
for the eggplant:
2 eggplants, cut in sticks (see comments)
1/4 cup olive oil
drizzle of balsamic vinegar
drizzle of hot honey
salt to taste
for the tahini sauce:
½ cup tahini
juice of one large lemon
½ teaspoon za’atar
water to adjust consistency
black or white sesame seeds to serve (optional)
In a small bowl, combine the olive oil, balsamic and hot honey. Add the eggplant sticks and mix well, seasoning with salt. Add to the air-fryer set at 400F and cook for 15 to 20 minutes.
Meanwhile, make the tahini sauce. Mix all ingredients in a small bowl, adding water to make it into a pouring consistency. Once the eggplant sticks are done, place on a serving dish, drizzle the sauce all over, and sprinkle sesame seeds.
ENJOY!
to print the recipe, click here
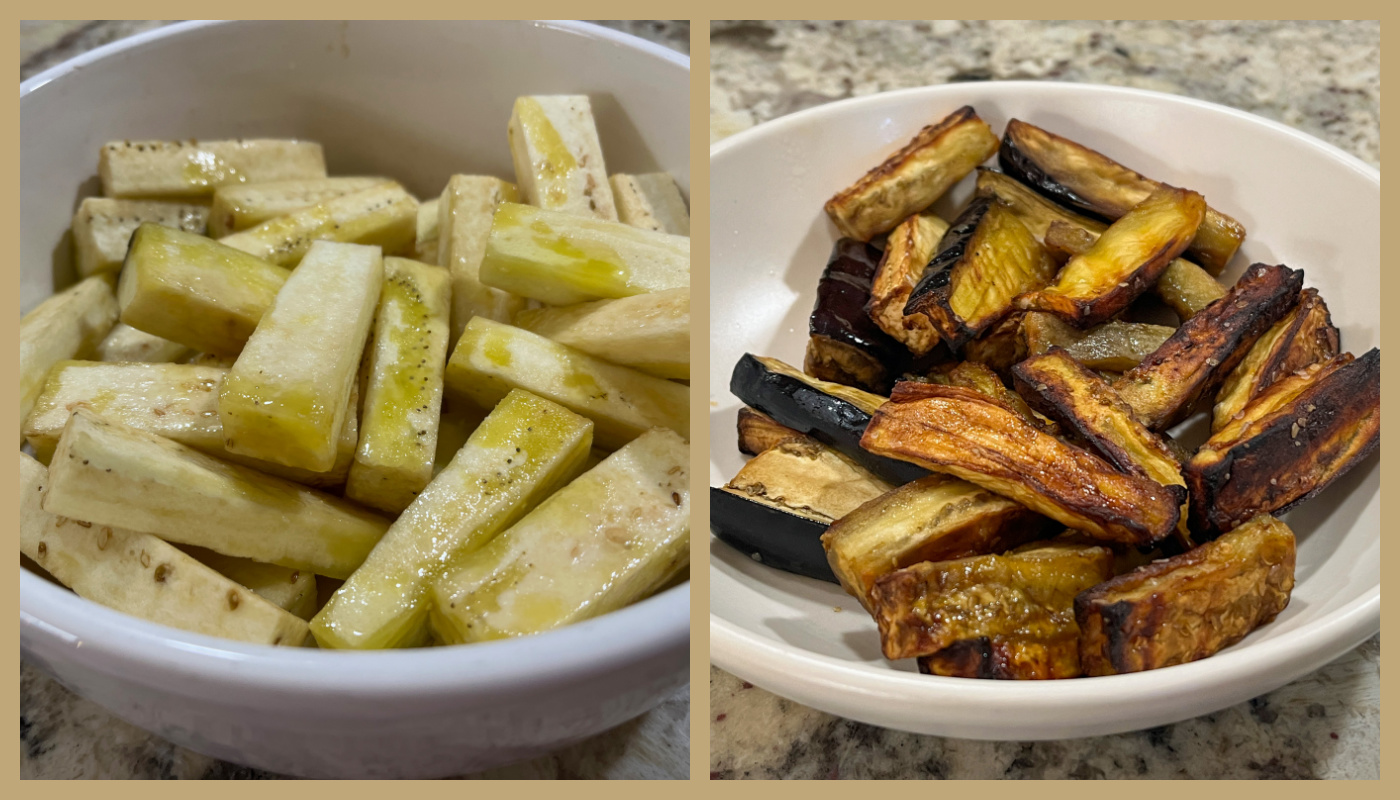
Comments: I do not like the skin of the eggplant very much. I do eat it, but prefer not to, so when I cut it I usually leave the skin behind. It does waste a bit of eggplant but that does not bother me. We compost it anyway. If that bothers you, by all means keep the skin on all pieces. Tahini sauce will harden as you mix it, so the water is very important to turn it into a smooth sauce. The amount will vary depending on the brand of tahini you use. This is a super tasty side dish, and it will definitely be in our rotation. Hot honey is a fantastic ingredient, by the way. I use this one.
ONE YEAR AGO: Savory Crepes for a Light Dinner
TWO YEARS AGO: My First Video Tutorials
THREE YEARS AGO: Citrus and Herbs Roasted Chicken Thighs
FOUR YEARS AGO: Springtime Piped Flower Macarons
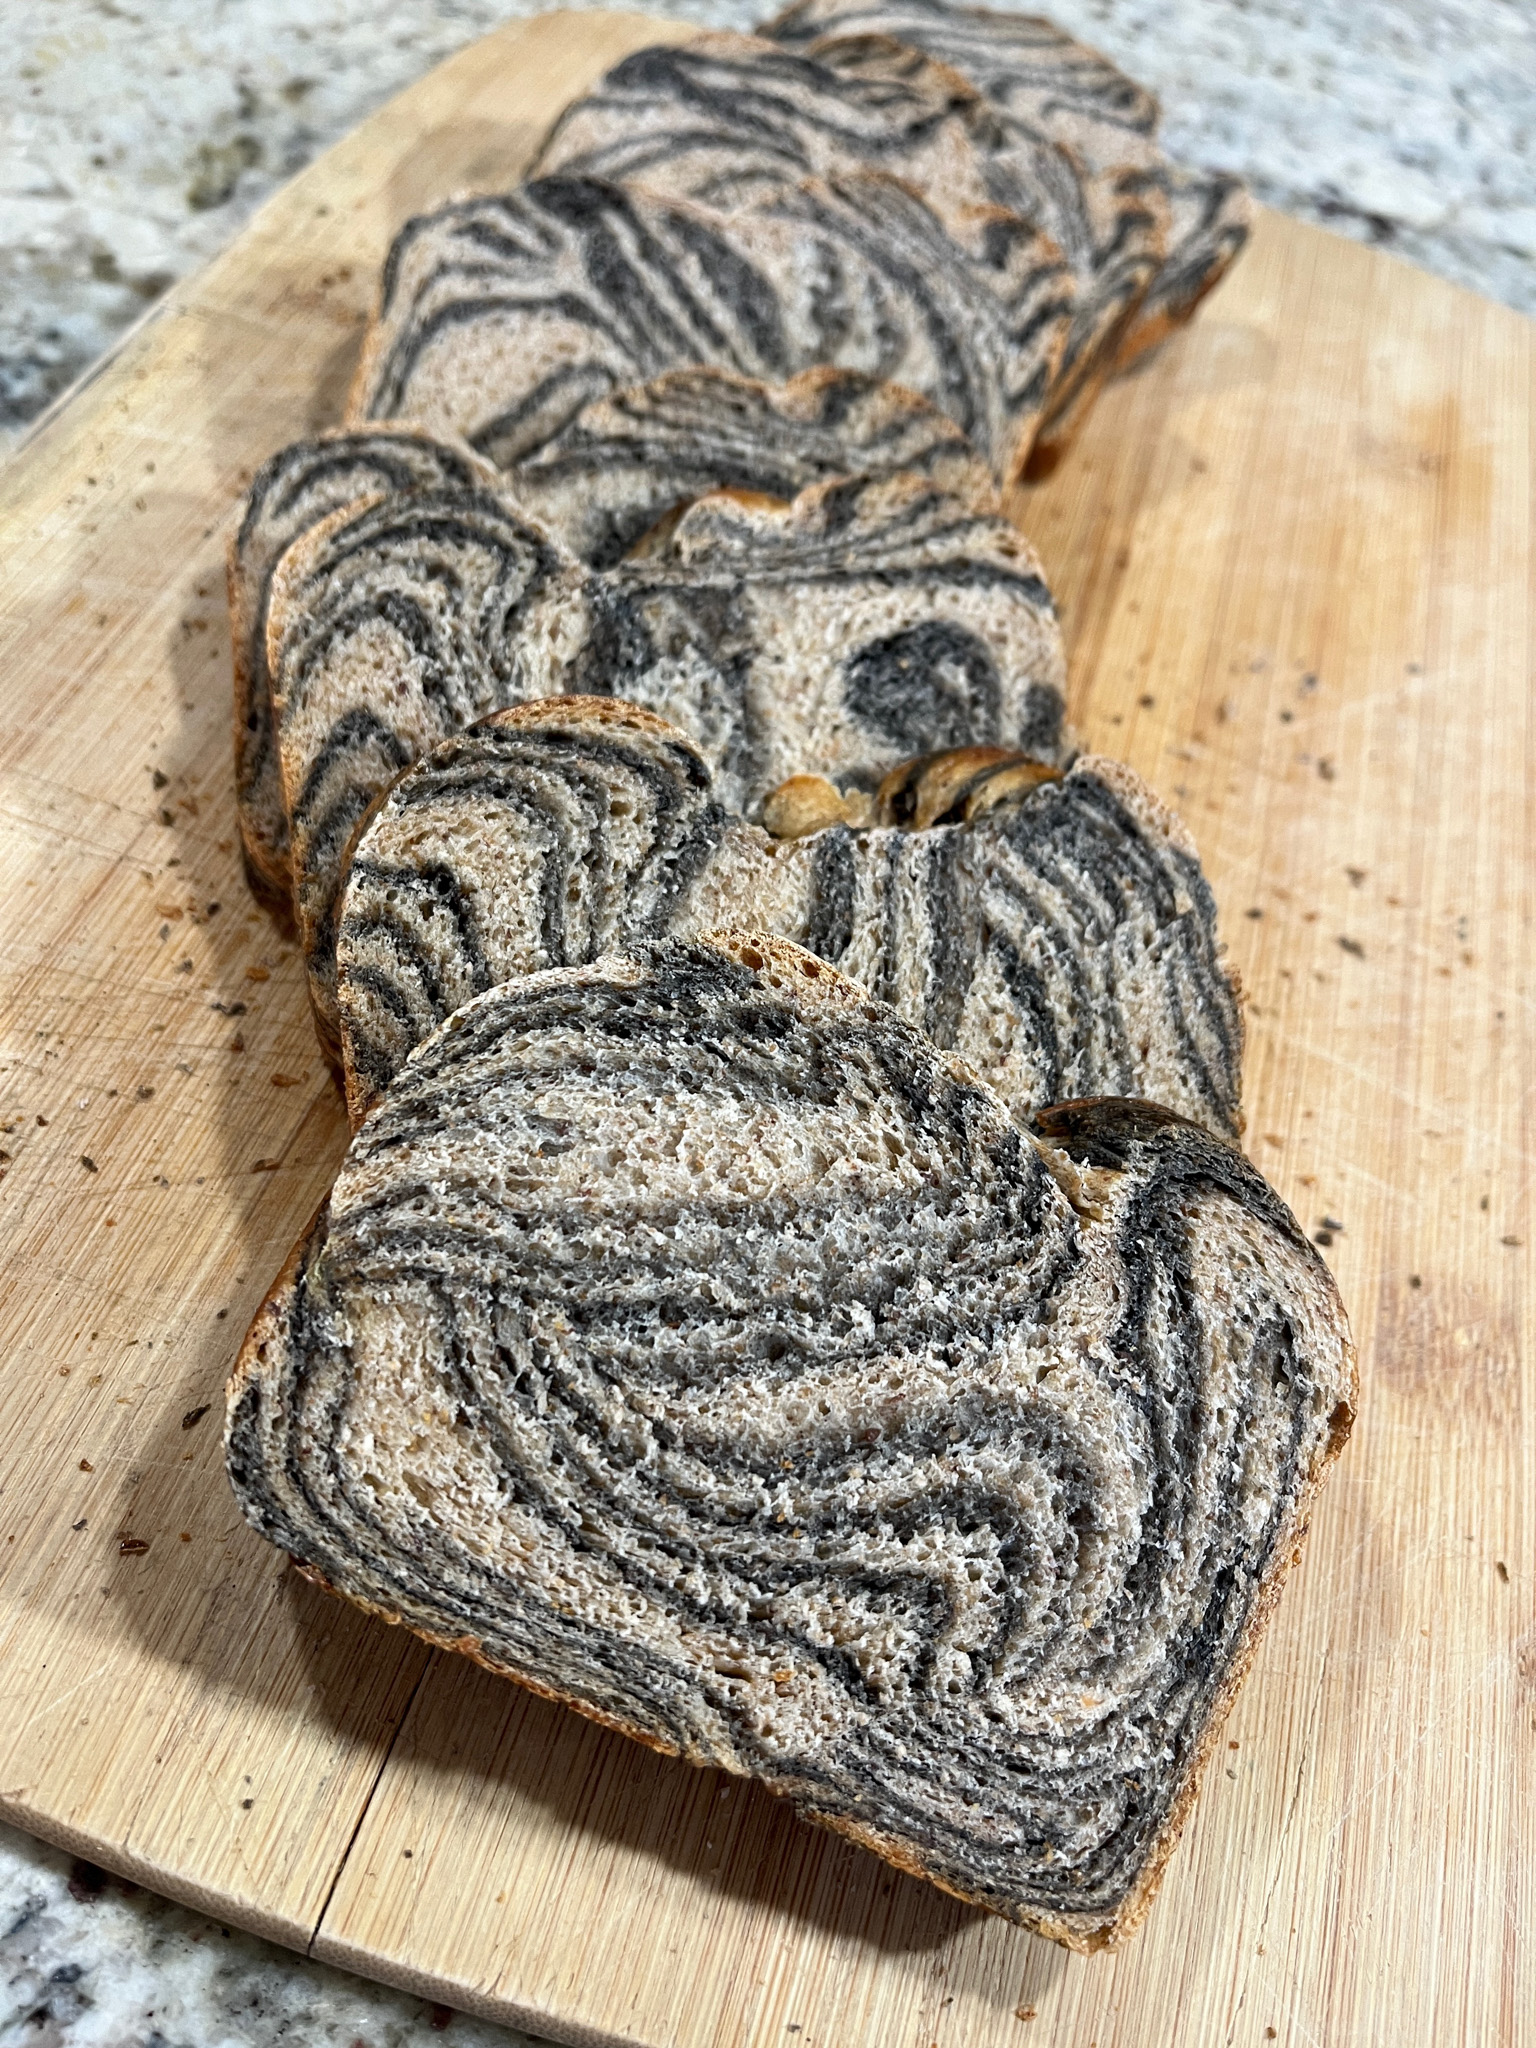
FIVE YEARS AGO: Charcoal Sourdough
SIX YEAR AGO: Smokin’ Hot Meatloaf and Homemade Ketchup
SEVEN YEARS AGO: Ispahan Macarons
EIGHT YEARS AGO: Banana Bread with Espresso Glaze
NINE YEARS AGO: Slow-Cooker Carnitas & Paleo Planet Cookbook Review
TEN YEARS AGO: The Making of a Nobel Reception
ELEVEN YEARS AGO: Fennel Soup with Almonds and Mint
TWELVE YEARS AGO: Green Curry Pork Tenderloin
THIRTEEN YEARS AGO: Farfalle with Zucchini and Ricotta
FOURTEEN YEARS AGO: Slow-baked Salmon with Lemon and Thyme
FIFTEEN YEARS AGO: Hoisin Explosion Chicken