Four ways to use Oreos in your baking, starting with my favorite of this set…
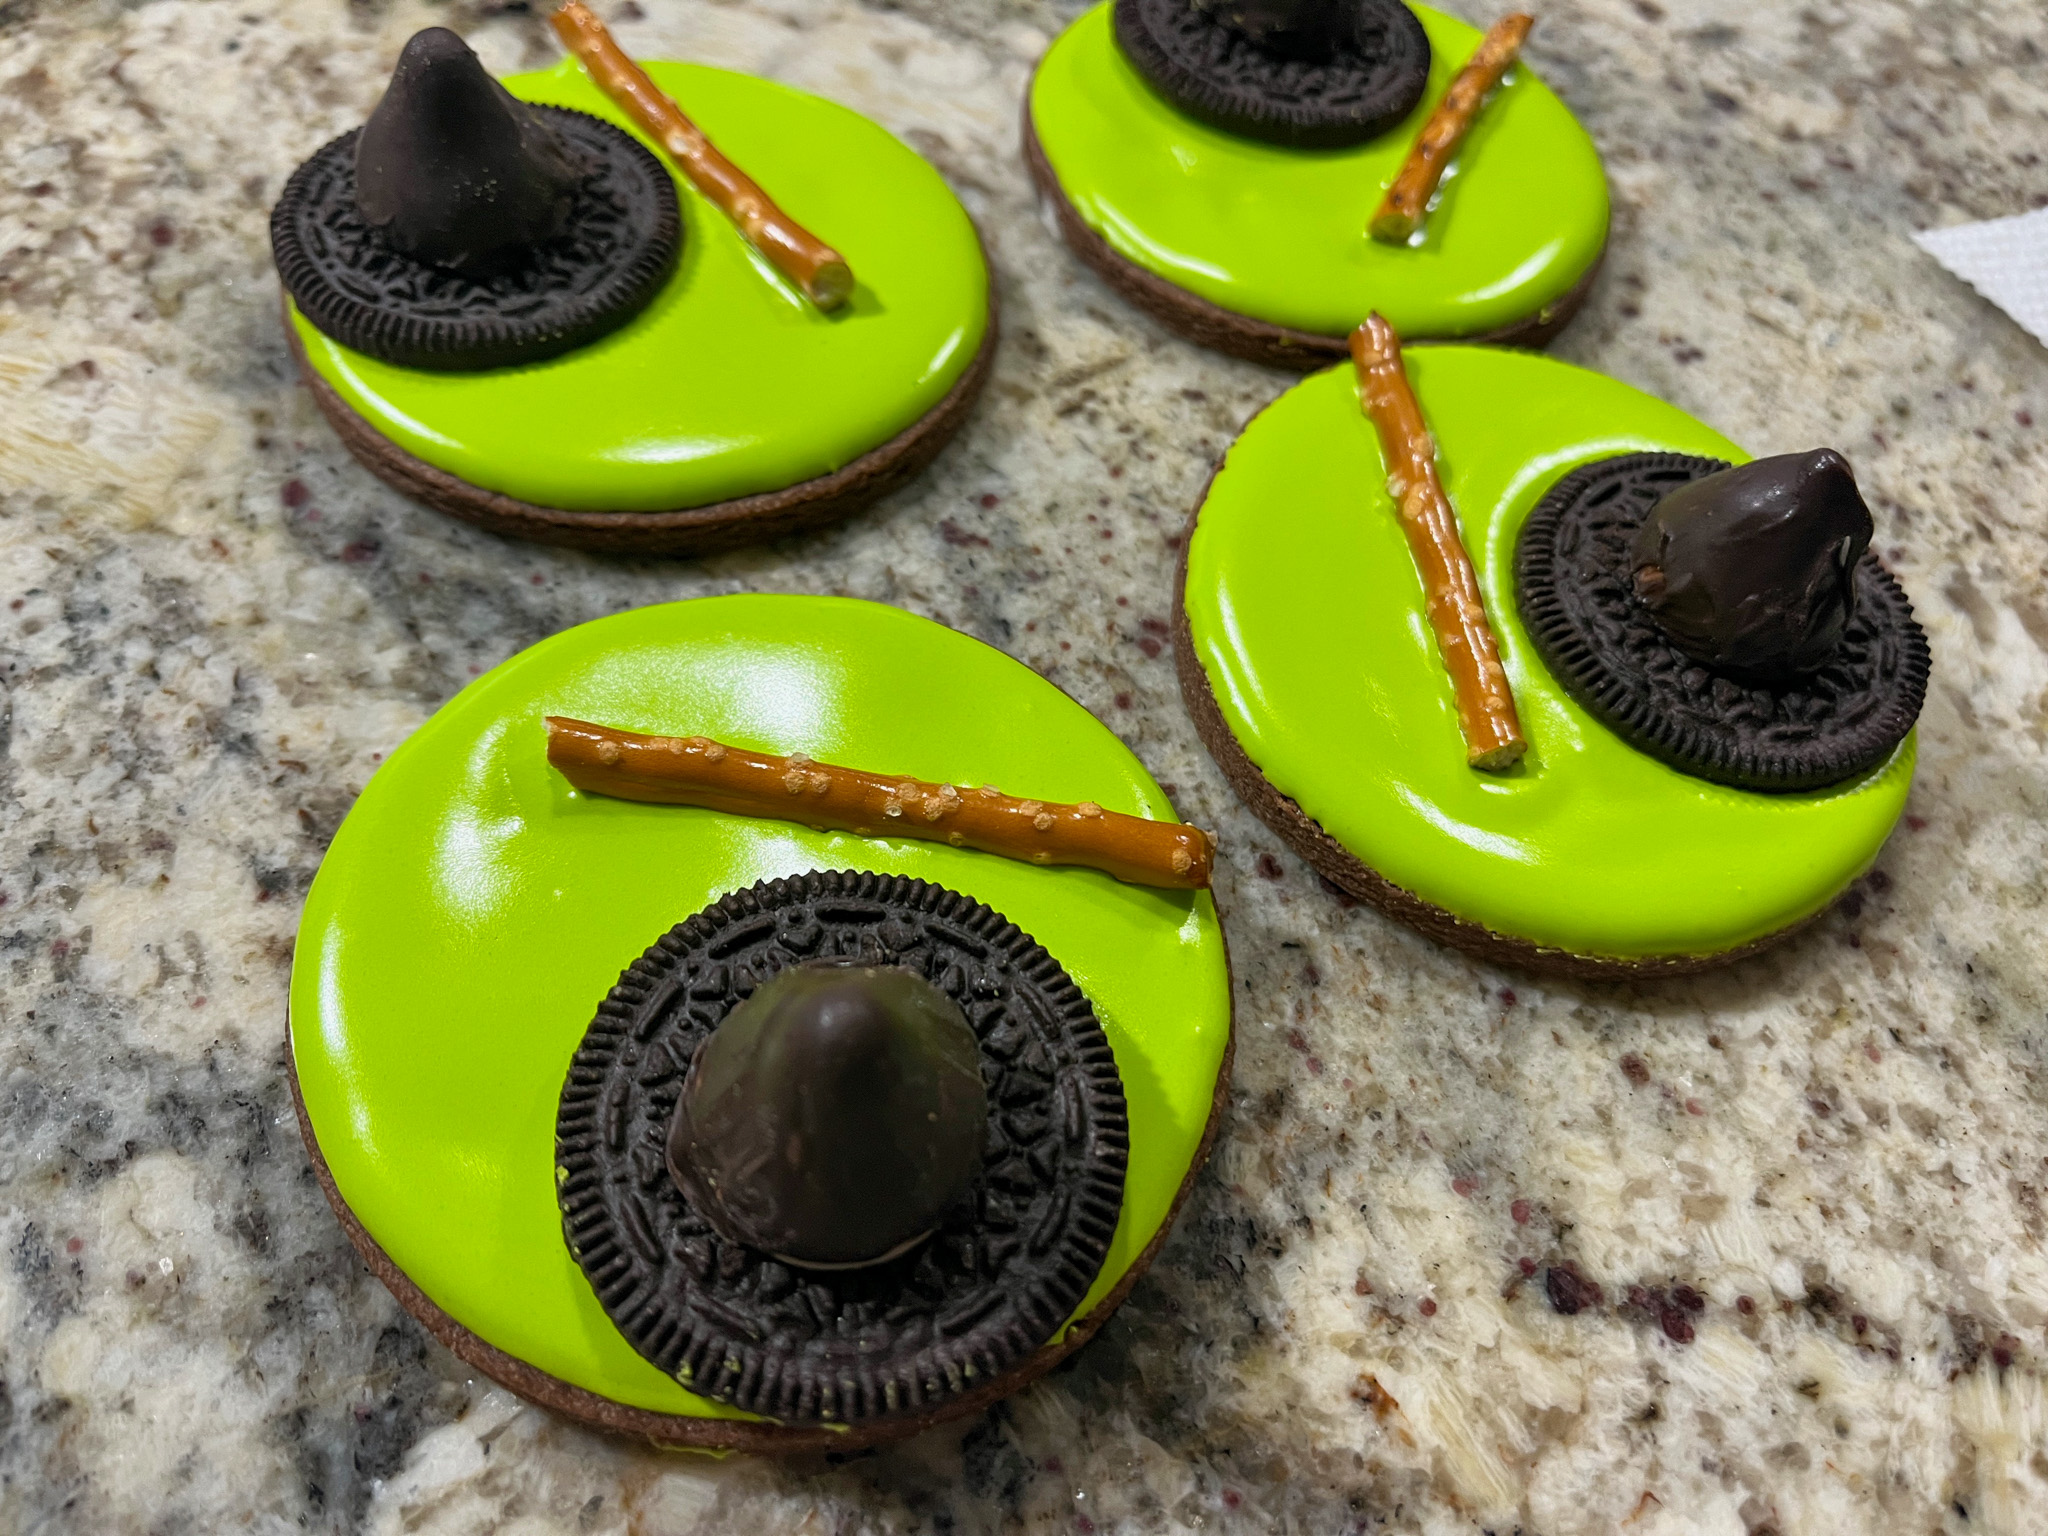
The Melting Witch Chocolate Cookie
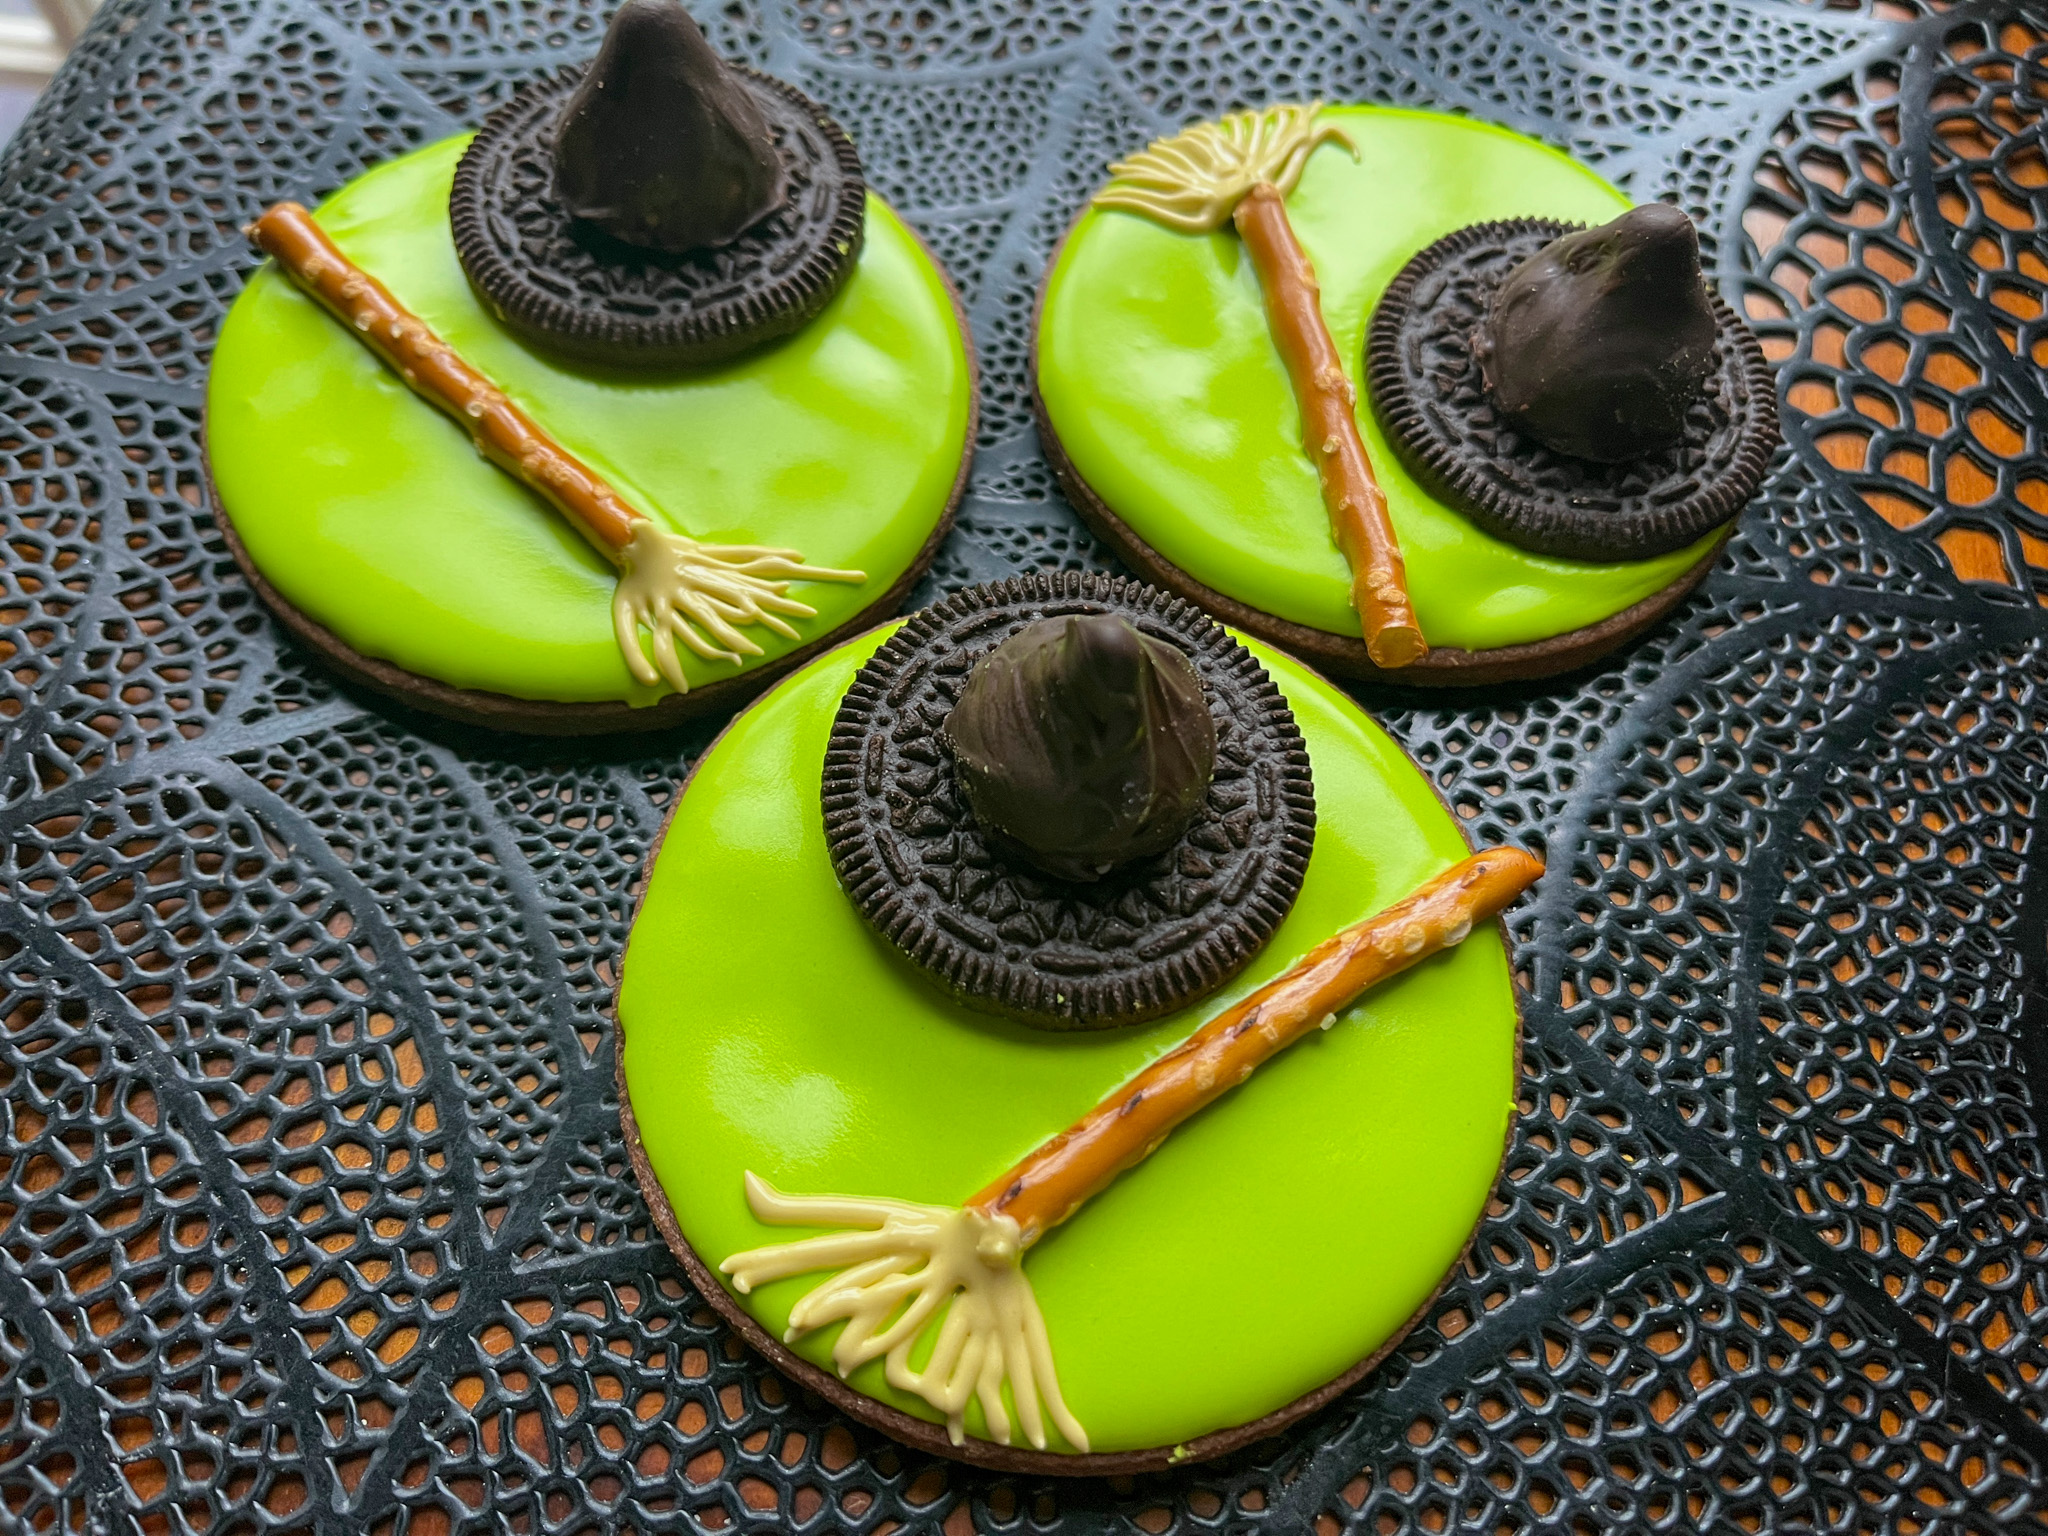
I cannot take credit for this cute idea, but I modified it slightly from what was published in this site.
For the cookie, I used my default recipe with a touch of chipotle pepper and cinnamon (click here). For the hat, I used Hershey’s kisses, but gave it an additional coat with Candy Melts dark chocolate, to make it match the color of the Oreo underneath. Then all you need to do is flood the cookie with Electric Green icing, immediately add the half Oreo cookie and the pretzel stick. Once that sets, pipe the broom detail, and glue the Hershey kiss on the Oreo. You are done!
.
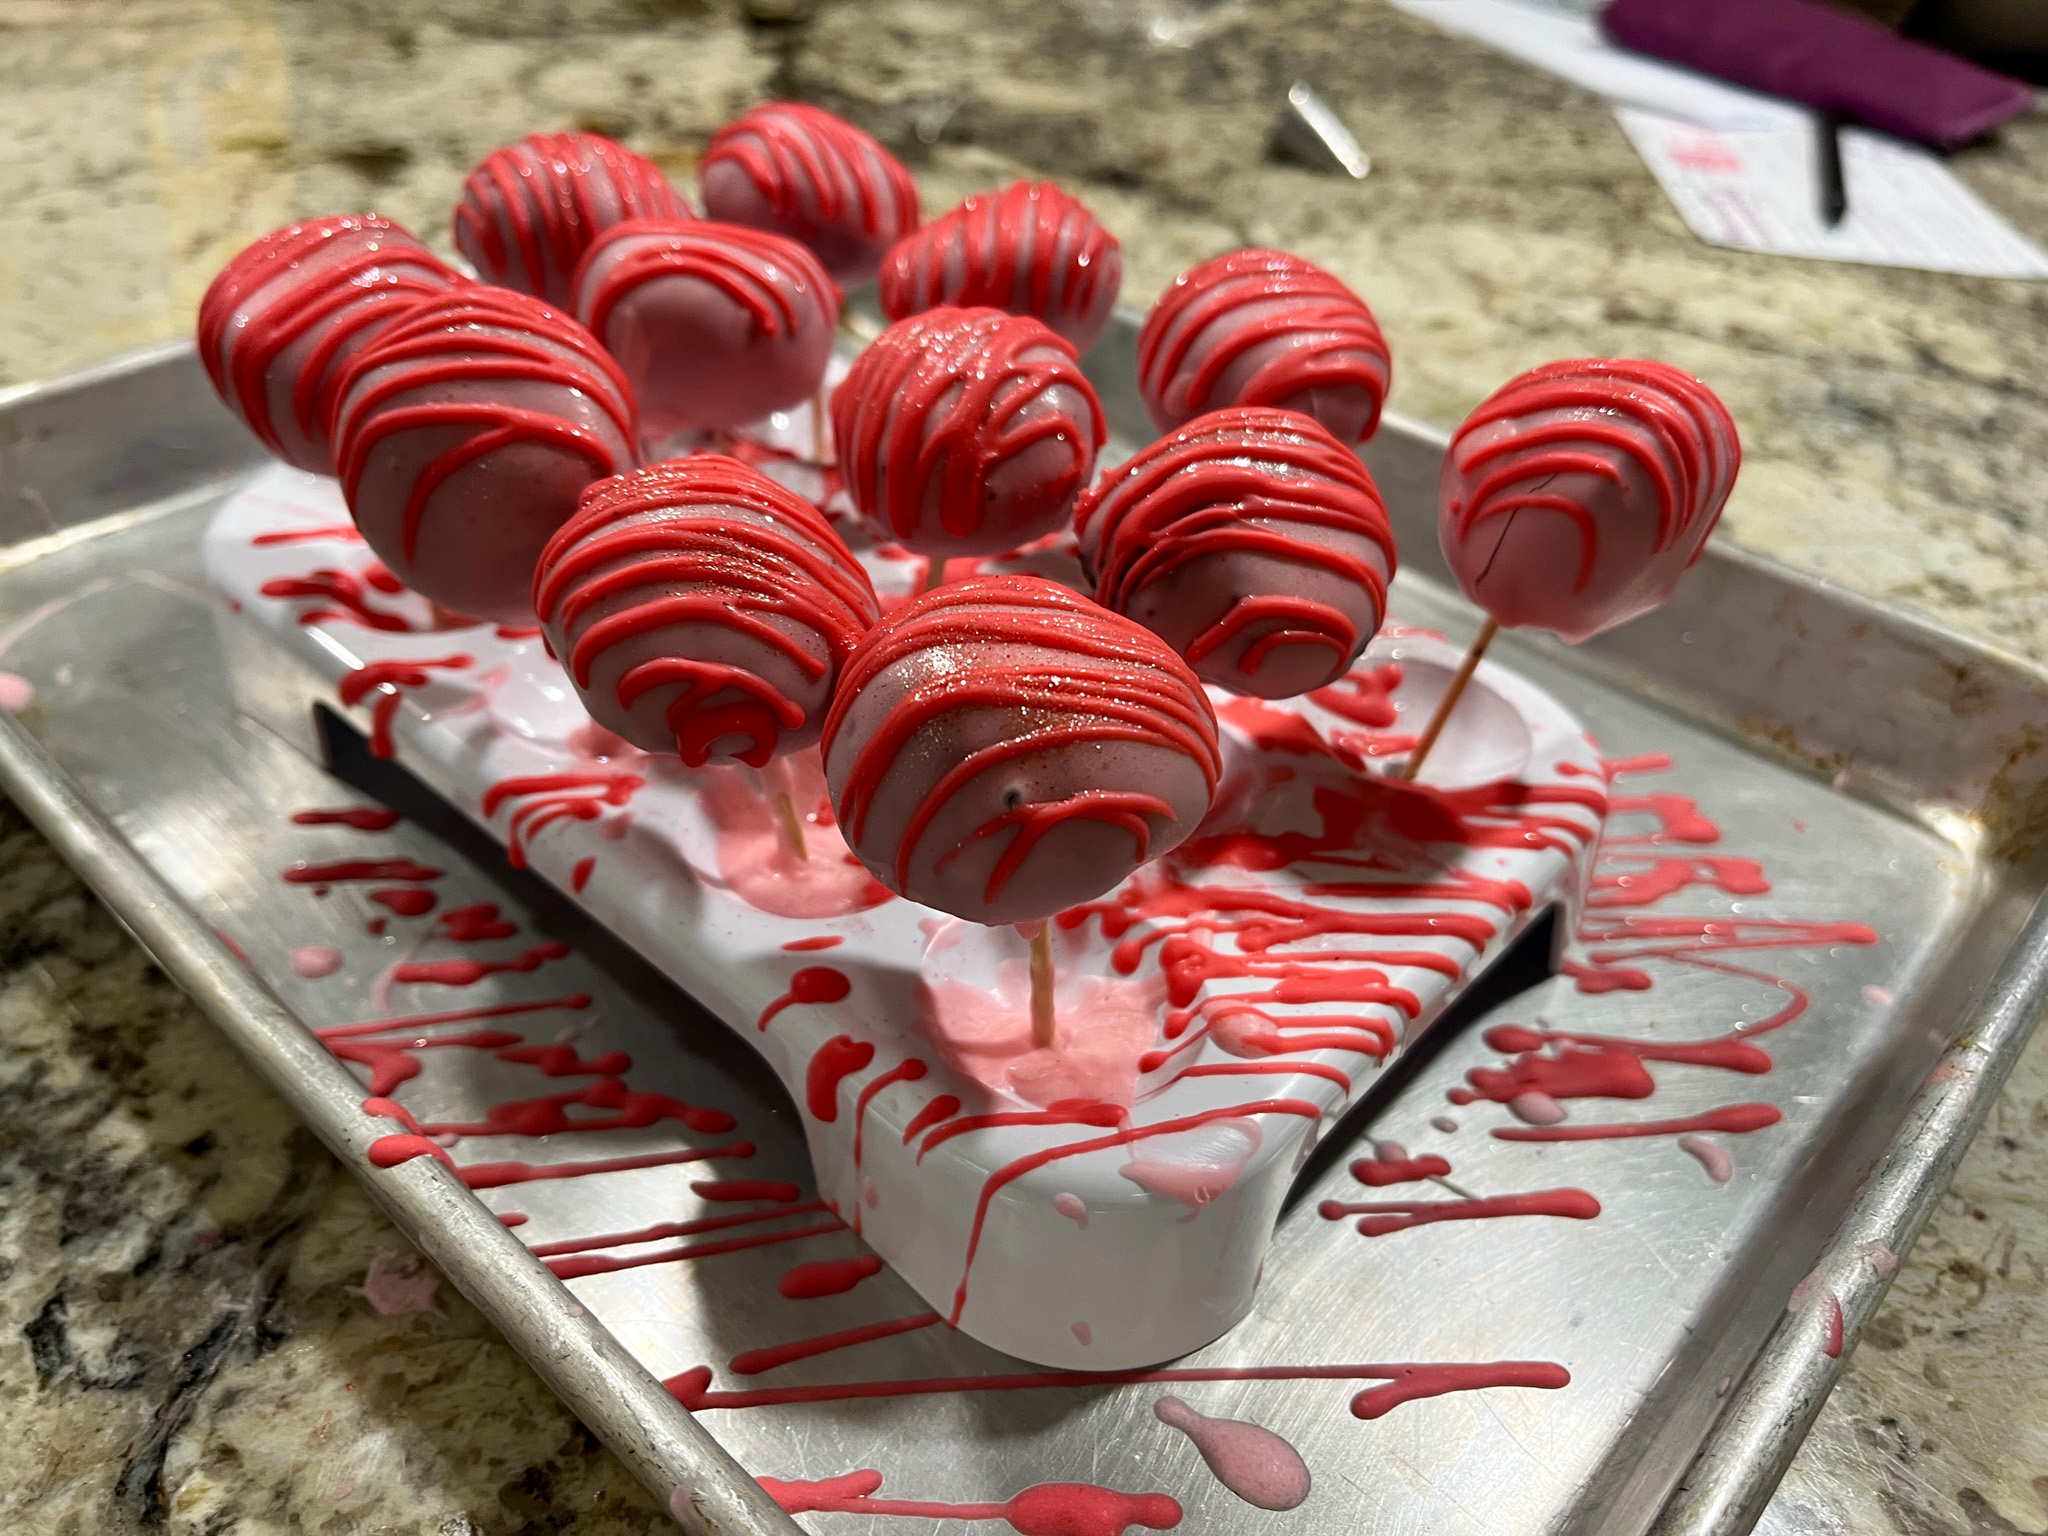
STRAWBERRY OREO LITTLE BALLS
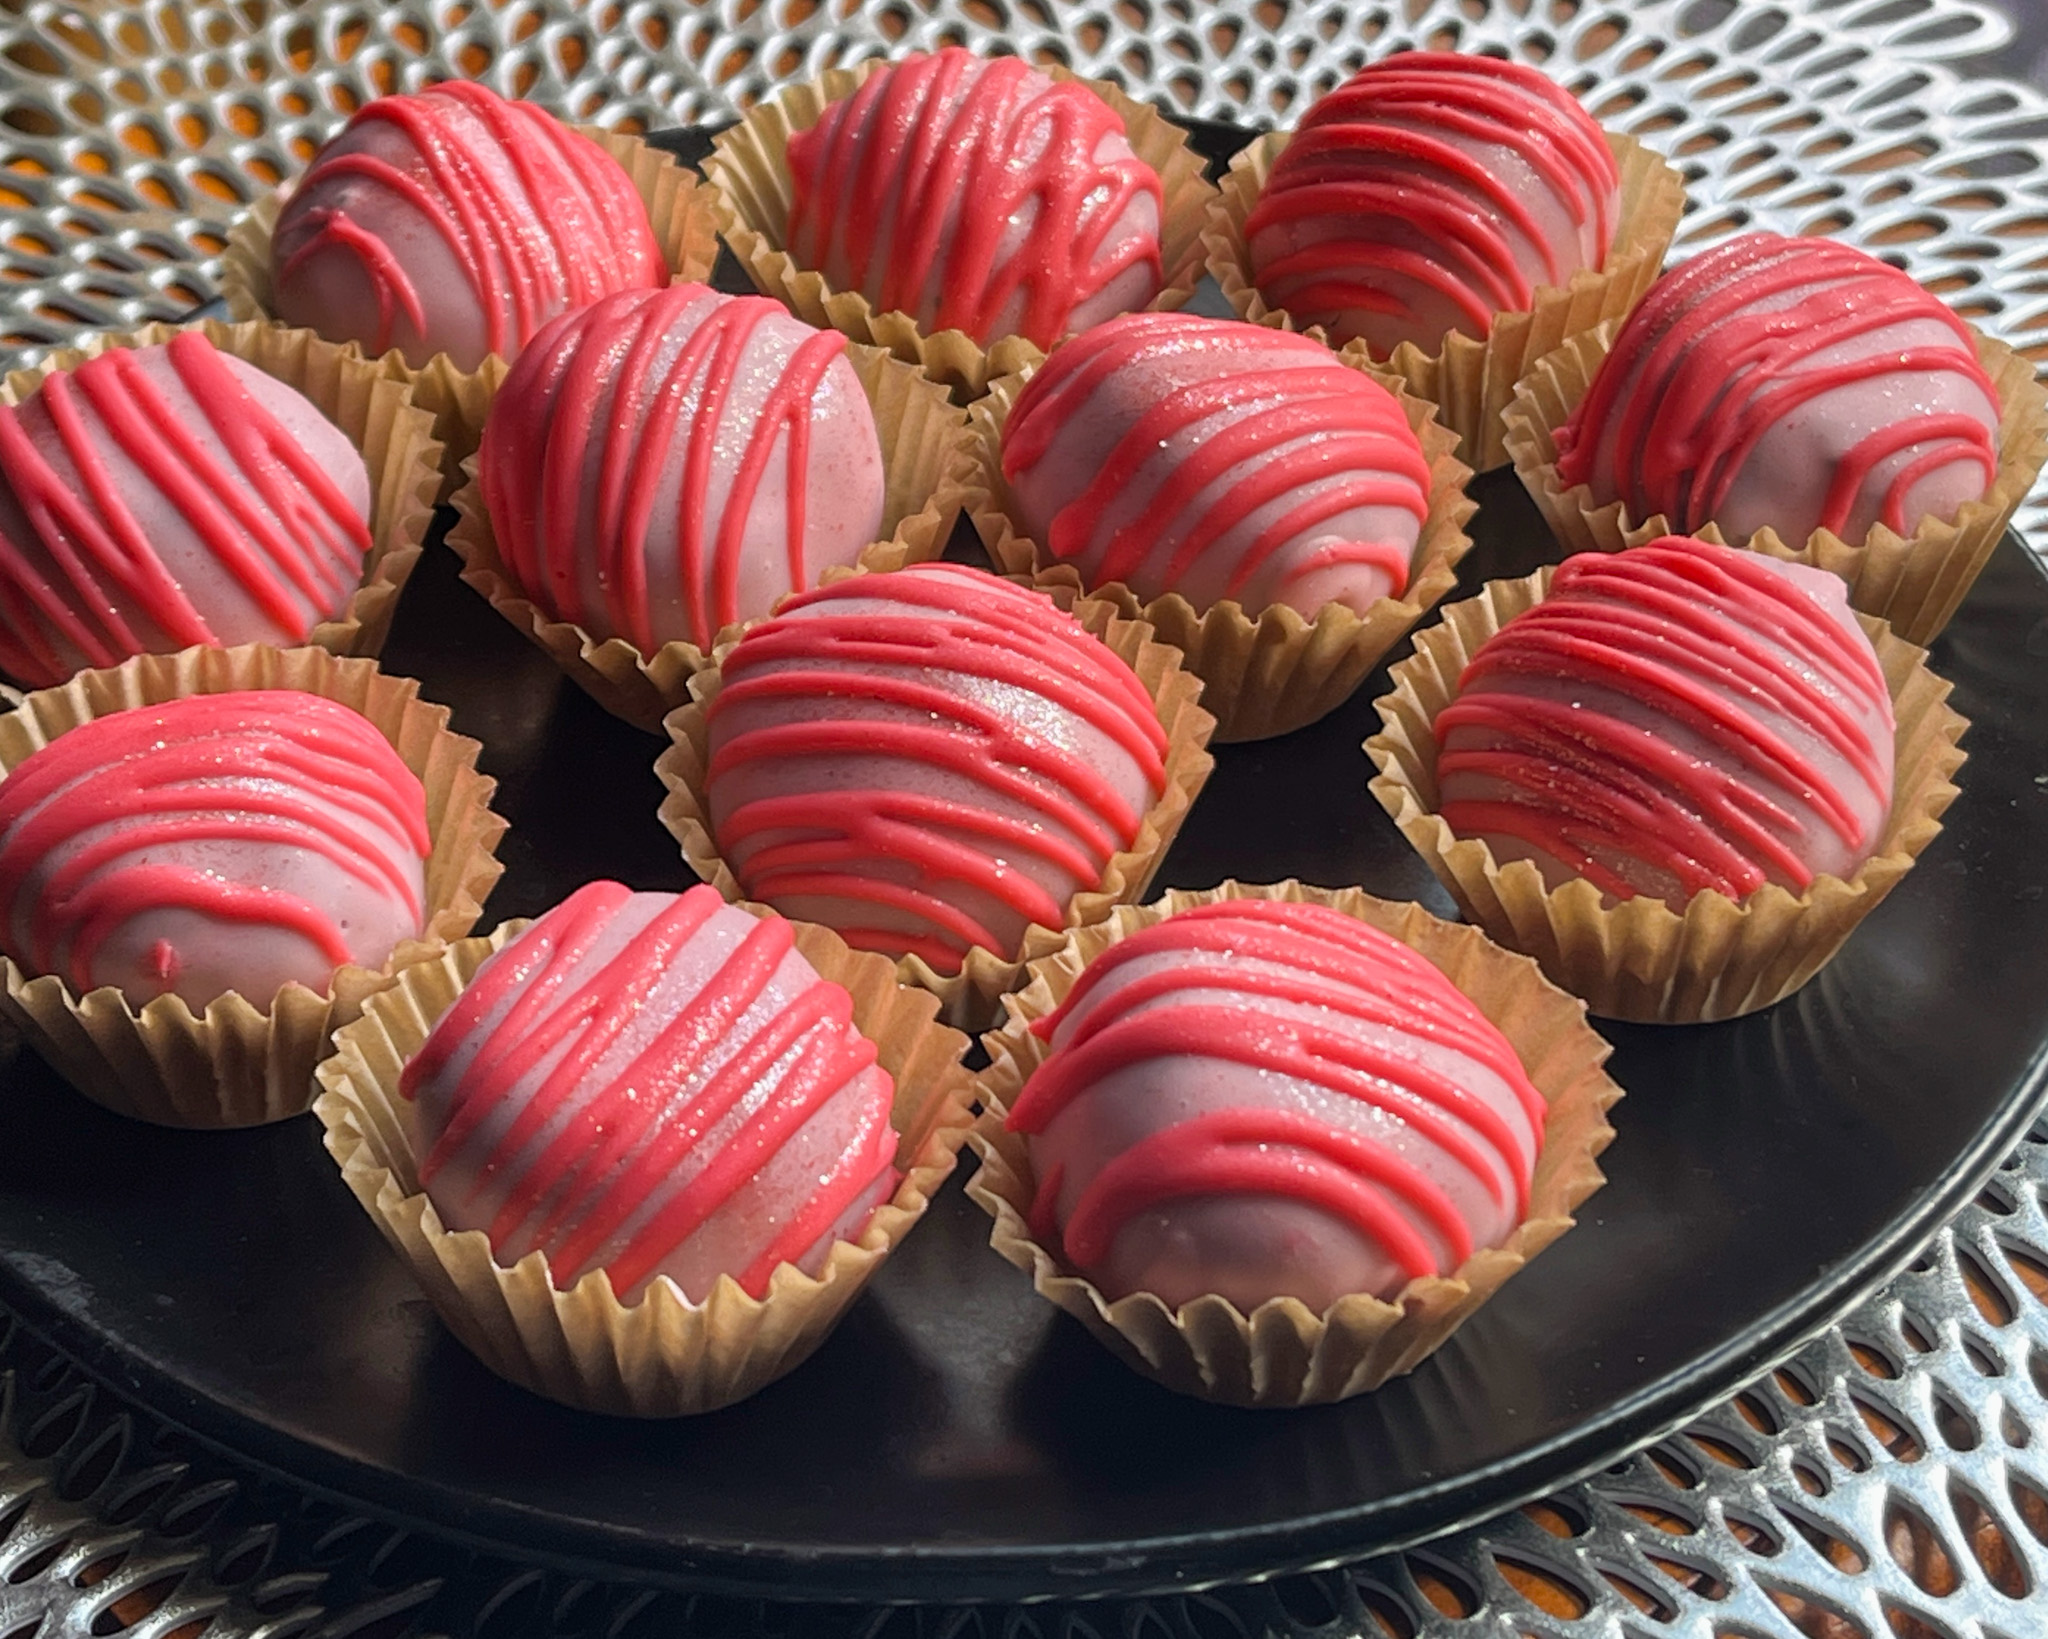
OREO STRAWBERRY BALLS
(from The Bewitching Kitchen)
24 Oreo cookies
90g strawberry cream cheese, at room temperature
200g white chocolate
30g grape seed oil
fat-soluble dye, pink and red
Place the Oreos and cream cheese in the bowl of a food processor and process until it starts to form a dough.
Form little balls using about 20g of Oreo dough. Place them in the freezer for 1 hour.
Melt the chocolate gently in a microwave at 50% power, together with the oil. Whisk gently from time to time. Separate a small amount to dye red. Dye most of the batch pink.
Remove the Oreo balls from the freezer, and gently but quickly dip each one in the melted chocolate (ideally at about 100F), using a toothpick or medium-size wooden stick. Place upright to set. Drizzle the red chocolate all over for decoration. Remove the stick and place on paper cups to serve.
If desired, spray a little Diamond dust or pink luster powder over them.
ENJOY!
to print the recipe, click here
.
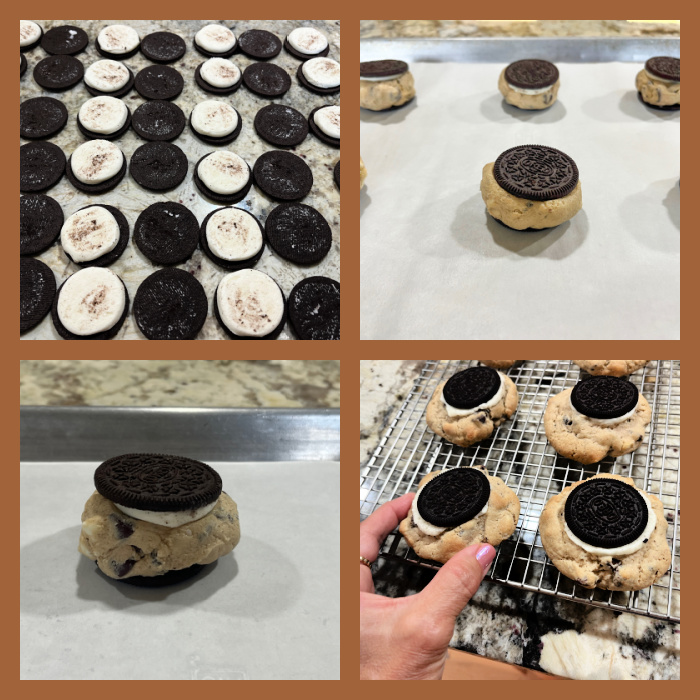
OUTRAGEOUS COOKIES AND CREAM COOKIES
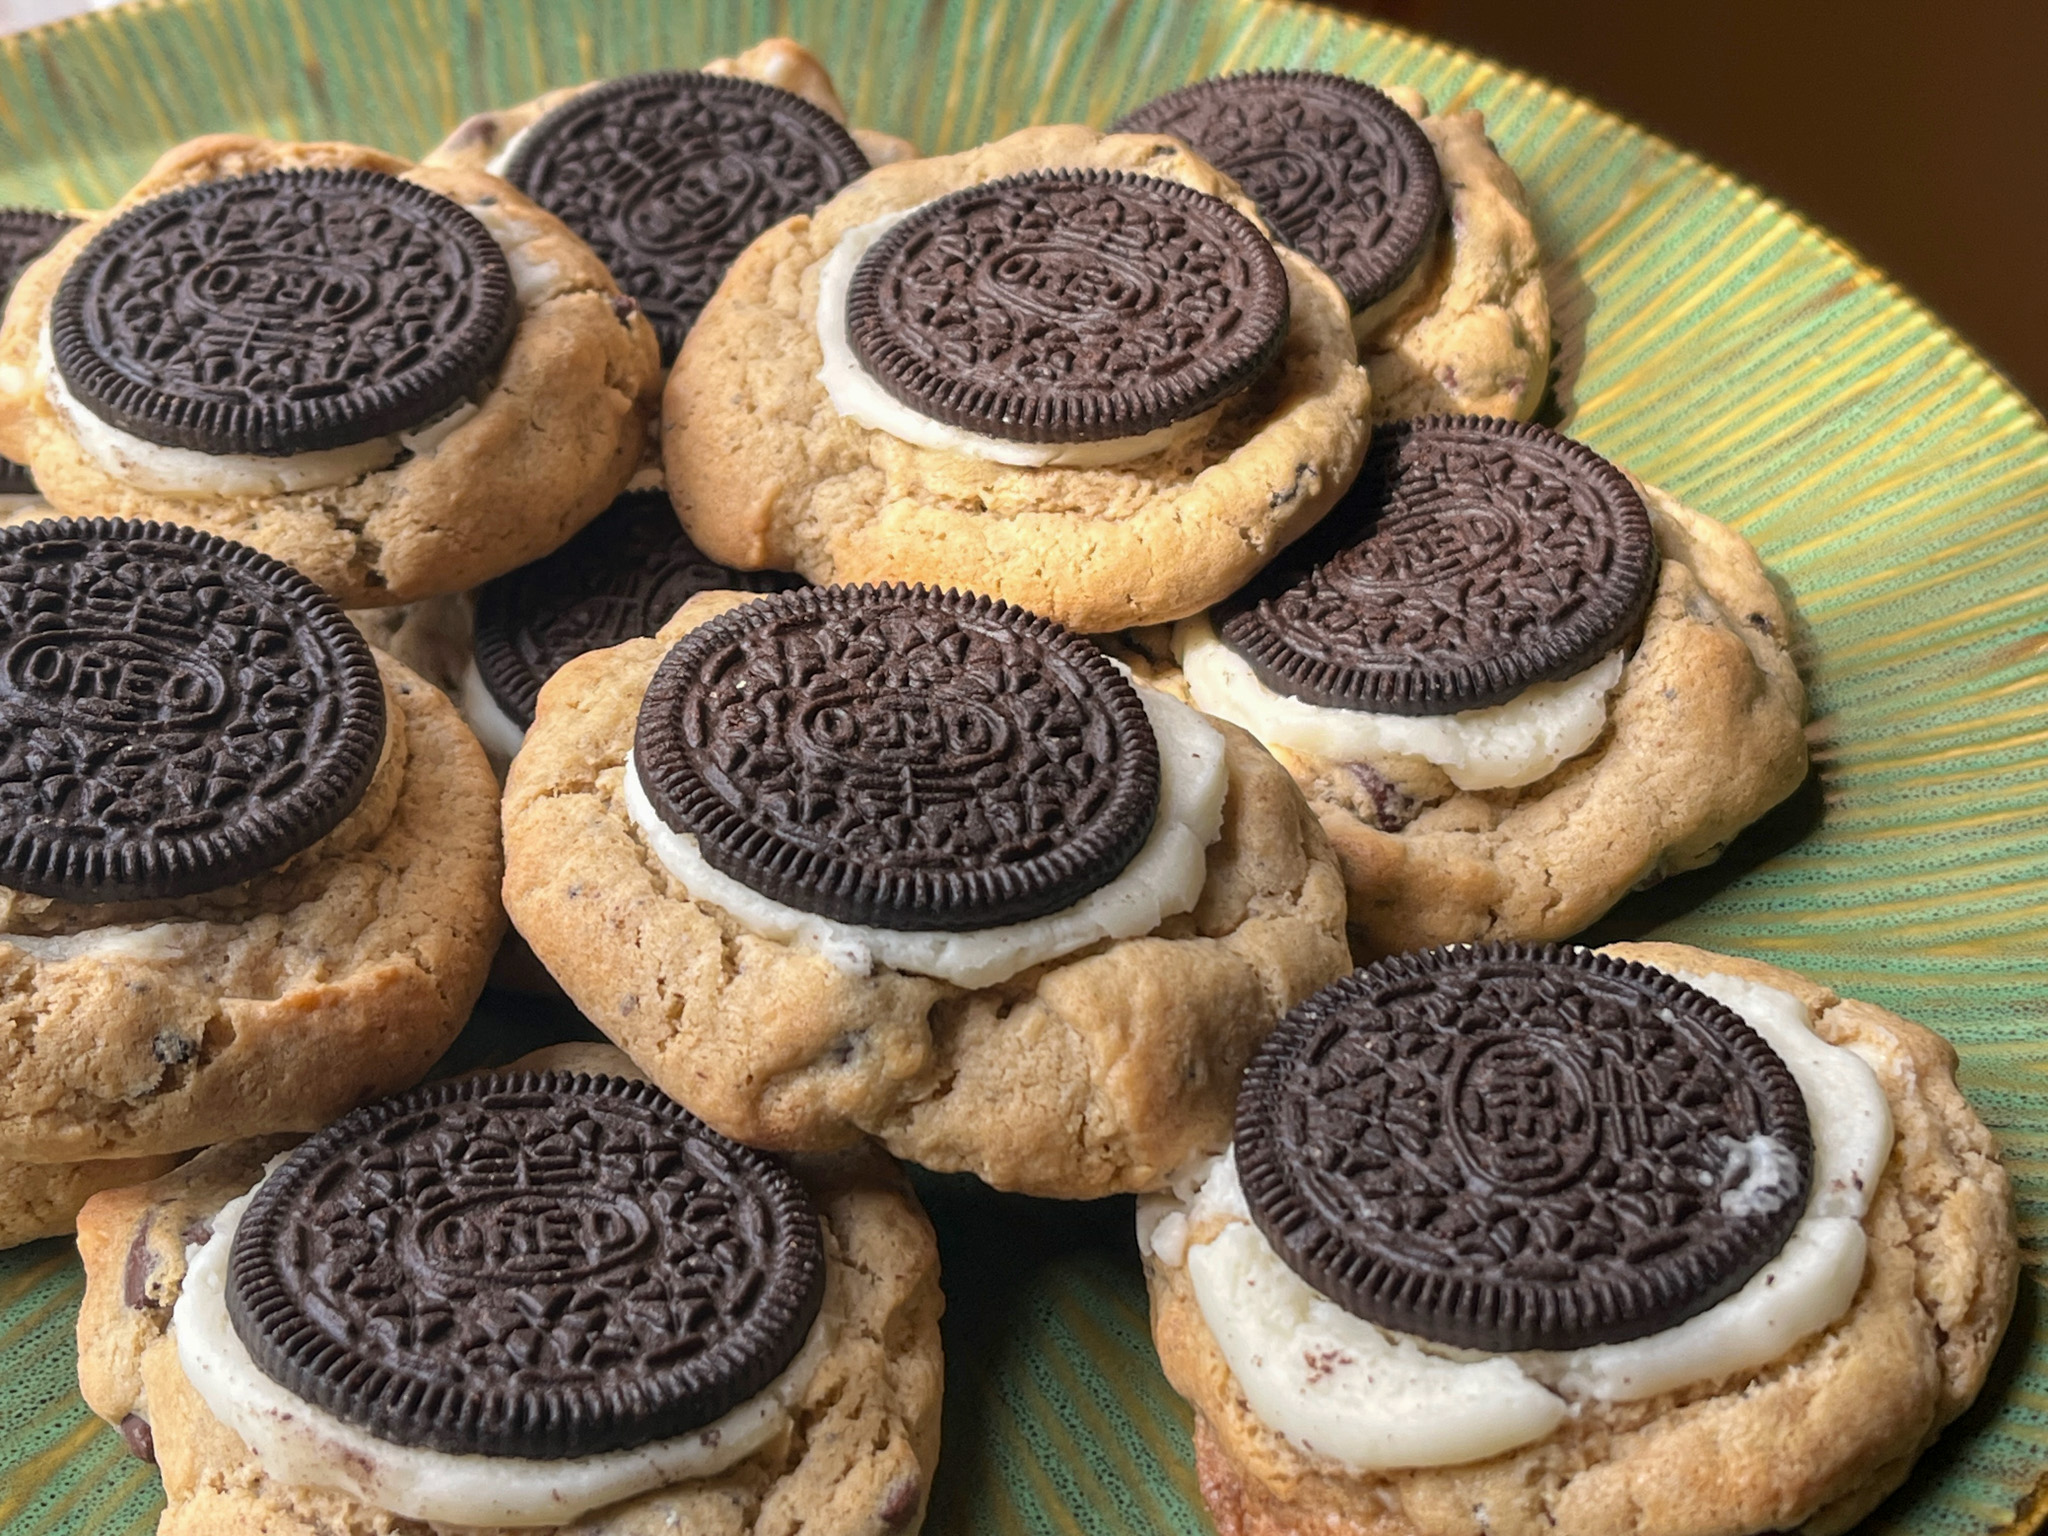
These are nothing short of amazing… For the full recipe, please visit the site where I originally found them (click here). One cookie will feed a family of four, so to speak… But absolutely worth the calories!
.
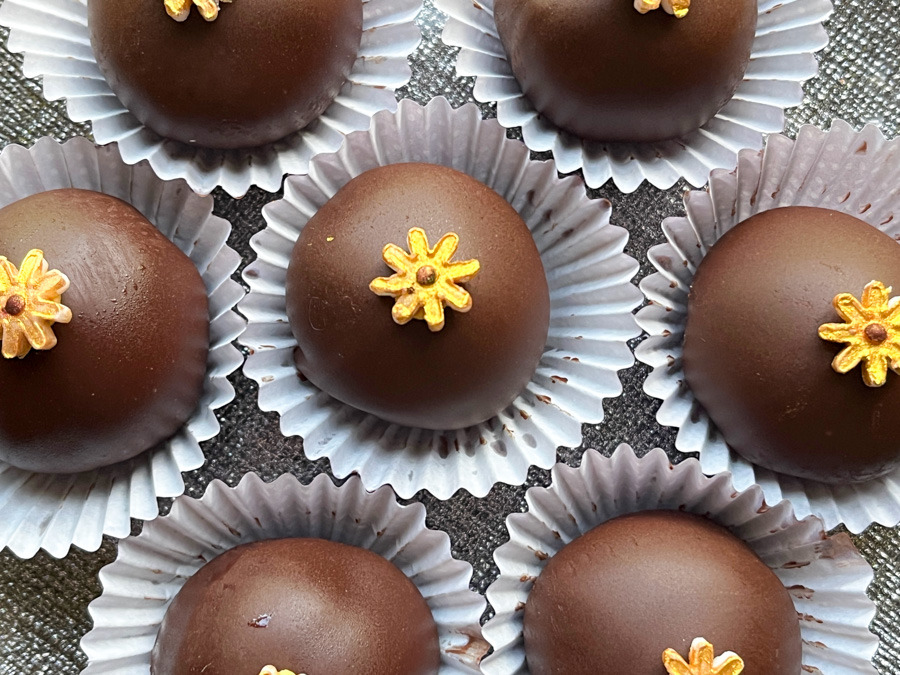
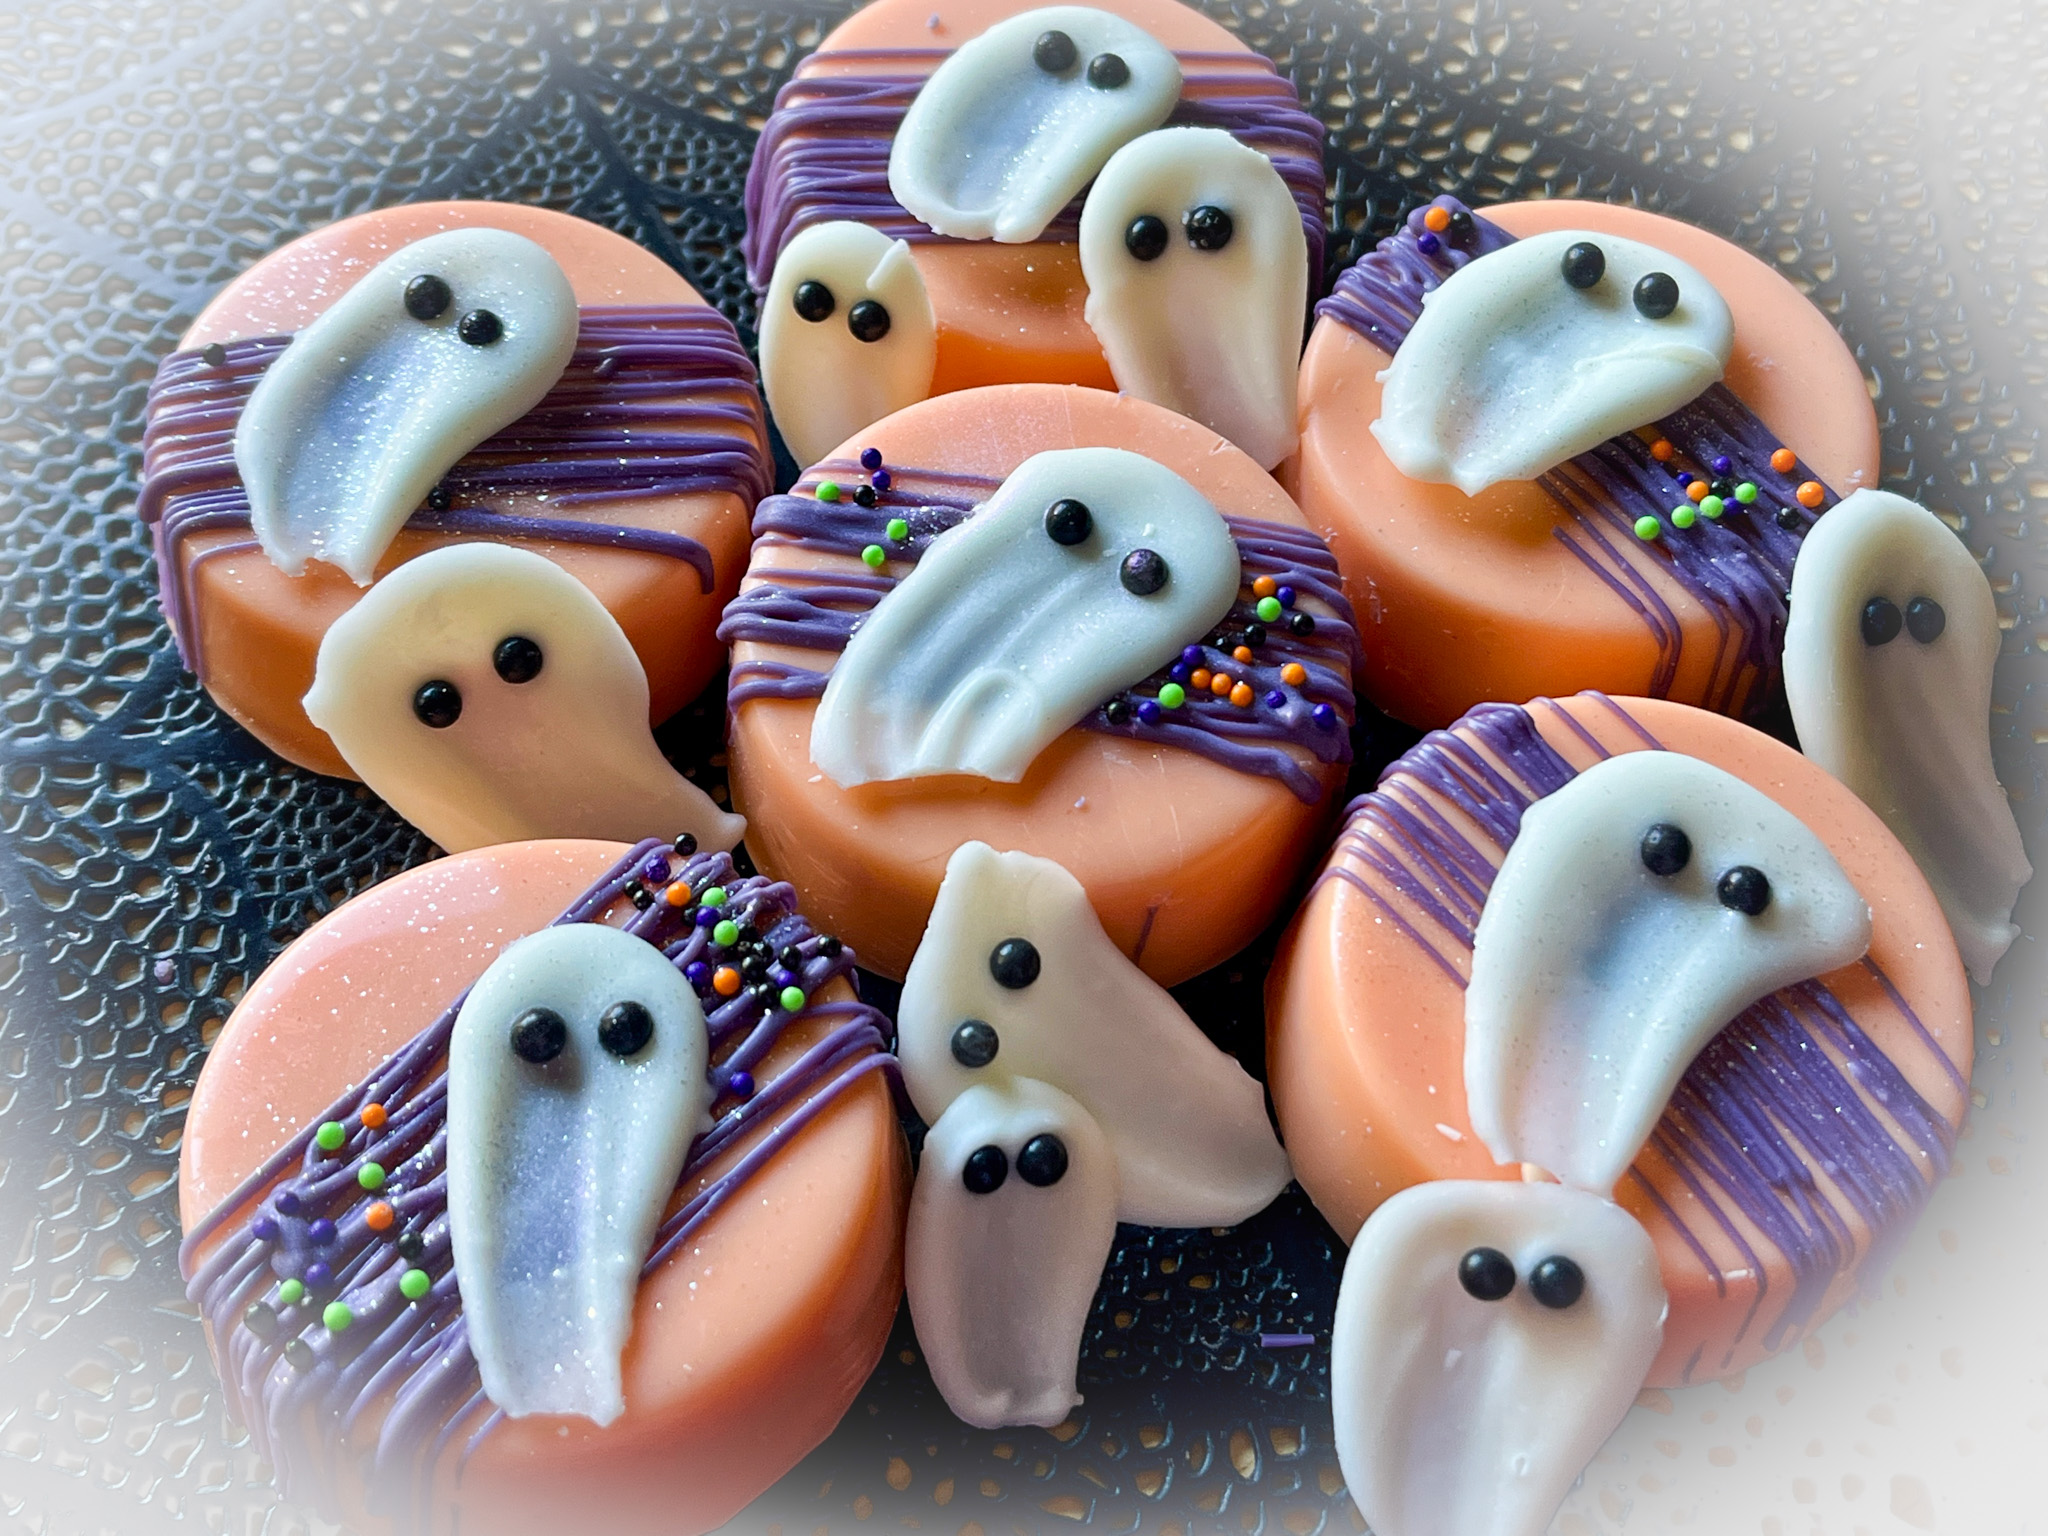
CHOCOLATE-COVERED OREOS
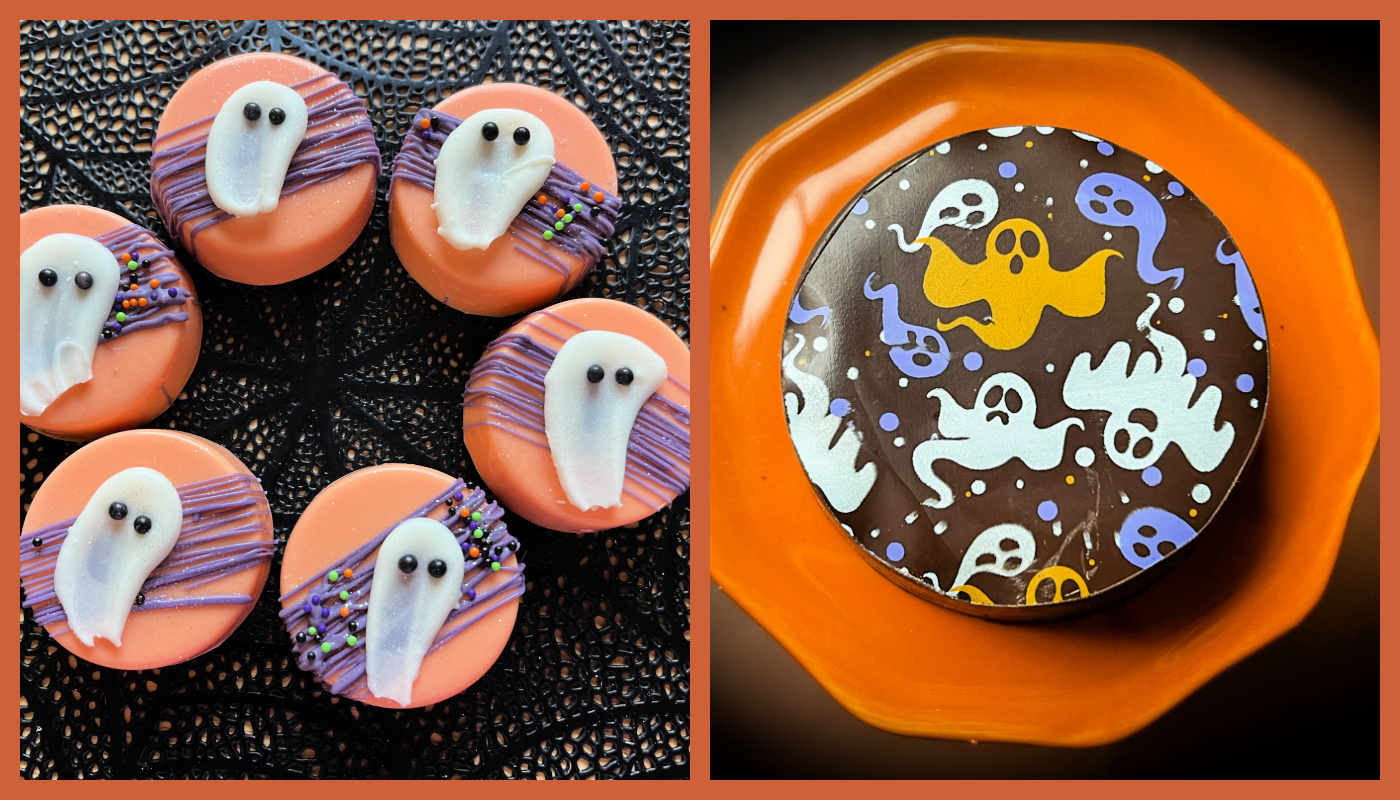
I do these often, as I like to include a small batch in my donation box of Friday. Two ways to decorate them for the Halloween season. On the left, ghosts made with candy melts, just a drop on parchment paper, then pull the shape with a gloved finger. Add eyes. Done! On the right, chocolate transfer sheets. Sweet and simple!
I hope I convinced you to go out and buy a big package of Oreos, so you can have some fun in your own kitchen…
ONE YEAR AGO: Halloween Brownies, Two Ways
TWO YEARS AGO: Revving the Engines for Halloween
THREE YEARS AGO: Happy Halloween from my Cookie Blog to You!
FOUR YEARS AGO: Incredibly Simple Carrots
FIVE YEARS AGO: Sarah Bernhardt’s Cookies
SIX YEARS AGO: A Really Big Announcement
SEVEN YEARS AGO: Stir-Fried Chicken in Sesame-Orange Sauce
EIGHT YEARS AGO: Monday Blues
NINE YEARS AGO: A New Way to Roast Veggies
TEN YEARS AGO: Two Takes on Raspberries
ELEVEN YEARS AGO: Spice Cake with Blackberry Puree
TWELVE YEARS AGO: Own Your Kitchen with Cappuccino Panna Cotta
THIRTEEN YEARS AGO: Chicken Parmigiana, the Thriller
FOURTEEN YEARS AGO: Wild Mushroom Risotto
FIFTEEN YEARS AGO: Tartine Bread: Basic Country Loaf
SIXTEEN YEARS AGO: Pugliese Bread