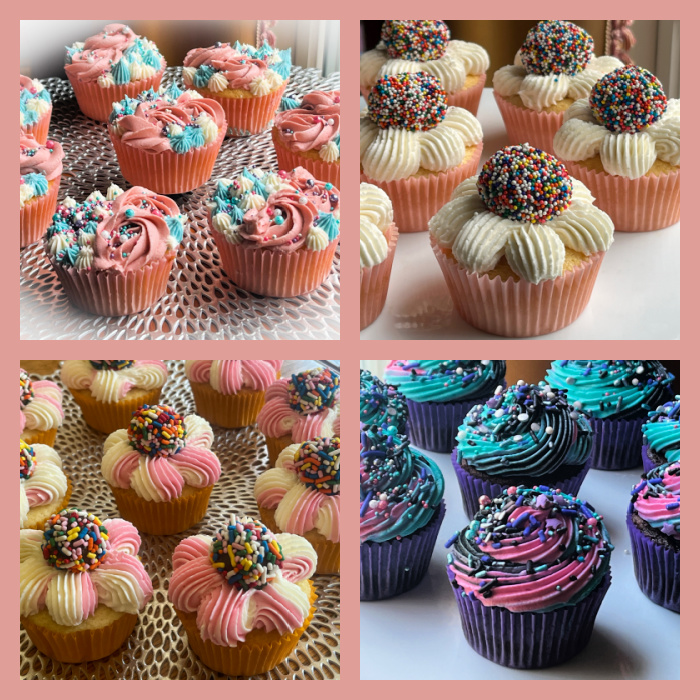
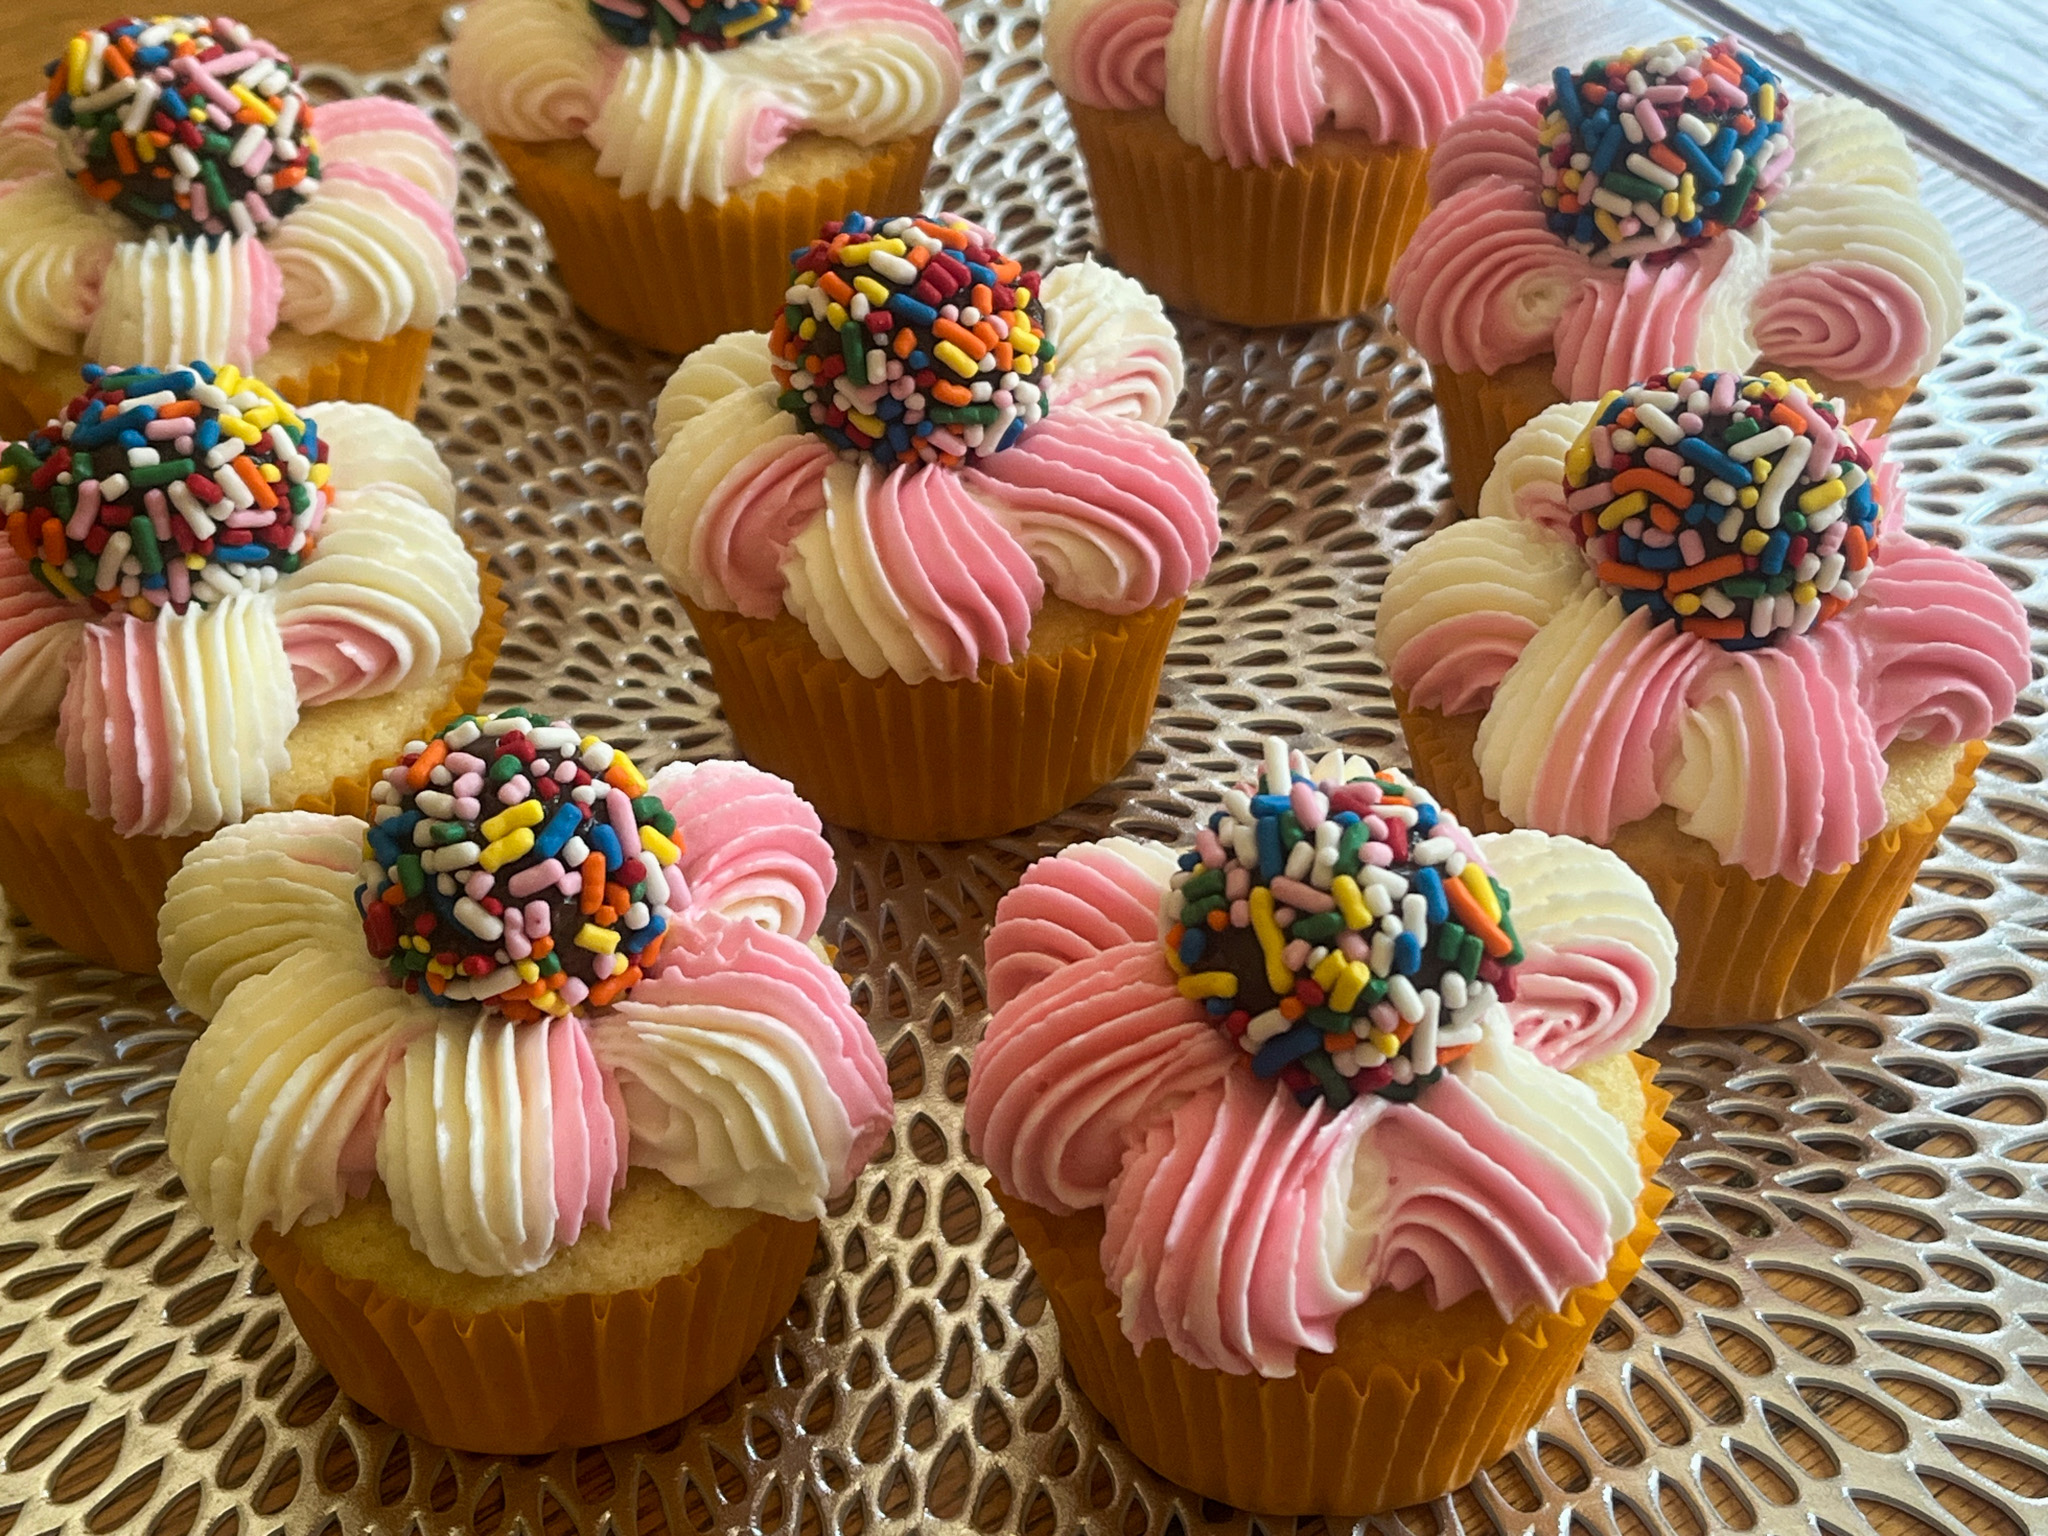
Vanilla or Chocolate Cupcakes, all with American Buttercream in different decorating styles. Two designs went tropical, showcasing a plump Brazilian “brigadeiro” on the top.
VANILLA CUPCAKES
(adapted from several sources)
120g all-purpose flour
150g granulated sugar
40g butter, unsalted, removed from the fridge for 30 minutes
1 large egg
120mL milk
1 + 1/2 tsp baking powder
1/2 tsp vanilla paste or extract
1/4 tsp salt
Heat the oven to 350F and line a cupcake pan with paper baking cups. Recipe makes 9 to 10 cupcakes.
Put the flour, baking powder, sugar, salt and butter cut in small pieces in the bowl of a KitchenAid type mixer fitted with the paddle attachment. Mix on medium-low until the butter is in very small pieces, almost like sand.
Whisk the egg with the milk and vanilla, add slowly to the mixer running in low-speed. Once it is almost smooth, increase the speed to high for a couple of minutes, scraping the bottom of the bowl once.
Stop the mixer and make sure the batter is fully smooth, mixing by hand with a spatula. Add batter to the 9 cupcakes, filling half-way full only. Bake for 15 to 18 minutes, until a toothpick comes out clean when inserted in the center.
Leave cool completely before decorating.
ENJOY!
to print the recipe, click here
PASTEL TONES CUPCAKES
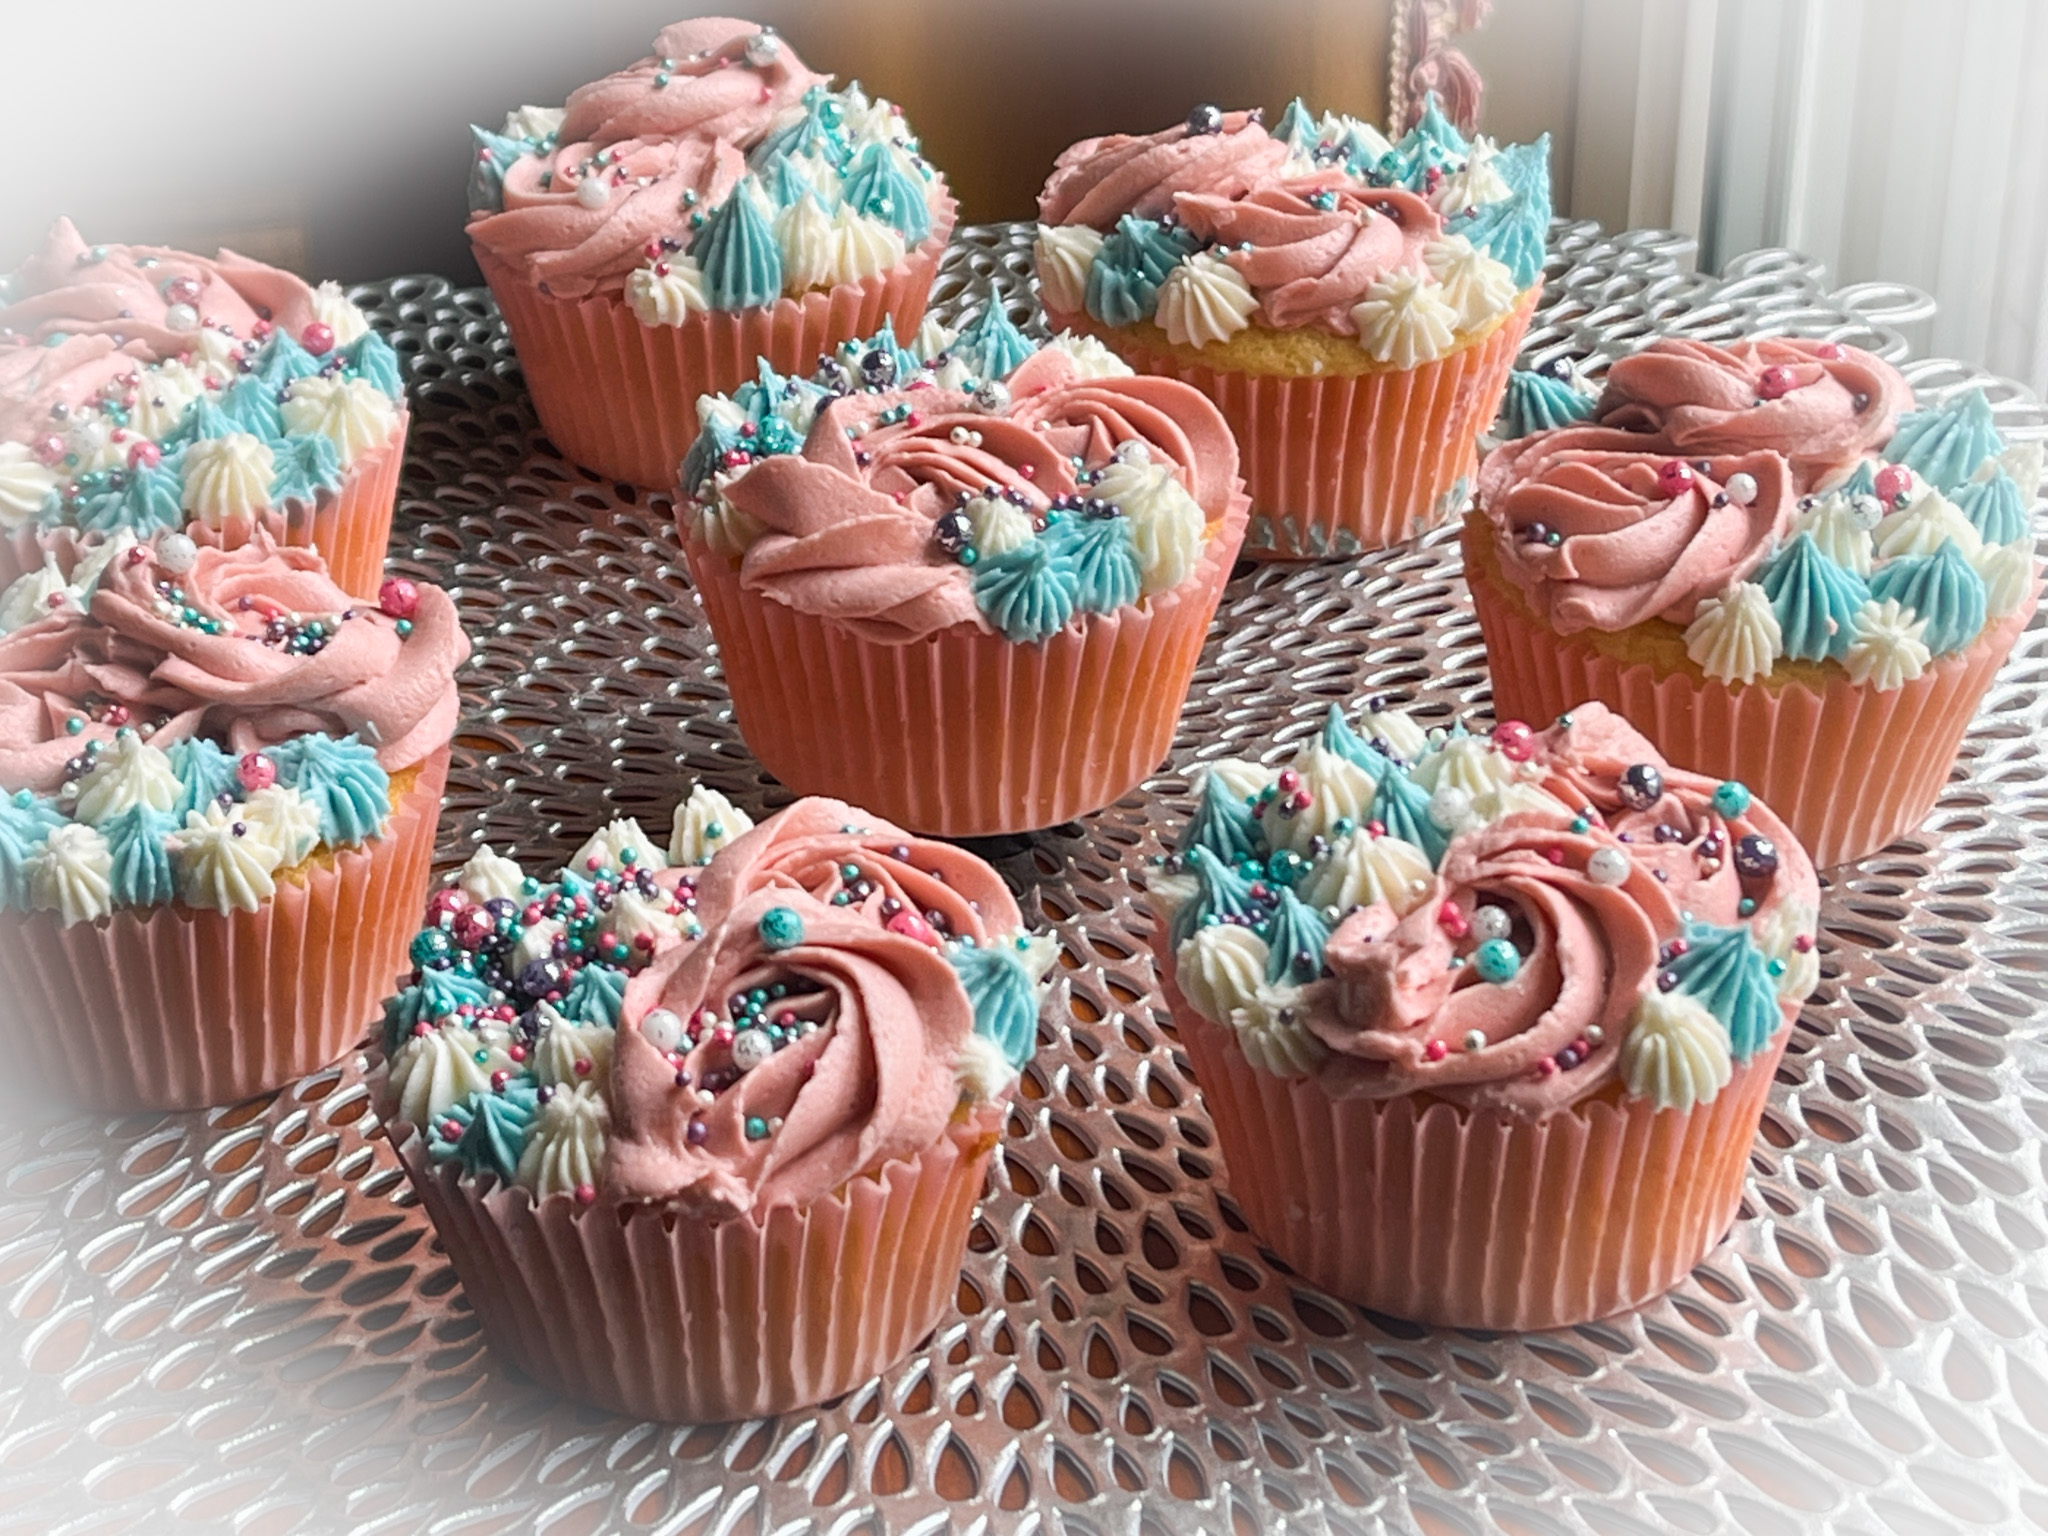
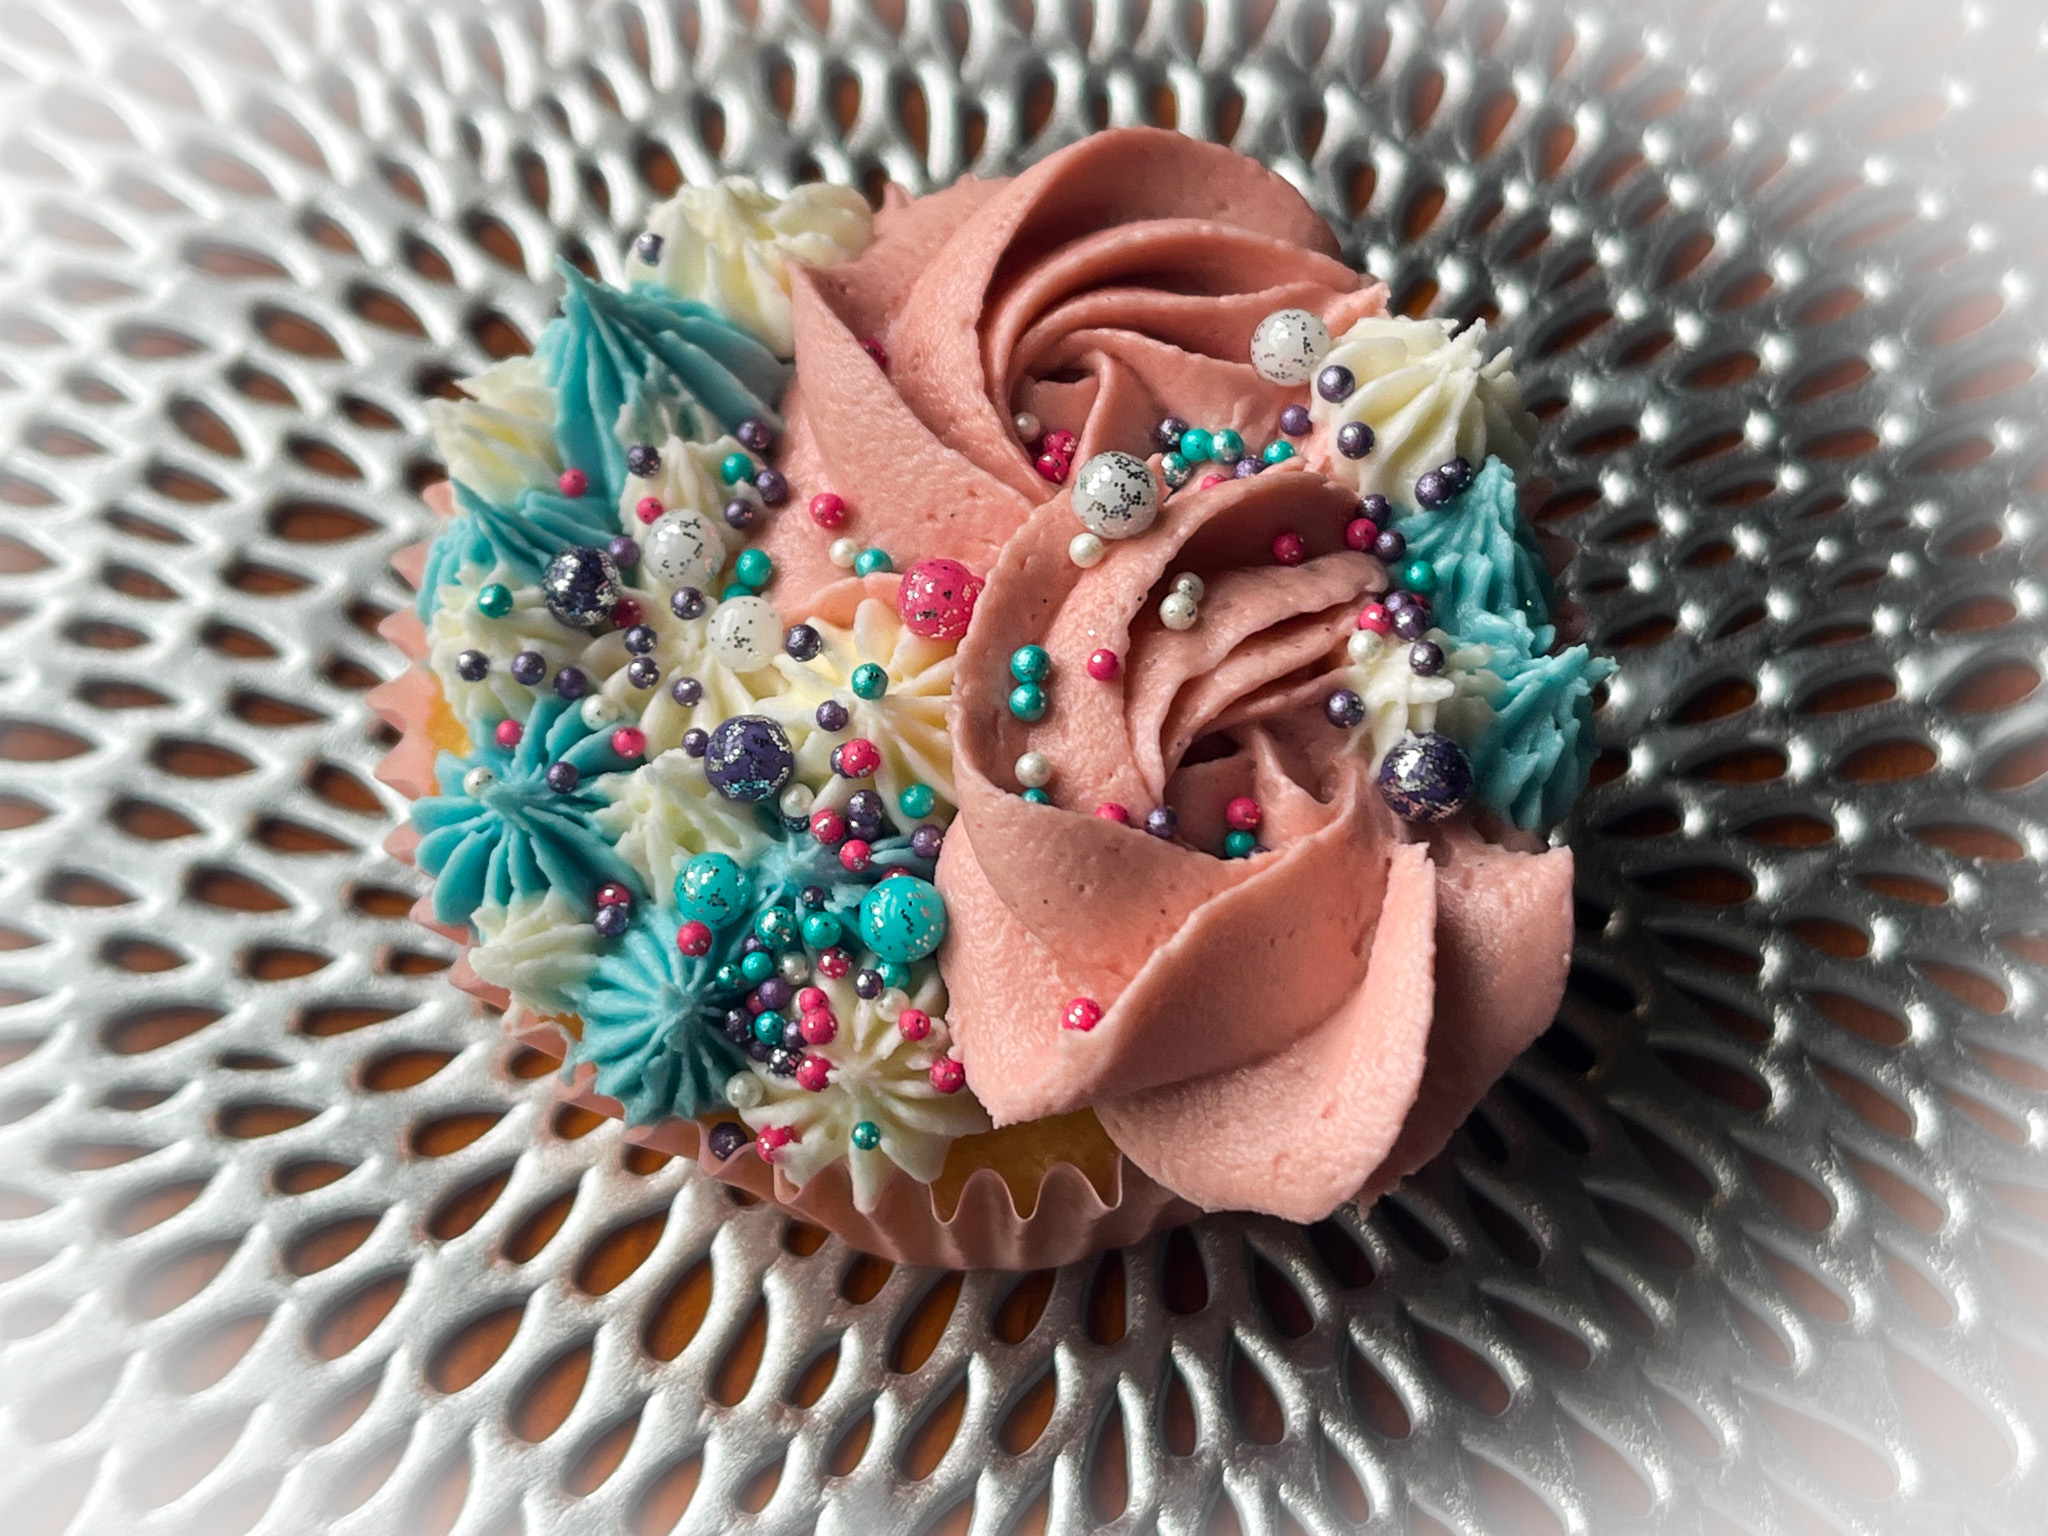
Vanilla cupcakes were baked then frosted with American buttercream, using this recipe. The batch was divided in three portions, dyed pastel pink, teal, and the last portion left white. Then, it was a matter of having fun with different piping tips and finish them with sprinkles in matching color.
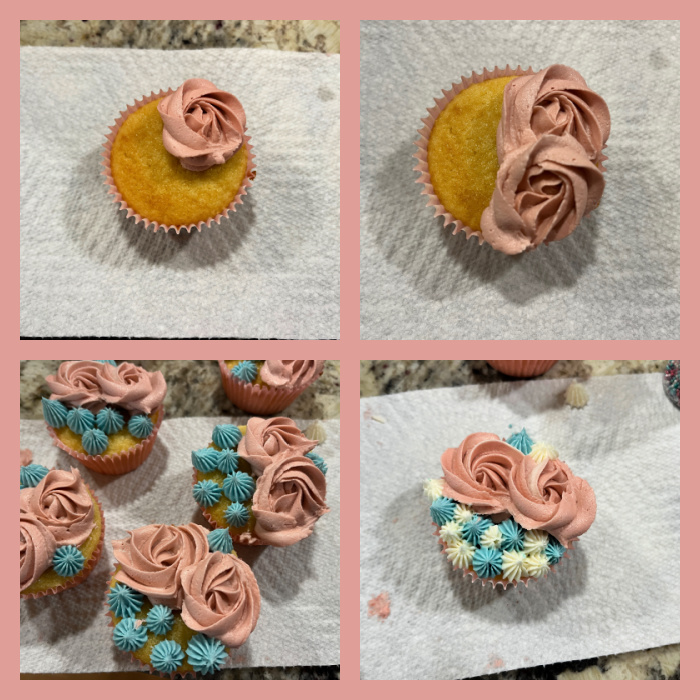
I used a 3D Wilton tip for the large rose swirl, and a tip 20 for the other details. Just have fun with it, no precision needed. I love the end result…
.
BRAZILIAN-STYLE CUPCAKES, TWO WAYS
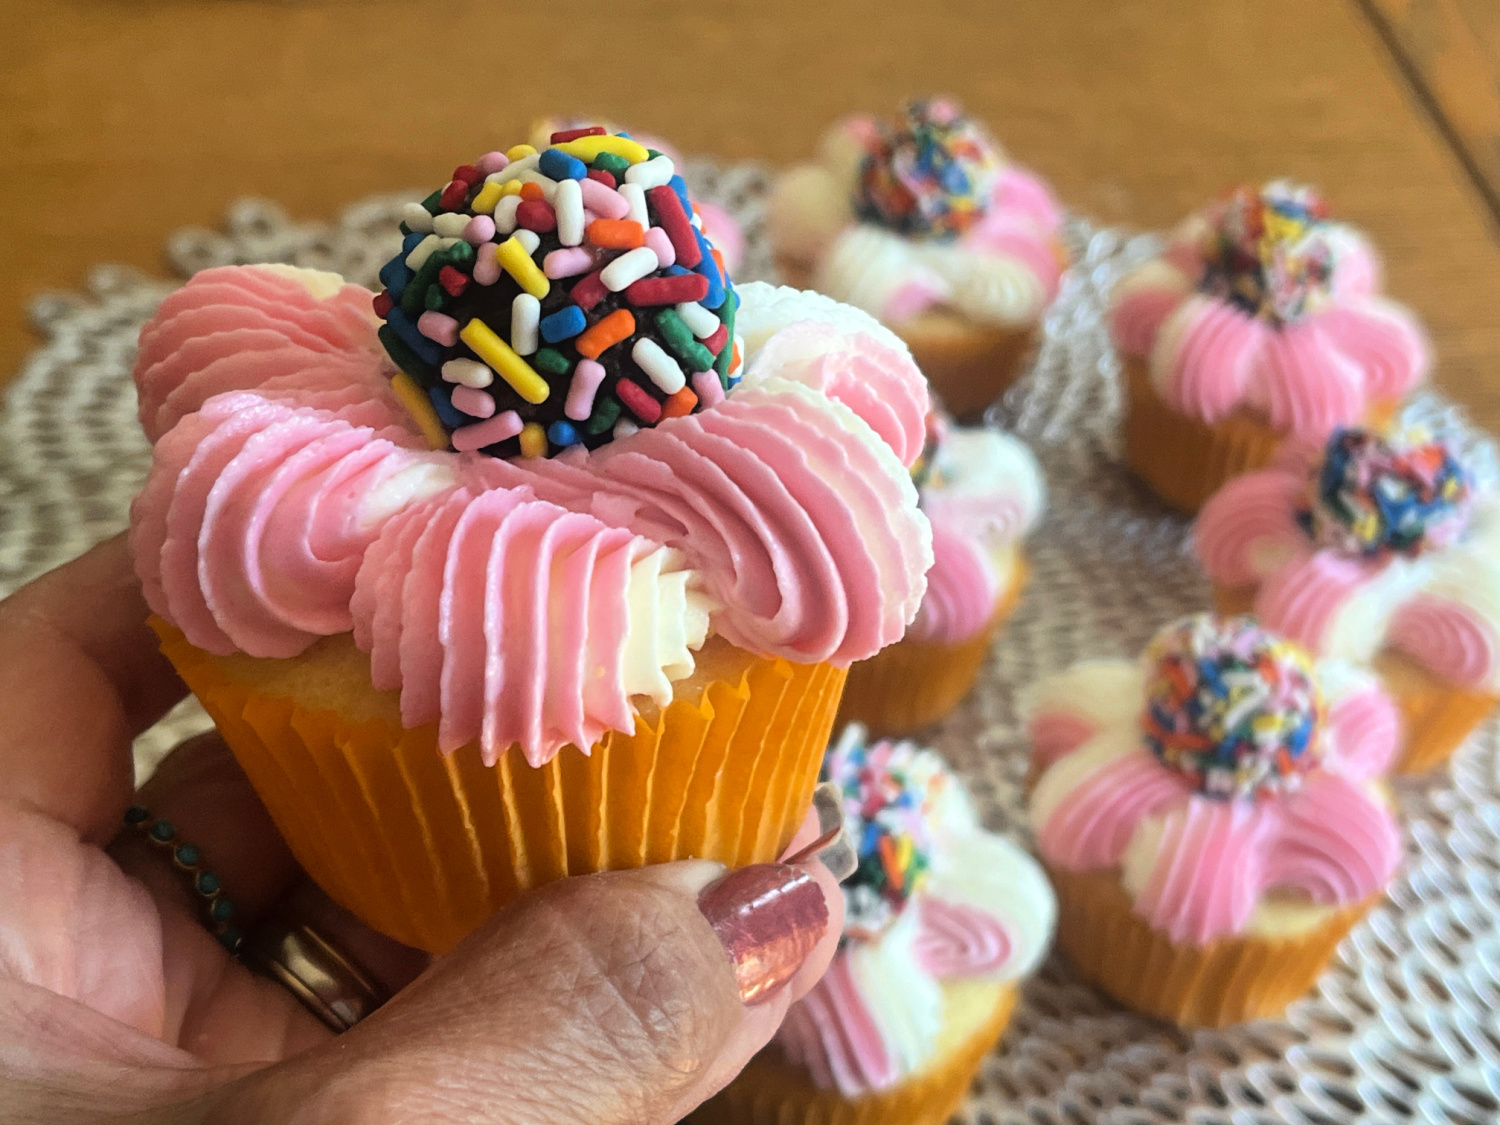
I used the same vanilla cupcake recipe, the same American buttercream. Rolled brigadeiros in sprinkles, and used them to decorate the cupcakes right after frosting. I used a large open star tip to make petal-style piping. You can use white frosting, or make a marble type like I did in one of my batches, using pink and white.

These turned out fun and from what I heard, were a big hit when I donated them…
GALAXY CUPCAKES
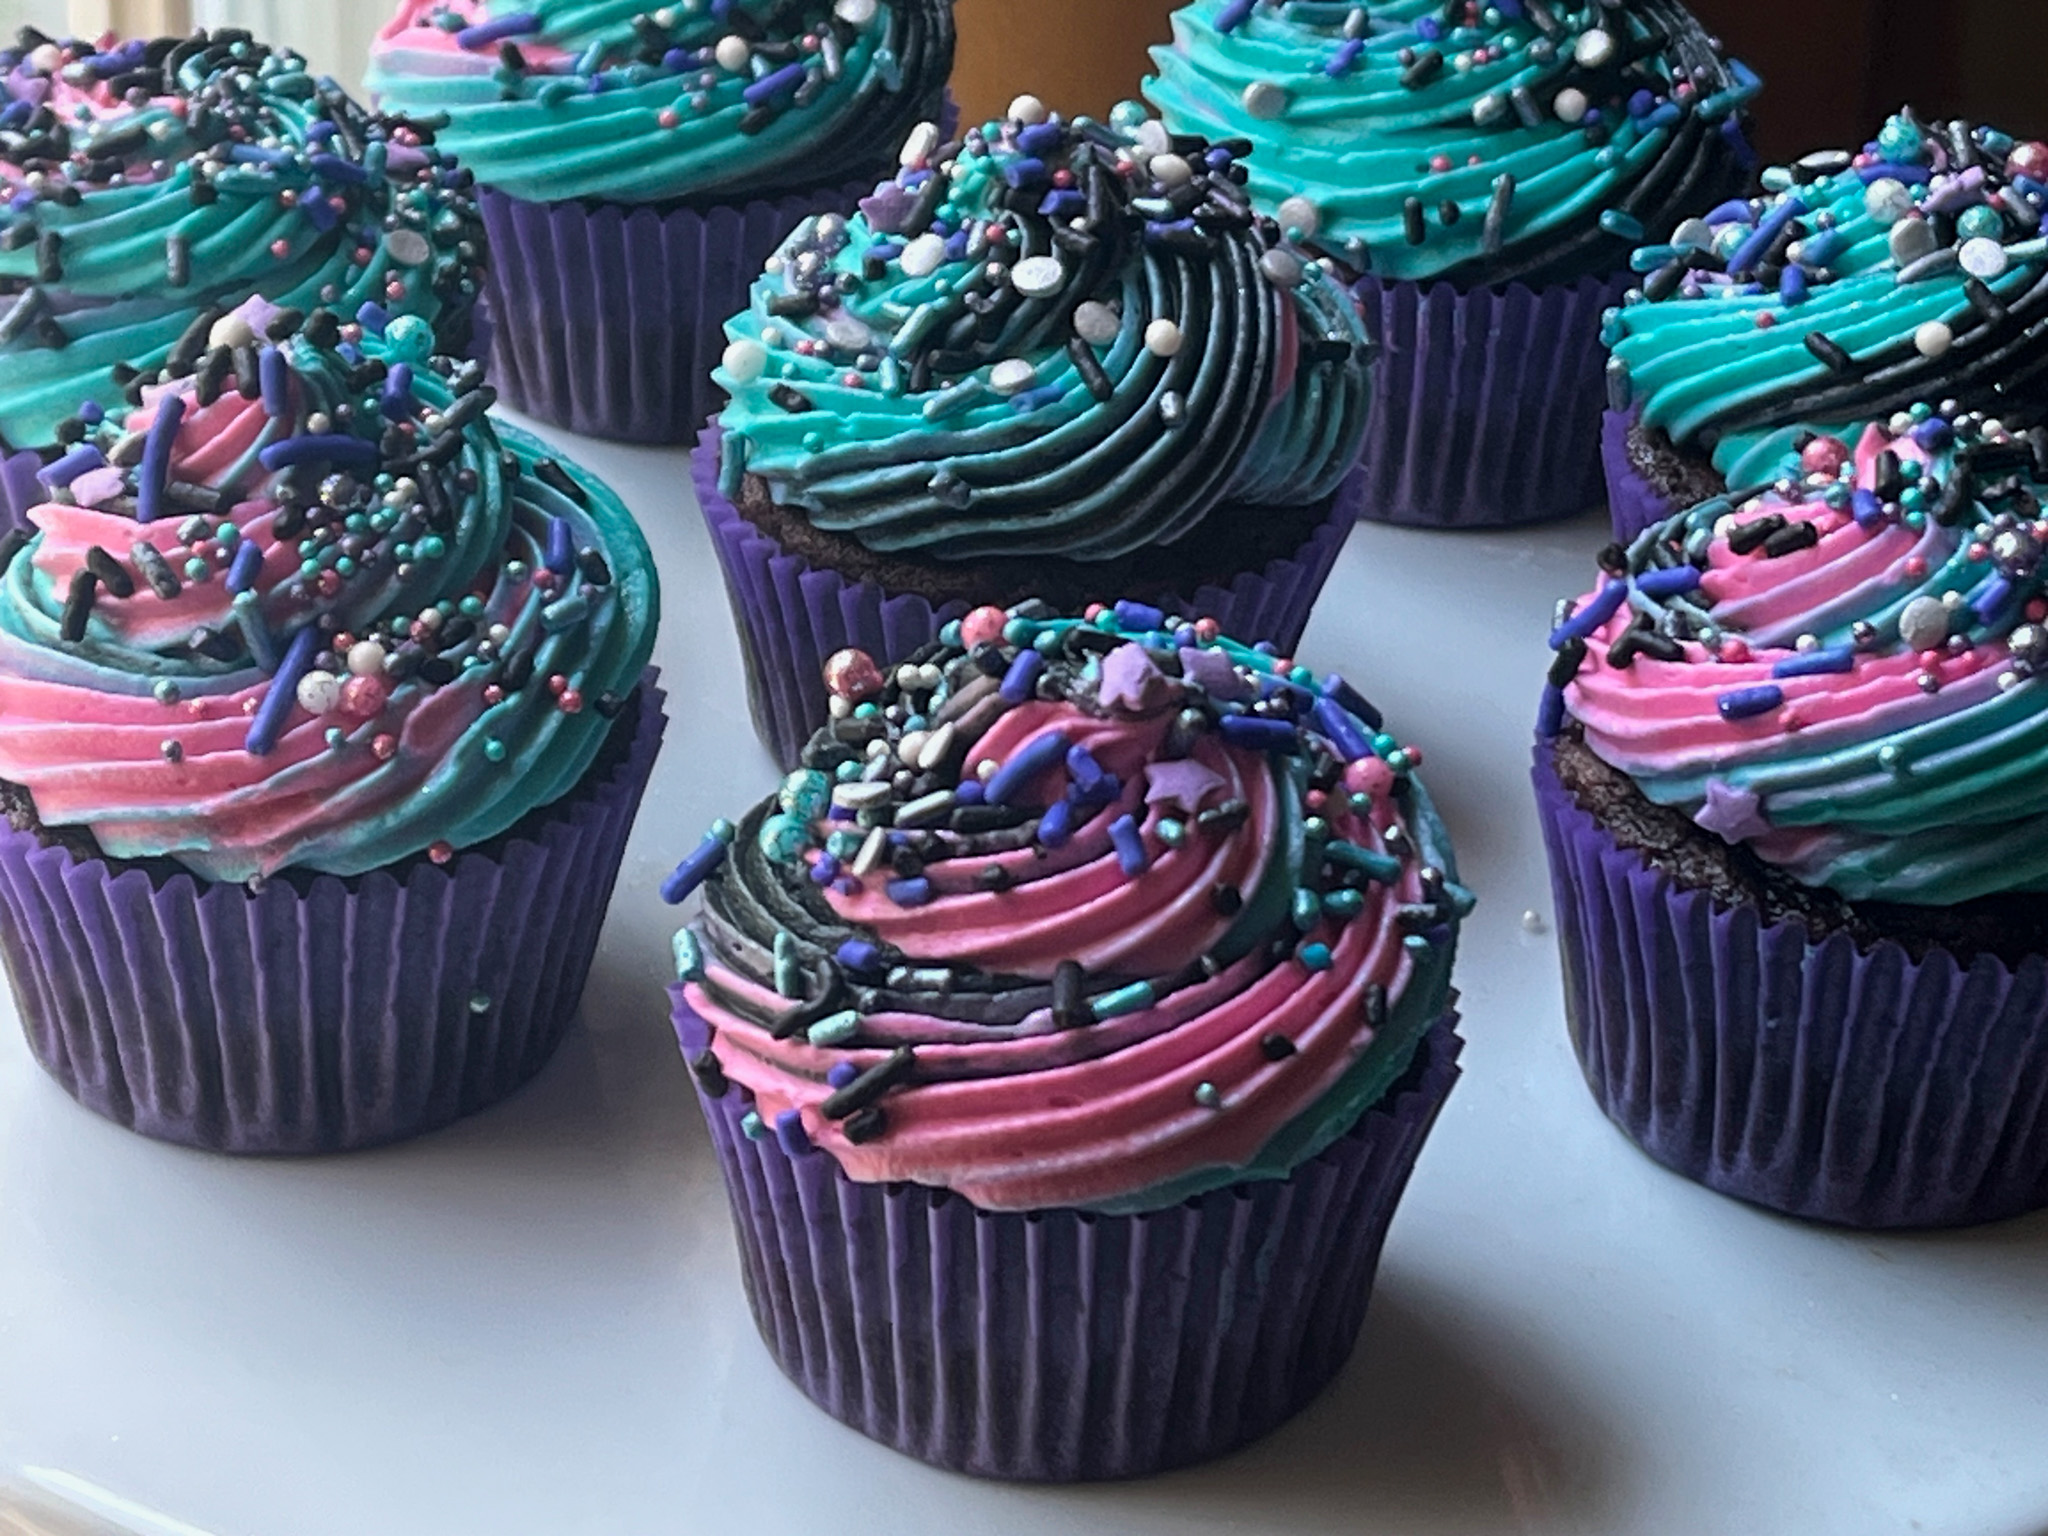
CHOCOLATE GALAXY CUPCAKES
(inspired by several sources)
for the cupcakes (makes 10):
100g all-purpose flour
20g cocoa powder
140g granulated sugar
40g butter, softened
1/8 tsp salt
1 large egg
120mL milk, full-fat
1 + 1/2 tsp baking powder
Heat oven to 350F and line a tray with cupcake liners.
Mix the milk with egg in a small bowl, whisk, reserve.
Put the flour, cocoa powder, butter, sugar and salt in the bowl of a standing mixer fitted with the paddle attachment. Mix until the butter forms a sand consistency. Pour half the milk mixture into the bowl and mix on low-speed for a minute. Increase the speed to medium-high for a couple of minutes. Add the remaining milk mixture, and mix on low-speed until fully incorporated.
Increase the speed for a few seconds, then add the batter to the lined cupcakes. Bake for about 15 minutes, until a toothpick comes clean when inserted in the center.
Cool the cupcakes completely before frosting.
ENJOY!
to print the recipe, click here
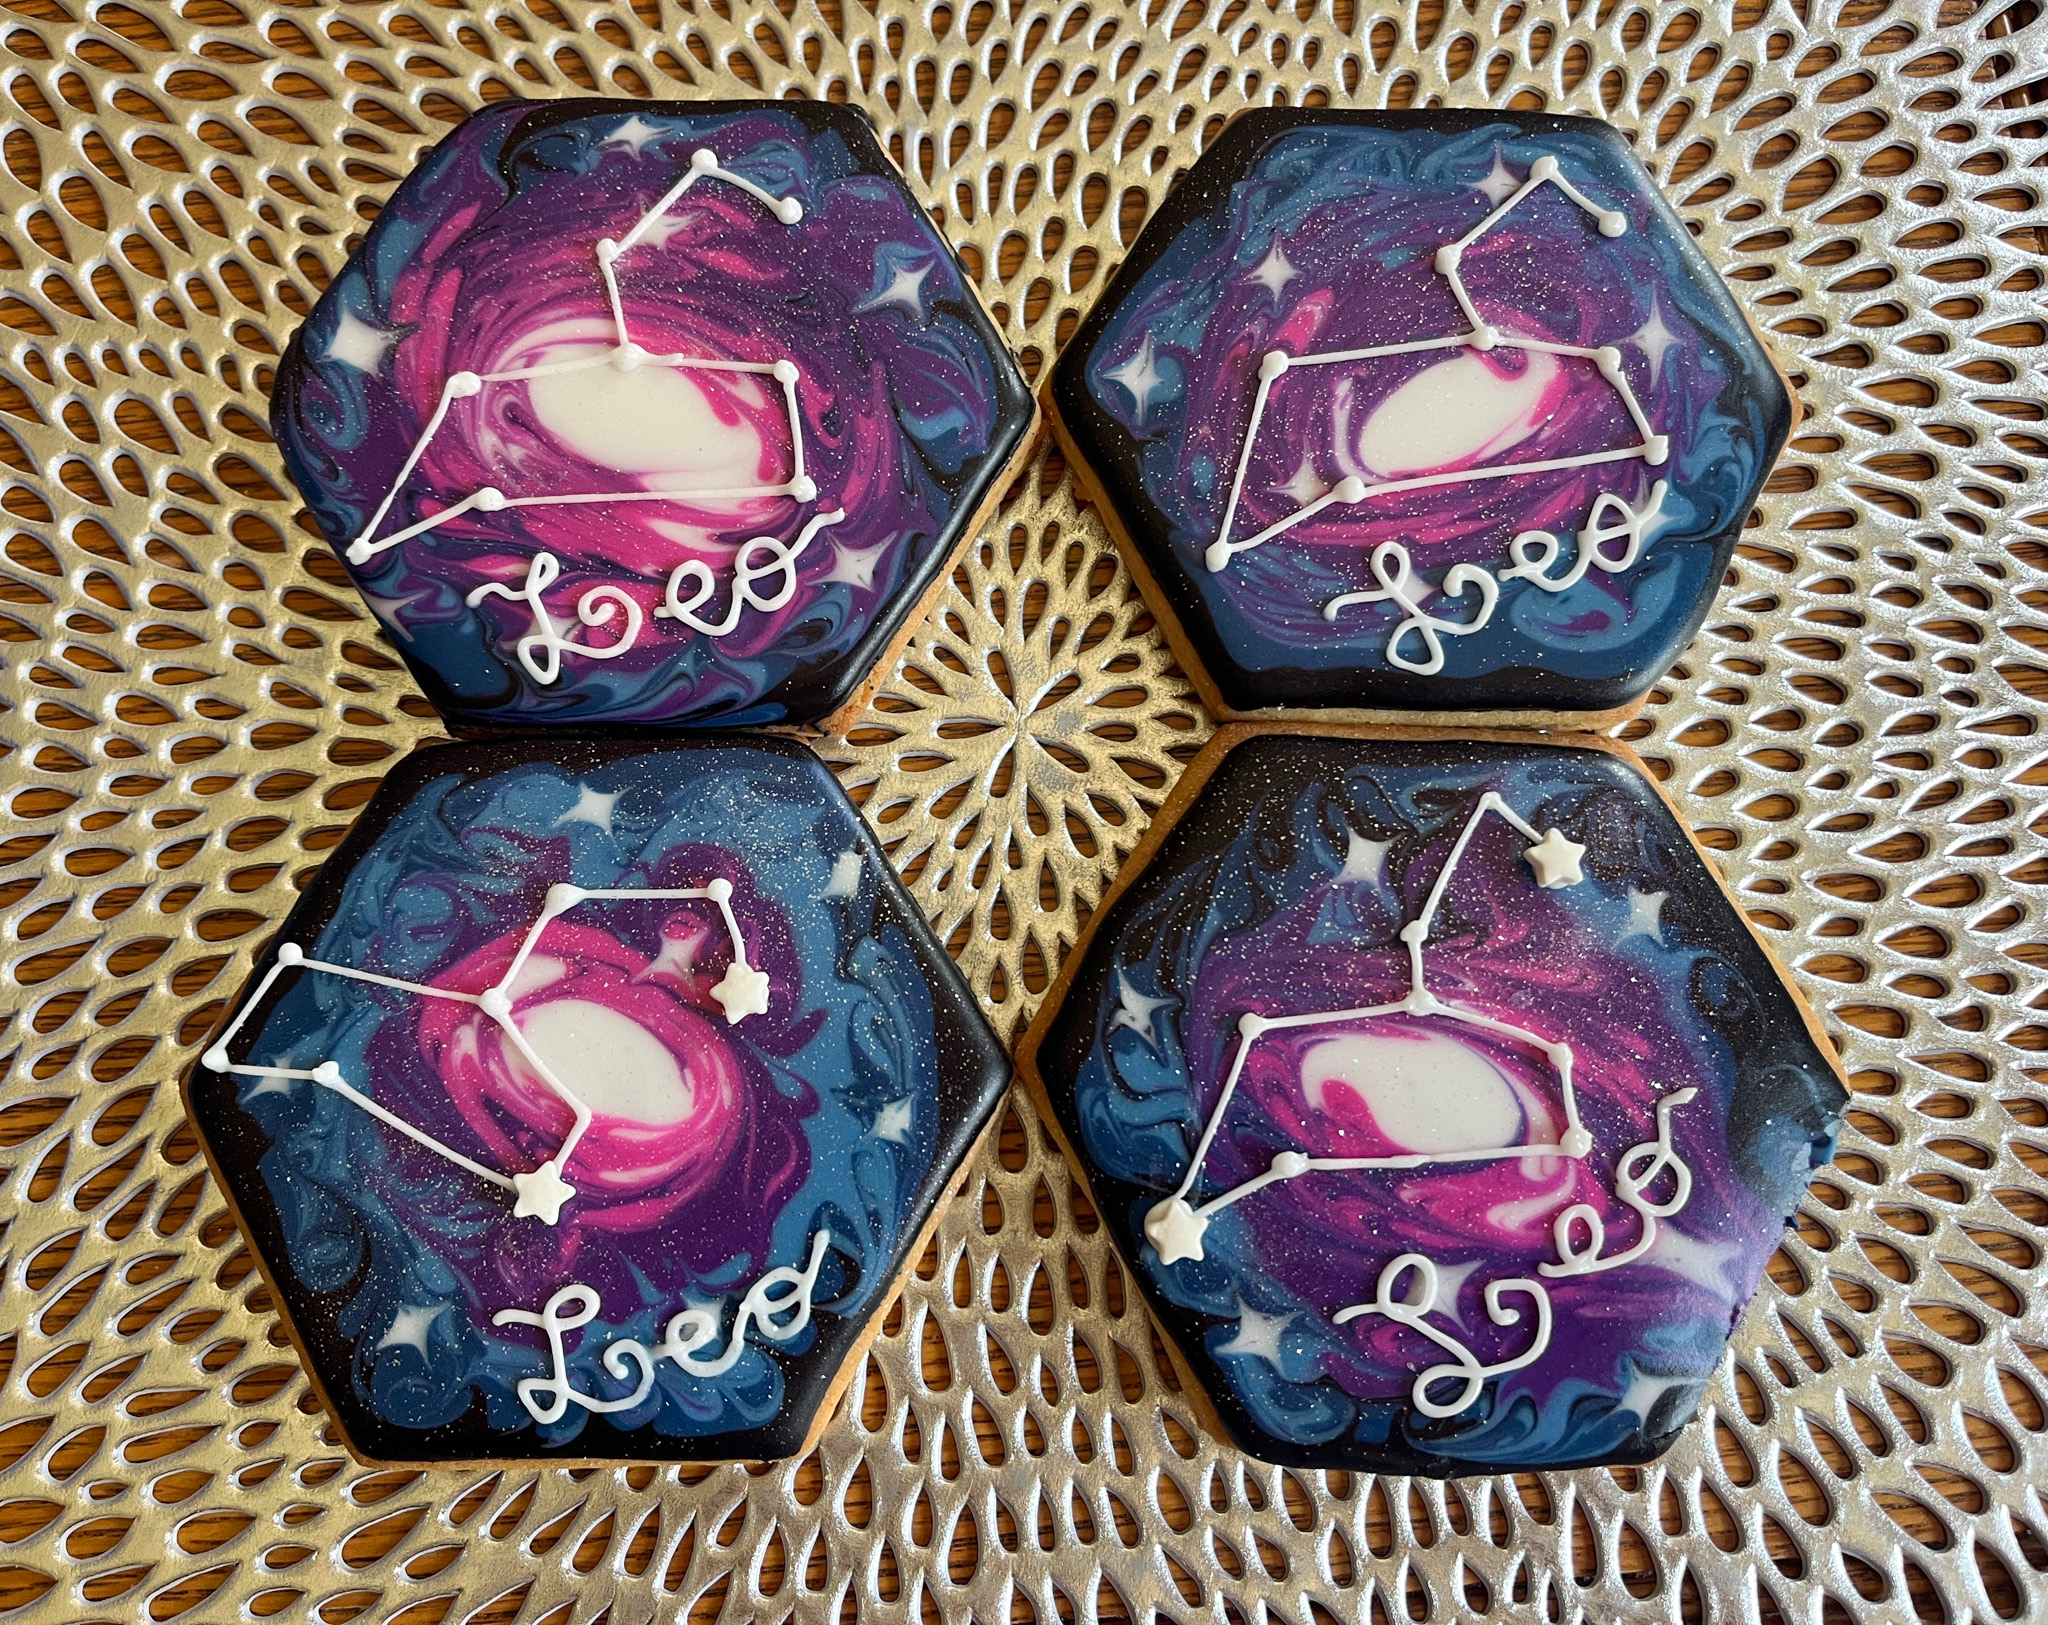
For the galaxy effect, divide the buttercream in three portions, one of them smaller than the other two (no need for exact measurements, you can eye-ball). The idea is to minimize the amount of the very dark component, otherwise it will overpower the design. Dye the smallest portion black, the other two teal and pink. Add them in straight lines over plastic wrap, roll the wrap like a sausage and insert into a large piping bag fitted with an open star tip. Pipe swirls, and add sprinkles. These would be amazing next to the cookies I blogged about recently, don’t you think?
1 YEAR AGO: Summer in Cupcakes
2 YEARS AGO: Puff Pastry Twists with Cinnamon and Cardamon
3 YEARS AGO: Three Delicious Bakes
4 YEARS AGO: Banana Bread from the Experts
5 YEARS AGO: Shrimp Stir-Fry with Snow Peas and Cashews
6 YEARS AGO: Pickled-Roasted Chickpeas with Cashew Cream
7 YEARS AGO: Twice-Baked Goat Cheese Souffle
8 YEARS AGO: A Star from England in the Bewitching Kitchen
9 YEARS AGO: Hommage to the Sun
10 YEARS AGO:The Fabulous Three
.
11 YEARS AGO: Turkey-Chorizo Burger with Green Chile Dressing
.
12 YEARS AGO:Taco Salad
.
13 YEARS AGO: Semolina Sourdough Boule
.
14 YEARS AGO:Forgive me, for I have sinned
.
15 YEARS AGO: Cracked Wheat Sandwich Bread
.
16 YEARS AGO: Au Revoir, my Bewitching Kitchen
.
17 YEARS AGO:French Bread