PANCH PURAN SOURDOUGH
(from the Bewitching Kitchen)
500g bread flour
350g water
75g starter at 100%
9g salt
1 tsp pinch puran spice mix
Make the levain mixture about 6 hours before you plan to mix the dough. It should be very bubbly and active.
When you are ready to make the final dough, place the water in the bowl of a KitchenAid type mixer and dissolve the starter in it, mixing with a spatula briefly, then add the flour, salt and spice mixture. Turn the mixer on with the hook attachment and knead the dough for 4 minutes at low-speed all the time. You will notice the dough will gain quite a bit of structure even with just 4 minutes in the mixer. Remove from the machine, and transfer to a container lightly coated with oil, cover lightly with plastic wrap and allow it to ferment for 4 hours, folding every 45 minutes or so. Because the dough is already a bit developed from the initial time in the mixer, you should get very good structure after 3 and a half hours, or even sooner than that.
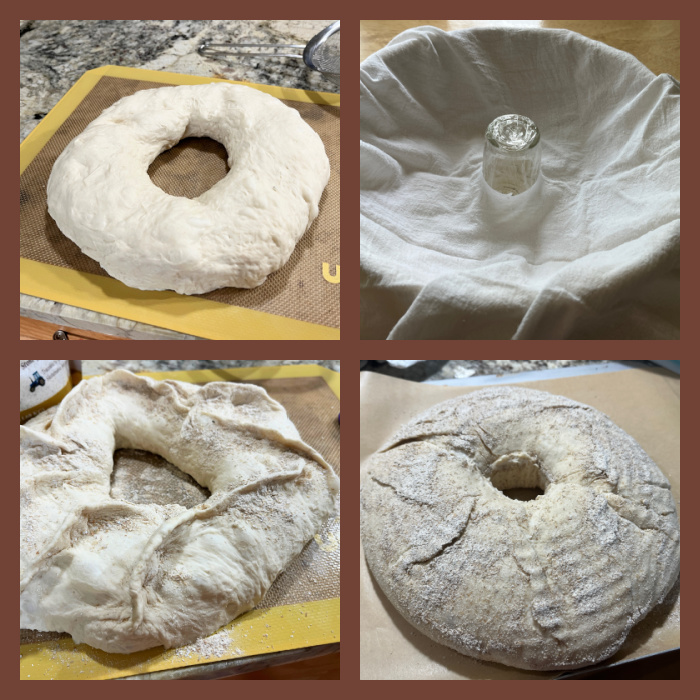
After four hours bulk fermentation, shape the dough as a ball, and place, seam side up, in a lightly floured banetton. Leave at room temperature one hour, and then place in the fridge overnight, from 8 to 12 hours.
Next morning, heat the oven to 450F.Place a parchment paper on top of the dough, a flat baking sheet, and invert the dough, flipping it out of the banneton. Flour the surface of the dough, score with a razor blade, and bake at 450F for 45 minutes, preferably covered for the first 30 minutes to retain steam. Cool completely over a rack before slicing.
ENJOY!
to print the recipe, click here

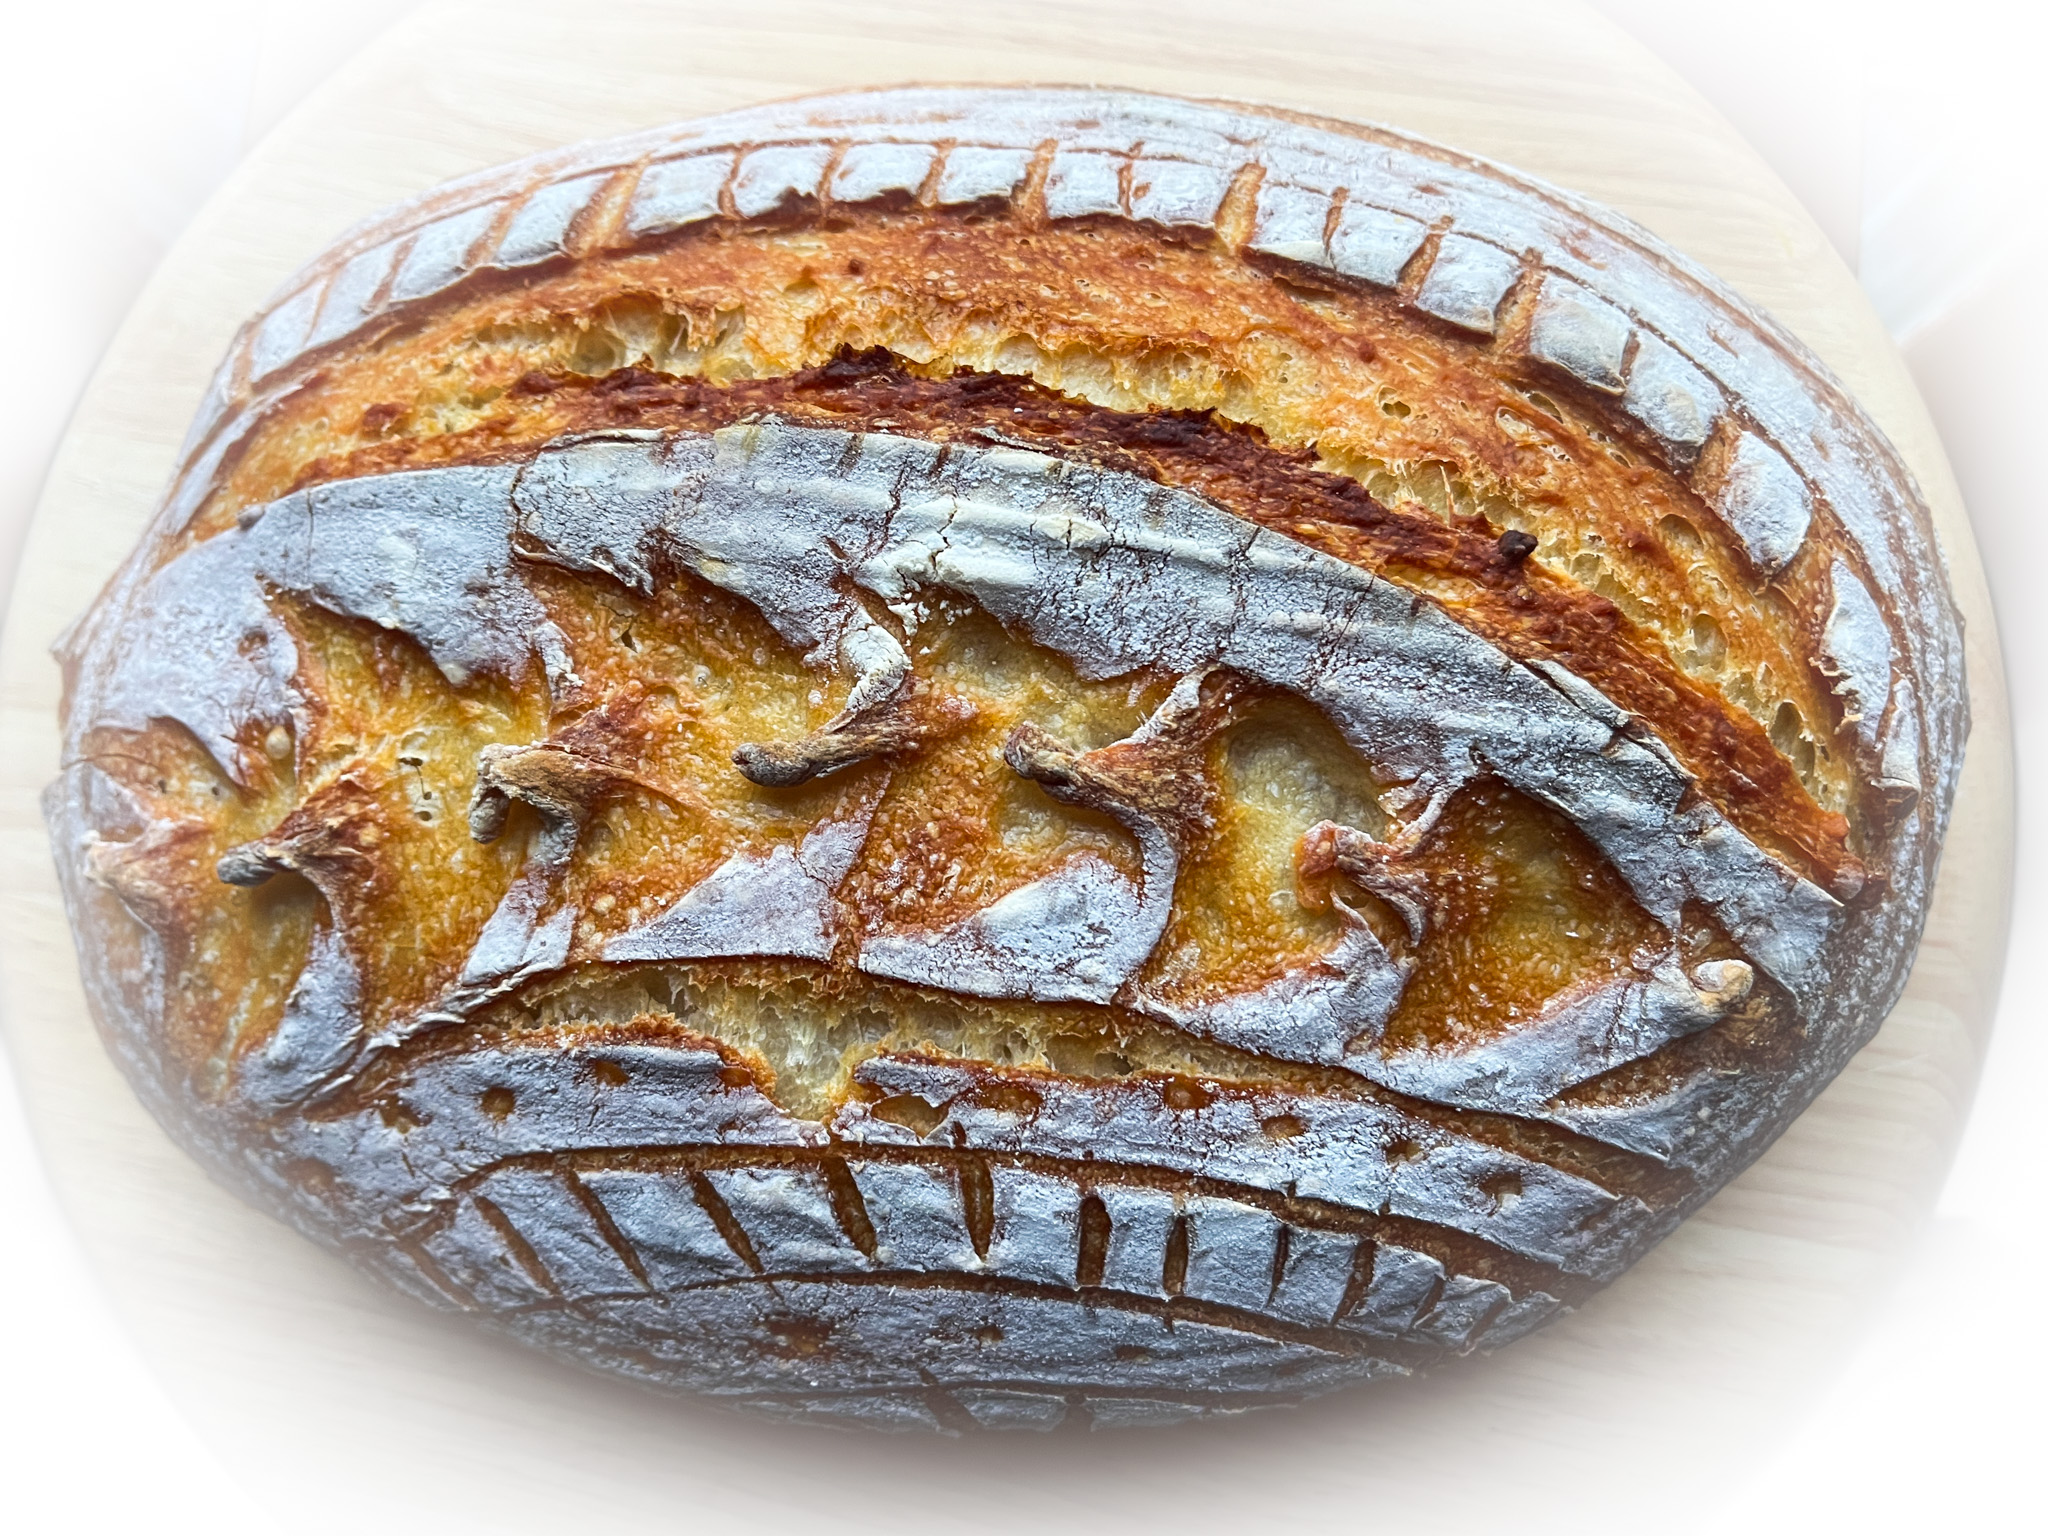
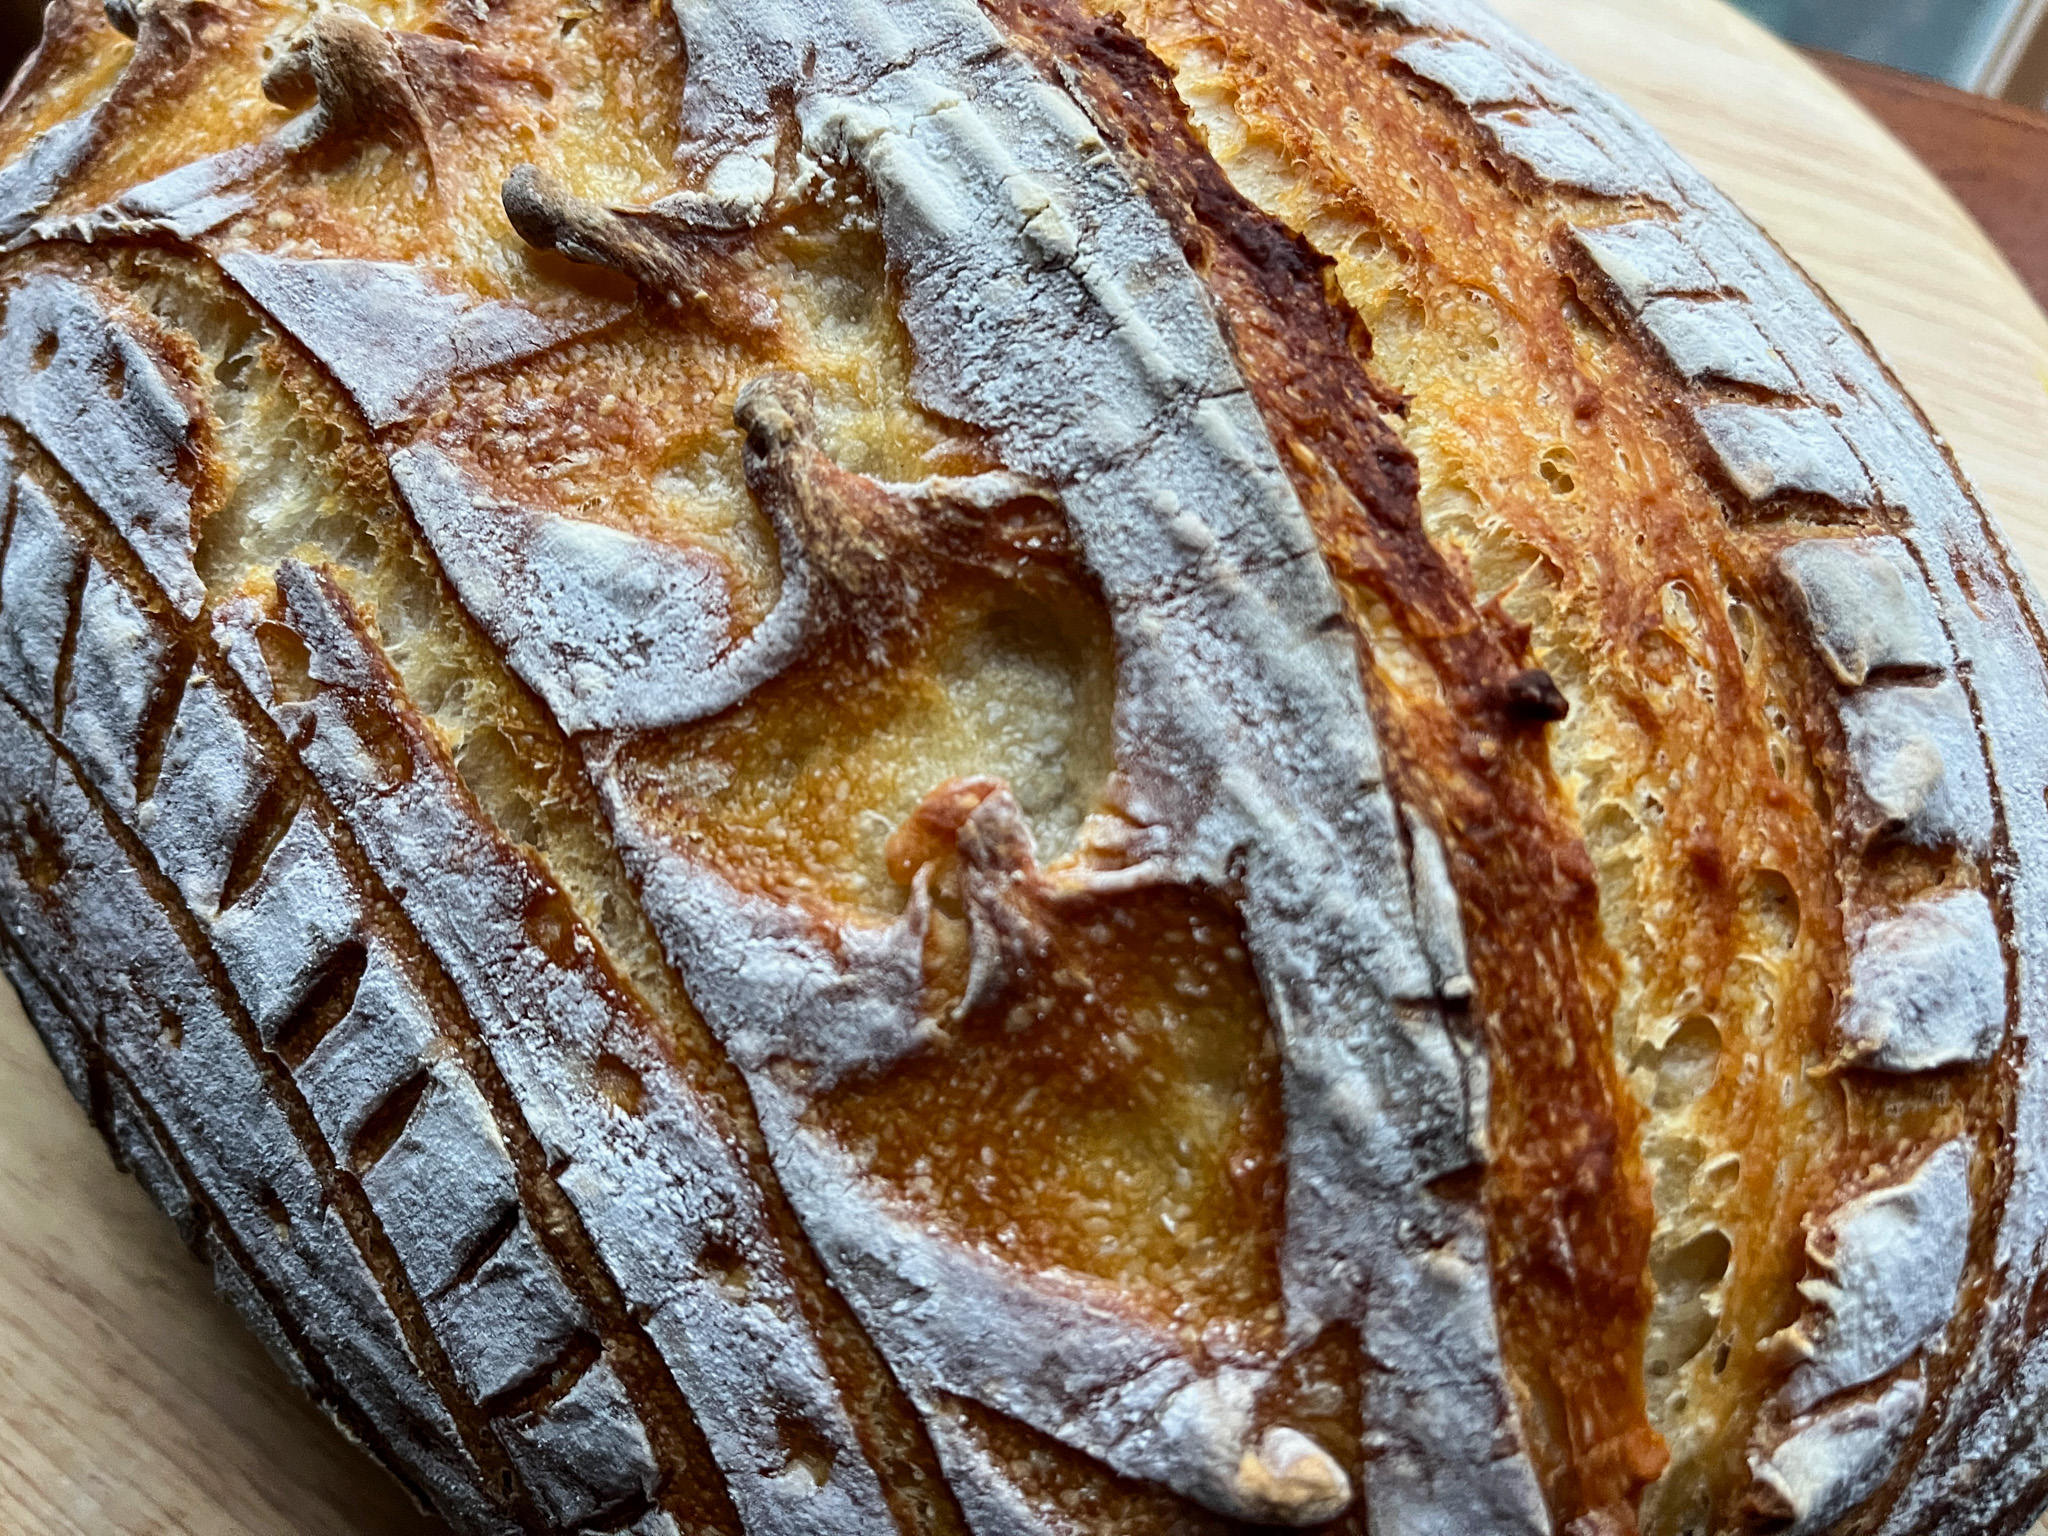
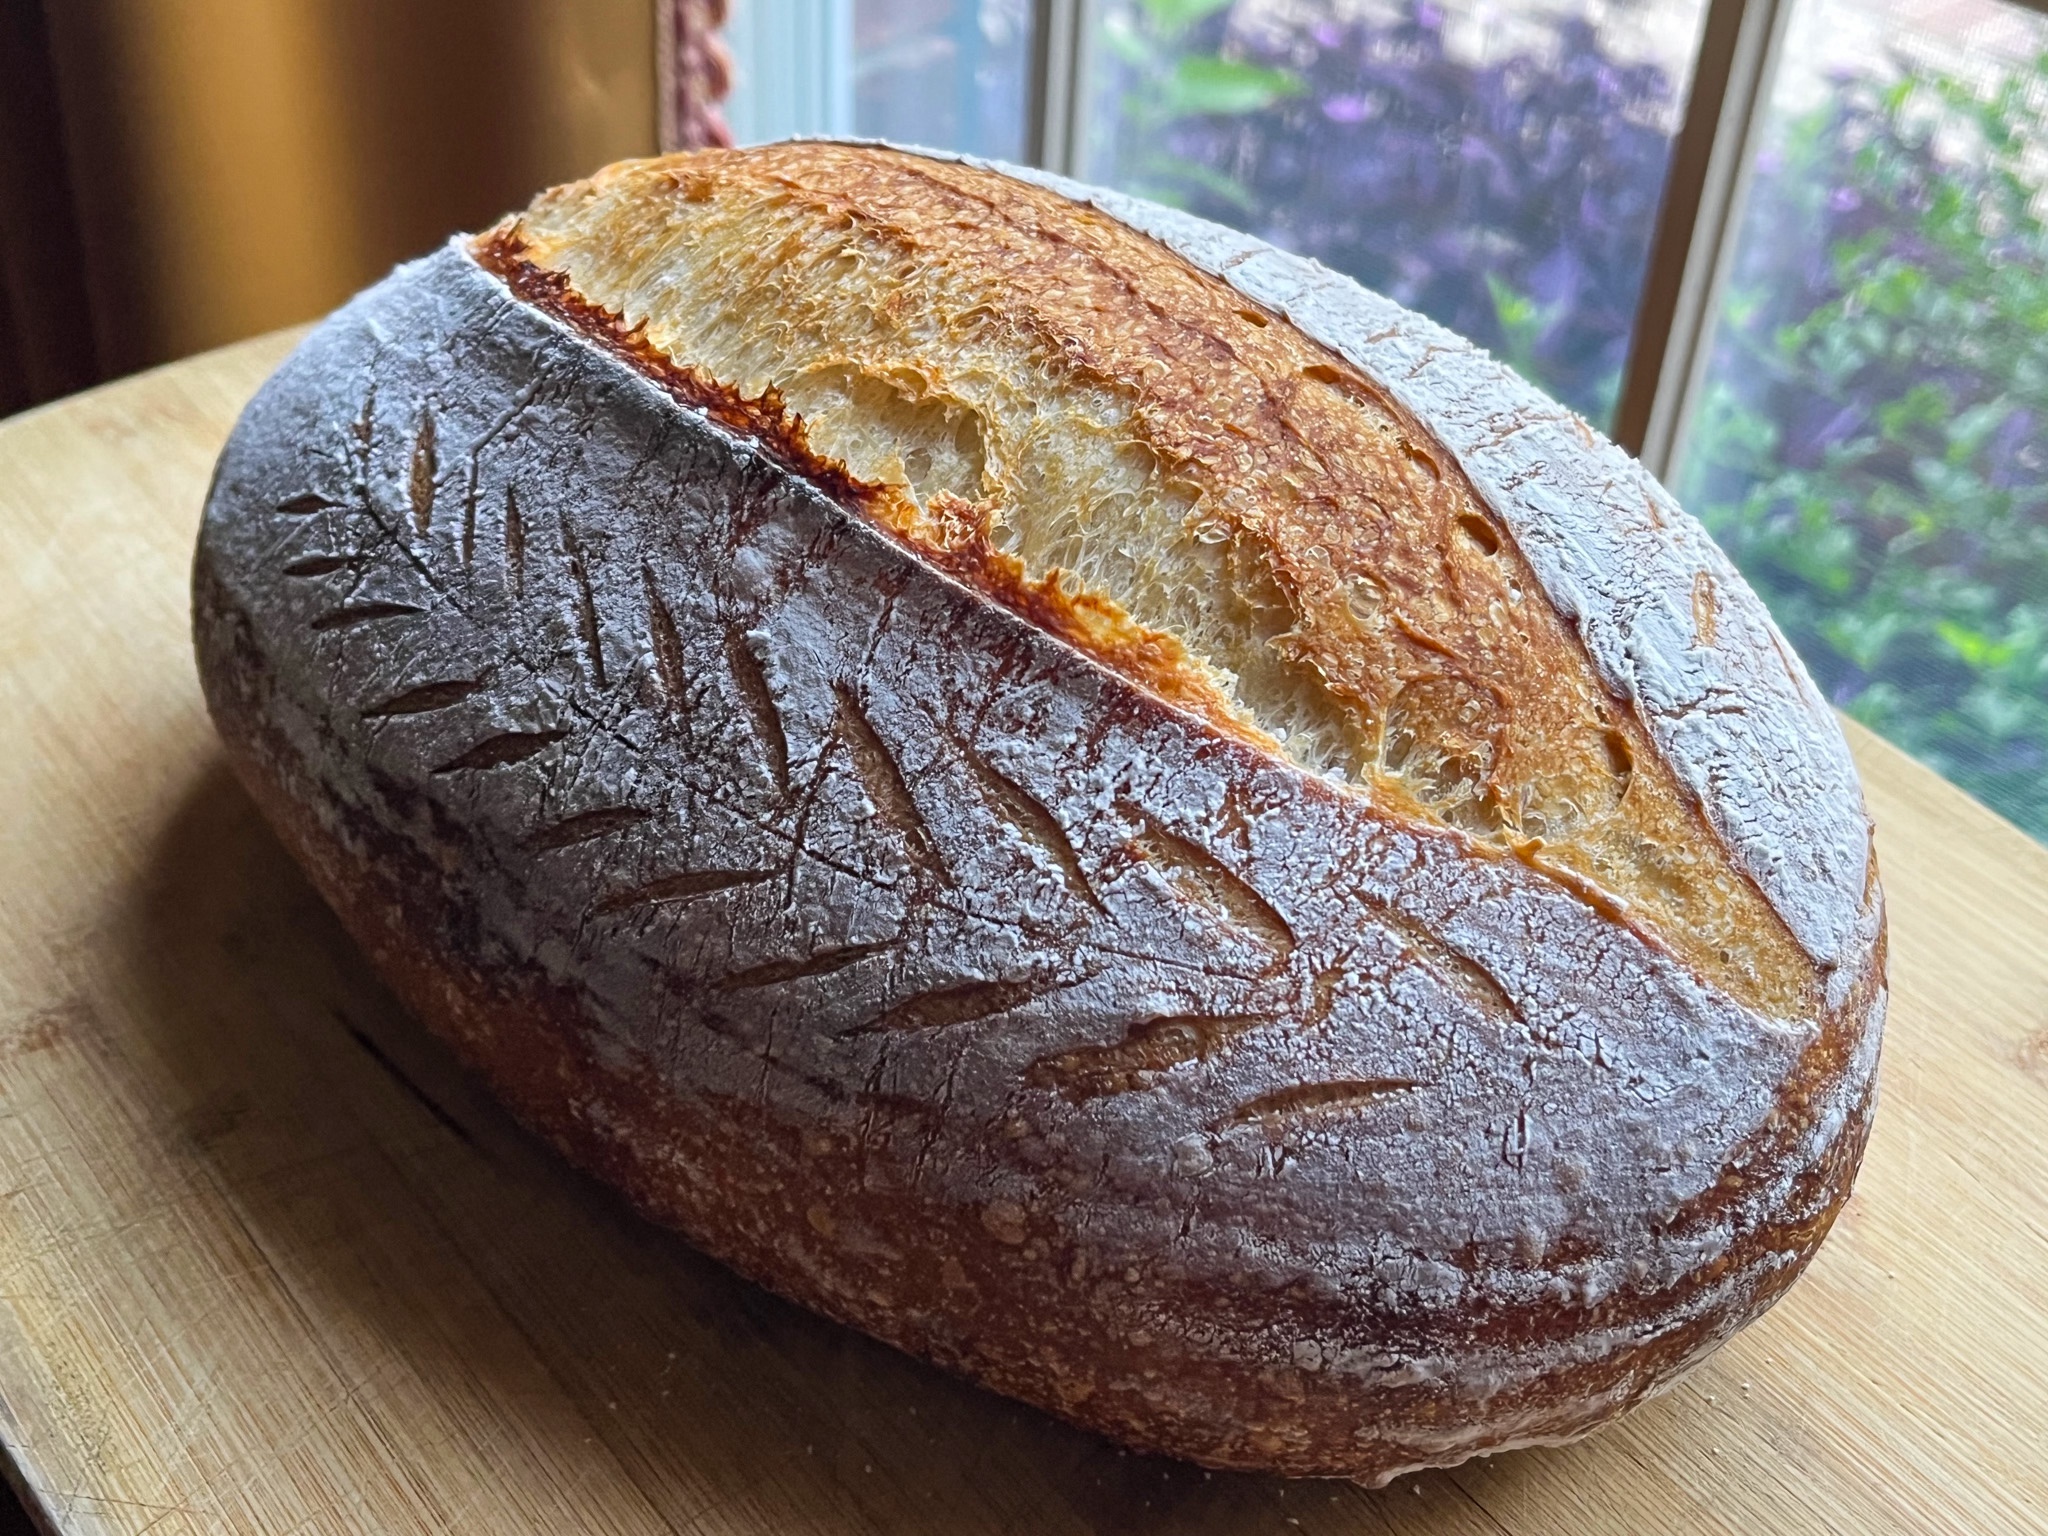
Comments: I love the yin-yang feel of this design which is quite popular for batard-shaped loaves, you can see examples everywhere in social media. Coupling razor blade with small scissors is all you need to get this simple look going.

Before I leave, let me share a few more designs of the recent past…
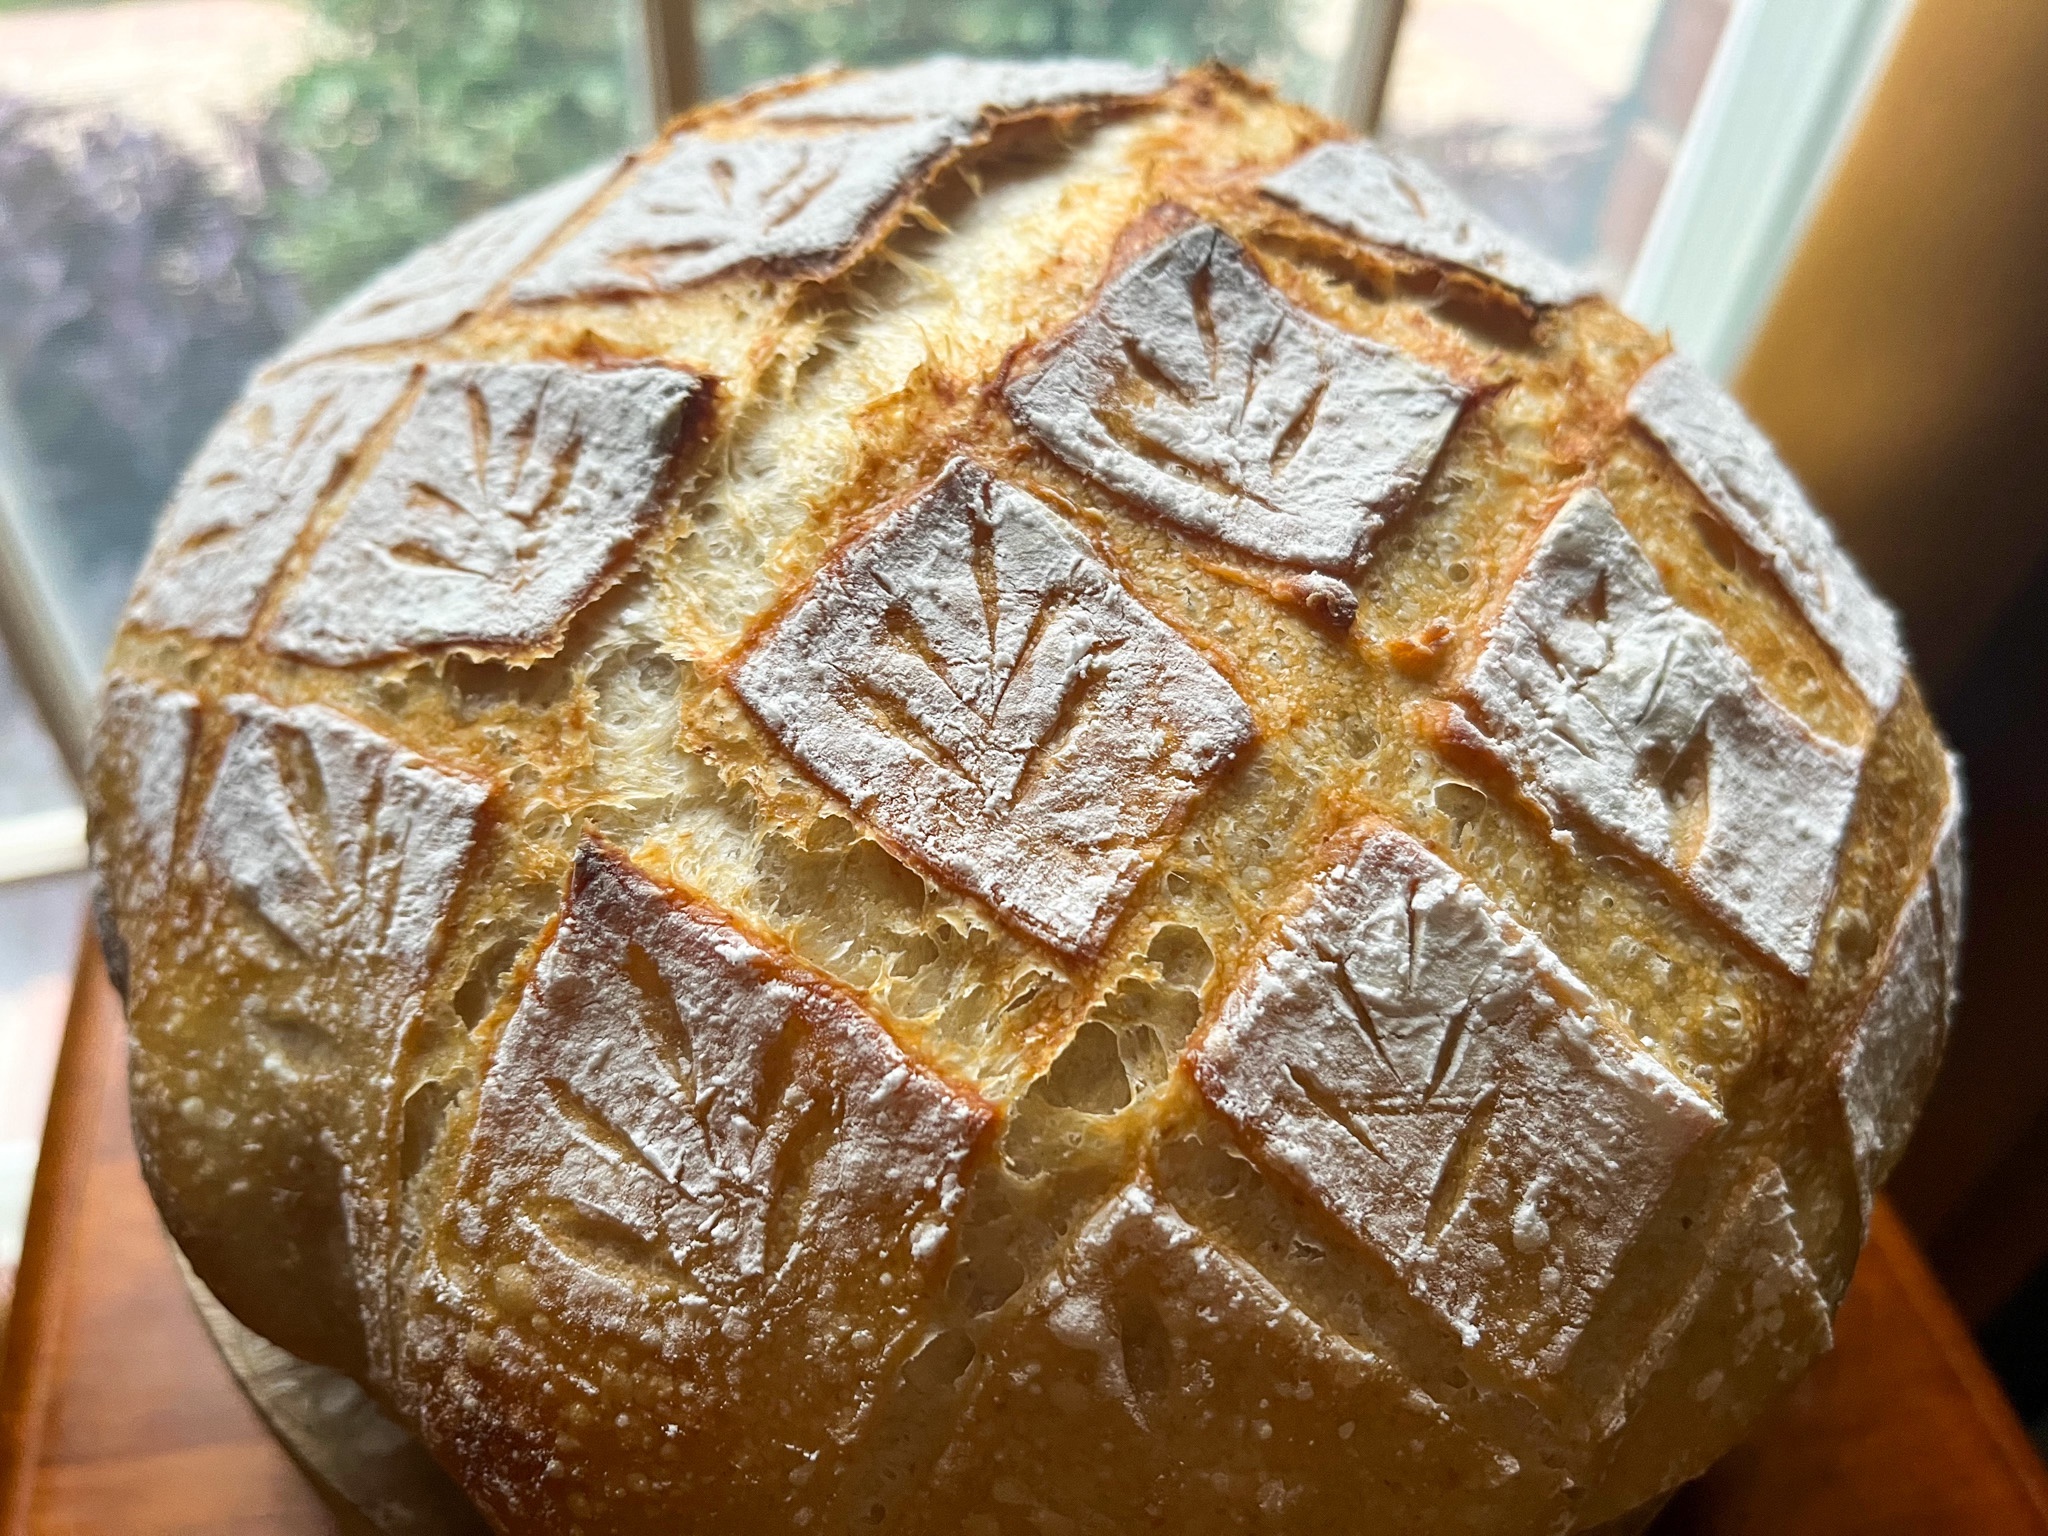
For the above look, a very simple grid is the initial scoring, then just a few extra touches in the center of each square.
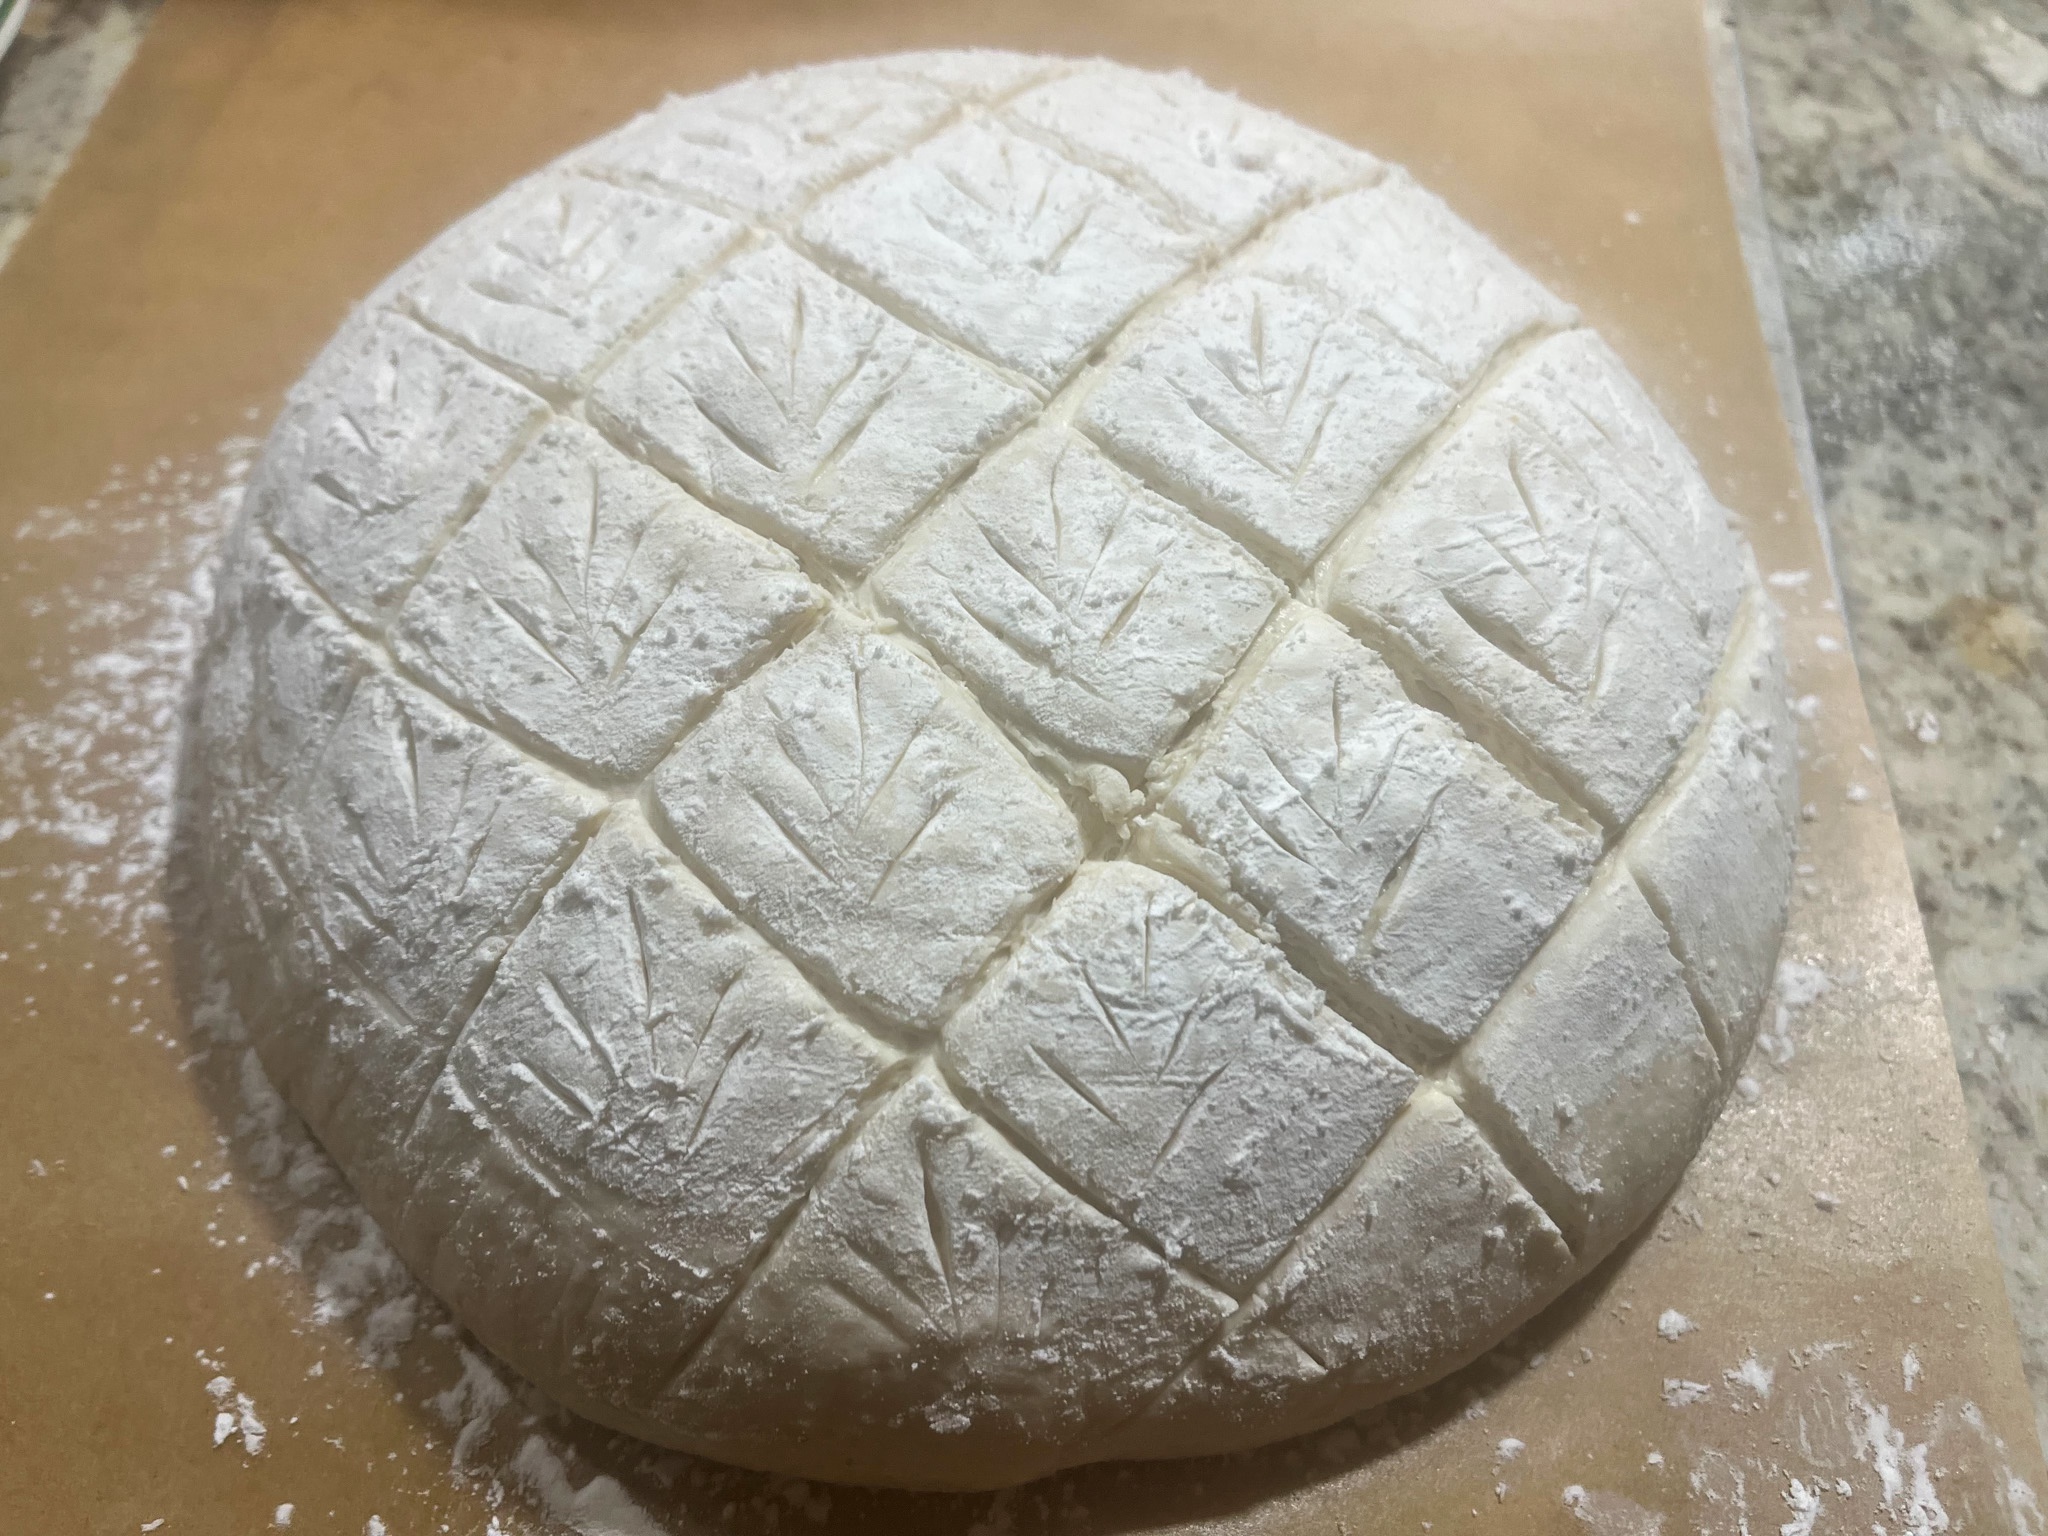
.
Another batard shape that is super simple and effective, relying on a central deep cut and a few decorating light touches with the blade…
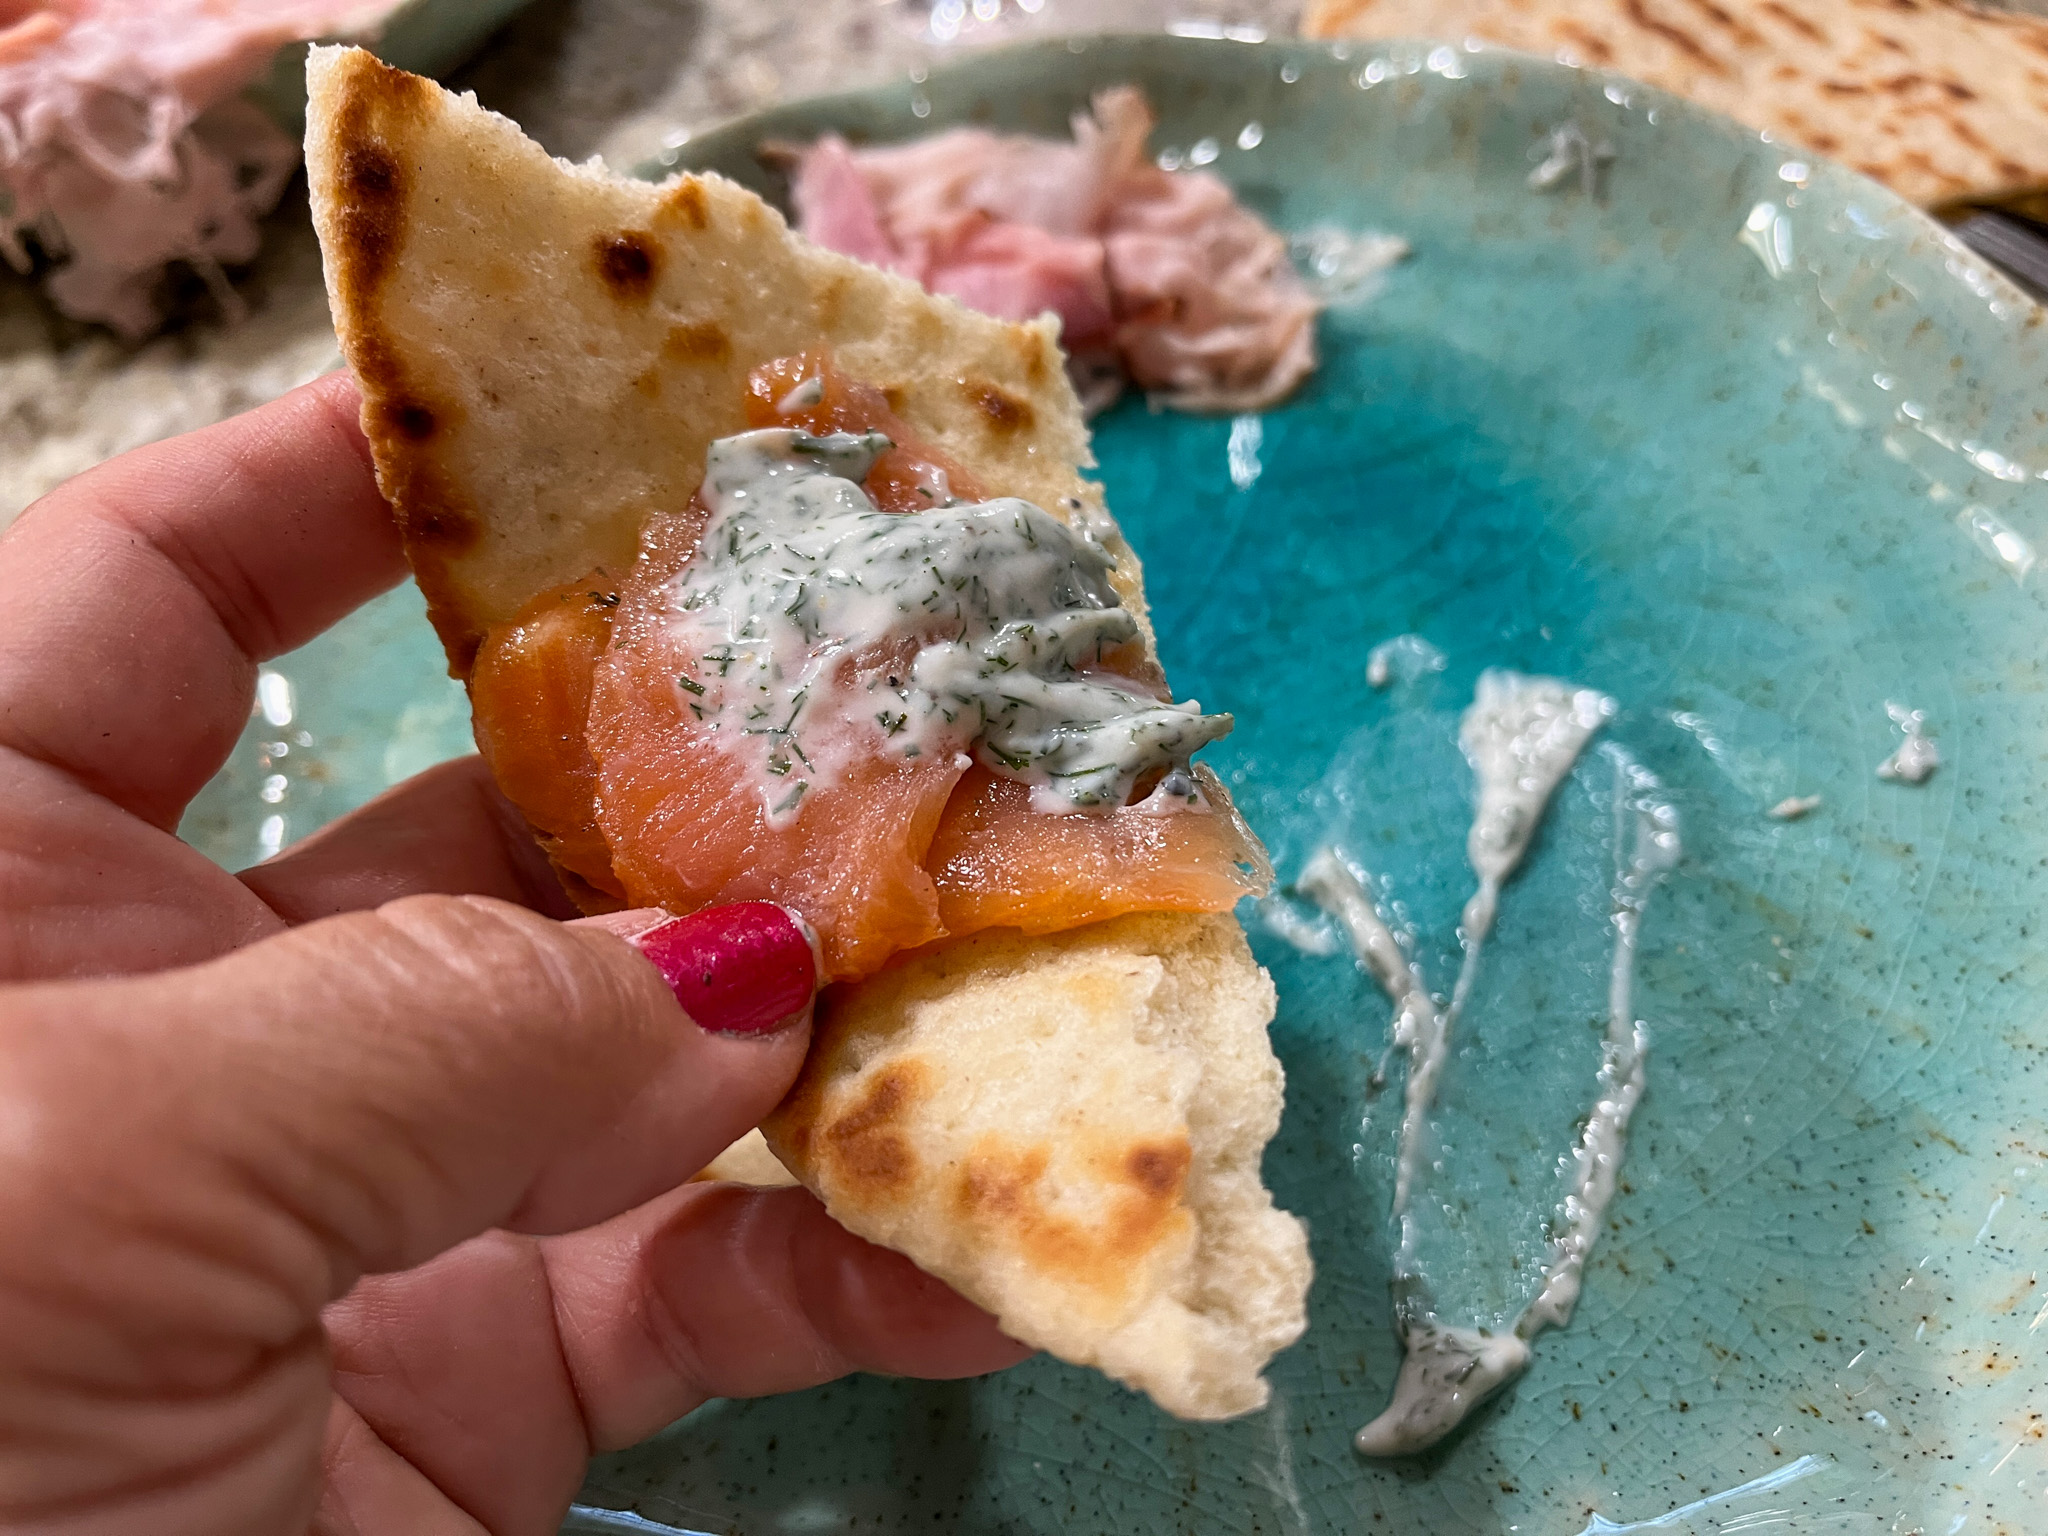
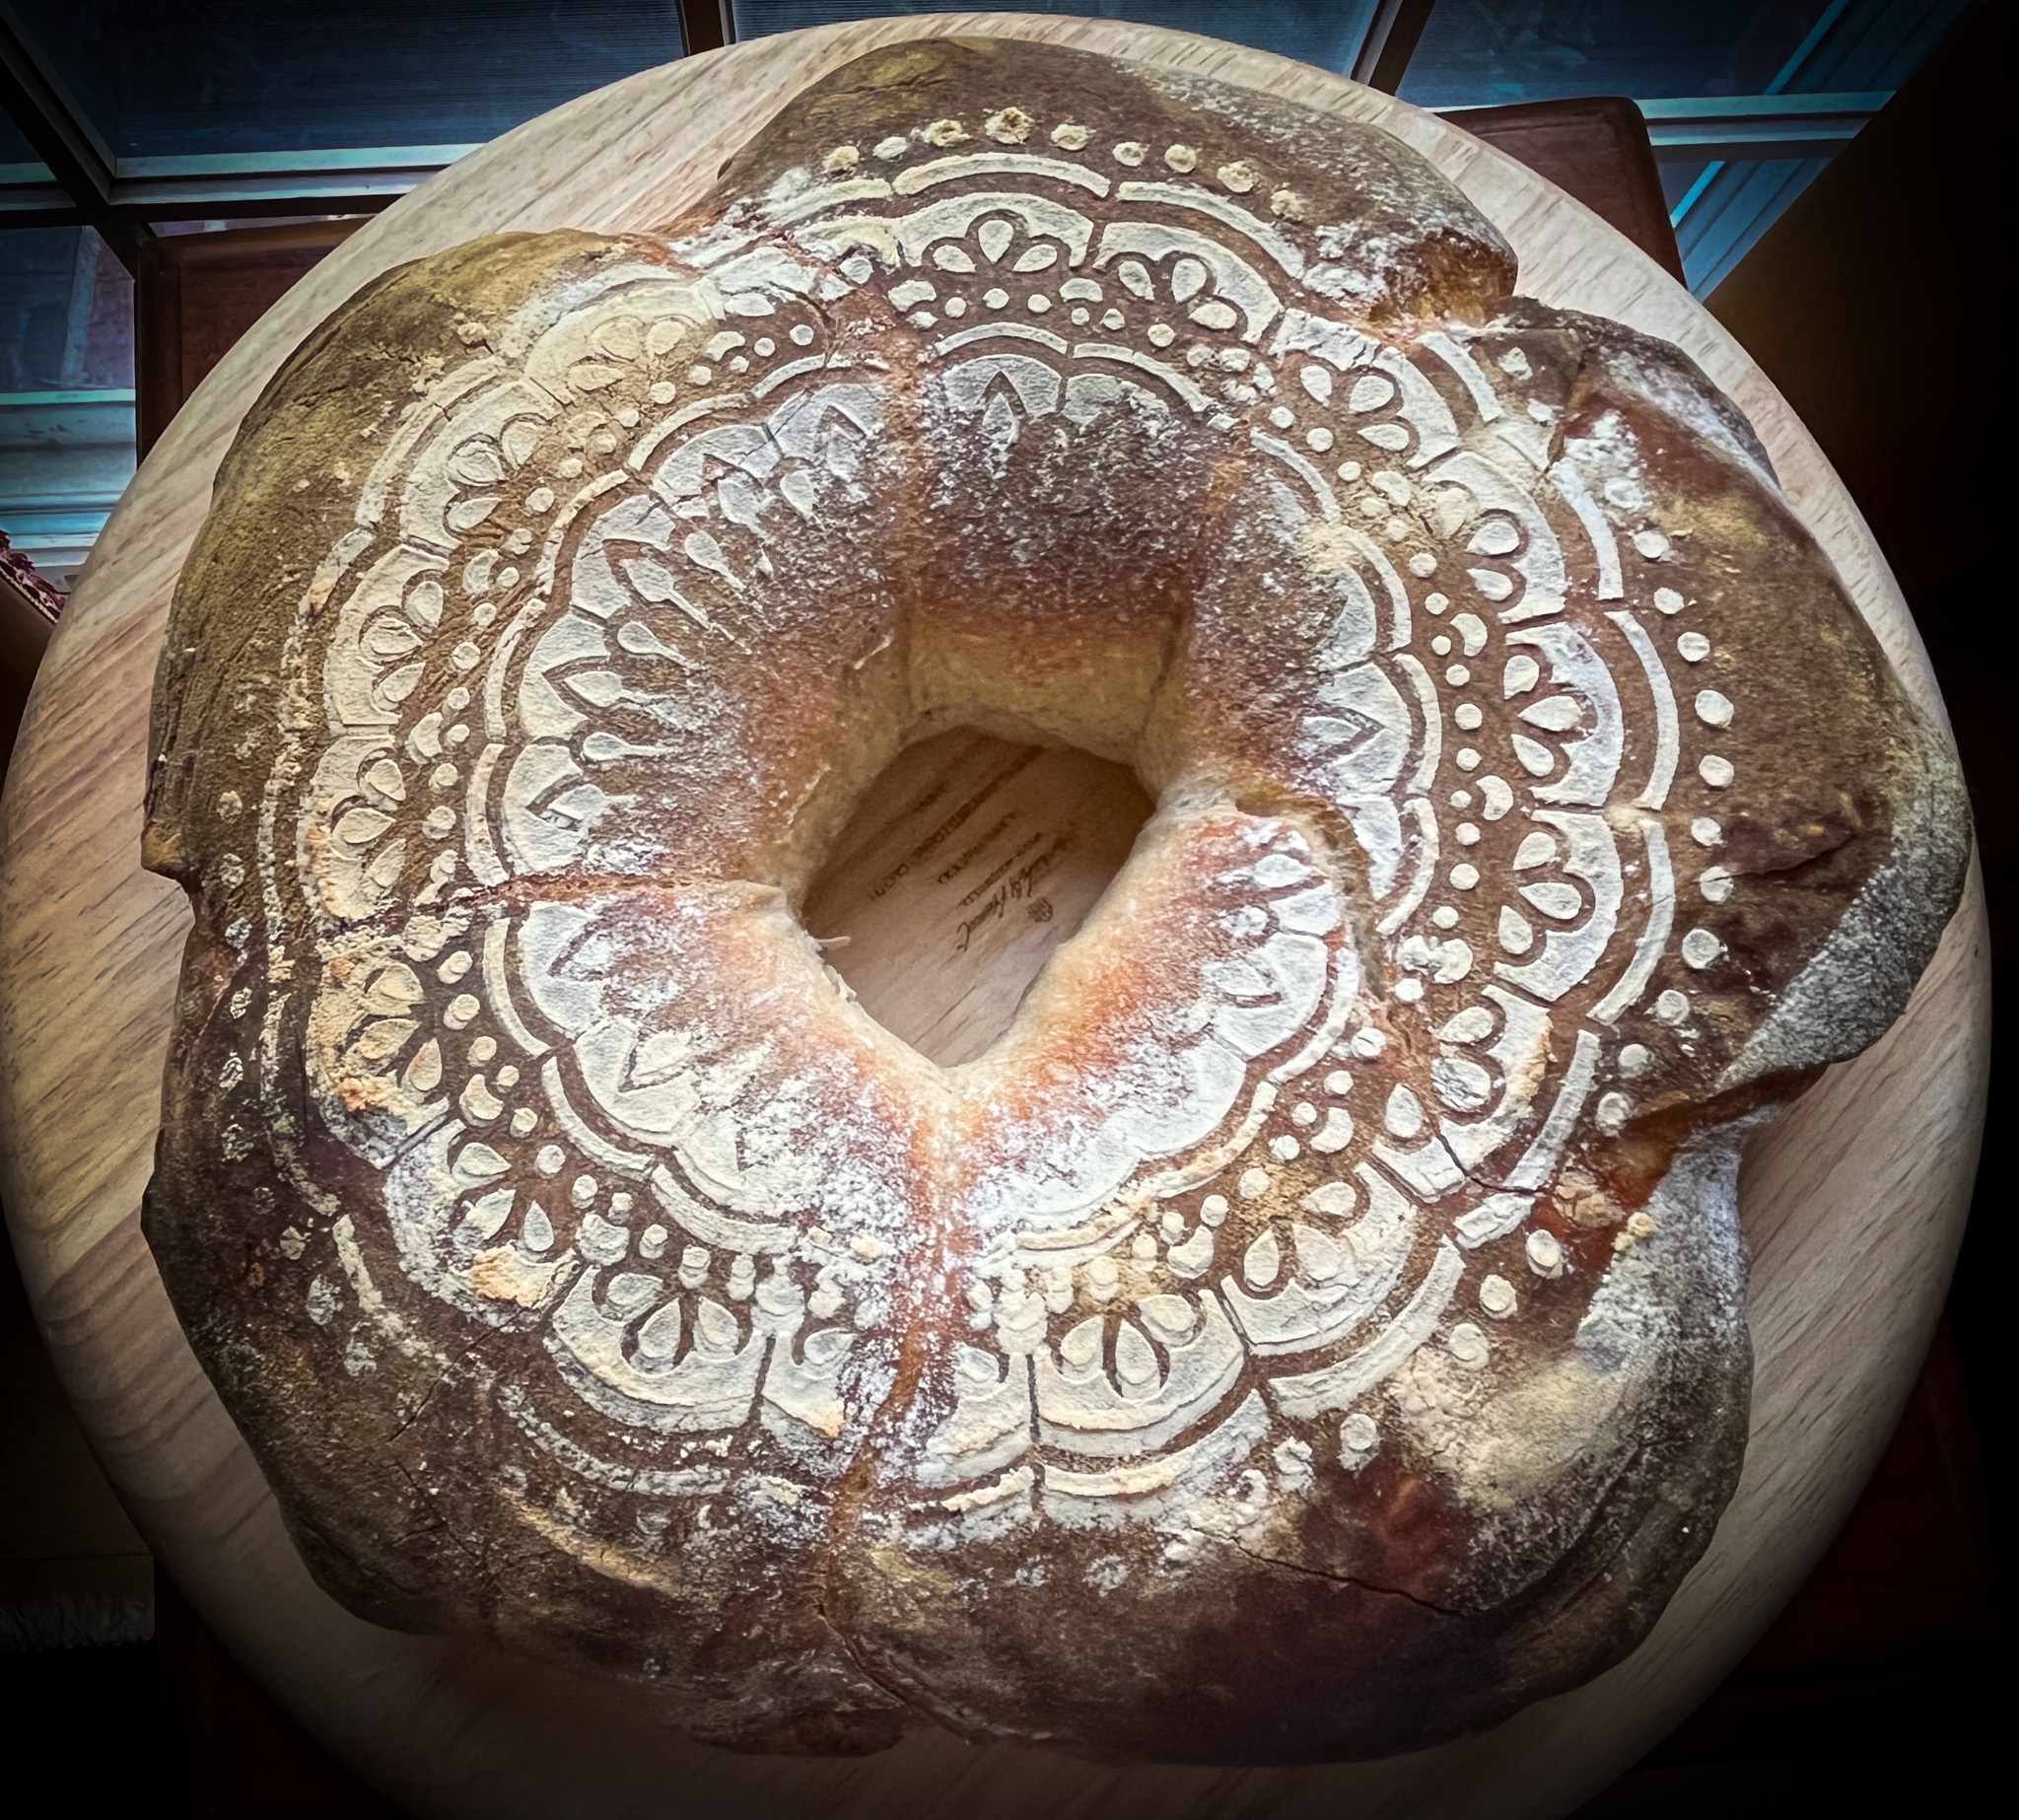
A little stencil adventure…

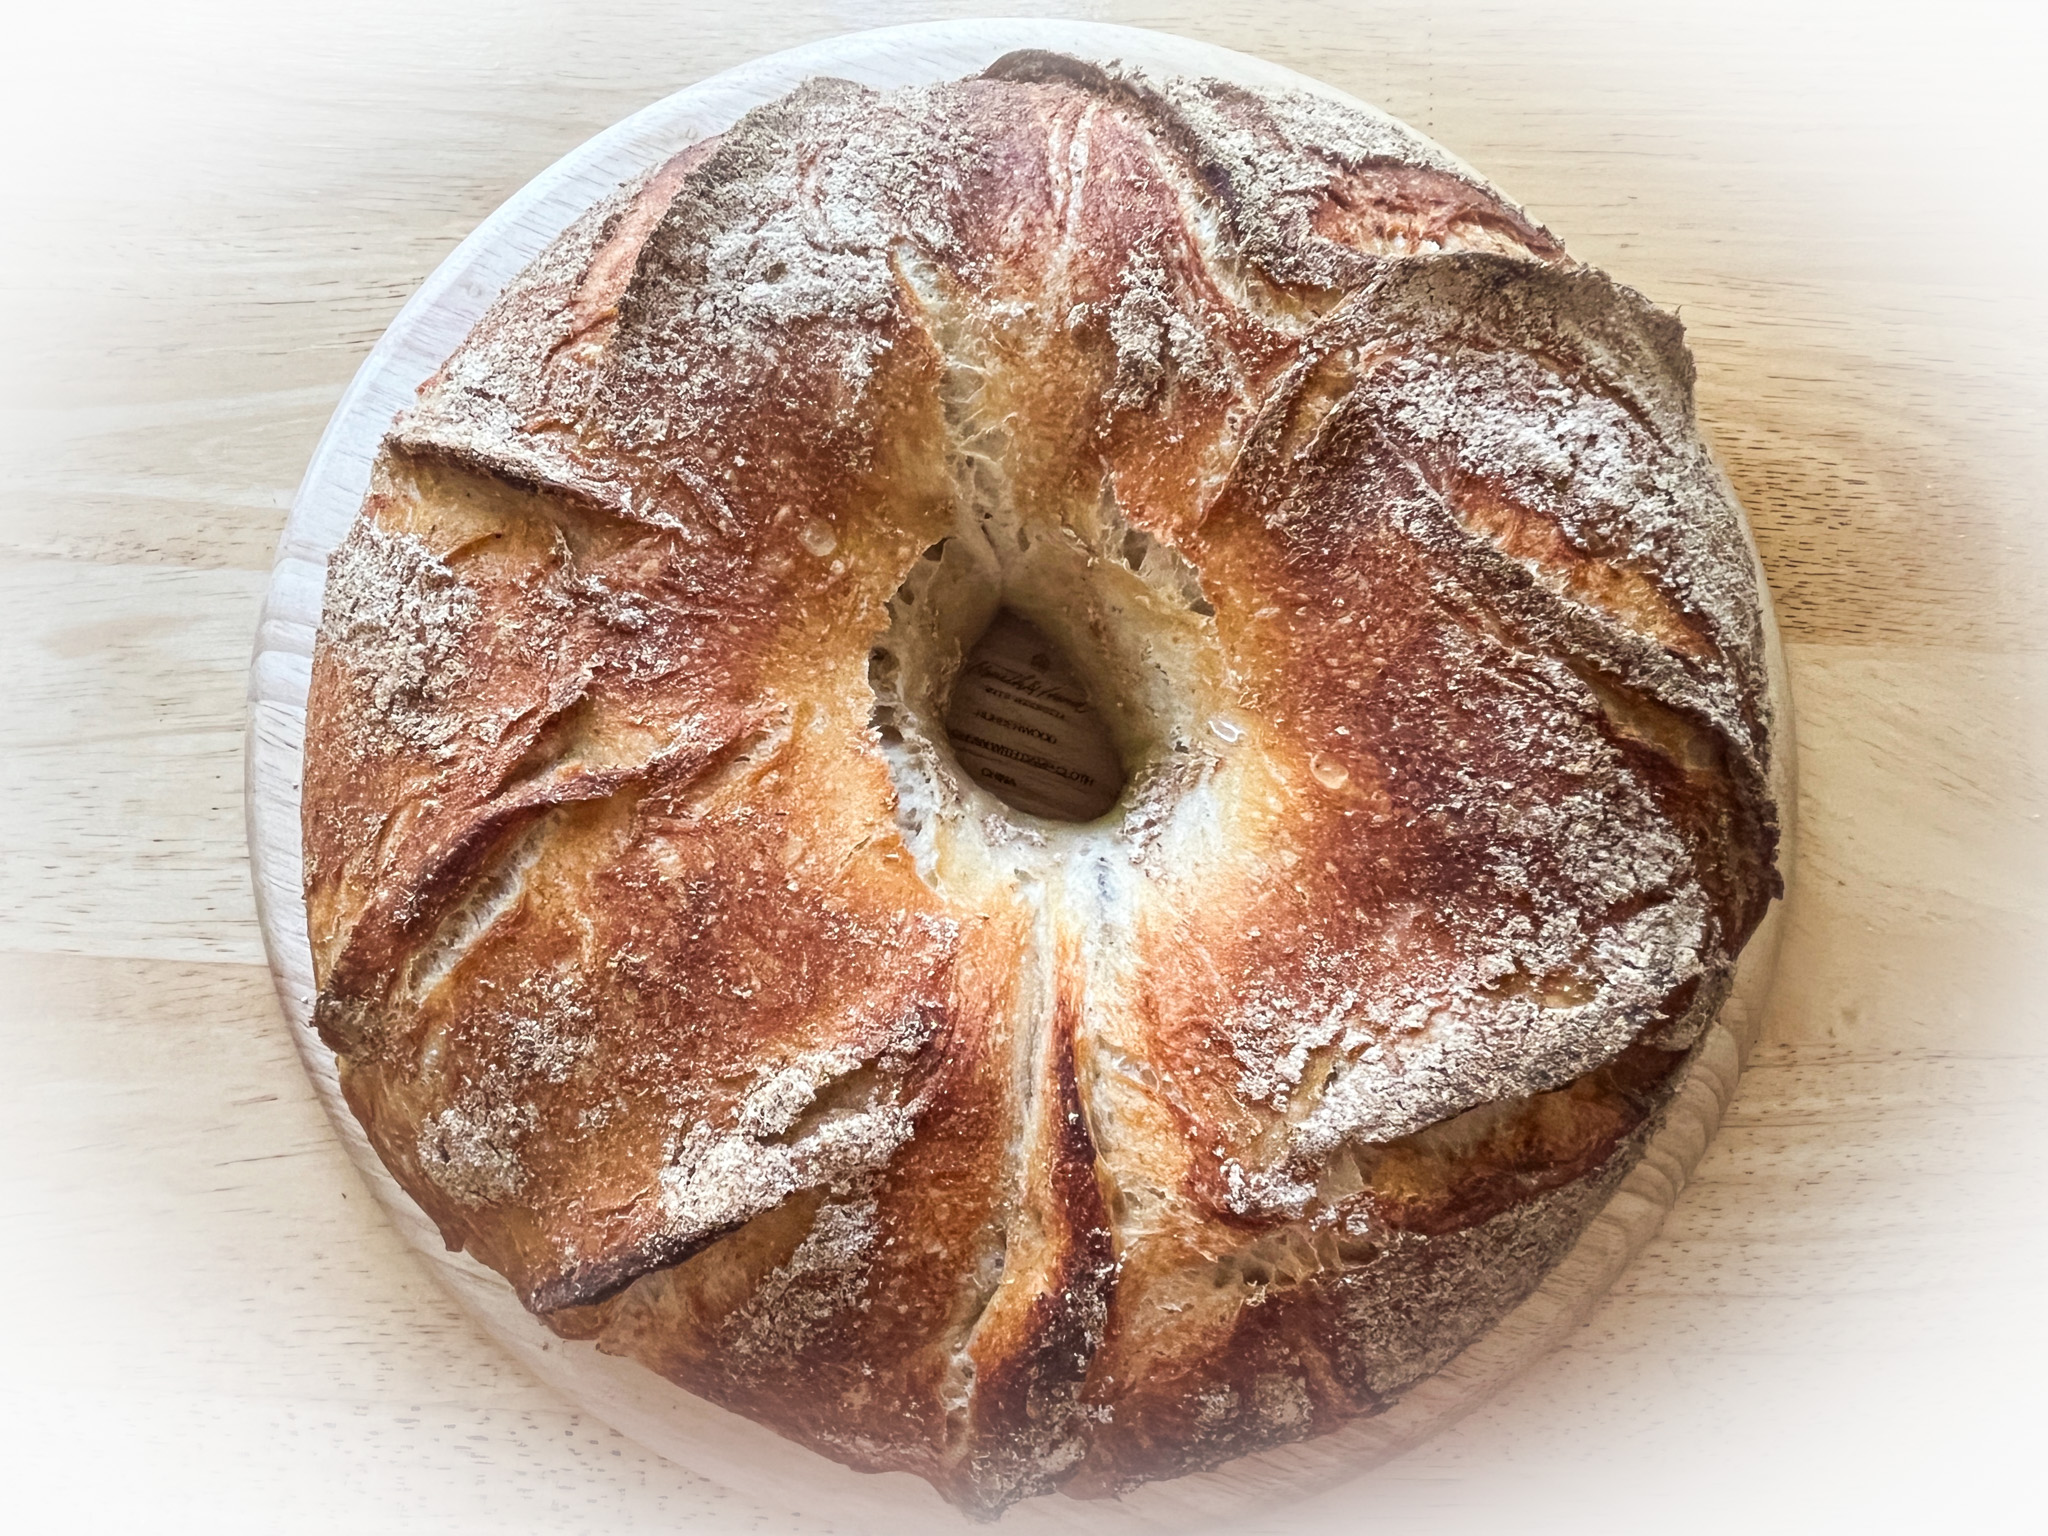
And a festive scoring coupled with a slightly heavier coating with tapioca flour…

That’s all for now, folks, stay tuned for more soon!
ONE YEAR AGO: Farro with Chickpeas and Spinach
TWO YEARS AGO: Bison a la Mode de Bourgogne
THREE YEARS AGO: Masala Mashed Potatoes
FOUR YEARS AGO: Lessons from Tanya: Sugar Cookie Silhouettes
FIVE YEARS AGO: Cherry-Chipotle Chicken Thighs
SIX YEARS AGO: White Chocolate Mini-Mousse with Sugared Cranberries
SEVEN YEARS AGO: You Say Ebelskiver, I say Falafel
EIGHT YEARS AGO: Happy Thanksgiving!
NINE YEARS AGO: Two Takes on Raspberries
TEN YEARS AGO: Spice Cake with Blackberry Puree & The Global Pastry Review
ELEVEN YEARS AGO: Own Your Kitchen with Cappuccino Panna Cotta
TWELVE YEARS AGO: Chicken Parmigiana, the Thriller
THIRTEEN YEARS AGO: Wild Mushroom Risotto
FOURTEEN YEARS AGO: Tartine Bread: Basic Country Loaf
FIFTEEN YEARS AGO: Pugliese Bread