I share with you three takes on a very simple bake, the deliciously humble brownie. What makes a brownie a brownie? Tough to define precisely because lots of different recipes will take you to that territory. In general, it is a simple cake with just a few ingredients: butter, flour, chocolate, sugar and eggs. But a leavening agent might finds its way there also, in case the baker prefers a more cake-like version. Marriages have been damaged due to brownie divergencies. I advise you to date people who share your passion for fudgy or cakey. Back to what matters. My three versions are right here for you.
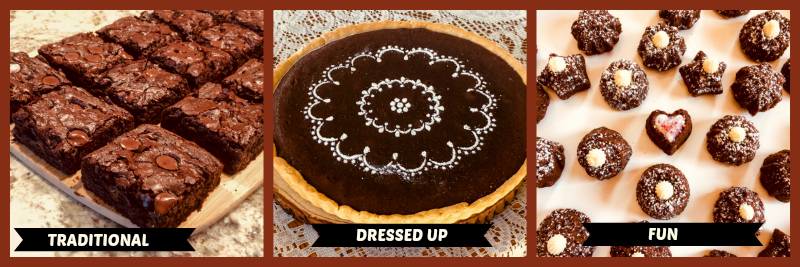
BROWNIE, TRADITIONAL
I like it to be dense, creamy, not cakey. I like a brownie with substance, but that melts in the mouth and brings with each bite a moment of introspection because words seem like such a waste.
This recipe, straight from the blog of Helen, my tent-baker friend, checks all the boxes.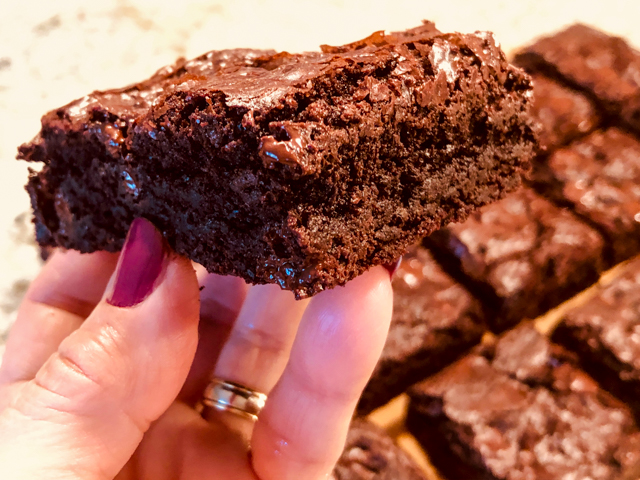 For the recipe, visit Bakers Anonymous with a click here.
BROWNIE, DRESSED UP
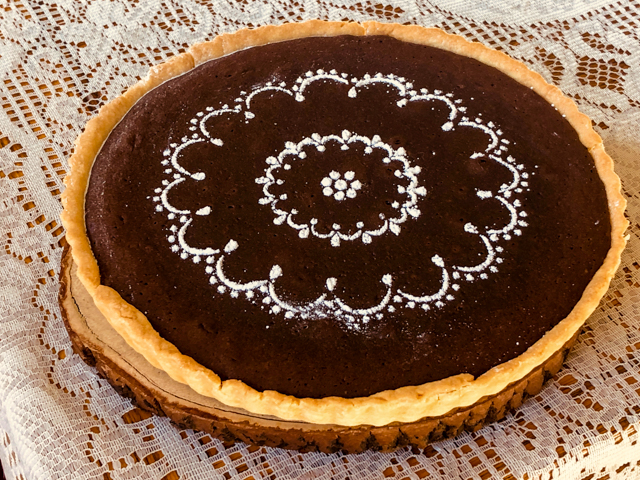
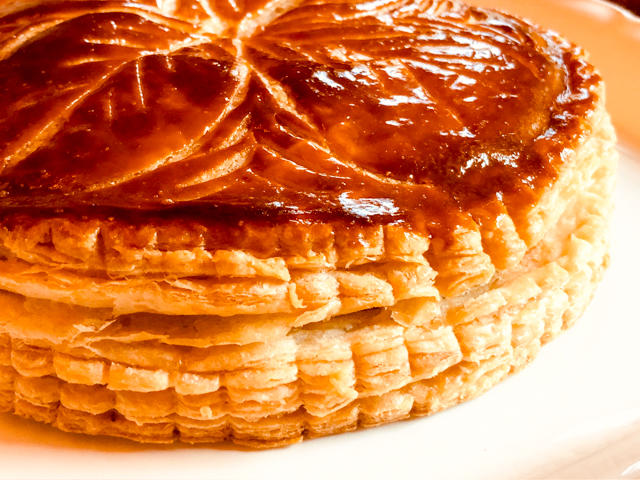
BROWNIE PIE
(from the Bewitching Kitchen)
for the pastry shell:
(makes more than you need, save the rest in the freezer)
310g all purpose flour
30g powdered sugar
pinch of salt
170g butter (chilled and cut in small cubes)
3 egg yolks mixed with very cold water to make a volume of 6 tablespoons
for the chocolate brownie filling:
100 g coarsely chopped 70% chocolate
10 g Dutch-process cocoa powder
120 g unsalted butter
180 g whole eggs
130 g granulated sugar
50 g all-purpose flour, sifted
powdered sugar for decoration (optional)
Heat the oven to 375F.
Put the flour, sugar and salt in food processor then add the butter and process until the butter is in small pieces. With the motor running add the mixture of egg yolks and cold water. Stop the mixer before the pastry forms a ball, remove it from the processor and gently bring it all together with your hands over plastic wrap. Shape into a flat disc and leave it in the fridge for 30 minutes.
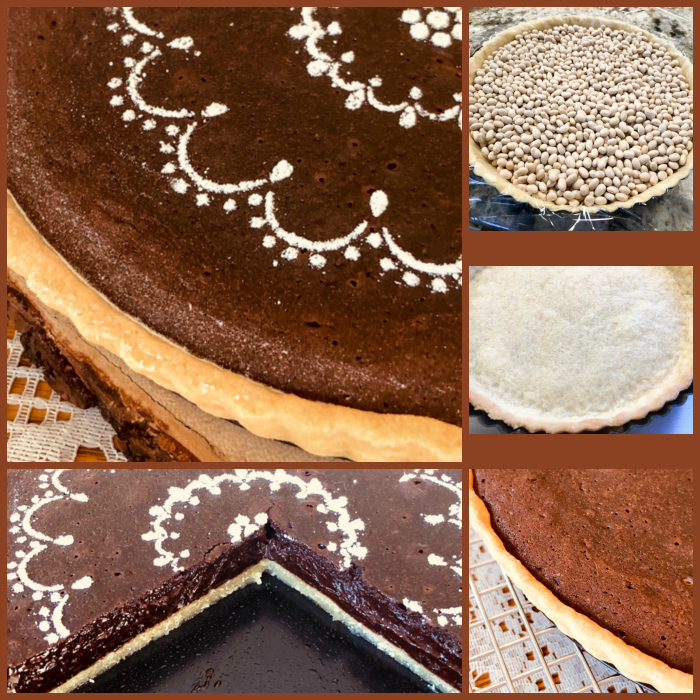
Roll out the pastry to a thickness of about 3mm. I like to do it in between two plastic sheets (I cut the four sides of a large ziplock bag leaving just the bottom part attached, open it and roll the pastry inside it). Roll the dough as a circle large enough to cover the pan and leave a little extra around the sides. Place it in an 8-inch tart pan with removable bottom.
Line the surface with plastic wrap and fill with beans. Wrap the plastic over the beans so that it does not touch the metal sides of the pan. Blind bake for 15 minutes with the beans on, then carefully remove them and place the shell back in the oven for 20 more minutes. Remove and allow it to cool slightly.
Lower the temperature of the oven to 350 F.
Make the brownie filling. Gently melt the chocolate, cocoa powder and butter together in the microwave. In a bowl, lightly whisk the eggs and sugar by hand. Fold in the dark chocolate mixture, followed by the sifted flour. Continue gently folding using a spatula until well combined. Place the finished mixture into the blind-baked tart shell and bake for 15 to 20 minutes, until it is set in the center.
Allow it to cool and decorate with powdered sugar using a stencil, if you like. Refrigerate until serving time.
ENJOY!
to print the recipe, click here
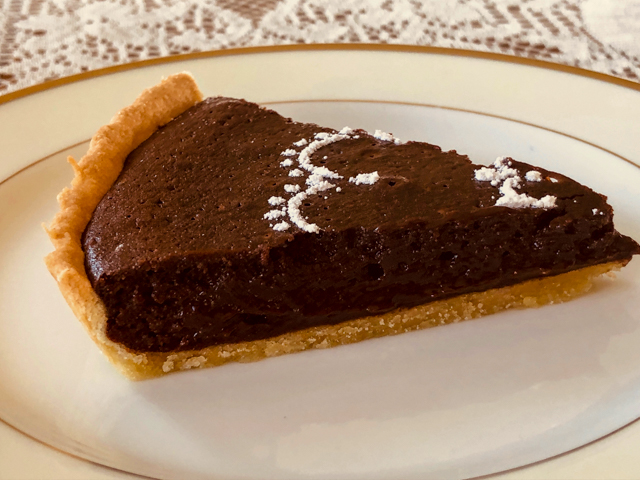
This was decadent. We offered pieces to some bricklayers working in a little project in our home and they were very VERY happy. This recipe has just enough flour to hold it together, so it is almost like enjoying a piece of ready to melt chocolate on top of a sweet tart shell. Bliss.
Am I the only one who sees a cute alien?
Now finally, my third version for you…
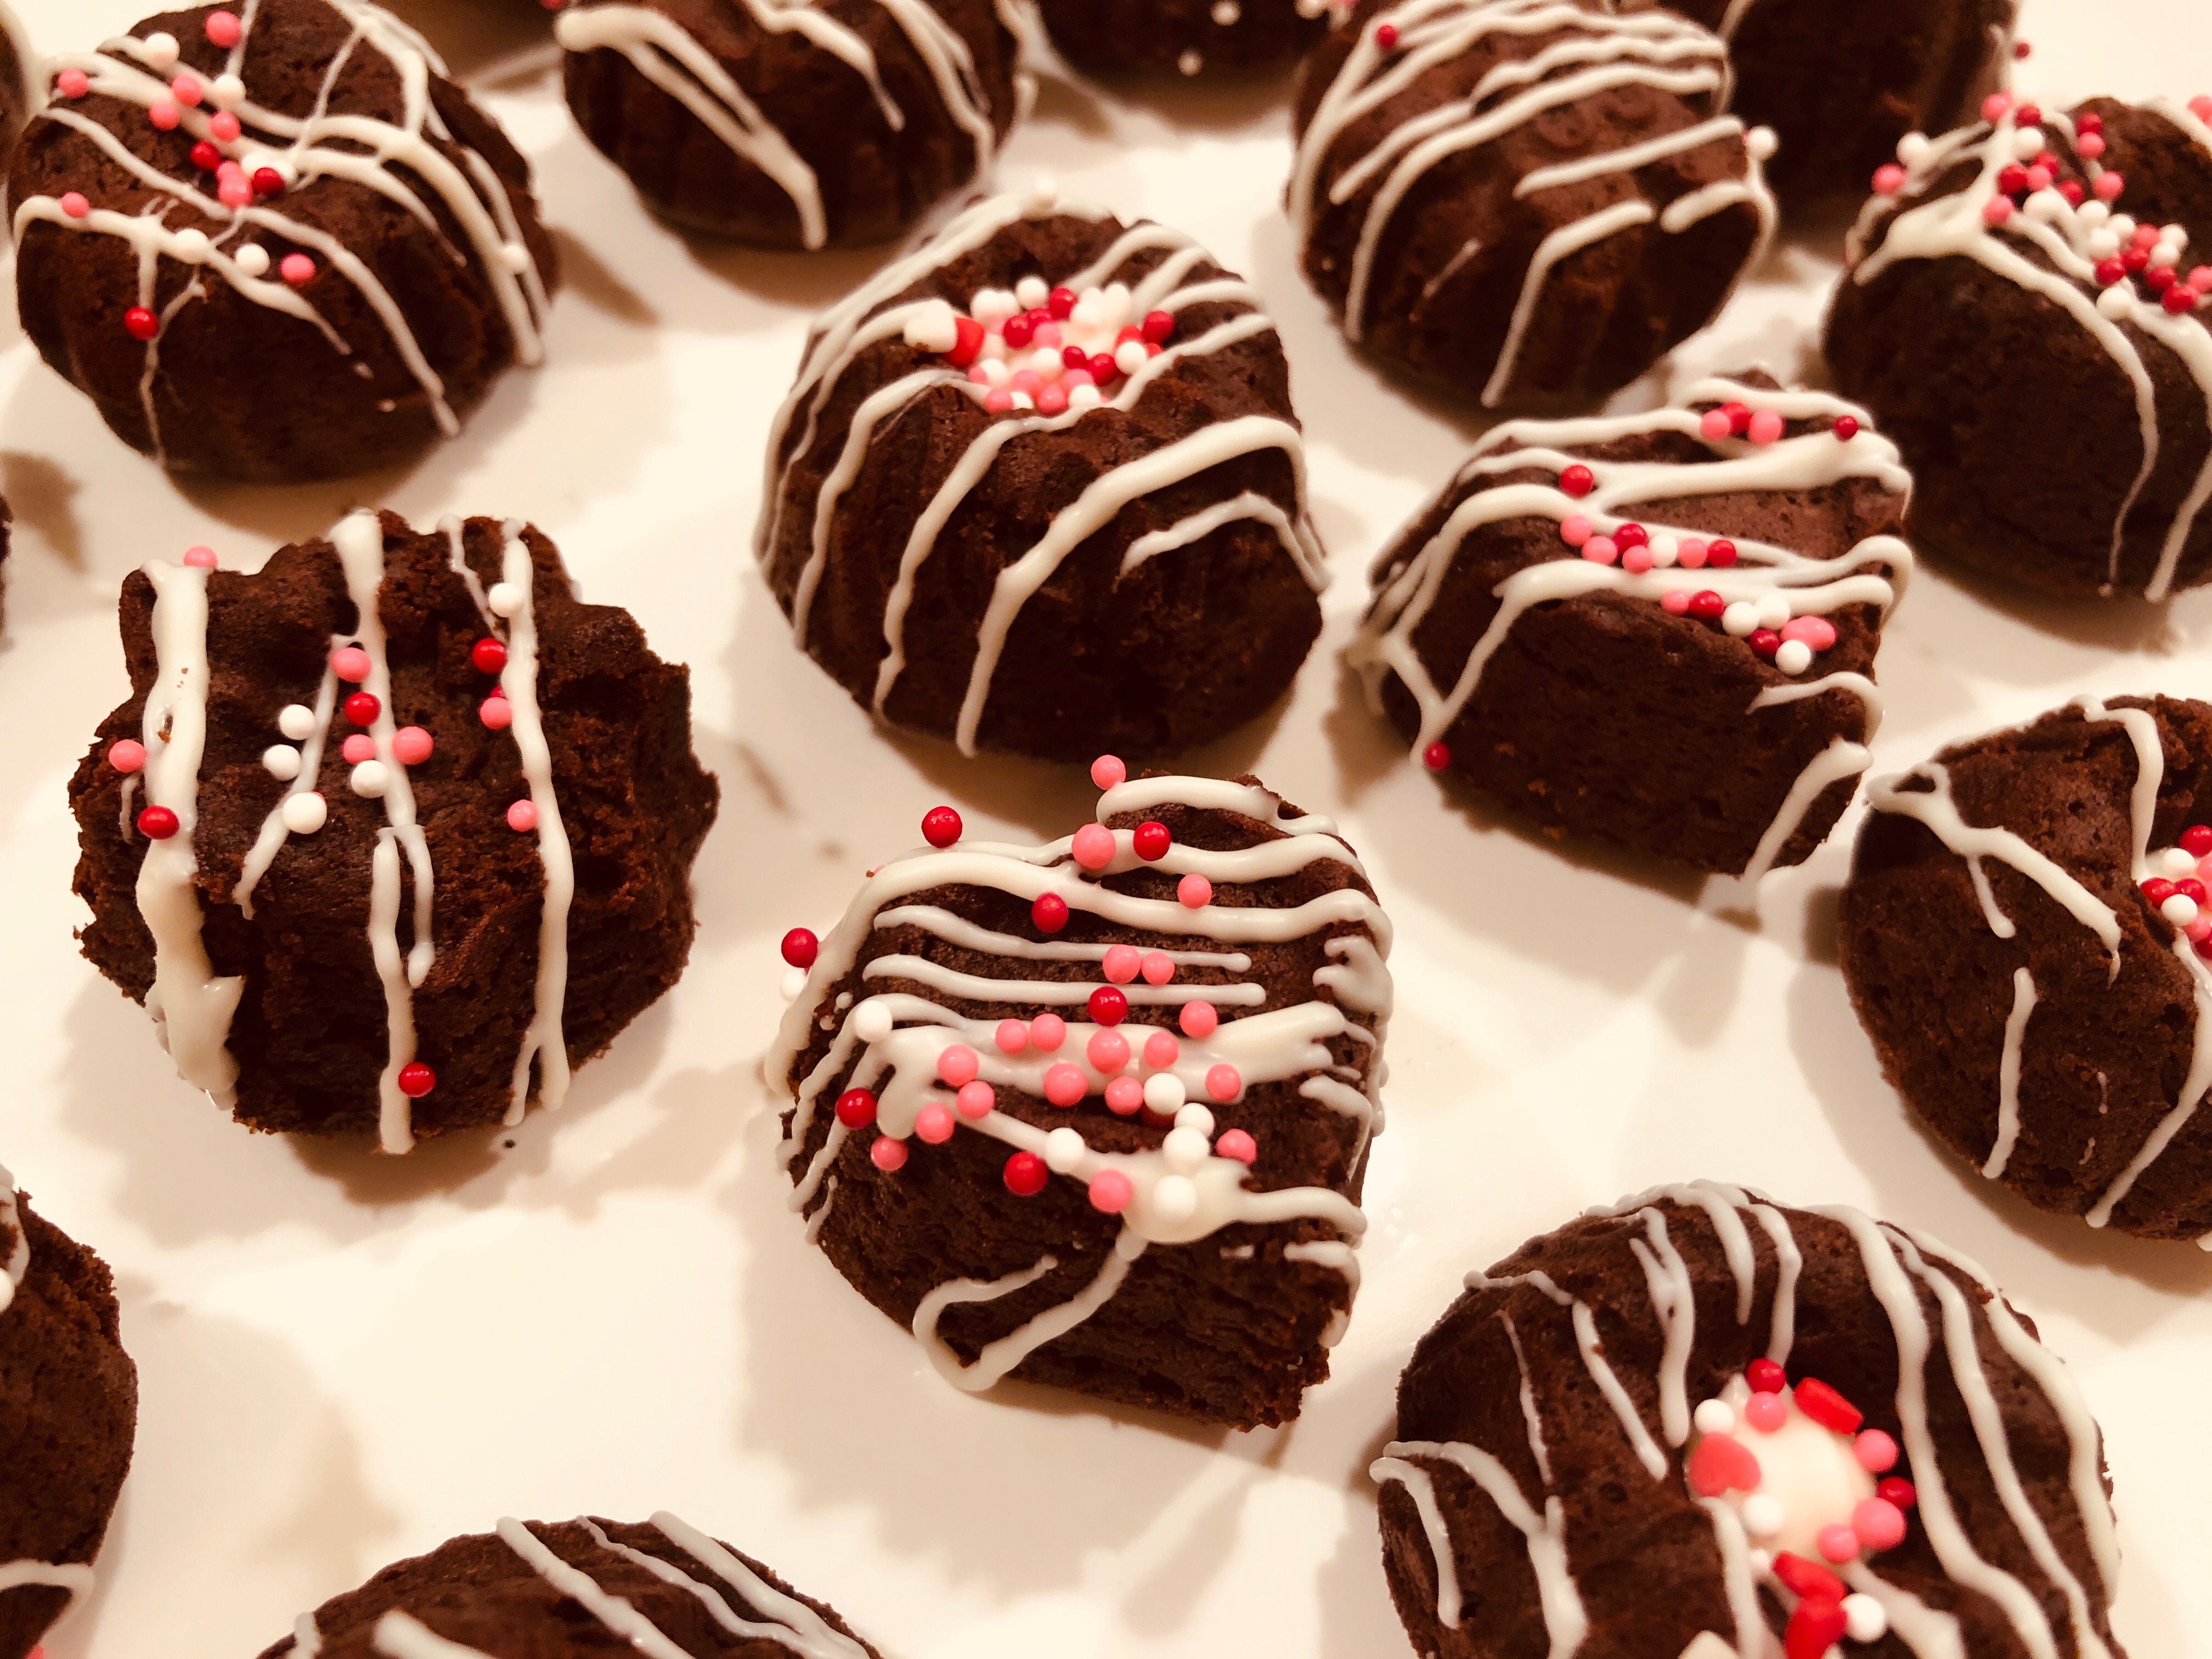
BROWNIE BITES, FOR FUN
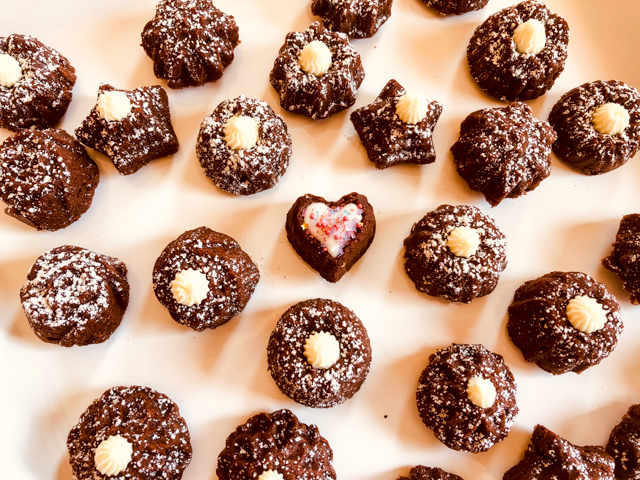
BROWNIE BITES
(adapted from The Cookery Wife)
95 g all-purpose flour
200 g granulated sugar
75 g cocoa powder (I used natural)
1/4 teaspoon salt
1/2 cup butter, (1 stick, 113 g), room temperature
2 eggs
1 teaspoons vanilla paste
2 Tablespoons full-fat milk (optional)
Heat oven to 350F.
Spray your mini-cake pan with baking spray containing flour.
In the bowl of a stand mixer add dry ingredients: flour, sugar, cocoa, salt. Stir to combine. Next, add eggs, vanilla, butter. Mix on low for 30 seconds, add the milk and mix on medium-high for 2 full minutes. Batter will be very thick. Place it in a piping bag (no need for piping tip). Cut an opening and fill the mini-cakes between 1/2 and 3/4 full.
Using the tip of your finger coated with a bit of butter, press the batter to smooth it out. Bake for 15 minutes until a tooth pick inserted comes out clean. Let cool 10 minutes before removing from pan.
A toothpick can help loosen the sides, but be gentle. Cool completely over a rack before decorating with powdered sugar.
ENJOY!
to print the recipe, click here
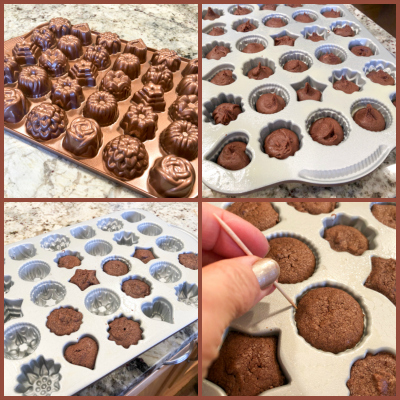
First of all, don’t let the lack of a mini-cute-Bundt pan stop you from making these bites. A mini-muffin alternative will work just as well. But, you know I cannot resist a baking gadget. I was a bit afraid of them sticking to the pan, but most came out just with a gentle flip of the pan (see photo, bottom left). Just a few stayed in, but were also released with a gentle tap, no harm done. I think filling them just a little over half capacity is the ticket. If some of them dome a bit, you can gently shave the bump with a small serrated knife, so they will sit leveled.
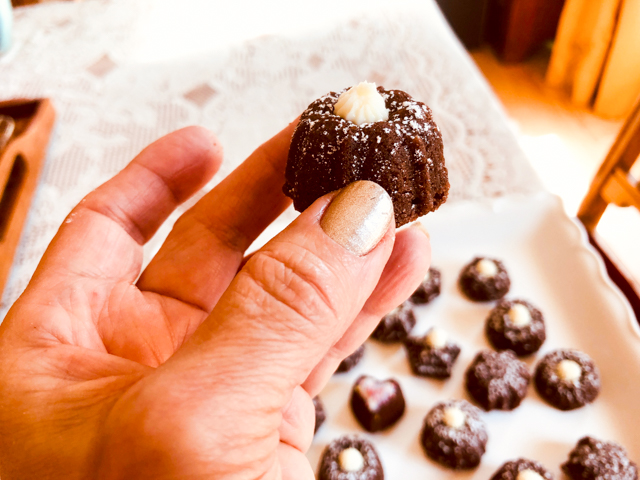
They have great flavor and the texture is not dense, even though the batter started so thick. You can decorate them with powdered sugar, a drizzle of caramel, melted chocolate. I happened to have some leftover white chocolate ganache from a macaron adventure, so I added a touch of that to most of them. They are perfect to bring to parties or share with co-workers. I will bake them regularly, my next project will involve a lemon cake. The idea is to avoid cake batters that are too light, you need more substance to get them to unmold nicely and keep the overall design.
ONE YEAR AGO: Berry Rebellion Tarts (one of my favorite blog posts)
TWO YEAR AGO: Emilie Raffa’s High Hydration Sourdough
THREE YEARS AGO: Short-Ribs with Chickpeas and Chard
FOUR YEARS AGO: Asian-Style Short Ribs
FIVE YEARS AGO: Herbed Goat Cheese Souffles
SIX YEARS AGO: Barley Risotto with Peas
SEVEN YEARS AGO: Jammin’ Blueberry Sour Milk Pancakes
EIGHT YEARS AGO: Scallops with Black Pasta in Orange Cream Sauce
NINE YEARS AGO: Stir-fried Chicken with Creamed Corn
TEN YEARS AGO: Potato, Cheddar, and Chive Torpedo