Soup weather is here to stay. I should not complain, actually, so far things have progressed more or less smoothly. Anytime December catches me in my neck of the woods going for a morning run with no gloves, no hat, no growling, and wearing only a light long-sleeved shirt, I am a happy camper. Actually, happy jogger is more like it. But, let’s face it, things will get nasty soon enough and diving into a creamy bowl of soup feels like the right thing to do. I improvised this one using stuff I had in the fridge, not sure how it would turn out, but it was so delicious I had to share. The combination of zucchini with mushrooms might be a bit unusual, but worked very well… If you care to know, the soup is Paleo-friendly, low in carbs, and high in deliciousness.
CREAMY ZUCCHINI & MUSHROOM SOUP
(from the Bewitching Kitchen)
2 tablespoons olive oil, divided
1/2 onion, diced
salt and pepper (I recommend using a heavy hand for the black pepper)
za’tar (optional)
3/4 pound white mushrooms, sliced thick
3 medium zucchini
1 cup chicken stock
2 cups water
fresh thyme
2 handfuls spinach
1/2 cup coconut milk
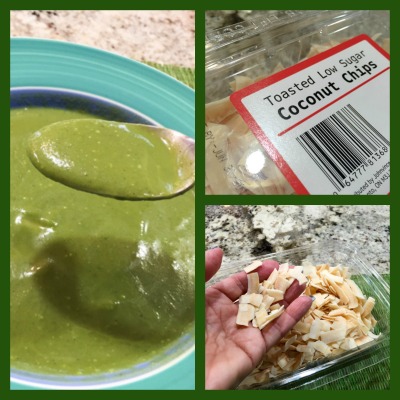
toasted coconut flakes for topping (optional)
Heat 1 tablespoon of olive oil in a pan, when hot add the onion, season lightly with salt, pepper, and a little za’tar, if using. Saute until onion is translucent, add the mushrooms, and cook them in medium-high heat, stirring occasionally. If the pan gets too dry, add another tablespoon of olive oil. When the mushrooms are starting to get soft, add the zucchini, cook for a couple of minutes then add chicken stock and water. Mix well, cover the pan and let it simmer for about 12 minutes.
Turn the heat off, add thyme and spinach. Mix, transfer the contents to a blender. Blend very well, being careful (hot stuff in a blender can be dangerous, do it in batches if necessary). Return the blended soup to the pan, add the coconut milk, warm it up in low-heat, taste and adjust seasoning.
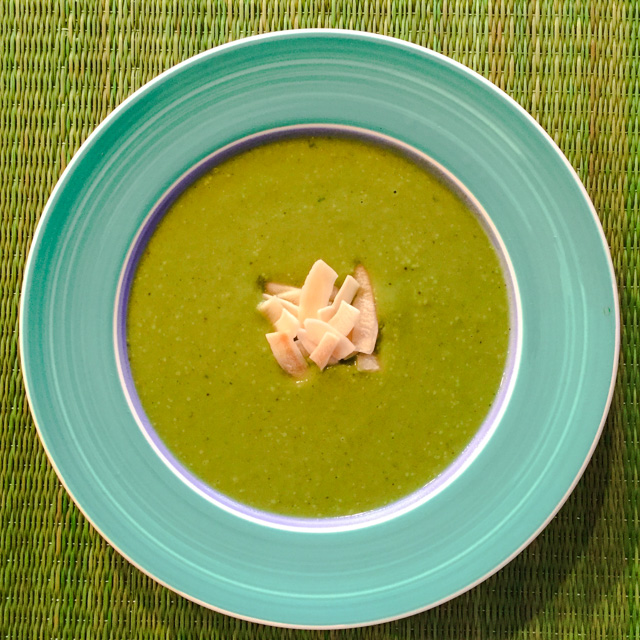
Serve with toasted coconut flakes or any other topping you like.
ENJOY!
to print the recipe, click here
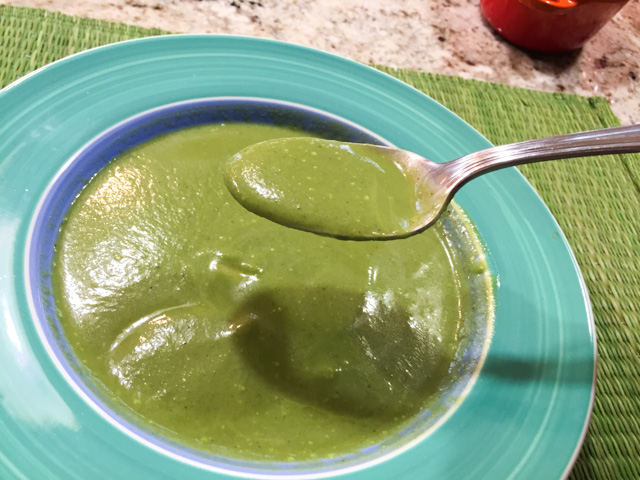
Comments: I am very fond of zucchini soup, and also love a nice creamy mushroom soup. Never thought of marrying both ingredients. When mixing zucchini with mushrooms you’ll enter a twilight zone of unappealing color that can be tricky to deal with. After all, part of the charm of zucchini soup is its beautiful green, but the mushrooms mess that up. That’s when the fresh spinach enters the scene. I use this trick often when I want to perk up the green color of a soup. The secret is to add it right before you blend the soup, and don’t add too much. You won’t be able to tell there is spinach in it because the zucchini and mushroom flavor is prominent. Use a nice blender, if you have a Vitamix put it to work for at least a couple of minutes. You will have a gorgeous green soup, creamy, soothing, flavorful. It will be light but keep you satisfied, thanks in part to the fat from the coconut milk. I had a bowl of this soup on a Saturday after running and felt like a million bucks after. Two Aleve pills as a side dish probably did not hurt either.
ONE YEAR AGO: Mascarpone Mousse from Baking Chez Moi
TWO YEARS AGO: Pumpkin Brigadeiros
THREE YEARS AGO: Pumpkin Espresso Loaf
FOUR YEARS AGO: Caramelized Carrot Soup
FIVE YEARS AGO: Miso-Grilled Shrimp
SIX YEARS AGO: A Special Holiday Fruitcake