Simplicity hit again the Bewitching Kitchen. I used rose harissa because it is one of those ingredients I fell in love with a couple of years ago and now I cannot live without. If you don’t have it, use regular harissa and it will be wonderful too, it’s all about the delicate heat coupled with the soothing yogurt. Perfect side dish for those hot days of Kansas summer. Have I ever mentioned I cannot get enough of summer?
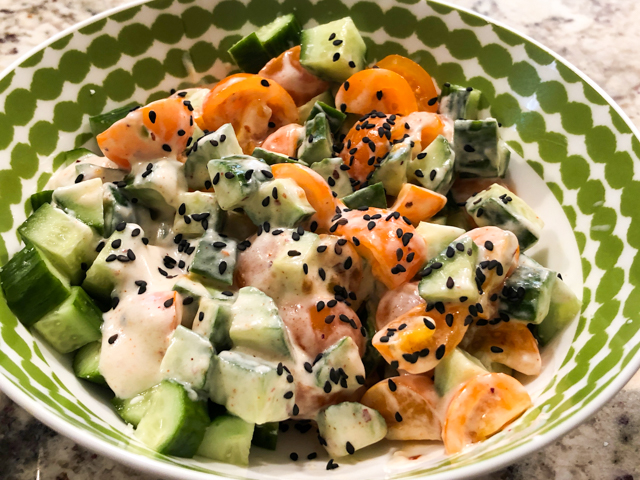
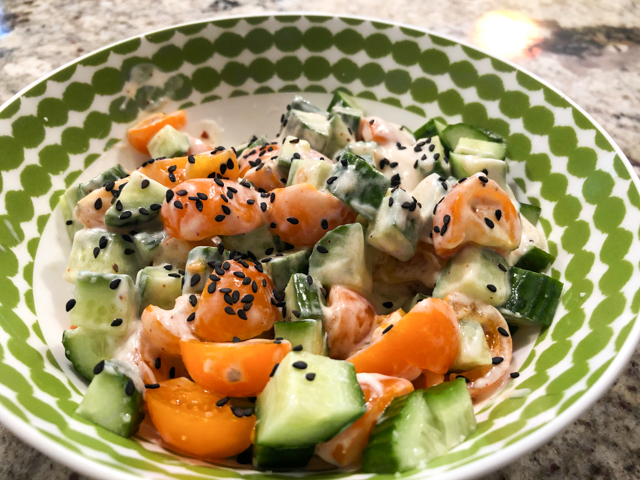
CUCUMBER SALAD WITH HARISSA-YOGURT DRESSING
(from the Bewitching Kitchen)
¼ cup full-fat yogurt
1 to 2 tsp rose harissa paste
drizzle of olive oil
salt and pepper to taste
Persian cucumbers, cut in rounds, then quarters
yellow or red grape tomatoes, cut in half
black sesame seeds
Mix the yogurt, oil, salt and pepper, add the harissa paste and mix gently. Add the cucumbers and tomatoes to a bowl, mix with the yogurt dressing. Let it sit in the fridge for 30 minutes (if you have the extra time), sprinkle with sesame seeds right before serving.
ENJOY!
to print the recipe, click here
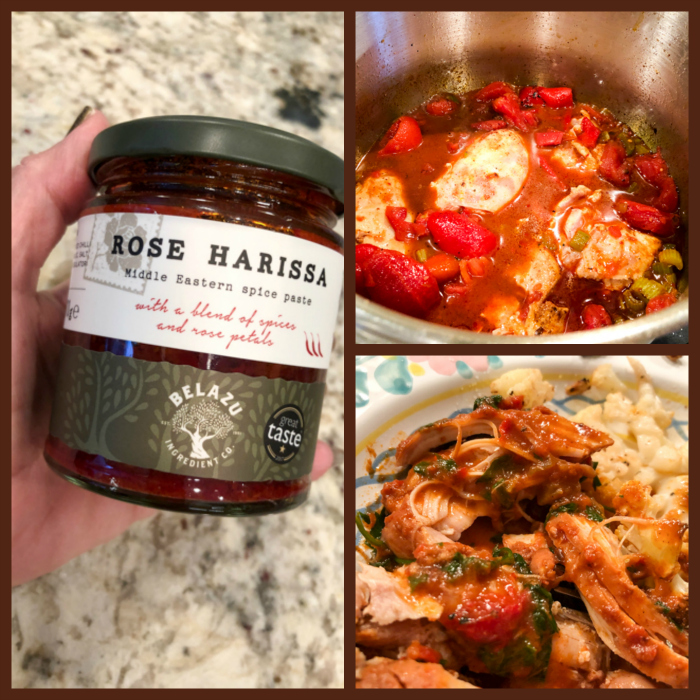
Comments: I’ve shared quite a few recipes with rose harissa, one of my favorites involved chicken thighs. If you like to see the recipe, go back in time with a click here. I had never tried it in a salad dressing or any preparation in which it goes uncooked, so I am glad to report that it works well. You can adjust the amount according to your tolerance to heat. I find harissa quite pleasant, but you should play with it and see how it works best for you.
Surprisingly, leftovers were still quite good next day, I refreshed it with some additional black sesame seeds, and the flavors seemed to be even better. Cucumbers tend to release a bit of liquid, but not to the point of ruining the salad. I hope you’ll give this recipe a try, it pairs well with salmon, chicken, pork, and if you have a nice bread, it can even stand alone as a light lunch.
ONE YEAR AGO: Sundried Tomato and Feta Cheese Torte
TWO YEARS AGO: Hickory-Smoked Beef Tenderloin
THREE YEAR AGO: Spaghetti Squash, Revisited
FOUR YEARS AGO: Stir-fried Chicken and Cabbage in Spicy Almond Sauce
FIVE YEARS AGO: Fifteen Years!
SIX YEARS AGO: Light Brioche Burger Buns
SEVEN YEARS AGO: Sourdough Blues
EIGHT YEARS AGO: Headed to Hawaii
NINE YEARS AGO: A yummy Brazilian cake: Bolo de Fuba’
TEN YEARS AGO: Hidden Treasure
ELEVEN YEARS AGO: Avocado Three Ways