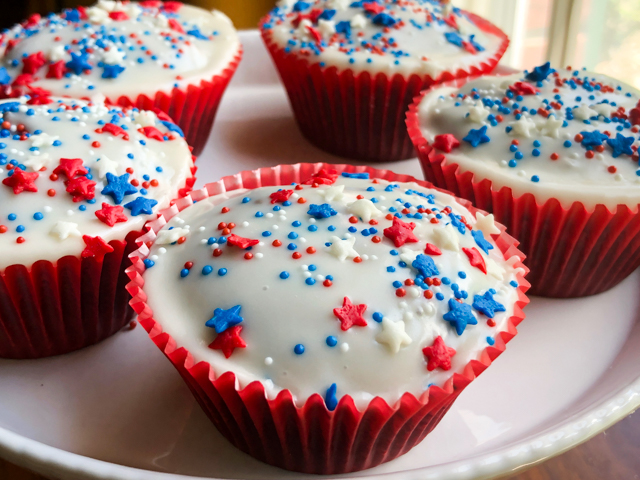
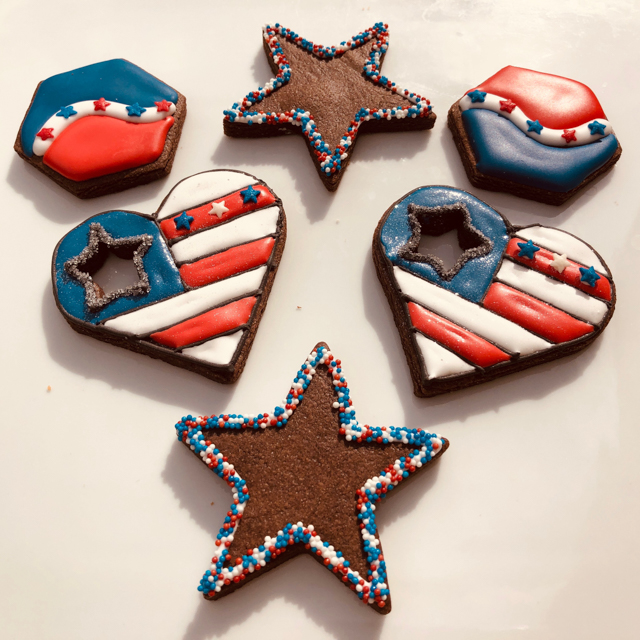
Some adventures in the kitchen can be catastrophic. My lowest of the low was a certain Vegan Soufflee made in 2019 that was by far the worst thing I’ve ever made and maybe the worst I’ve ever tasted. Then there are things that ended up quite tasty but the process was so convoluted that… all I could think was “never, never again.” I share two examples today. You can actually use your own recipes to come up with them, they are both very simple. A brownie cake and sugar cookie dough, in two colors.
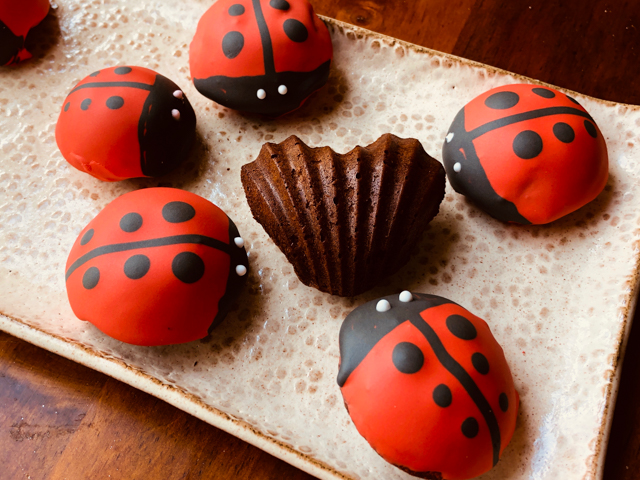
LADY BUG BROWNIE BITES
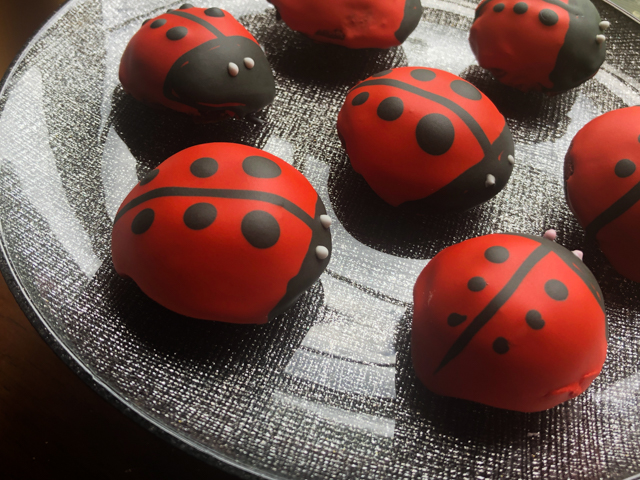
This one took me by surprise, after all I like to think I’m quite comfortable around Royal icing. And after baking the brownie bites in your favorite silicone half-dome mold, you are half way there. But, not so fast, my dear… not so fast. Getting the red icing to smoothly coat the surface, all the way down, is VERY messy and requires colorful language. Then you need to add the details in black while the red is still wet. Finally the white eyes are added later, when the base is set and any Zen you had is far gone.
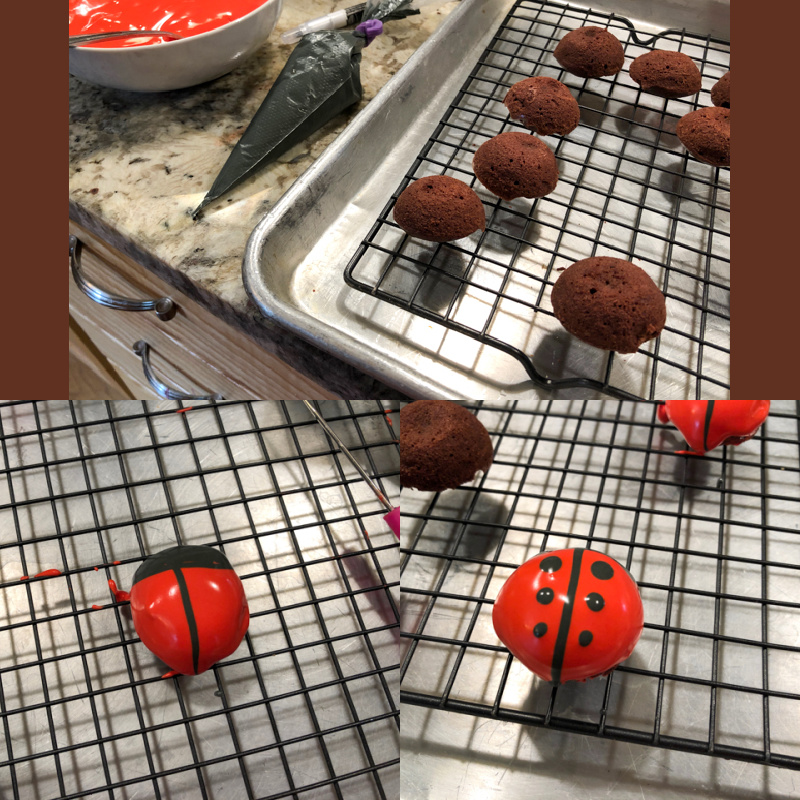
They did look awfully cute, but I tell you, NEVER AGAIN!
Moving on…
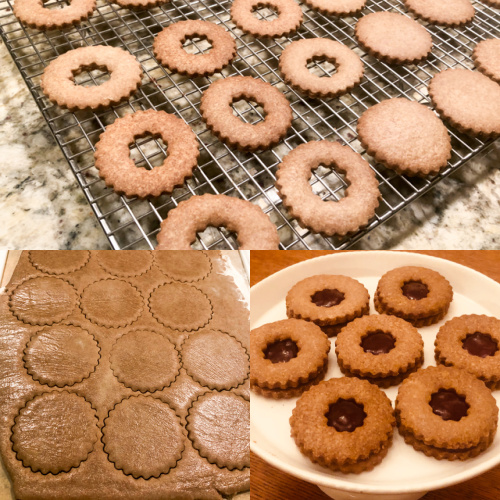
JIGSAW BLACK AND WHITE COOKIES
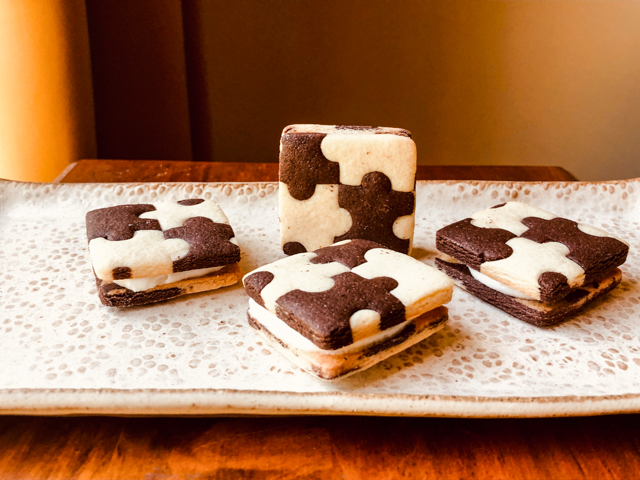
For these cute looking cookies, all you need is the right cutter, and I recommend this one. I actually saw someone on IG making a pastry shell using this technique and immediately adapted it for cookies. It seemed so straightforward.
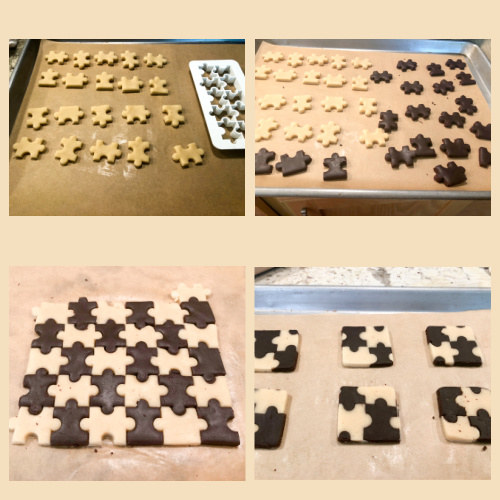
Roll out both doughs less than 1/4 inch thick (I was going to do sandwich cookies because I like to maximize suffering, so I wanted them thin). Cut with the mold, separate the pieces and assemble them together. Cut them in square shapes to bake.
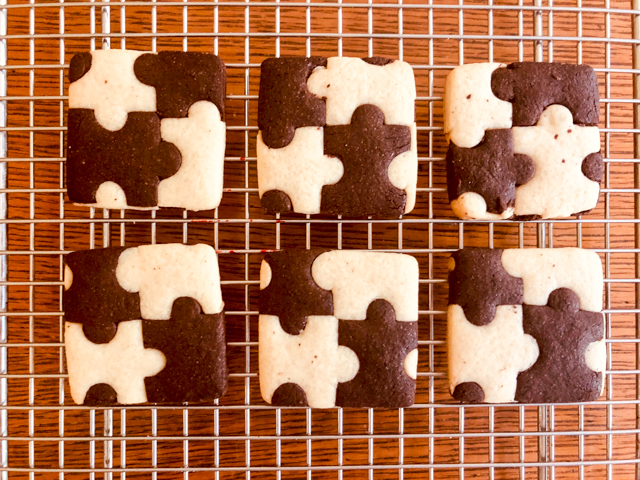
I know they look pretty nice and appealing, but it was time-consuming, a lot of work to come up with just a few cookies. Also, you are left with some trimmings that to use you must mash together for a marble effect, no way to re-roll and get more jigsaw patterns going.
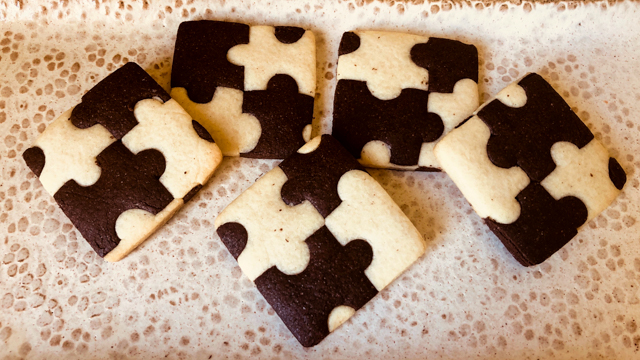
To be honest, I really like the Jigsaw Cookies and might do them again, maybe a Red Velvet and White when Valentine’s comes up. But I need some time to forget the hassle and tell myself “I don’t remember it being that bad.”
ONE YEAR AGO: Chai-Butterfly Macarons
TWO YEARS AGO: Roasted Cauliflower Salad over Hummus
THREE YEARS AGO: Sous-vide Egg Bites
FOUR YEARS AGO: Paul Hollywood, The Weekend Baker
FIVE YEARS AGO: Texas Sheet Cake
SIX YEARS AGO: In My Kitchen, September 2015
SEVEN YEARS AGO: Sour Cherry Sorbet: A Labor of Love
EIGHT YEARS AGO: In My Kitchen – September 2013
NINE YEARS AGO: Raspberry Sorbet at Summer’s End
TEN YEARS AGO: When three is better than two (four years with Buck!)
ELEVEN YEARS AGO: Grating Tomatoes (and loving it!)
TWELVE YEARS AGO: A Peachy Salad for a Sunny Day