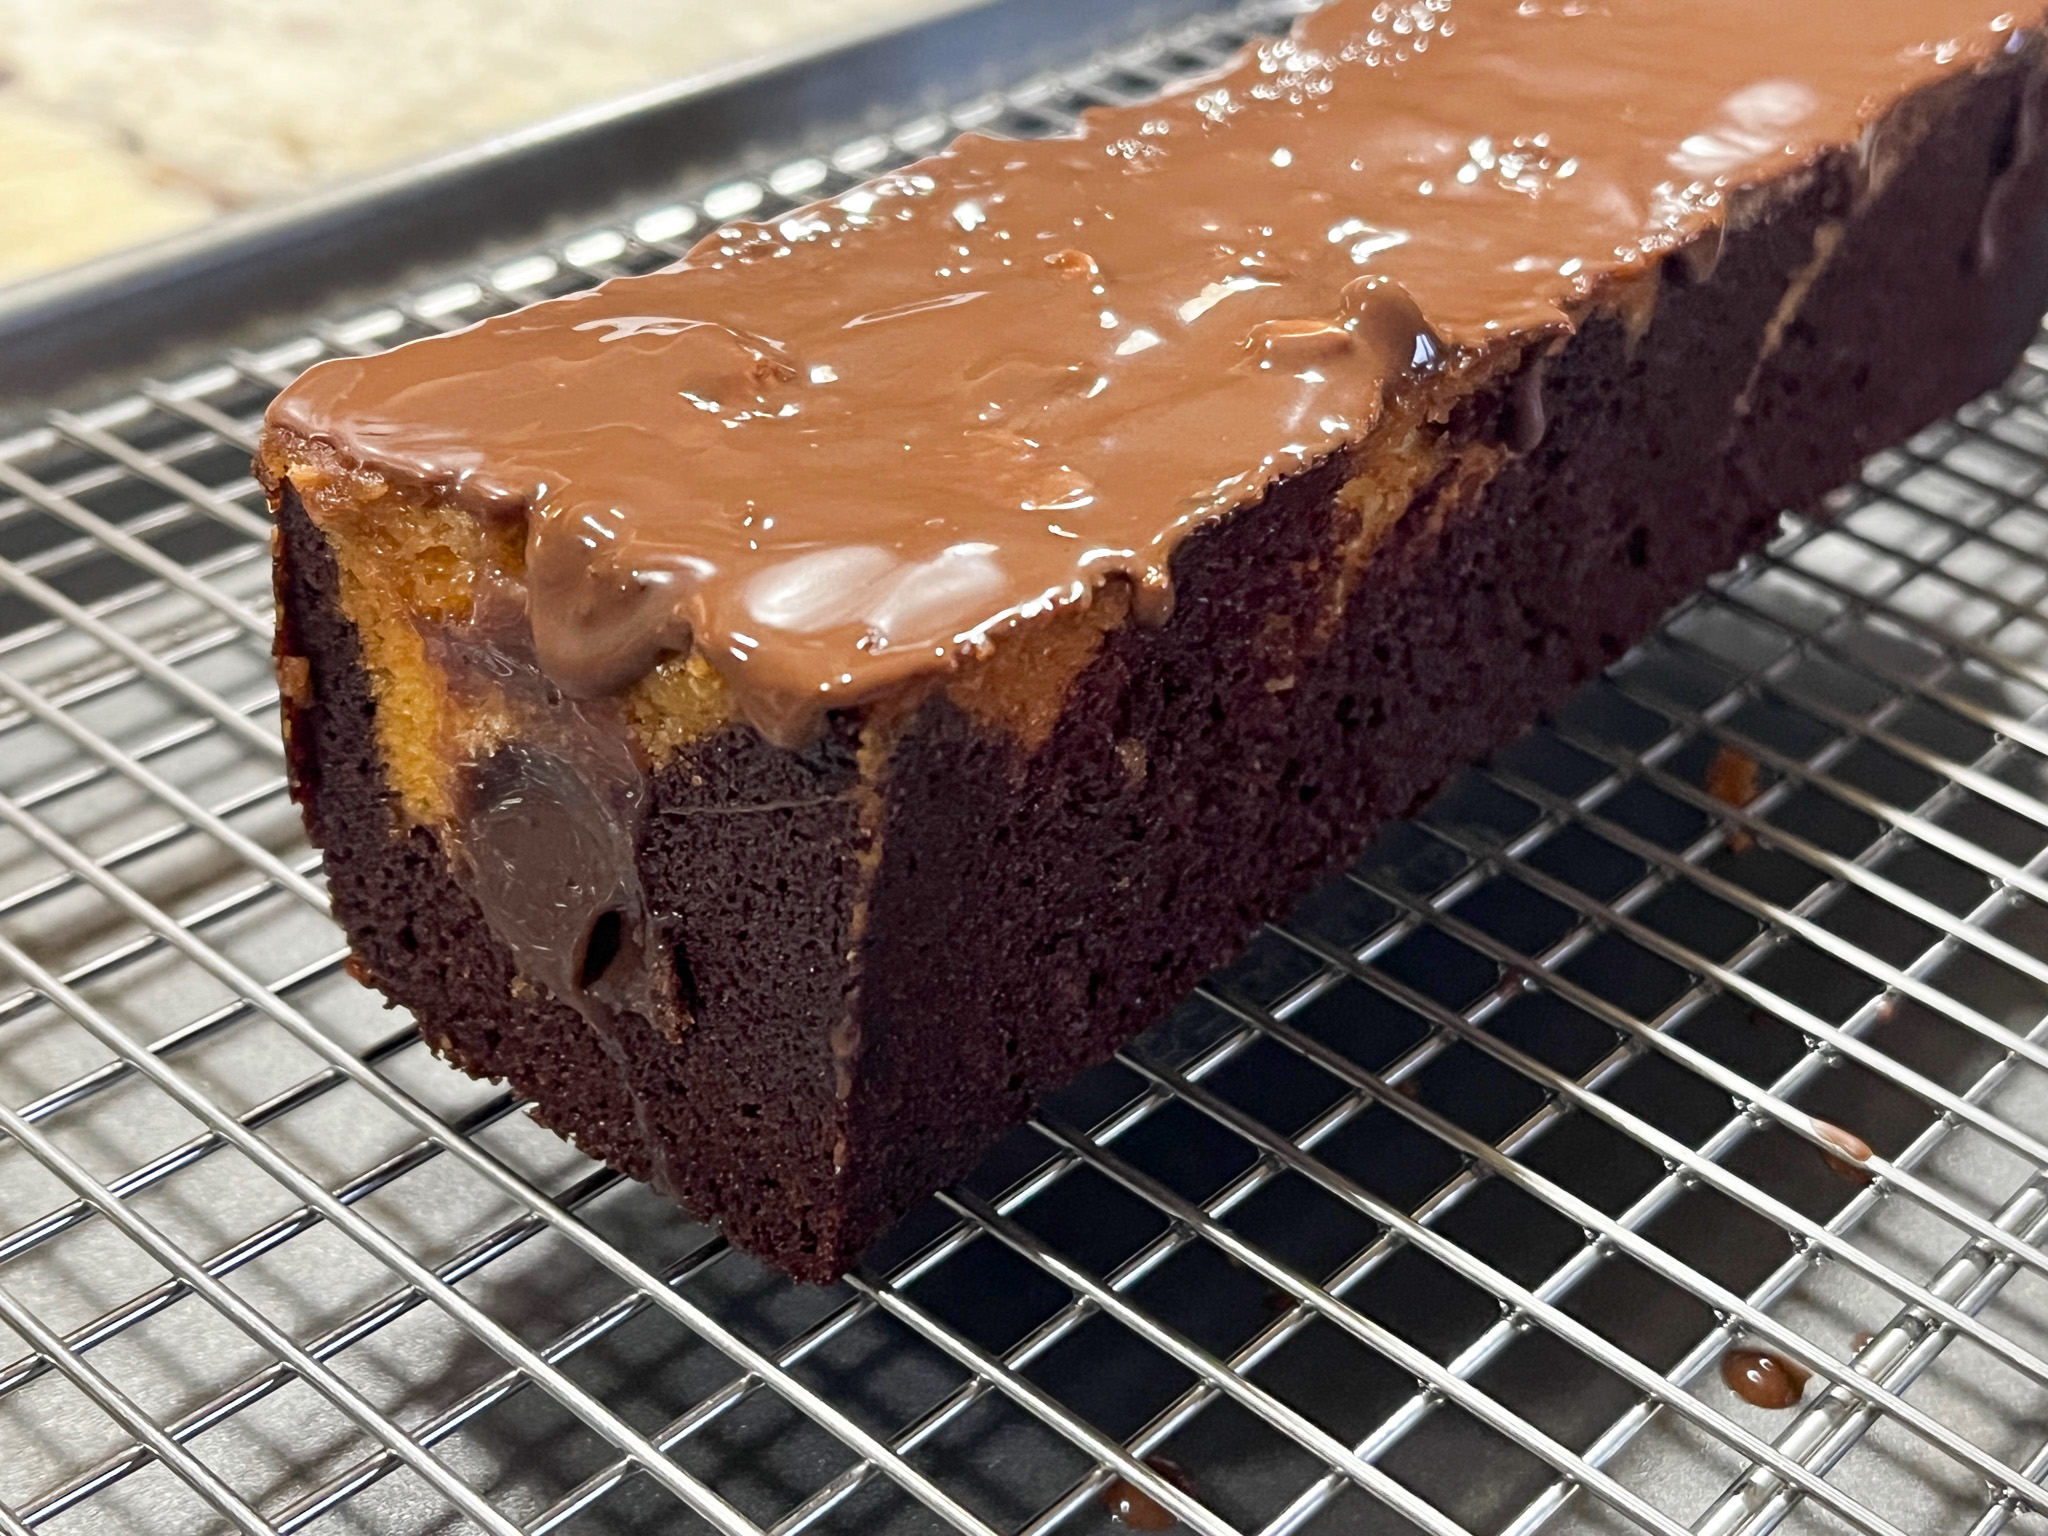
Such a classic bake, and so simple!

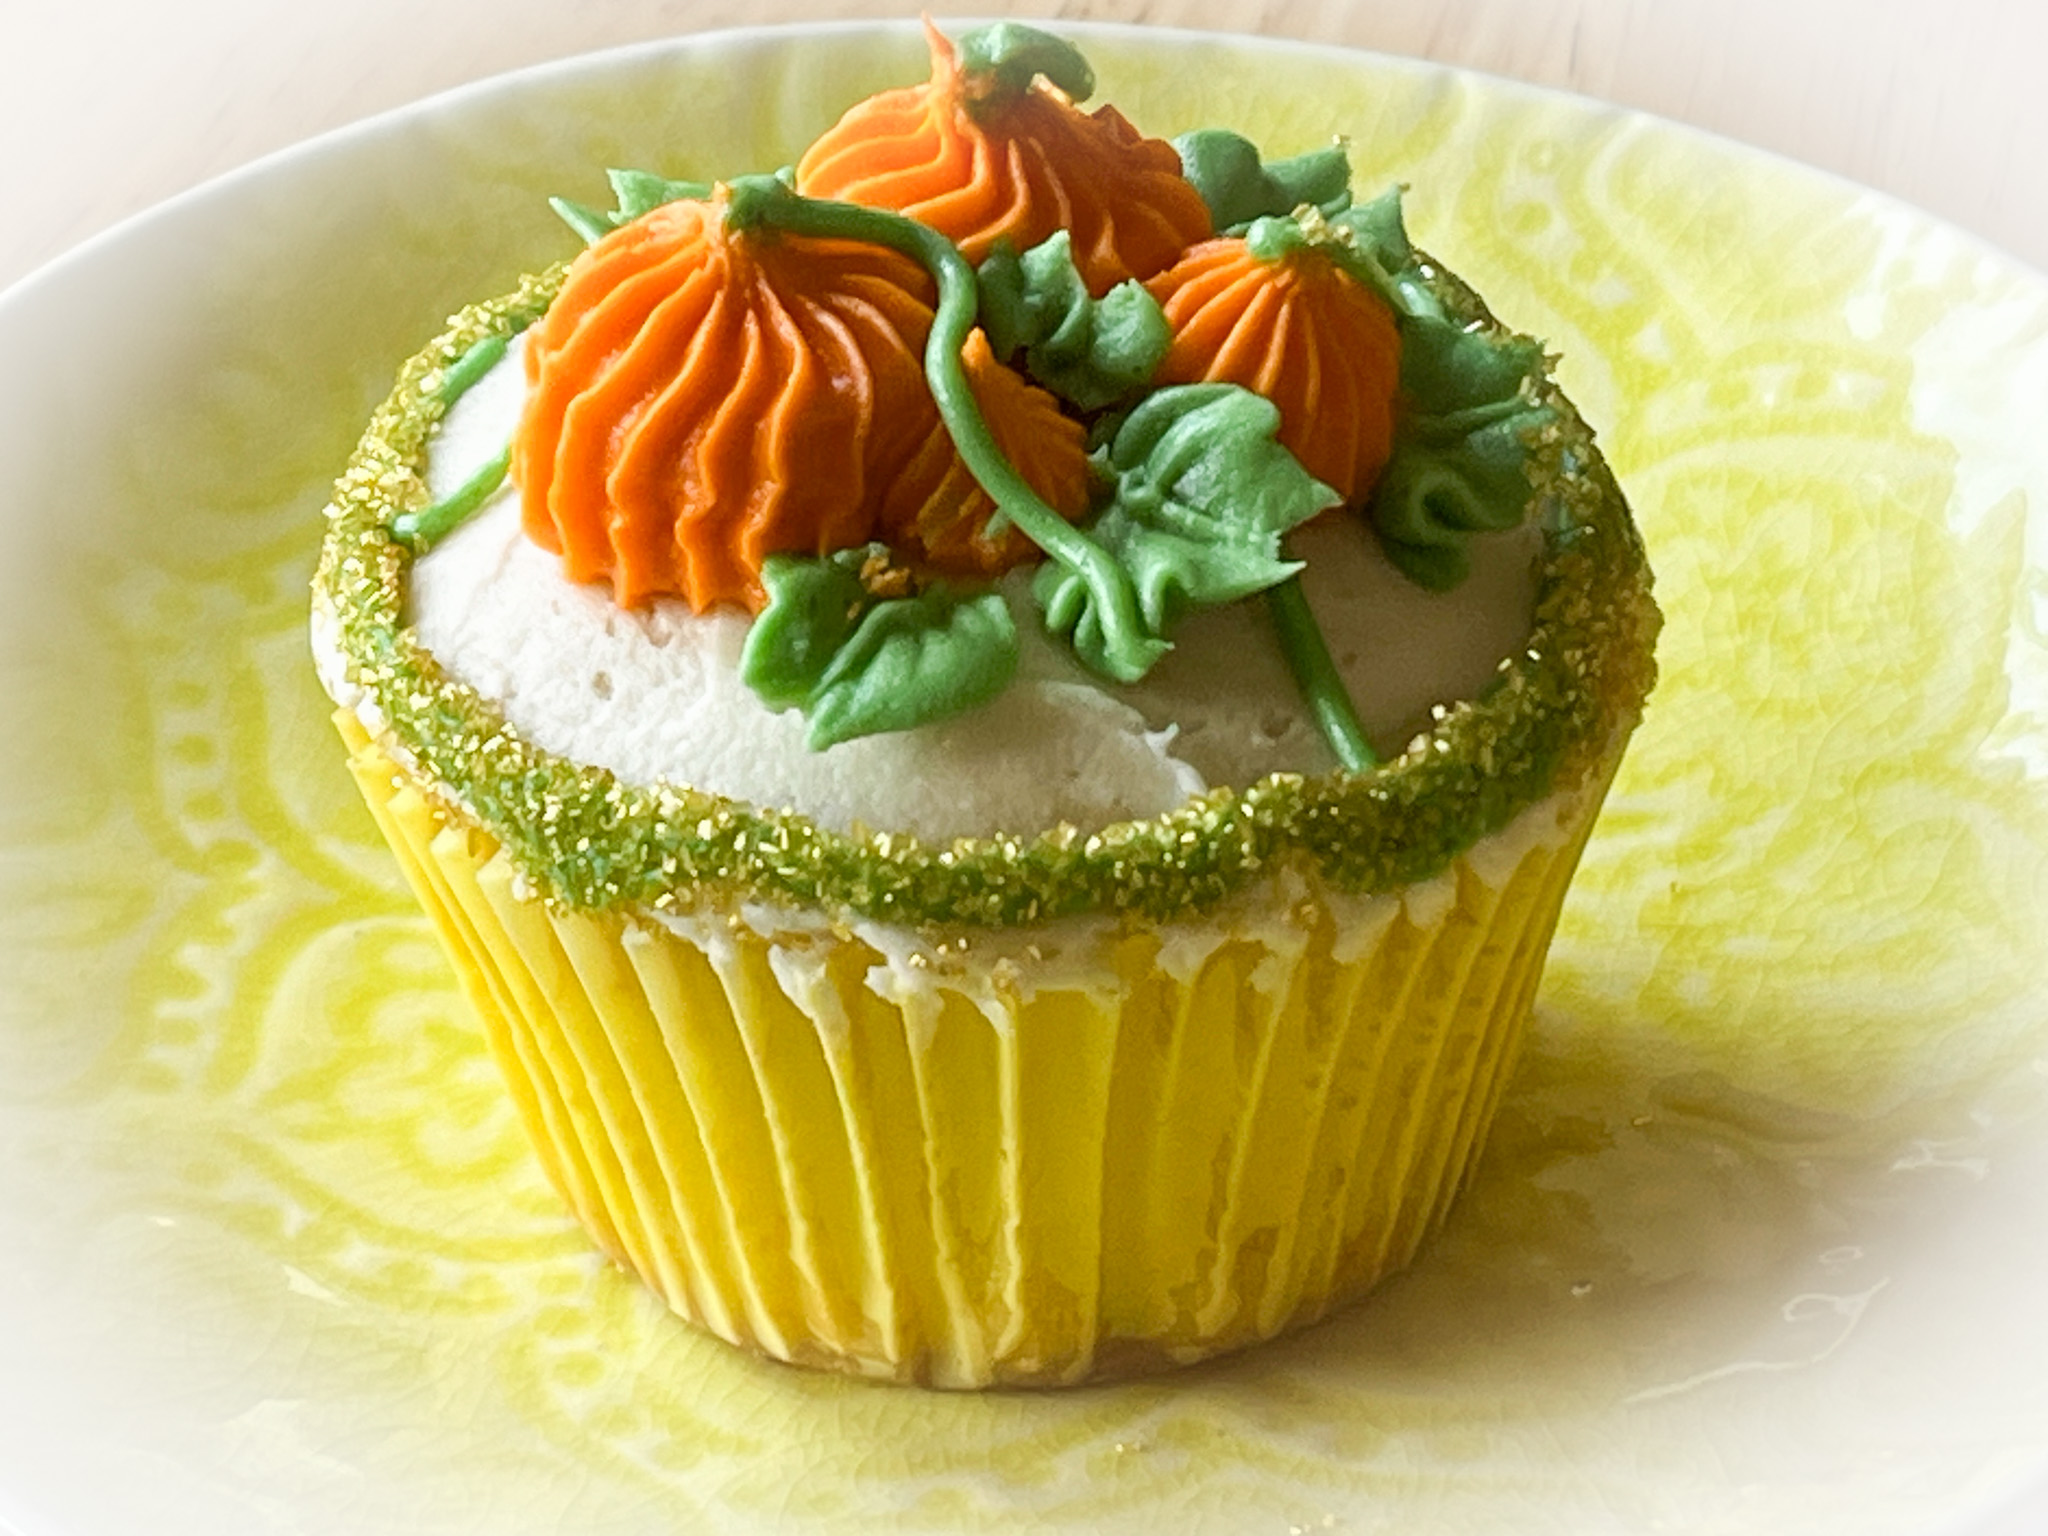
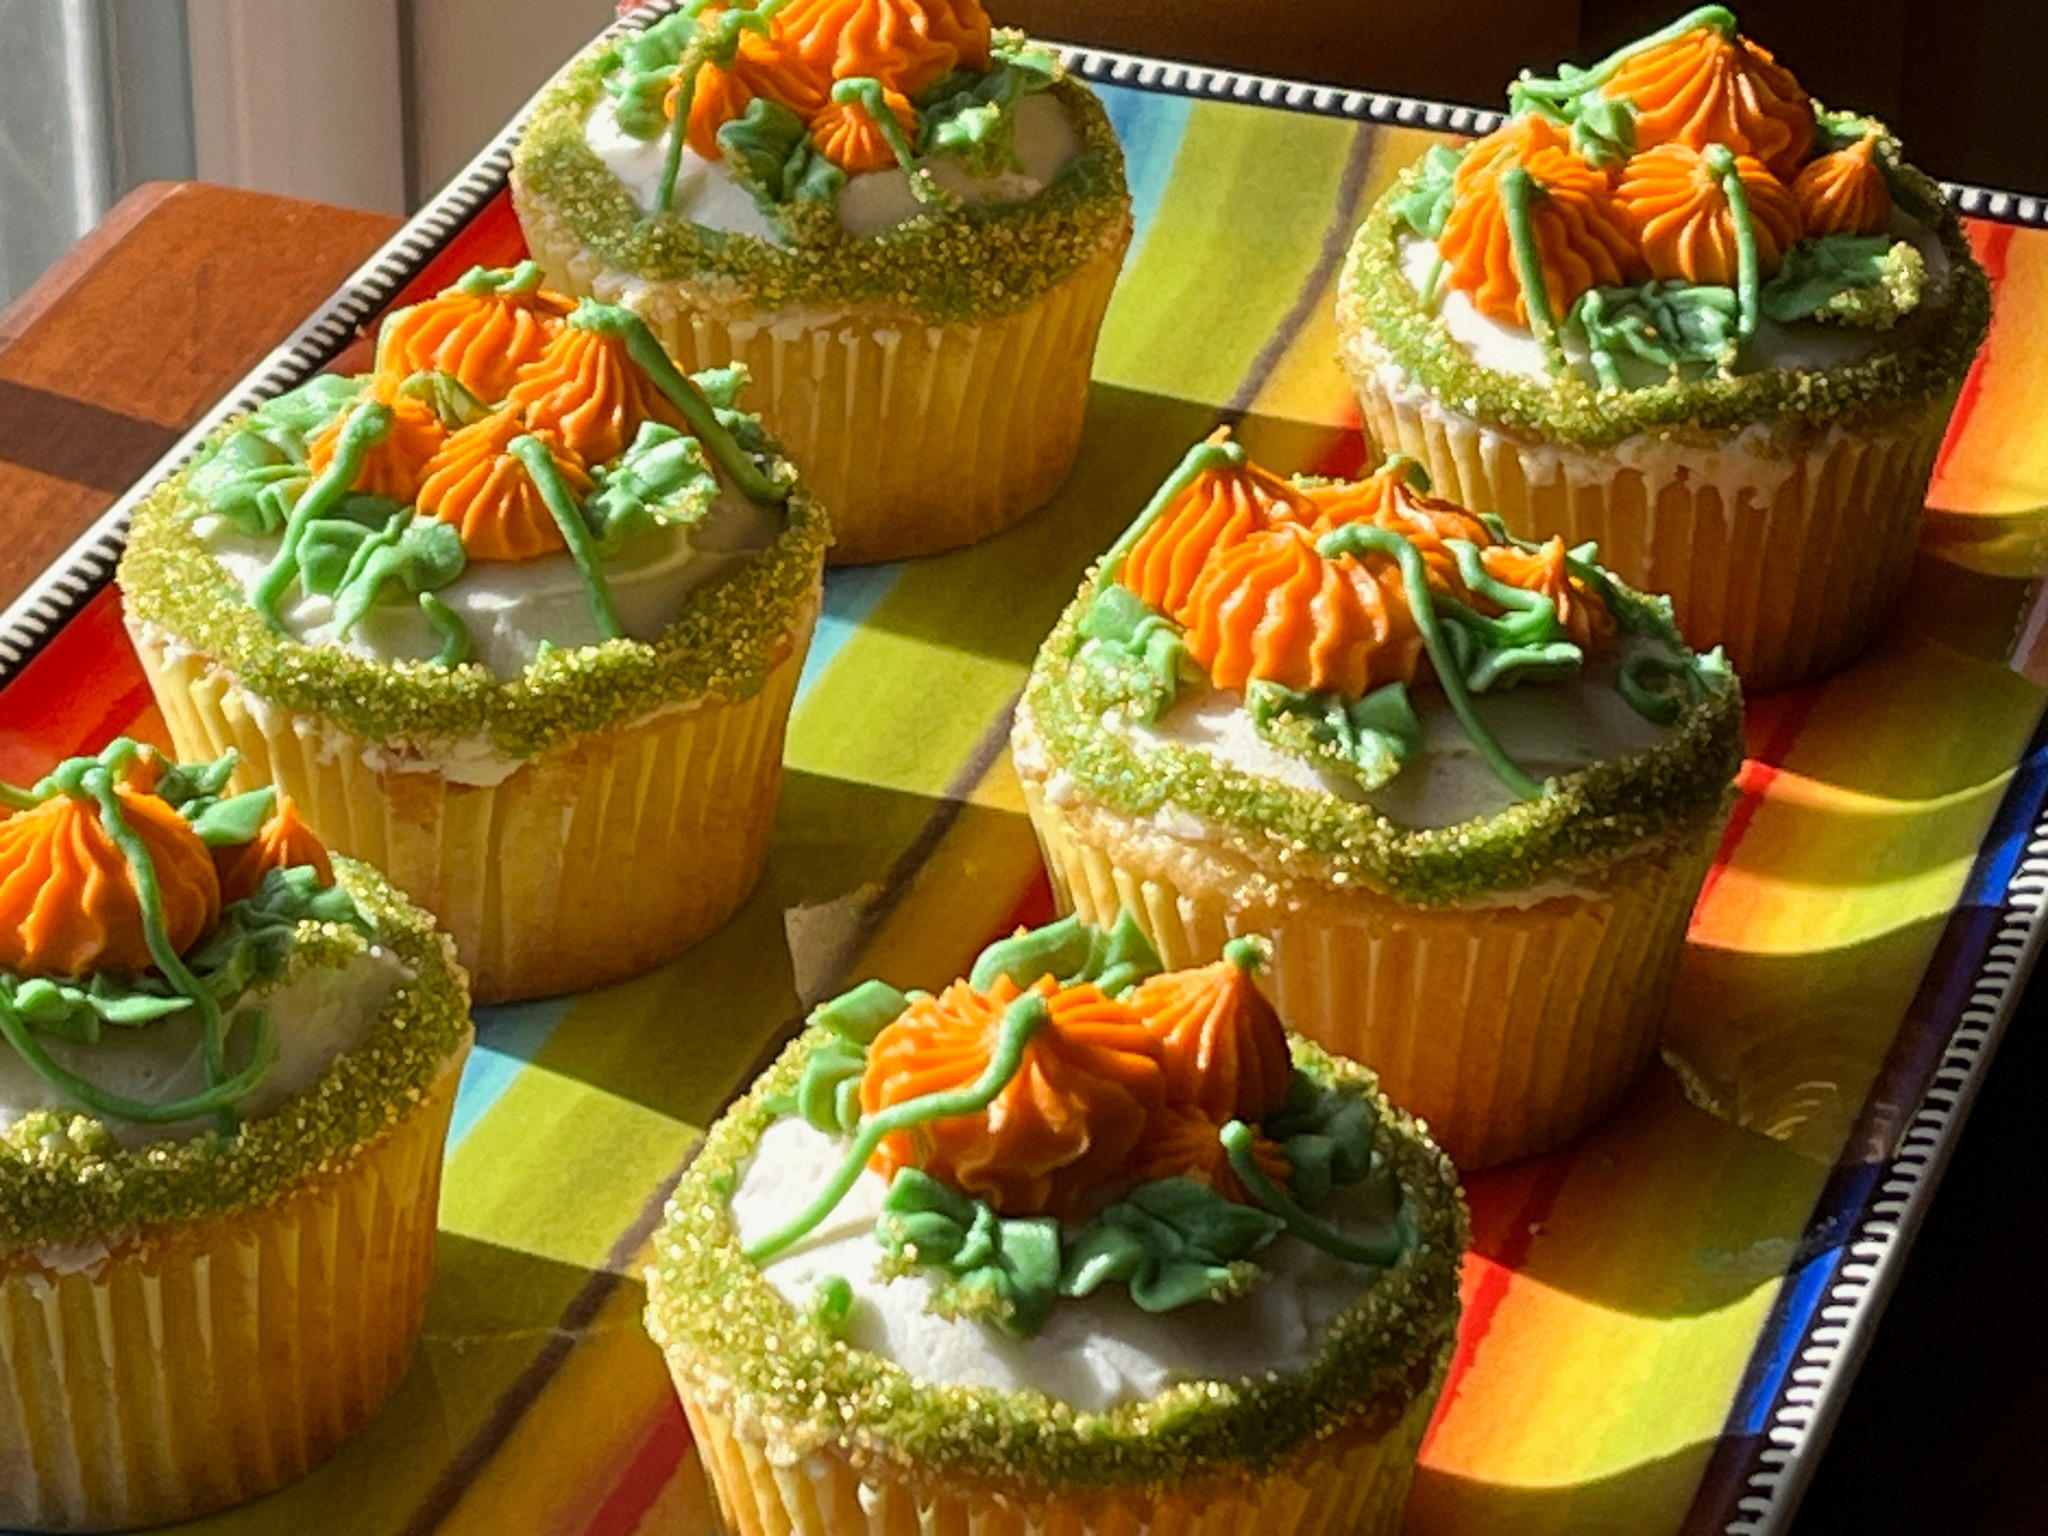
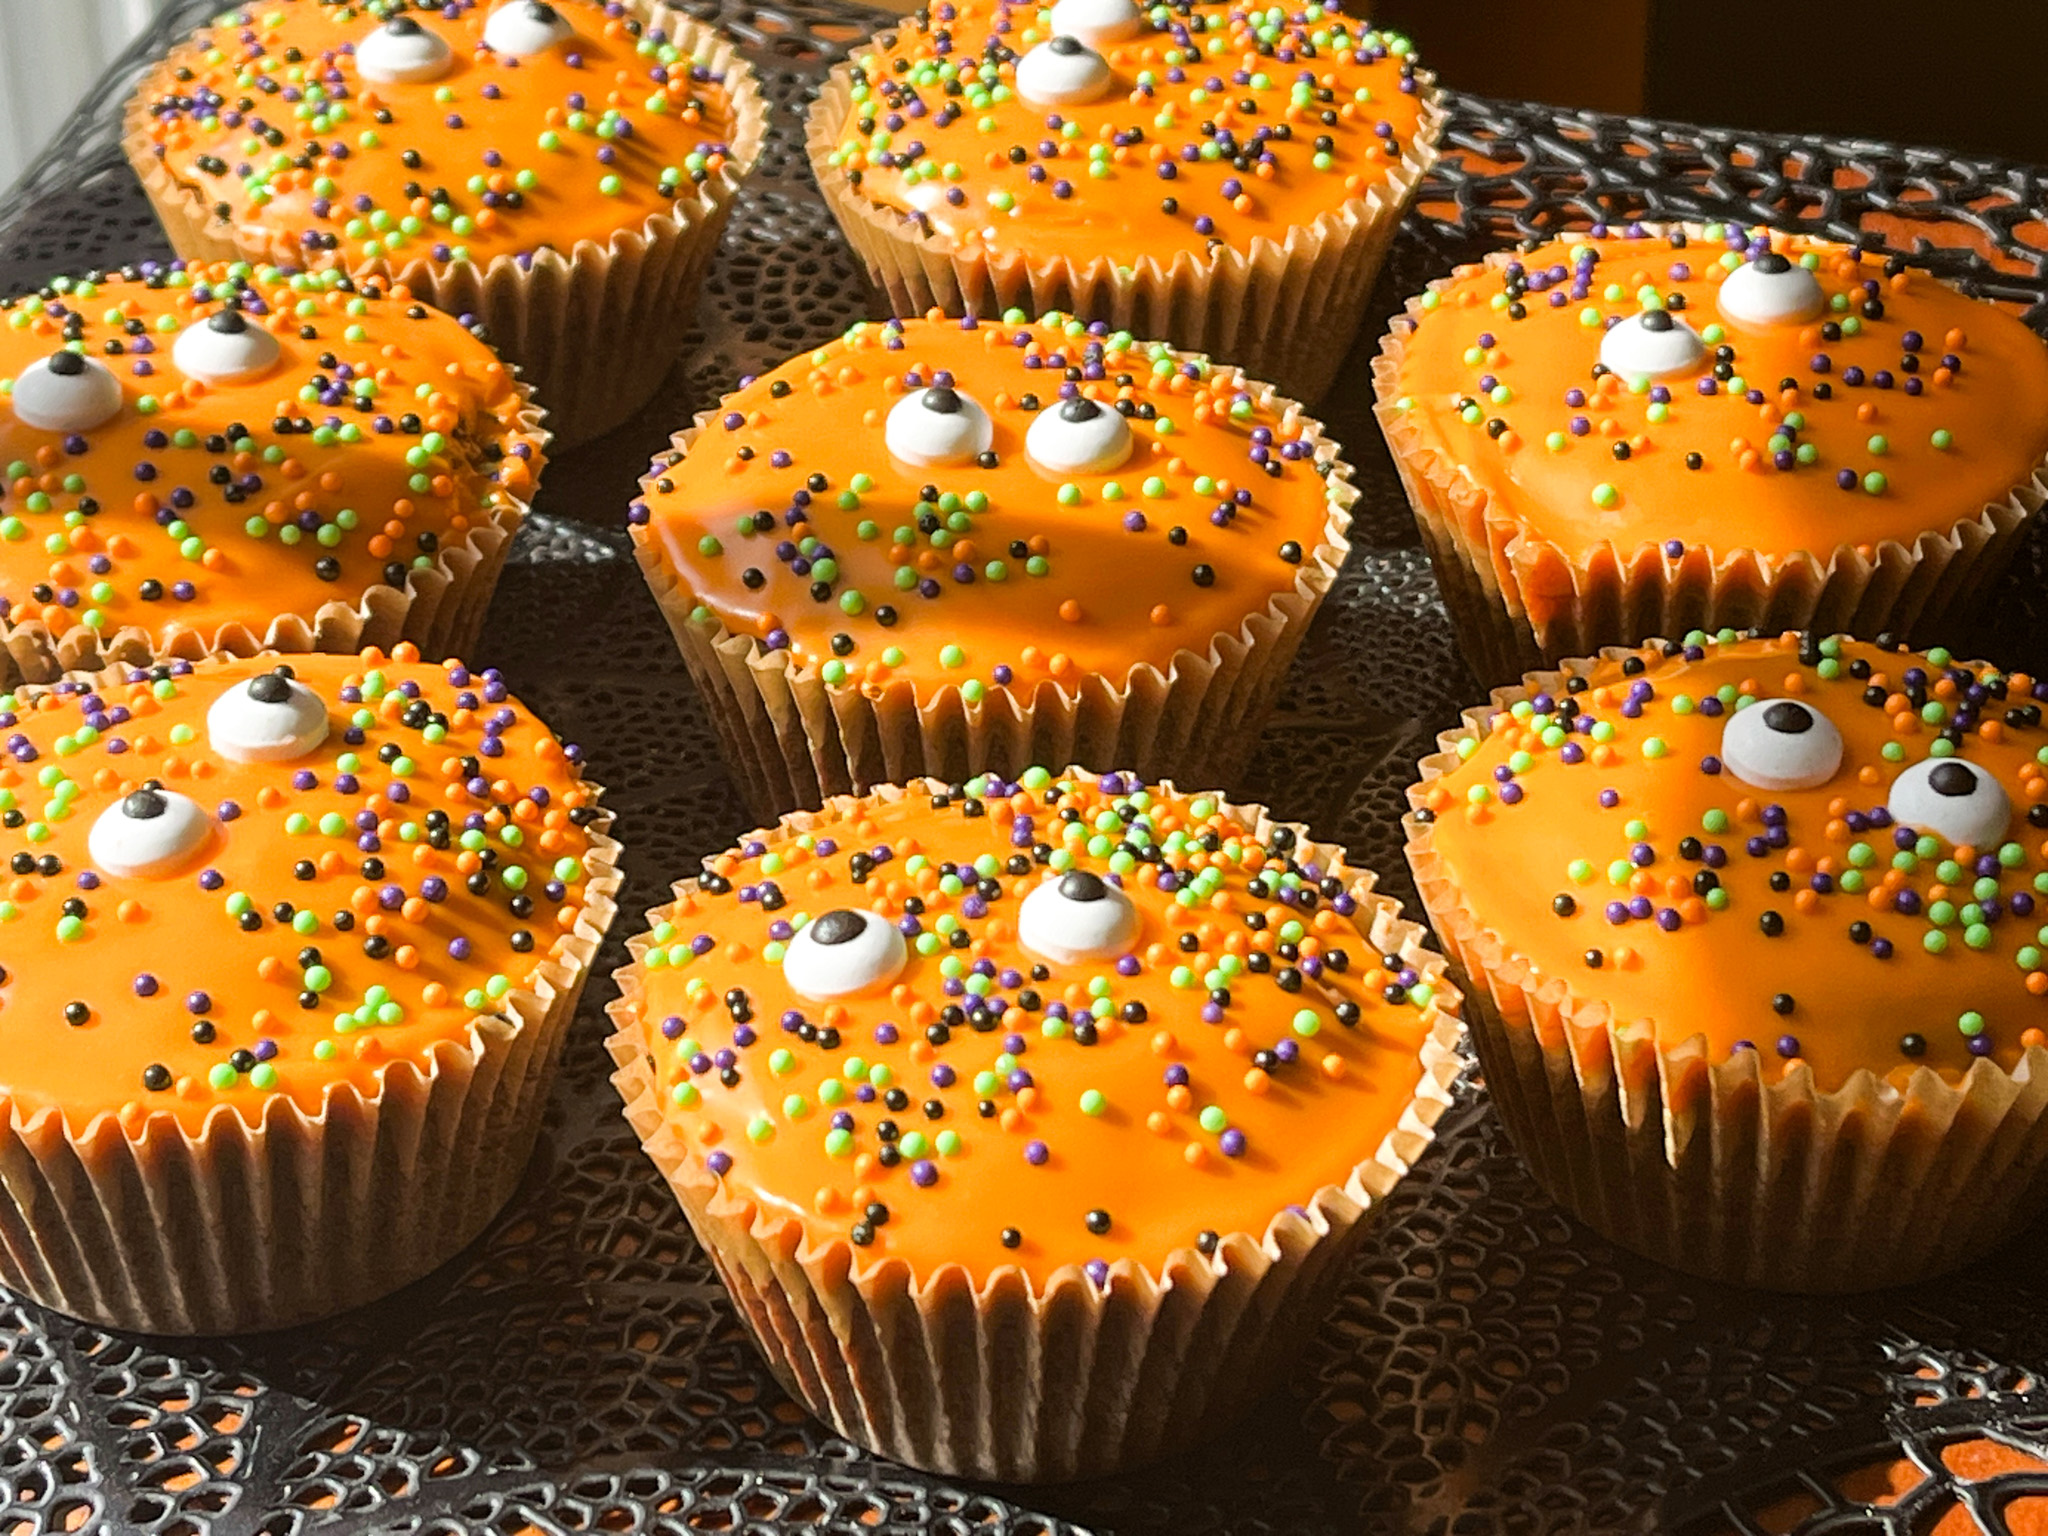
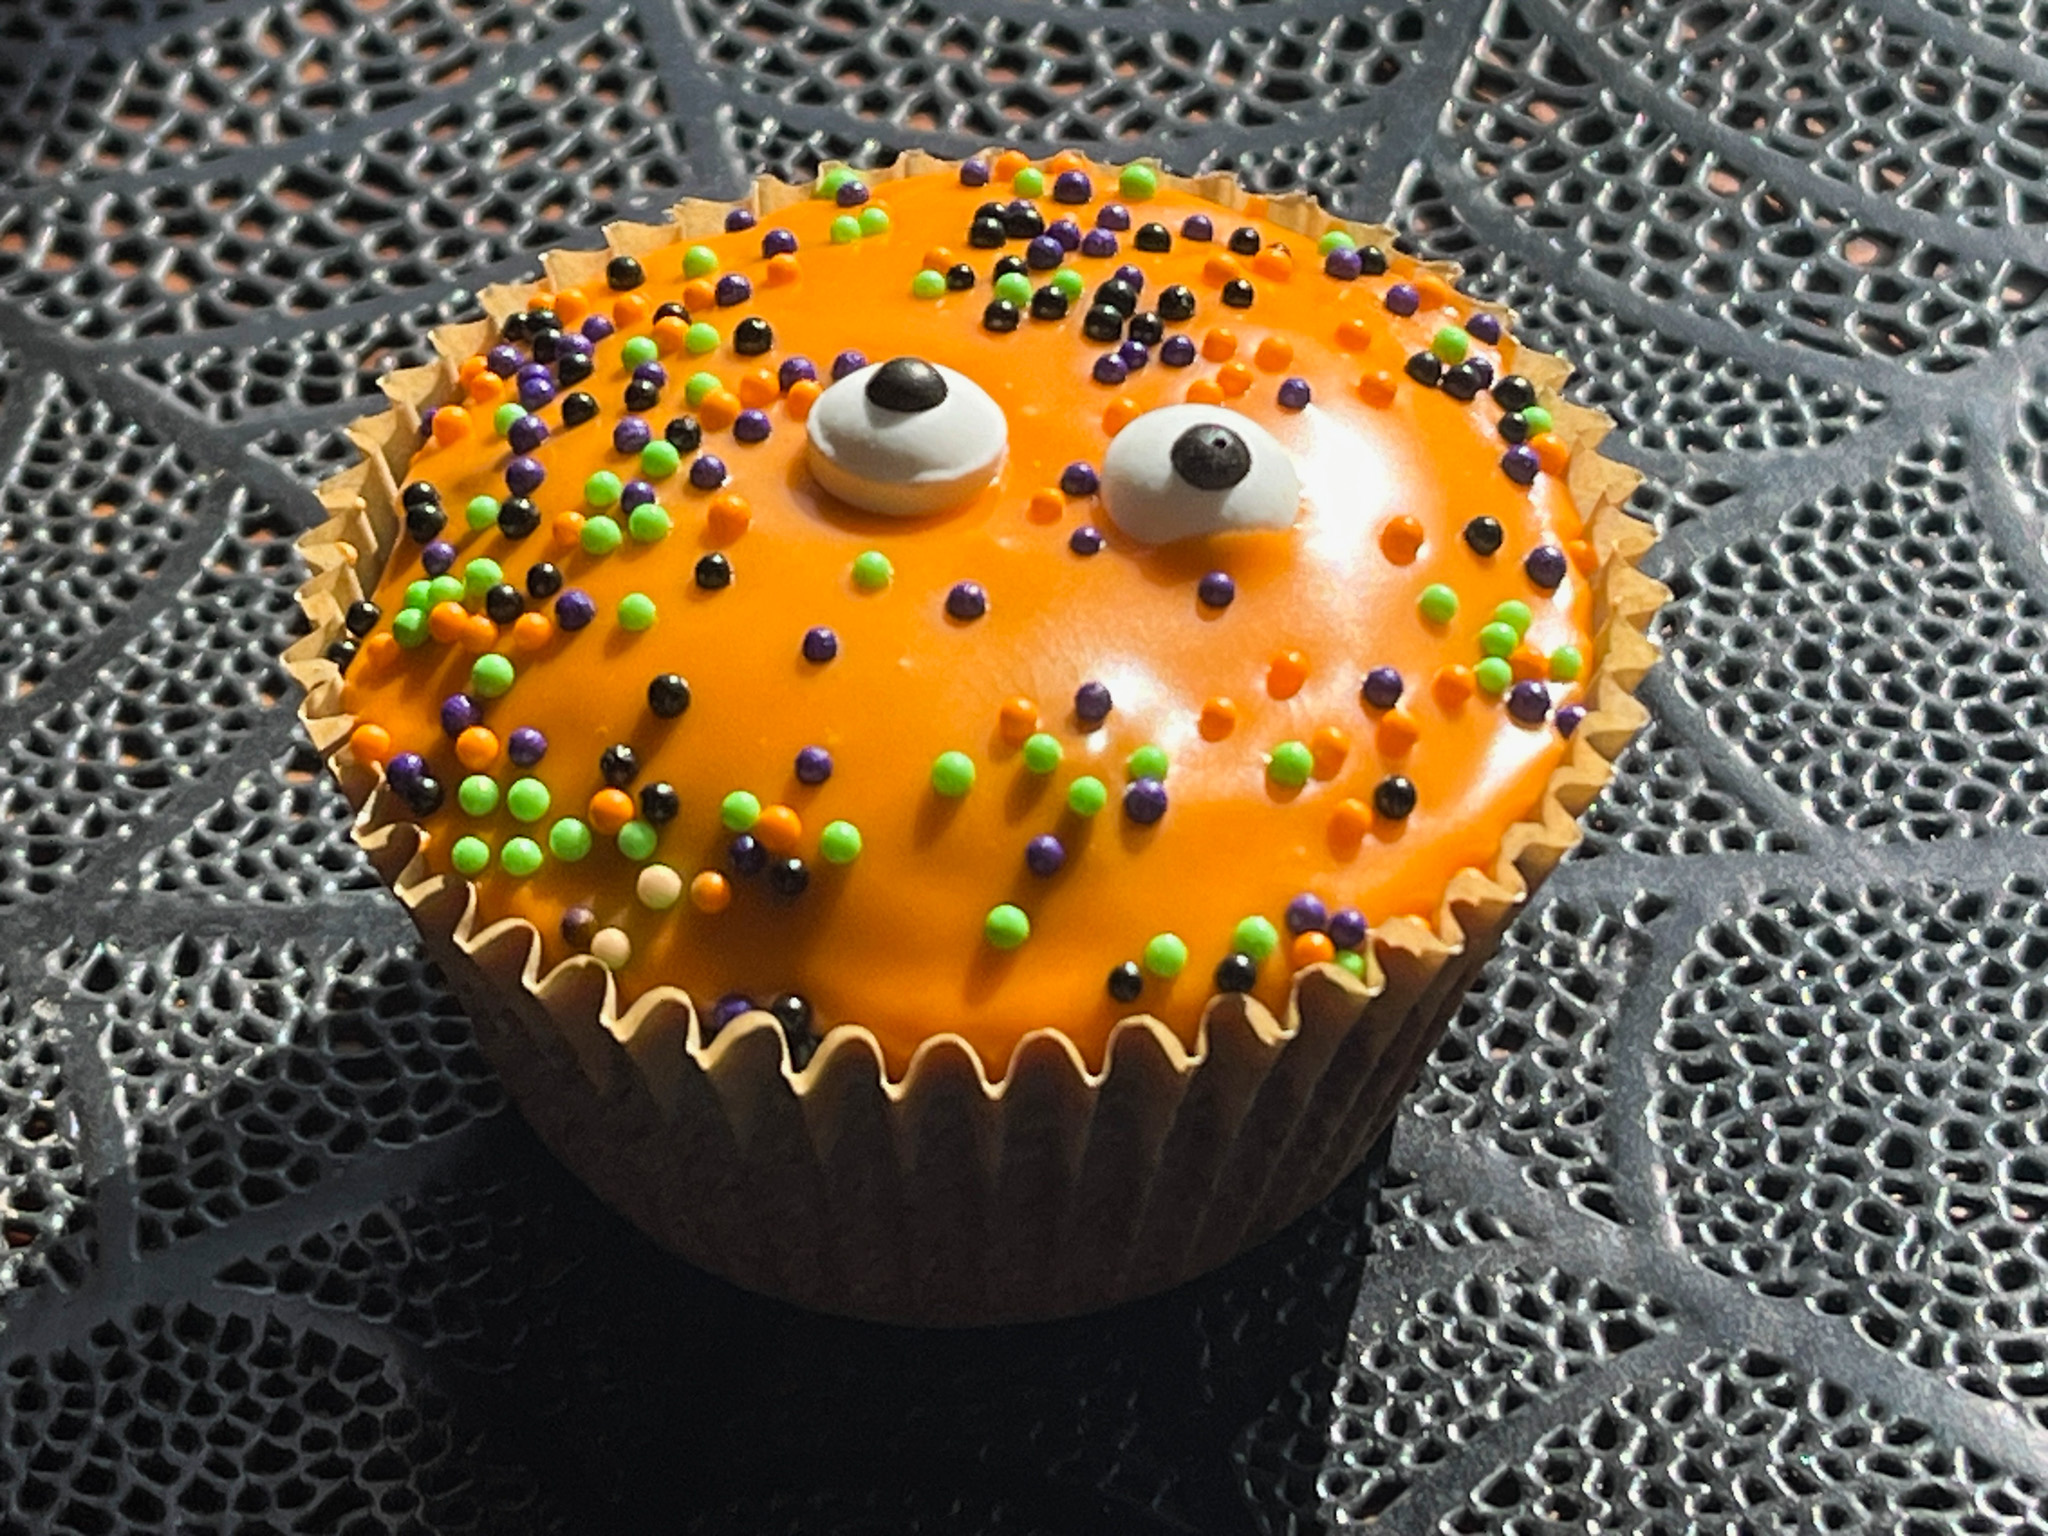
CHOCOLATE CUPCAKES WITH PEANUT BUTTER FROSTING
(from The Bewitching Kitchen)
120 grams (1 cup) all-purpose flour
50 grams (1/2 cup + 2 Tablespoons) natural cocoa powder
225 grams (1 + 1/8 cups) granulated sugar
1 teaspoons baking powder
1/2 teaspoon baking soda
1/2 tsp Kosher salt
85 grams (about 1/2 cup) grapeseed oil
2 large eggs, room temperature
2 teaspoons vanilla extract
75 grams (1/3 cup) milk, room temperature
170 grams (3/4 cup) very hot water
Makes 12 cupcakes. Use paper liners in your pan.
Heat oven to 350F.
In a large mixing bowl, add the flour, cocoa powder, granulated sugar, baking powder, baking soda and salt. Whisk very well to fully combine the dry ingredients.
Add the oil into the mixing bowl and mix on medium speed with a hand mixer until well combined. Add the eggs and vanilla extract to the bowl and continue mixing until smooth.
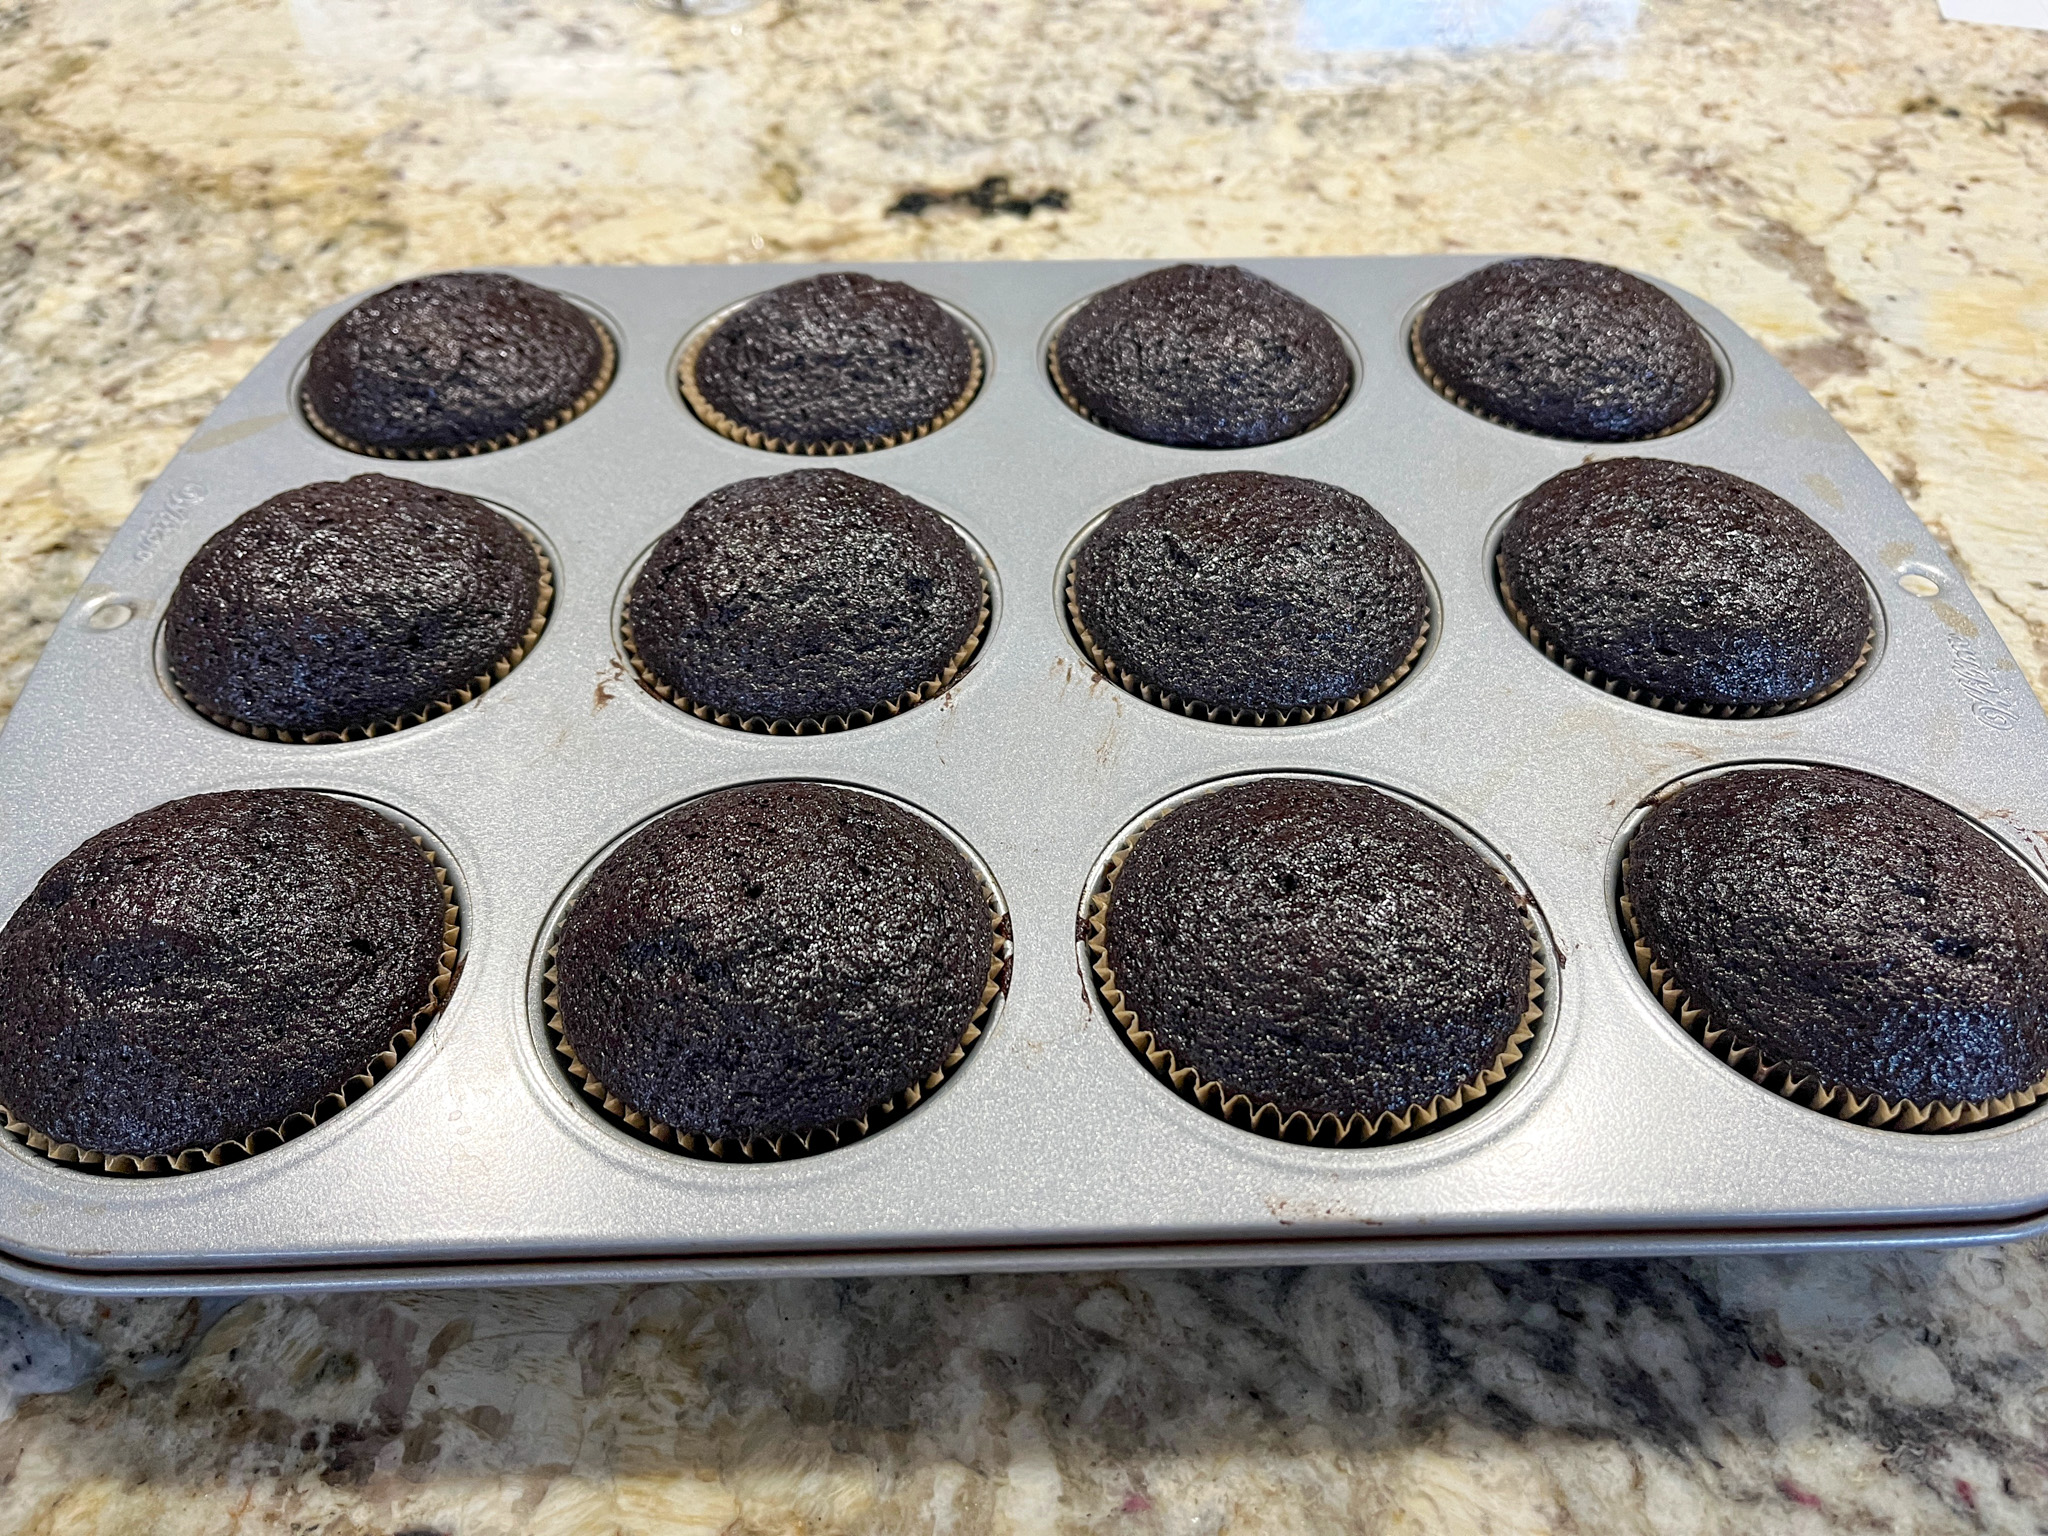
With the mixer still running, slowly pour in the milk and then the hot water. Continue mixing until everything is evenly incorporated, the batter will be super thin, do not worry about it. Place the batter in cupcake pan and bake until toothpick inserted in the center comes clean. This will take 20 to 25 minutes, but check a couple of minutes earlier. Cool completely before frosting.
PEANUT BUTTER FROSTING
113 grams (1/2 cup) unsalted butter, room temperature
175 grams (1/2 cup) smooth peanut butter (Jiffy works great)
210 grams (1 + 3/4 cup) powdered sugar
1 teaspoons vanilla extract
1/4 teaspoon kosher salt
2 to 3 tablespoons of milk to adjust consistency
In the bowl of a stand mixer fitted with a paddle attachment, beat the butter and peanut butter on medium speed for about a few minutes, until fluffy. Scrape down the sides and bottom of the bowl.
Add the powdered sugar and salt into the mixing bowl and start mixing on low until the sugar starts to combine with the butter. Turn the mixing speed up to medium-high and beat for about 3 minutes until the mixture is light and fluffy. Mix in the vanilla extract. Add milk to adjust the consistency. If not using immediately you can refrigerate for several days. Bring back to room temperature and whip again before using to frost the cakes.
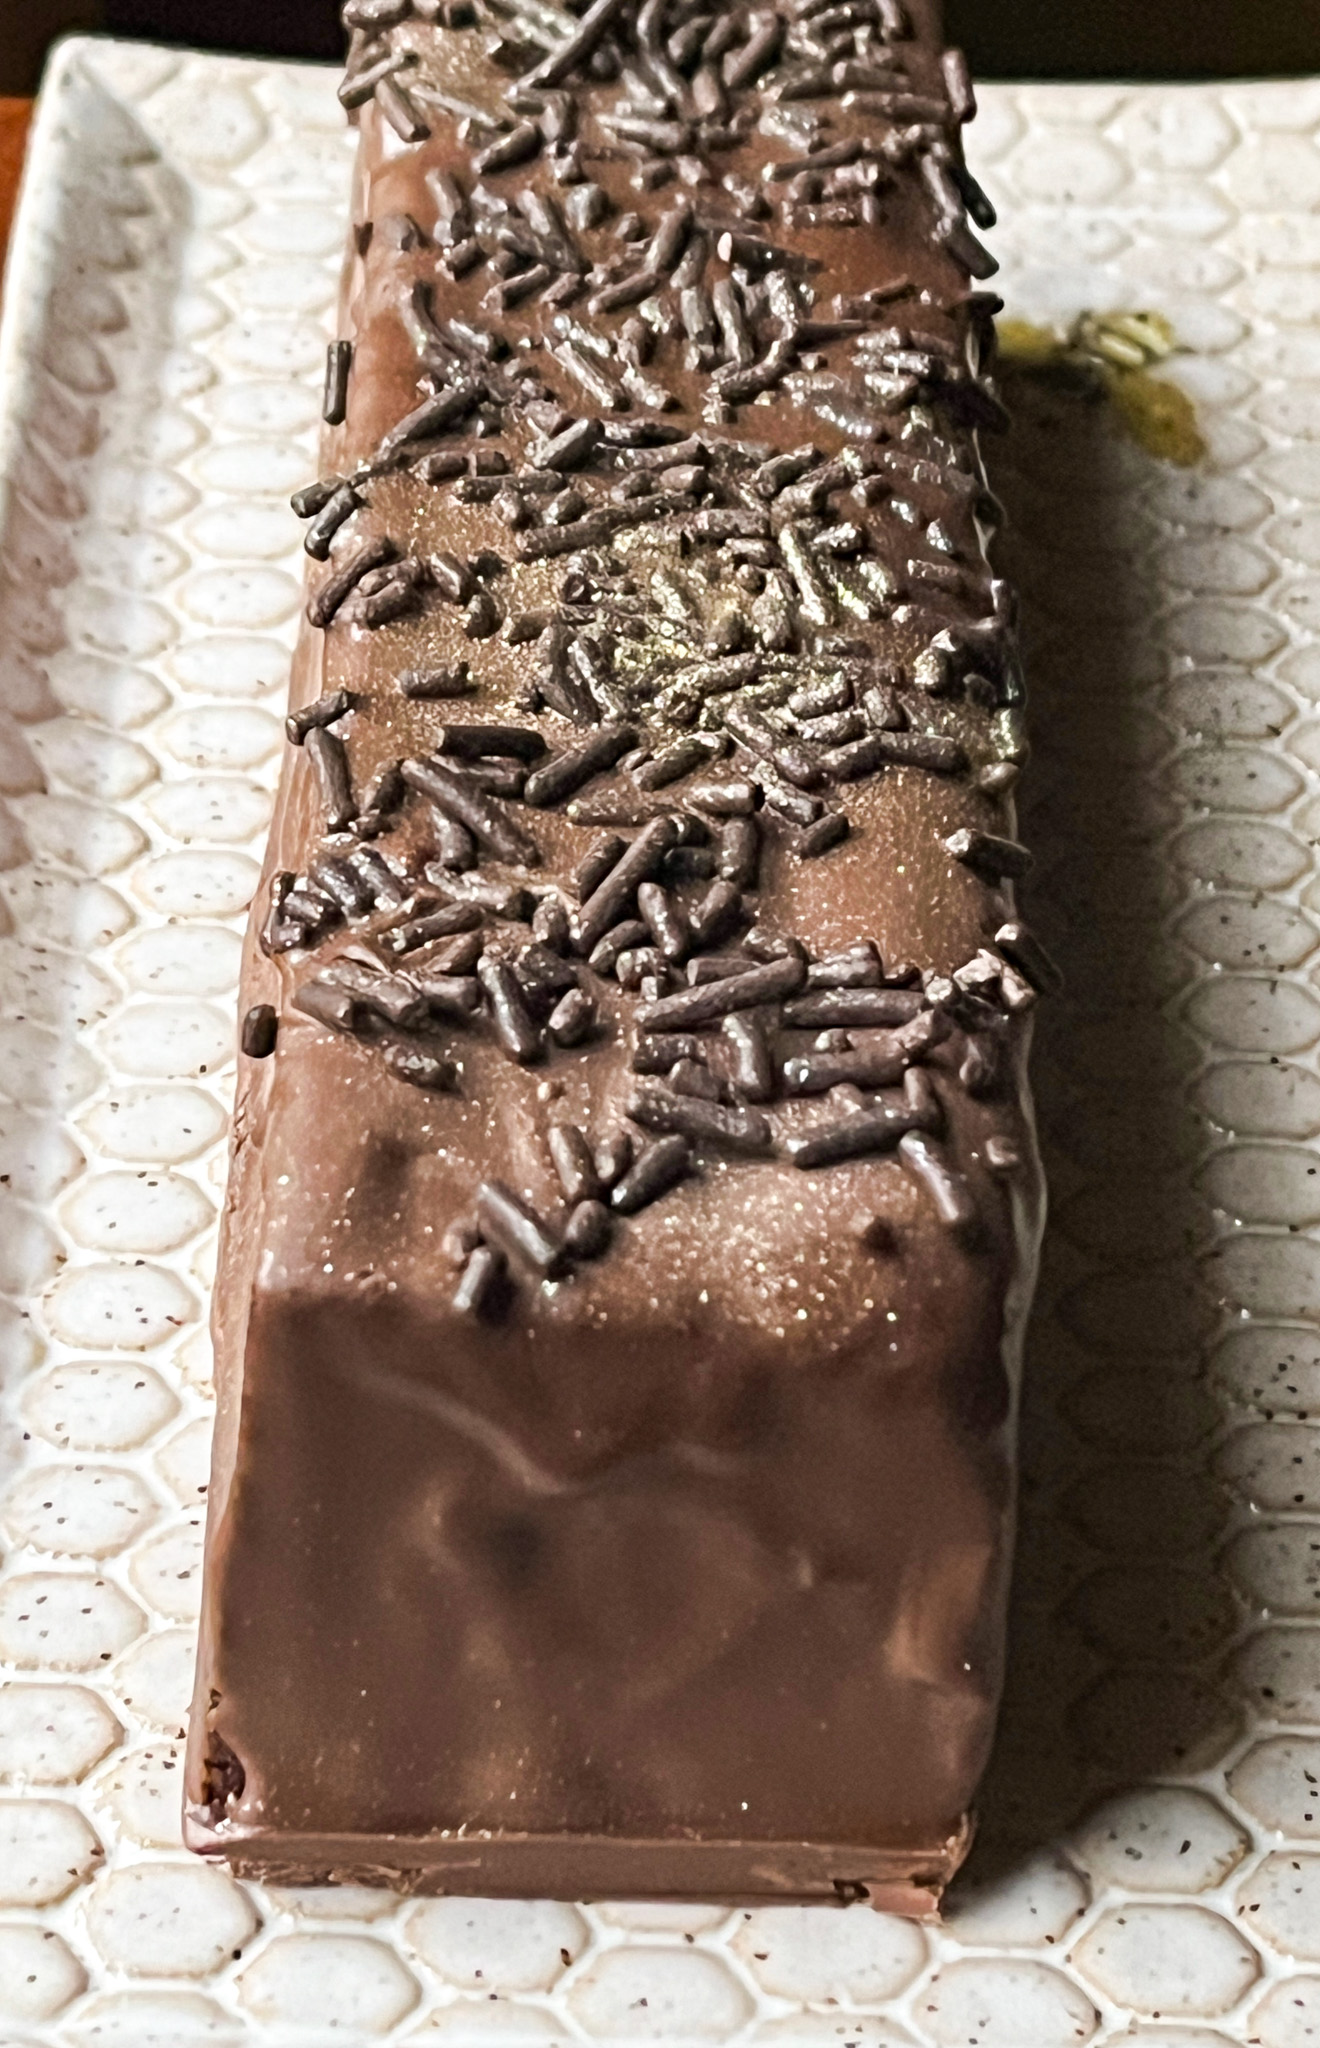
Use a piping tip like Wilton 1M if you like to make a rose pattern on top. Spraying gold is optional but nice…
ENJOY!
to print the recipe, click here
Comments: I love this cake recipe so much because it is simple, straightforward and always works. You can use hot coffee instead of hot water, but I tend to simplify it and just grab water from the tap, as hot as I can get it. I know many people prefer Swiss buttercream frosting but I donate the cupcakes and not knowing how long they will sit waiting, I rather use a sturdier buttercream, which is also much simpler to prepare. If you are a peanut butter/chocolate lover, this cupcake is for you!

ONE YEAR AGO: Incredibly Simple, Times Four
TWO YEARS AGO: Zucchini-Prosciuto Parcels
THREE YEARS AGO: Double Peanut Sourdough Loaf
FOUR YEARS AGO: Fennel-Rubbed Shrimp in Light Coconut Sauce
FIVE YEARS AGO: Puff Bread Balls, Two Salads and a Cookbook Review
SIX YEARS AGO: Pistachio-Caramel and Apple Mousse Cakes
SEVEN YEARS AGO: La Couronne Bordelaise
EIGHT YEARS AGO: A Special Birthday Dinner
NINE YEARS AGO: Duck Confit for a Special Occasion
TEN YEARS AGO: Tuscan Grilled Chicken and Sausage Skewers
ELEVEN YEARS AGO: Celebrate Wednesday with Pork Tenderloin & Apples
TWELVE YEARS AGO: Salmon Wellington
THIRTEEN YEARS AGO: The Green Chip Alternative
FOURTEEN YEARS AGO: Weekend Pita Project
FIFTEEN YEARS AGO: Let it snow, let it snow, eggs in snow