COTTAGE LOAF and YEASTY DOGS

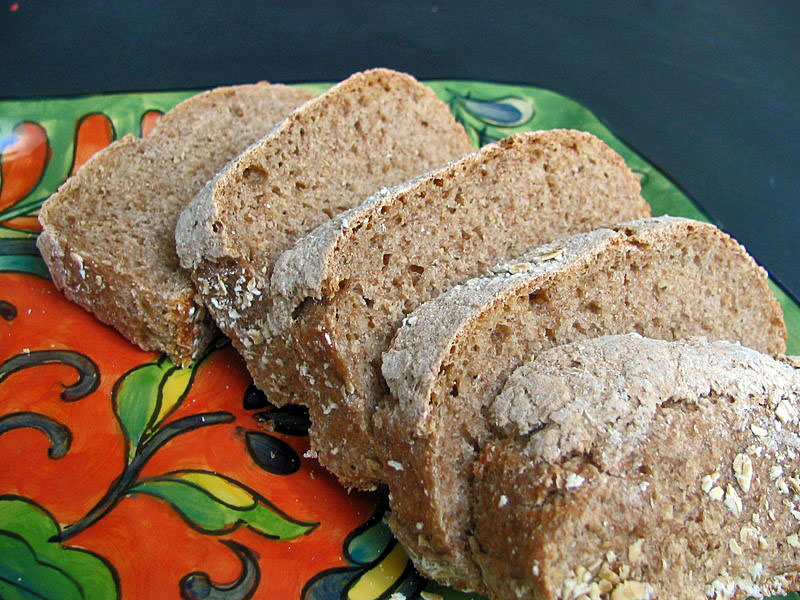
A couple of years ago, as I started regularly baking bread, a dear English friend of ours asked if I’d ever heard of “cottage loaf.”  I had not.   He explained that it was a bread he enjoyed as he grew up, that was baked in a special shape: two loaves together, the smaller one sitting happily on top of a larger one.   It had a soft crumb, perfect for indulgences with butter, jam, or fruit preserves.

Listening to him, eyes glowing with his childhood memories, I couldn’t help but set off on a mission to find the recipe.   None of my bread books helped, and  I posed questions in bread baking forums, but no one knew exactly what dough and what shaping were behind the elusive “cottage loaf”.   After a while I gave up hope, until last week I was thrilled to receive a comment from Zeb, who invited me to join a group of bakers to make – ready for this? –  cottage bread (!!!!).   As we say in Brazil, “… it was like asking a monkey if he wanted  some bananas”.   😉

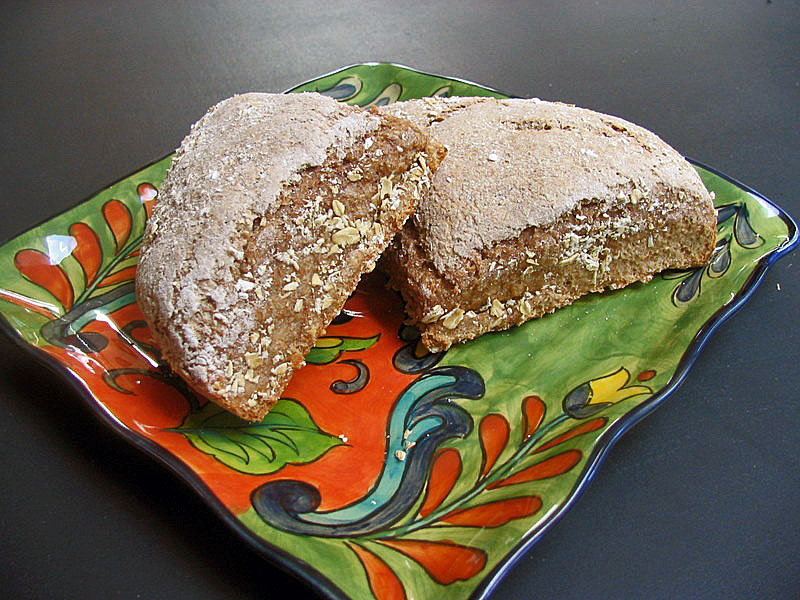
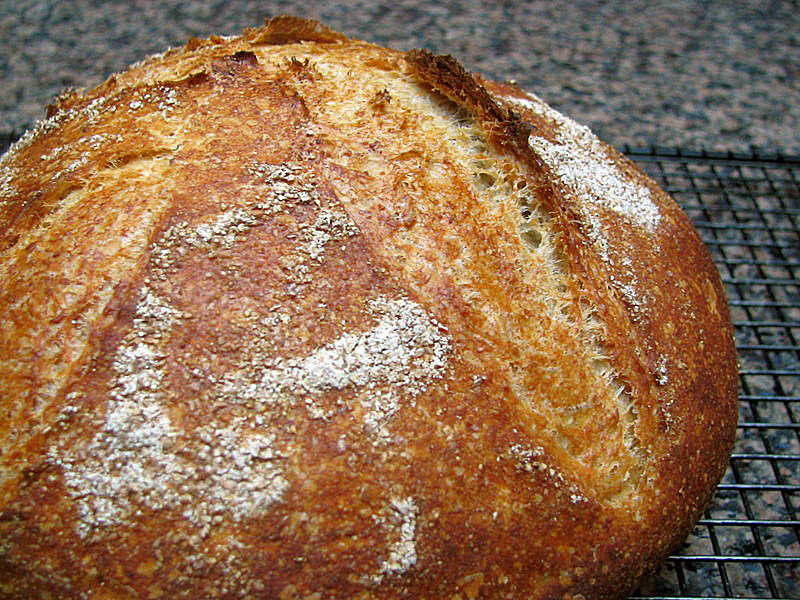
Without further ado,  I share my first attempt at  this  traditional English bread.


COTTAGE LOAF

(adapted from Celia’s blog; dough recipe from Peter Reinhart’s Pain de Campagne)

Preferment
140g all purpose flour
140g bread flour
2/4 tsp sea salt
1/2 tsp instant yeast
170g water

Mix the two kinds of flour, salt, and yeast in a bowl. Add the water, mix briefly and let it rest for 10 minutes. Knead the dough briefly, allow it to rise for 1 hour at room temperature, then stick it in the fridge overnight.

Final dough:
All the preferment
225g bread flour
45g rye flour
3/4 tsp sea salt
1 tsp instant yeast
170g water, at room temperature

Remove the preferment from the fridge 1 hour before making the dough, cutting it into pieces to speed up warming up to room temperature. Place in a large bowl. Cut it into pieces with a knife or pastry cutter, and place them in a large mixing bowl.

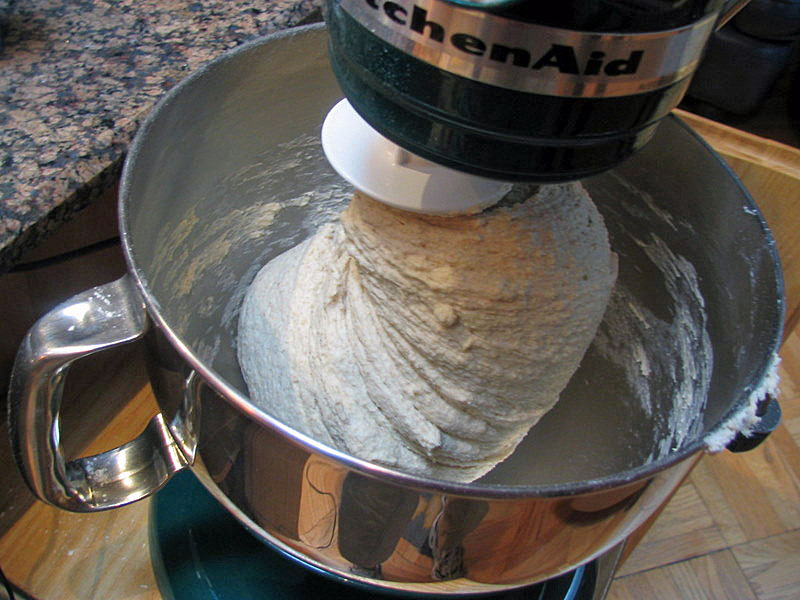
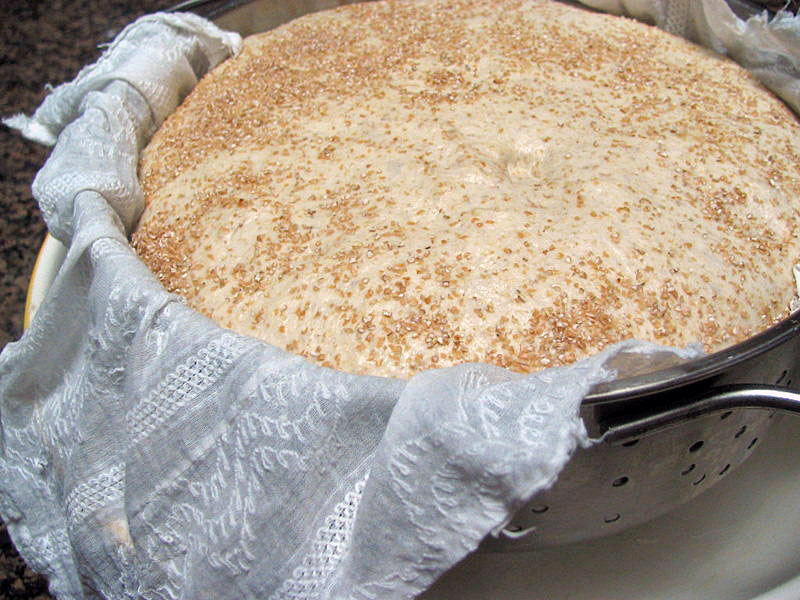
Add the water and yeast, and stir together, then add the flours and salt. Combine everything into a shaggy mass, allow it to sit for 20 minutes undisturbed. Let the dough rise for 90 minutes, folding the dough at 20 and 45 minutes. Dough should rise not more than double its original size.

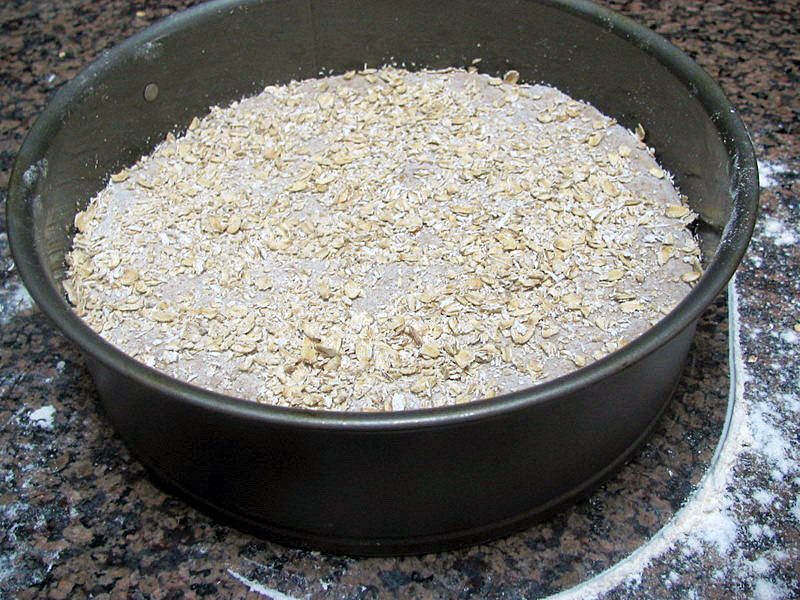
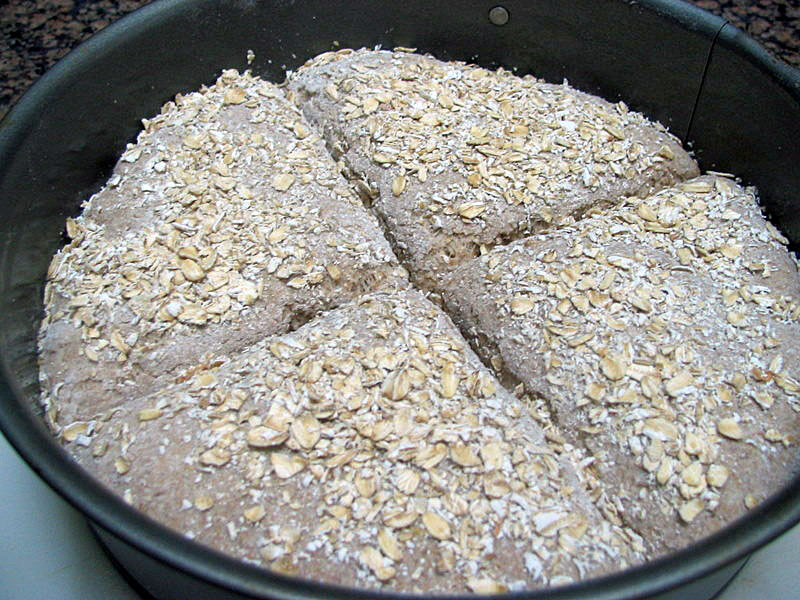
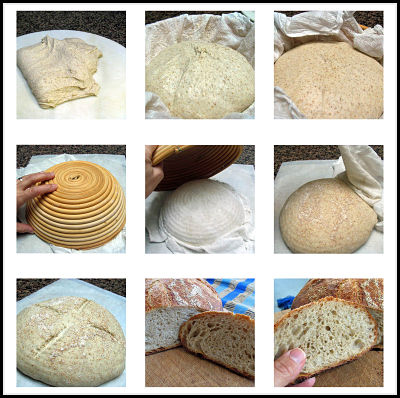
Weigh the dough (it should be around 900g), divide in two pieces (600g and 300g each), form each piece into a tight round. Allow them to sit for 15 minutes at room temperature, then coat the large ball with a little olive oil, cut a cross on top. Cut a cross on the bottom part of the smaller ball, and place it on top of the large one, like in this photo.

Now insert your finger or chopsticks in the center of the round, going almost all the way to the bottom, opening the whole outwards slightly to join both loaves. Allow them to rise for 10-15 minutes more before baking.

Slash the dough all around (which I forgot to do), cutting through both levels. Place the bread in a the oven (430F), cover it with an inverted roasting pan moist with hot water, bake it for 30 minutes, uncover and allow it to bake for another 15 minutes (if top layer is browning too much, protect it with aluminum foil). If you don’t have a roasting pan large enough to cover the dough, follow the baking method explained here.

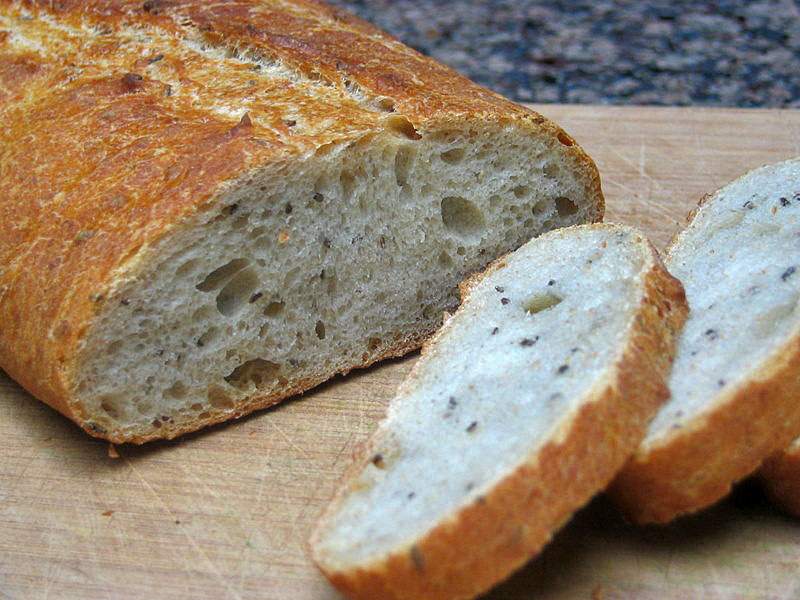
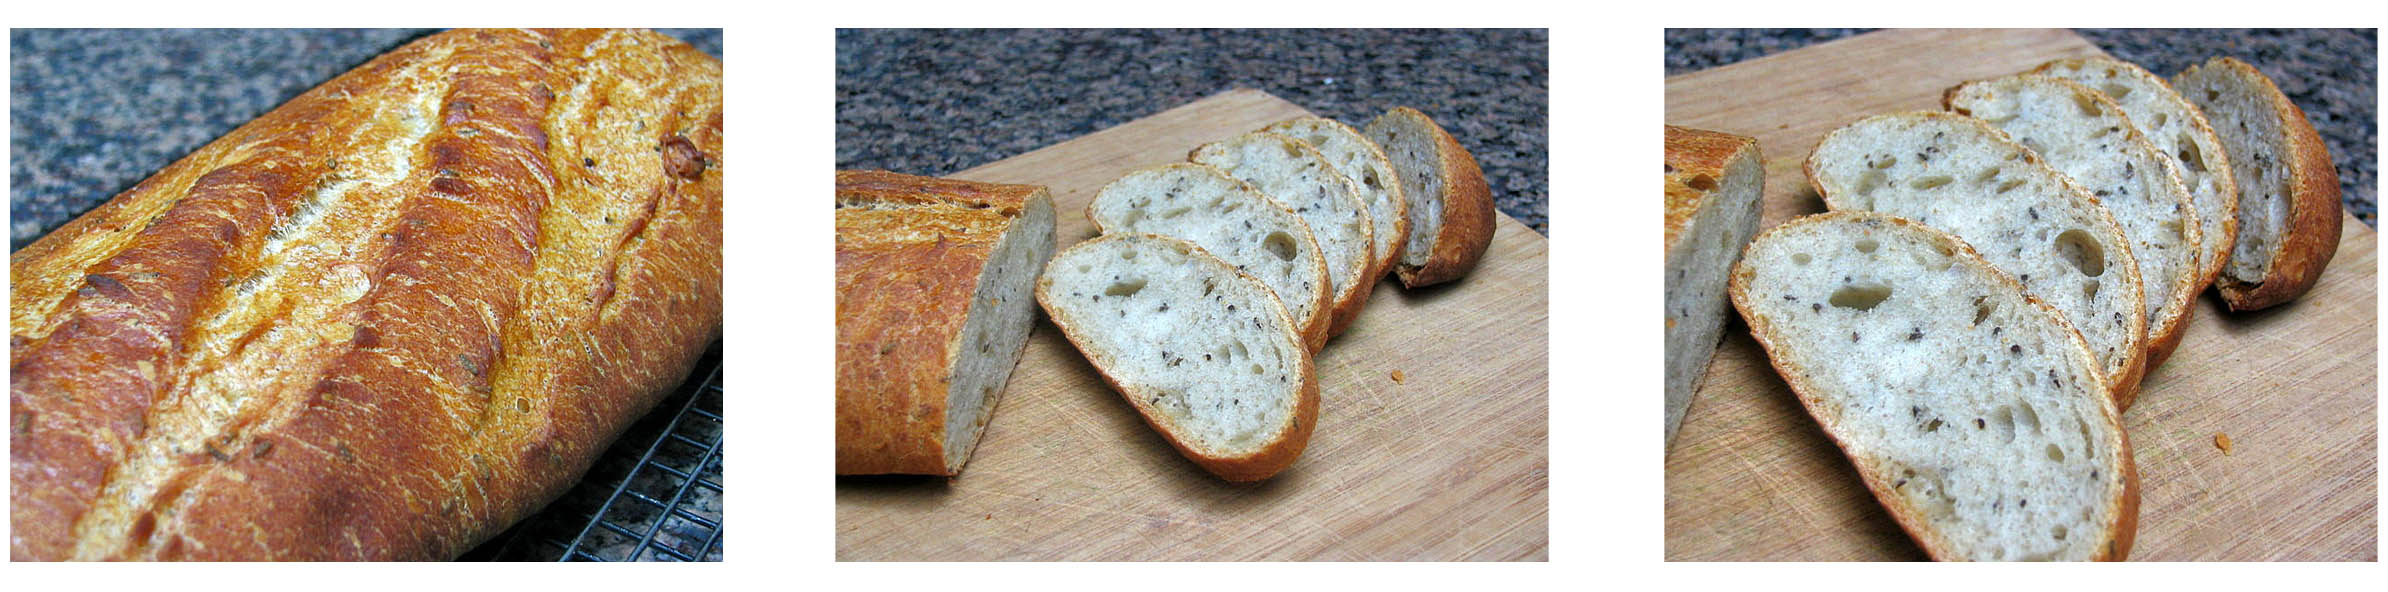
Allow to completely cool on a rack before slicing through.

ENJOY!

to print the recipe, click here

Comments: One of the members of this bake-off group (Joanna), had great results starting the bread in a cold oven, turning it on just when the bread went in. If anyone is interested, drop me a line and I’ll put you in touch with her for specifics. The idea is to prevent over-rising of the top layer, which can pose problems…

Having made Reinhart’s Pain de Campagne for the BBA Challenge, I knew we’d love the taste of this bread, but the shaping seemed tricky.   No problems, though. Well, at least not with the bread itself. But, as I was putting my large container of instant yeast back in the freezer, it slipped from my hand, and in surreal slow-motion fashion,  I saw the lid flying in one direction, and the bottle slowly turning upside down in mid-air during its descent to the floor, spilling  yeast everywhere, faster than wildfire.   Of course, our almost-deaf dalmatian went at the yeast with a passion, and my hysterical screaming to stop him only alerted our Jack Russell to join the (microbiological) feast.   I’m happy to inform that yeast is not harmful to dogs.

Notes to self:
1. place an order at King Arthur’s Flour for instant yeast. ASAP.

2. bake a loaf of Cottage Bread for our friend. ASAP. 😉

I am submitting this post to Susan’s Yeastspotting!

Add to FacebookAdd to DiggAdd to Del.icio.usAdd to StumbleuponAdd to RedditAdd to BlinklistAdd to TwitterAdd to TechnoratiAdd to Yahoo BuzzAdd to Newsvine

CROISSANTS: PARIS AT HOME ON A SPECIAL DAY

Today is our 10th wedding anniversary, so to start the day on a wonderful note, I decided to bring a little bit of Paris – the place where we met and later lived for a year – to our home. Even if croissants are not originally from France, they convey its image with every delicious bite. When we lived in Paris, we used to go for long runs on Saturdays that always ended with a “pain au chocolat pour le monsieur, croissant pur beurre pour madame“. With the mandatory coffee or hot chocolate, depending on the weather, and our mood… Wonderful memories!

CROISSANTS DU BOULANGER
(original recipe from The Baker’s Companion, adapted by Ford, from The Fresh Loaf website)

for the dough

2 large eggs plus scalded low fat milk cooled to 90°F to make 2 cups (16 oz.)
1 tsp sugar for unsweetened dough
5 1/2 to 6 cups (23.3 to 25.5 oz.) all purpose unbleached flour
2 1/4 tsp (7 g) instant yeast
2 tsp salt
2 Tbs. (1 oz.) melted butter

for the butter
3 + 3/4 sticks (15 oz.) unsalted butter
1/2 cup (2.1 oz.) unbleached flour
flour for sprinkling

Beat the eggs and milk and 1 tsp 1 tsp of sugar. Beat in the yeast and 3 cups of flour until all is well blended. Cover and let stand at room temperature for an hour or so. In a separate bowl blend the salt, and 2 1/2 cup of flour. Hold until the yeast mixture has doubled in size.

Blend the 3 + 3/4 sticks of butter and the 1/2 cup of flour. Lightly flour a piece of plastic wrap and place the butter mixture on it. Shape the butter into an 8” x 8” square. Wrap it and place it into the refrigerator until the dough is ready.

Back to the dough, add the melted butter and beat well. Add in the flour mixture and mix well to form a rough ball, then knead for 8 to 10 minutes on a lightly floured surface, or knead in an electric mixer, using a dough hook. Cover the dough and place it in the refrigerator for an hour.

Rolling & Folding: Remove the dough from the refrigerator and put it on a lightly floured surface. Gently roll it into a square about 12 inches on a side. No need to obsess about the dimensions, just try to be close. Put the butter square in the center of the dough square but turn it so that the corners of the butter square point toward the sides of the dough square. Fold the corners of the dough over the butter until they meet in the middle. Pinch and seal the edges of the dough together.

Turn the square over and tap it gently with your rolling pin or by hand into a rectangular shape. Make sure everything is still completely, but lightly, floured. Begin rolling the dough from the center, away from and towards you, into a larger rectangle 20 inches long and 10 inches wide. Puncture any air bubble with a toothpick. Keep the dough, the work surface, and the rolling pin well dusted with flour.

When the dough is the right size, fold the bottom third of the dough up beyond the center and the top third over (like a business letter) and turn the dough package a quarter turn to the right so it looks like a book ready to be opened. If the dough is still cold and still relaxed, do another rolling and turning as before. If it begins to feel too soft or wants to resist being rolled, cover it, put it on a small baking sheet, and refrigerate it for 15 minutes or longer (even a day) to chill and relax.

If you’ve successfully rolled it out and folded it twice, you’ve completed two turns. Classic puff pastry gets six; and puffed dough gets four. Continue refrigerating it after each two turns, or more often if necessary, until four turns are completed. Refrigerate the dough for at least two hours or preferably overnight. One recipe is adequate for two dozen croissants.

Making the croissants…

1 recipe of dough above
egg wash

Preheat the oven to 400°F.

Cut the chilled puff dough in half. On a lightly floured surface, roll one half of the dough to a 12” x 18” rectangle. Trim the edges, using a very sharp knife or a pizza-cutting wheel. This removes the folded edges that would inhibit the puffing of the dough.

Cut the dough into three strips lengthwise, 4” x 18”. Then cut these strips in half to give six rectangles 4” x 9”. Make a diagonal cut on each of these rectangles to give a total of twelve triangles. Make a 1” cut in the 4” base of one of the triangle. If you desire to fill the croissant, place a small amount of filling along the base before rolling it. Pull this base slightly stretching it, and then roll the dough toward the apex. Tuck the point on the bottom and bend the ends to make a crescent. Repeat with the other eleven triangles.

Place the croissants on a lightly greased, parchment-lined baking sheet about a half-inch apart. Cover with a greased plastic sheet, and allow to rise until doubled. When fully proofed, about 45 to 60 minutes, brush the croissants with the egg wash. Bake in the 400°F oven until deep golden brown, about 20 minutes. The interior temperature should be 195 to 200°F. Cool the rolls on a wire rack, before eating or storing.

Repeat with the other half of the dough or store it in the refrigerator or freezer for later.

jump for more

BBA#43: ROASTED ONION and ASIAGO CHEESE MICHE

Photo courtesy of  PJG, thanks!

With this bread, I completed the BBA CHALLENGE!


For a PDF version, click here (breads are ranked from one to five stars)

A big thank you to Nicole for setting up this event, and of course to Peter Reinhart for his wonderful book.  I’ve had it many years, but never imagined that one day I’d say that “…I baked them all!”

ROASTED ONION AND ASIAGO CHEESE MICHE

This last bread took 3 days to prepare.  The sourdough sponge, made on the first day, was mixed and shaped on the second day, and  after a night in the fridge it was topped with roasted onions and grated asiago cheese, then finally baked.   I made a half  recipe, which was still  enough for one  big round loaf.

The onions can be prepared the day before…

and added to the bread 30 minutes before baking ….

The dough contains a lot of grated asiago cheese,  so each bite acquires its sharp flavor, mellowed  by the sweet roasted onions.   What a beautiful combination!

You can check the Roasted Onion Asiago bread made by Oggi (the first baker to complete BBA Challenge) by clicking here….

Our five favorite breads from the challenge were:
Potato, Cheddar, and Chive Torpedo
Roasted Onion and Asiago Miche
Vienna Bread
New York Deli Rye
Potato Rosemary Bread

To all my virtual fellow challengers baking along this tasty path, have fun with it.   I’ll be watching and cheering for you!  😉

BBA#42: POTATO, CHEDDAR AND CHIVE TORPEDO

With my heart beating fast in anticipation, I am thrilled to say:   forty-two breads down,  ONE to go!

This bread is definitely one of my favorites, for several reasons. First,  it uses a sourdough starter, which already makes me pretty excited about it.  Second, it contains potatoes, a great addition to this kind of bread,  as they give it moisture and a texture hard to reproduce in any other way.    Third, it takes cheese rolled in the middle of the loaf.  No need to explain the positive aspects of this.  Too obvious for words.   Did the recipe rise to my expectations?

Oh, YESSSS!  😉

This was not a difficult bread to make.  Because the dough takes a mixture of sourdough starter and commercial yeast, it rises quite fast: the whole process – from mixing the dough to baking – took just a little over 3 hours!   I used the full amount of potato water called for, hoping for a more open crumb.   Instead of kneading, I folded the dough twice, at 20 and 40 minutes, then allowed it to rise undisturbed for another hour.

Here are a couple of shots from the loaf right after shaping, and before going into the oven.

I am sure I’ll be making this bread again and again.  At first, my husband said he would prefer it without chives, but after a few bites,  he agreed that they add a special flavor, quite unique.  This is an impressive loaf, that would be perfect with an Italian-inspired meal.

Please visit these links to see my fellow friends who already baked #42:

For Oggi’s blog, click here.

For Paul’s blog, click here.

I am submitting this post to Susan’s Yeastspotting event, Special Holiday Edition.

BBA#41: WHOLE WHEAT BREAD

With only two breads remaining at the end of the BBA Challenge, I was hoping for something wonderful to say about Reinhart’s version of whole wheat bread.   But unfortunately, this bread fought hard for last place with the now infamous 100% sourdough rye.

I wasn’t the only participant to have problems with this recipe; you can jump to Oggi’s blog for her comments about it.  At some point I’d like to improve at breads with low to no white flour, because they consistently provided lessons on humility.   So, without further ado, here are the proofs of my crime, with apologies to Mr. Reinhart.

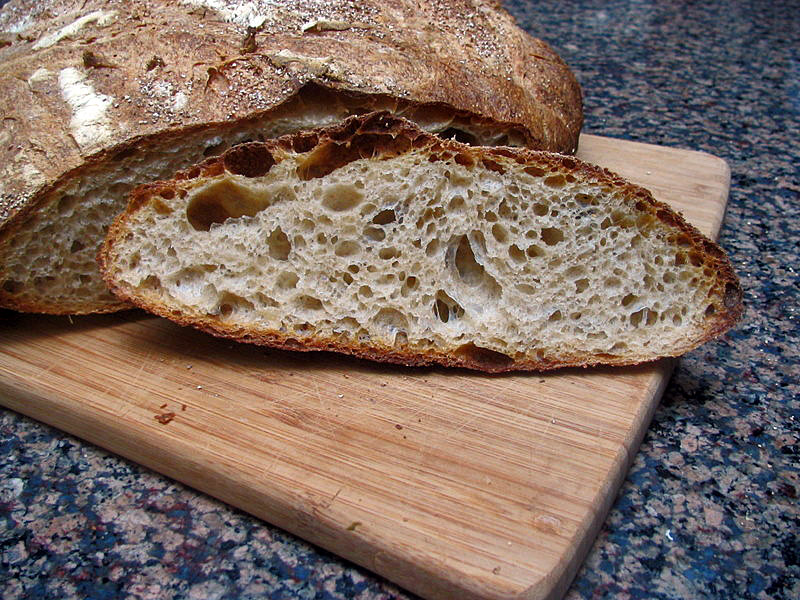
The dough was sticky, grainy and generally unpleasant to work with. The crumb was tight, as expected for this variety, but the taste was just plain bland.   Even my husband, who eats all my failures with a smile (while saying that I’m too hard on myself…violins playing, please) told me “if a bread isn’t even good with butter and this awesome fig jam, then something’s seriously wrong with it”.

I will be making croutons… (sigh)

Life goes on, so does the challenge. I’m anticipating the final two breads, which look like masterpieces… Stay tuned!