PAIN DE MIE AU LEVAIN

Just for a change, here’s a bread that’s not part of the BBA Challenge…  😉

Who doesn’t love a good bread? But, while some people prefer a hearty crust, uneven holes and an assertive taste, others like a tight, smooth crumb enveloped in a soft crust.  This  “pain de mie” joins the best of both worlds: it’s leavened with sourdough starter, but it’s moderate hydration produces a surprisingly closed crumb, especially if you bake it contained in a loaf pan. It’s a perfect sandwich bread, with more “pizzazz” than anything you’ll find at the grocery store.

I discovered this recipe in a wonderful French blog called Makanai: Bio, Bon, Simple. When a French woman (who has superb boulangeries on every corner) bakes bread at home, then I pay attention: she must be an outstanding baker! You can read Flo’s detailed description here.

PAIN DE MIE AU LEVAIN
(adapted from Makanai’s blog)

210 g  sourdough starter (mine was at 80% hydration)
420 g water
500 g bread flour
130 g rye flour
11.5 g fine sea salt (13 g if using unsalted seeds)
30-35 g seeds of your choice
(I used flax seeds and roasted, salted sunflower seeds)

Mix the flours, water, and sourdough starter until they form a shaggy mass.  Let it stand at room temperature, covered, for 30-45 minutes (autolyse).  Add the salt and mix it with either using a Kitchen Aid-type mixer for a few minutes, or by hand.  Add the seeds and knead with the machine for about 7 minutes at low speed.  Alternatively, mix gently by hand to incorporate the seeds and knead the dough by folding 4 times during the first hour, at 15 minute intervals.  Let the dough rise undisturbed for another full hour, in a warm place, covered.

Refrigerate the dough for 12 to 24 hours (very important step!), misting the surface lightly with olive oil, and covering with a plastic wrap.

The next morning remove the dough from the fridge, remove the plastic and cover it with a towel, to rest at room temperature for 2 hours before shaping.  Meanwhile, prepare a loaf pan by lightly coating it with olive oil and sprinkling flour, especially in the corners. You can make a single large loaf or divide it half depending on the size of your pan.  Mine was a 9×5 loaf pan, so I divided the dough in uneven pieces, placed the larger one in the loaf pan, and shaped the smaller one as a “batard“.   Ideally, the dough should fill 2/3 of the height of your pan.

Allow the shaped bread to rise 2 hours at room temperature, slash it with a blade, sprinkle some flour on top and bake it in a 435F oven for about 45 minutes, with an initial burst of steam.  Check the internal temperature: the bread will be done when it reaches at least 200F.

If you are patient enough, let the bread cool for a couple of hours before slicing it. Good luck with that… 😉

ENJOY!

to print the recipe, click here

Comments: This was a fun bread recipe. If you’re a novice baker, then incorporating the seeds and folding by hand might be a little intimidating, so use a mixer instead. If you are experienced with minimal kneading and folding, then by all means use the technique here.

For the sandwich bread, I slashed the dough slightly off-center, as Flo did in her blog.

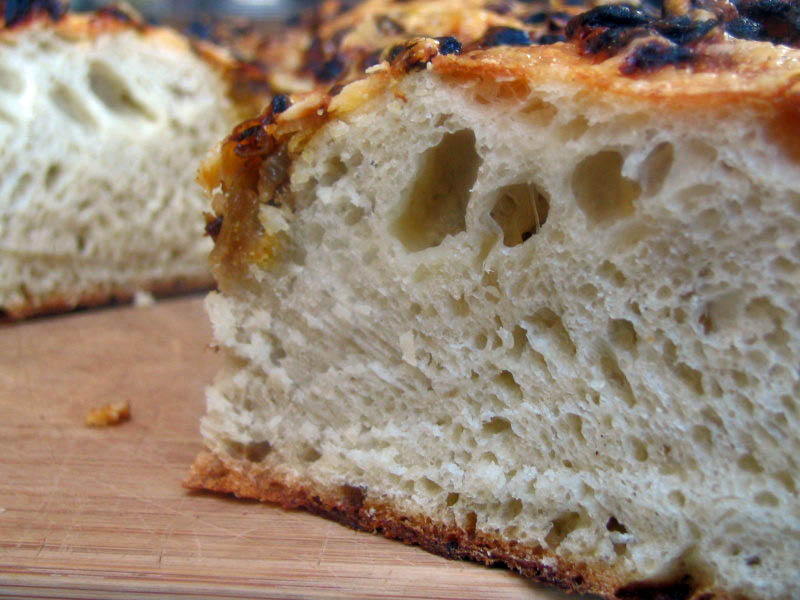
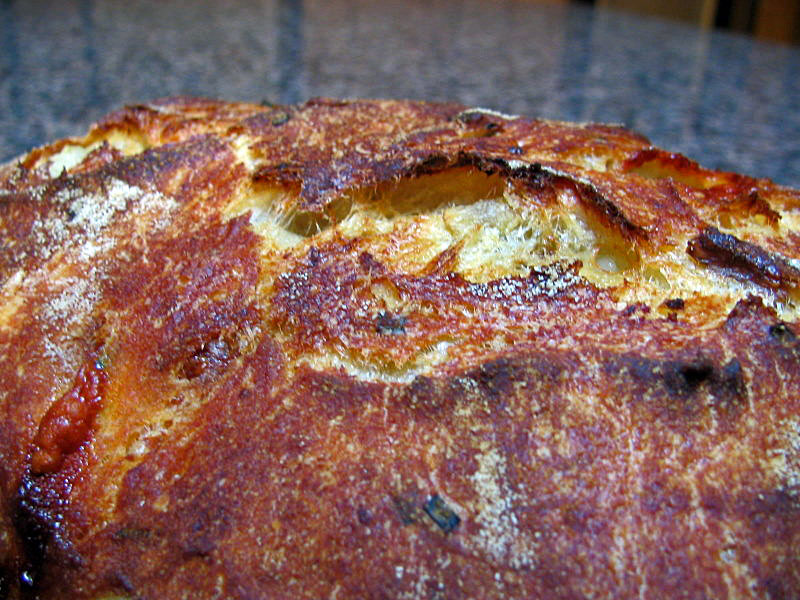
The same dough, baked in the loaf or free form, produced breads with different characteristics. The “batard” browned more, and the crumb was more open, reminiscent of a levain bread with a heartier crust.

My favorite method to create steam is to fill a large roasting pan (like this one) with hot water, and empty it before inverting it on top of the bread.  These affordable roasting pans, sold for cooking outdoors, effectively mimic a “steam oven.” Bake the bread covered in this way for the first 30 minutes, then remove the cover to promote full browning of the crust.  I used this method for both the breads in this post.

The textures and flavors of this bread were outstanding! Its slices stood out in ham and cheese sandwiches, and were hearty with a thin spread of fig jam. I normally don’t even care for bread with jam, but my husband twisted my arm and I’m glad that he did!

I am submitting this post to this week’s Yeastspotting, to join Susan’s fun on Friday….

BBA #40: WHITE BREAD

The Bread Baker’s Apprentice Challenge brings us to White Bread, offered in three variations – I picked number 2, just because I like even numbers (they are never lonely…)

It is a very simple dough to prepare: buttermilk, flour, yeast, oil, one egg. I halved the recipe (our freezer is already overflowing with bread), and folded the dough instead of kneading it. You can shape the bread in many ways, take a look at the gorgeous dinner rolls made by Oggi (click here . )   I opted to make hamburger-style buns, brushing them with egg wash and sprinkling sesame seeds on top.

They turned out pretty nice, and tasted delicious!

Coming up next:  Whole Wheat…   I am looking forward to making it and comparing with my favorite sandwich bread, Light Whole Wheat, number 18.    Stay tuned…

BBA#39: VIENNA BREAD

Thirty-nine breads down, FOUR to go!   Seems like a dream, but we are getting to the end of the BBA Challenge

After last week’s bread, which fail to please the baker, I was eager to make this one, and the ice storm that hit us was the perfect excuse to indulge in bread baking.   Peter Reinhart’s  recipe requires a pate fermentee, made the day before.  The dough is reasonably rich with butter, egg, and sugar.   Wonderful to work with!   I mixed everything together, allowed it to sit undisturbed for 20 minutes, then folded the dough a few times.  One more cycle of folds after 60 minutes, another hour of rise, and the final shaping.  Nice and easy.   The shaped loaf was sprinkled with flour and slashed right before baking (click on the image to enlarge it).

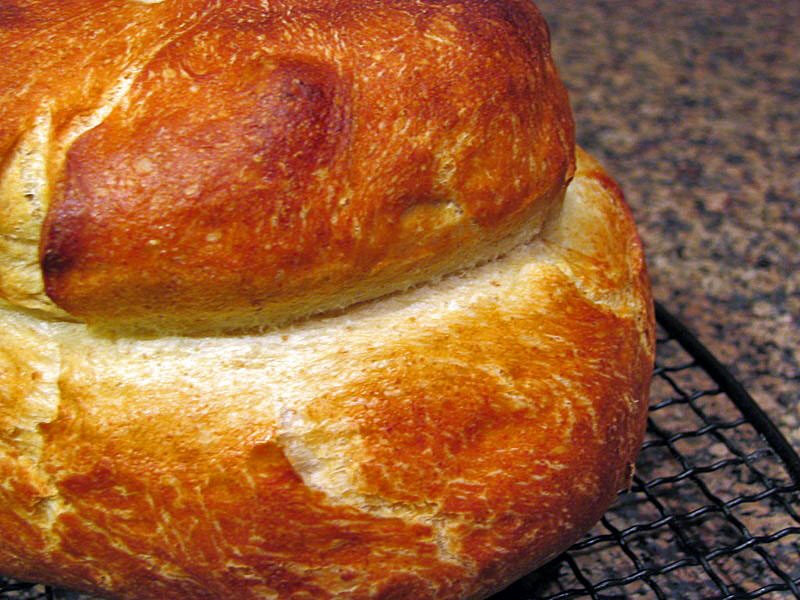
The bread had amazing oven spring, as you can see by the
enlargement of the slashed region…

It feels very light for its size, the crumb is delicate, and so is the crust…

This was one of our favorites, and quite simple to make, no need for sourdough starters to enjoy a nice loaf of Vienna bread.

Only one small problem –  bread should be allowed to sit for at least one hour before cutting.  I could not obey this rule.  After cooling for 15 minutes, my husband asked how long until he could have a slice.  “About two hours” was my answer.   His?

“You’ve got to be kidding me.  Pass me the knife, will you”?      😉

BBA #38: TUSCAN BREAD

Before starting the BBA Challenge I browsed the book to see what  I was getting into. Two breads seemed most intimidating: Poilane, for obvious reasons, and Tuscan, for less obvious, but still relevant reasons.   Tuscan bread is a traditional Italian loaf made without salt. Yes, that’s it, no salt whatsoever.  The idea is downright scary.  If you ever baked a bread and forgot to add the salt, then you know what I’m talking about.

As far as its looks are concerned, the Tuscan loaf did not disappoint.

The recipe required a flour paste (flour plus boiling water) that sat overnight at room temperature, and looked like this…

The flour paste was used as part of the dough on the next day, together with bread flour, olive oil, and instant yeast. The dough more than doubled in size after 2 hours at room temperature…

The crumb was tighter than I expected for a dough that rose  so well, and felt airy to the touch…

Now, for the taste….

I don’t know how to soften it, so here’s my verdict: this bread was tasteless.  I tried it with olive oil + salt, with butter + salt, and with jam, and I didn’t enjoy it either way.  On the other hand, my husband, who’s not a salt addict, actually liked the bread quite a bit in a peanut butter and jelly sandwich.  His comment was that the strong flavor of the peanut butter was good with the sweetness of the bread.

Maybe in Italy the flour is different, or maybe if you grow up eating this bread you learn to love it, but the lesson I took from this recipe was “the fact that you can make a bread without salt, doesn’t mean you should” 😉

You can read about Phyl’s take on Tuscan bread by clicking here

and for a very informative post on saltless bread, please visit Susan’s website by clicking here

Next…. Vienna bread….  I look forward to this one!  Stay tuned…

BBA#37: SWEDISH LIMPA

Following the Bread Baker’s Apprentice Challenge, we arrive at yet another sourdough rye, Swedish Limpa.   The recipe required a special kind of “sponge” : a sourdough starter with molasses, spices (caraway and fennel seeds) and orange peel, that smelled terrific!

Apart from the fact that I dislike the “feel” of rye dough, I had no problems with the recipe.  Here’s what the sponge looked like 60 minutes after mixing it….

The dough seemed dense and heavy; after forming the loaf it must rise for 90 minutes. Mine didn’t rise that much, but by now I’m used to the finicky personality of rye…

This bread smelled wonderful during baking, and the resulting crumb was tight and dense, but not too heavy.

Verdict: it was a delicious bread, and impossible to eat only a single slice.  Maybe it was the spices in the background, or the mix of molasses and rye that produced kind of a hippie-aura, but both me and my husband felt closer to Nirvana with each bite.

Please visit Phyl’s site to check her Swedish Limpa, and then make sure to read about her adventures with Stollen… and I thought our dogs were naughty….    😉