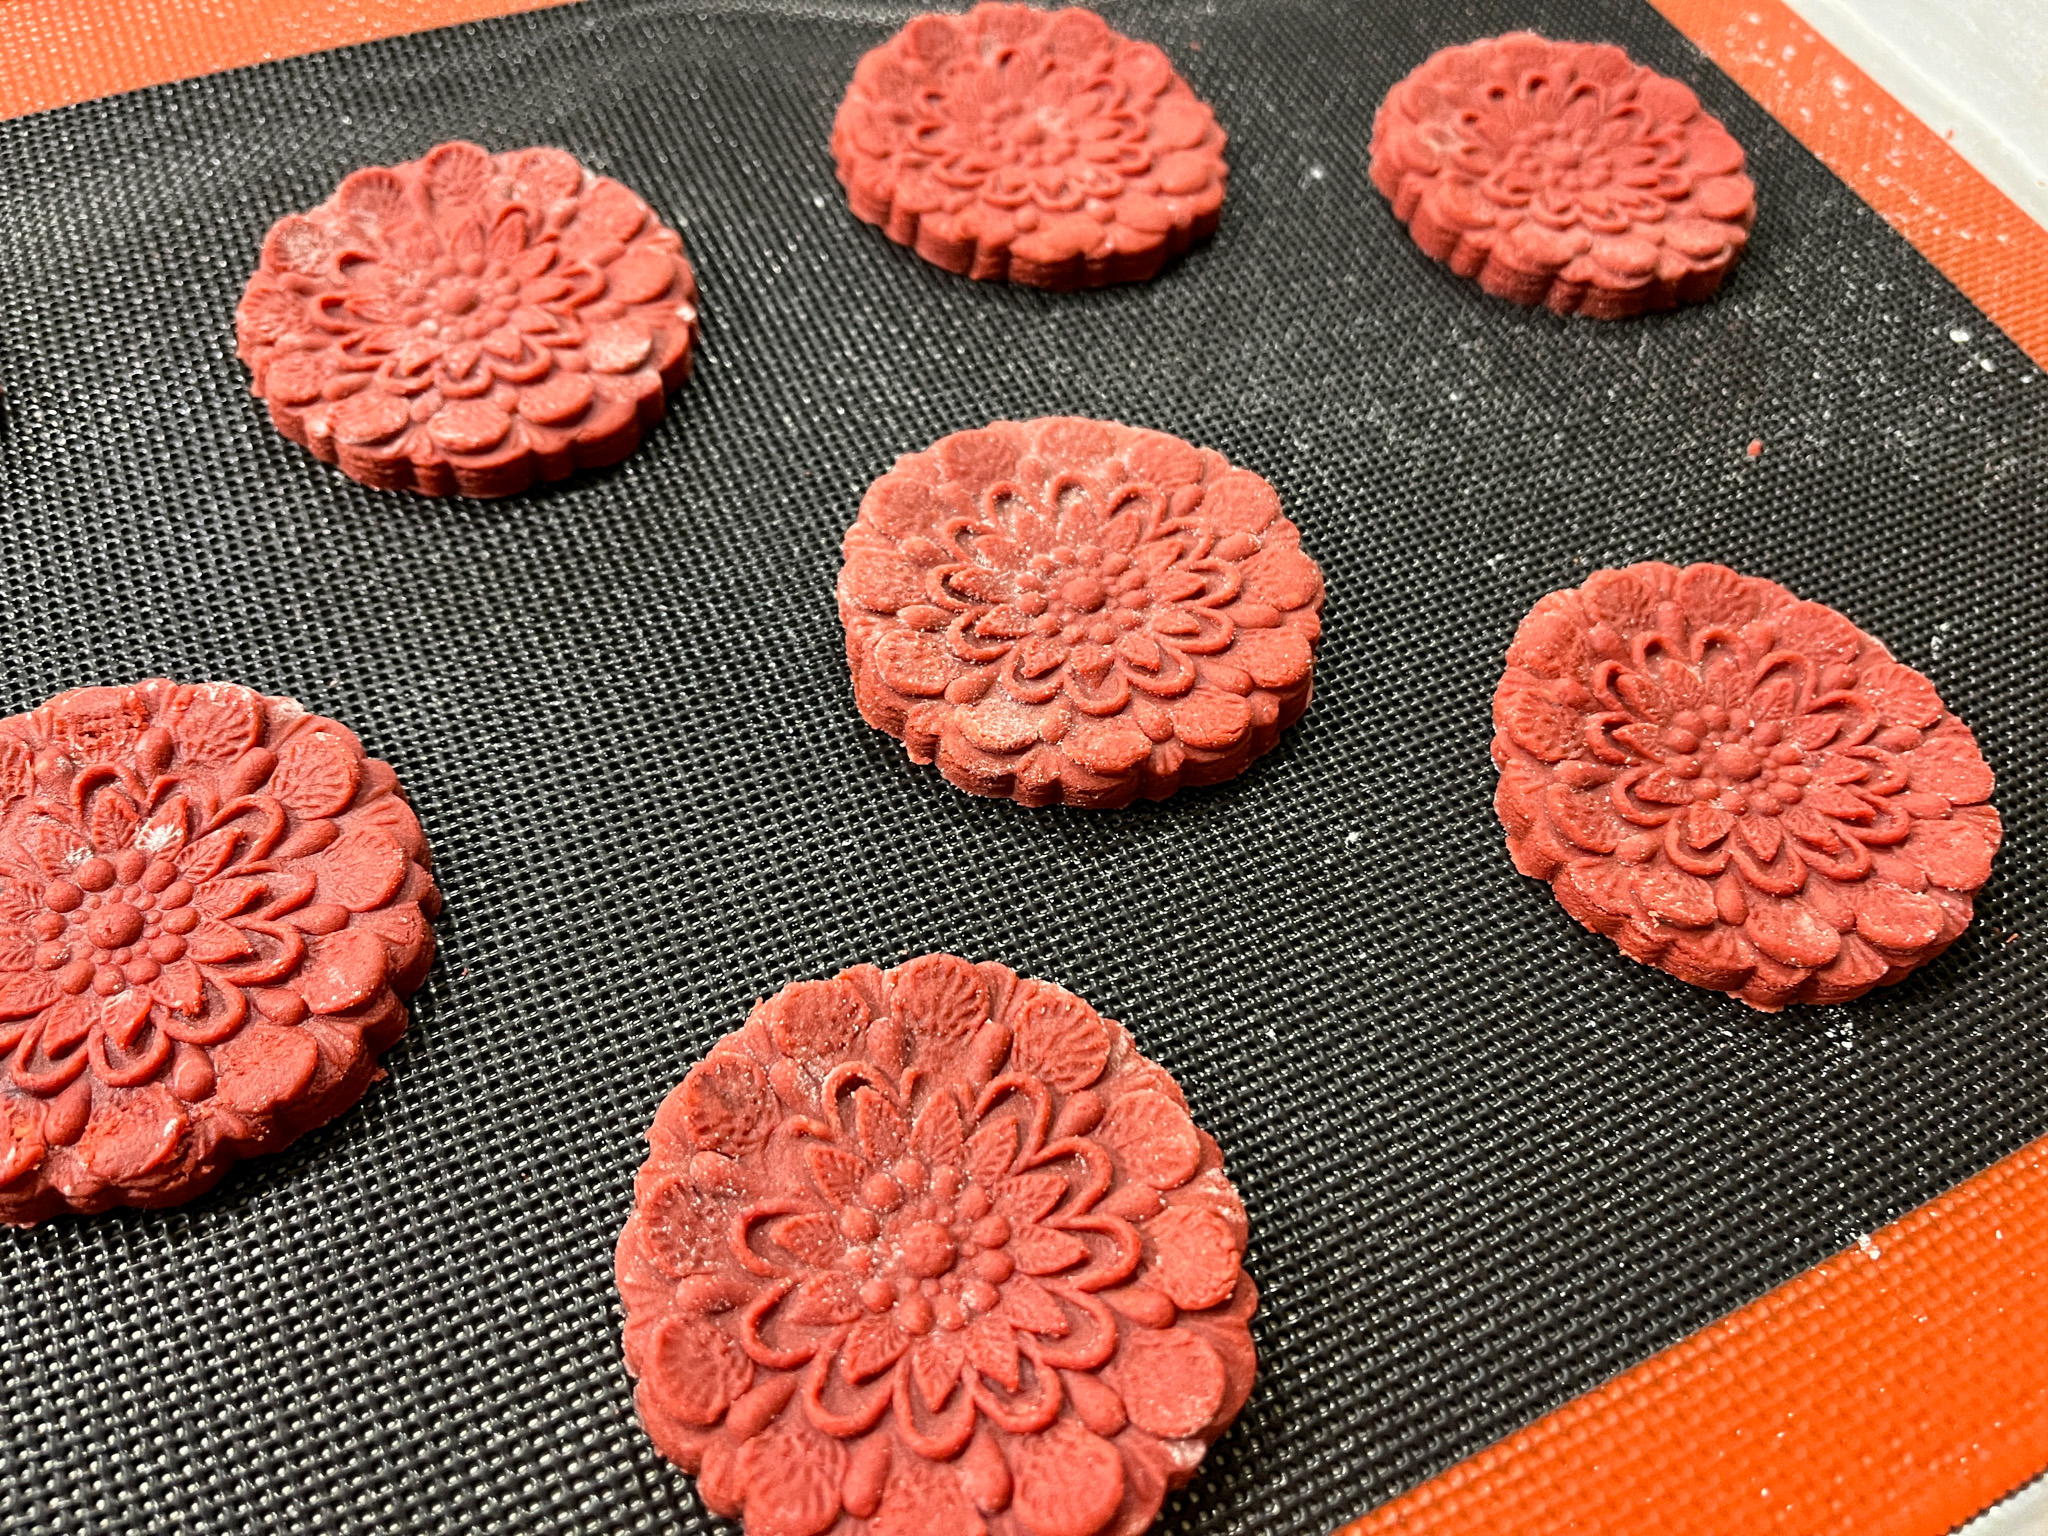
This dough will work well for stamps or to roll out thin or thick. Delicious, nice texture, and a very small amount of baking powder to make sure your design will stay nicely imprinted. Embossed rolling pins will be another option, so keep that in mind.
RED VELVET SUGAR COOKIES (slightly modified from Fancy Flours)
1 cup butter at room temperature (226g) 1 + 1/2 cups powdered sugar (170g) 1 large egg 1 tablespoon Red Velvet Emulsion 1 tablespoon cocoa powder (I used Dutch processed) 1/4 cup melted chocolate chips 3 cups flour (360g) 1/4 tsp baking powder 1 tablespoon dry buttermilk powder 3/4 tsp salt
Mix flour, baking powder, buttermilk powder and salt in a large bowl. Reserve. Cream butter and sugar in the bowl of a standing mixer with a paddle attachment. Add egg. Mix in red velvet emulsion, vanilla, cocoa, and melted chocolate.
Blend in the dry ingredients reserved. Mix until dough pulls away from the paddle and begins to form a ball. Dust the surface of your counter and rolling pin with flour and roll out the dough to a thickness of approximately 3/8 inch to 1/2 inch. (If your dough is too soft to work with, refrigerate it for an hour or so.
Dust the surface of your dough and your cookie mold with flour. Press the mold into the dough just far enough down to fill the mold cavity. Remove your mold and cut out the cookie. Brush off the excess flour on the top of your cookie. Excess flour will appear white on the surface if not removed. Place your cookies on a cookie sheet lined with parchment paper.
Freeze your cookies for 15 minutes, bake from frozen in a 350F oven until done, depending on the size, 10 to 13 minutes.
Very simple to make, just roll, press the stamp and bake. I bake most of my cookies over a perforated mat. After baking, I sprayed a little bit of PME pearl luster over the surface, but that is optional.
.
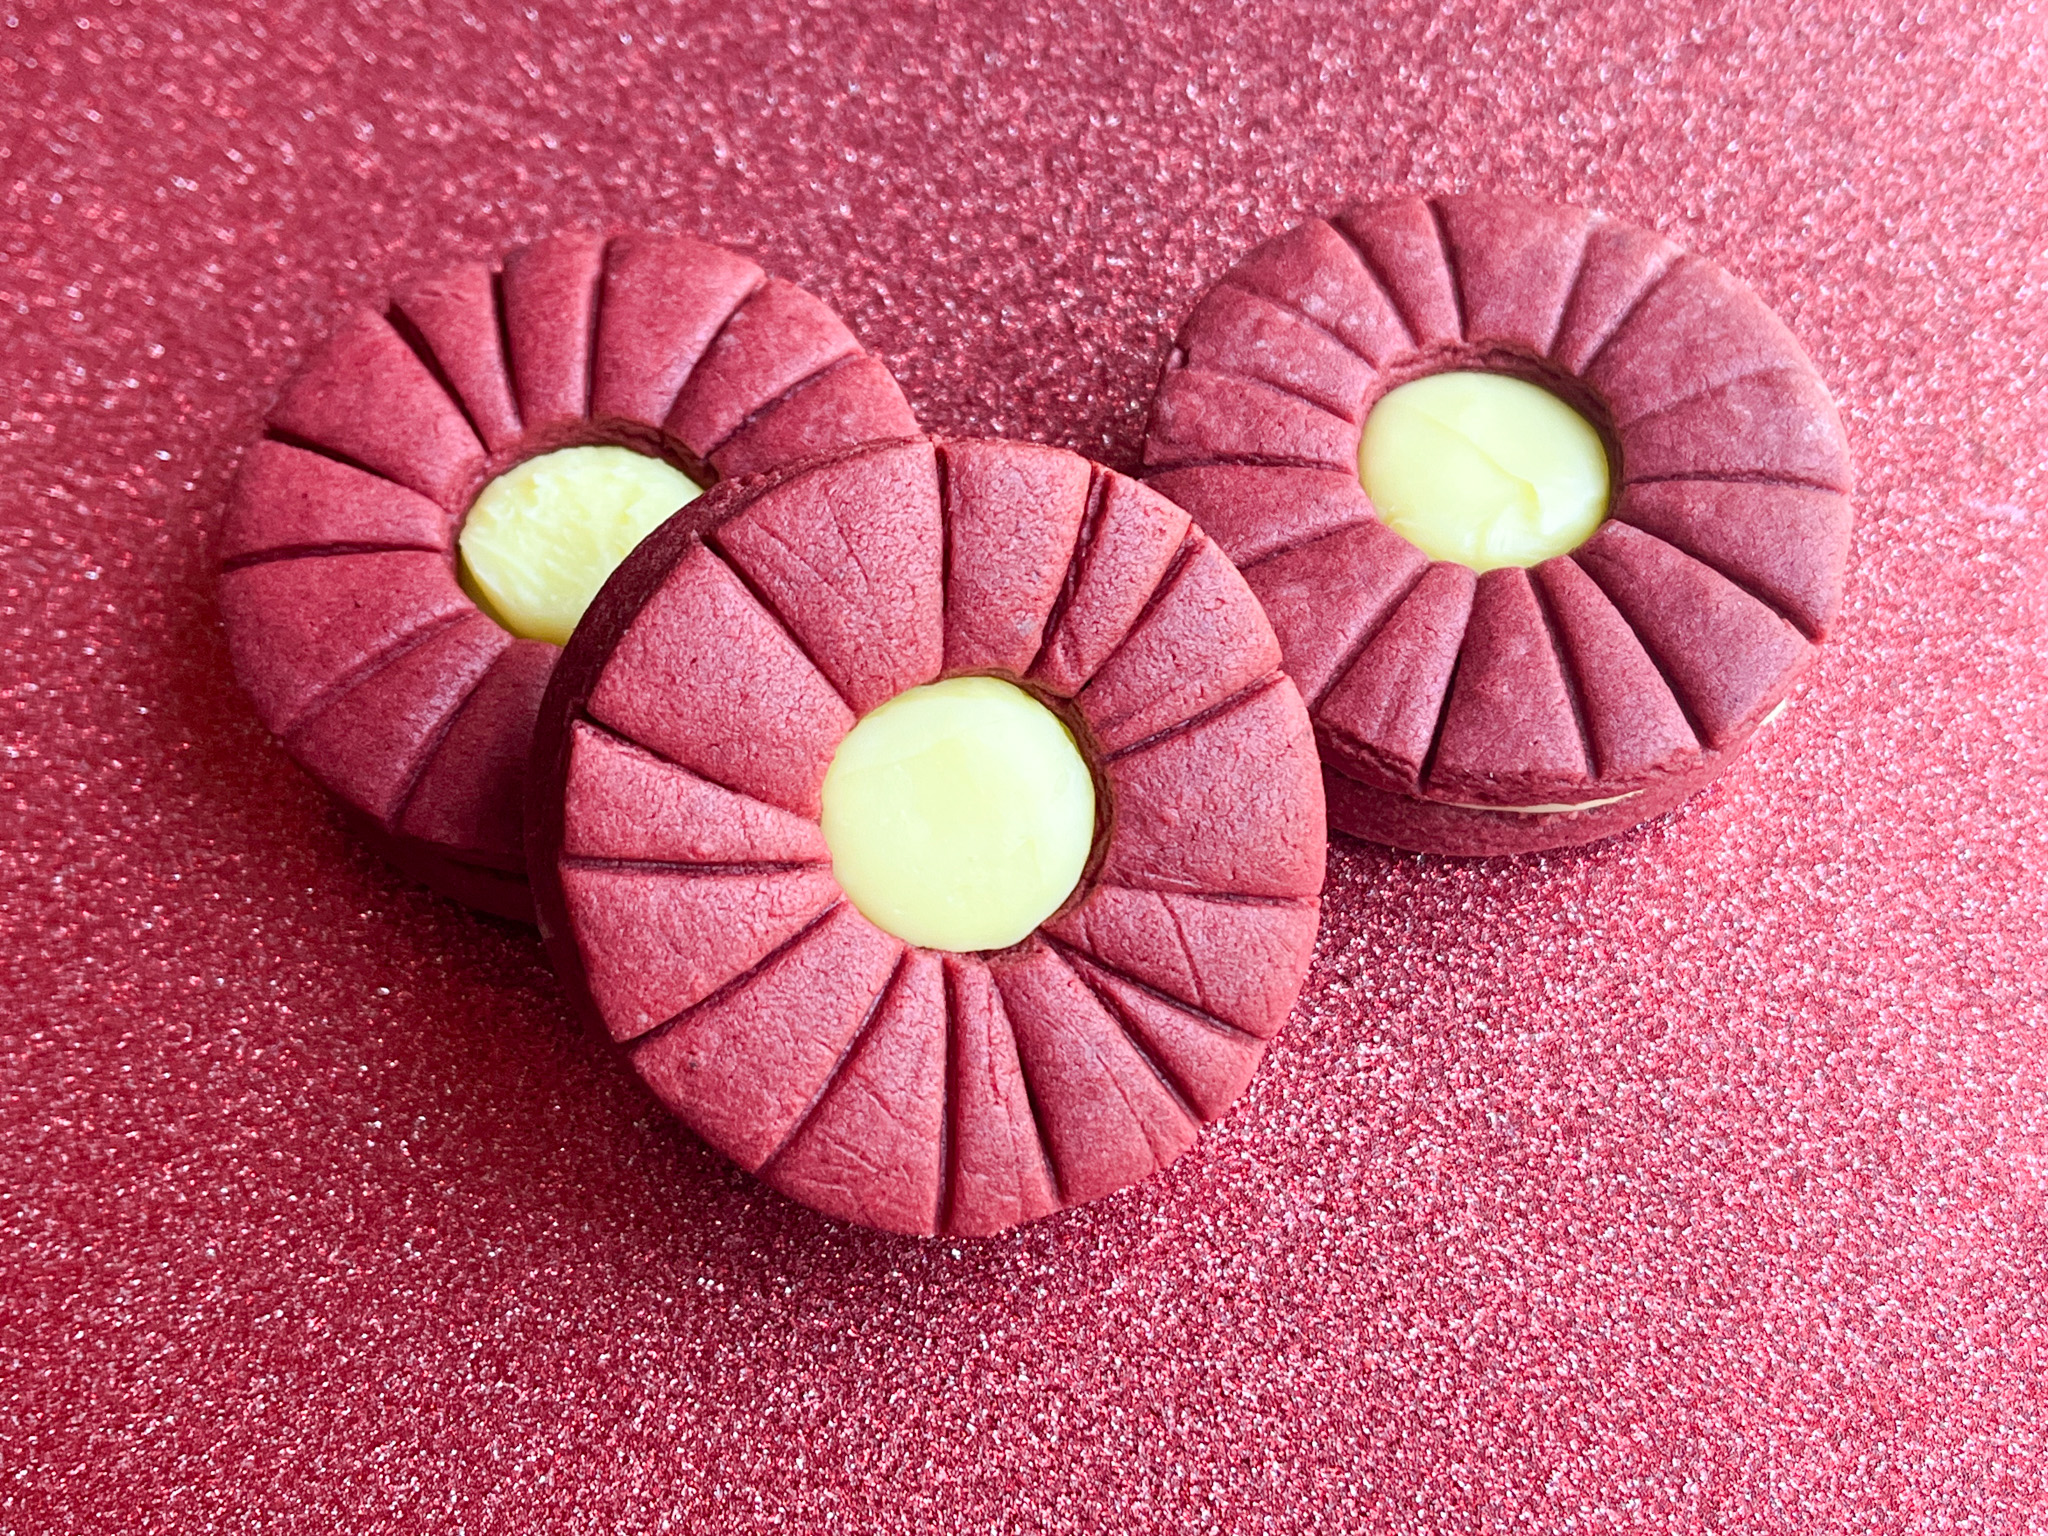
LEMON GANACHE SANDWICH COOKIES.
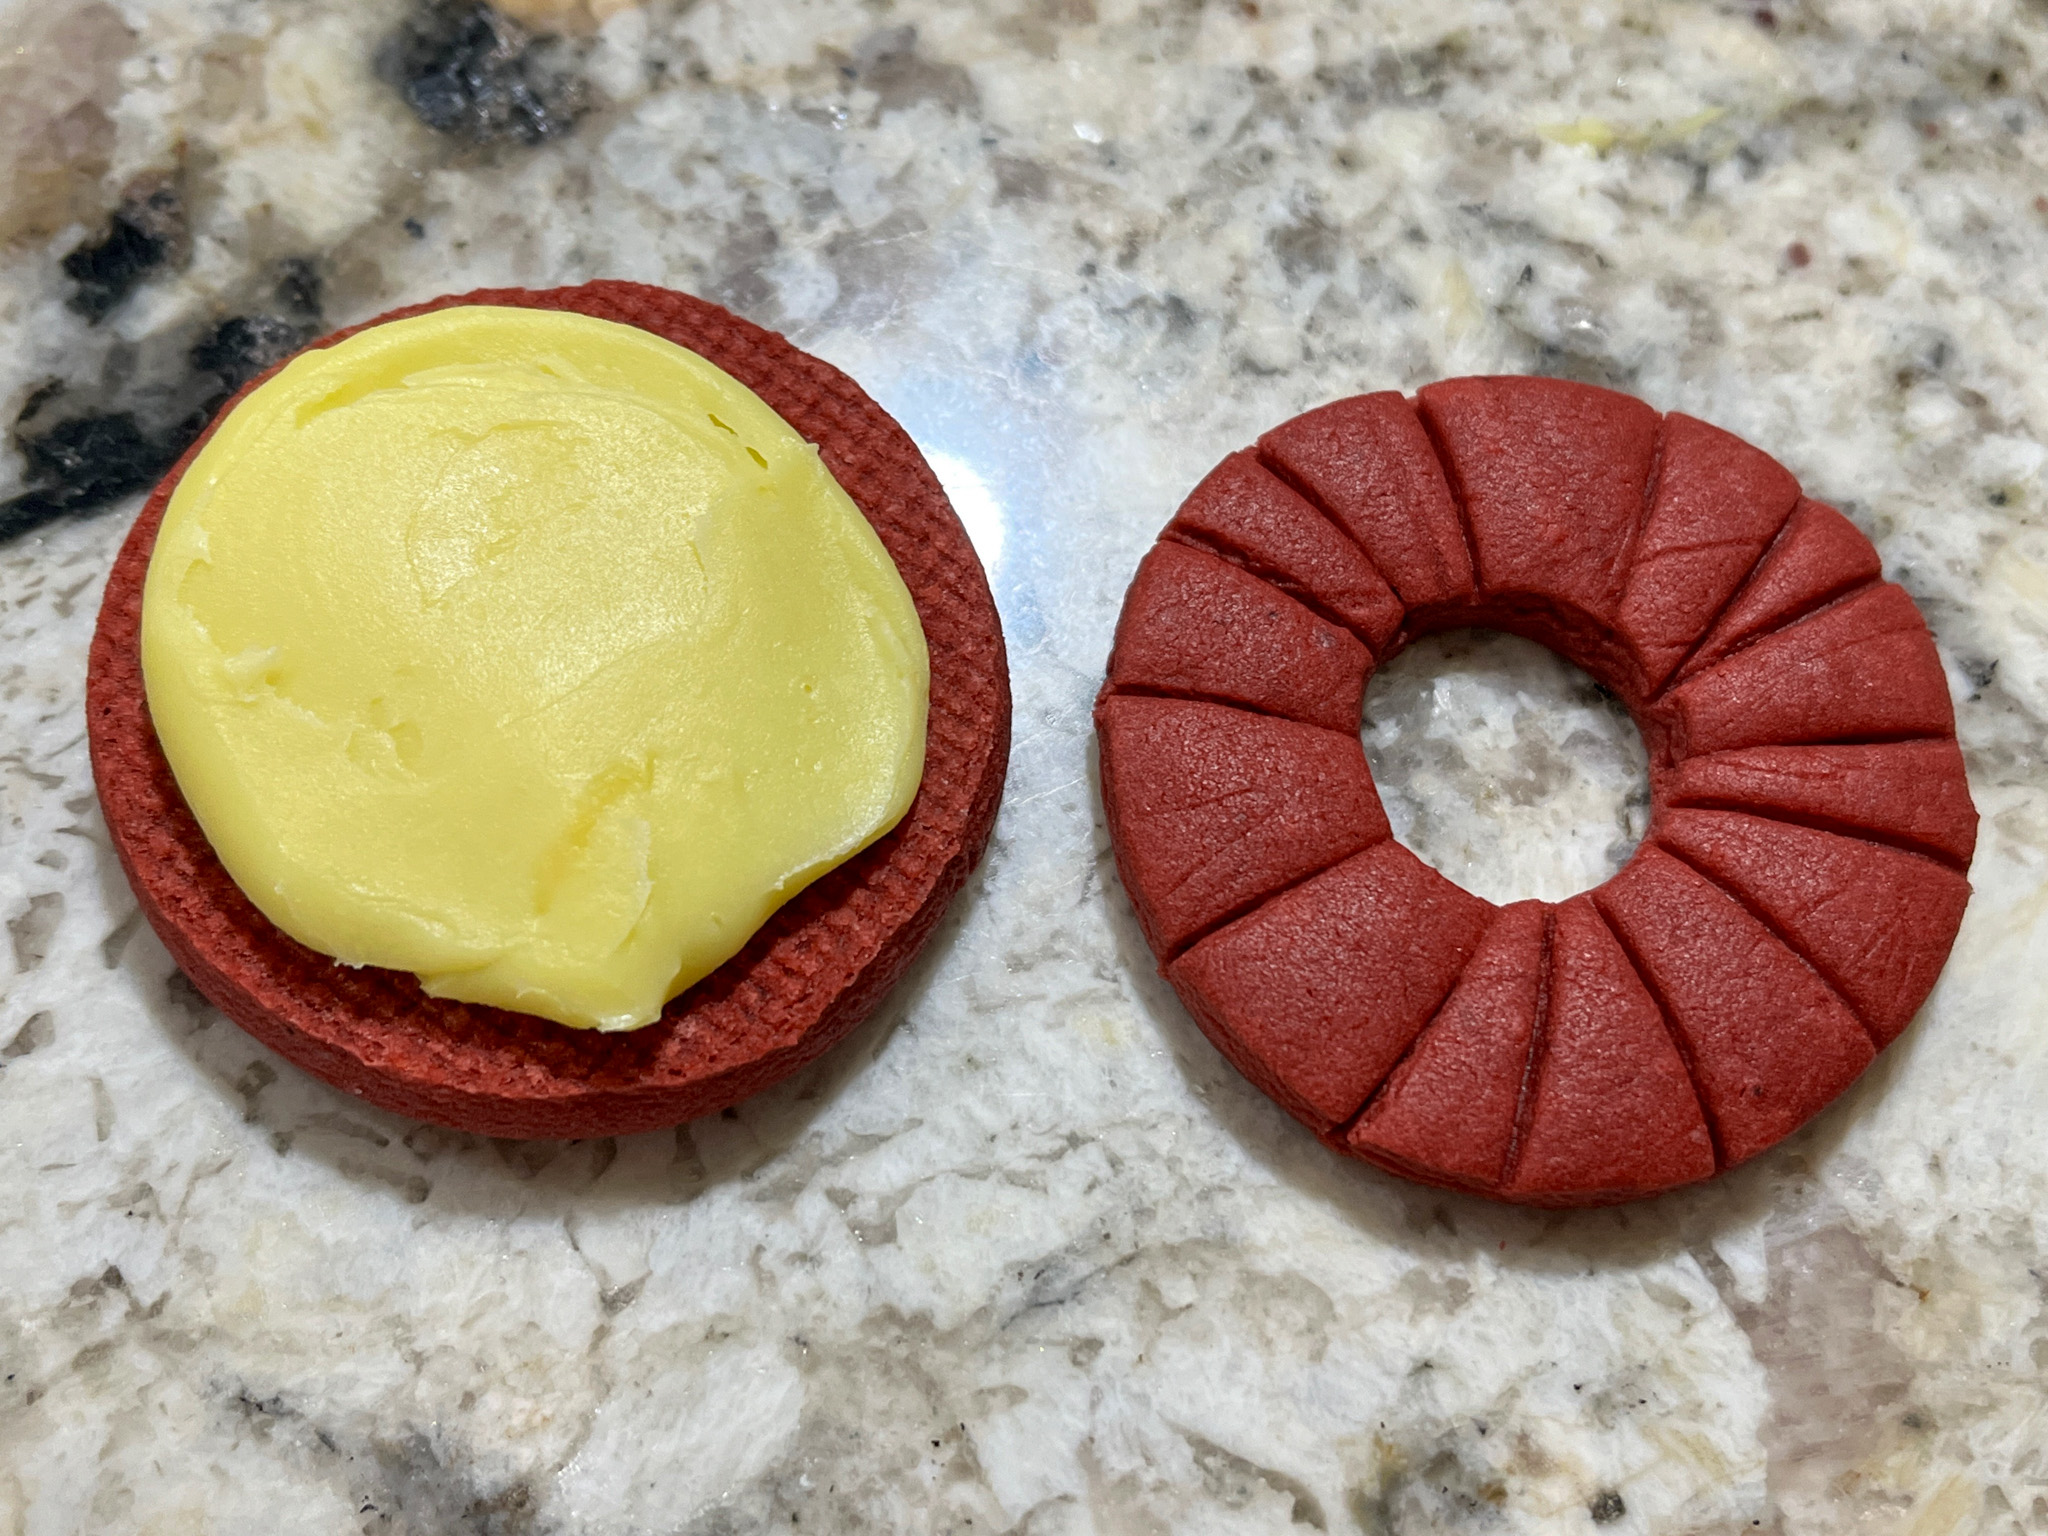
I rolled them a little thinner, cut circles from half the cookies, and used a bench scraper to create a design on the cookies with a hole in the center. The lemon ganache I used is from this macaron post.
.
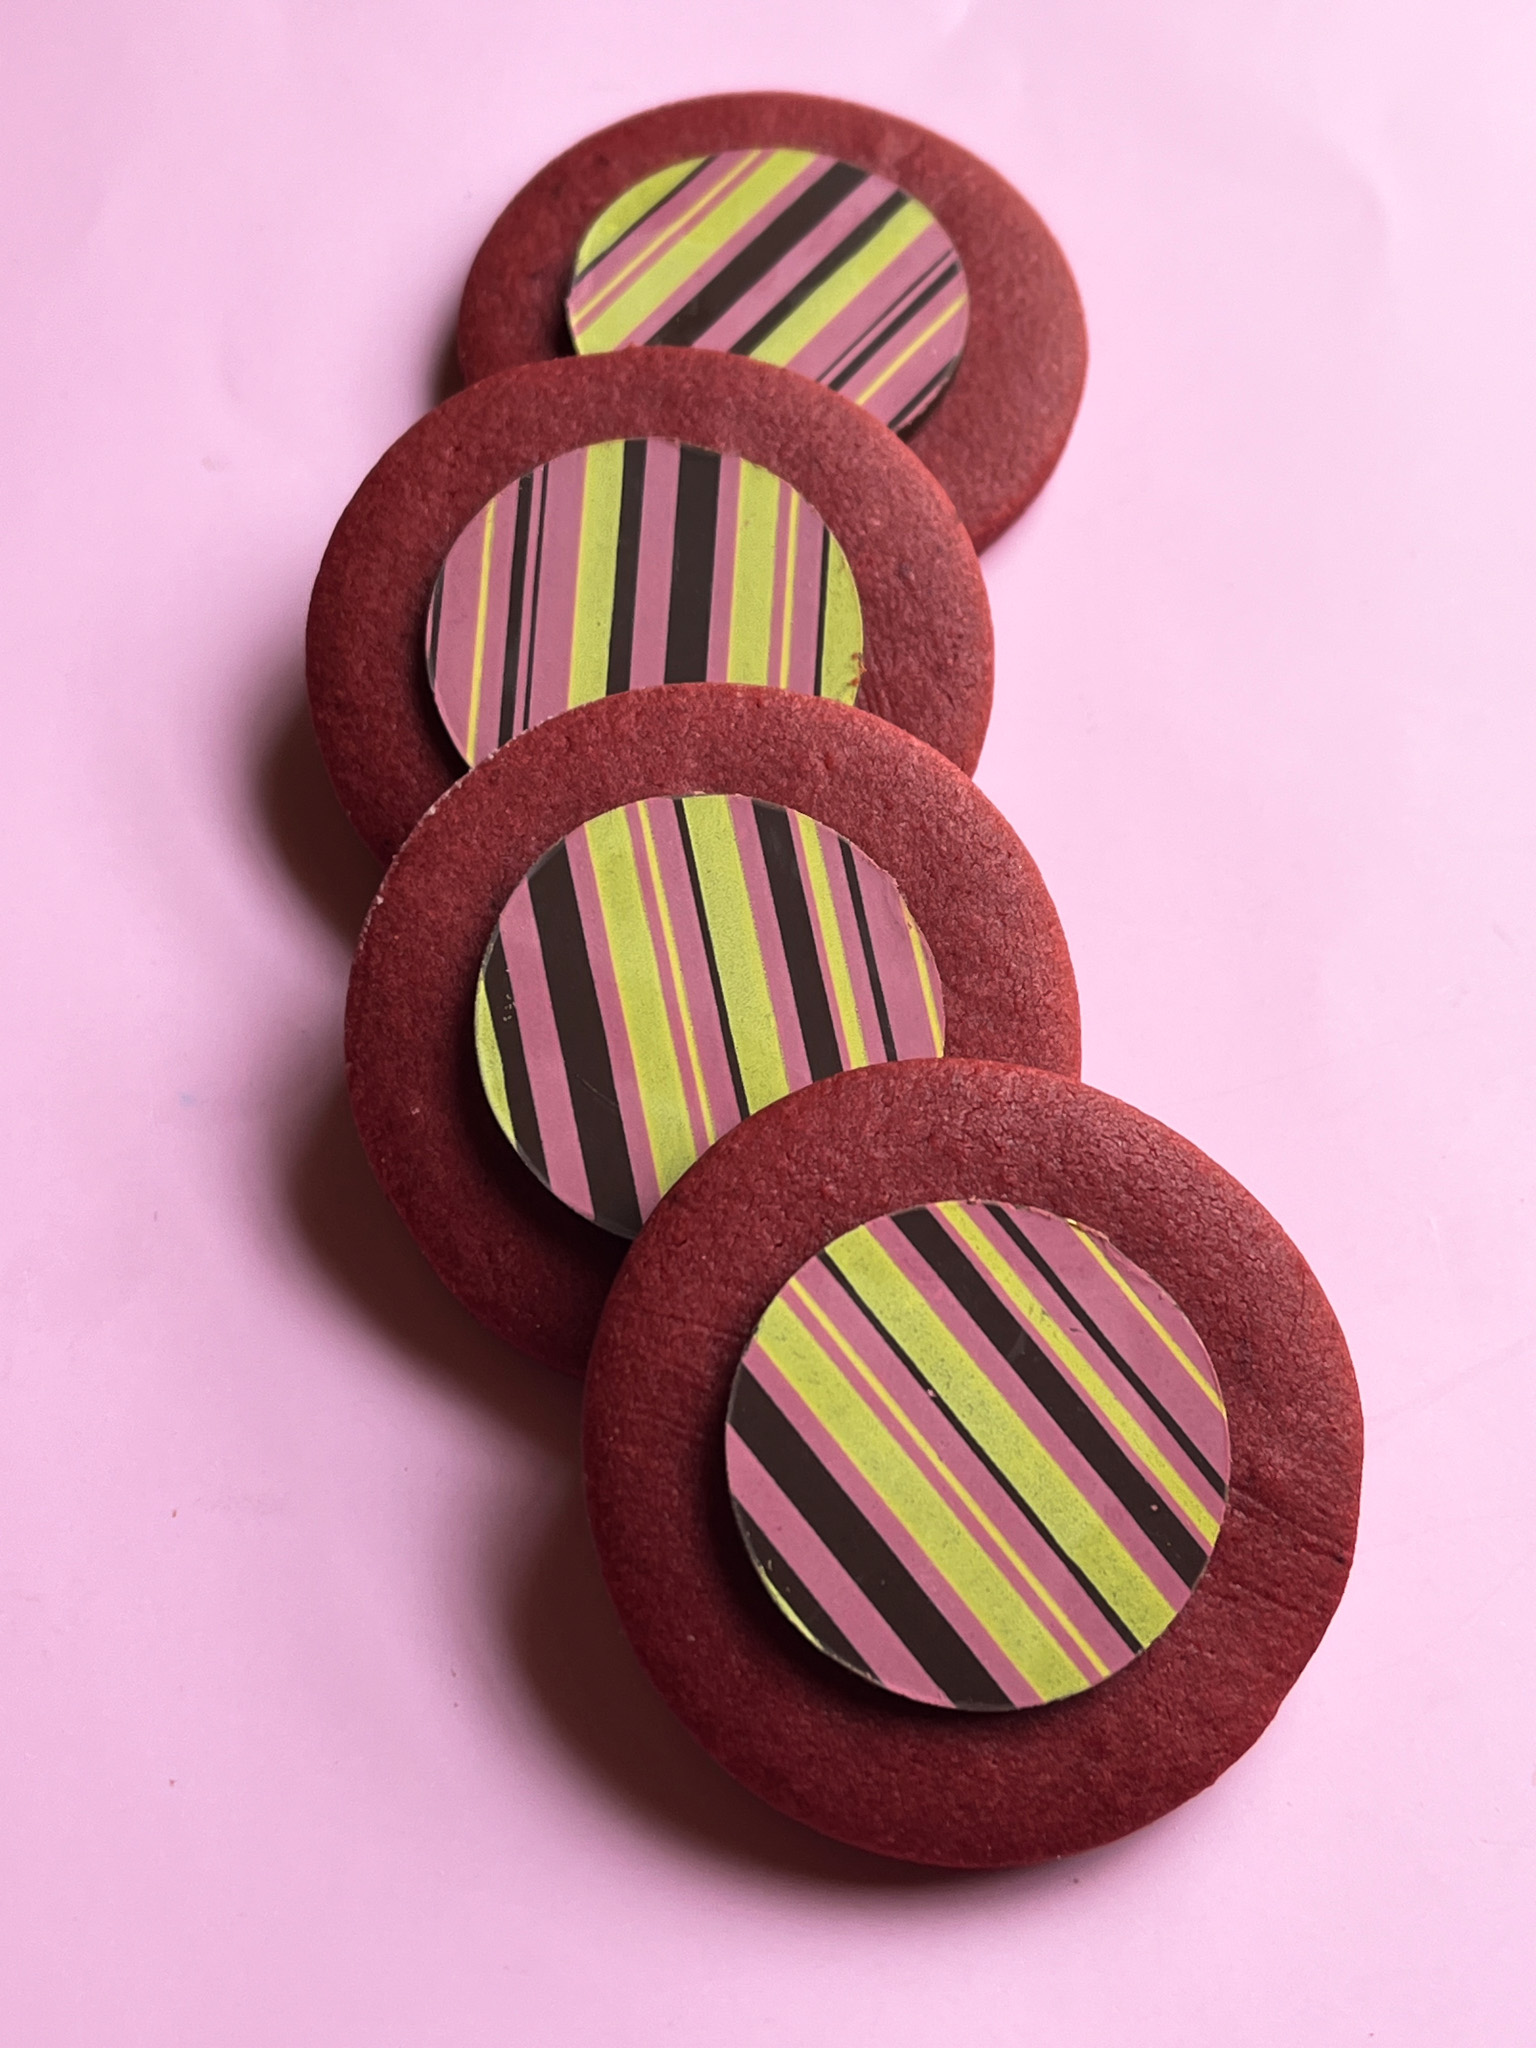
MODERN DESIGN
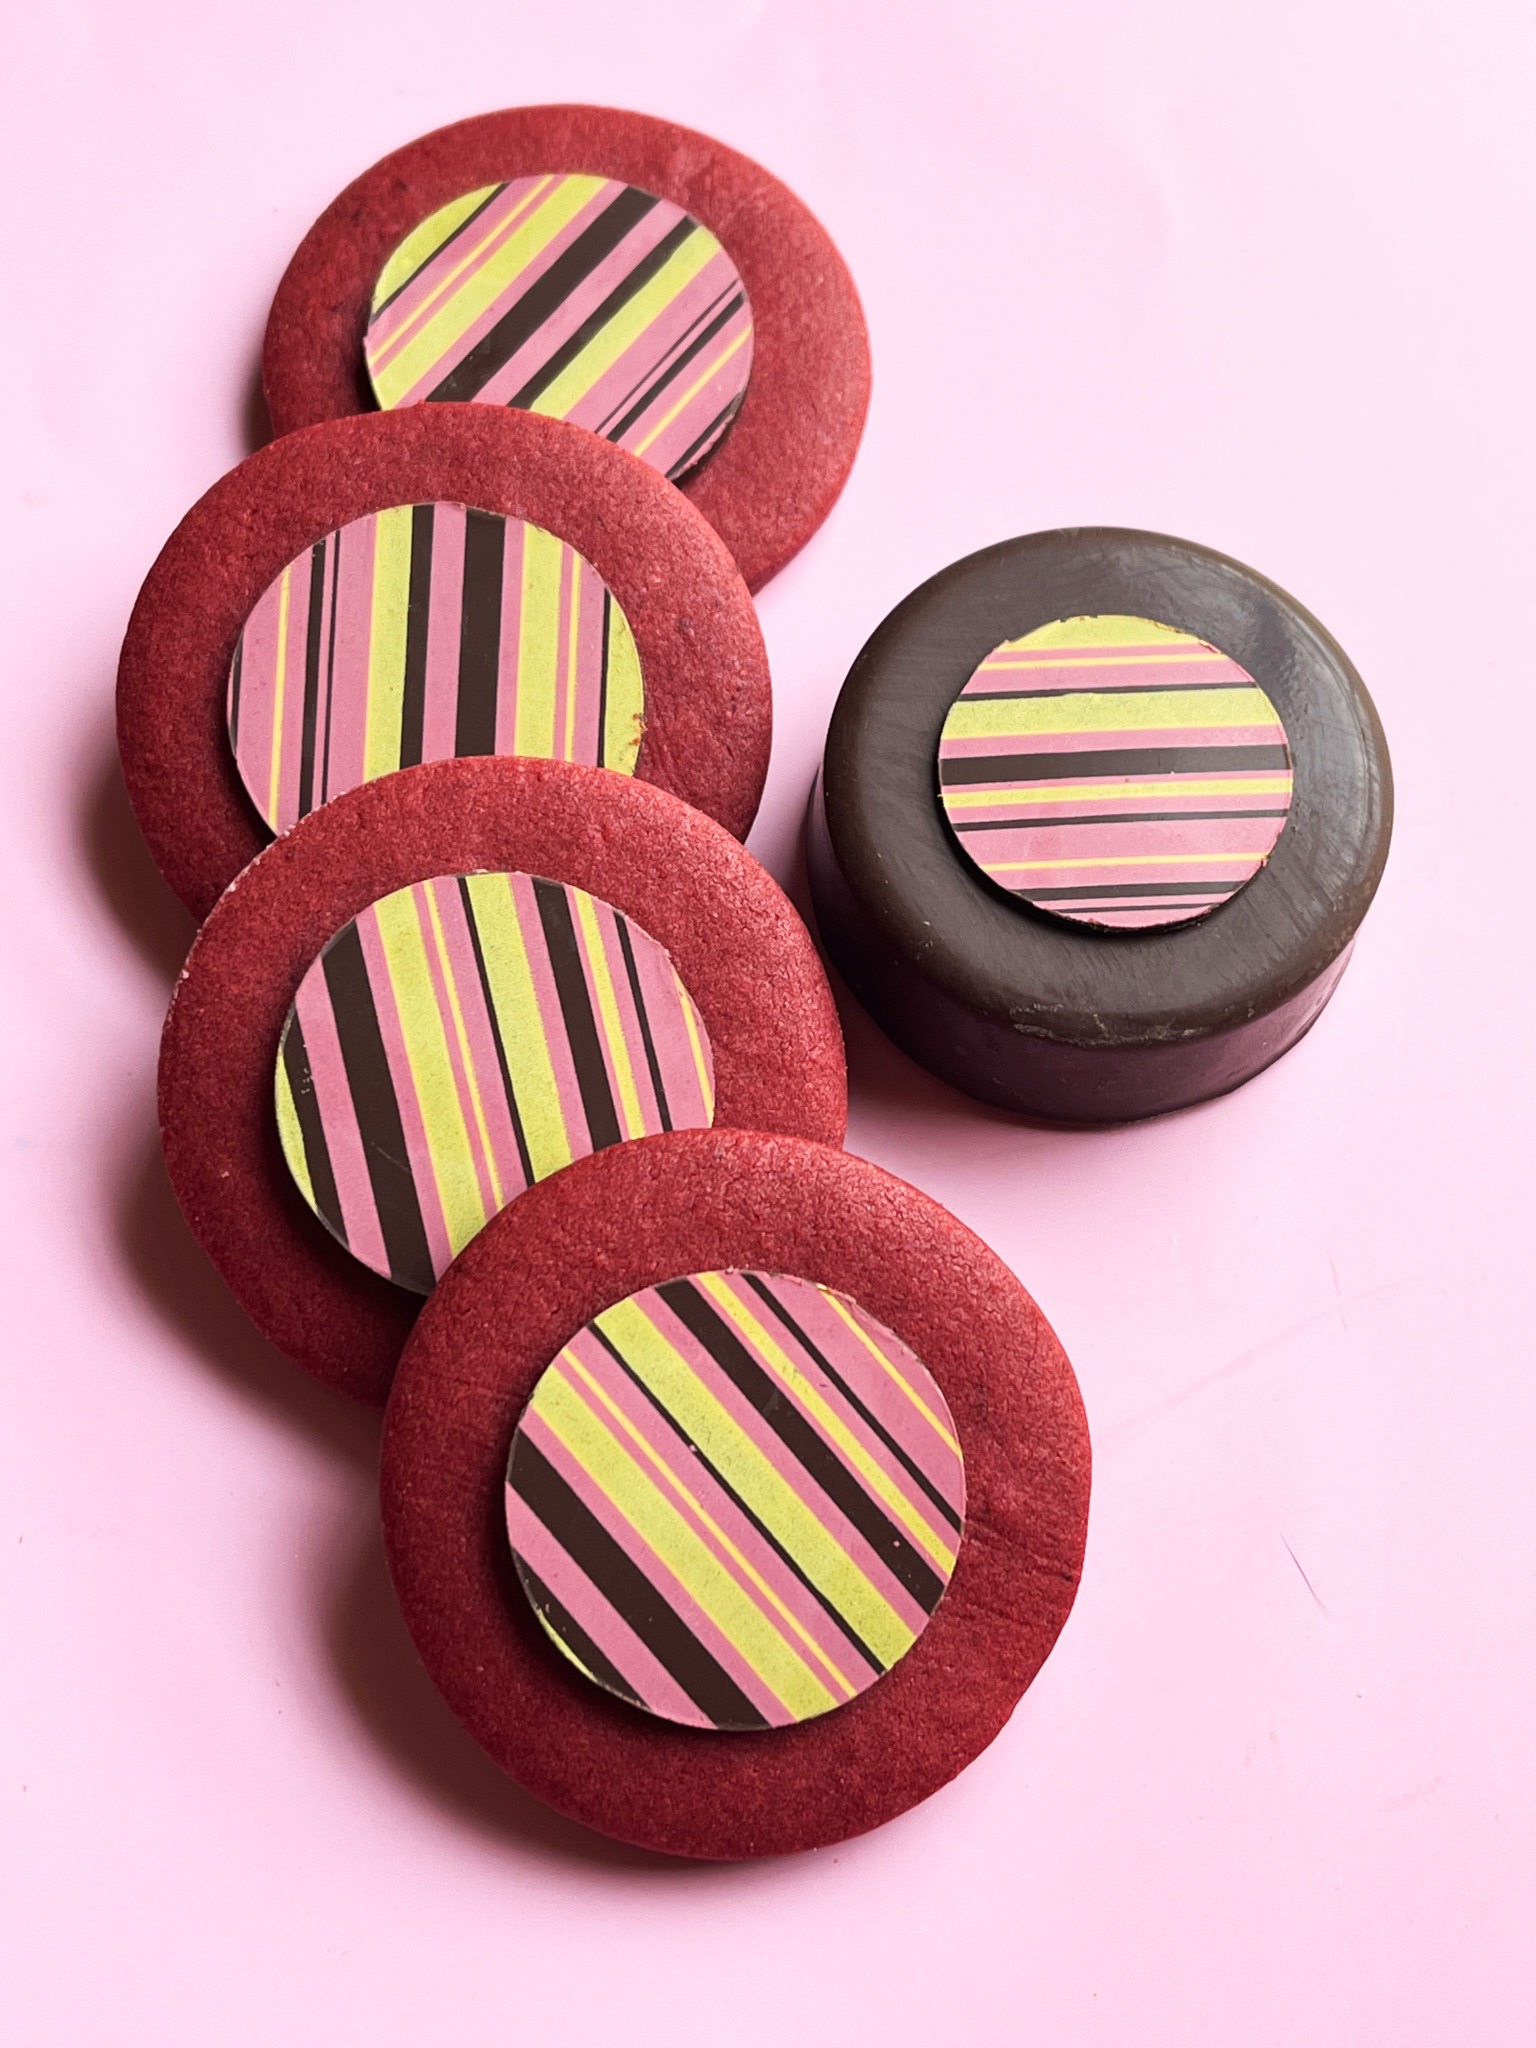
Cookies were simple rounds. To decorate them, I used compound chocolate spread over chocolate transfer sheets, a method I use often for Chocolate-covered Oreos. Let the chocolate set, cut circles smaller than the diameter of your cookies. Glue the disc to a cooled cookie with a bit of Royal icing or melted chocolate. Below the cookies and a little Chocolate-covered Oreo with the same “outfit”.
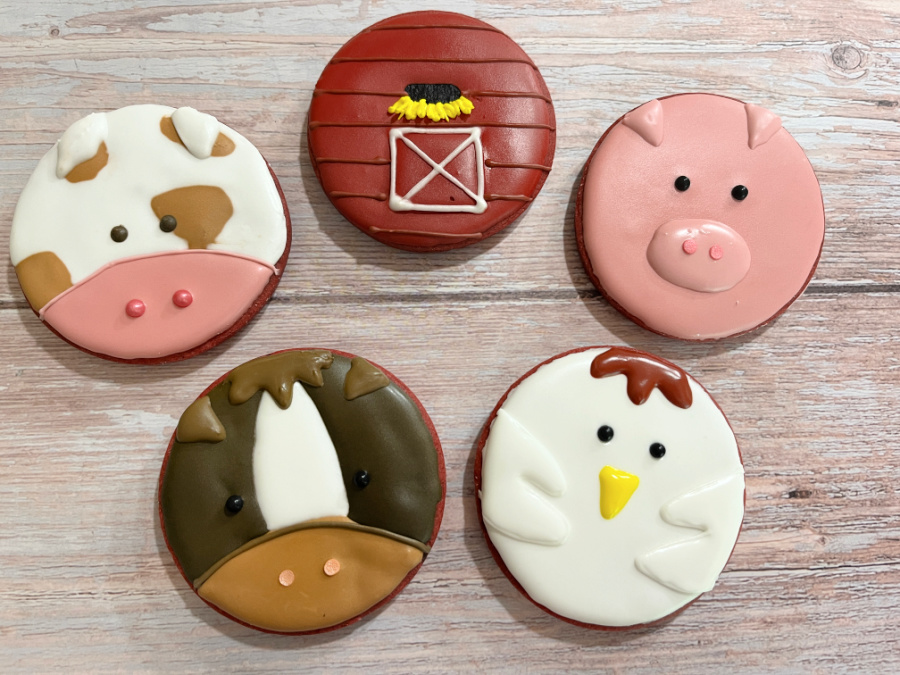
I love the texture and flavor of these cookies, and intend to use them often in the future. And guess what? You can also use Royal icing to decorate them! Designs inspired by The Graceful Baker.
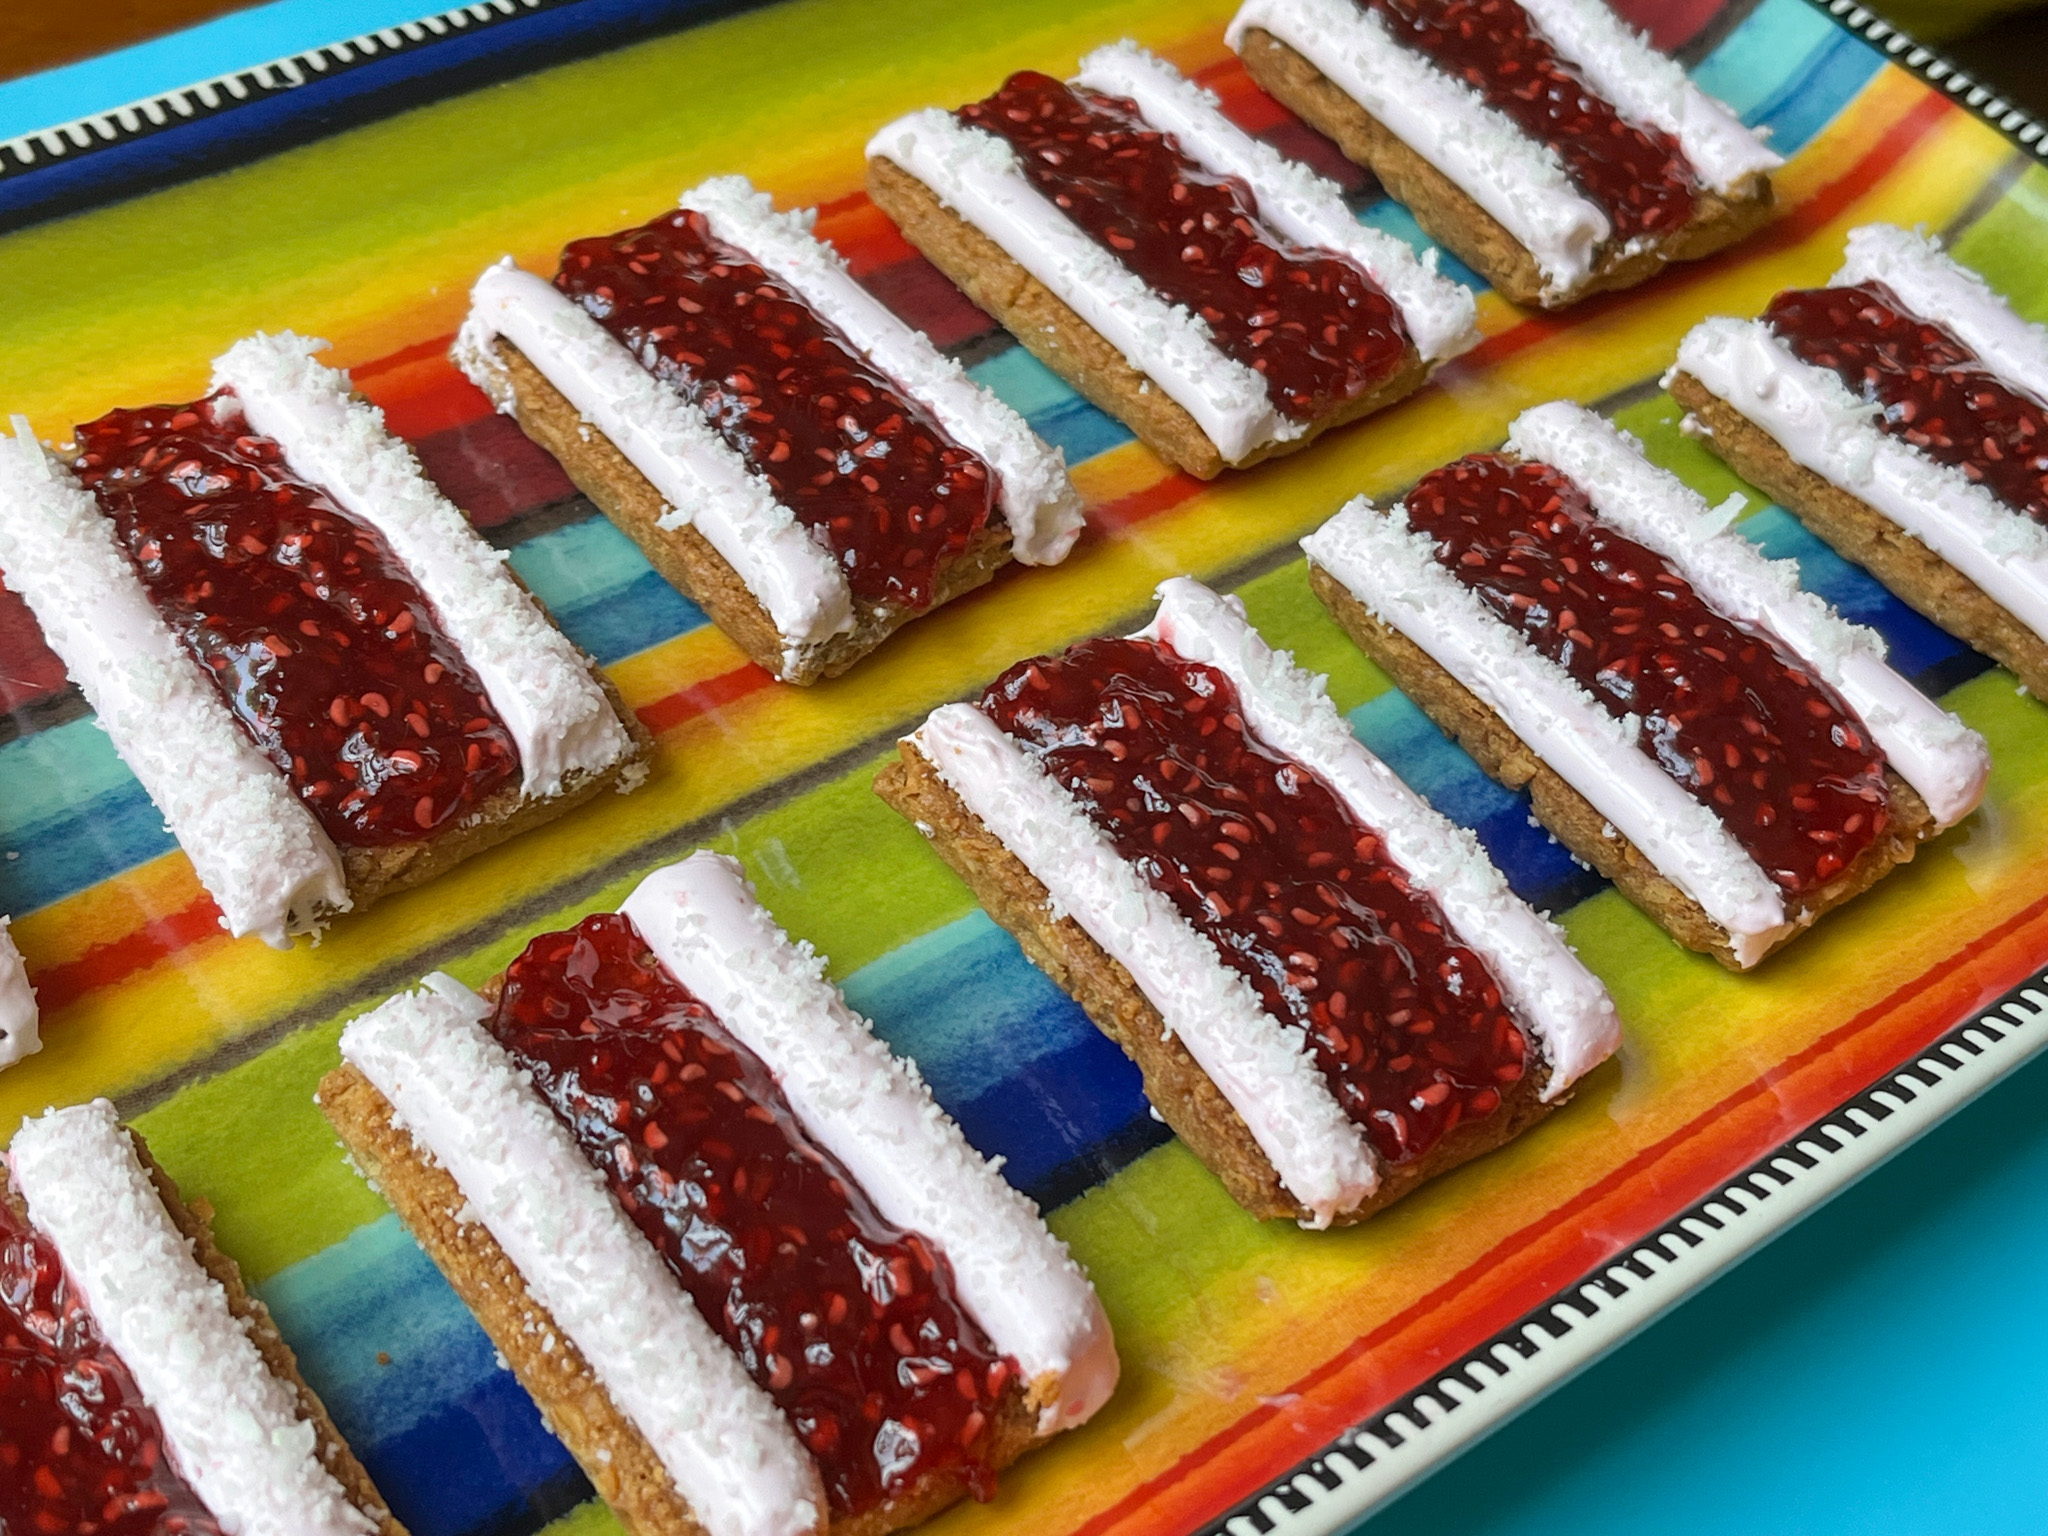
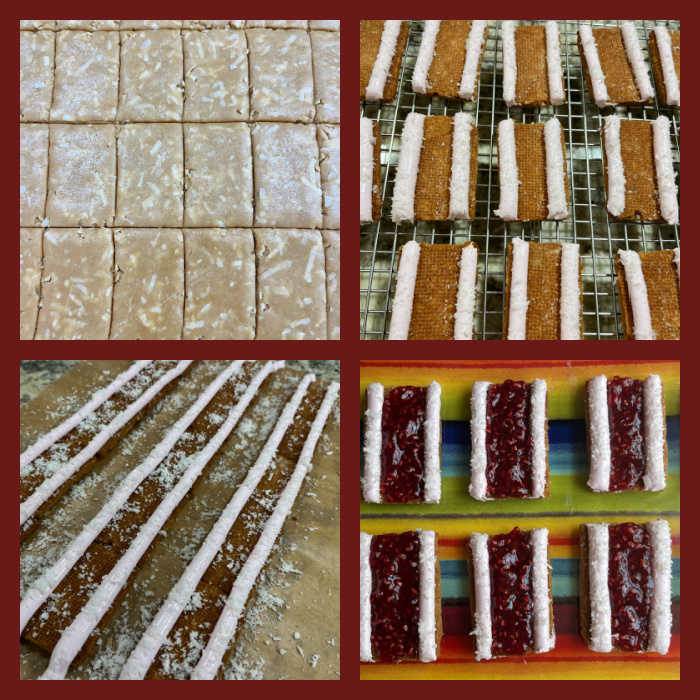
Coconut biscuit, raspberry jam, and marshmallow. Those three together are the key to a treat to make you smile. Looks adorable, tastes amazing… What’s not to like? Well, if you are not fond of coconut, make a plain biscuit, it will still be wonderful. I cannot share the exact recipe I used, because it is part of Savour Cooking School, but similar recipes can be found online. Like this one.
I’ve been a member of Savour for a long time. In fact, I joined just a couple of months after they launched the site. Kirsten Tibballs – pure royalty in the Australian Patisserie World – is the founder and the major engine behind the school. Classes are super detailed, and divided in “beginner, intermediate, and advanced levels”. I will not lie to you, the beginner level can be quite involved, and the advanced a sure ticket to hyperventilation and despair. But of course, totally worth it! Even if I don’t bake a lot of the things they teach, I learn a lot by watching the videos. If you’d like to join, visit the site with a click here. I cannot share their recipes, but today I show you three bakes I’ve made following Kirsten’s classes.
.
RASPBERRY VOVO
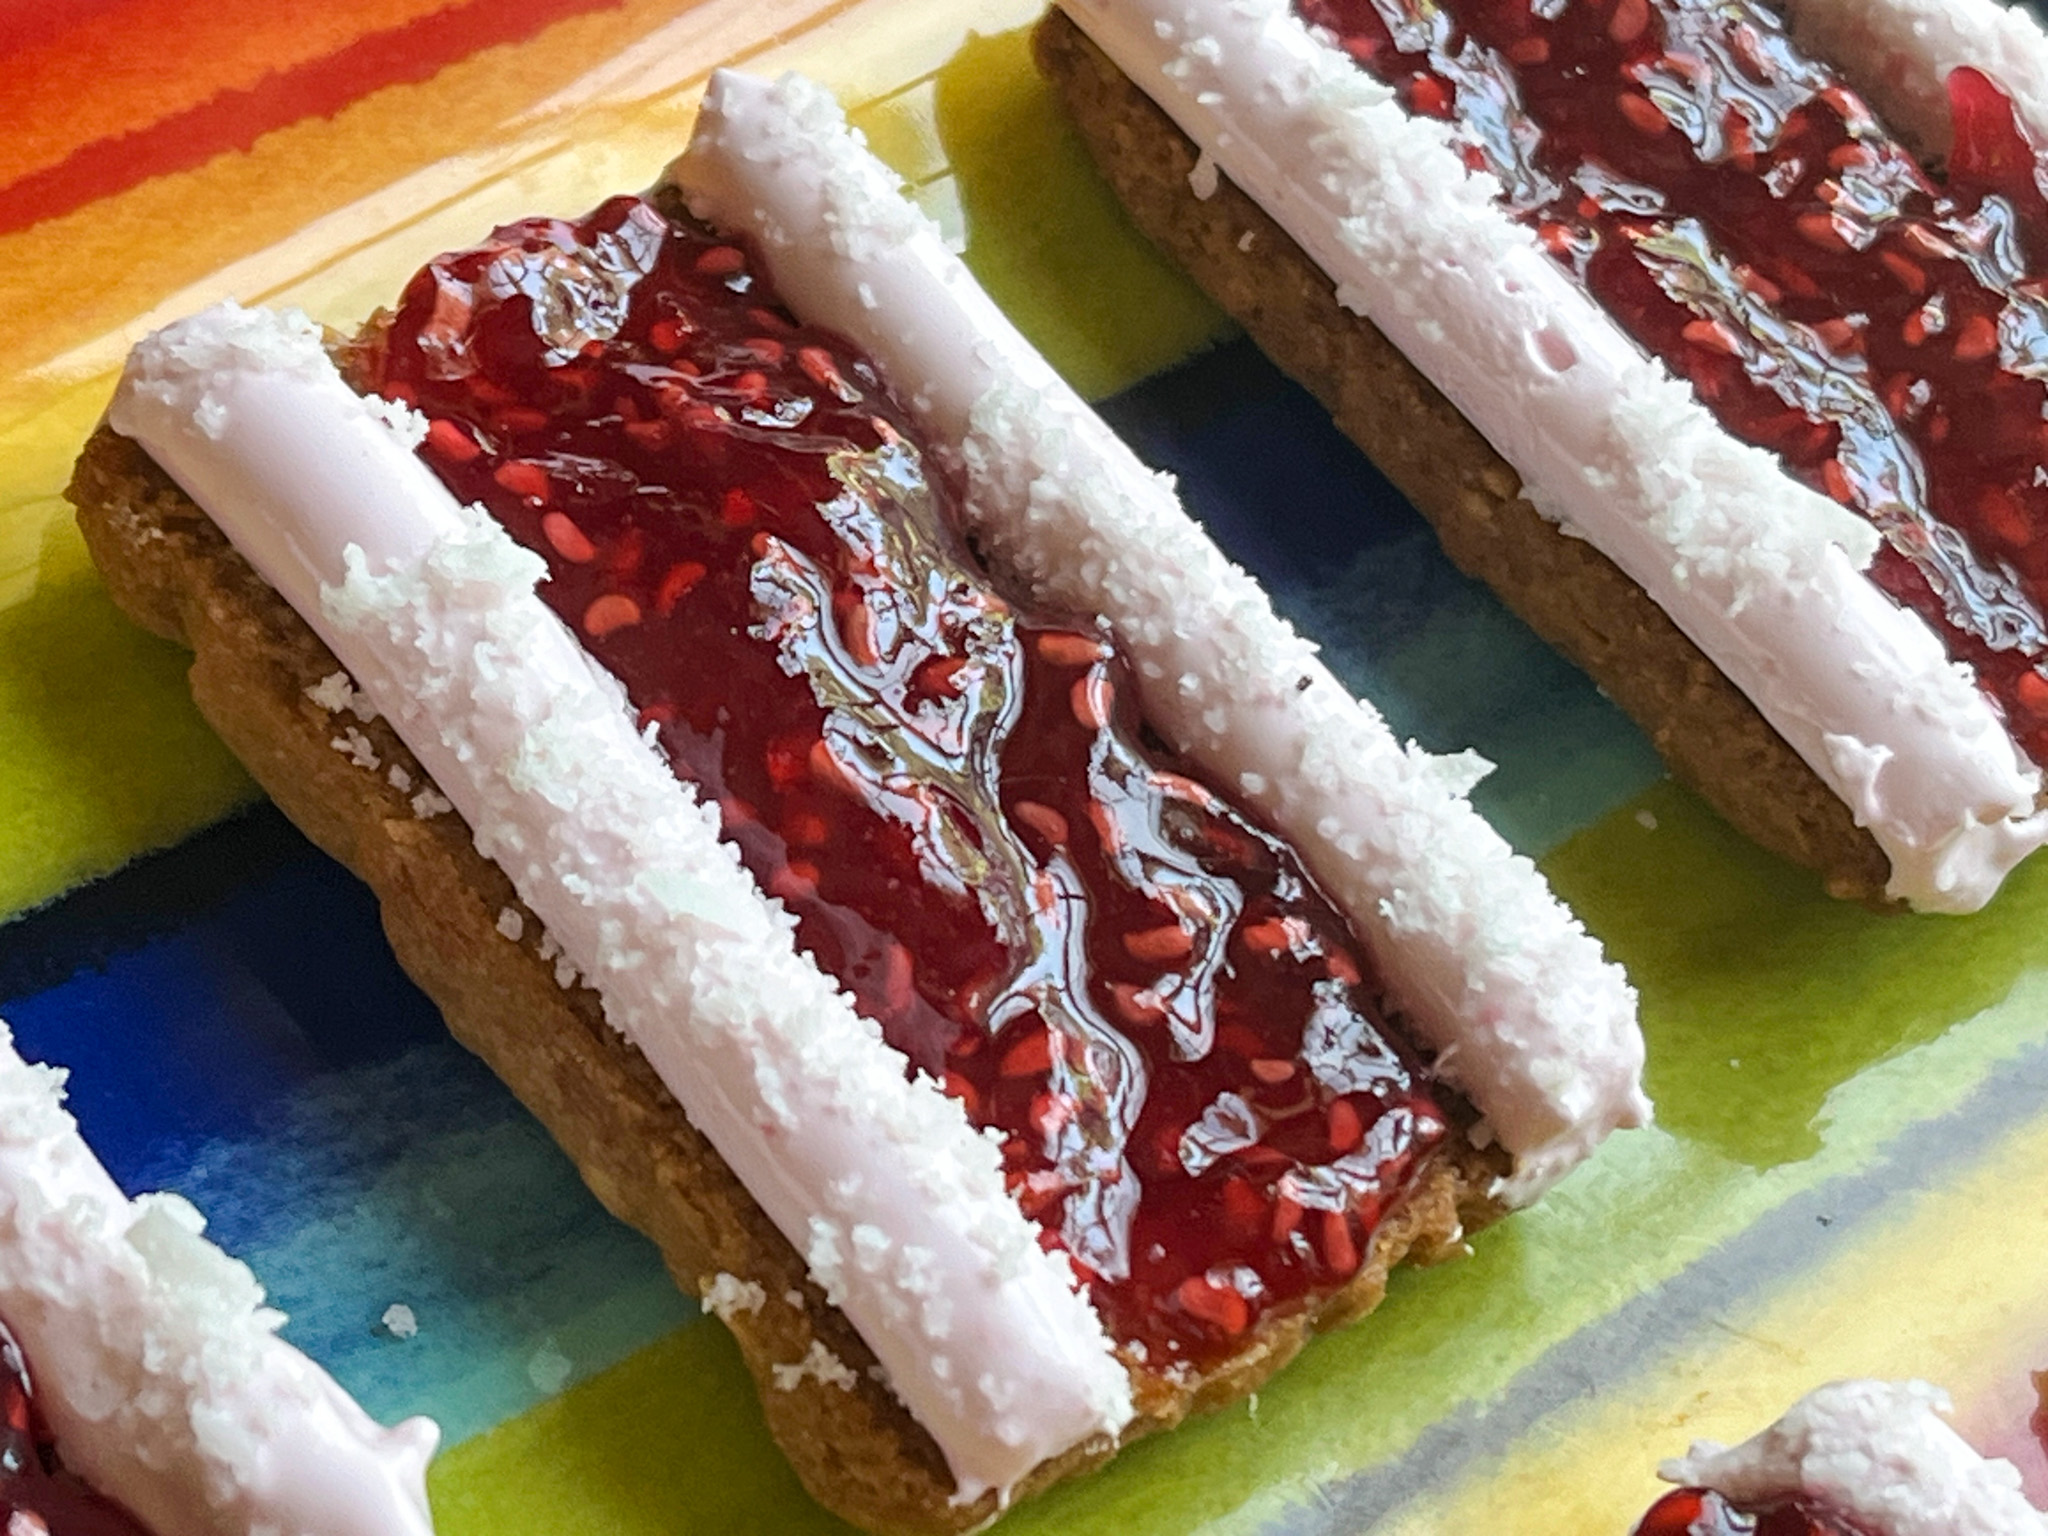
These are just outstanding. Reading about them, it turns out that there are two versions, one from Australia, one from Ireland (called Mikado). The Australian version uses fondant and the Irish calls for marshmallow, which is what Kirsten taught in class. You can read more about it here. I find it intriguing that the name (vovo) means “grandpa” in Portuguese, but could not quite find the origin of the name in Australia. The recipe starts with baking some coconut shortbread, then making raspberry jam, and the delicious raspberry marshmallow that gets piped at the edges. A little warm knife is the secret to get the marshmallow cut nicely in between the cookies. Some of the steps are shown below…
Recently Kirsten launched a challenge, picking one recipe from the hundreds available and asking members to make it and share the pictures. I participated of two of these monthly challenges.
.
DULCE ROCHER
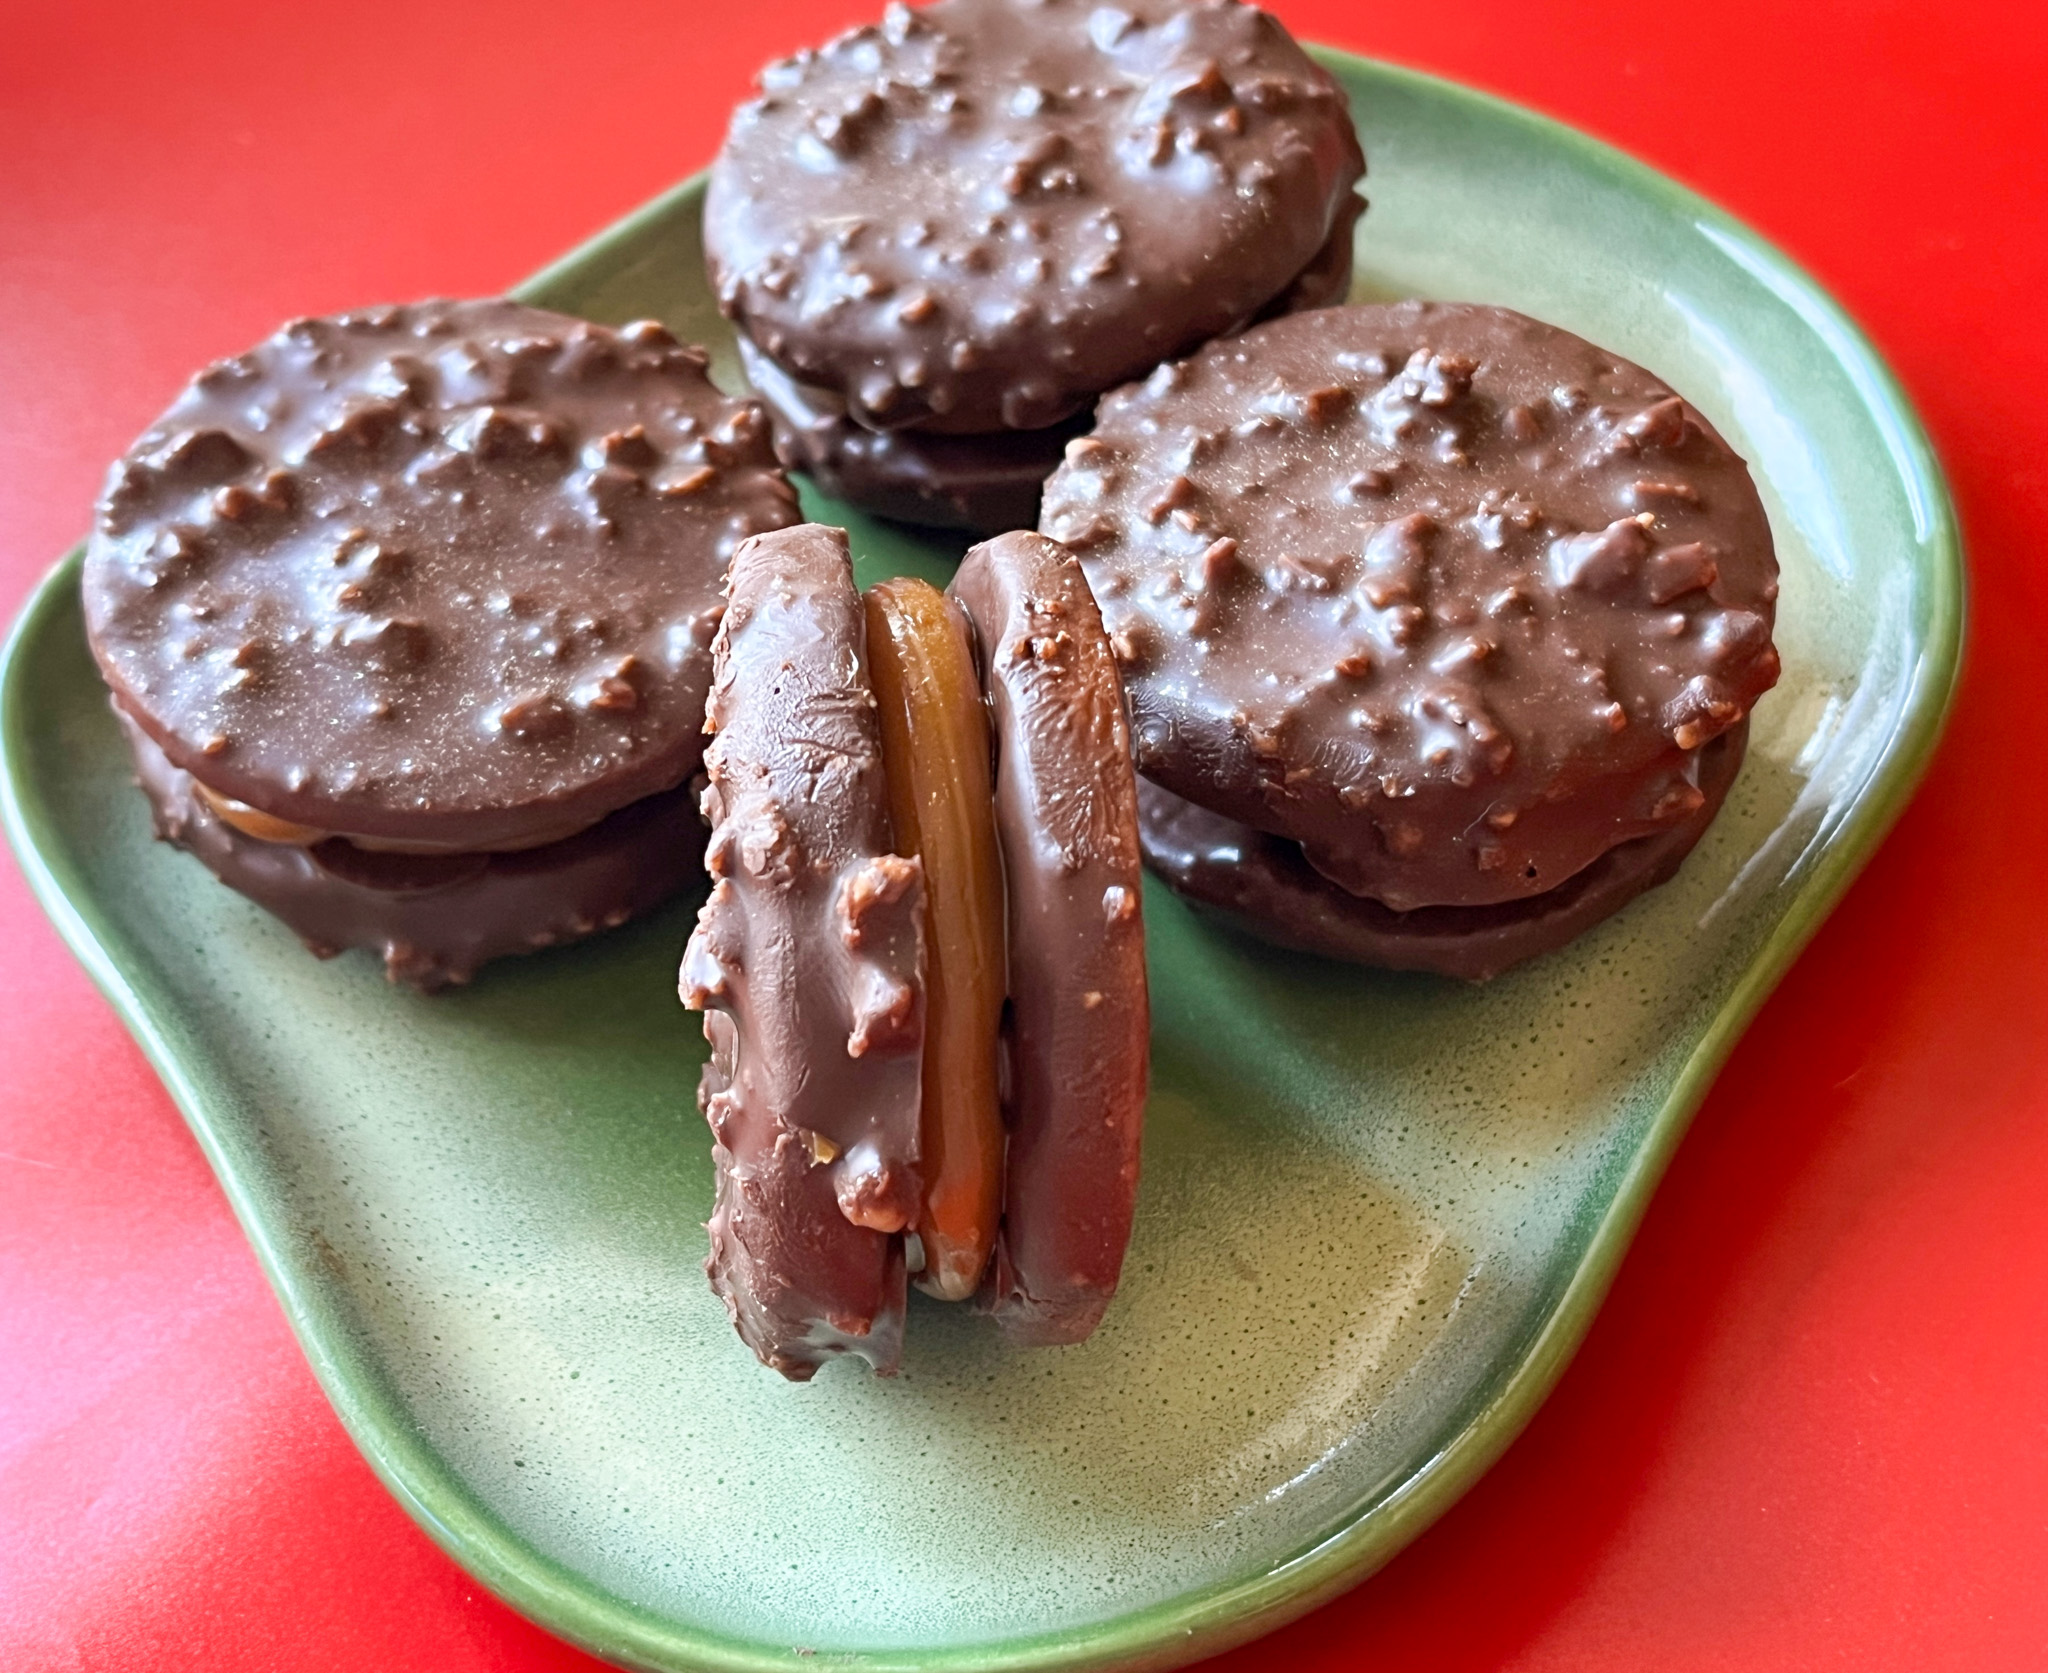
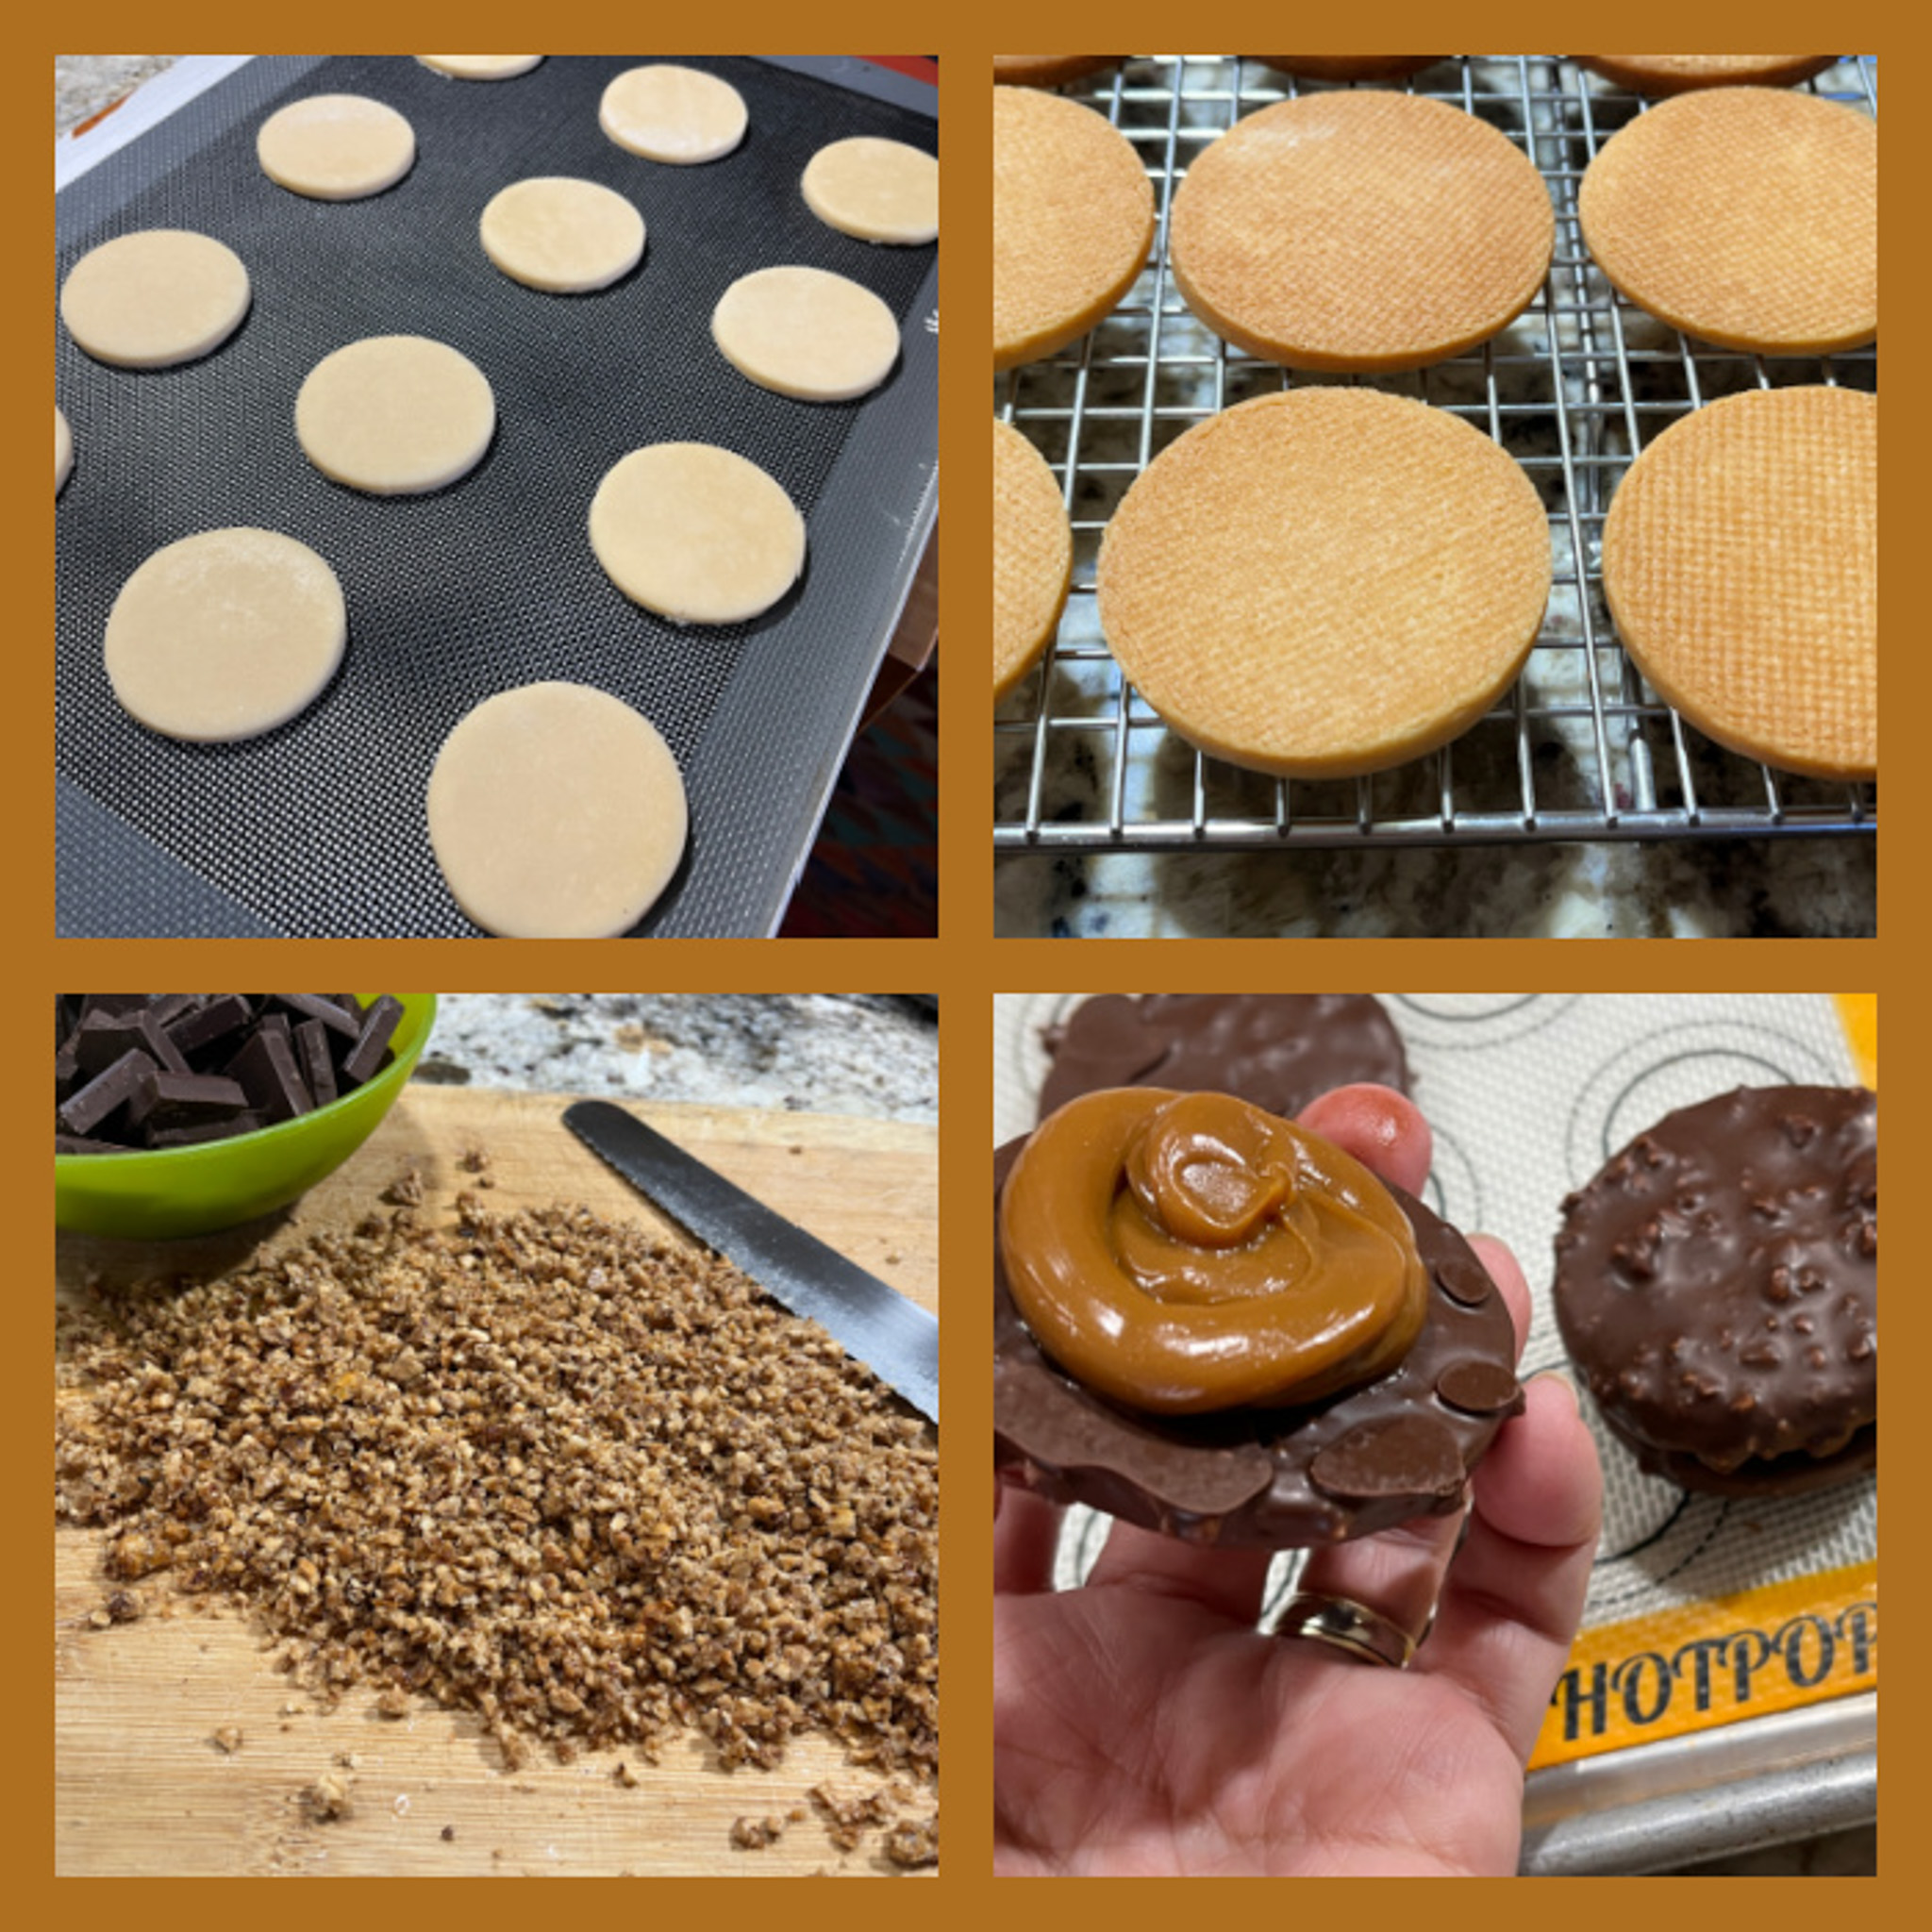
These are considered “beginner” level at Savour. You will make a shortbread cookie, a whipped caramel for the filling, sugar-coated hazelnuts for the coating, and finally temper some milk chocolate. I loved making these but a word of caution: since each cookie will be coated in chocolate/nuts, make sure they are rolled thin to start with, or you will end up with a massive sandwich cookie. Finesse matters here! Some of the steps are shown below…
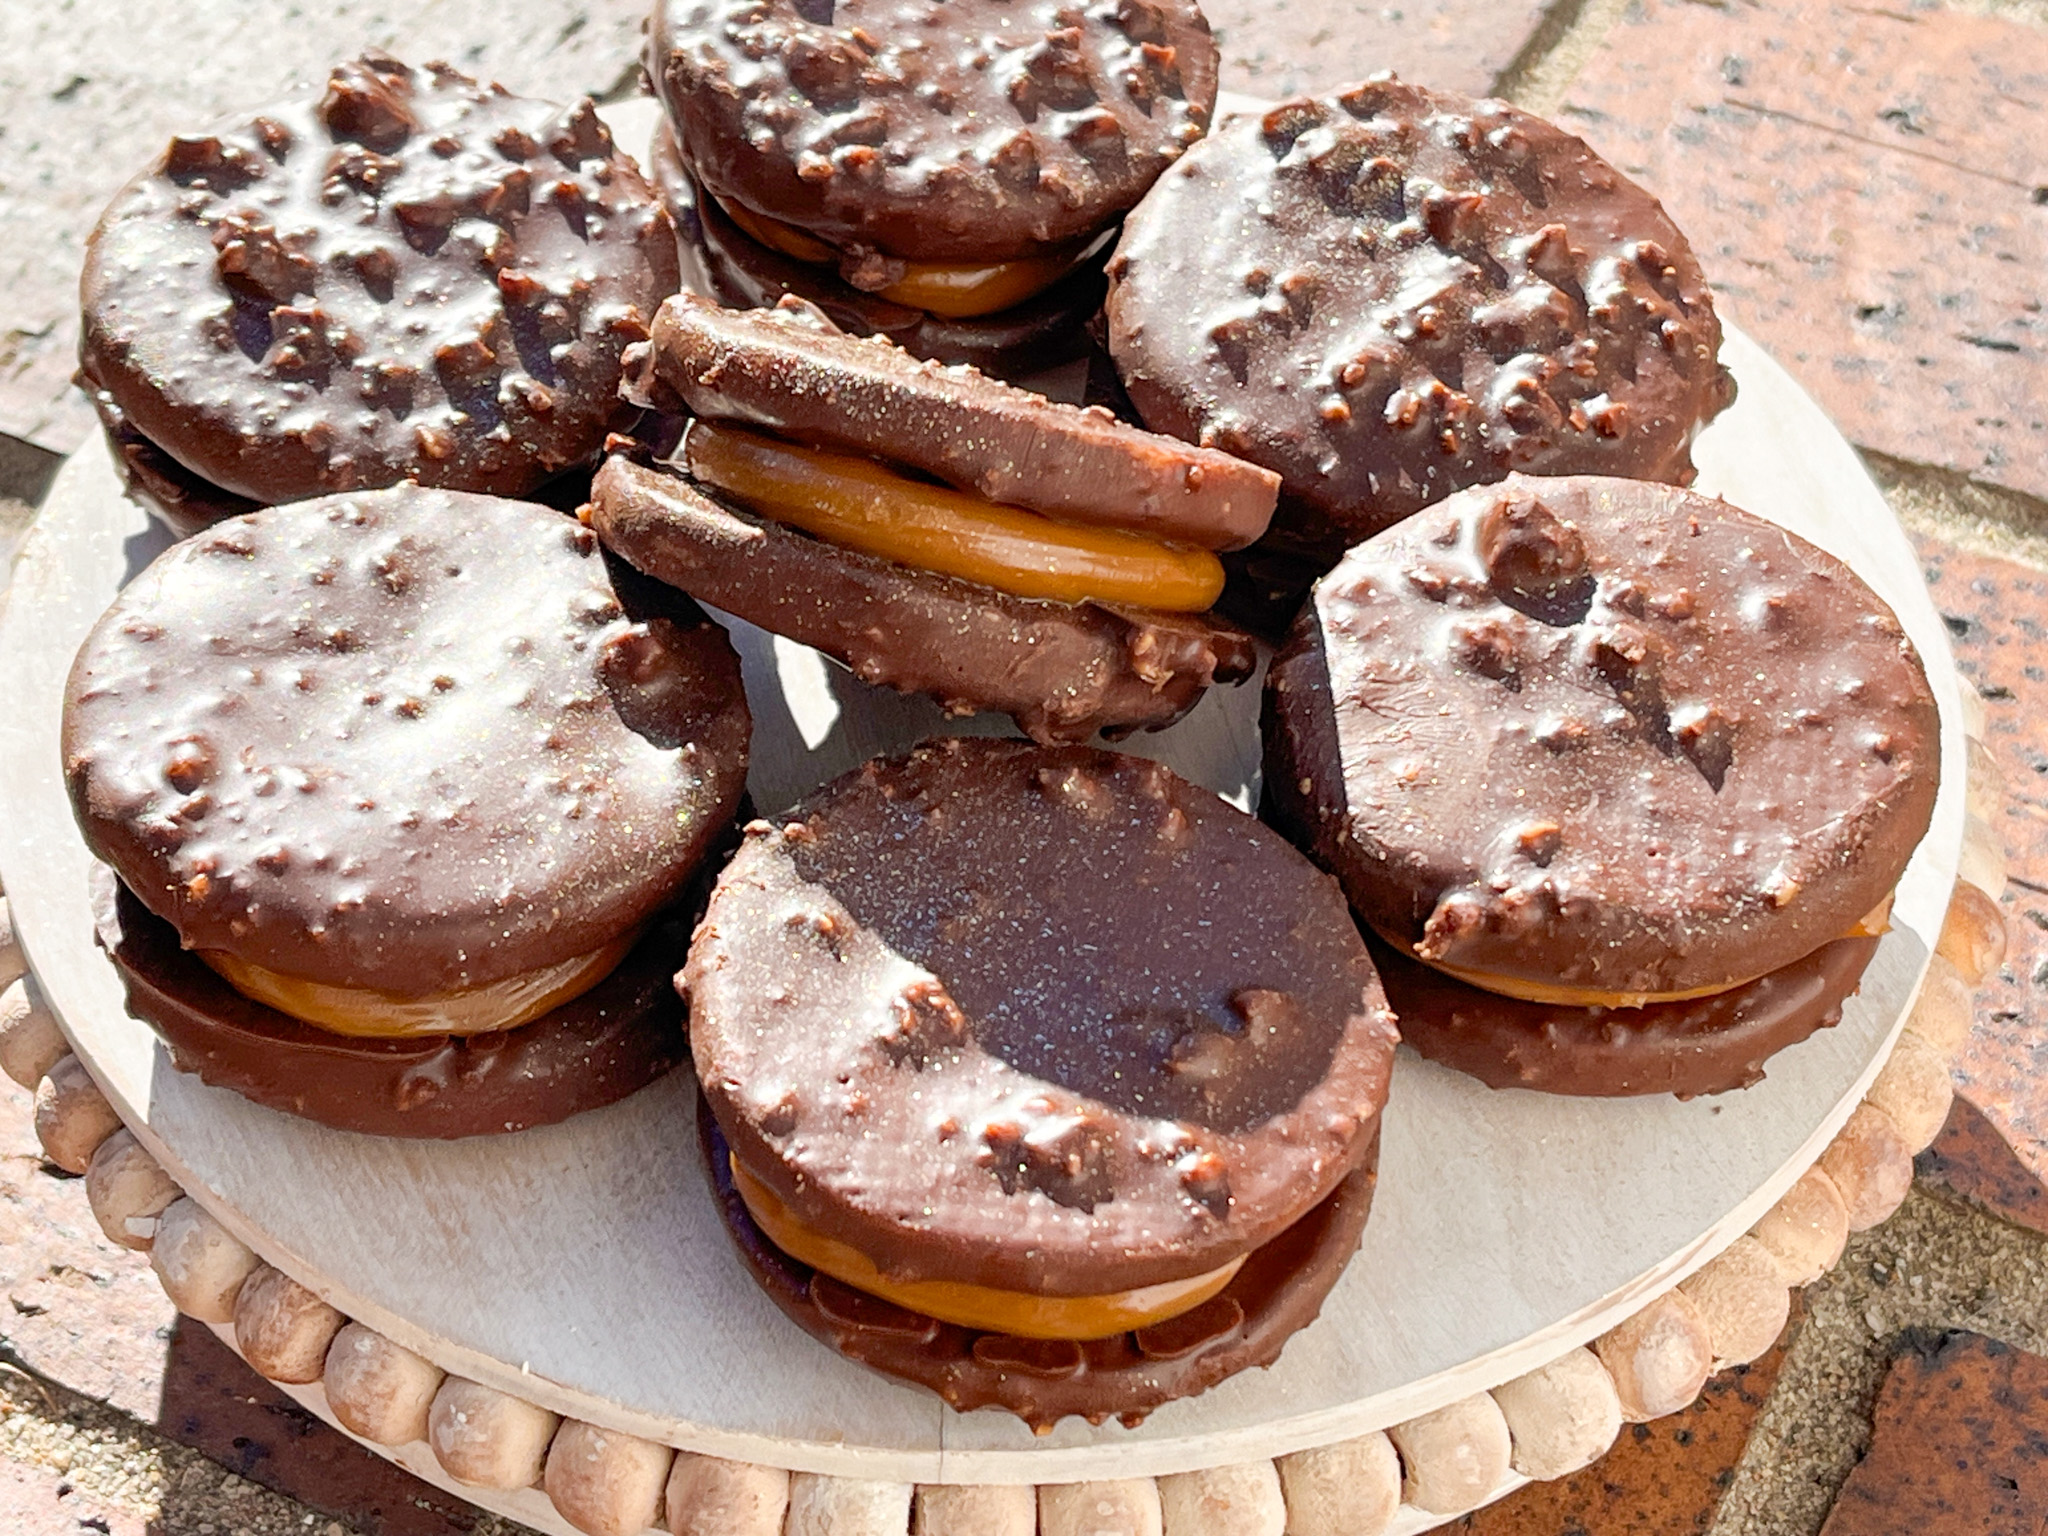
Can you imagine the taste of all that caramel plus the cookie, chocolate, and the crunch of the sugared hazelnuts? It is a dream in cookie shape! Lots of members participated of the challenge, the person who won made them super cute in square shape, she really deserved the prize (in that case it was quite a bit of high quality chocolate, and, yes, I would have loved to be the winner!).
.
STRAWBERRY AND CREAM CHOUX BUNS
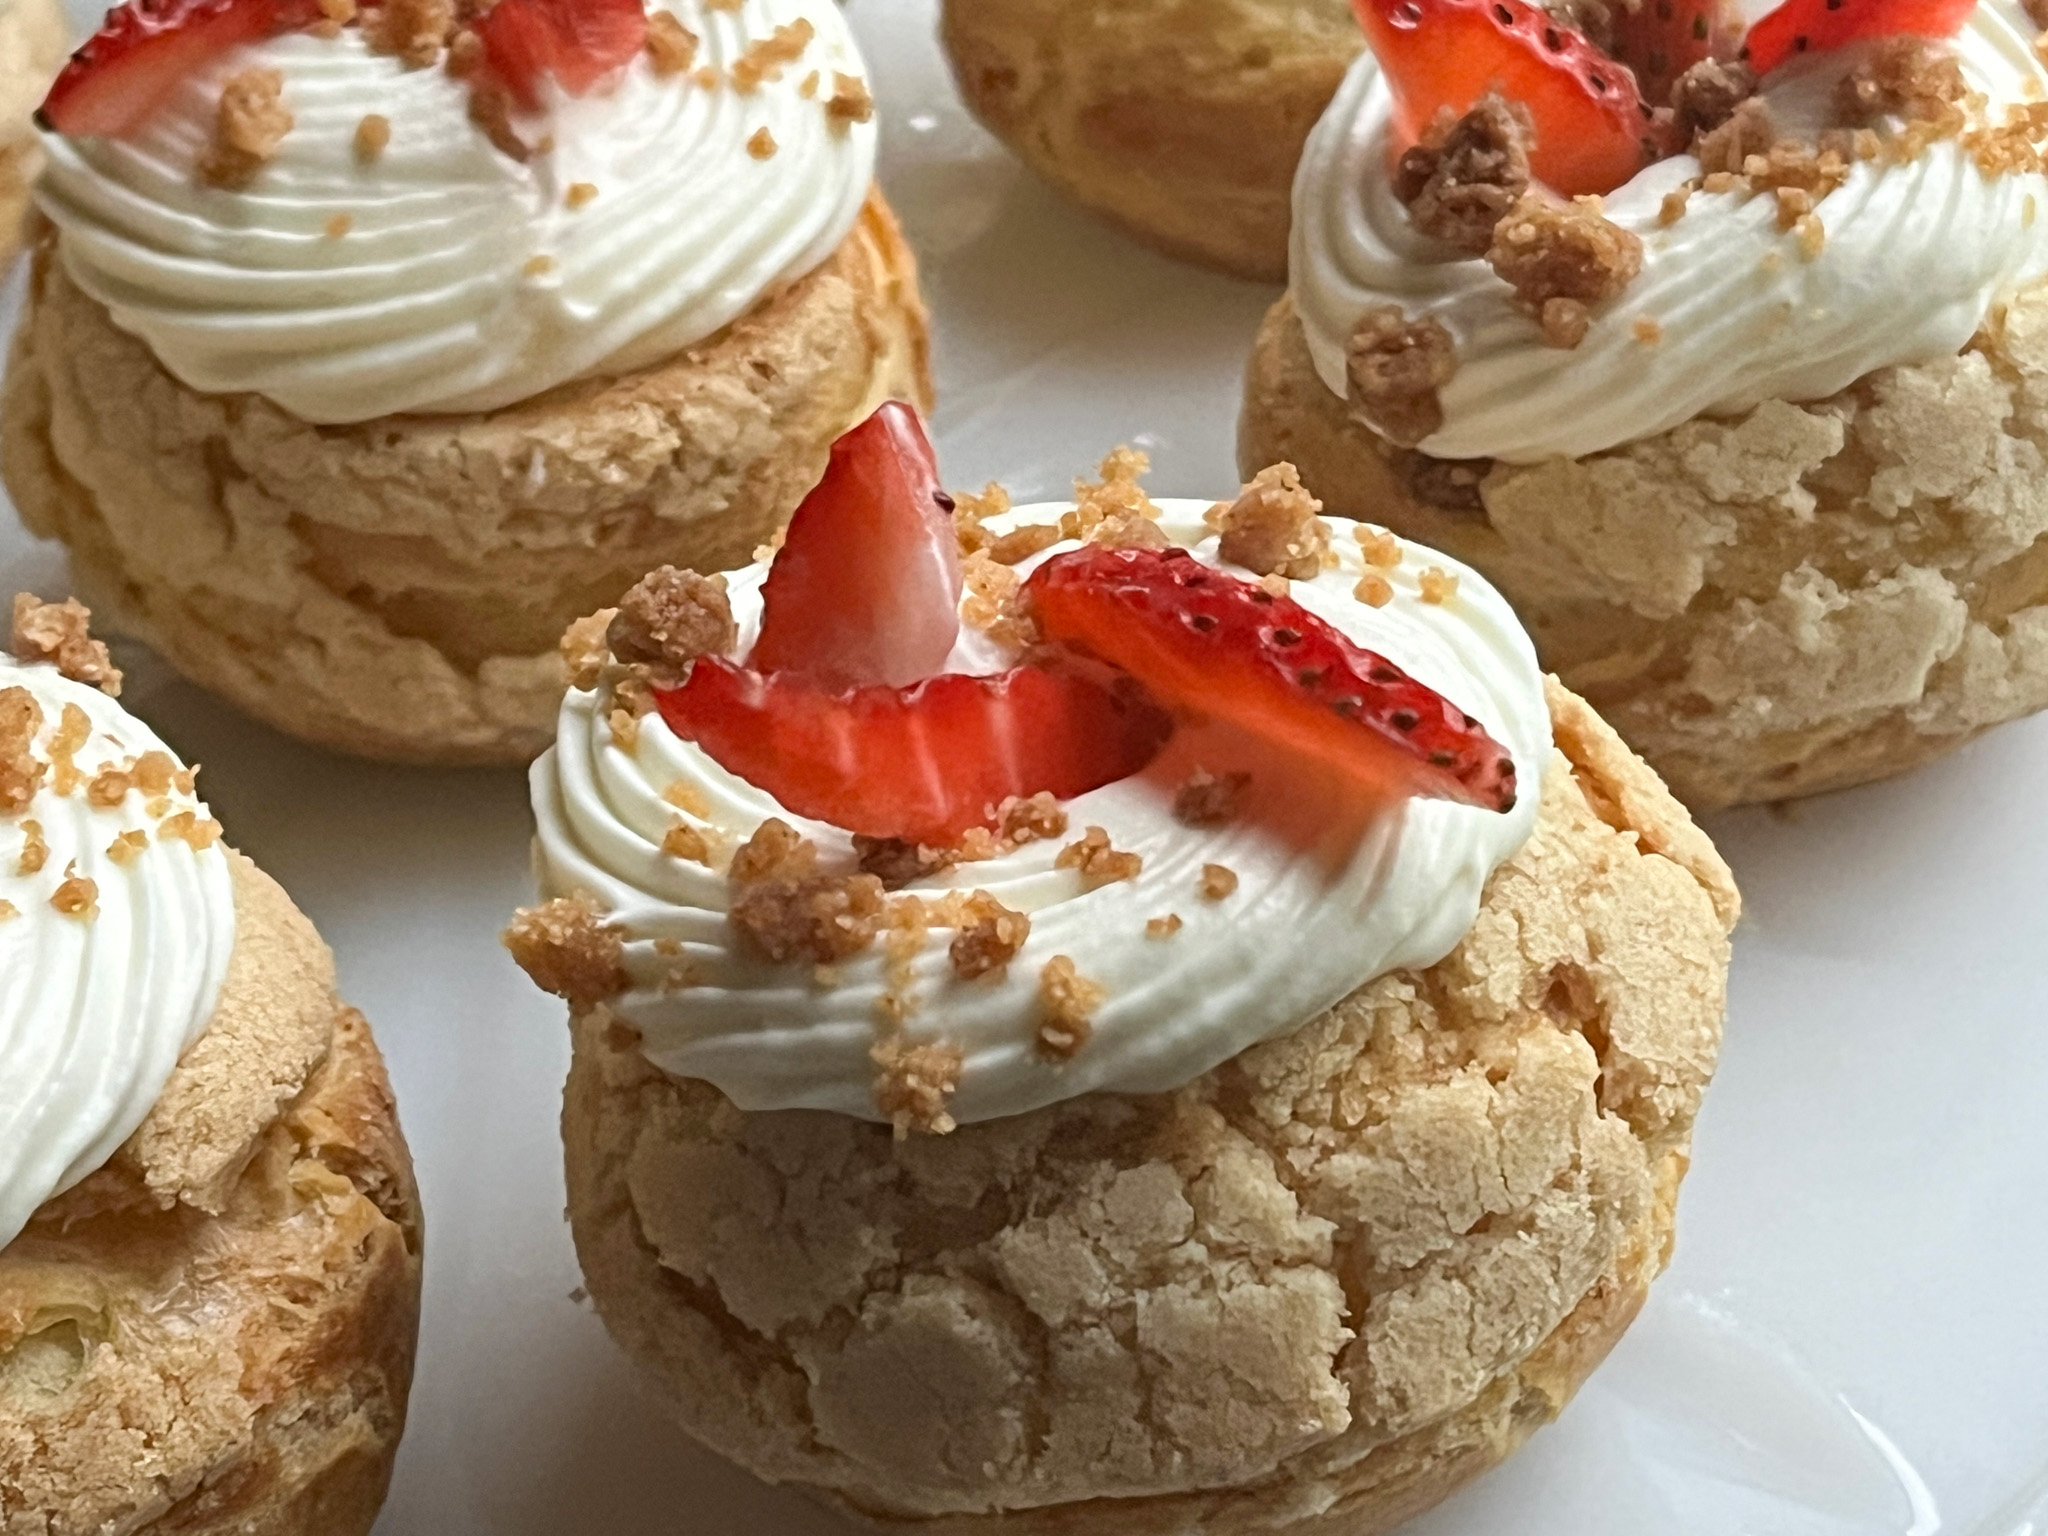
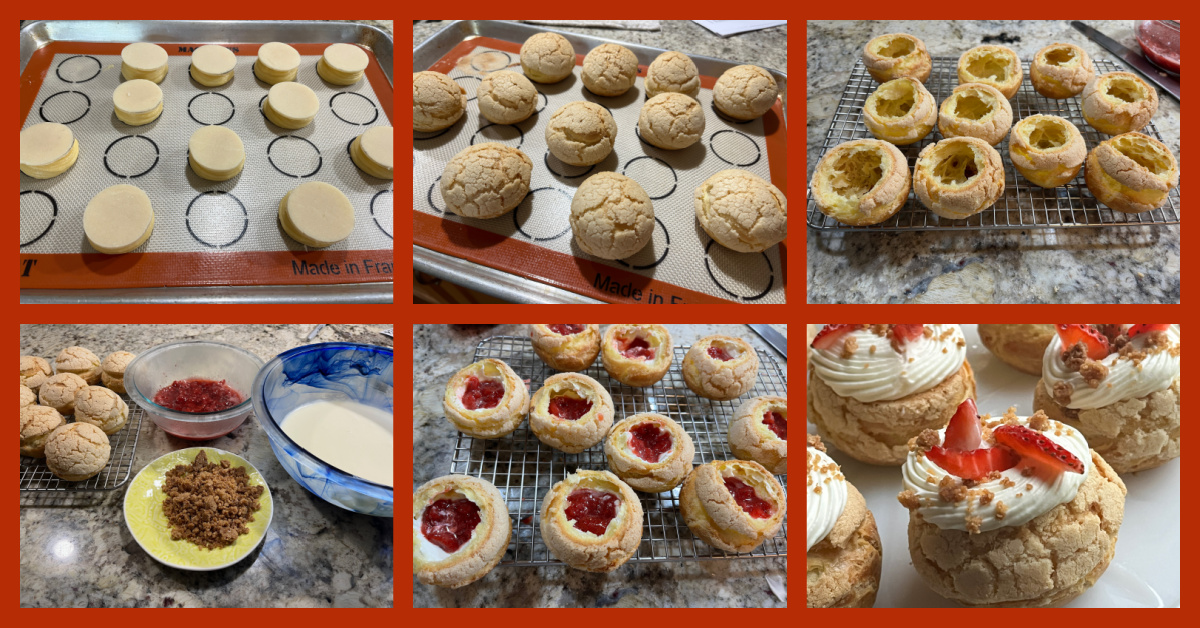
If you can believe it, this is also considered beginner level (cough, cough). Components to make these beauties: choux buns with a craquelin coating, strawberry compote, cinnamon crumble, and white chocolate chantilly. The result is totally worth the work, trust me. Since they are too messy to donate to the homeless, I took them to our department and well, let’s say there were a bunch of super happy Professors and graduate students. Mission accomplished!
If you like to take your baking up several notches, I highly recommend joining Savour (click here). Plus there is a nice community online through their Facebook page, where you can see what everyone else is baking, and share kitchen adventures.
Please consider skipping fireworks, they bring chaos to so many! How about cupcakes instead?
RED WHITE AND BLUE CUPCAKES (from The Bewitching Kitchen)
150g granulated sugar 60g butter 1 egg 10g cocoa powder red food gel 150g all-purpose flour 1/2 tsp salt 120ml buttermilk 1 tsp white vinegar 1/2 tsp baking soda 1/2 tsp red velvet emulsion (or vanilla extract)
Heat the oven to 350F.
Mix the flour with the salt. Reserve. Those are your dry ingredients.
Cream butter and sugar in a stand mixer with the paddle attachment, until light and fluffy, about 3 minutes in high-speed. Add the egg, beat until the mixture is fully incorporated and light. Add the cocoa and the red food dye.
Add 1/3 of the dry ingredients, then 1/2 of the buttermilk, 1/3 more of the dry ingredients, followed by the rest of the buttermilk. Add the rest of the dry ingredients. Mix well. In a small bowl whisk the baking soda with the vinegar. Add to the cake batter and mix for a few seconds on high-speed. Finish by mixing the batter by hand, then add portions to regular cupcake tins, do not fill more than half the volume.
Bake for about 15 minutes until a toothpick comes out mostly clean. Cool completely before decorating.
BASIC BUTTERCREAM FOR CUPCAKES (from The Bewitching Kitchen)
226g butter, unsalted, softened 452g powdered sugar pinch of salt Vanilla extract, about 1 tsp or more to taste a couple or more tablespoons of milk (to adjust consistency)
Place the softened butter in the bowl of a KitchenAid type mixer with the paddle attachment, add the pinch of salt, and whip at high speed for about 7 minutes. It needs to be really soft and lighter. Stop the mixer. Eyeball the amount of powdered sugar, add 1/3 and mix at low speed at first, once the sugar is starting to get incorporated, increase the speed to medium-high.
Add the second portion of the sugar, and incorporate the same way. Add the final portion, start at low speed, clean the sides of the bowl well with a spatula, add the vanilla and increase the speed slowly all the way to high. Whip it until very smooth. Add milk to desired consistency. Divide the buttercream into three bowls and dye one with red, one with blue, leave the third one clear.
Fill piping bags fitted with the icing tips of your choice. Ice fully cooled cupcakes.
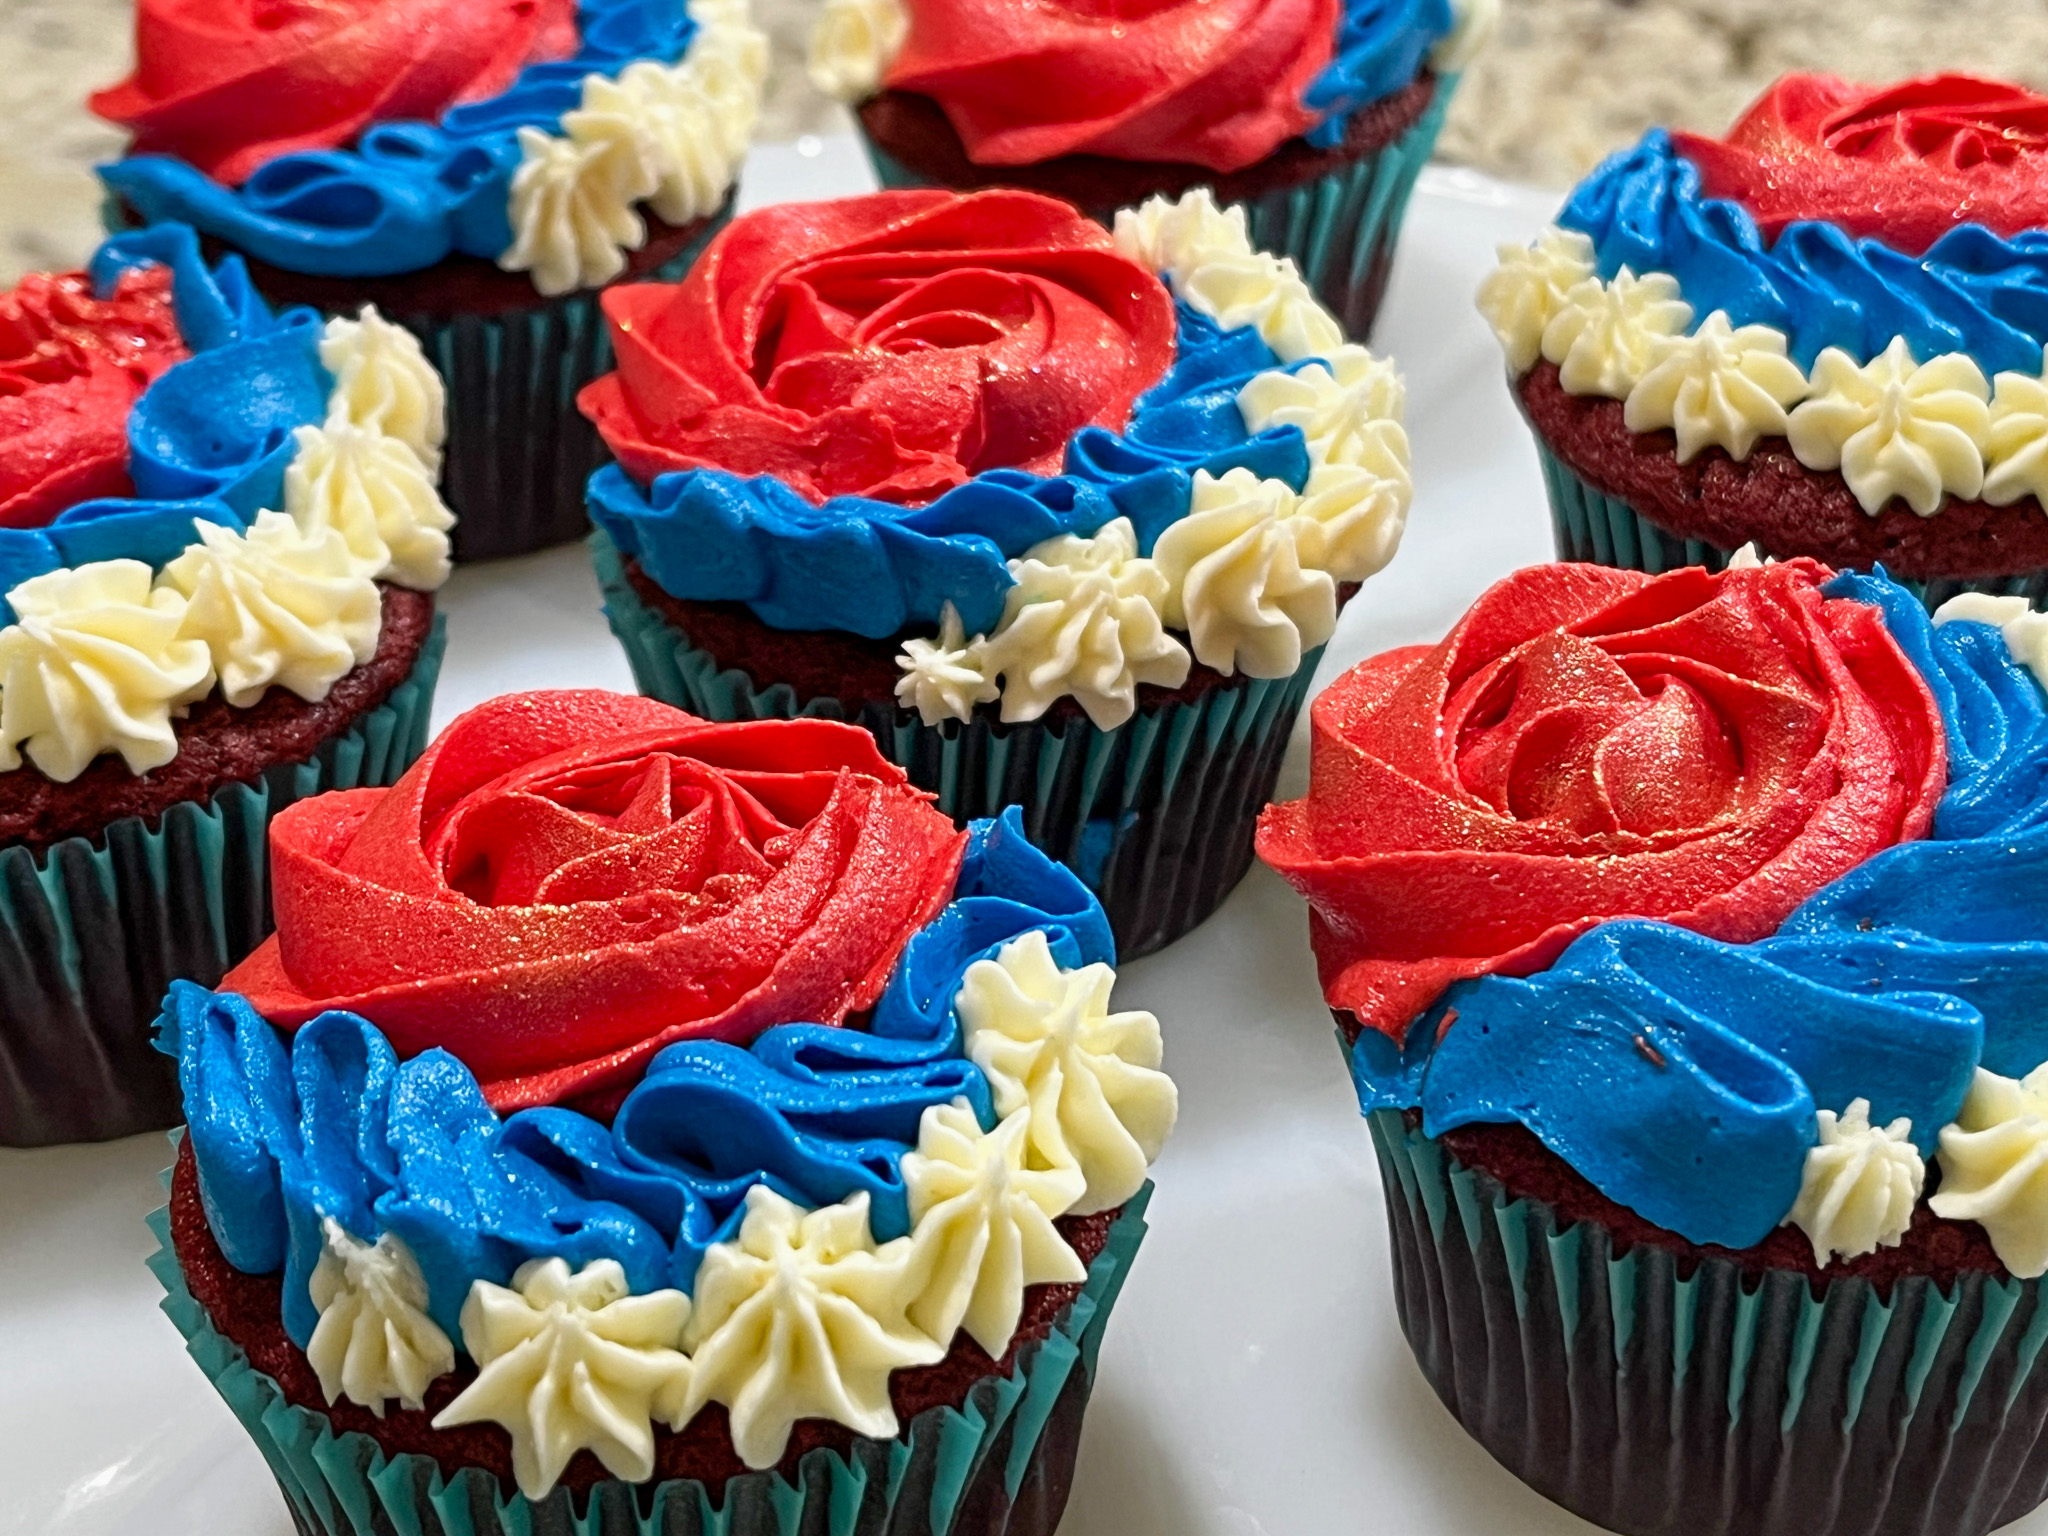
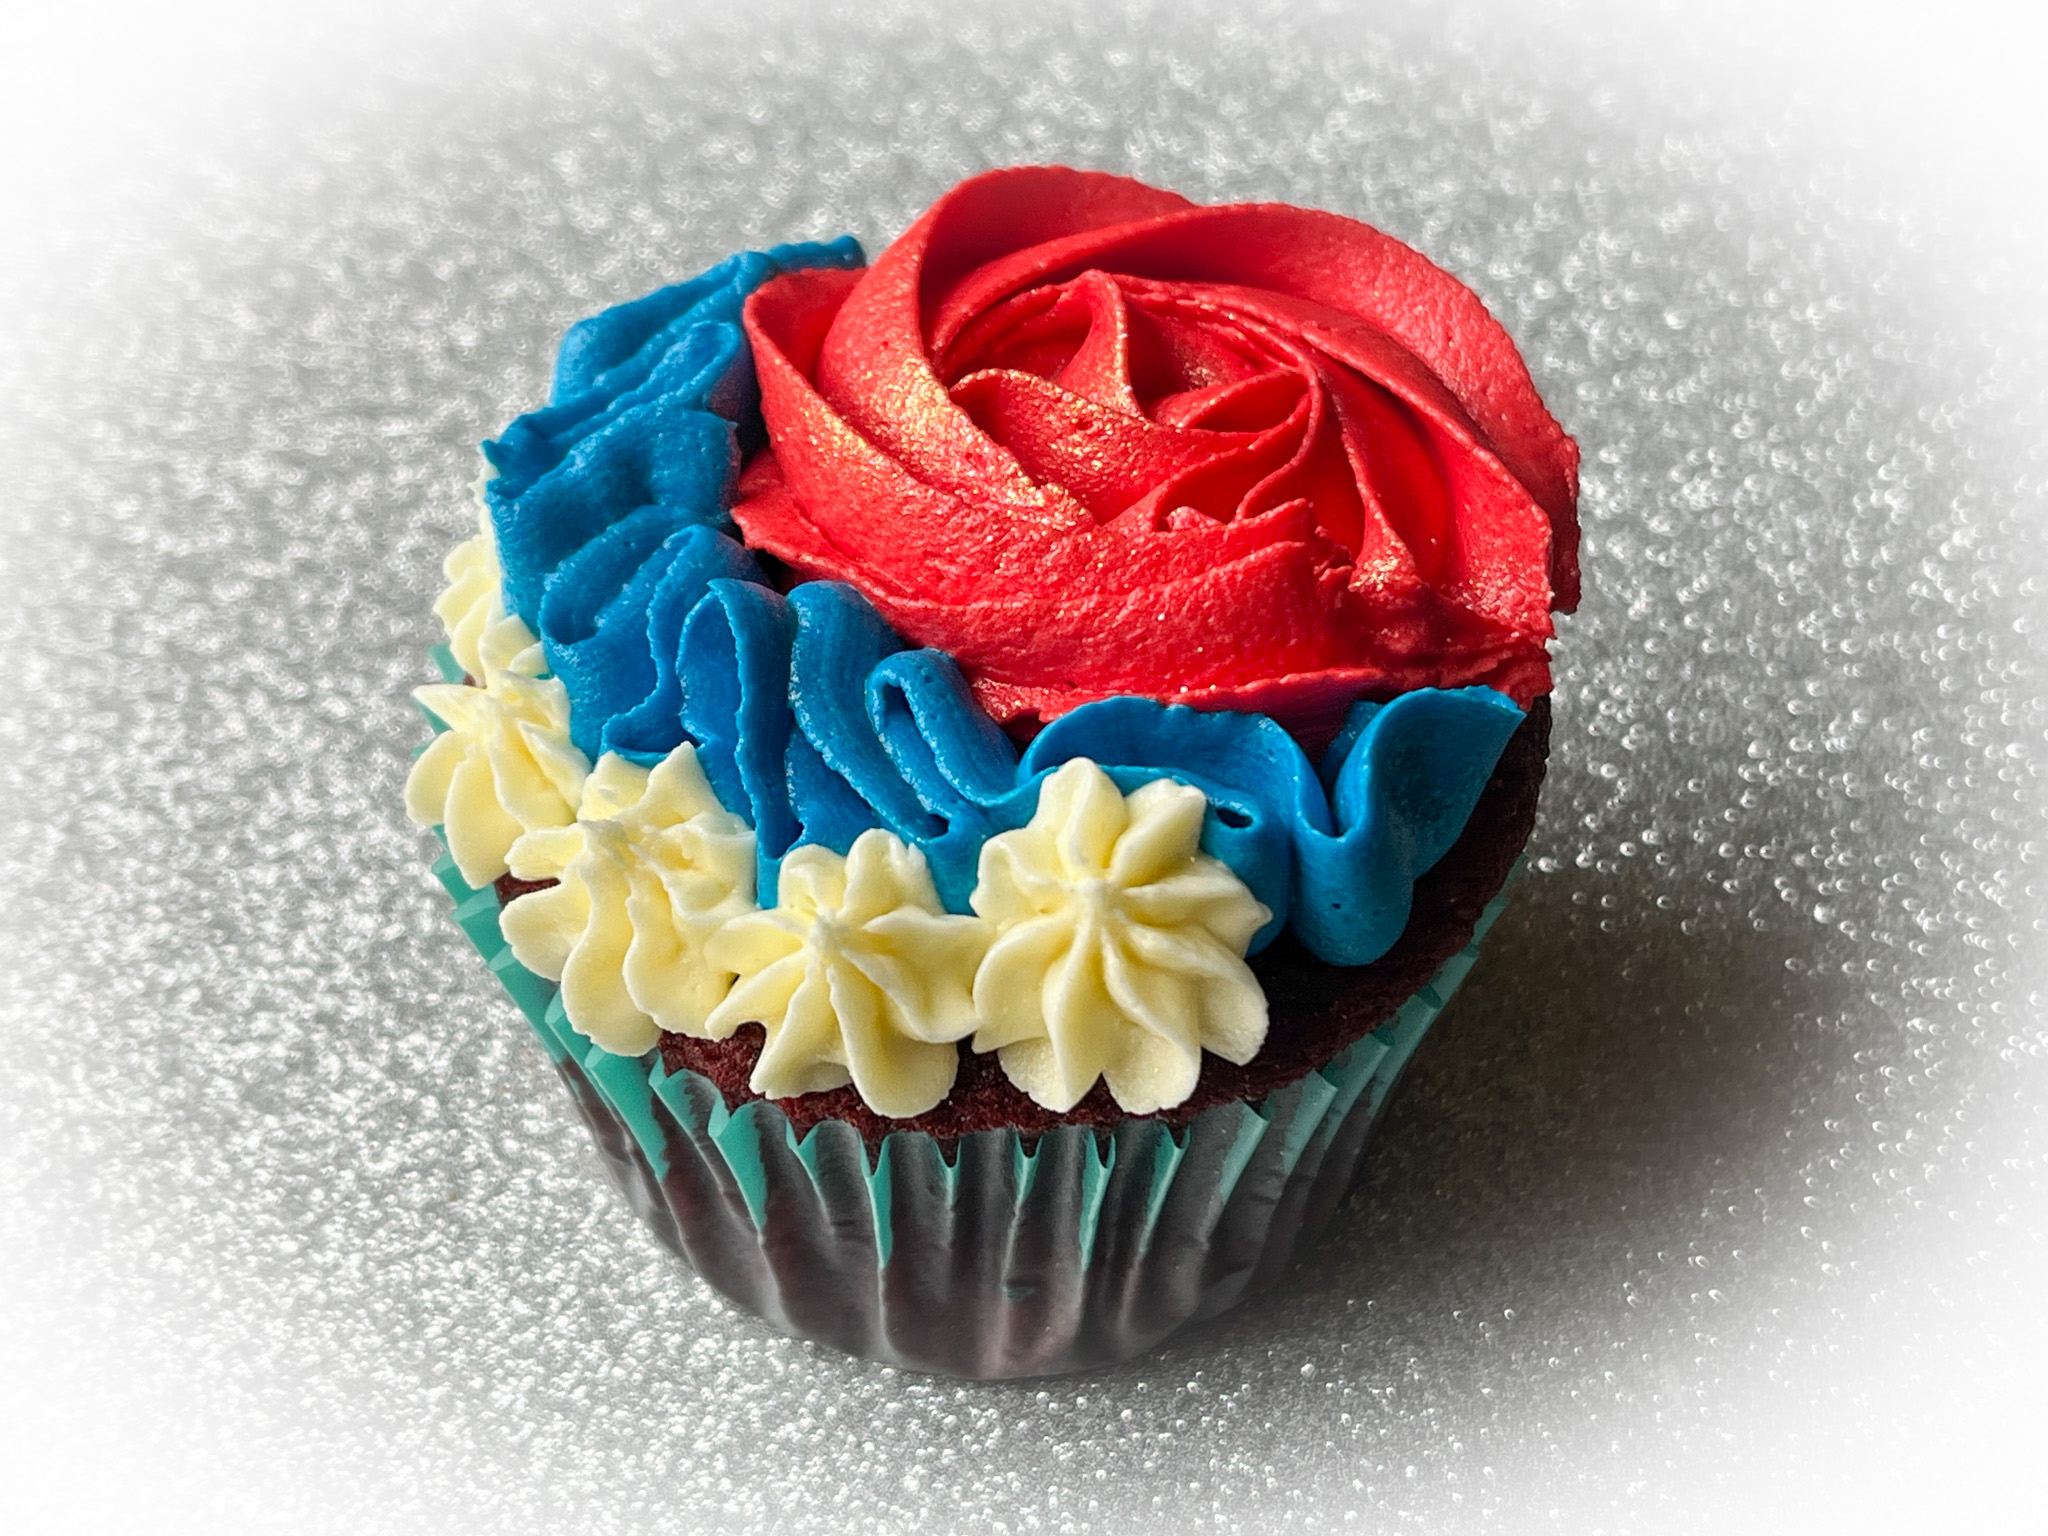
Comments: For these cupcakes I used a 1M tip for the red rose, a 102 petal tip for the blue swirl, and an open star tip 4B for the white decorations. All cupcakes were donated, so I don’t have a picture of the cake crumb but I got nice feedback about them. I think red velvet goes perfectly well for the 4th of July theme…
Just a couple of days ago I celebrated 15 years as an American citizen!
This post is dedicated to Eha, one of my most supportive readers, hoping she will soon join the online world again and be back to brighten my blogging world..
In My Kitchen posts are hosted by Sherry, from Sherry’s Pickings. Please visit her site to see what everybody else is sharing this month. I join four times each year, on the first day of January, April, July and October. If you are a food blogger, consider taking part of this fun event. It is chance to share those little things you bought or received as gifts and that make your life in the kitchen easier.
In our kitchen…
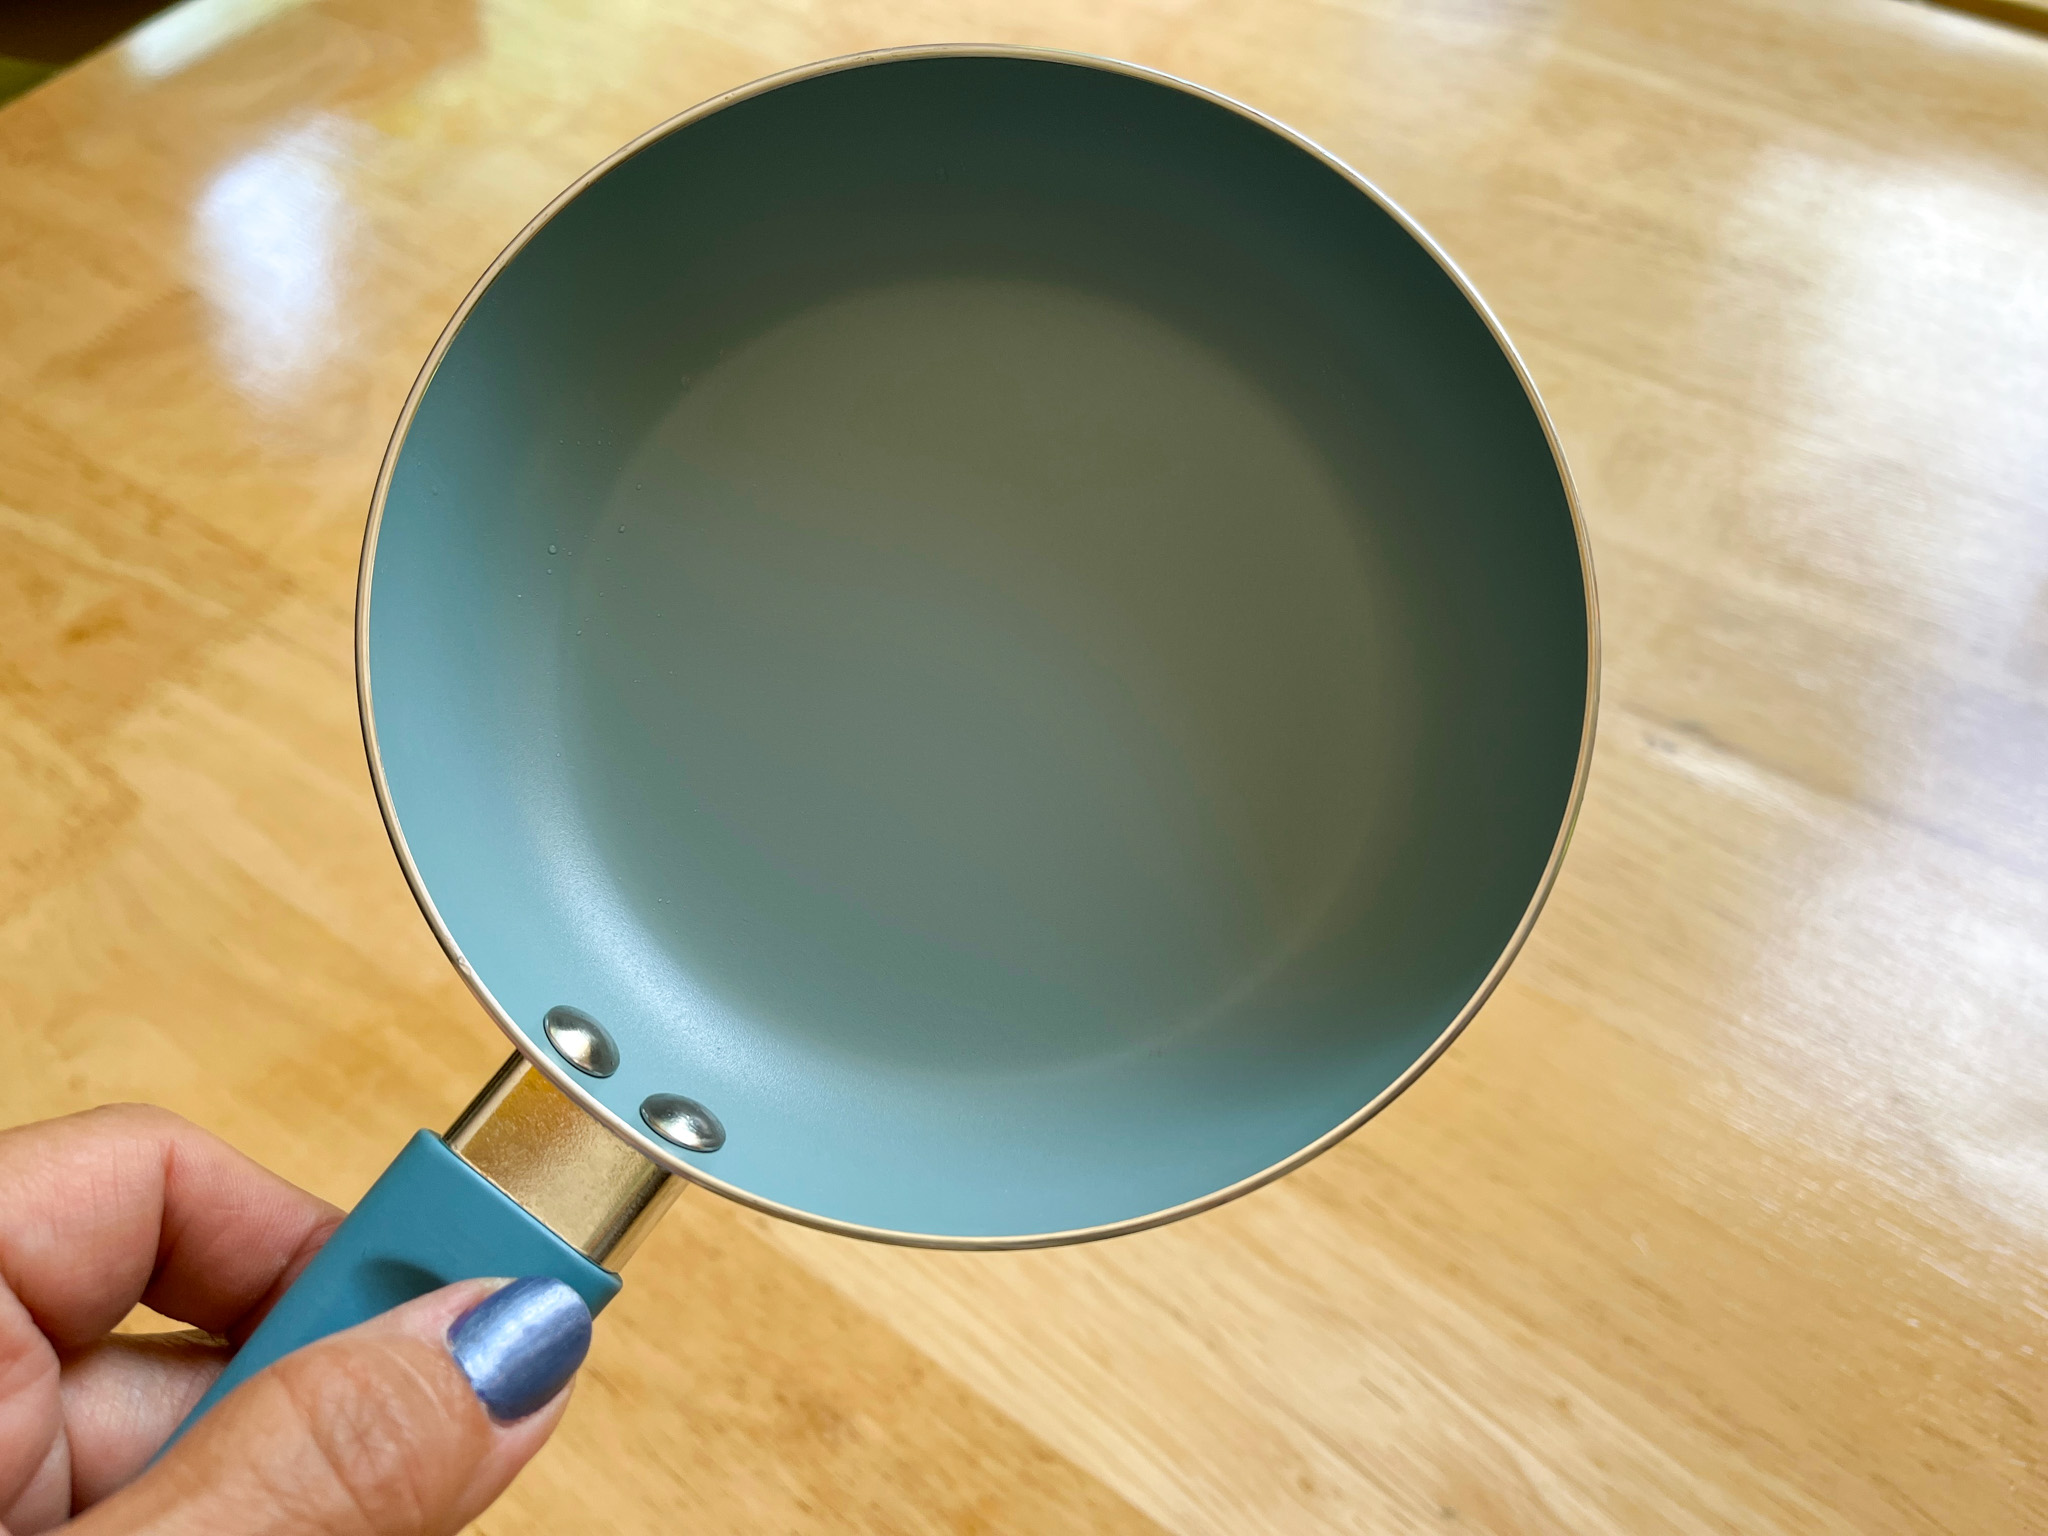
A little tiny blue frying pan I found at Marshall’s. It somehow jumped into my shopping cart and refused to leave! Odd how these things happen, right? It is perfect to fry a single egg…
In our kitchen…
These are pizza pans that you can use either to bake the dough in a super hot oven, or to serve pizzas straight from the grill, which is what we normally do. I was always struggling to find ways to get multiple pizzas served and cut, and these pans are fantastic for that. Order info here.
In our kitchen…
A very timid attempt at cappuccino-art… We cannot quite make those beautiful patterns with the foam, but using the icing needle to pull some details on a blob of foam was not that hard…
In our kitchen…
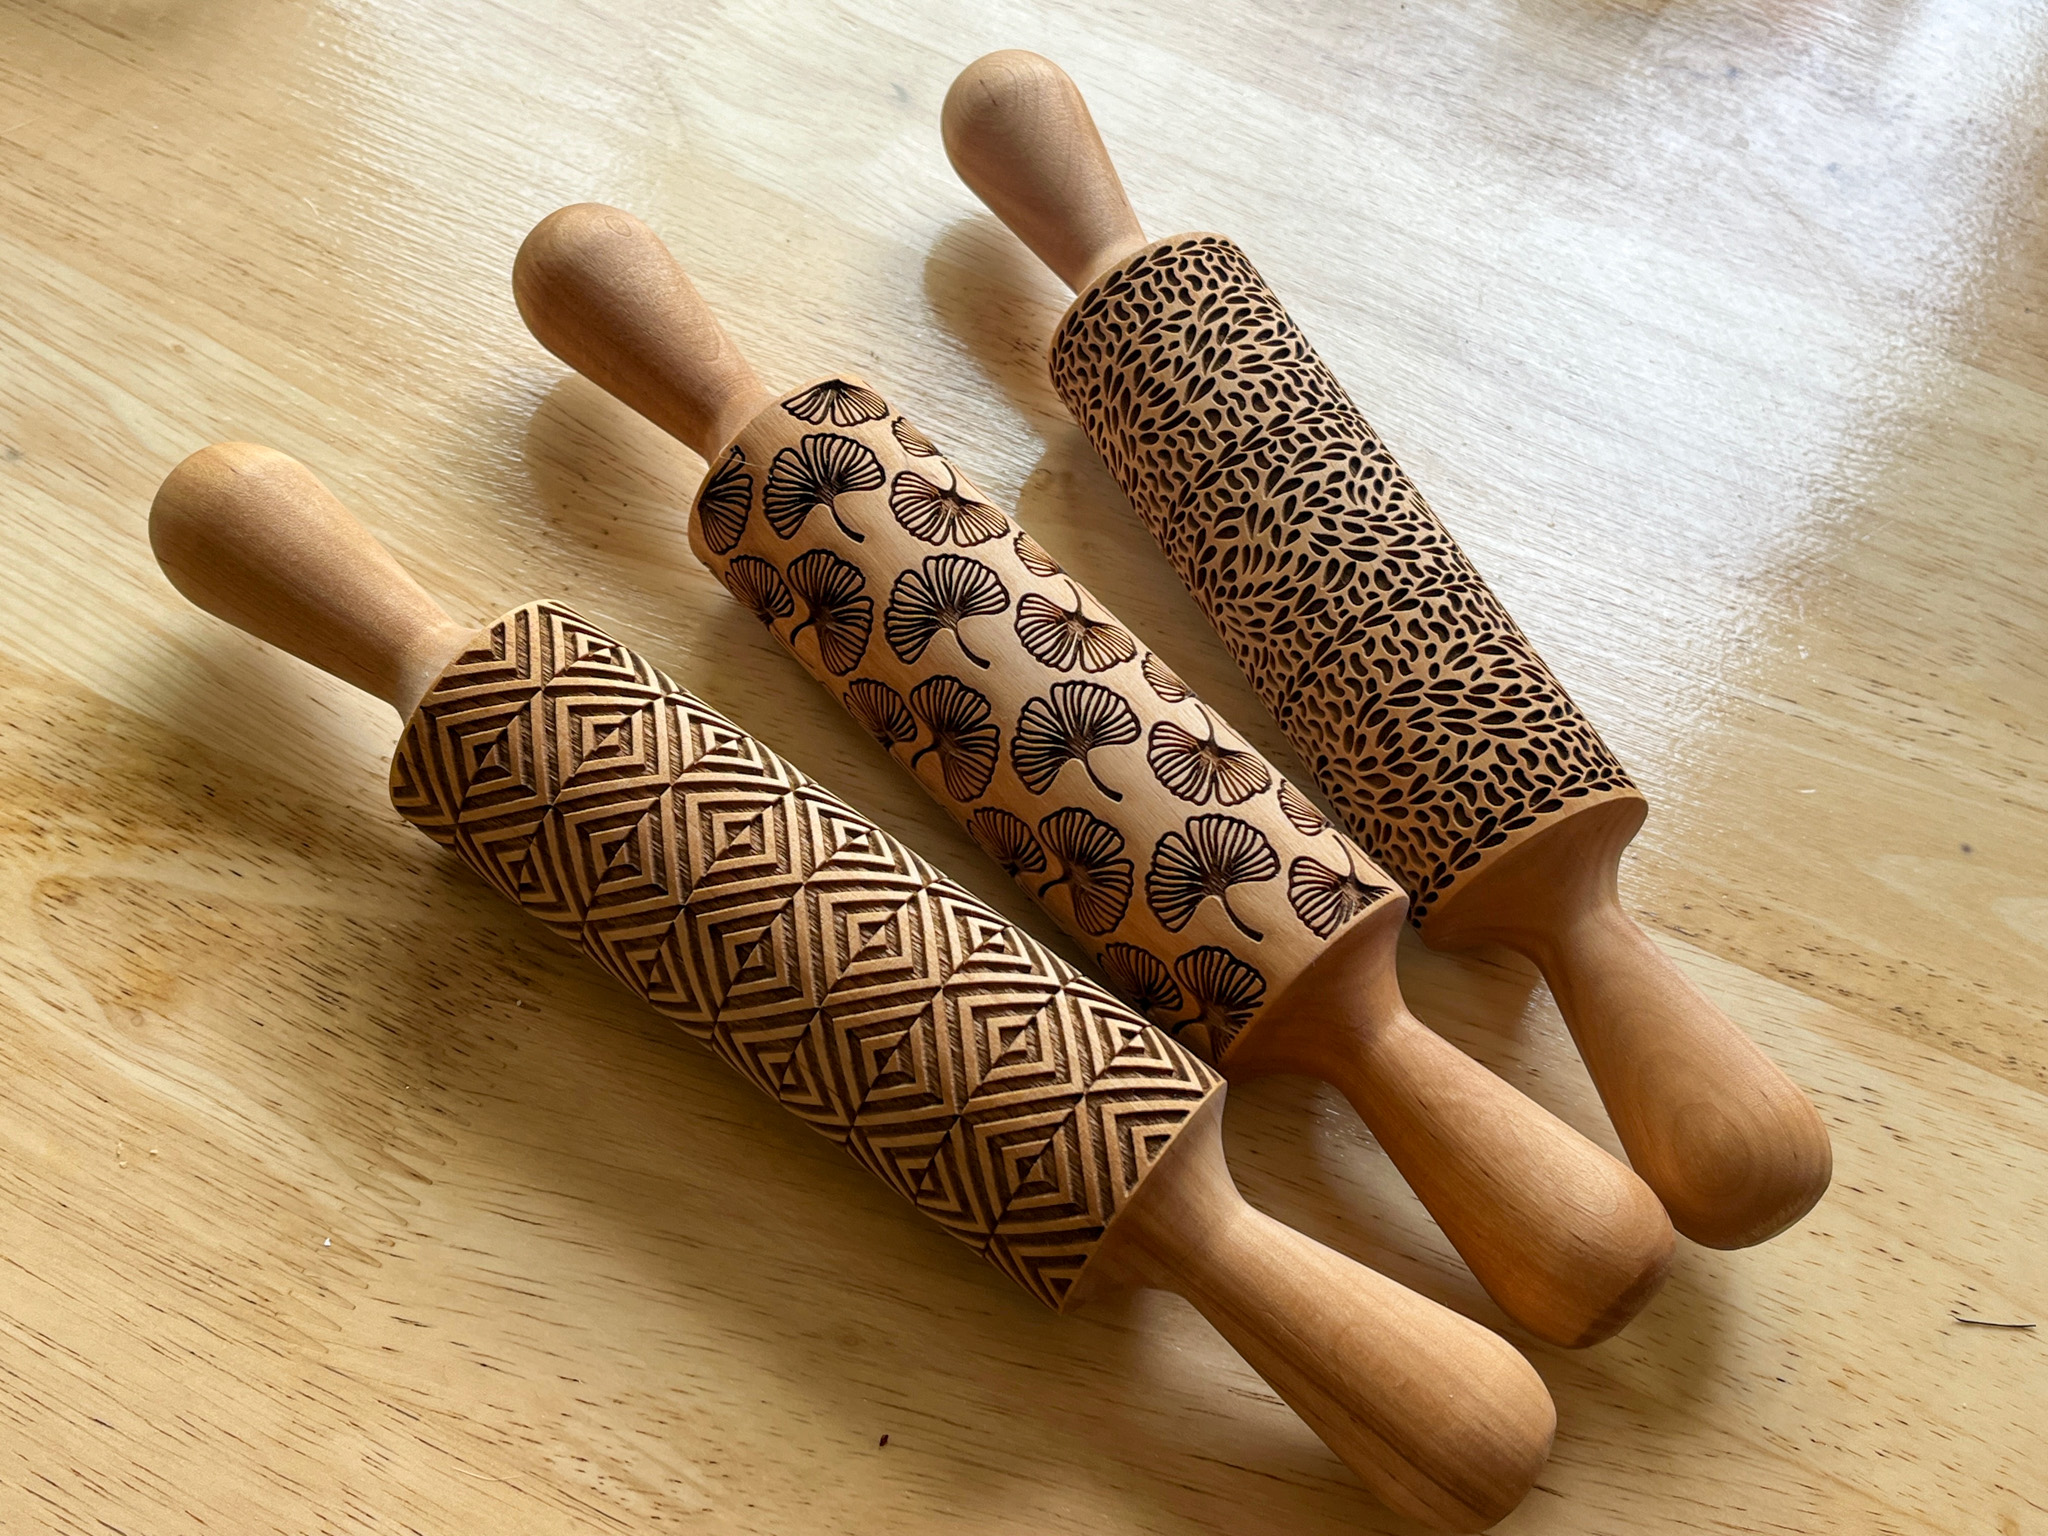
Three small rolling pins from Poland were added to my collection, they were from this store at etsy. I have not yet put them to use… so many cookies, so little time!
In our kitchen…
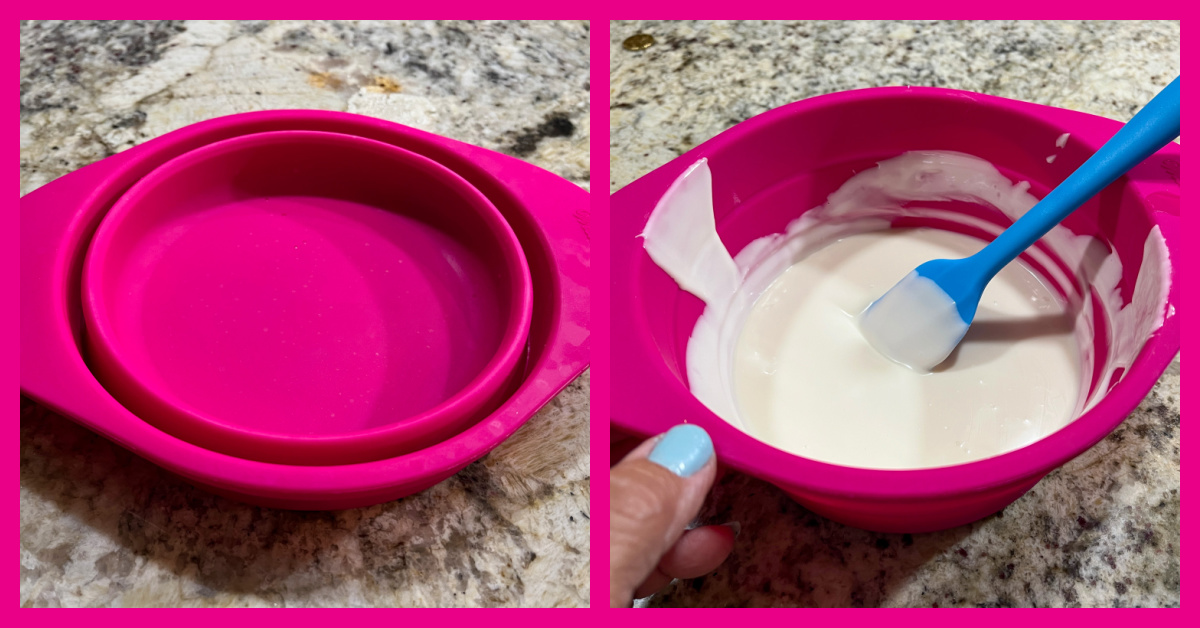
A Wilton collapsible silicone bowl, perfect for candy melts and chocolate… You can find it here. Of course, the color called my name really loud.
In our kitchen…
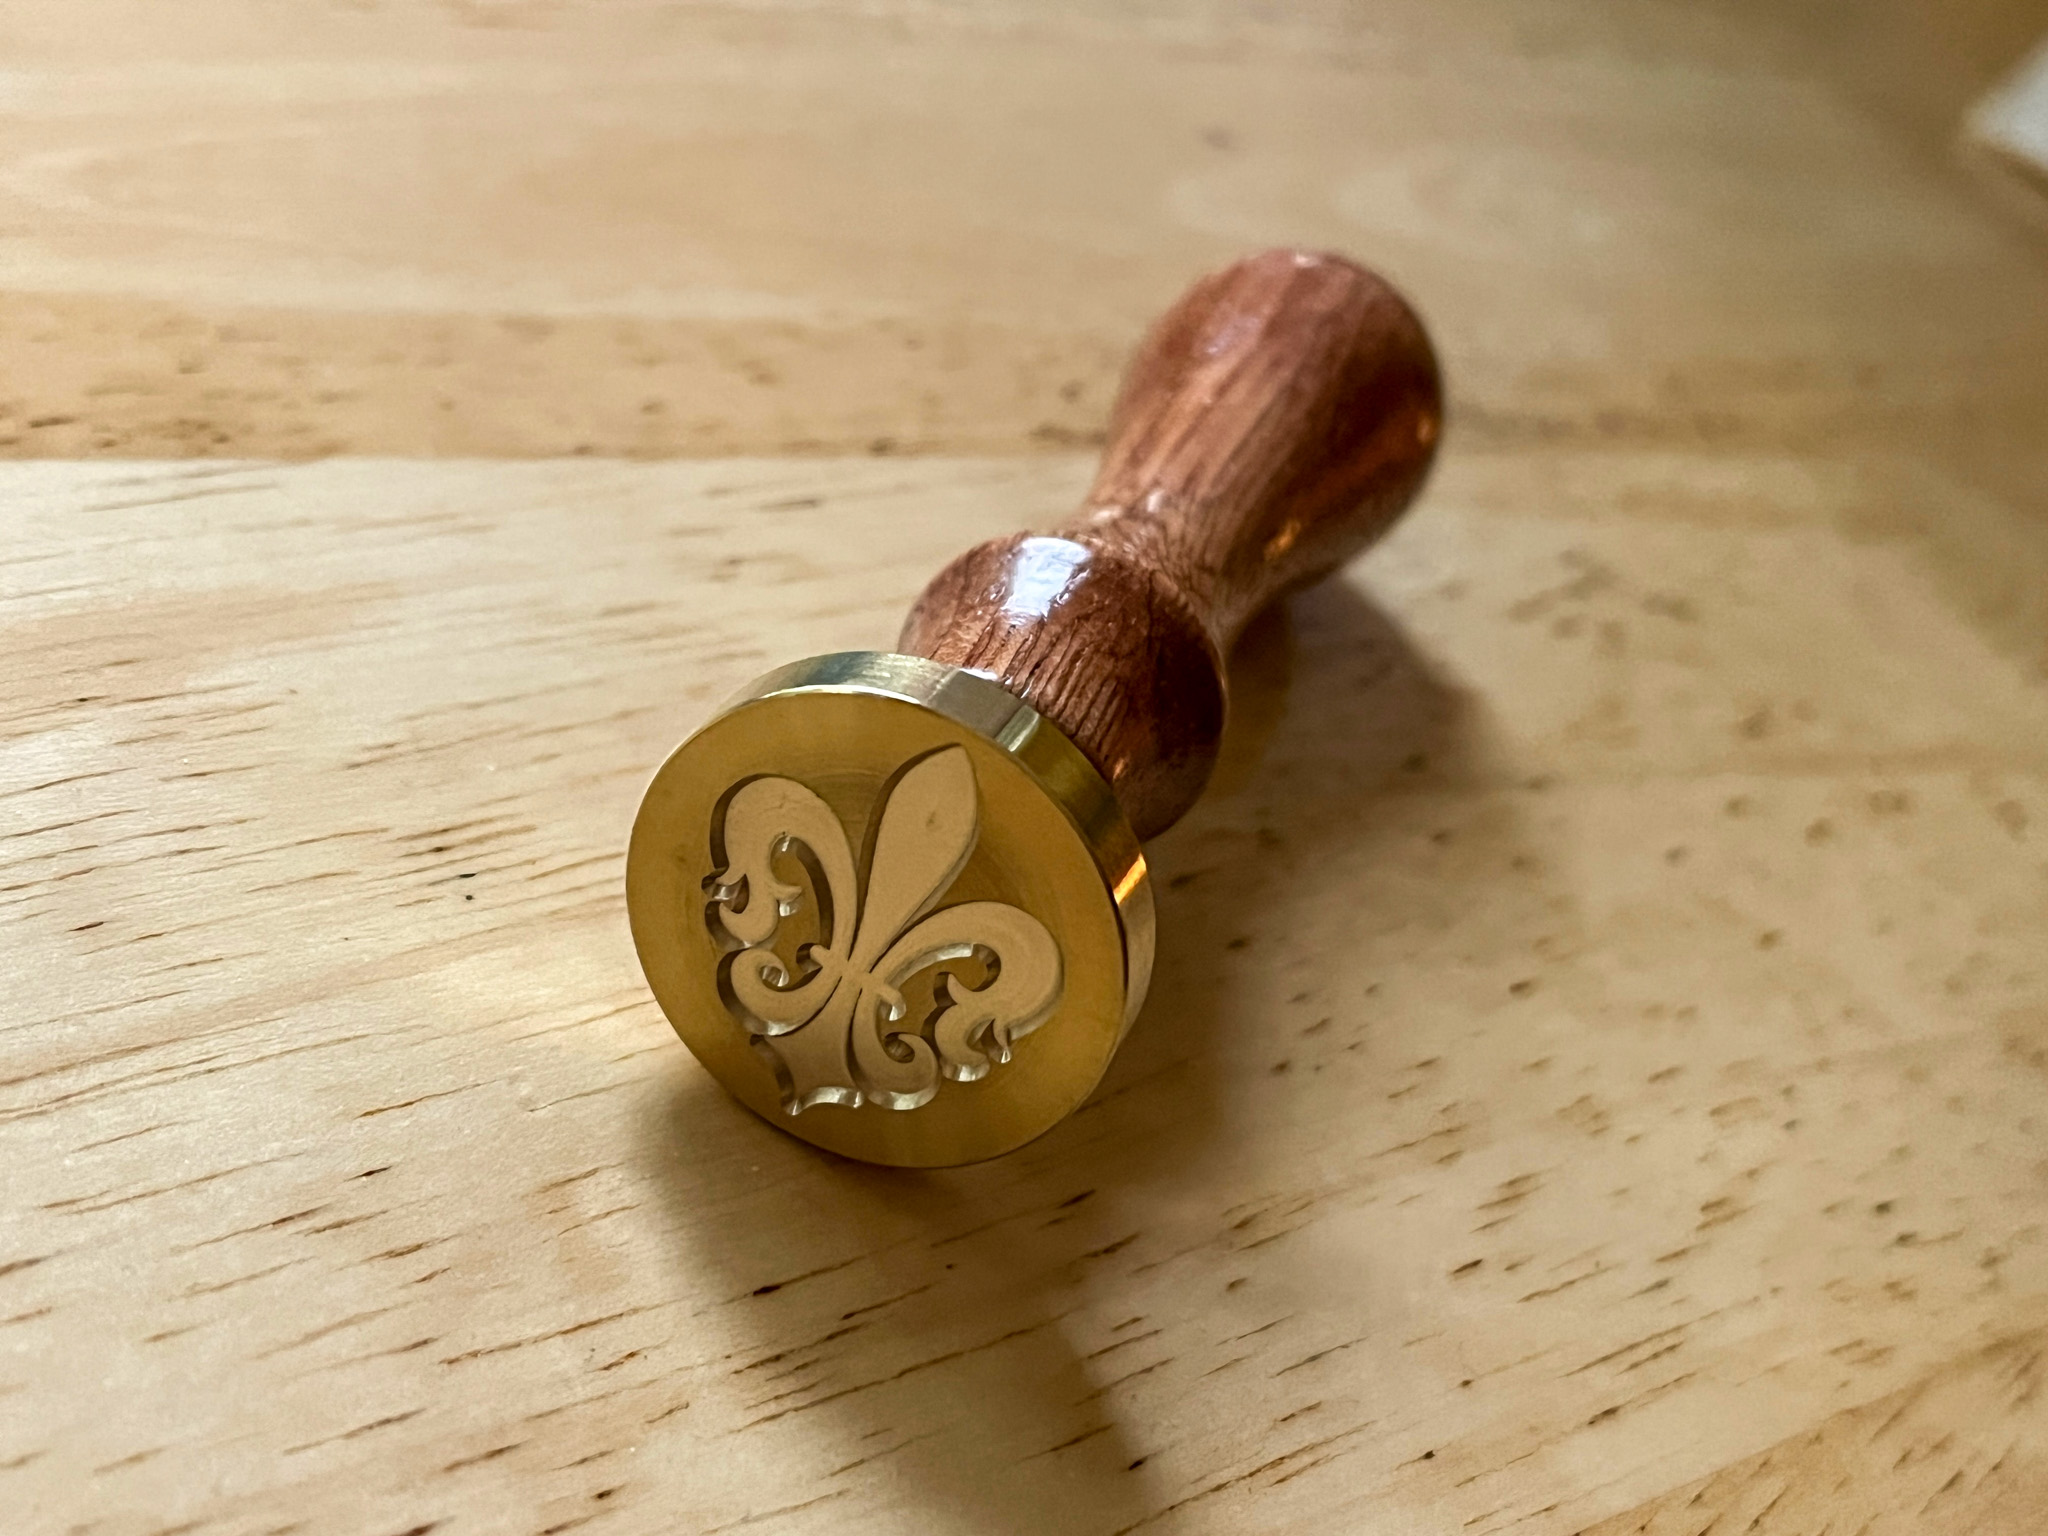
Fleur de Lis wax stamp, ordering info here. I have recently blogged about using these stamps not only for chocolate but also for fondant (see posts here and here), so I got a new one to play with. You cannot go wrong with a Fleur de Lis!
In our kitchen…
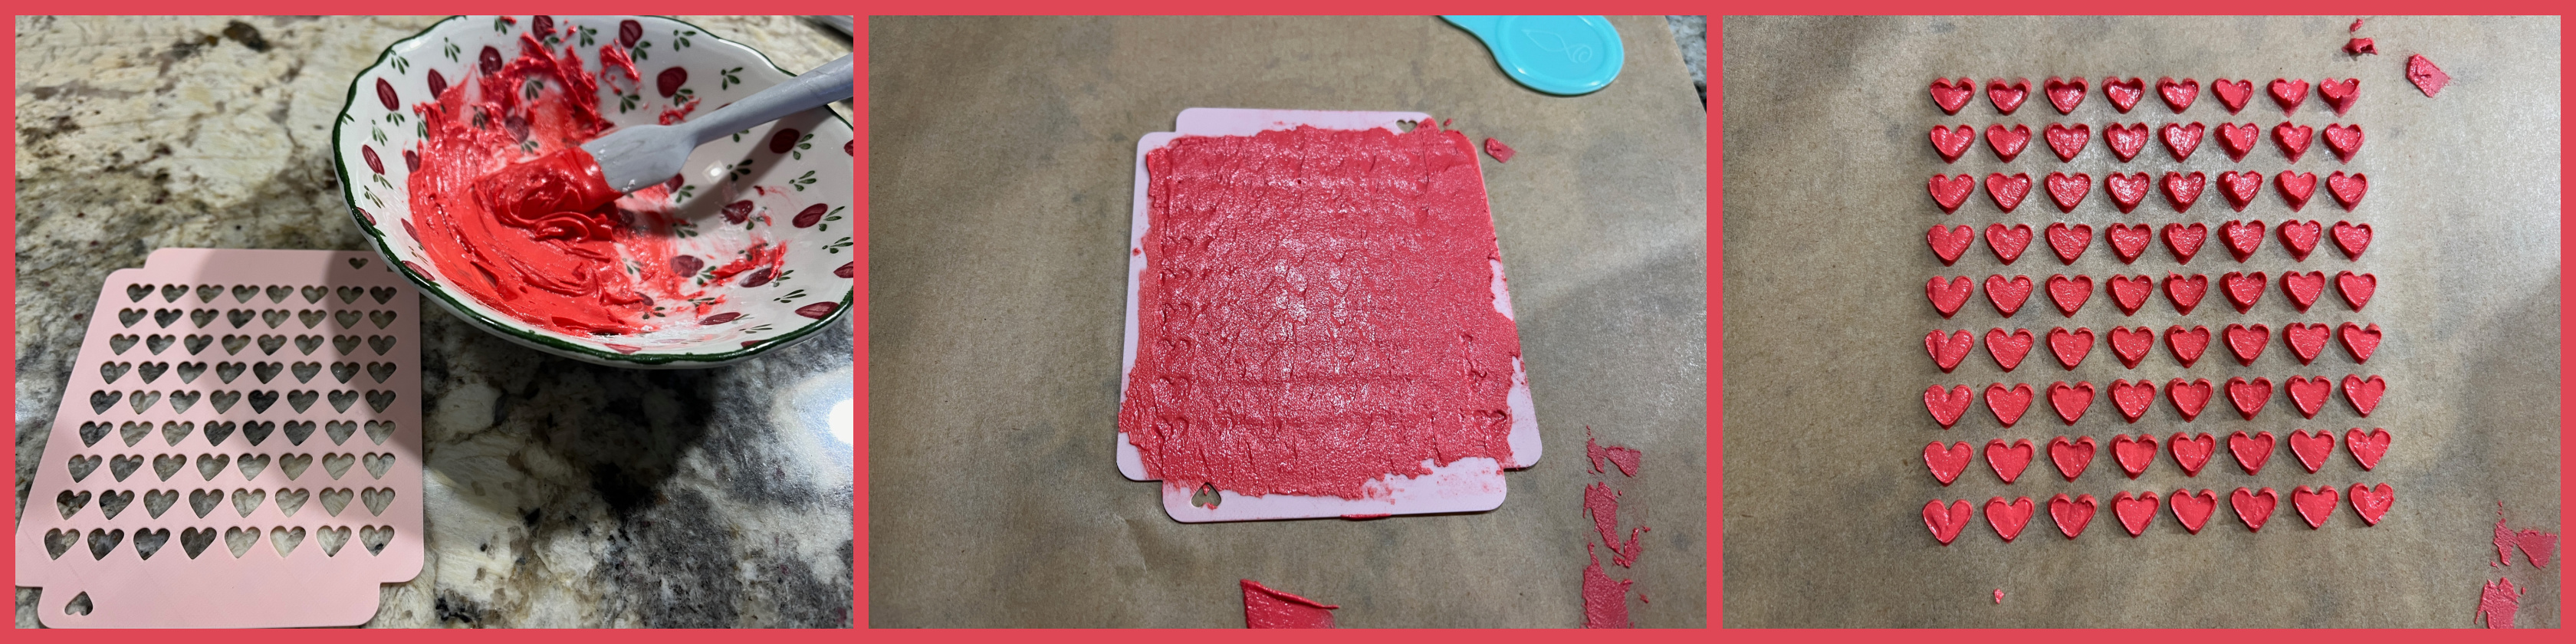
Isn’t that the coolest gadget? You can make your own sprinkles in all sorts of colors. Cookie Countess has many shapes available, you can get tempted with a click here.
In our kitchen…
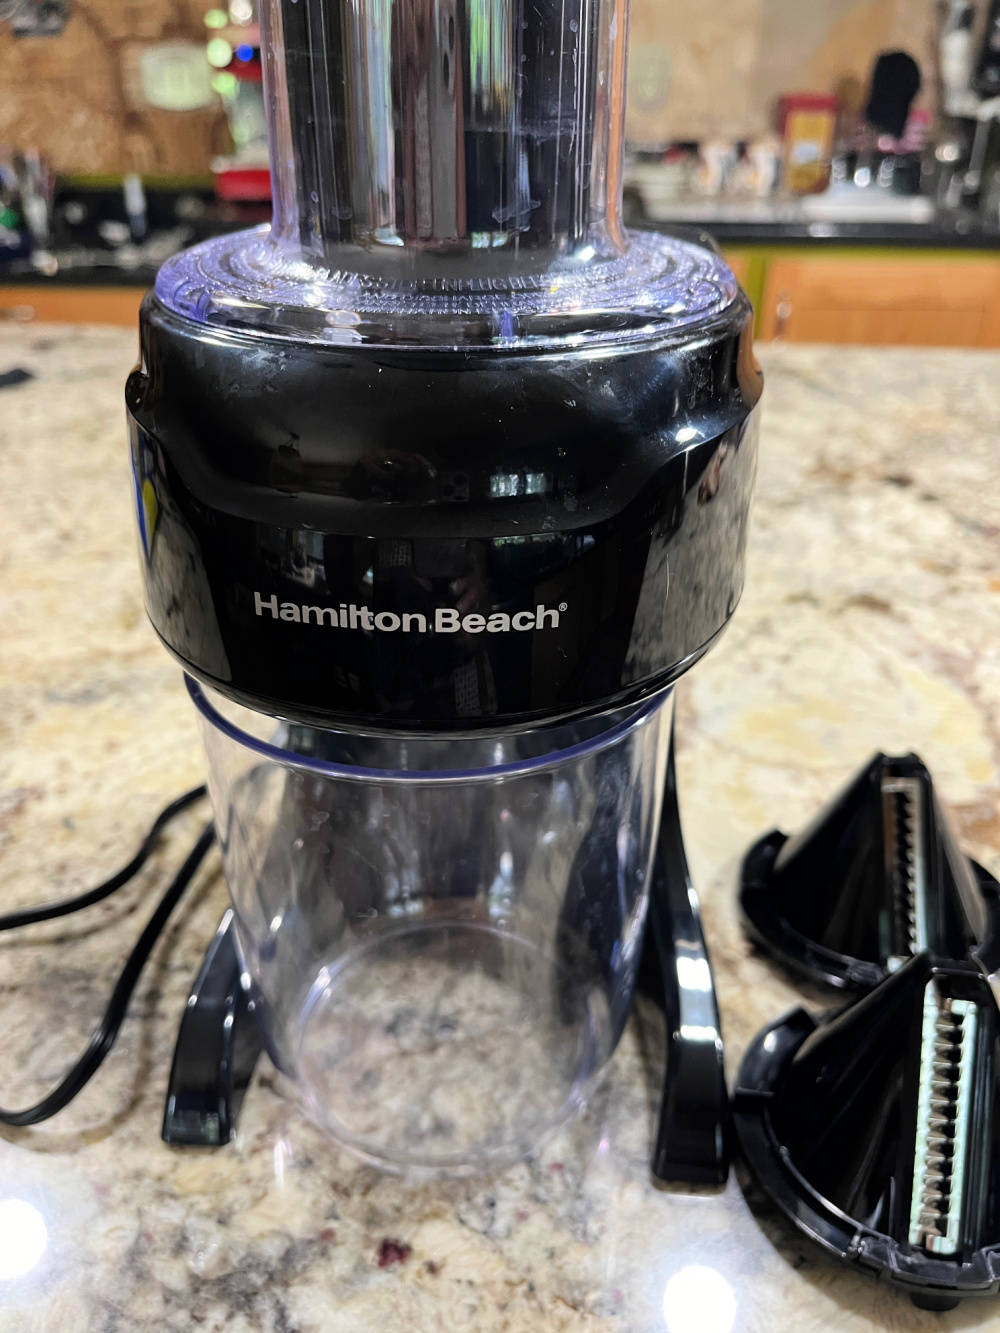
An electrical spiralizer from Hamilton Beach… I am really in love with it, works much better than the hand-cranked ones I’ve tried over the years. You can find it on eBay (if you are lucky) or that place to order all things desired (click here for amazon). I love to spiralize 3 medium zucchini, leave the spirals in the fridge inside the plastic container that comes with the machine and have it ready for my meal.
In our kitchen… a few things from our trip to France and Spain
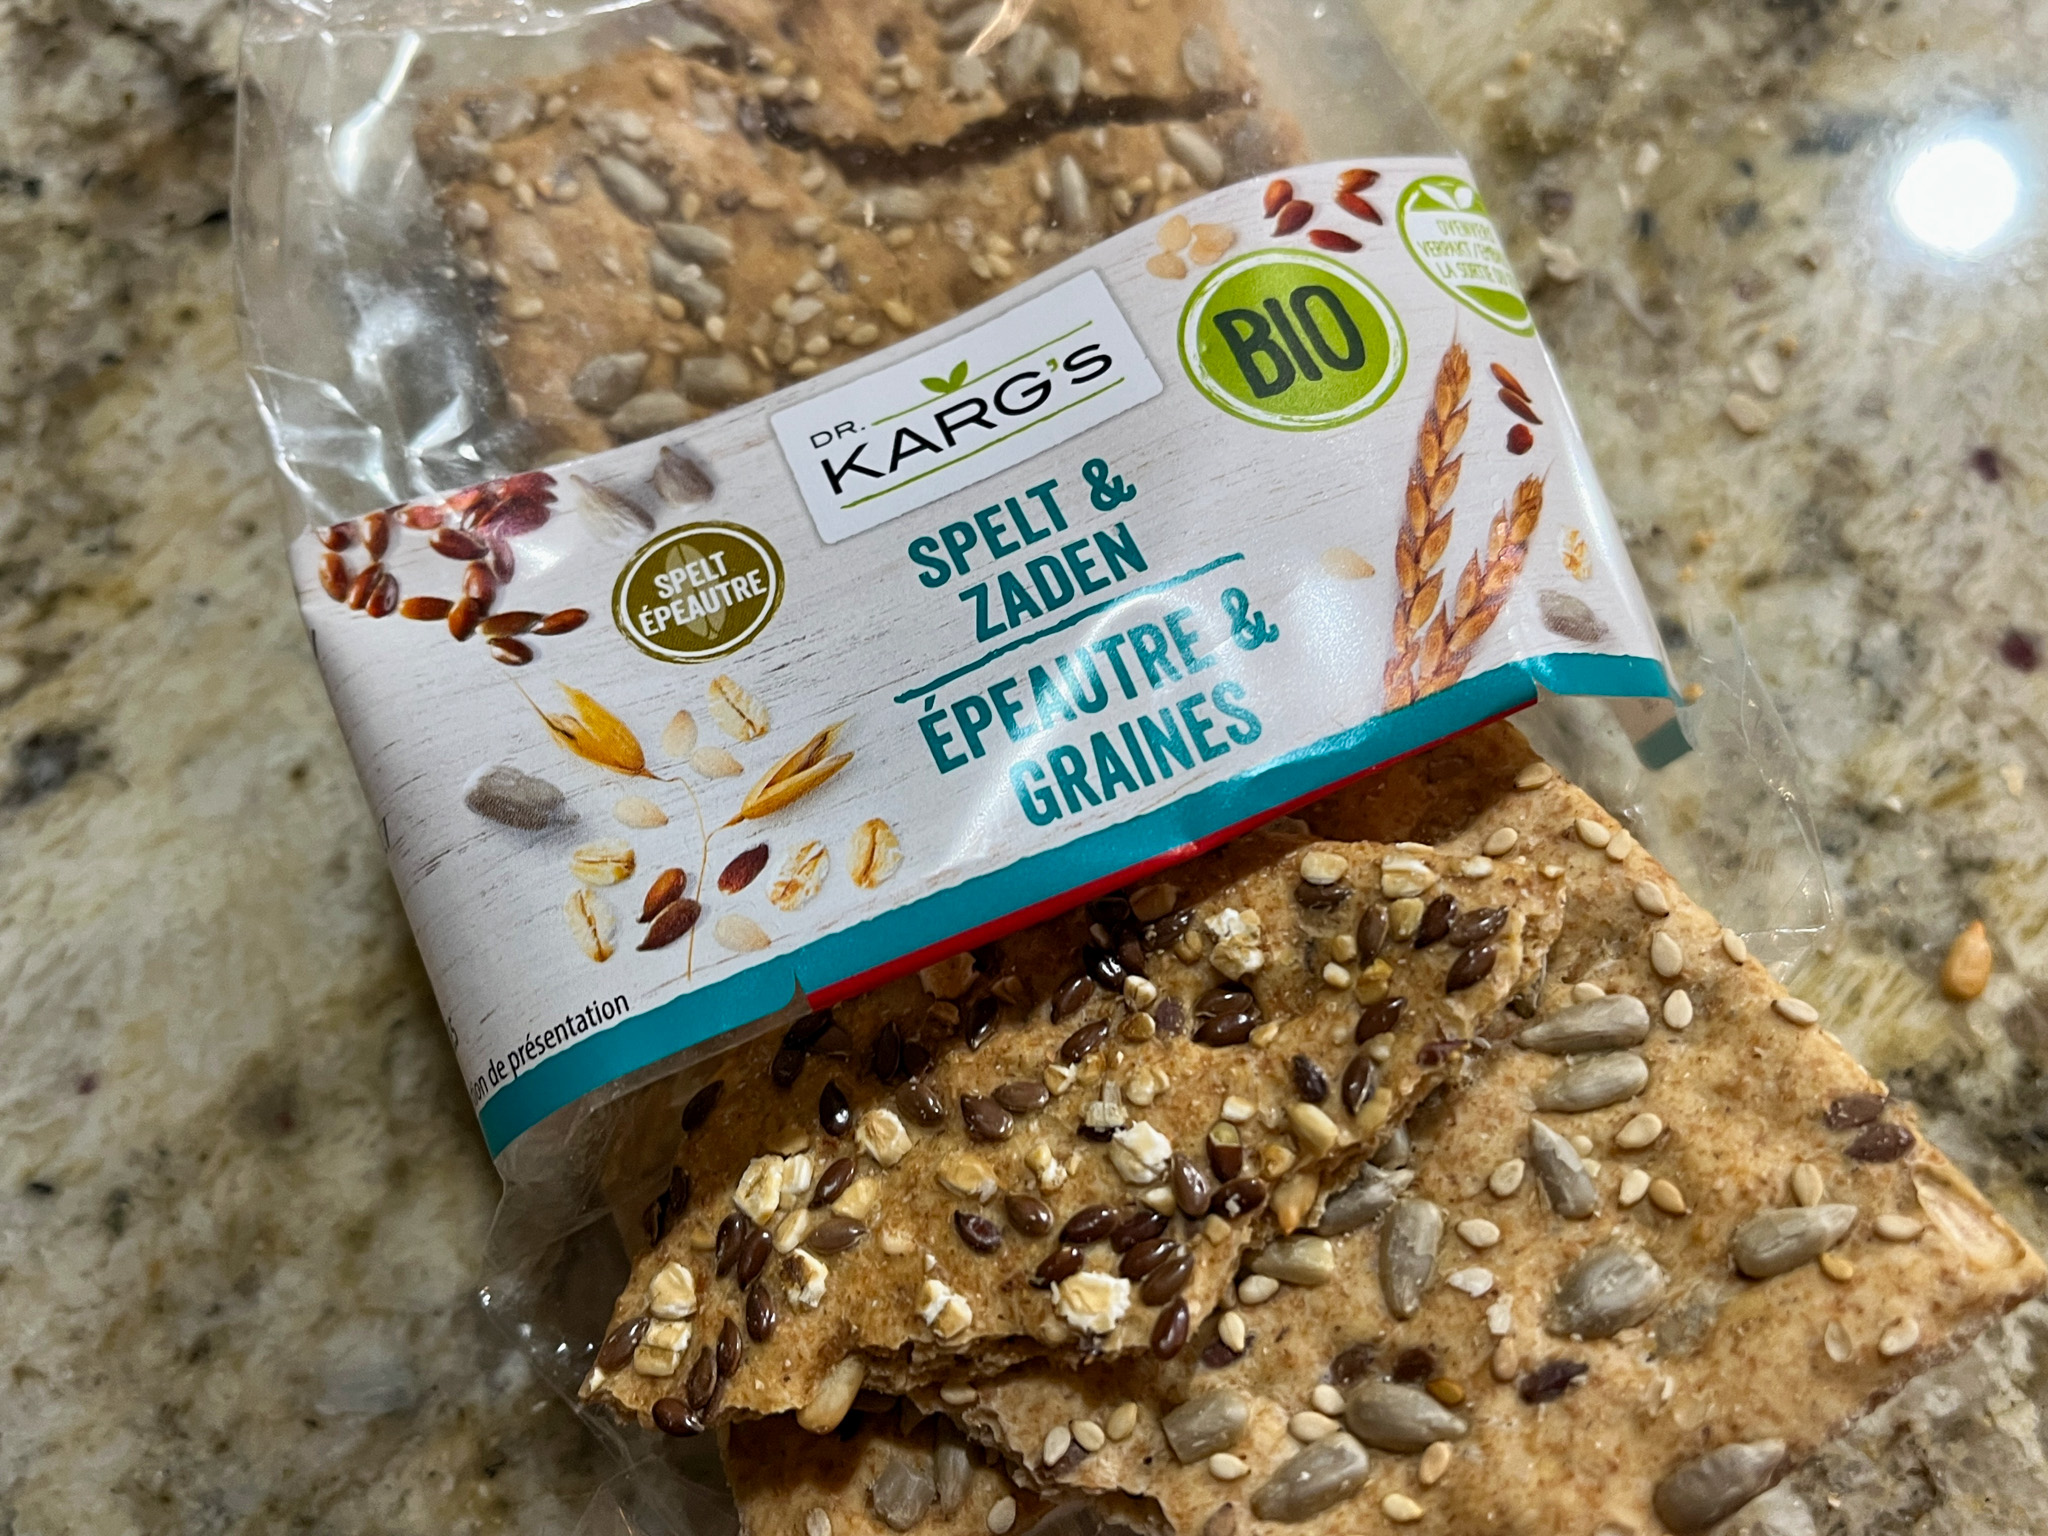
These crackers are absolutely amazing and I wish we could find the exact same kind in the US. They were sold at a tiny grocery store near the house we stayed in Avignon. They made it back to Manhattan, KS although a little beaten by the plane ride. Still tasty, though! NOTE ADDED AFTER PUBLICATION: they are available at amazon and I am now a happy camper… Check it out here.
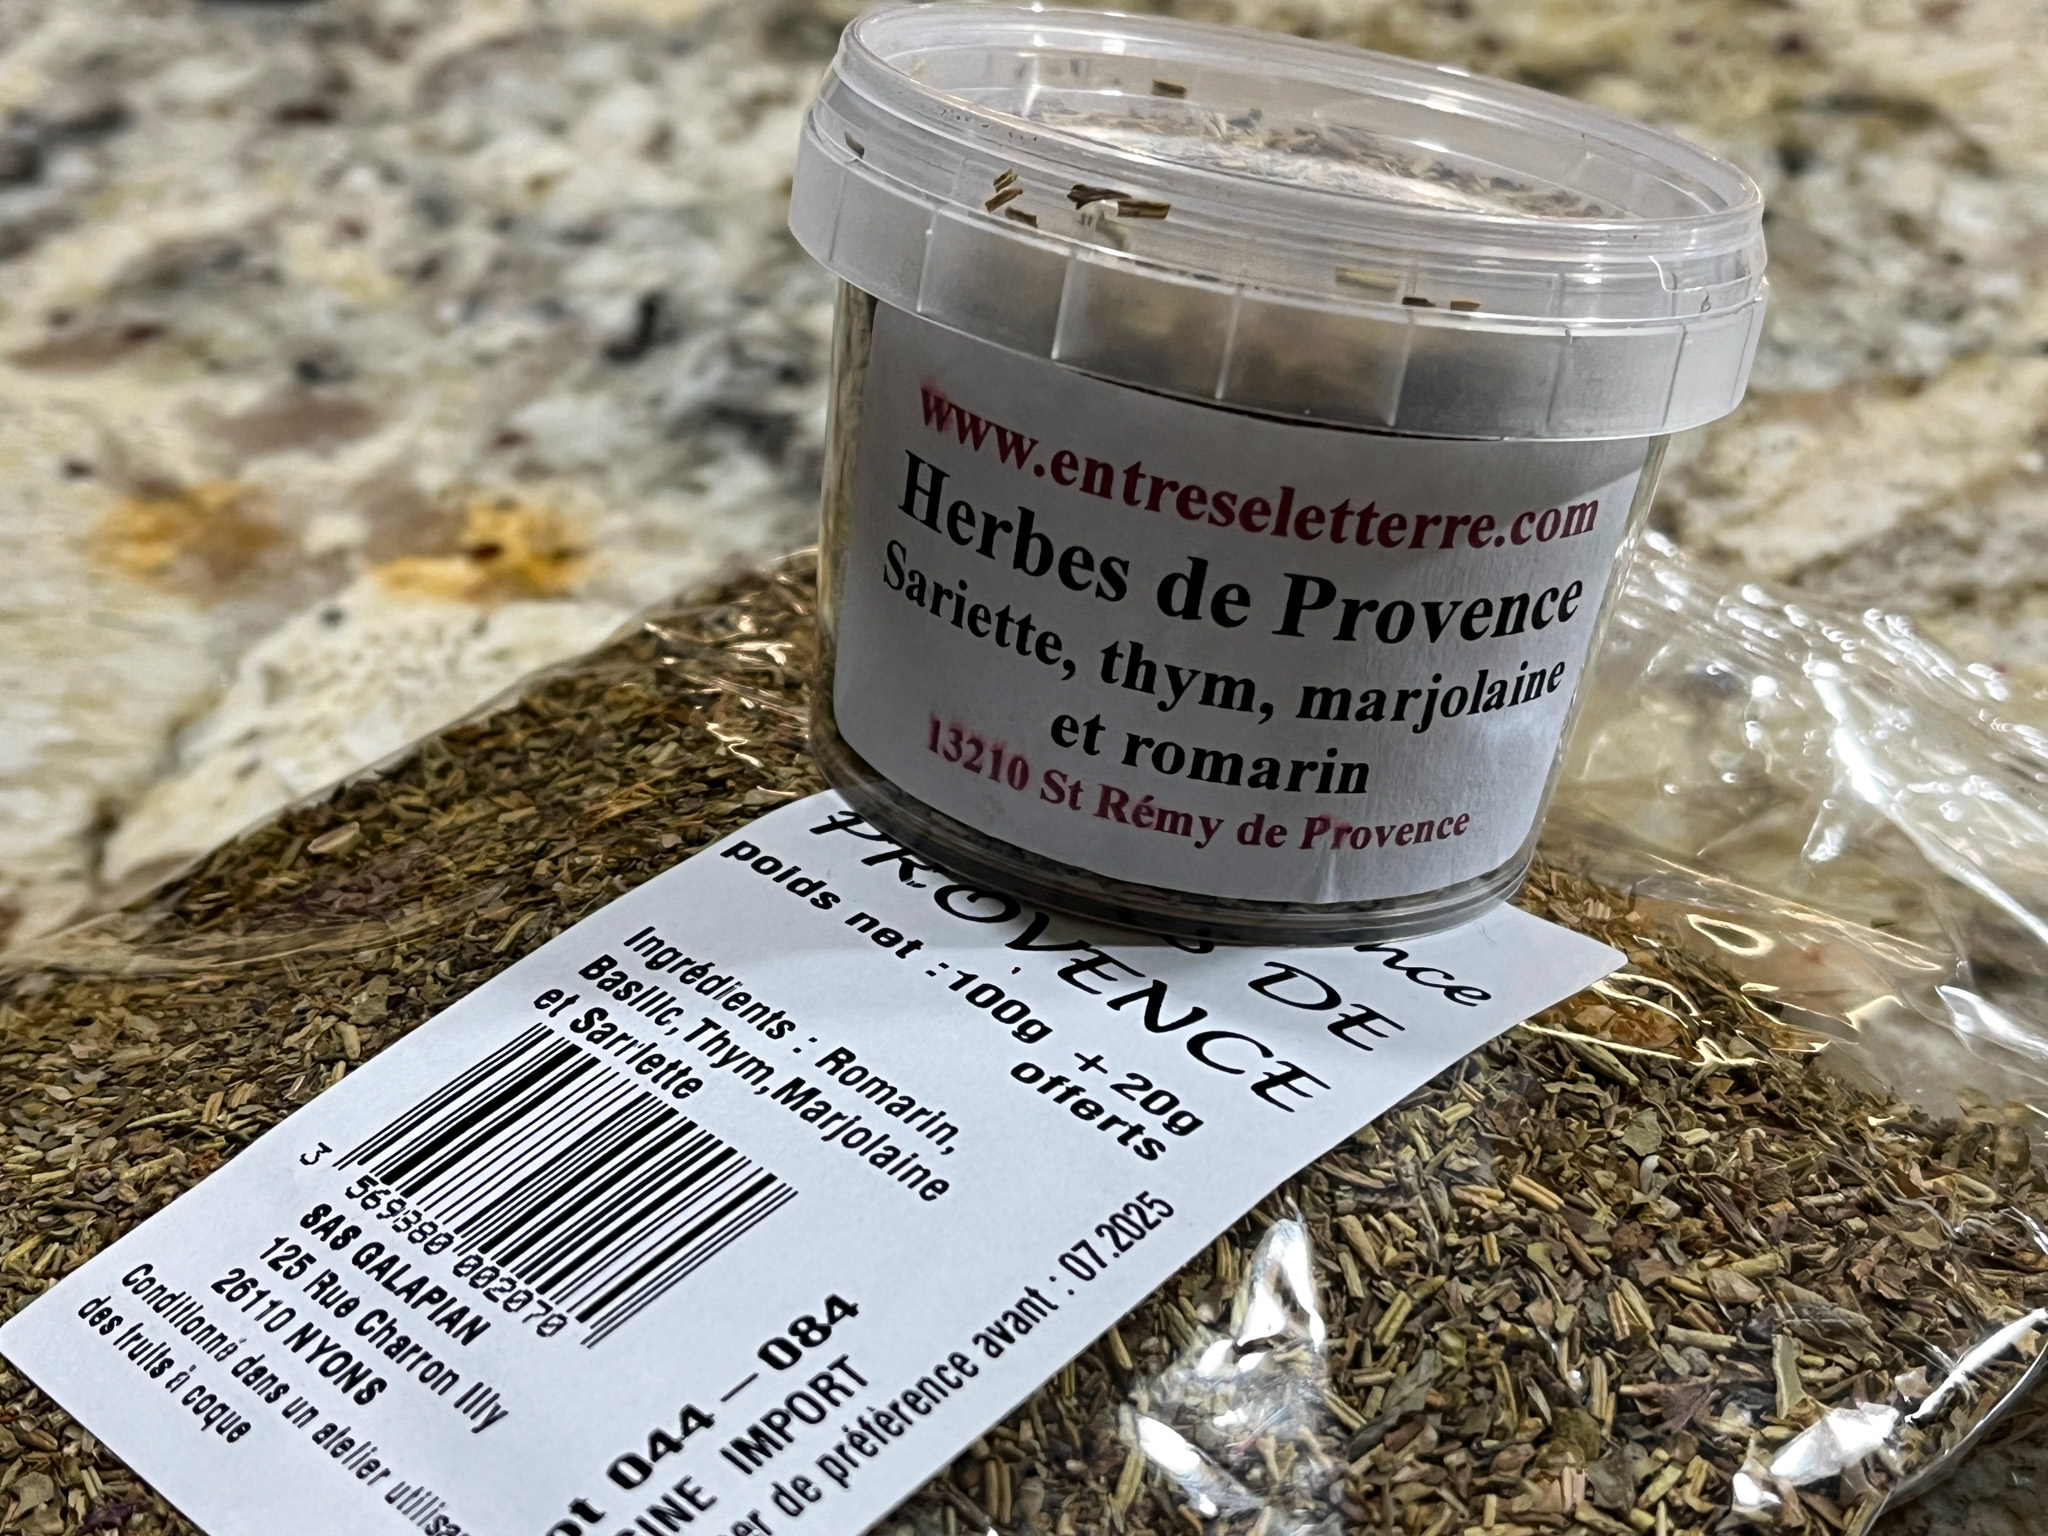
How can you go to Provence and not stock up on the real deal? We have enough Herbes de Provence to last for a while…
From a great street market in Barcelona, I could finally get wonderful saffron, as my reserves were getting dangerously low…
And now, it is time to allow those who own tails (and are not afraid to wag them) to bark their piece…
Life was going smoothly in the Kingdom of Tatarrax once the weather warmed up… We worked hard in training, doing all the routines we excel at, from shaking to rolling over, laying down, twirling, high-fiving (well, that one only The Royal really gets)…
Ziggy Star Barker often demands her training to involve more sophisticated machines, but so far her wishes have not been granted.
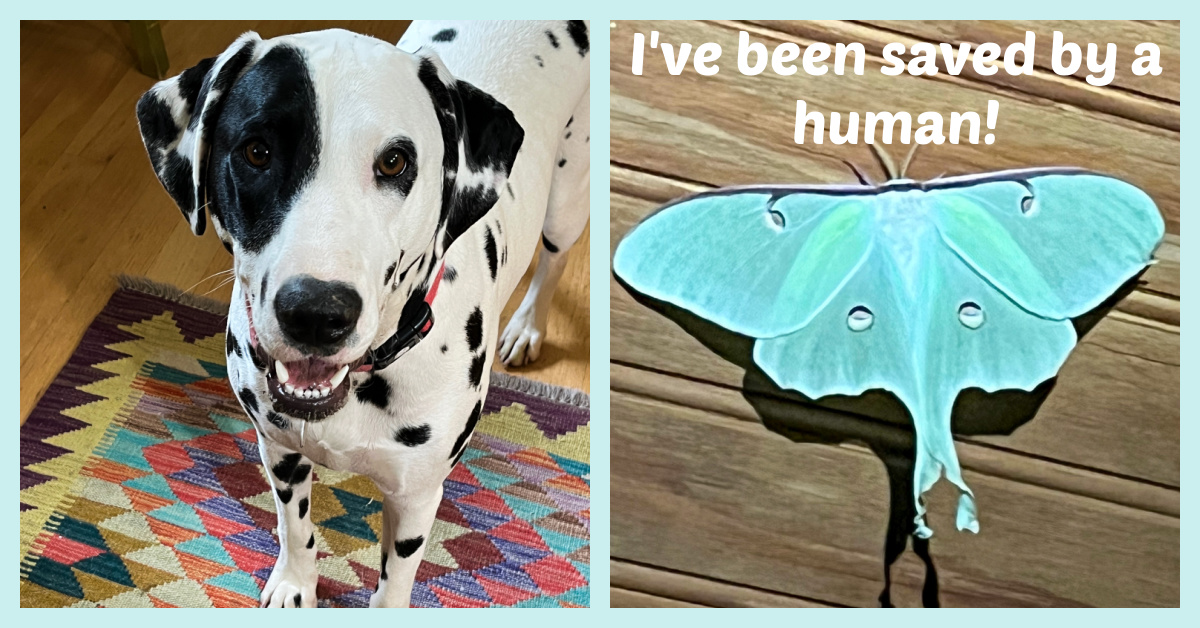
She also got in considerable amount of trouble because her hunting instincts, particularly good at all things insects caused quite a bit of commotion late one night in the backyard…
Speaking of the backyard, we worked hard to inspect all the work The Dominant Alpha Human made in the backyard, making sure all the dirt he hauled in was properly leveled and “seasoned”.
Our brother Grumpy Osky is no help for that. He is partial to air-conditioned spaces and leather sofas. We are afraid to death of him, but truth is we think he does not know how to have fun.
We ate well, took our beauty sleeps several hours each day, enjoying all the amenities The Kingdom has to offer…
And we are now proud to be a team of two dashing through the golf course with our humans…
And we are lobbying for a new competition for the Olympic games: The Synchronous Roll-over on Grass! We should take Gold.
But then, chaos, tragedy, horror came out of nowhere! The three most dreadful words in canine universe: LUGGAGE… TRIP… KENNEL!!!!
It was A Nightmare on Tatarrax Street. Our sordid humans seemed quite sad when they abandoned us. I think I even caught glimpse of tears on Zenless’ face, but truth is, we gathered evidence of their crimes. We have solid, undeniable proof that the two of them actually HAD FUN while we were locked in the Depths of Hell. You don’t believe us? Get a load of this:
SO. MUCH. SUFFERING.
Soooooo, in light of these recent developments, we introduce and will be enforcing THE NEW RULES OF THE KINGDOM.
Rule #1: no more shaving of my beautiful fur, and I shall be allowed to roll on rugs right after they’ve been vacuumed. That’s when they are at their best!
Rule #2: The Red Pillow belongs to Star, and so does the sofa where said pillow is resting. When she is done with her beauty sleep, Humans might be allowed to profit from that piece of furniture.
Rule #3: A bandana shall be part of my daily outfit, and the color scheme should change to match upcoming holidays and/or seasons.
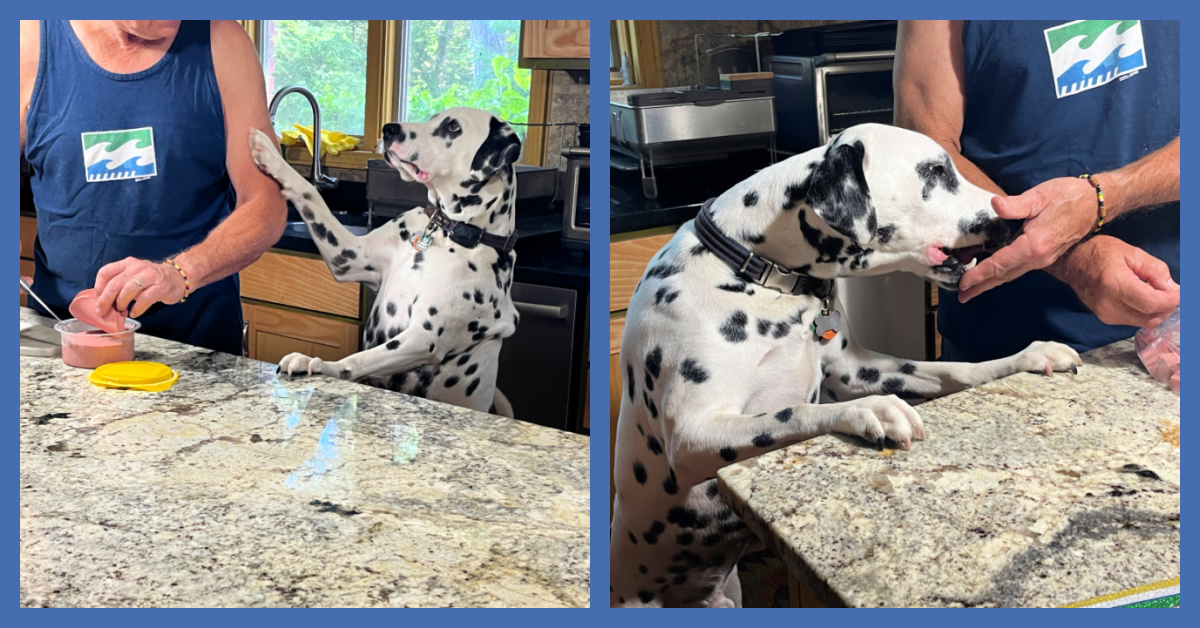
Rule #4: When The Prince requests sampling of treats, The Prince shall get sampling of treats. Same rule applies to his siblings, including The Grumpiest.
Rule #5: The Higher Territory should be open to our visits as often as we feel like it.
Rule #6: Once in the Higher Territory, bed prohibitions shall be a thing of the past.
With these new rules in place, we feel that The Kingdom of Tatarrax is getting closer and closer to paradise! And yes, we forgive you for leaving us behind. How could we not?
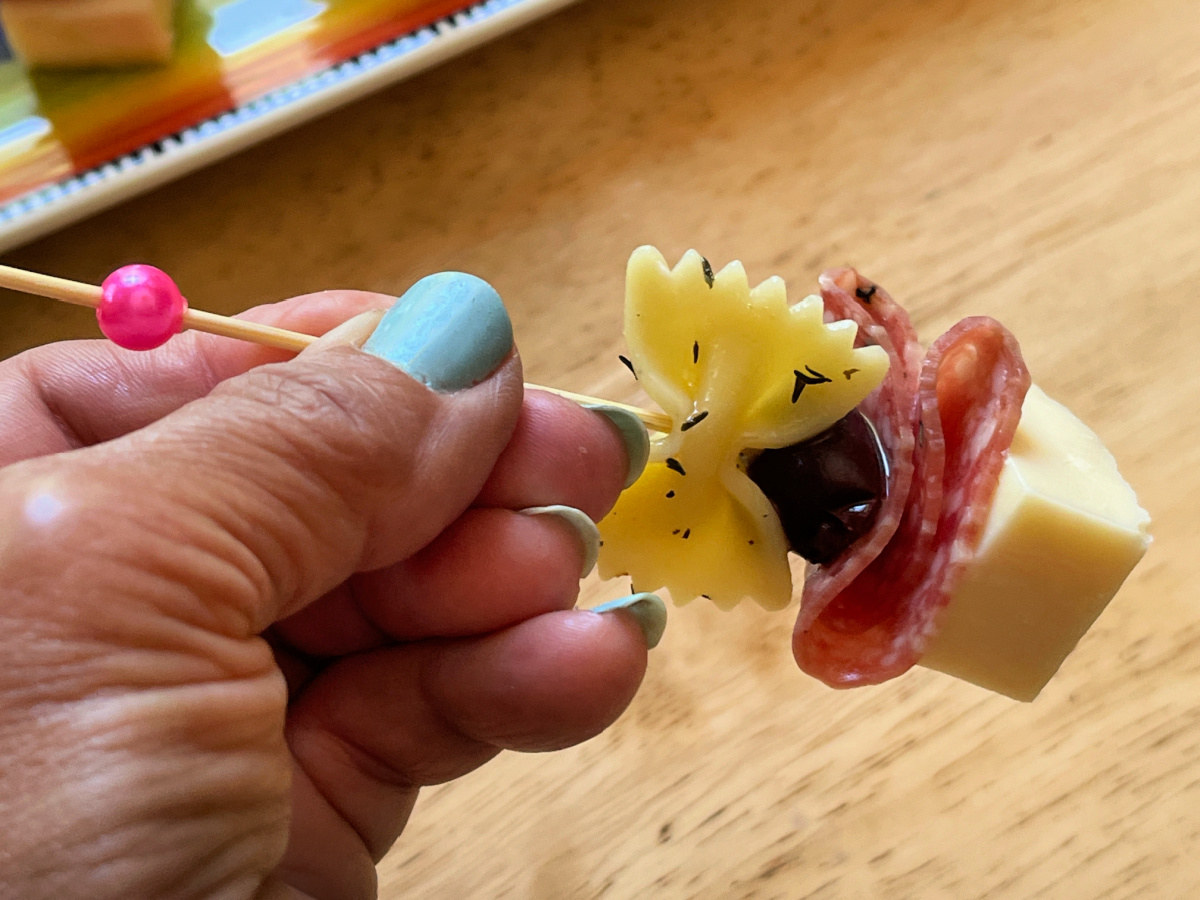
These were a big hit at a potluck party we attended recently. They look adorable and are very tasty, plus you can make a vegetarian version by skipping the salami and using grilled zucchini instead. Simply cook some bow-tie pasta, making sure it is al dente. Drain, rinse, cool. Add a bit of olive oil and Herbes de Provence to the pasta. Then, stick the pasta, an olive, salami and cheese into a cute wooden skewer. You are DONE! The idea came from a cookbook I recently reviewed. Click here for the review and ordering information.
I was surprised by how fast they disappeared when we took them to the party. I made 30 total, and I think they were gone in 10 minutes tops. Amazon has a nice selection of cute appetizer skewers, I wish they had some a little smaller, but it’s not a big deal. I hope you consider making them for your next dinner party, I guarantee your friends will love them…