ALMOND BUTTER CHOCOLATE CHIP COOKIES

I am not very fond of peanut butter.  Its sticky, gooey nature manages to turn me off. I like to cook savory dishes with it, but I shy away from desserts that call for it as an ingredient.  Until now, I had placed almond butter in the same category. But, truth be told, I never bothered to try it.   Then,  I read Lynda’s post about Almond Butter Chocolate Chip Cookies.  A quote about this nut spread made me re-evaluate my position. Here’s what she had to say about it:

It’s not as pronounced in flavor as peanut butter which can overwhelm a cookie. Almond butter is mellower with notes of deeply roasted nuts, adding a subtle, golden background to the dough.

It was worth a try…   😉

closeup

ALMOND BUTTER CHOCOLATE CHIP COOKIES
(from Taste Food)

makes 36 cookies

1 + 3/4 cups all-purpose flour
1 teaspoon baking soda
1 teaspoon sea salt
1 cup unsalted butter, softened
1 cup brown sugar
1/2 cup granulated sugar
1 large egg
1 teaspoon vanilla extract
3/4 cup unsalted creamy almond butter (not raw)
1 cup dark chocolate chips or chunks

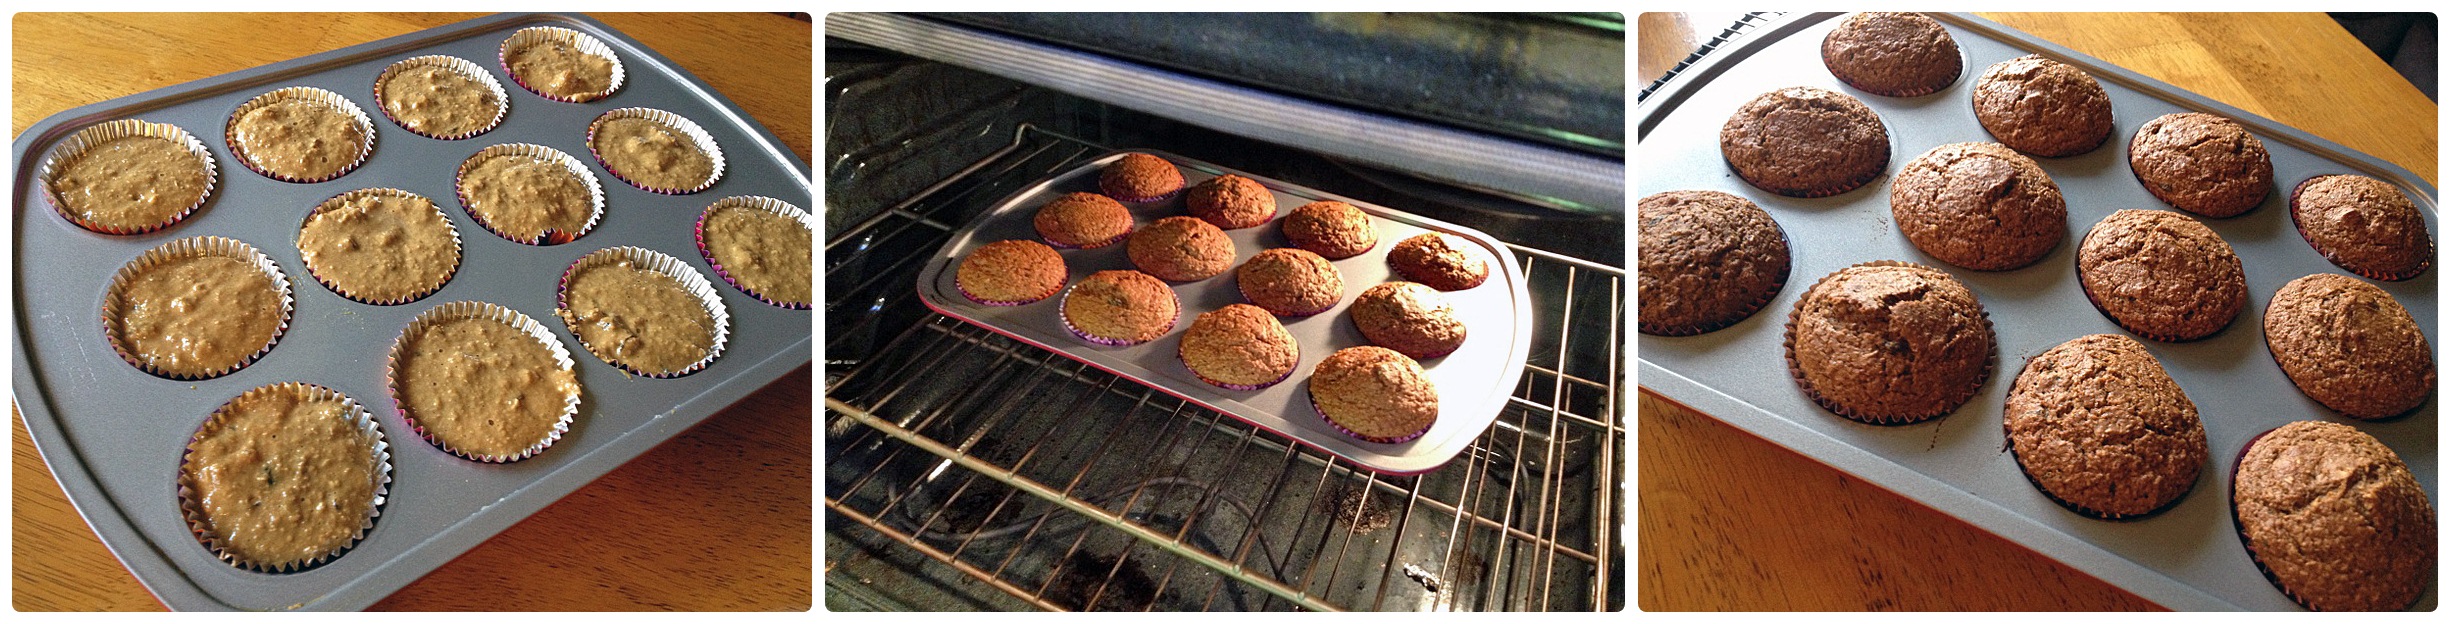
Whisk the flour, baking soda and salt in a bowl; set aside. Cream the butter and both sugars in the bowl of an electric mixer for a couple of minutes or until light and fluffy. Add the egg and vanilla. Mix well. Mix in the almond butter until smooth. Add the flour and mix to combine, then stir in the chocolate. Refrigerate the batter for at least one hour, or up to 24 hours.
Heat oven to 350 F. Drop rounded tablespoons of dough on baking sheets lined with parchment. Bake until light golden, about 14 minutes.

Optional: Sprinkle a few flakes of sea salt on the cookies before baking.

ENJOY!

to print the recipe, click here

composite2
Comments:  I am so glad I did not allow prejudice to prevent me from trying this recipe!  Lynda was absolutely right, the almond butter gives these cookies a very unique flavor.  You won’t quite know what it is, they just taste rich and intense.  I omitted the sprinkle of salt on top.  However, I think the flavor of the salt added to the dough  was assertive enough for us.   Now, for the best part…  I fell in love with almond butter!   It is creamier, has a much more pleasant texture and mouth feel. All of a sudden, a new favorite concoction in my life: Toasted Ezekiel Sprouted Grain bread + Almond butter +  Banana Slices.  It has it all, the crunch of the bread, the sweetness of the fruit, and the rich almond butter to tie them together…

cooling

Lynda, once again your blog pointed me in a tasty direction!  Thank you!

ONE YEAR AGO: Dan Dan Noodles

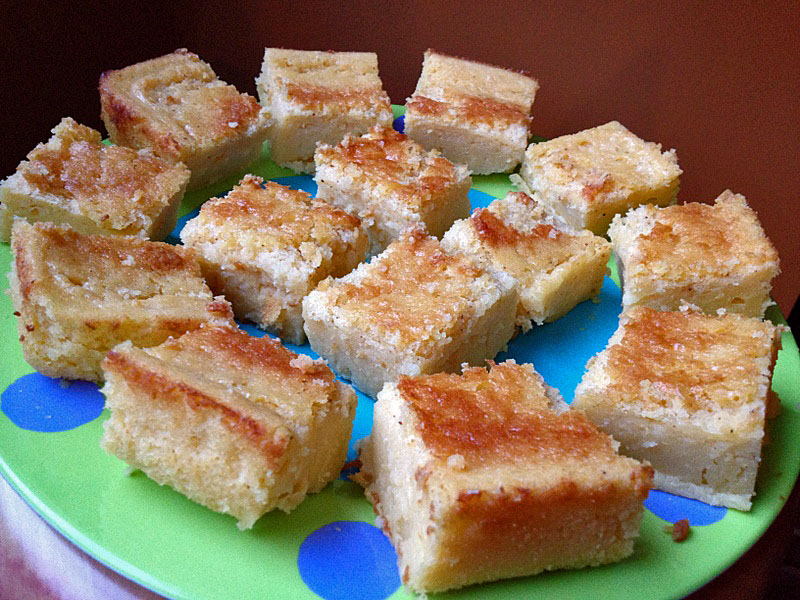
TWO YEARS AGO: Sophie Grigson’s Parmesan Cake

THREE YEARS AGO: Antibiotics and Food

SESAME AND FLAXSEED SOURDOUGH

This  loaf of bread was made on a whim on a busy weekend mainly devoted to the lab. Tired of refreshing my starter and putting it back in the fridge, I decided that – no matter what – we would be having home-made bread on Super Bowl Sunday.  I had to cheat, though. The dough got spiked with some commercial yeast to speed up fermentation. Let’s hope the Wild Yeast Gods will have mercy on me…  😉
boule1

SESAME AND FLAXSEED SOURDOUGH
(inspired by Hamelman’s Bread)

Starter mix:
2.4 oz bread flour
3 oz water at room temperature
1 Tablespoon mature sourdough culture

Soaker:
1.5 oz flax seeds (about 1/4 cup)
1/2 cup water at room temperature

final dough:
12 oz bread flour
1.6 oz rye flour
2 oz sesame seeds, toasted
5.7 oz water
10 g salt
all the soaker
4.8 oz starter mix (you will have a small amount left)
1/2 teaspoon active dry yeast

Prepare the levain build 12-18 hours before making the final dough. Mix all ingredients and leave in a covered container at room temperature.  At the same time, make the soaker placing the flax seeds with water in a small bowl.  The seeds will expand quite a bit, so use a bowl that will allow that to happen without overflowing.

Next morning, make the final dough by mixing all the ingredients together in the bowl of a KitchenAid type mixer.  Mix on lowest speed for a couple of minutes.  Check the hydration level, adjust if necessary.  Increase speed to medium-low (level 3 of a KitchenAid), and mix for 3 to 4 minutes.

Let the dough ferment in a lightly oiled bowl for 2 and half hours, folding the dough twice at 50 minutes interval. After 2.5 hours, shape the dough as a ball and place in a suitable container for the final proofing.   My bread was ready to bake in 2 hours and 45 minutes.

Bake in a 450 F oven for 45 minutes. If baking covered to generate steam, remove the cover after 30 minutes.  Cool completely before slicing.

ENJOY!

to print the recipe, click here

composite

Whenever I bake a loaf of bread, I go into full scrutiny mode. I stare at the crust,  inspect the edge of the slashing,  and look for small blisters on the surface.  Then, after patiently waiting for the bread to cool,  I cut a slice and start the convoluted process of analyzing the crumb.  Phil knows better and allows me this important “bread-introspection” time before reaching to grab a piece. But, once he senses the green light, it never fails:  “This is good bread”.  Really, this bread is awesome!”   It gives me a thrill… I know he means it, and it puts all my bread scrutiny into perspective.   For instance, I had to stop beating myself up because the holes in the crumb did not organize into the pyramidal shape I love so much.  Oh, well… This is good bread.

IMG_1434
The flax seeds are visible, of course, but the sesame more or less disappears in the crumb. However, the flavor is there beyond any shadow of a doubt, and complements very well the small amount of rye and the hint of sourness.  Everyone watching the Super Bowl loved this loaf, some even preferred to turn the back to the TV and concentrate on it.  😉

Buck2

I am submitting this post to Susan’s Yeastspotting….

ONE YEAR AGO: Green Beans with Miso and Almonds

TWO YEARS AGO: Saturday Morning Scones

THREE YEARS AGO: White Bread

POMEGRANATE WALNUT DELIGHT

This unusual salad will take the center spot in any meal with its intense flavors and contrast of textures. I spotted the recipe around Thanksgiving last year, saved it to my Pinterest cooking board, and finally made it.  Please, don’t drag your feet like I did, make it sooner rather than later. Green olives, walnuts, pomegranate seeds… What a treat!
served111

GREEN OLIVE, WALNUTS & POMEGRANATE SALAD
(adapted from Alexandra’s Kitchen,  original recipe at Turquoise)   

3/4 cup shelled walnuts
1/2 cup pitted green olives, coarsely chopped
1/4 cup roasted cashews, coarsely chopped
3/4  cup pomegranate seeds
1 red Serrano chile, seeded and finely minced
shredded flat-leaf parsley to taste
1 tablespoon walnut oil
splash of pomegranate molasses
juice of ½ lemon
sea salt
freshly ground black pepper

Heat the oven to 350⁰F. Scatter the walnuts onto a jelly-roll pan and roast for 5-10 minutes, until deep golden brown.  Chop the walnuts coarsely and toss in a sieve to remove any remaining skin or dust.

Combine all the ingredients in a large bowl and toss gently. Leave to stand for 5 minutes or so before serving to allow flavors to meld. Taste and adjust seasoning. I ended up adding more lemon juice.

ENJOY!

to print the recipe, click here

closeup
Confession: I tend to be salad-lazy.  I don’t mind making a recipe that involves plenty of steps, be it reducing a sauce, braising for hours, or as you probably know, bake a loaf of bread that took 12 hours to proof.  But, ask me to make a multi-ingredient salad and I am invaded by a sense of pure exhaustion.  Washing the greens, cutting all ingredients, preparing the dressing…  However, this salad never left my mind from the day I saw it at Alexandra’s site, which, by the way, is a site worth subscribing to.  And, did you notice?  No greens to wash. Yeaaaaaah!   😉

Everything works in this recipe. I am a lot more fond of black Kalamata type olives than green, but trust me, they taste unbelievably good here.  Together with the unique heat that only a Serrano pepper delivers, you’ll enjoy the sweet and sour taste of pomegranate molasses, the toasty walnuts, the herby parsley, the lemon, and last but not least the pomegranate seeds!  Like little pine nuts dressed for a gala party…
We love them!

Three words for you: Make this salad.

ONE YEAR AGO: Romanian Flatbreads

TWO YEARS AGO: Ziti with Artichokes and Meyer Lemon Sauce

THREE YEARS AGO: Blasted Broccoli, Stove-top version

BRAN MUFFINS, TAKE TWO

Bran muffins make Phil very very happy, so I tried a new recipe for his favorite morning treat.  On a whim, I went with the “back of the bag” recipe in the Bob’s Red Mill Wheat Bran product.  I reasoned that they probably tested and re-tested the recipe to make sure whoever baked a batch would love it and buy another bag. 😉  I also thought that using applesauce in the batter would make it moist and flavorful. I was right.
muffin2
MOLASSES BRAN MUFFINS
(from Bob’s Red Mill)

1 cup wheat bran
1 1/2 cups whole-wheat flour
1/2 cup raisins
1 tsp. baking powder
1 tsp. baking soda
1 cup milk
1/2 cup molasses (or honey)
3/4 cup applesauce
1/4 cup chopped walnuts (toasted is best)
2 Tbsp. oil
2 eggs, beaten

Heat the oven to 400°F. Combine wheat bran, flour, baking soda and baking powder. Stir in nuts and raisins. In a separate bowl, blend applesauce, milk, molasses, oil and egg. Add to dry ingredients and stir just until moistened. Spoon into a muffin pan lined with paper muffin cups) and bake for  20 minutes. Makes 12 regular-size muffins.

ENJOY!

to print the recipe, click here

composite

Comments:  Between these bran muffins and the first one I blogged about, I think I prefer this batch because of the prominent apple taste that mellows the “hippie factor” of the wheat bran.  Did I hit the jackpot with them?  And by jackpot I mean bran muffins that match the ones of Phil’s past. Not quite yet there.  However, after almost 13 years of marriage, I finally got a hint on one of the issues: size.  The muffins he loved so much were bigger.  Size does matter after all!  A shocking realization.   But, here is the tricky part, in those days they did not make them gigantic. They were just slightly bigger. So, now I am on a mission to find a pan that will make a muffin somewhere between “regular” and “jumbo”.   As to taste, I am on the right track.  Raisins and walnuts, yes.  But next time, less apple, and honey instead of molasses.

I do not go down without a fight, my friends! One day, I will bake the bran muffin of his dreams…

ONE  YEAR AGO: Brown Butter Chocolate Chip Cookies

TWO YEARS AGO: Breville Sourdough

THREE YEARS AGO: Vienna Bread

THE SECRET RECIPE CLUB: PUMPKIN BOLO DE FUBA’ CREMOSO

The Secret Recipe Club took a break in the month of December, but now we are back!  For those who don’t know, the SRC is a fun blogging event in which you are paired (in secret) with another blogger, and on reveal day post a recipe chosen from that blog.  Everyone in the same group posts at the exact same time, even if you are blogging from Japan.  😉  This month I was paired with Shirley, from the blog Enriching your Kid.  Shirley is a clinical psychologist who, after having kids, opted for working very hard at home taking care of them and paying particular attention to a healthy nutrition.   She cooks a lot of Indian food, so at first I had my mind set on one of her many paratha recipes, but then I spotted a very familiar Portuguese name – “bolo de fuba’ cremoso” – and that was it.  I knew it would be my choice for the first SRC post of 2013.   She added a nice twist to the classic, by incorporating pumpkin in the cake.  Check out her post about it here.

served
PUMPKIN BOLO DE FUBA’ CREMOSO
(adapted from Enriching your Kid)

1 cup masa harina (corn flour)
3/4 cup pumpkin puree’
1 cup sugar
2 tablespoons butter
2 cups milk
2 eggs
pinch of salt
1 cup grated cheese
1/2  tablespoon baking powder
1 tsp grated nutmeg
lemon zest

Pre-heat the oven to 350 degrees. Place all of the ingredients (up to the salt) in a blender or a food processor and mix for 4 minutes or until the mixture is smooth (it will be very liquid).  If your processor or blender is very large, you can add the rest of the ingredients. Otherwise, transfer the mixture to a bowl and add the cheese, baking powder, nutmeg and lemon zest, mixing well with a whisk.   Pour into a buttered and floured pan (8 x 8 inches).

Bake for 35-40 minutes or until the top of the cake is golden. Cool the cake before cutting it into slices.

ENJOY!

to print the recipe, click here

closeupbake

Comments: First, a little bit on language, as Shirley was puzzled about the gender issue in Portuguese.  All nouns have a gender, and for the most part words that end with “a” are feminine.  Words that end with “o” are masculine. However, there are exceptions.  Fuba’, for instance, the term that describes a particular type of corn flour, ends with “a“, but it is masculine.  Therefore, the adjective that goes along with it, “cremoso”  (creamy) must agree with the gender, and end with “o“.  Let’s suppose we were talking about a coconut concoction called “cocada“.  Cocada ends with an “a“, and it is indeed feminine.  In this case, creamy coconut would be described as “cocada cremosa“.  Clear as mud?  Well, mud is feminine: A lama.  Earth is feminine: A Terra. Love is masculine: O amor (gotcha there! Amor ends with “r”  to confuse non-native speakers ;-)).

Now, to the recipe:  I made a few small modifications, using cooked pumpkin instead of raw. I absolutely had to put my beloved pumpkin puree to use, and that was a perfect opportunity.  I also reduced the sugar slightly.  If you are Brazilian and grew up enjoying bolo de fuba’, this version seems like a different sweet, mainly because of the nutmeg. If you are not too fond of nutmeg, or if you want something closer to the Brazilian version, reduce the amount or omit it. Pumpkin was a great addition to bolo de fuba’, I  loved what its subtle taste brought to the cake.

Shirley, I will definitely be cooking other recipes from your blog,  as Indian cuisine is fascinating and I don’t have enough experience with it.  I hope you are having a great reveal day…  😉

For my readers: if you want to see what the crowd from SRC Group D came up with in this first posting of the year, click on the happy frog and a new page will open with plenty of great posts.

ONE YEAR AGO: Citrus-crusted Tilapia Filets

TWO YEARS AGO: Bran Muffins, not just for Hippies

THREE YEARS AGO: Flourless Chocolate Cake