In case you’ve missed my big announcement:
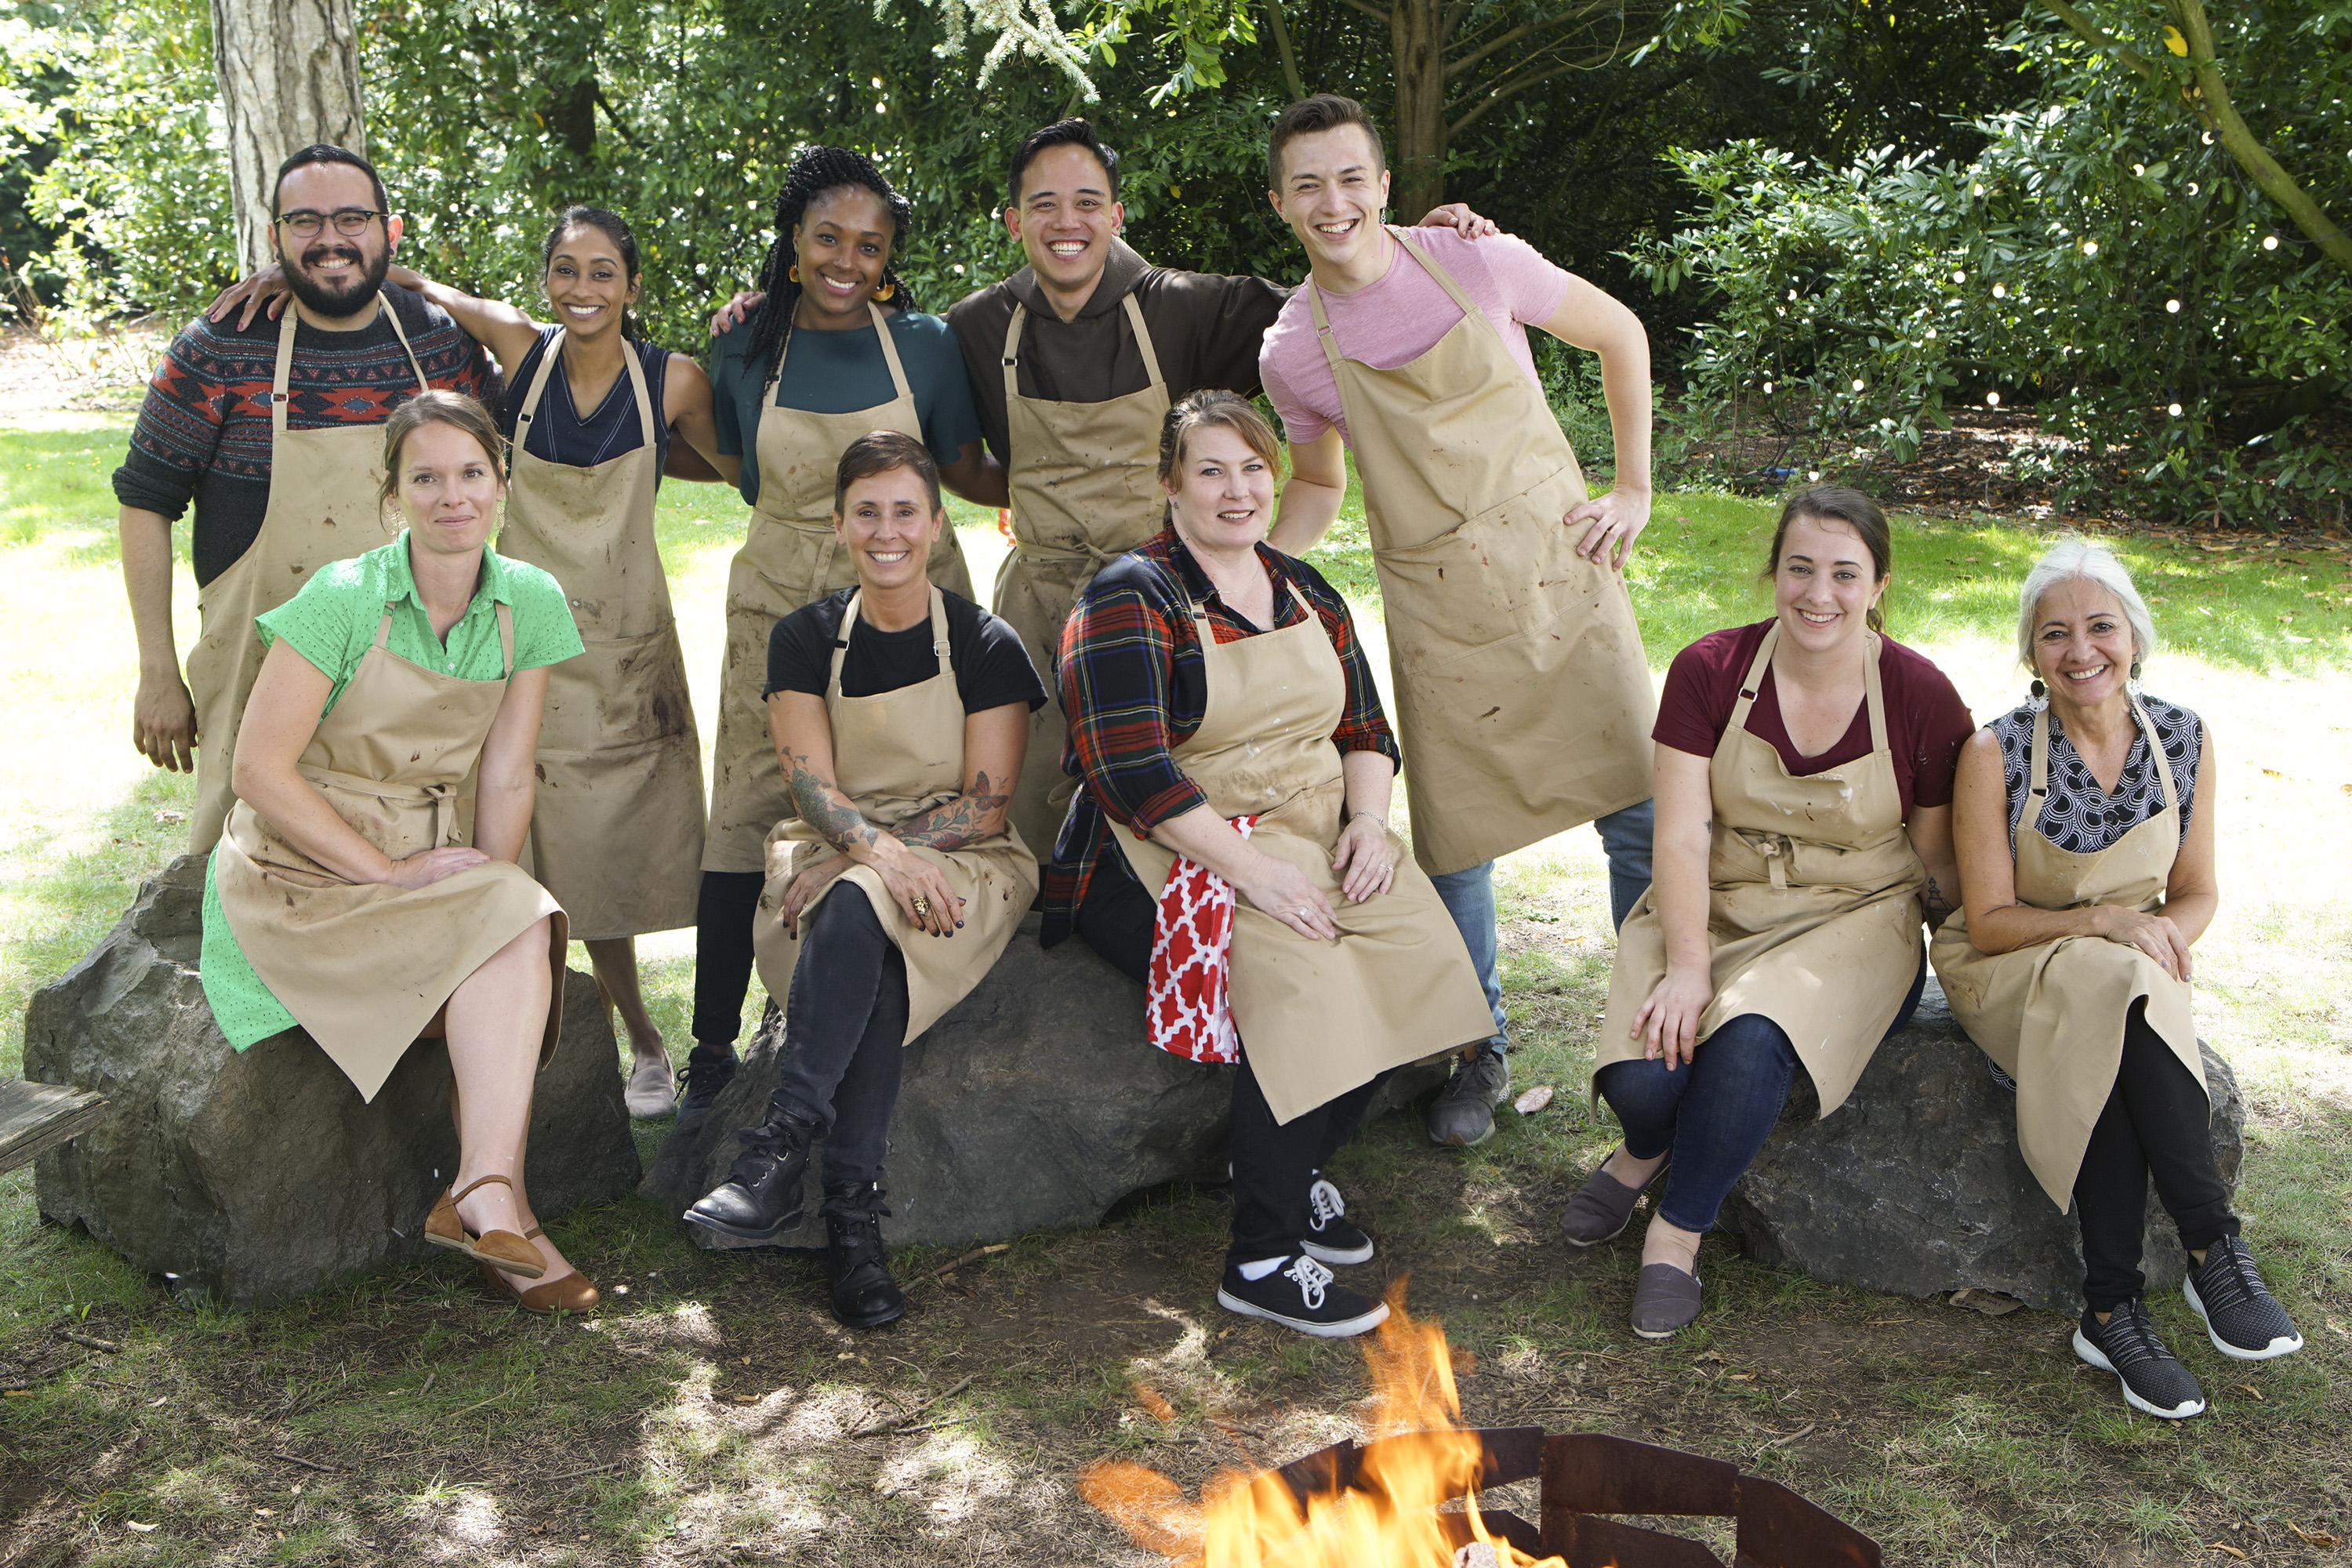
7 days to showtime!
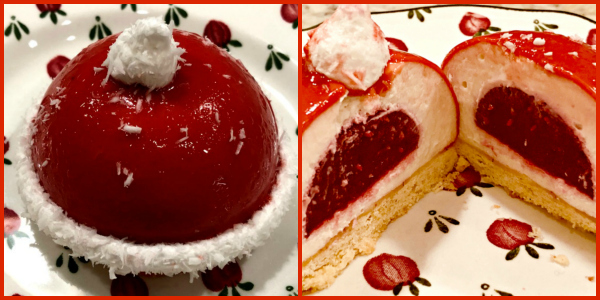
I believe that once Thanksgiving is over, we are allowed to go deep into all sorts of end of the year festivities. Christmas included. Having said that, I am ready to share little mousse cakes I’ve been flirting with for a couple of years. As I stumbled on cute examples on Pinterest, Instagram, and food blogs, I kept telling myself I had to give them a go. My version pairs white chocolate mousse (plus a touch of yogurt) with raspberries. I had a lot of fun making them, and even more fun sharing with our colleagues from the department.

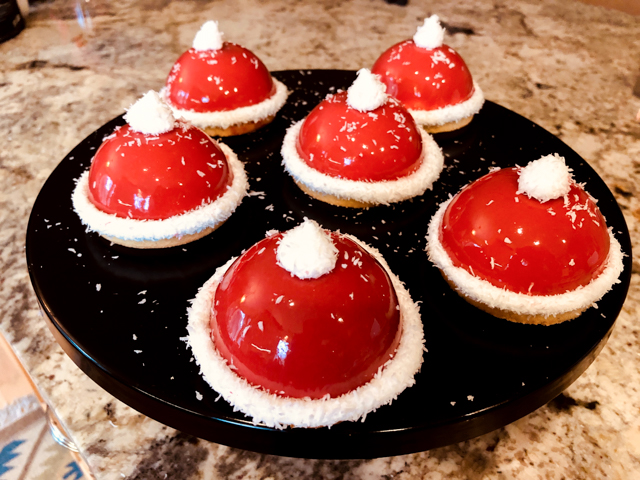
SANTA HAT MINI-MOUSSE CAKES
(adapted from several sources, main inspiration from Lilicakes)
For the sable base:
100g icing sugar
½ tsp vanilla paste
150g unsalted butter
50g egg yolks
50g almond meal
250g all-purpose flour
Place the icing sugar, vanilla bean paste and butter in the bowl of a stand mixer and mix until there are no lumps of butter left. Add in the egg yolks and combine before adding the almond meal and plain flour. Continue beating until it just comes together. Remove the dough from the stand mixer and place on top of a silicone mat, press it gently in a rectangle shape.
Add a very small amount of flour on top of the dough, add a piece of parchment paper on top and roll it to 3mm thickness. Cut circles slightly bigger than the size of your dome cakes. Freeze for 10 min. Bake in a 350F oven for around 8 minutes, until you get a slight golden color on the edges. Let it cool completely on a rack. Can be prepared a couple of days in advance.
for the raspberry insert (make the day before assembling):
175g raspberry puree (I used frozen, processed and sieved)
15g maple syrup
3 sheets gelatin (Platinum grade)
Soak gelatin leaves in cold water for 10 min. Bring the raspberry puree and maple syrup to a gentle boil, remove from heat, let it stand for 5 min to cool down slightly. Add the drained gelatin and mix well. Place the mixture in semi-sphere molds appropriate to place in the center of your dome cakes. Freeze overnight or for at least 4 hours.
for the white chocolate mousse:
110 grams of cream cheese at room temperature
200 grams of Greek yogurt at room temperature
225 grams of white chocolate
6 grams of gelatin leaves
50 grams of milk
180 grams of whipping cream
1 T sugar
Hydrate the gelatin leaves in very cold water for 10 mon. Mix the cream cheese and yogurt with in a KitchenAid type mixer with a paddle attachment until homogeneous. Reserve. In a saucepan boil the milk and add the previously hydrated jelly leaves, mix and add to the yogurt-cream cheese mixture. Mix for a minute or so to disperse the gelatin through.
Melt the white chocolate in the microwave and add to the yogurt mixture. Reserve. Whip the cream until it gets the consistency of melted ice cream. Fold gently into the yogurt mixture.
Assemble the mini-cakes:
Place mousse in six semi-sphere molds, filling a little more than half its volume. Place the frozen raspberry jelly in the center, fill with mousse and level the top with an off-set spatula. Freeze overnight.
for the marshmallow decorations.
9g powdered gelatin (I used fish gelatin, 250 bloom)
50g very cold water
60g egg whites at room temperature
17g + 165g superfine sugar (divided)
50g water
35g glucose syrup or light corn syrup (light)
1 tsp Chambord (optional)
Bloom the gelatin in cold water for 10 min. It will form a thick paste.
Whisk the egg whites with 17 g of sugar until it foamy. Add the gelatin, whisk for another minute and turn the mixer off.
In a heavy saucepan, bring 50g of water, 165g sugar and glucose to a boil, making sure the sugar dissolves fully. Heat the mixture to 250F, when it gets to that point, turn the mixer on full speed and drizzle the hot syrup on it while whisking. Whisk at full speed for 3 minutes, add Chambord, continue whisking for 2 more minutes.
Add the marshmallow to a piping bag with an 8mm round tip. Pipe lines long enough to circle the diameter of your mold. Pipe little molds for the hats. Sprinkle dessicated coconut all over. Reserve at room temperature for about 3 hours.
For the mirror glaze:
3 sheets Platinum grade sheet gelatine
120ml water
150 g liquid glucose
150 g granulated or caster sugar
1 tsp agar-agar
100 g condensed milk
150 g white chocolate, chopped fairly small
red gel food coloring
Put the water, sugar, liquid glucose and agar-agar in a small pan and bring to simmering point, stirring occasionally to dissolve the sugar. Remove from the heat and let it stand for about 5 minutes. This is the base syrup for the glaze. Meanwhile, soak the gelatin in some cold water for about 5 minutes. Squeeze out the excess water and stir into the hot water, sugar and liquid glucose mixture to dissolve. Stir in the condensed milk.
Put the chocolate in a medium bowl and pour this hot mixture slowly over the chocolate, stirring gently to melt it, avoid making bubbles. A stick immersion blender works great, but you must keep the blades fully submerged at all times. If bubbles are present, pass the mixture through a fine sieve.
Leave the glaze uncovered for an hour at room temperature for the glaze to cooled and be slightly thickened: if it is too runny you will get too thin a layer on top, colors will not blend well and less glaze will cling to the sides of the cake. The ideal temperature to pour the glaze is 92 to 94 F.
Remove the cake from the freezer, place on a rack over a baking sheet. If you like to make it easier to save leftover glaze, cover the baking sheet with plastic wrap, so that you can lift it and pour easily into a container.
Glaze the cakes, place them over the reserve sable cookies and decorate with the marshmallow.
Defrost in fridge for at least 2 hours before serving.
ENJOY!
to print the recipe, click here

Comments: I know, I know, the recipe is a mile long. Let me focus on a couple of points about it. First, I am kicking rules to the side and confessing to you that I will never chill my sable dough before rolling it out. It is a bit on the soft side once it comes out of the mixer, but trust me, it will be fine. Place it gently over Silpat. Roll it under parchment paper to the thickness you need, in this case 3mm. If you have those plastic pastry rolling guides, now is the perfect time to use them. The more uniform the thickness, the better they will bake. Roll, cut and freeze. I actually made two batches of bases, one of them pistachio-based, but used the almond, lighter ones for this dessert.
One of the benefits of being in “that show”, is that I had to learn to work very fast and save time at every opportunity. I realized that as long as you protect the pastry dough either with plastic wrap or parchment paper (it truly depends on our goal, for pie crusts plastic wrap is the best way), it rolls pretty nicely as soon as mixed. Much better than cold dough does. Ten minutes in the freezer is all you need before baking. There, I saved you at least one hour of work!

Second point I want to make: I adore mirror glazes but don’t care for their texture. Colette Christian has a beautiful macaron cookbook in which she advises using a bit of agar together with gelatin for macaron fillings, particularly if they will sit at room temperature for a while. I immediately thought about incorporating that trick into mirror glazes. And I am thrilled to tell you that the texture got a lot better. I will play with it in the near future to optimize it, but if you also like the look of mirror glazes but would prefer a more sturdy texture, think of adding a bit of agar. The only thing is that it needs to be boiled, so add it together with the sugar/glucose mixture.

These cakes turned out exactly the way I wanted them to, the only tricky part was placing the decorations, as marshmallow is super sticky. Just work slowly and keep in mind that wherever it sticks first, that’s where it will be… Be careful with the positioning of the string in the beginning, so that the angle is right to wrap it around keeping it nicely on the same level all the way.

I cannot resist posting one more photo of the little Santa Hats, as the light bulb of my light stand made a cool effect on the mirror glaze…
The inclusion of agar-agar in the mirror glaze did a nice job improving the texture. Since my mousse cakes always sit in the fridge overnight before they are shared with our colleagues, the gelatin-based glaze suffers a bit. Whenever I slice them, there is some bleeding and sliding of the glaze. This time it behaved a lot better, so thank you Chef Colette!
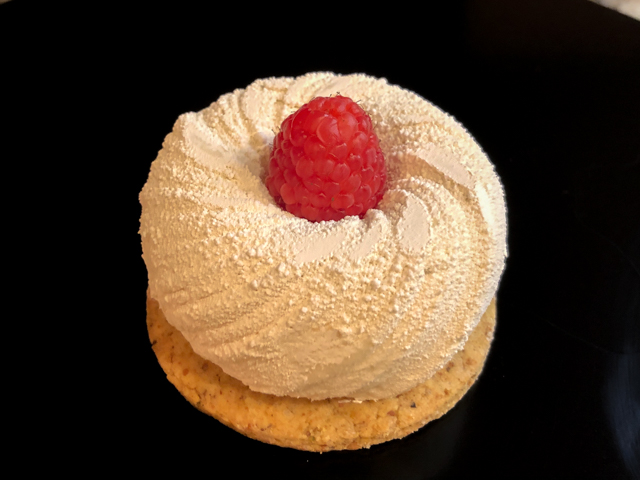
I hope you consider making some Santa Hats for your holiday get-together. As usual, this type of dessert can be prepared over several days, with very little hands-on work each day. As for the molds I used, the large ones are here, the small ones here. I had a little leftover mousse, which I froze into a pretty cute Silikomart mold, and served over a sable base, with a little spray of white chocolate velvet.


ONE YEAR AGO: Fun with Sourdough
TWO YEARS AGO: Pasteis de Nata
THREE YEARS AGO: New Mexico Pork Chile, Crockpot Version
FOUR YEARS AGO: Chocolate on Chocolate
FIVE YEARS AGO: Double Chocolate and Mint Cookies
SIX YEARS AGO: The Story of my first Creme Brulle’
SEVEN YEARS AGO: Sourdough Mini-rolls
EIGHT YEARS AGO: Focaccia with Sun-dried Tomatoes and Gorgonzola
NINE YEARS AGO: Mediterranean Skewers
TEN YEARS AGO Fettuccine with Shrimp, Swiss Chard, and Tomatoes