She raved about it (click here), and I jumped on making it pretty quickly. I was never quite sold on the idea of potato on pizza, but it is absolutely delicious! I made a few modifications to suit our way of cooking, which maybe by now you know, does not involve onions. But please go to her site for the original version. Preparation is super straightforward, commercial yeast, a couple of hours and voilà: PIZZA AT THE TABLE!
THIN CRUST POTATO PIZZA
(slightly modified from Karen’s Kitchen Stories)
for the dough:
250 grams (about 1 3/4 cups plus) bread flour
5 grams (1 + 1/4 tsp) instant yeast
1/2 tsp salt
1/2 tsp sugar
150 grams (2/3 cup) room temperature water
Extra virgin olive oil
for the topping:
1 quart lukewarm water
4 teaspoons salt
3 to 4 medium Yukon Gold potatoes, scrubbed
4 slices of Prosciutto, cut in small pieces
1/2 teaspoon freshly ground black pepper
1/3 cup extra virgin olive oil
1 tablespoon fresh rosemary
Salt to taste (I omitted)
Shredded Parmigiano cheese to taste
Whisk the dry ingredients for the crust together in a medium bowl. Add the water and mix it into the dough with a dough whisk or your hands until all of the flour is incorporaed, no more than a minute.
Cover the bowl with plastic wrap and let sit until doubled, about 2 hours.
In a medium-large bowl, combine the water and salt and stir to dissolve the salt.
With a mandoline slicer, cut the potatoes into thin (1/16 inch) slices. Immediately place the slices into the salted water. Let them soak for at least 2 hours and up to 12 hours.
Drain the potatoes and press out as much water as possible. Toss the potatoes with the black pepper, rosemary, and olive oil.
Heat the oven to 500 degrees F with a rack in the middle. When the dough is ready, drizzle about 2 tablespoons of olive oil into a half sheet pan and spread it with your hands to coat the pan.
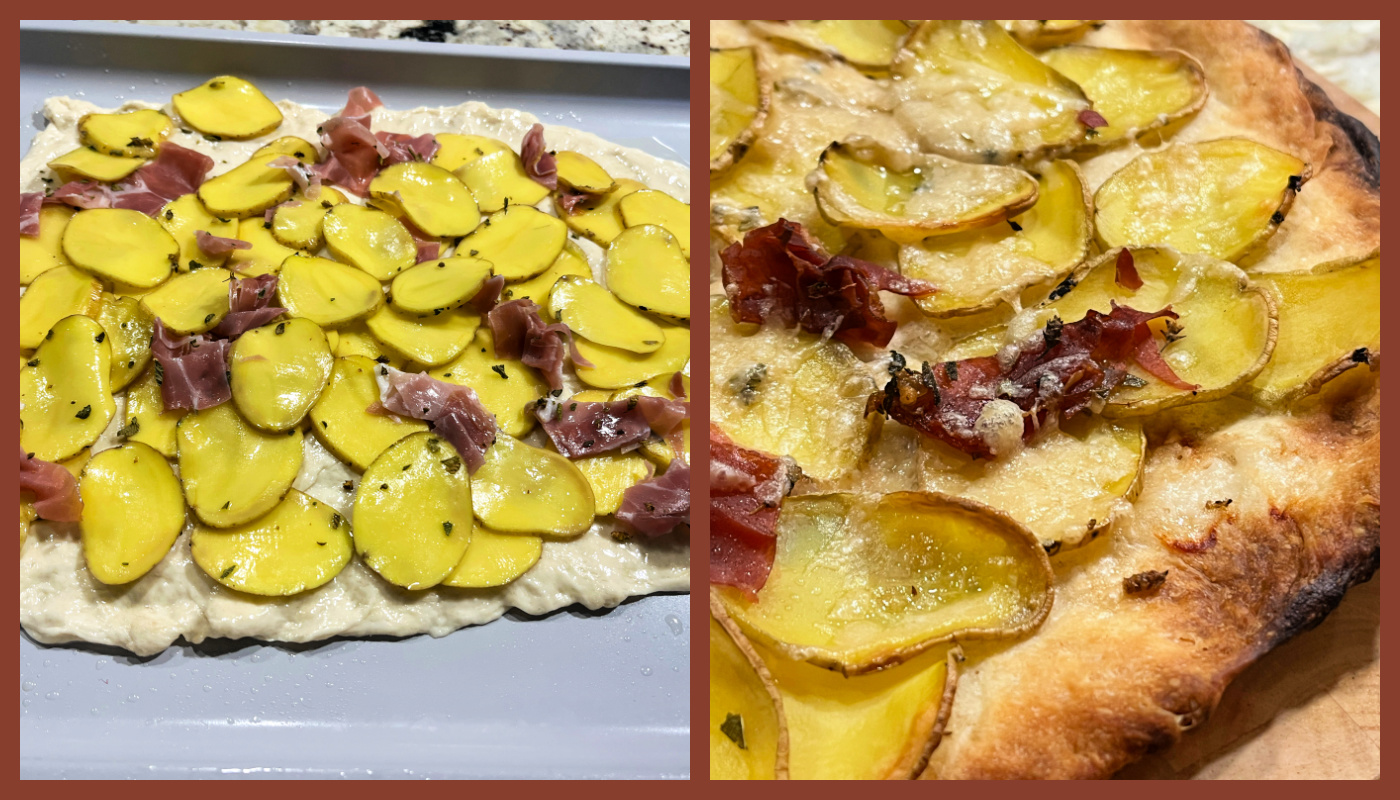
Place the dough in the half sheet pan, and flip it to coat both sides of the dough. Stretch it out to a long column to fit the middle of the pan. With your fingers, begin to press the dough to the sides of the pan. This may take awhile. When the dough resists your efforts, let it rest for a bit while you work on the potatoes. Eventually, your dough should just about cover the entire pan. If holes develop, just pinch them together.
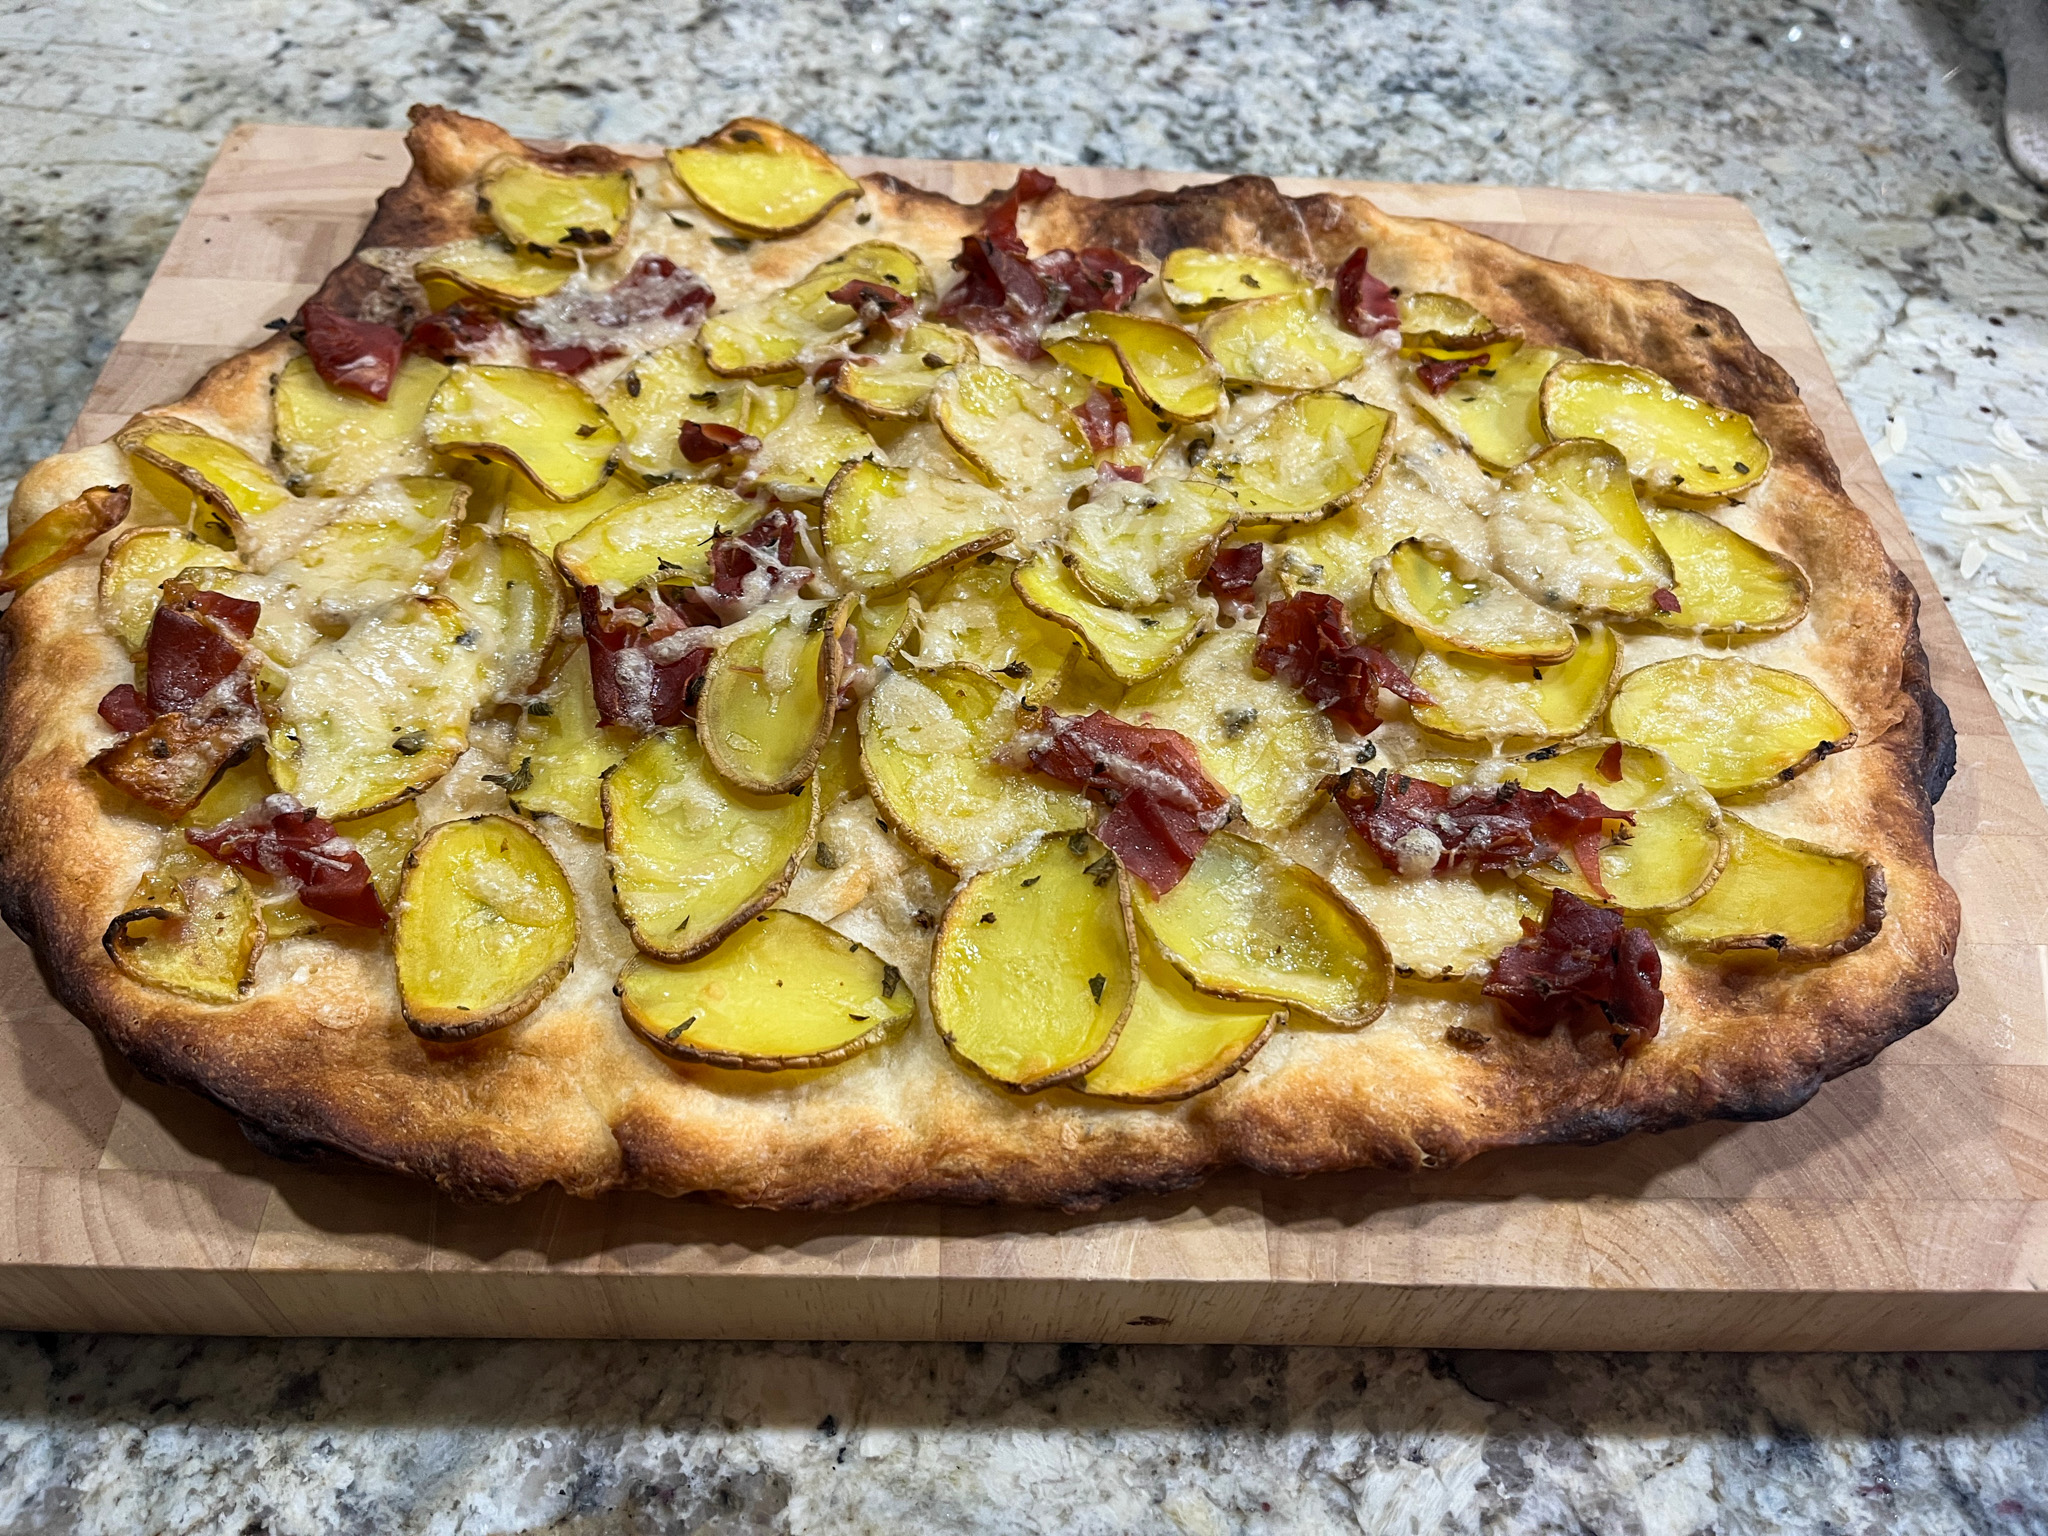
Spread the potatoes over the top of the dough, all the way to the edges. Add the pieces of prosciutto scattered over the whole surface.
Bake the pizza for 15 minutes, add the Parmigiana on top, and continue baking for 15 minutes longer, until golden brown and the edges of the crust are beginning to pull up from the sides of the pan. The pizza will be very crispy.
ENJOY!
to print the recipe, click here
Comments: This one goes into our rotation for sure! If you can have onions, go for it. The crust is very crisp, so don’t expect it to have that regular pizza vibe. It is addictive, and satisfying. You know I adore leftovers, so I am here to inform you that the leftovers were mine all mine next day.
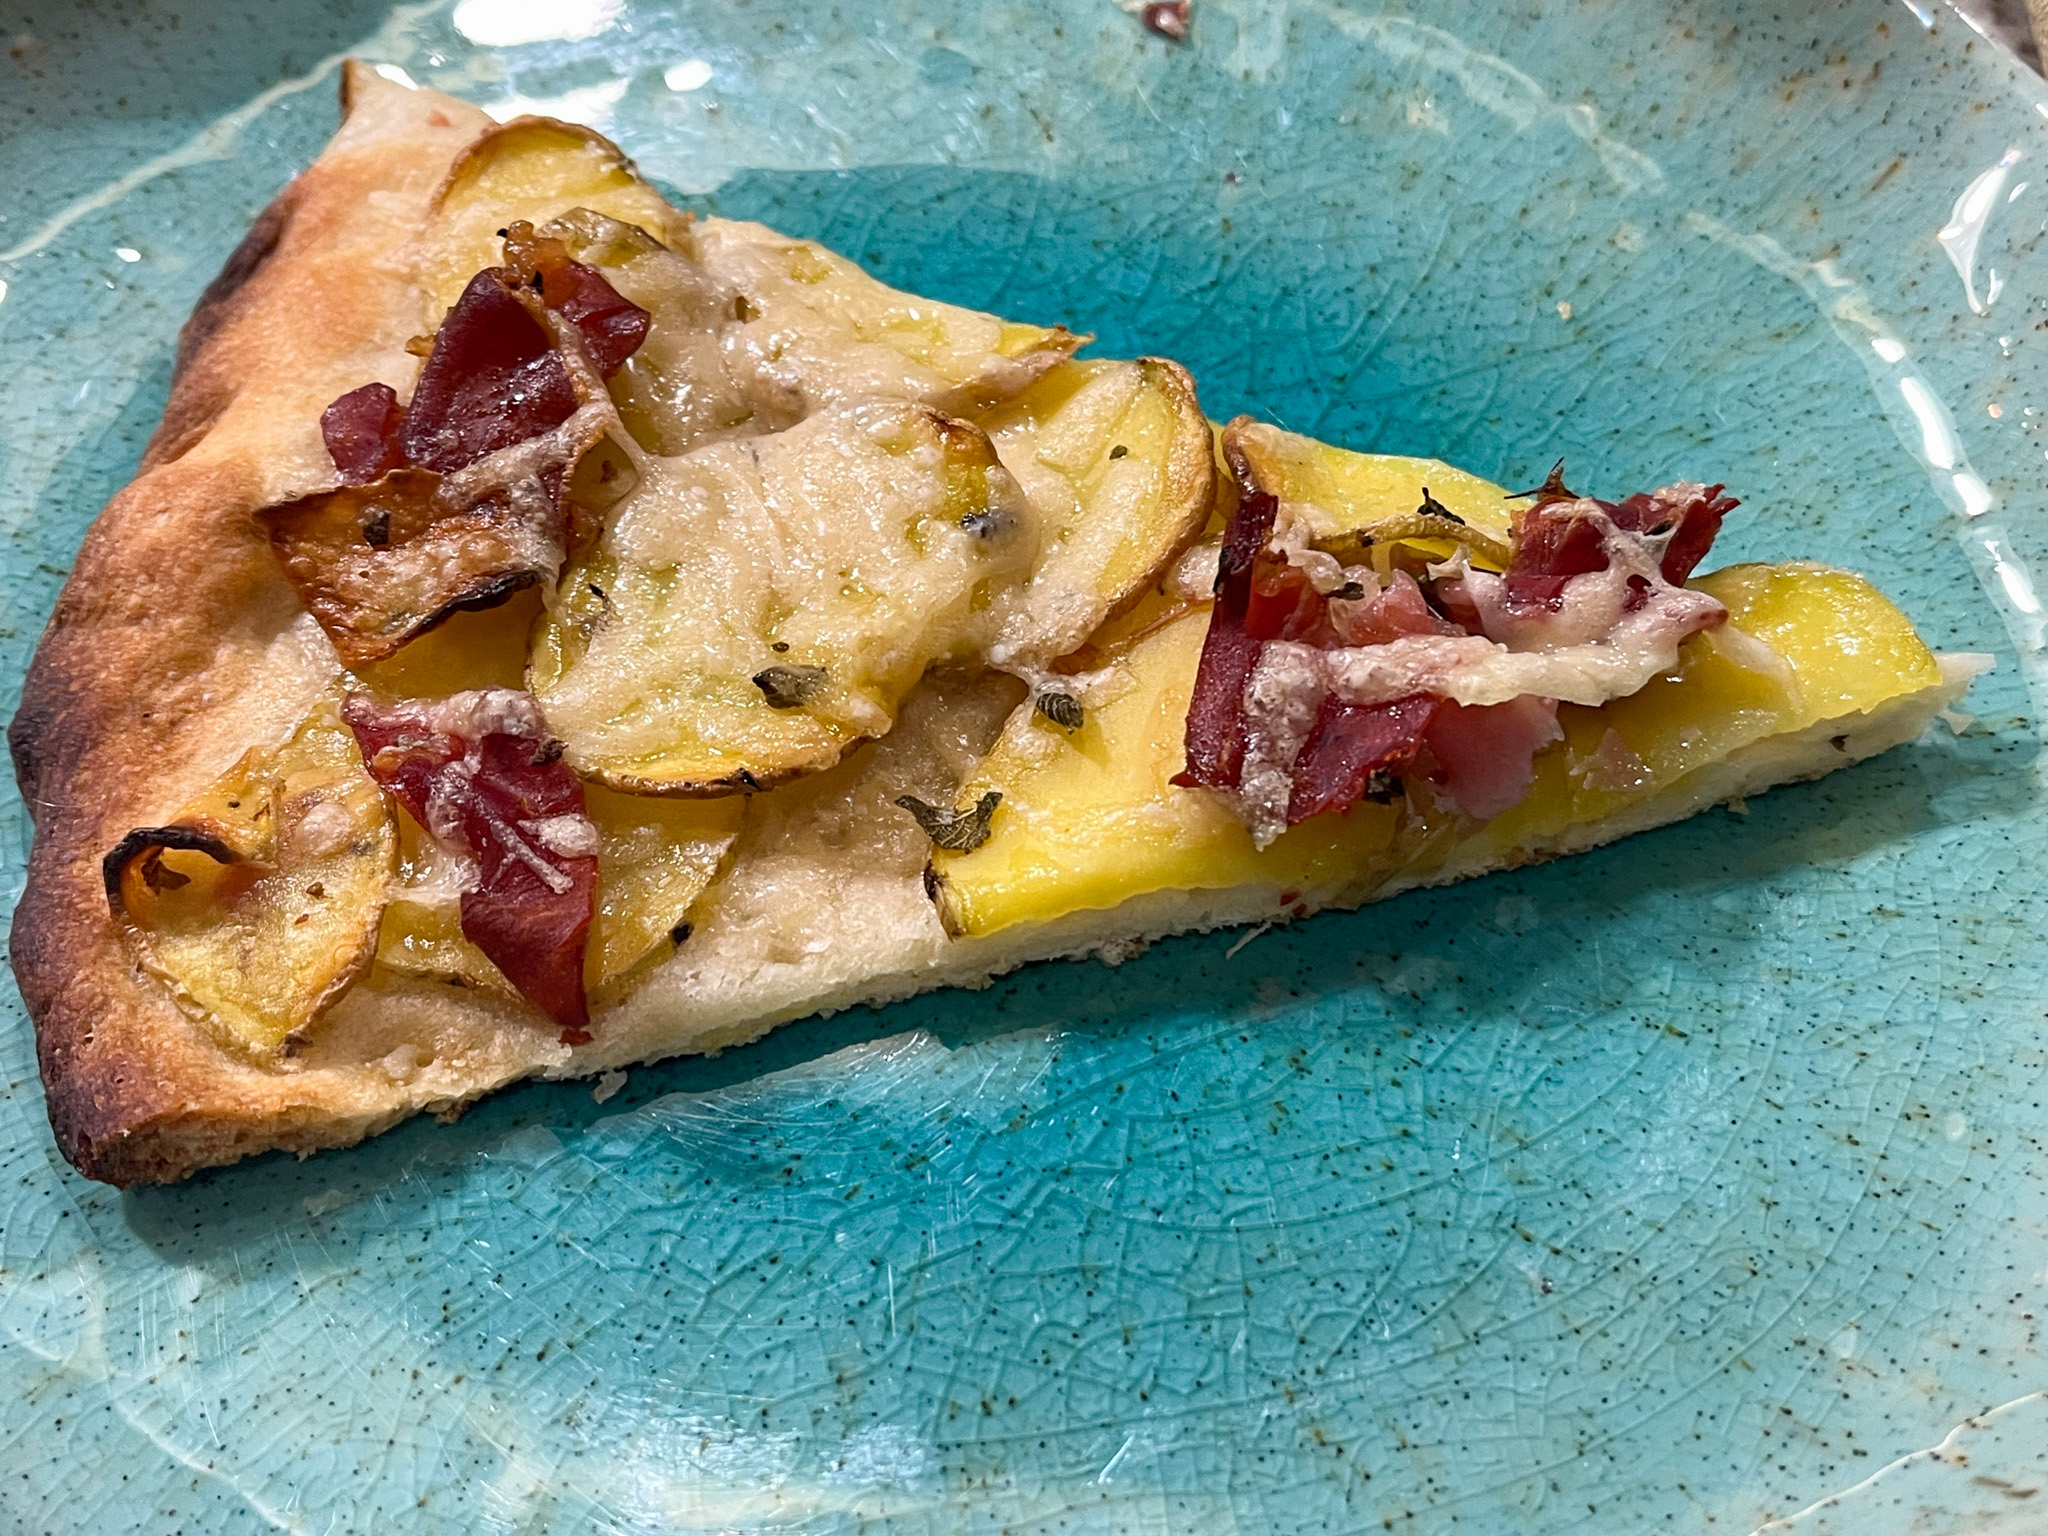
The prosciutto gets very salty when it bakes, so if you add it, make sure to omit any additional salt, you won’t need it. I hope you make this recipe, it was perfect for us on a Saturday evening…
Karen, thank you for this gem of a recipe, cannot wait to make it again!
.
ONE YEAR AGO: Sautéed Brussels Sprouts with Dates and Pistachios
TWO YEARS AGO: Peppermint Dust Macarons
THREE YEARS AGO: Valentine’s Sourdough, Three Ways
FOUR YEARS AGO: Embossed Chocolate-Cherry Sourdough Loaf
FIVE YEARS AGO: Springerle Painting 101
SIX YEARS AGO: Mincemeat Pies, when the third time is a charm
SEVEN YEARS AGO: Shibari Bread]
EIGHT YEARS AGO: Incredibly Simple Times Four – January 2018
NINE YEARS AGO: Two Salads and a Blog Award!
TEN YEARS AGO: When Three is Better than Two
ELEVEN YEARS AGO: Somebody Stop Me!
TWELVE YEARS AGO: Zucchini Pasta with Cilantro-Cashew Pesto
THIRTEEN YEARS AGO: Bran Muffins, Take Two
FOURTEEN YEARS AGO: Brown Butter Chocolate Chip Cookies
FIFTEEN YEARS AGO: Mogo Mojo
SIXTEEN YEARS AGO: Slow-Roasted Chicken Thighs: an Ice-Breaker