If you type “chocolate cookie recipe” in a Google search you’ll get over 2 million hits in return. Two million. How many recipes for chocolate cookies does the world need? Nobody knows. Since in my humble food blog I only have 13 cookie recipes, of which less than half involve chocolate, I need to catch up. Here is one more for you, no chocolate chips, just good old melted chocolate, cocoa powder, and pieces of chocolate mint candy, such as Andes. By the way, did you know that Andes mints originated in Chicago in the 1920’s and were originally named Andy’s Mints? It turns out that the owners of the company quickly realized that men did not care to give their partners a candy with another guy’s name on the box. So, instead of honoring its creator, Andrew Kanelos, Andy’s became Andes, and now we have a chocolate mint that is not too far away from celebrating its 100th Birthday. The distinguished candy works well in this recipe from Giada de Laurentiis.
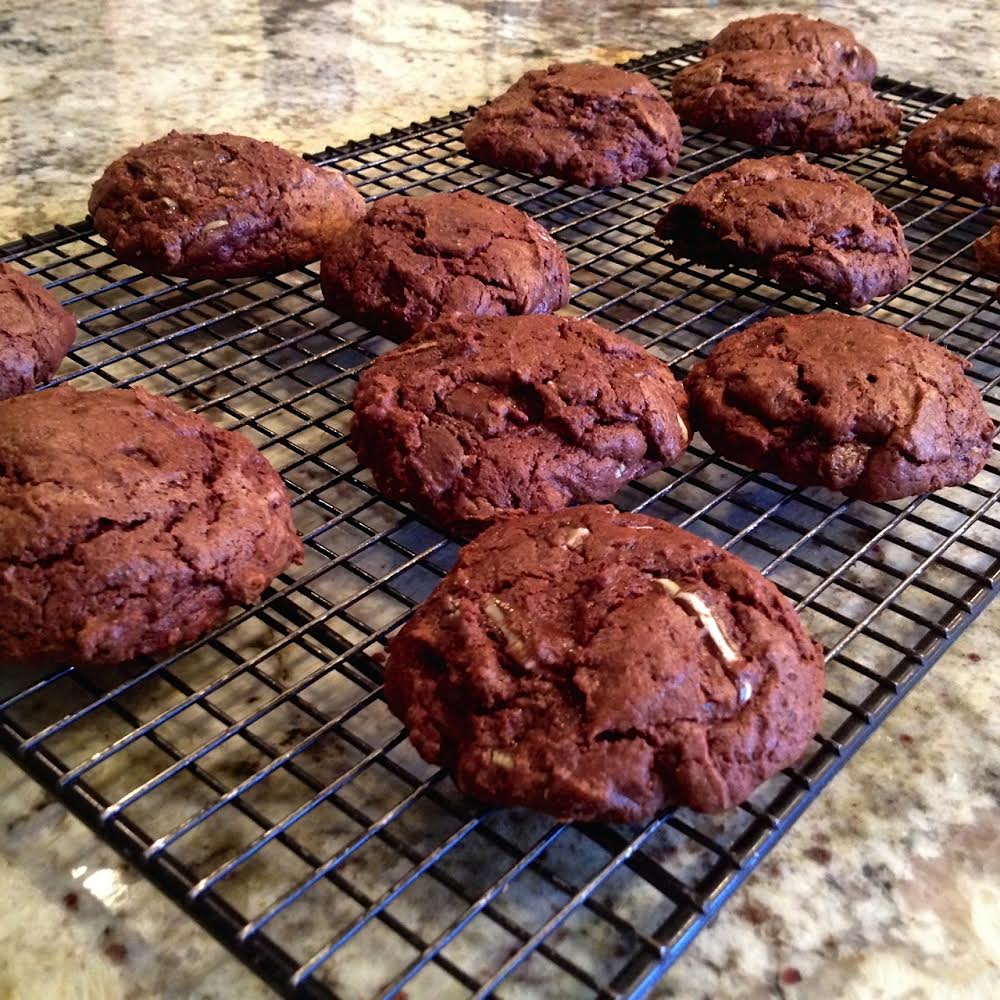
DOUBLE CHOCOLATE AND MINT COOKIES
(from Giada de Laurentiis)
2 tablespoons unsalted butter
1 cup flour
2 tablespoons unsweetened cocoa
1 teaspoon baking powder
1/4 teaspoon salt
2/3 cup sugar
2 eggs, at room temperature
2 tablespoons water
1 teaspoon pure vanilla extract
One 5-ounce package chocolate mint thins, such as Andes, each cut into thirds
.
.
In a small bowl, combine the bittersweet chocolate and butter. Place the bowl over a pan of barely simmering water and stir occasionally until the chocolate has melted and the mixture is smooth. Allow it to cool for 5 minutes.
.
In a medium bowl, sift the flour, cocoa, baking powder and salt. In a large bowl, whisk together the sugar, eggs, 2 tablespoons water and vanilla extract. Gradually add the dry ingredients. Fold in the cooled chocolate. Stir in the chocolate mint pieces. Chill the dough 10 minutes to firm slightly.
Using 1/4 cup measuring cup, drop 6 mounds of batter onto each prepared sheet, spacing evenly apart. Bake the cookies for a total of 18 to 20 minutes, until slightly puffed and dry-looking with some small cracks on top.
.
Cool the cookies completely on sheets.
.
ENJOY!

ONE YEAR AGO: In My Kitchen, December 2013
TWO YEARS AGO: Sourdough Mini-Rolls
THREE YEARS AGO: Do you eat your books?
FOUR YEARS AGO: Mediterranean Skewers
FIVE YEARS AGO Fettuccine with Shrimp, Swiss Chard, and Tomatoes