SUMMER IN CUPCAKES

My favorite season is almost over, no way to deny it, even if the temperatures outside still give me plenty of reasons to smile. Before Autumn vibes arrive in full force, I share a couple of cupcakes that embrace and celebrate the warmth of the Summer.

ORANGE-VANILLA CUPCAKES
(adapted from several sources)

for the buttercream use this recipe (scaled down to 150g butter)

120g all-purpose flour
150g granulated sugar + zest of 1 orange
40g butter, unsalted, removed from the fridge for 30 minutes
1 large egg
120mL milk
1 + 1/2 tsp baking powder
1/2 tsp vanilla paste or extract
1/2 tsp orange emulsion (I use LorAnn)
1/4 tsp salt

Heat the oven to 350F and line a cupcake pan with paper baking cups. Recipe makes 9 to 10 cupcakes.

Rub the sugar with the orange zest and let it sit for a few minutes.

Put the flour, baking powder, sugar/orange, salt and butter cut in small pieces in the bowl of a KitchenAid type mixer fitted with the paddle attachment. Mix on medium-low until the butter is in very small pieces, almost like sand.

Whisk the egg with the milk, vanilla, and orange emulsion, add slowly to the mixer running in low-speed. Once it is almost smooth, increase the speed to high for a couple of minutes, scraping the bottom of the bowl once.

Stop the mixer and make sure the batter is fully smooth, mixing by hand with a spatula. Add batter to the 9 cupcakes, filling half-way full only. Bake for 15 to 18 minutes, until a toothpick comes out clean when inserted in the center.

Leave cool completely before decorating.

ENJOY!

to print the recipe, click here

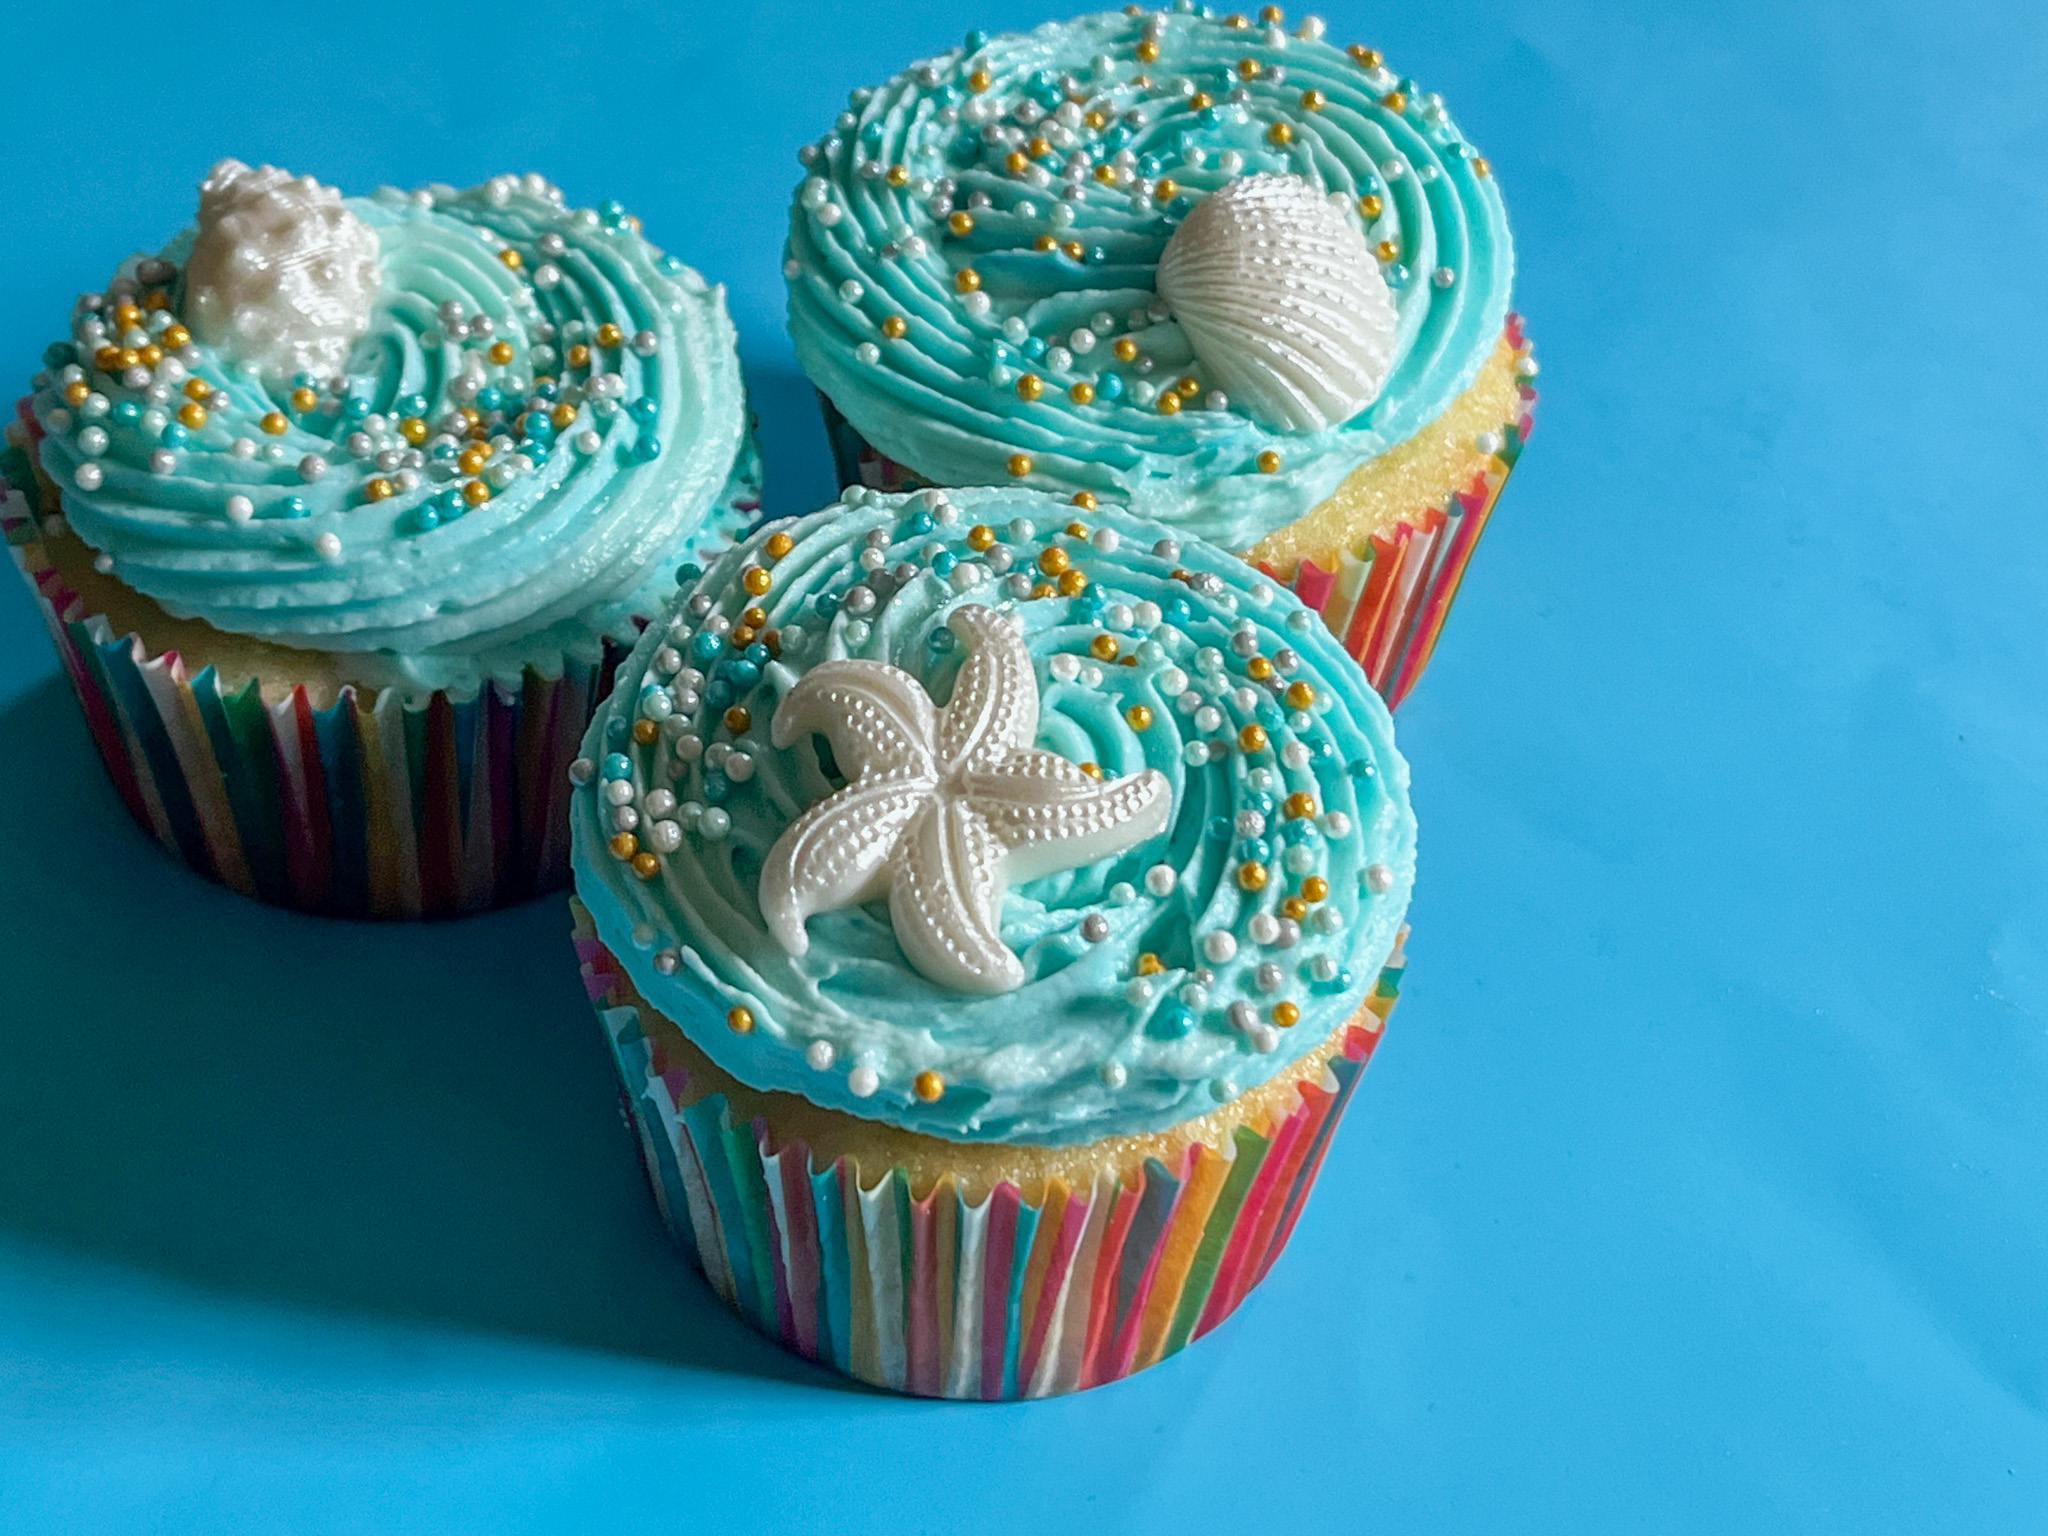
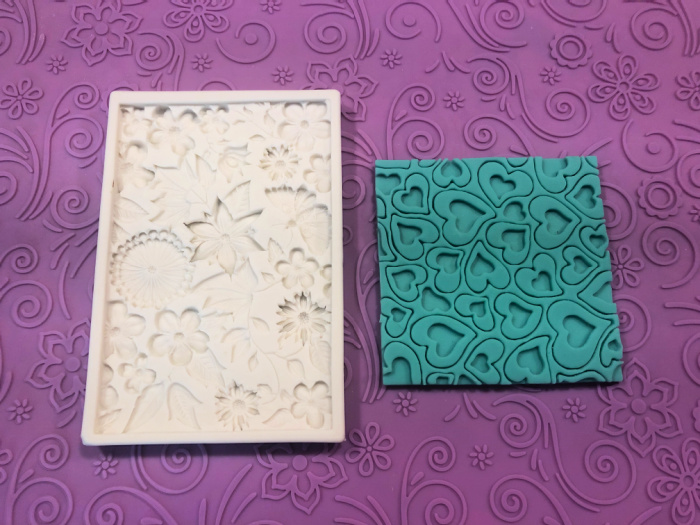
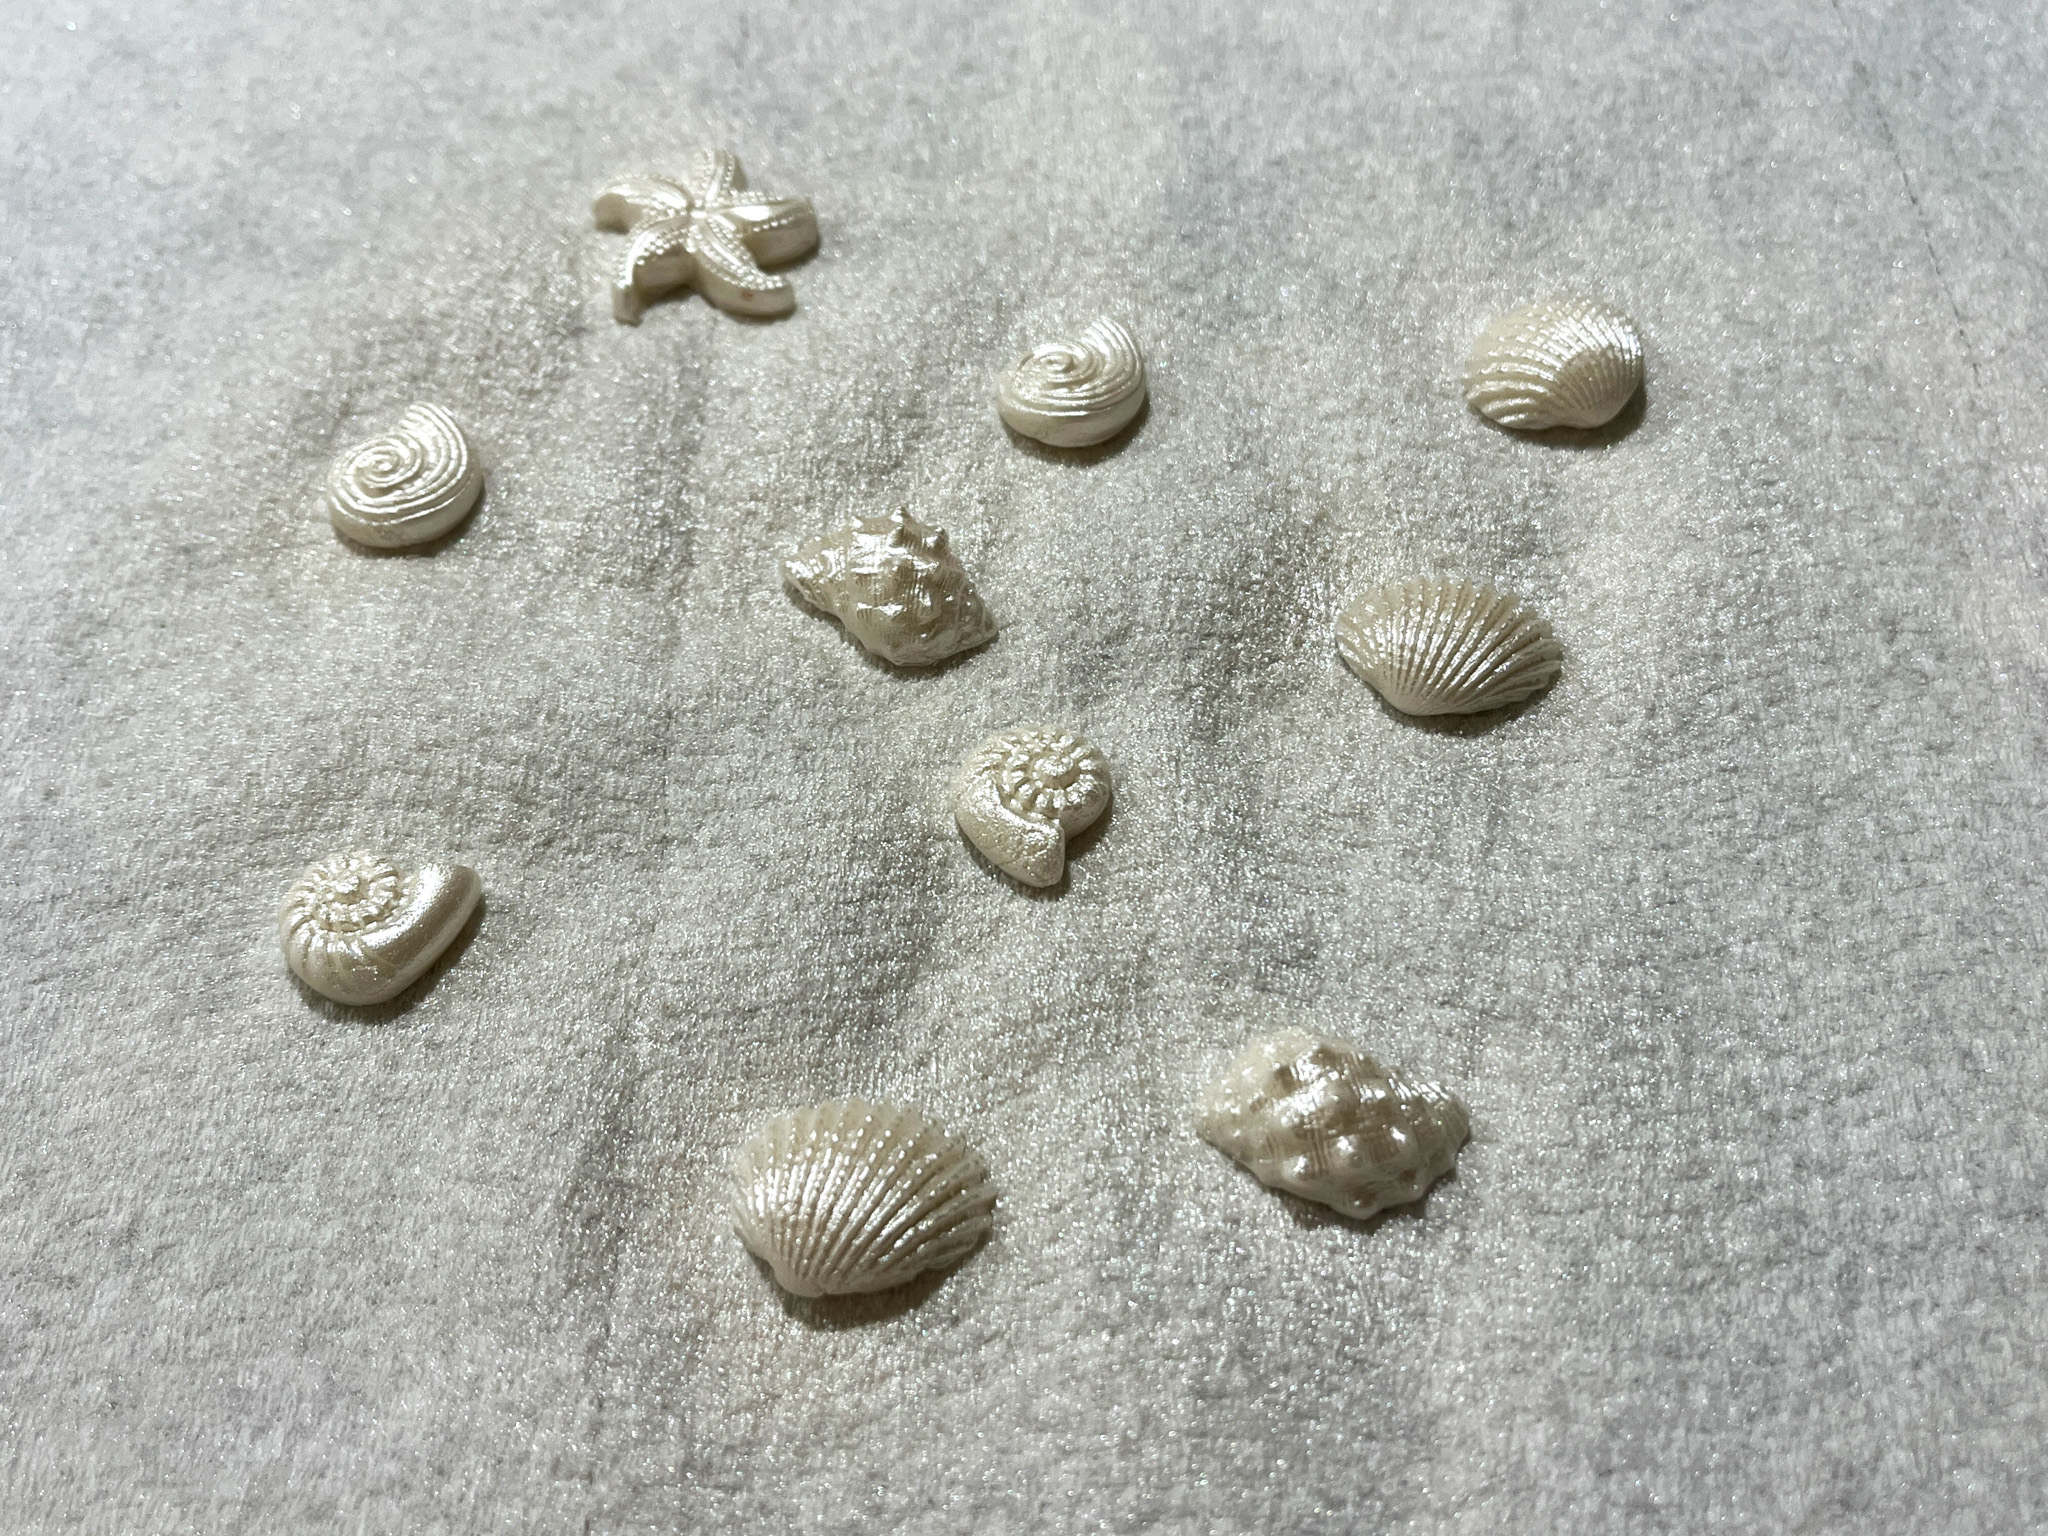
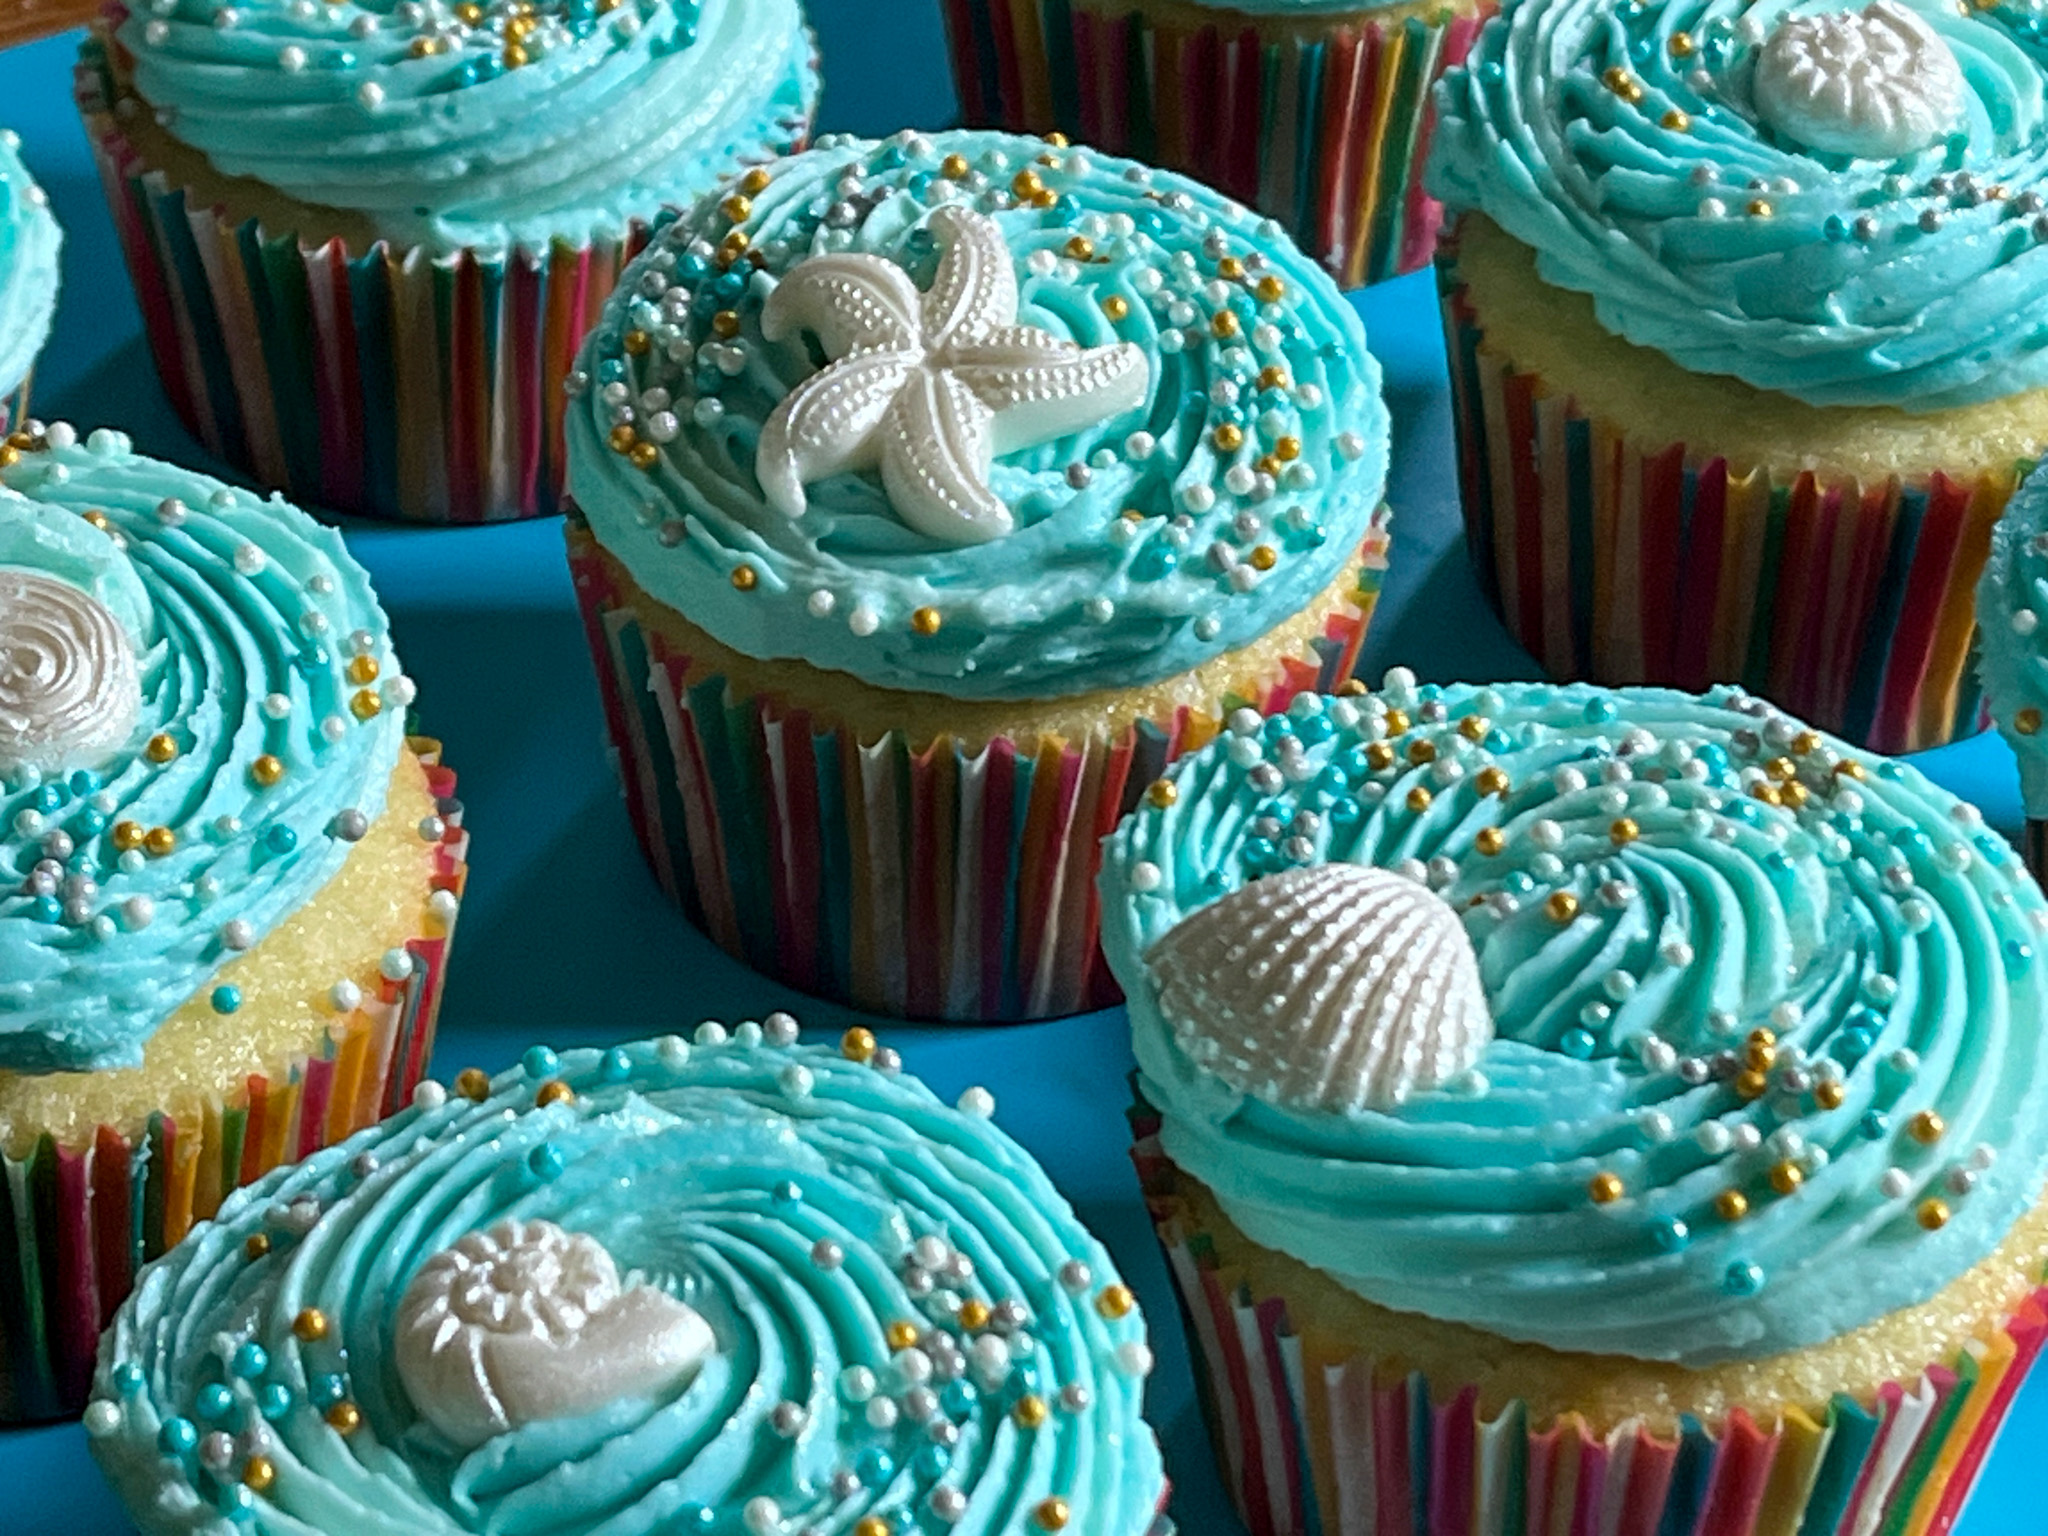
For the beach cupcakes, I used buttercream in three shades of blue, but sadly not different enough to give a nice contrast. There is always next time… The decorations were made with fondant and a silicone mold, plus a final spray with PME pearl luster.

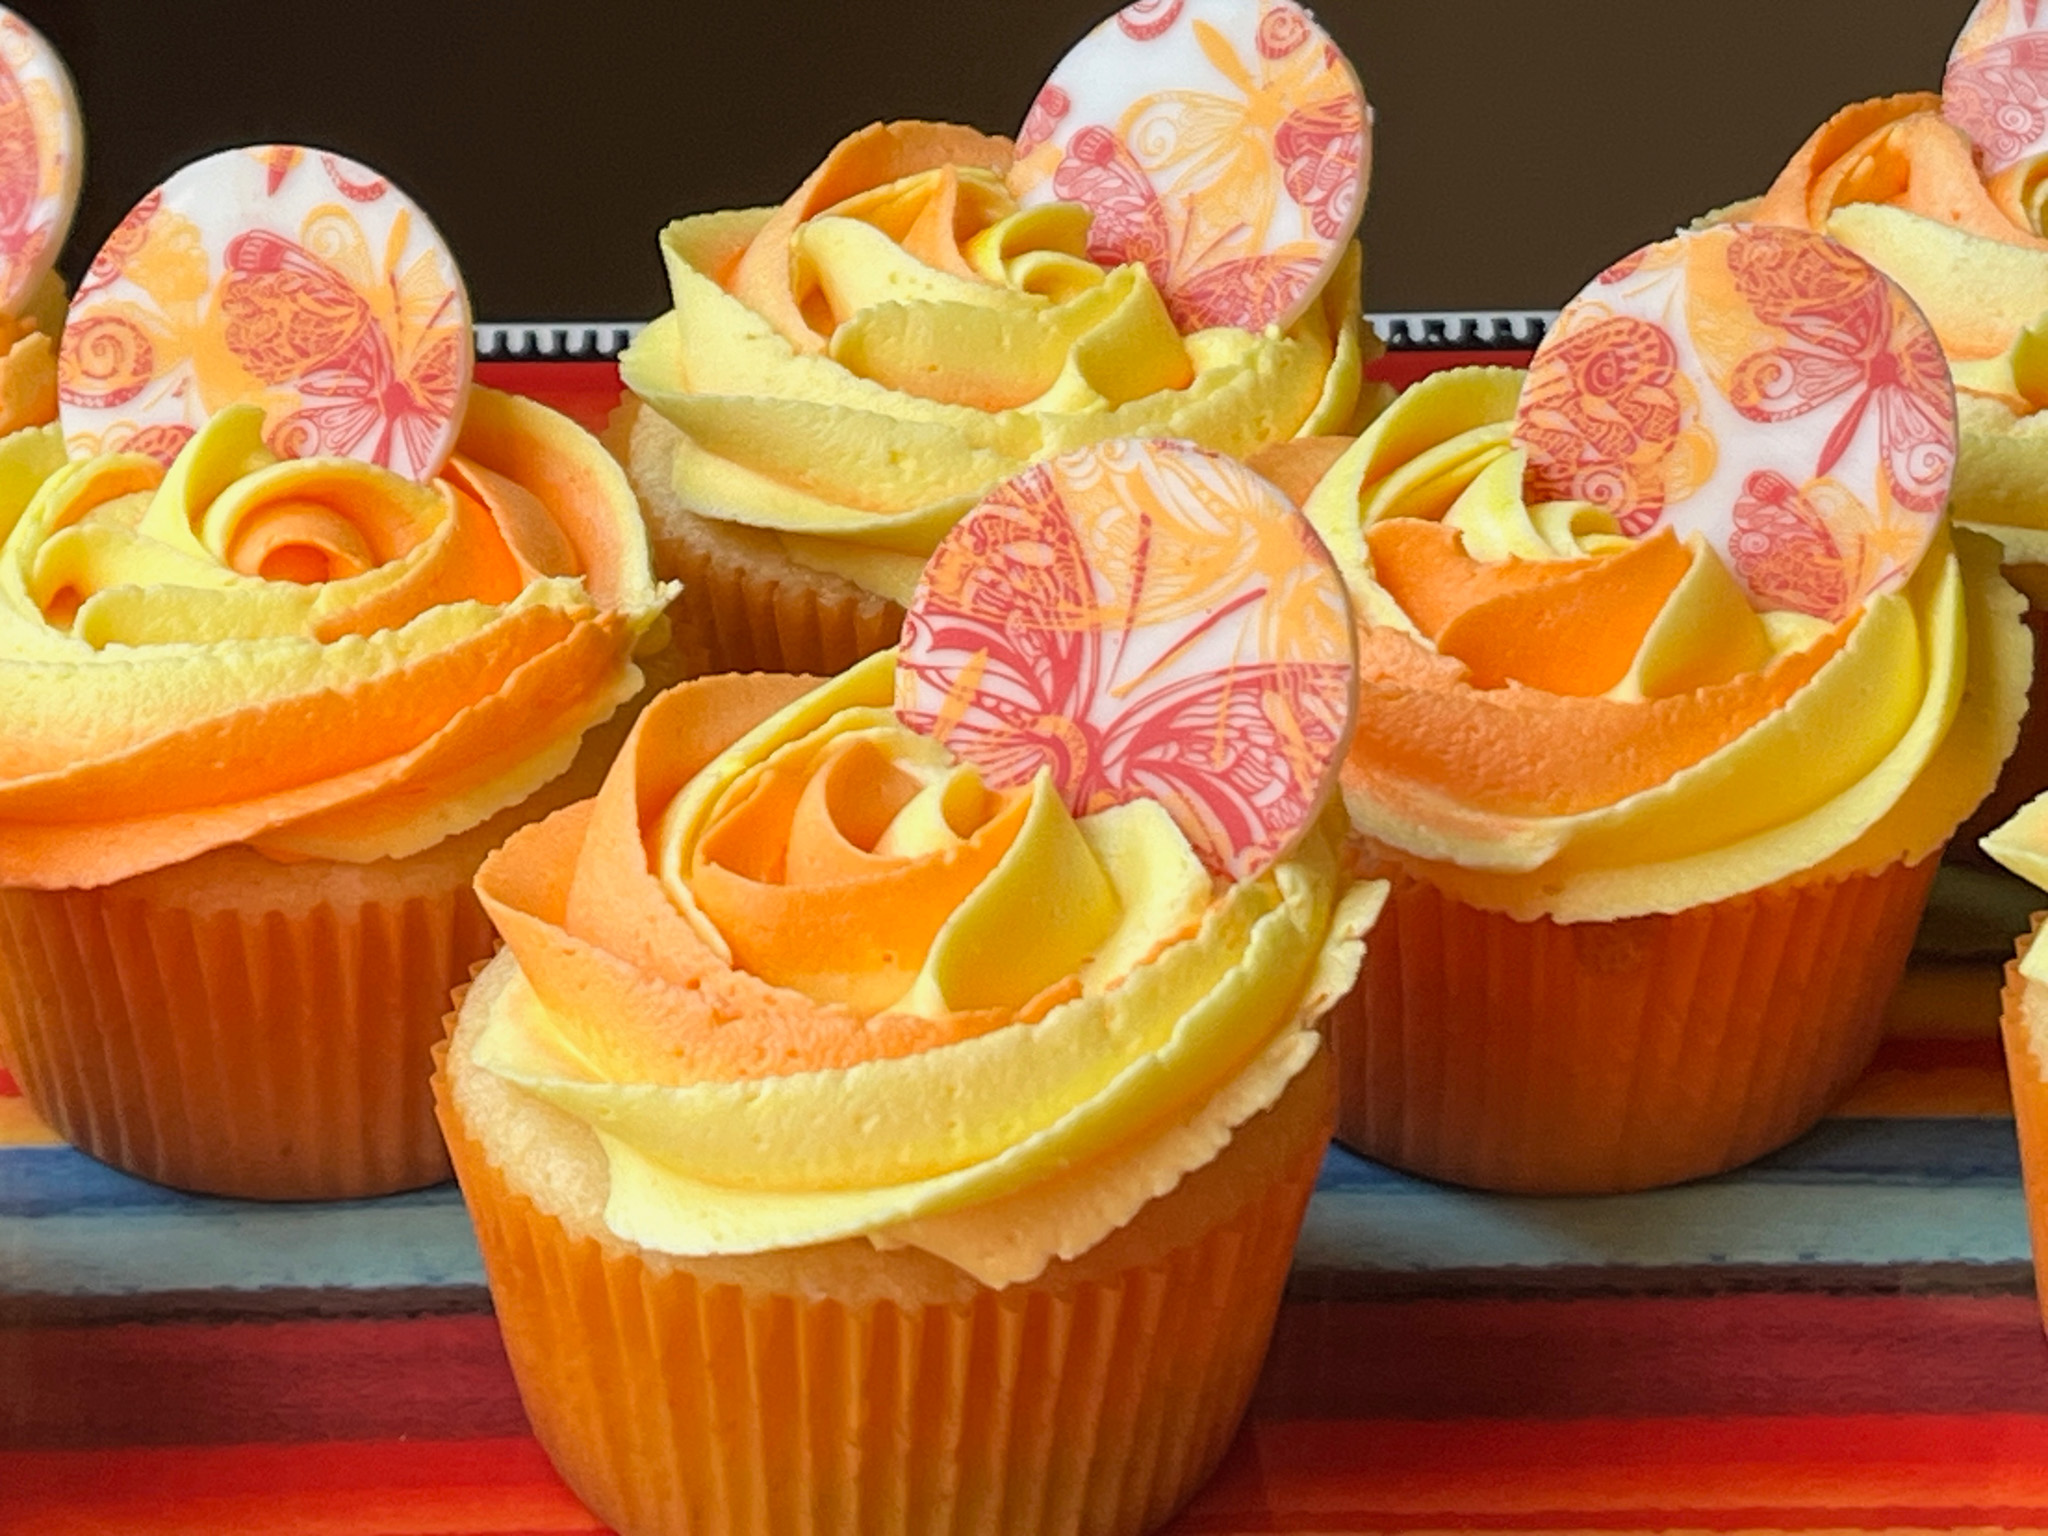
For the butterfly-decorated cupcakes, I used two colors of buttercream, orange and yellow. The chocolate discs were made with transfer sheets and a cookie cutter.

I hope you enjoyed this little duet of cupcakes, and maybe bake a batch or two…

ONE YEAR AGO: Puff Pastry Twists with Cinnamon and Cardamon

TWO YEARS AGO: Three Delicious Bakes

THREE YEARS AGO: Banana Bread from the Experts

FOUR YEARS AGO: Shrimp Stir-Fry with Snow Peas and Cashews

FIVE YEARS AGO: Pickled-Roasted Chickpeas with Cashew Cream

SIX YEARS AGO: Twice-Baked Goat Cheese Souffle

SEVEN YEARS AGO: A Star from England in the Bewitching Kitchen

EIGHT YEARS AGO: Hommage to the Sun

NINE YEARS AGO:The Fabulous Three
.
TEN YEARS AGO: Turkey-Chorizo Burger with Green Chile Dressing
.
ELEVEN YEARS AGO:Taco Salad
.
TWELVE YEARS AGO: Semolina Sourdough Boule
.
THIRTEEN YEARS AGO:Forgive me, for I have sinned
.

FOURTEEN YEARS AGOCracked Wheat Sandwich Bread
.
FIFTEEN YEARS AGO:  Au Revoir, my Bewitching Kitchen
.
SIXTEEN YEARS AGO:French Bread

SCARY SKULL BAKES

.

One pan, many possibilities to scare your family and friends, because now is the time to really go for it!

RED VELVET SKULL CAKES
(from the Bewitching Kitchen, inspired by Jo-Ann)

275g cake flour
1 teaspoon baking powder
1 teaspoon salt
2 tablespoons cocoa powder (unsweetened)
1 tsp Red Velvet Emulsion (LorAnn)
red food gel (I used Super Red Americolor, about 1/2 tsp)
113g (1/2 cup) unsalted butter, at room temperature
300g sugar
2 eggs, at room temperature
1 cup buttermilk, at room temperature
1 teaspoon white vinegar
1 teaspoon baking soda

chocolate buttercream (home-made or store-bought)

Fondant (I used Renshaw)
Gun Metal food gel (Americolor)
Air-Brush silver (or Wilton silver spray)

Skull pan from Nordicware (available here)


Heat oven to 350F. Spray your skull pan with baking spray or coat with butter and flour. Reserve.

Sift together the cake flour, baking powder, and salt into a medium bowl; set aside. In a small bowl, mix food coloring, Red Velvet emulsion and cocoa powder to form a smooth paste.

In the mixing bowl of your stand mixer, cream butter and sugar together until light and fluffy. Beat in the 2 eggs, one at a time, then add the cocoa-red gel mixture, scraping down the bowl with a spatula as you go. Add one third of the flour mixture to the butter mixture, mix well, then add half of the buttermilk. Beat in another third of flour mixture, then second half of buttermilk. End with the last third of the flour mixture, beat until well combined, making sure to scrape down the bowl with a spatula. As the mixer is going, whisk the baking soda with the vinegar, and as it is sizzling, add to the mixer.

Fill the cavities of the skull pan about 2/3 of the volume. You might have a little batter leftover. Bake for 28 to 30 minutes, until toothpick comes out clean. Cool for 15 minutes in the pan, then invert on a rack for the cakes to cool.

Coat them with a very thin layer of buttercream, place in the fridge. Grab a portion of fondant and dye it with gun metal gel. Roll it thin to a size large enough to coat one of the cakes. Remove the cakes from the fridge, and coat with the fondant. Use a fondant baller tool to get the fondant to go into the eyes and nose cavities. Trim the excess. Air-brush the surface with silver, or spray with Wilton Silver Shimmering Mist. Once the fondant is fully set, you can carve out a small portion to reveal the red cake underneath.

ENJOY!

to print the recipe, click here

Comments: I saw these mini-cakes at Jo-Ann site, but the instructions were a bit vague, and it also used a boxed cake mix, so I took baking matters into my own hands. My only shortcut was to buy buttercream icing at the store because my schedule was tight and I figured that the buttercream was such a tiny component, basically just a glue to get the fondant to stick to the cake. You can serve it in two different ways, intact or with some of the skull exposed…

.
Just grab a fork and go at it… yes, the baker can eat the piece removed, and call it “quality control”. I really wanted to make a knife in fondant to stick into the cake, but my skills were not good enough and I don’t have a knife mold. I know, SHOCKING!


The red cakes can also be decorated with a simple buttercream, if you prefer them to be more festive. I think they get a little scarier this way.


The skull mold also works for savory bakes, but I cannot share a recipe yet because it is a work in progress…. I need to tweak the tortilla component.

The tortilla was gluten-free and the recipe I used was impossible to roll out thinly. It turned out too dense and heavy. But I will work on it some more. The filling was ground turkey with the usual taco seasonings, corn, black beans and peppers. But I definitely like the way the mold behaved for a savory bake.

I am already sad that Halloween is almost gone… I feel that for one reason or another, I did not bake enough scary things. Oh, well… there are much more serious problems in life. Let’s go with the flow and embrace…………. THANKSGIVING!

ONE YEAR AGO: Spicy Citrus Peanut Salad

TWO YEARS AGO: Shrimp Stir-Fry, Kung Pao-Inspired

THREE YEARS AGO: Cauliflower Steaks with Olive and Caper Salsa

FOUR YEARS AGO: Twice-Cooked Eggplant

FIVE YEARS AGO:  Turkey Burger, Japanese-Style

SIX YEARS AGO: Pumpkin Macarons

SEVEN YEARS AGO: Slow-Cooked Whole Chicken

EIGHT YEARS AGO: Chocolate Zucchini Cake with Chocolate Frosting

NINE YEARS AGO: Pecan-Crusted Chicken with Honey-Mustard Dressing

TEN YEARS AGO: Bewitching Kitchen on Fire!

ELEVEN YEARS AGO: Cashew Chicken Lettuce Wraps

TWELVE YEARS AGO: Chiarello’s Chicken Cacciatore

THIRTEEN YEARS AGO: Donna Hay’s Thai-Inspired Dinner

FOURTEEN YEARS AGO: Panettone

BROWNIE CUPCAKES WITH FONDANT TOPPING

Not too long ago I shared a series of brownie cupcakes with a light milk glaze that you can take in many different directions depending on what you use to flavor the milk. In this post the same simple cupcakes were topped with fondant textured with a silicone mat. You will need a very small amount of buttercream spread on the top to serve as a glue for the fondant. I had some leftover from macarons, but you need so little that I would not mind if you grabbed a store-bought version. Perhaps a Wilton cream cheese frosting, which is not too sweet. It won’t be as good as home-made, but you will barely taste it in this case. Recipe for the cupcakes found here.

HEARTS AND GOLD BROWNIE CUPCAKE

Maybe my favorite of the trio, made using this mini-fondant mat. I used Sugarprism red to paint the hearts, and Egyptian gold luster + everclear to highlight the details. A little shower with Champagne glitter dust from TheSugarArt sealed the deal for me.

SPRINGTIME BROWNIE CUPCAKE

For this cupcake, I used one of my favorite little mats, which I bought a couple of years ago. You can find it here. After it dried a little bit, I painted using vodka + luster powder yellow, green, pink and the center of the flower with Egyptian gold. I could not help but finish them with some White Diamond Dust, again from TheSugarArt.

PINK SWIRLS BROWNIE CUPCAKE

For this cupcake I used this large silicone mat, and selected the region I wanted to top the cupcake by placing the round cookie cutter over it. Once the fondant dried for a few minutes, I brushed the surface with a glaze made with TrueColor Air-brush Shine Pink. The small detail in the center of the flower was added with Sugarprism red.

These are the three mats used in this set of brownie cupcakes…

Fondant mats are great little tools to play with, and work equally well with marzipan and even modeling chocolate. Some mats work better than others, and it does take some trial and error to get the impression perfect in the whole extension. With fondant, a bit of cornstarch helps. The advantage of cupcakes is their small area, a lot more forgiving to get it right.

Speaking of marzipan…

In these lemon cupcakes made a couple of years ago and for some reason never blogged (!!!!). The same white mat of the picture was used with rolled marzipan and dusted with dry luster powder in yellow and pink. Amazing what I find in forgotten folders in my computer. Sad thing is that I don’t even remember which recipe I used for them… I might have to re-visit this important issue!

ONE YEAR AGO: Brown Sugar Cookies with Buttercream Icing

TWO YEARS AGO: Mandioca Frita 101 

THREE YEARS AGO: Raspberry Puffs

FOUR YEARS AGO: Vietnamese-ish Chicken

FIVE YEARS AGO: Rutabagas Anna

SIX YEARS AGO: The Ultimate Raspberry Sorbet

SEVEN YEARS AGO: Crispy Cornmeal Sweet Potato Fries

EIGHT YEARS AGO: Pan-grilled Tilapia with Smoked Paprika & Avocado Cream

NINE YEARS AGO: Golden Saffron and Fennel Loaf

TEN YEARS AGO: In My Kitchen, July 2011

ELEVEN YEARS AGO: Heavenly Homemade Fromage Blanc

TWELVE YEARS AGOA Perfect Sunday Dinner